Partial solution to work with DeepPRIME in PhotoLab's main viewer

I thought this might be useful to know, as this wasn’t said loud.

DxO PhotoLab 4 comes with significant improvements on DNG export and reading compared to PhotoLab 3:

  • it can export a RAW file into DNG with a new mode that fully preserves RAW color information and dynamic range
  • it can read and process the DNG files that it exports

This is the new export menu “Export as DNG (denoising & optical correction only)”. This will apply demosaicking, denoising (including DeepPRIME if you selected this denoising technology) and optical corrections as its name suggests. So you can do the heavy operation like applying DeepPRIME once beforehand, then open the exported DNG and apply on it any other adjustments (except denoising and lens corrections, cf. below), without losing quality compared to doing all the operations at once on the RAW image.

This allows exporting with DeepPRIME during night, and then working on the preprocessed DNG when you have time behind your computer. The side-effect benefit is that when opening these DNG files, you’ll see DeepPRIME result in the main viewer of DxO PhotoLab 4. As such, you may work and adjust other correction settings on an already DeepPRIME processed image, and see results live.

You might say this is the same as exporting a 16 bits TIFF image then working on it, but it’s not the case: TIFF export handles color and dynamic range from the picture in a destructive way, like JPEG.

However this comes with some limitations:

  • As we suppose that they are applied while exporting into DNG in the first place, the pre-processed DNG image will no longer be able to receive changes on denoising or any optical correction based on DxO’s calibration data: related corrections palettes will remain usable but in manual mode only.
  • You need to process the image in advance to benefit from this. This is fine if you apply the same denoising and optical corrections to all your images. Not so much if you customize this each time.
  • The supplemental DNG files take additional space on your hard drive, more than the original raw files.

If you would like this workflow to become simpler, I suggest checking this feature request: PL4: DeepPrime PreviewSize.

Hope this helps,
Lucas

11 Likes

Wow! This is impressive. And, yes being able to see this kind of preview size would be amazing.

Although having to create such a large DNG file is definitely not such a good thing :wink:

1 Like

In fact the DNG that we export has its color data expressed in sensor color space, we don’t switch to any usual color space (like sRGB, AdobeRGB, etc.) to avoid destructive transformation. Interface displays “as shot” but it should rather display “native camera color space”. And on the DNG produced this way, you can then apply any color transformation once reopened in PhotoLab, as you would have done with the direct RAW file.

3 Likes

I suppose the other part of this workaround is to continue to work on the DNG version and then, once you are satisfied, copy/paste back the changes to the original file.

3 Likes

this could be confusing to many who i.e set the camera to Adobe RGB. They might think that this is the space used. Maybe a wording like “sensor color space” would be better.

5 Likes

If storing these intermediate DNG files bothers you, yes. Otherwise you can simply directly process the DNG file (which will produce same results as if you have worked on original RAW file in the first place, applying on it all the settings at once).

Could we imagine a workflow where we open a raw file, start the preprocessing and wait until it is ready to continue the editing, without saving a DNG in the middle ?

I see timing of 7 seconds to export one picture using DeepPrime… for a small batch of picture or some trials it is acceptable.
This could be optional for people who have time and powerful computers.

1 Like

Benoit,

what would be great is:

  • open a raw file in DXO - use the preset “No correction” in preferences
  • directly export as DNG (denoising and optical correctionsonly" without storing it anywhere.
  • I then have a full view denoised image in DPL, do the other corrections and export the final image as a 16bit tiff.

As I understand the process now I need to save the exported DNG somewhere - correct

Could be, but there’s also not so much work to be able to display DeepPRIME output in the main viewer, so for the final solution I don’t think it’s worth going through DNG at all. We’ll see…

5 Likes

This is brilliant! What all “Optical Corrections” are included in the DNG output?

Distortion
Vignette
Lens Sharpness
Chromatic Aberration

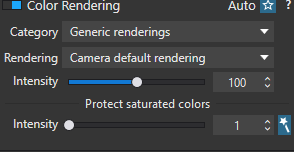
Are these all included? Anything else? What about Color Rendering?

Exactly these one (distortion, vigneting, lens sharpness and chromatic aberration) + denoising and demosaicking. No color rendering applied (picture remains in sensor color space).

3 Likes

It’s good to have enhancements but, as mentioned in another thread on DNGs, the format never really took off in the way that it was envisaged and I can’t see any good reason for using it…

Thanks @Benoit. This may be the second most important improvement in PL4, next to Deep Prime itself!

1 Like

Now this would be great. is it necessary for us to set up a feature request to vote on?

This is for most multi app users a major plus.
i think me personal wil only use this when i go for “multiple image files” stacking in an other application. (i tries earlier and DNG did change my colorWB things to much so i stopped and go to Tiff 16b adobeRGB as source file.)

One thing i am interested in is Sharpening vs denoising. Does react DeepPrime in his calculations when i sharpen before export? (when it’s DNG it’s a demosiaced file and any sharpening is direct visible in dxOPL and other apps.)

second thing:
Say i set Auto exposure compensation active and the other “magic Wants” of DxOPL do they all get “baked” in the DNG export? Because some are colorspace(workingspace) srgb/adobergb related due there boundery’s.
like this one:
afbeelding
edit:

overlooked this one. sorry

Unless I missed something I guess this is already the currently open feature request:

This could be an influence from my large format film work, where I would never dream of disposing of a negative.

I already have (e.g.) a 79MB Nikon RAW file. Doing this would then give me a 128MB DNG file, either to replace the RAW or to store in addition.

In some ways, I can see the reason for ditching the original RAW, once the de-noised DNG has been created. After all, why would I want to keep a rough looking, noisy, file when I can now see, on screen, exactly how the image would look when I have applied any other corrections.

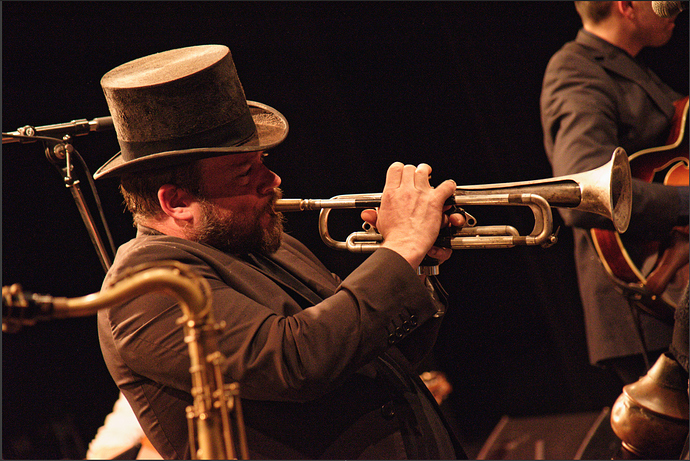
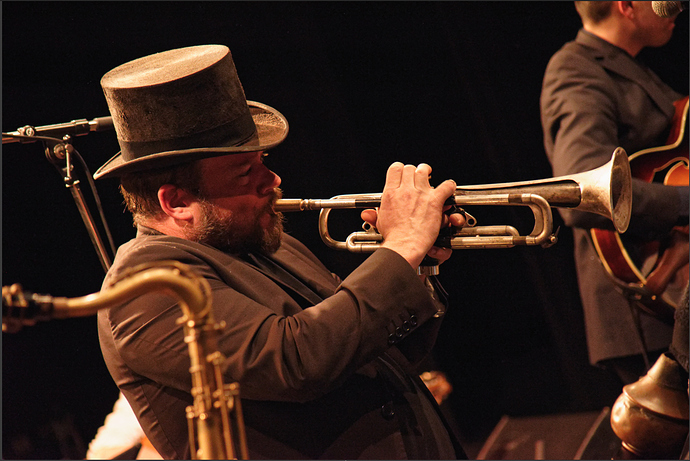
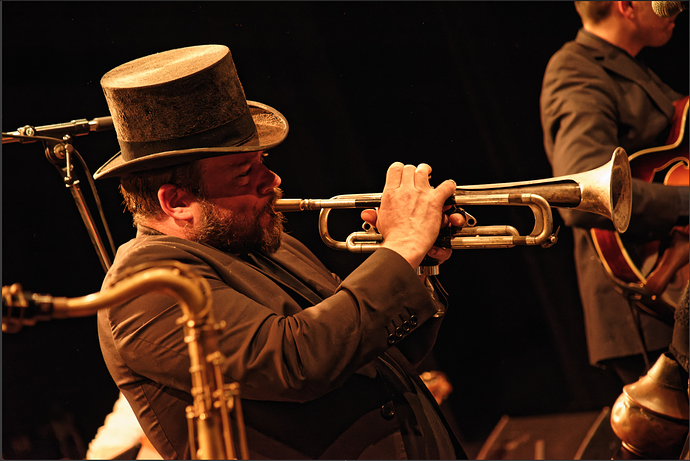
Here are three screenshots -

  1. the original RAW without NR

  2. the original RAW with DeepPRIME

  3. The exported (denoised) DNG with nothing else done

Now, that’s what I call a clean image. I find myself saying, if I got this quality out of the camera, I would be a very happy bunny. My only misgiving is having to find 50% more storage for every file. But, then again, if I had a 51 Mpx Fuji GFX 50, I’d be looking at about the same file size and, then, I’d still have to clean up any noise.

Just think, stunning quality clean RAW images - Do I keep or do I throw (the originals) ?

(I would say, even if that is not convenient to store, keep originals in any case: we never know, DeepPRIME and/or lens corrections might be improved even further in a future version of PhotoLab, and they would require these original files to work)

4 Likes

Always, always keep RAW files. :grinning:

1 Like

Yes Mum :hugs:

At least they take up less physical space than the 600+ 5" x 4" negatives and transparencies I have stored in a big box.

3 Likes