Part 2 - Off-Topic - advice, experiences, and examples for images being processed in DxO Photolab

Time to catch up on whatever I’ve missed here. I wanted to revise my final image, but using Fuji Across 100 film simulation, which first meant installing FilmPack6 on my MacBook Pro. Done. Then to remember how to use it - ouch, memories come back slowly. But I think I am finally done:

Supposedly, I’m finished, but it is still uncomfortable for me to view, as my eyes are being twisted every which way; it’s no longer “stable”. Maybe I need to make it wider.

If I un-do the tricky-stuff I did to keep parallel lines parallel, and just go back to what my camera captured, I get this - and my eyes can relax and just look at it, without making me feel so strange:

Now it looks more like I’m looking up as I’m viewing the image, which is correct. Maybe it needs more contrast, or maybe not. I should give it a day, then come back to it.

I guess I learned a lot about what (not) to do.
And I’ve got access to my FilmPack6 again, on my laptop with the Apple M2 chip.

It looks like you forgot to adjust the X/Y ratio after using the force parallels tool. See my tutorial.

I hope you are not using it in standalone mode?

“Forgot” is not the appropriate word. I’ll gladly see your tutorial. I never heard of this before.

I thought I was being forced to do that, but after almost an hour of searching, it is now just another part of PhotoLab, which is what I had on my older Intel-chip based computer - which I rarely use any more. I tried searching for help, but couldn’t find what I wanted, so I started trying things, and it’s now part of my normal PhotoLab menu.

I’m almost afraid to ask - is this “X/Y” ratio going to make my image a lot taller? I now like the looks of my latest attempt. If the image becomes taller and skinnier, I suspect it won’t look as good as it does now. I’ll follow your advice, wherever it leads me. Where do I find your tutorial, or was it a part of what you’ve already shown me?

Unless people stand in one specific spot, and look up to see what I saw, they will be oblivious to what I am photographing. From most viewpoints, this strange image is far from obvious. Like I said yesterday, it stopped me in my tracks when I first noticed it. I too was oblivious to it. Sadly, maybe that makes my image more “luck” than “skill”, but people usually make their own “luck”, don’t they?

@mikemyers
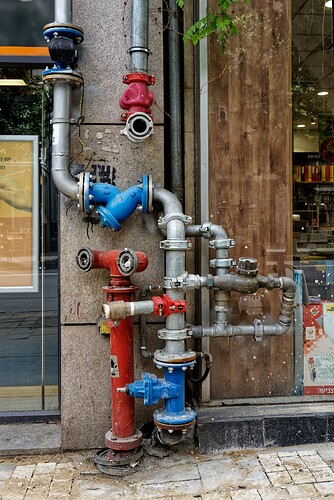
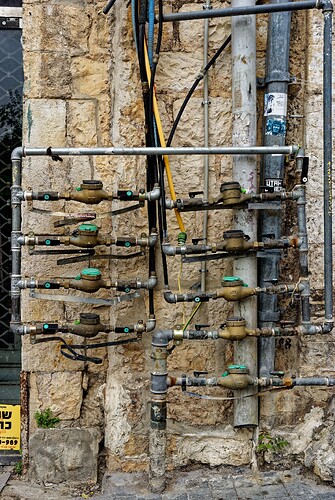
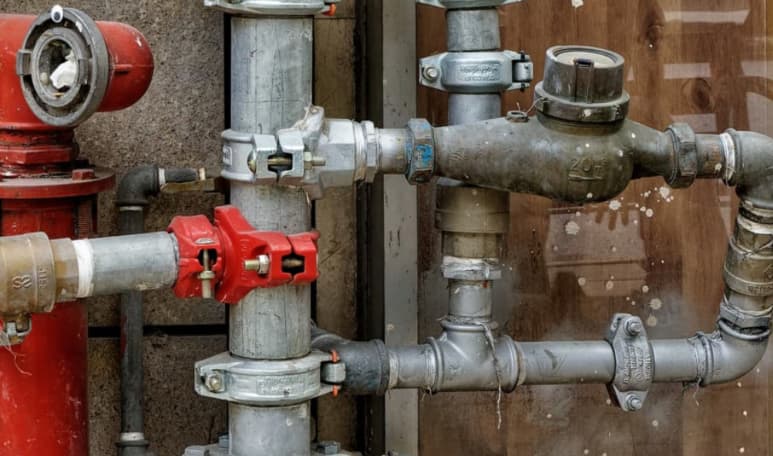
Here a few examples from Jerusalem. I have never seen anything like this in Scandinavia or the rest of Europe for that matter.

Mike, my wife has a long time told me I´m not really normal when taking pictures of houses and city environments with “strange looking” technical installations (like plumbing and electricity). She wants me to take pictures of my grandchildren instead. It feels good for me knowing I´m not completely alone in my taste for these kind of motifs. I stood some time trying to understand why this particular construction looked like it did but still it puzzled me. :slight_smile:

… and an installation like the one below would cause a lot of problems here where I live because of the cold. We have to dig our waterpipes down to a frost-free depth which ought to be at least half a meter and no waterpipes will ever be seen mounted outside on a house wall either.

The Israelis are in general a very pragmatic people and often doesn´t care all that much about how installations are looking as long as they work but sometimes I have hard to see very old historical houses built with beautiful “Jerusalem Stone” severely disfigured by often very ugly technical installations on the outside of the facades of the houses!

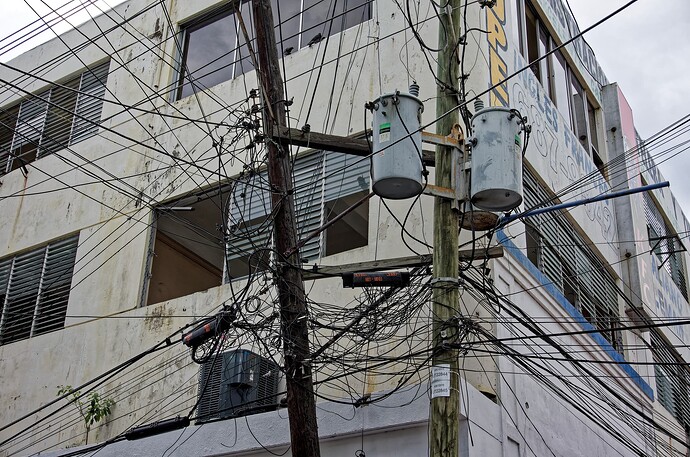
My favourites though are usually chaotic electrical installations. Here one in one of the central streets in the historical center of Santo Domingo in the Dominican Republic.

Maybe somebody else have some interesting images of the same type to share.

Just my opinion - an image like those above it too overwhelming; I have no idea what anything is, or what it does, and it’s just a confusing jumble. But, if you crop it down to some basics, it can start to look like art:

Use the complexity to simplify things and make the end result colorful and beautiful, even if the viewer (like me) has no idea what this stuff is, or does. Make it colorful, and fascinating, and if you’re better at this than I am, beautiful! Symmetry, and colors, and details, and shapes, and shadows, can all result in something beautiful - at least that’s how I see it. And if you shoot it with the lens wide open, maybe the backdrop can go out of focus. :slight_smile:

You can learn a lot from photos that Joanna and others have already created and posted - still life photos.

I think today is when I should have bought a lottery ticket…

780_5168 | 2024-05-23.nef (23.6 MB)
780_5168 | 2024-05-23.nef.dop (13.5 KB)

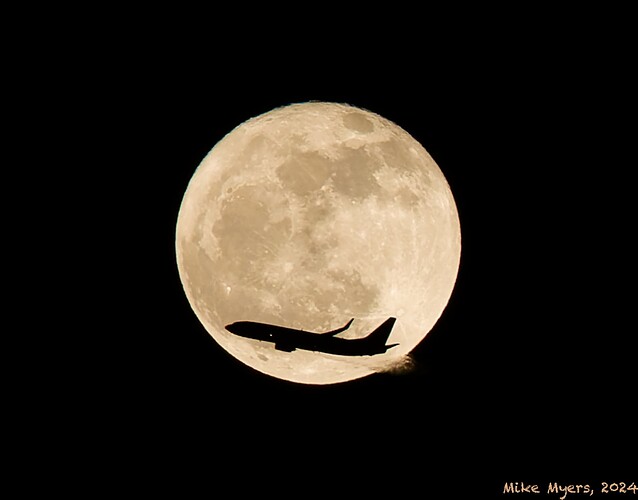
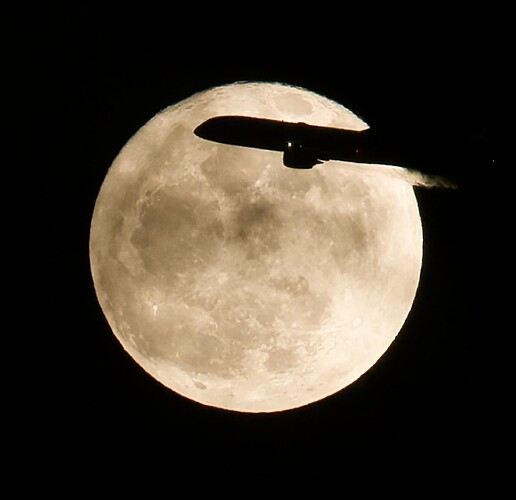
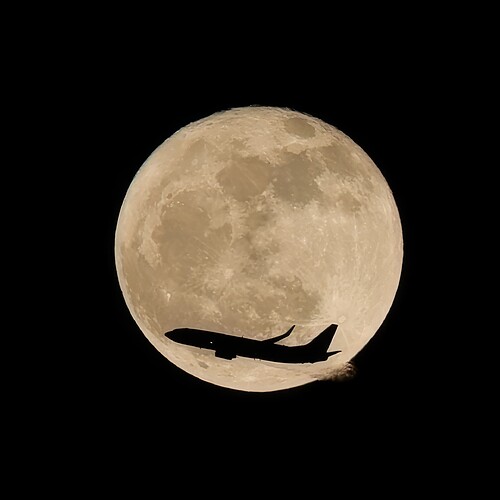
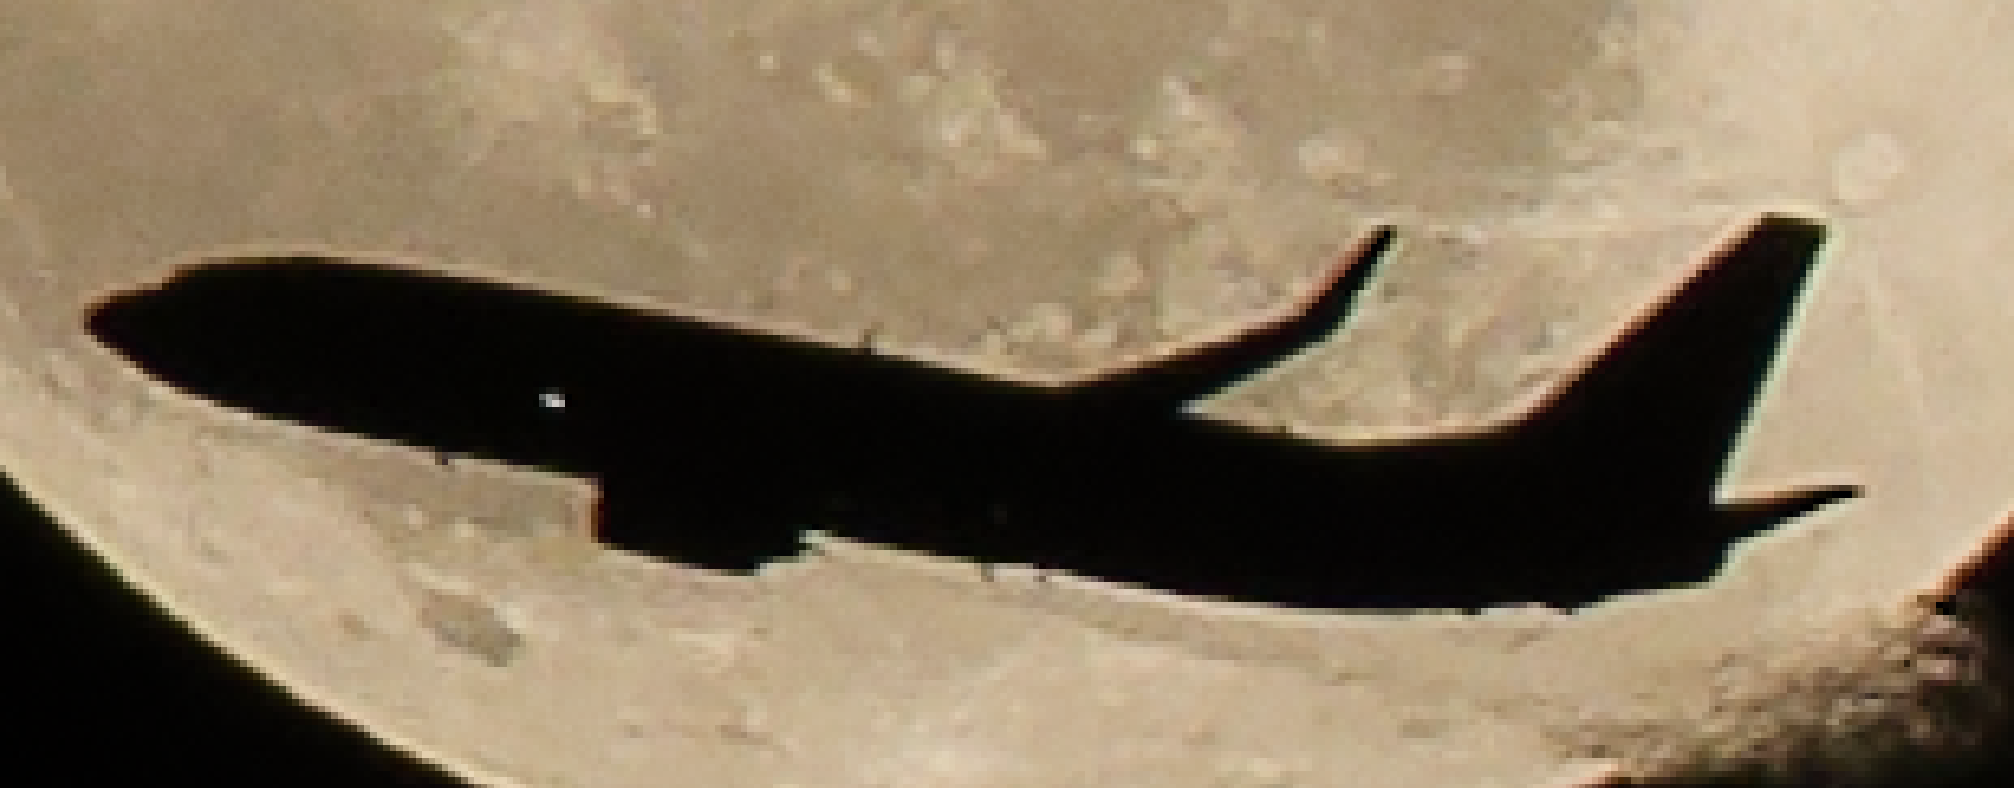
The moon called me out to my balcony, and it was almost a full moon, so I started taking photos after selecting a reasonable exposure. Then I noticed the moon was right behind the flight path of an oncoming plane, and I got an almost perfect photo, but the plane was too big to fit inside the moon. Then two more planes came close, but not close enough. Then this plane came along, so I followed the plane, with the D780 in high speed burst mode, and it worked!!!

I think the first plane was an A380 double-decker, but too big for my moon. I got photos with the front of the plane (shown below), the middle of the plane, and the back of the plane.

I’m sure they are too pixelated to be useful, but I never expected to be doing this, and I probably need a 2,000mm lens to do it right.

Interesting how the turbulence behind the engines disrupts the image of the moon. :slight_smile:

I wonder if anyone will believe I even got these shots - luck, sheer luck. But the camera did its part too, after what I learned about moon exposure from Joanna a month or so ago.

1 Like

I am also drawn to these chaotic installations. I’ll have a look in my images.

George

Or wider. It allows for both.

Not if you use Topaz Photo AI. Here’s a 6x enlargement of your “aggressive” crop …

… except the forum software has reduced it from the 4644px x 4644px I got it up to

Who are you and what have you done with Mike Myers? This is the second amazing shot in two days!!! :clap: :clap: :clap:


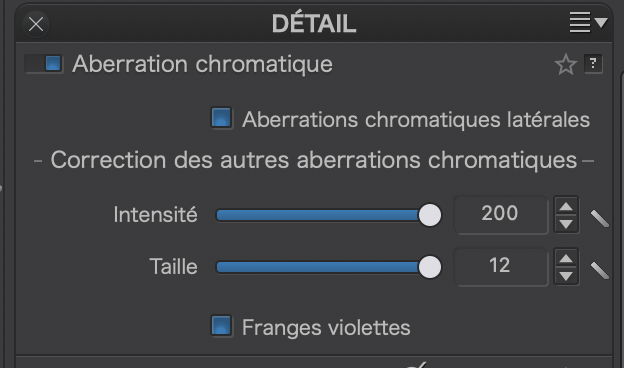
The only thing I needed to do with this image, before passing it through Topaz was to max out all the Chromatic Aberration settings…

Capture d’écran 2024-05-24 à 09.55.49

I have the same problem with shots taken with my old 28-200mm lens.

Look at this closeup screenshot…

… and you will see slight green and purple fringes, which needs more aggressive treatment than the default.

Of cource it is but that is just my intention here to pronounce how crazy this is and you will miss that totally if you crop it. Even I crop and pulls it a little from time to time of the same reasons discussed here. Another picture från Israel, which is a very photogenique country in many spectacular ways by the way. Another even more photogenique is Morocco. Recommend that highly.

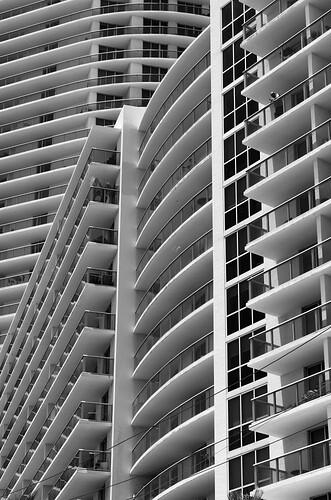
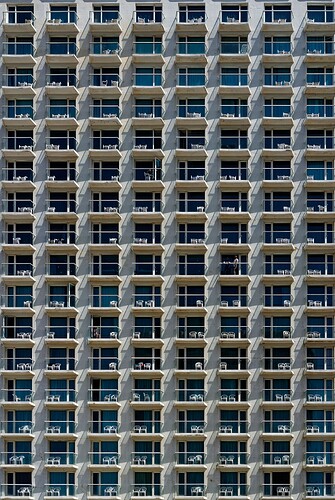
Well, this is a picture taken of Hilton Hotel in Tel Aviv Israel, which I think almost gives the feeling of a honeycomb - for people

Take a closer look - how many people do you see there? :slight_smile:

2 Likes

Yes, I remember that link, and those instructions, which are similar to what I did, but your way of finding “lines” at the extreme left and extreme right" is better than my selecting things closer to the middle.

As usual, I end up with something that I know, and can prove to myself, IS correct, but it looks wrong to me. I think I’m learning how to make the lines almost vertical, but not quite, which allows my eyes to think they are vertical.

Do I need to spend $200 in order to do the re-sizing?
Are there other options?
I wish PhotoLab could do this.

Since I already have PhotoShop, does it accomplish the same thing?

How to Enlarge an Image Using Photoshop

1. With Photoshop open, go to File > Open and select an image. …
2. Go to Image > Image Size.
3. An Image Size dialog box will appear like the one pictured below.
4. Enter new pixel dimensions, document size, or resolution. …
5. Select Resampling Method. …
6. Click OK to accept the changes.

Thank you, but I’m still the same “me”.
Perhaps it was more “luck” than “skill”.
With the moon/plane shot, I remember thinking “what if…” so I set up to capture the image, never expecting for it to work this well. I saw the moon, and I saw the plane, way off to my right, and I got ready, just in case.

You helped me a month ago to get a reasonable photo of the moon.
Then it was set things up, just in case, and turn on high-speed-burst-mode.
I couldn’t believe my good luck - twice!
I may have “helped” my luck.

Or, do you believe in “ESP”? Glancing at the moon convinced me to put on my 300, turn off my lights, and go out on the balcony to try to get a good photo of just the moon, almost as it the moon had called out to me. Then the planes started coming, and with zero expectation of getting a photo, I got ready anyway.

I suspect my “esp” is stronger than my “reality thinking”, but far too often it has been very helpful, with me almost “expecting” to get an unlikely photo.

The day before, when I noticed the strange view of the building - well, yesterday I checked, and this view was only available in one spot. Before that, there were wires crossing the road ruining any photo I might take. A little beyond that spot, and my “magical view” was gone. I do know I was glancing around, all over, looking for something magical, but in reality, I was just “fishing”. …but I found it!

I liked my photo of the red and blue pipes, finally getting a view I was happy with, but since nobody commented, I guess it wasn’t any big deal. But I like photos such as the twisted building photo. There was only one spot to shoot it from - any other place had “issues”. :frowning:

Nobody has yet commented - was including the fellow staring out from his balcony a good idea, or not?
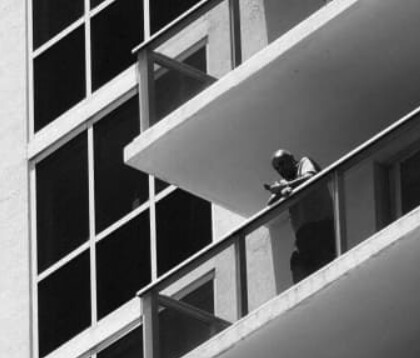
Screenshot 2024-05-24 at 10.21.44

I have photos with him, and after waiting a bit, without him.
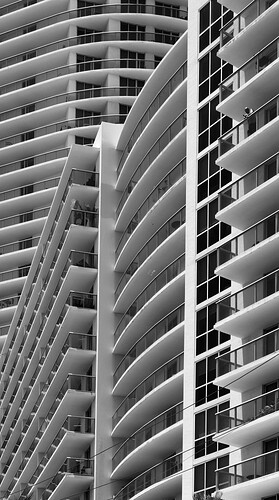
I see one person.

I think your photo would be better if you cut out the top row, which by being different, spoils the effect for me.

I have four persons detected.

Yes, me too.

Nonsense. I’d accept if you had written “I would like your photo better, if…” but you’re in no position to judge an image generally! And your taste, Mike, is yours, and nobody else’s.

Agree, because that is an anomaly - the only light row.i

You did not look close enough by thr way. I think I counted four people out there on the balconies.

The more distance between the two lines, the less chance for error in calculating the correct angles.

I suppose that depends on whether you want to avoid spending out on larger lenses or keep with your current ones and enlarge crops.

From what I have read, that depends on which version of PS that you are using.

I started using the standalone Topaz Gigapixel app for resizing many years ago (long before PS introduced their “AI” version) and was so satisfied with it that I upgraded to Topaz Photo AI.

Now, Photo AI allows you to use, not only resizing, but also sharpening at the same time, so you are not limited to the sharpening that comes by default with the resizing.

Whether you use PS or Topaz, you are always going to have to create a second (TIFF) file by exporting from PL and then using that file in the resizing tool of your choice.

For me, it was a no-brainer, because I often have to print other photographers’ files and they are not always large enough, or sharp enough.

You can see what it is capable of doing to your moon shot at 600% magnification and compare PS with Topaz.

Here is the file, processed in PL and exported at its normal size of only 774px square…

780_5168 | 2024-05-23_1_DxO.tif (3,6 Mo)

… and here is a zipped version of the 6x output TIFF file from Topaz Photo AI…

780_5168 | 2024-05-23_1_DxO-topaz.jpeg.zip (3,4 Mo)


Topaz Photo AI is constantly being upgraded in terms of algorithms and scaling models and it also gives you several different models for both upsizing and sharpening so, you can choose just how sharp or detailed you want the final result. It also allows you to sharpen only selected parts of an image without having to destroy background blur.

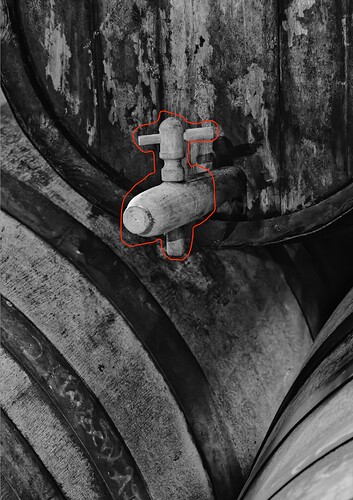
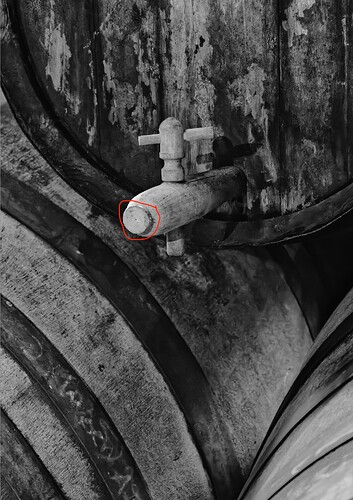
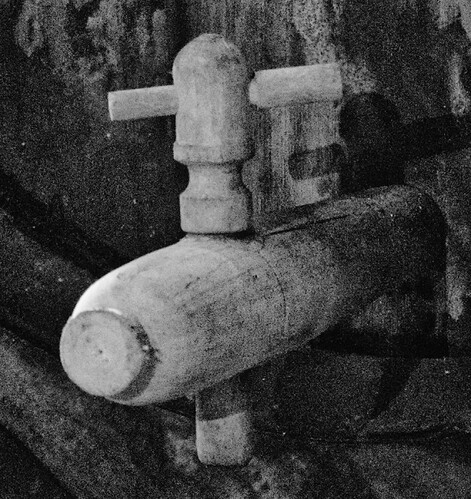
This shot wasn’t quite in focus over the tap, so I started by defining the front of the tap…

… and then adding a second sharpening layer for just the tip of the tap, which was still too soft…

And here is a zoomed in screenshot from PL before exporting to TIFF to pass it through the sharpening part of Topaz…

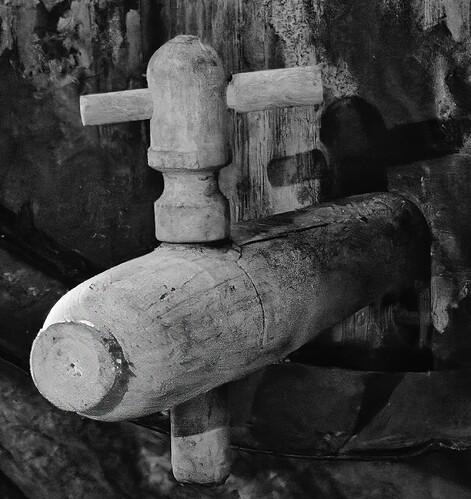
Finally, a zoomed in screenshot of the finished TIFF…

I think the first of your moon- pictures would have been stunning in 1:1.

Your picture of the pipes is a little complicated and lacks the more clean look your moon an architecture image has. I think it has the same background problem we discuseed earlier in the animal images.

1 Like