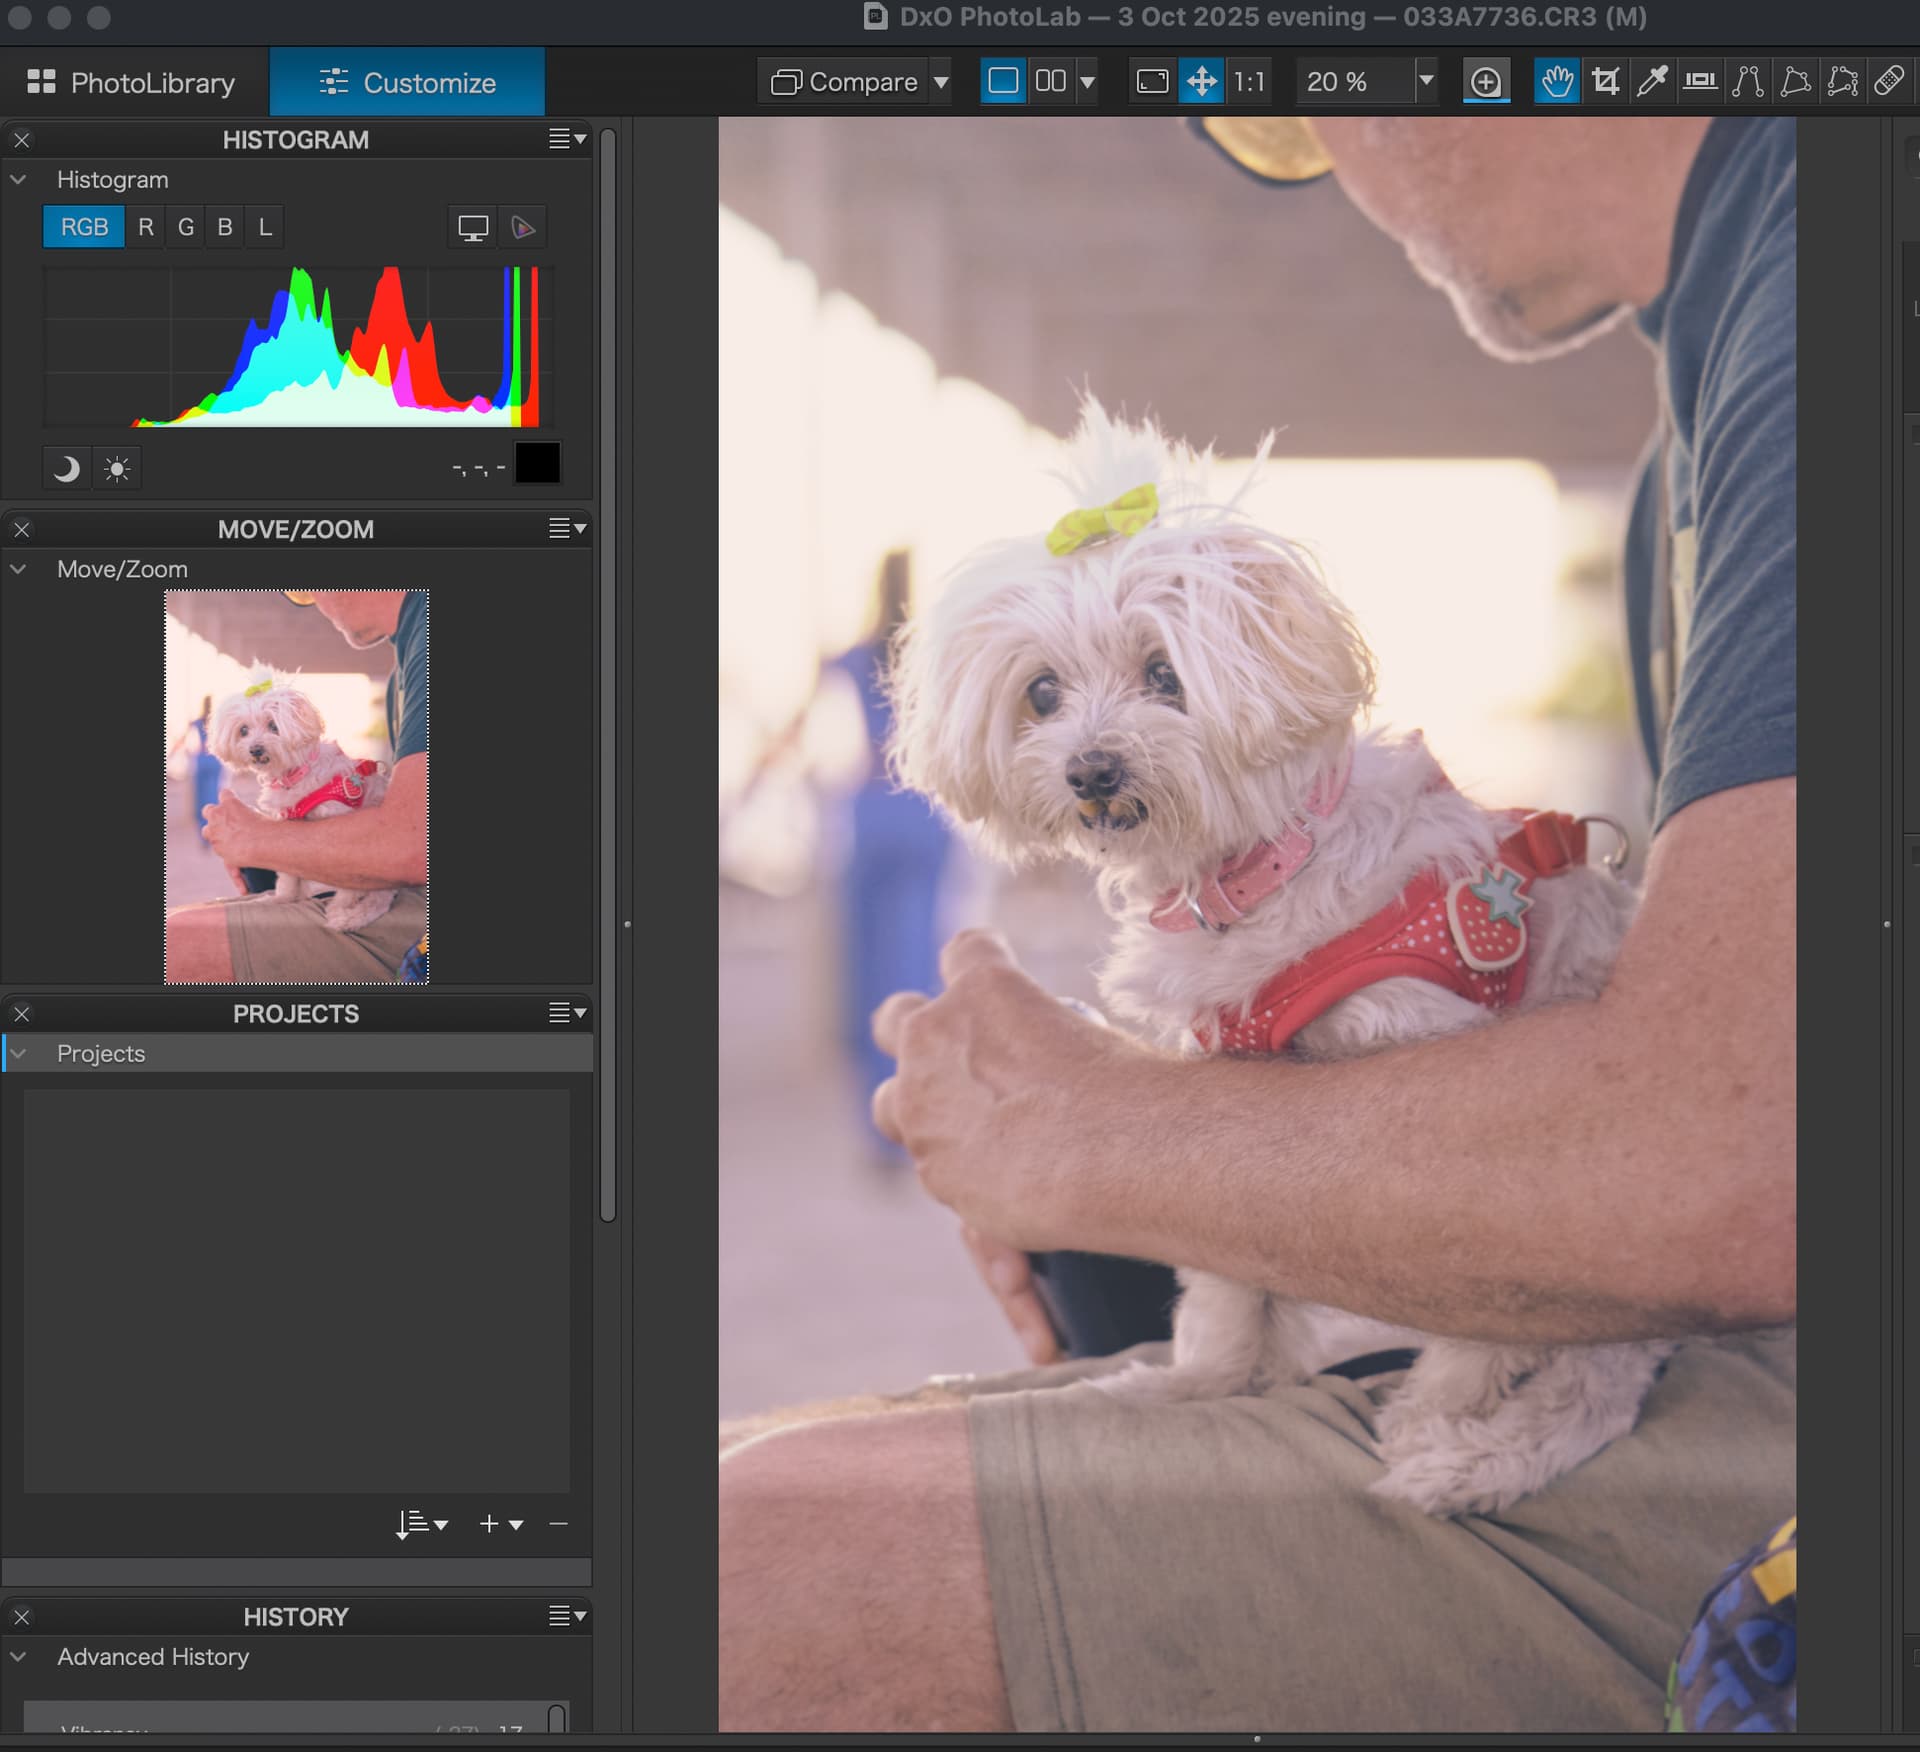
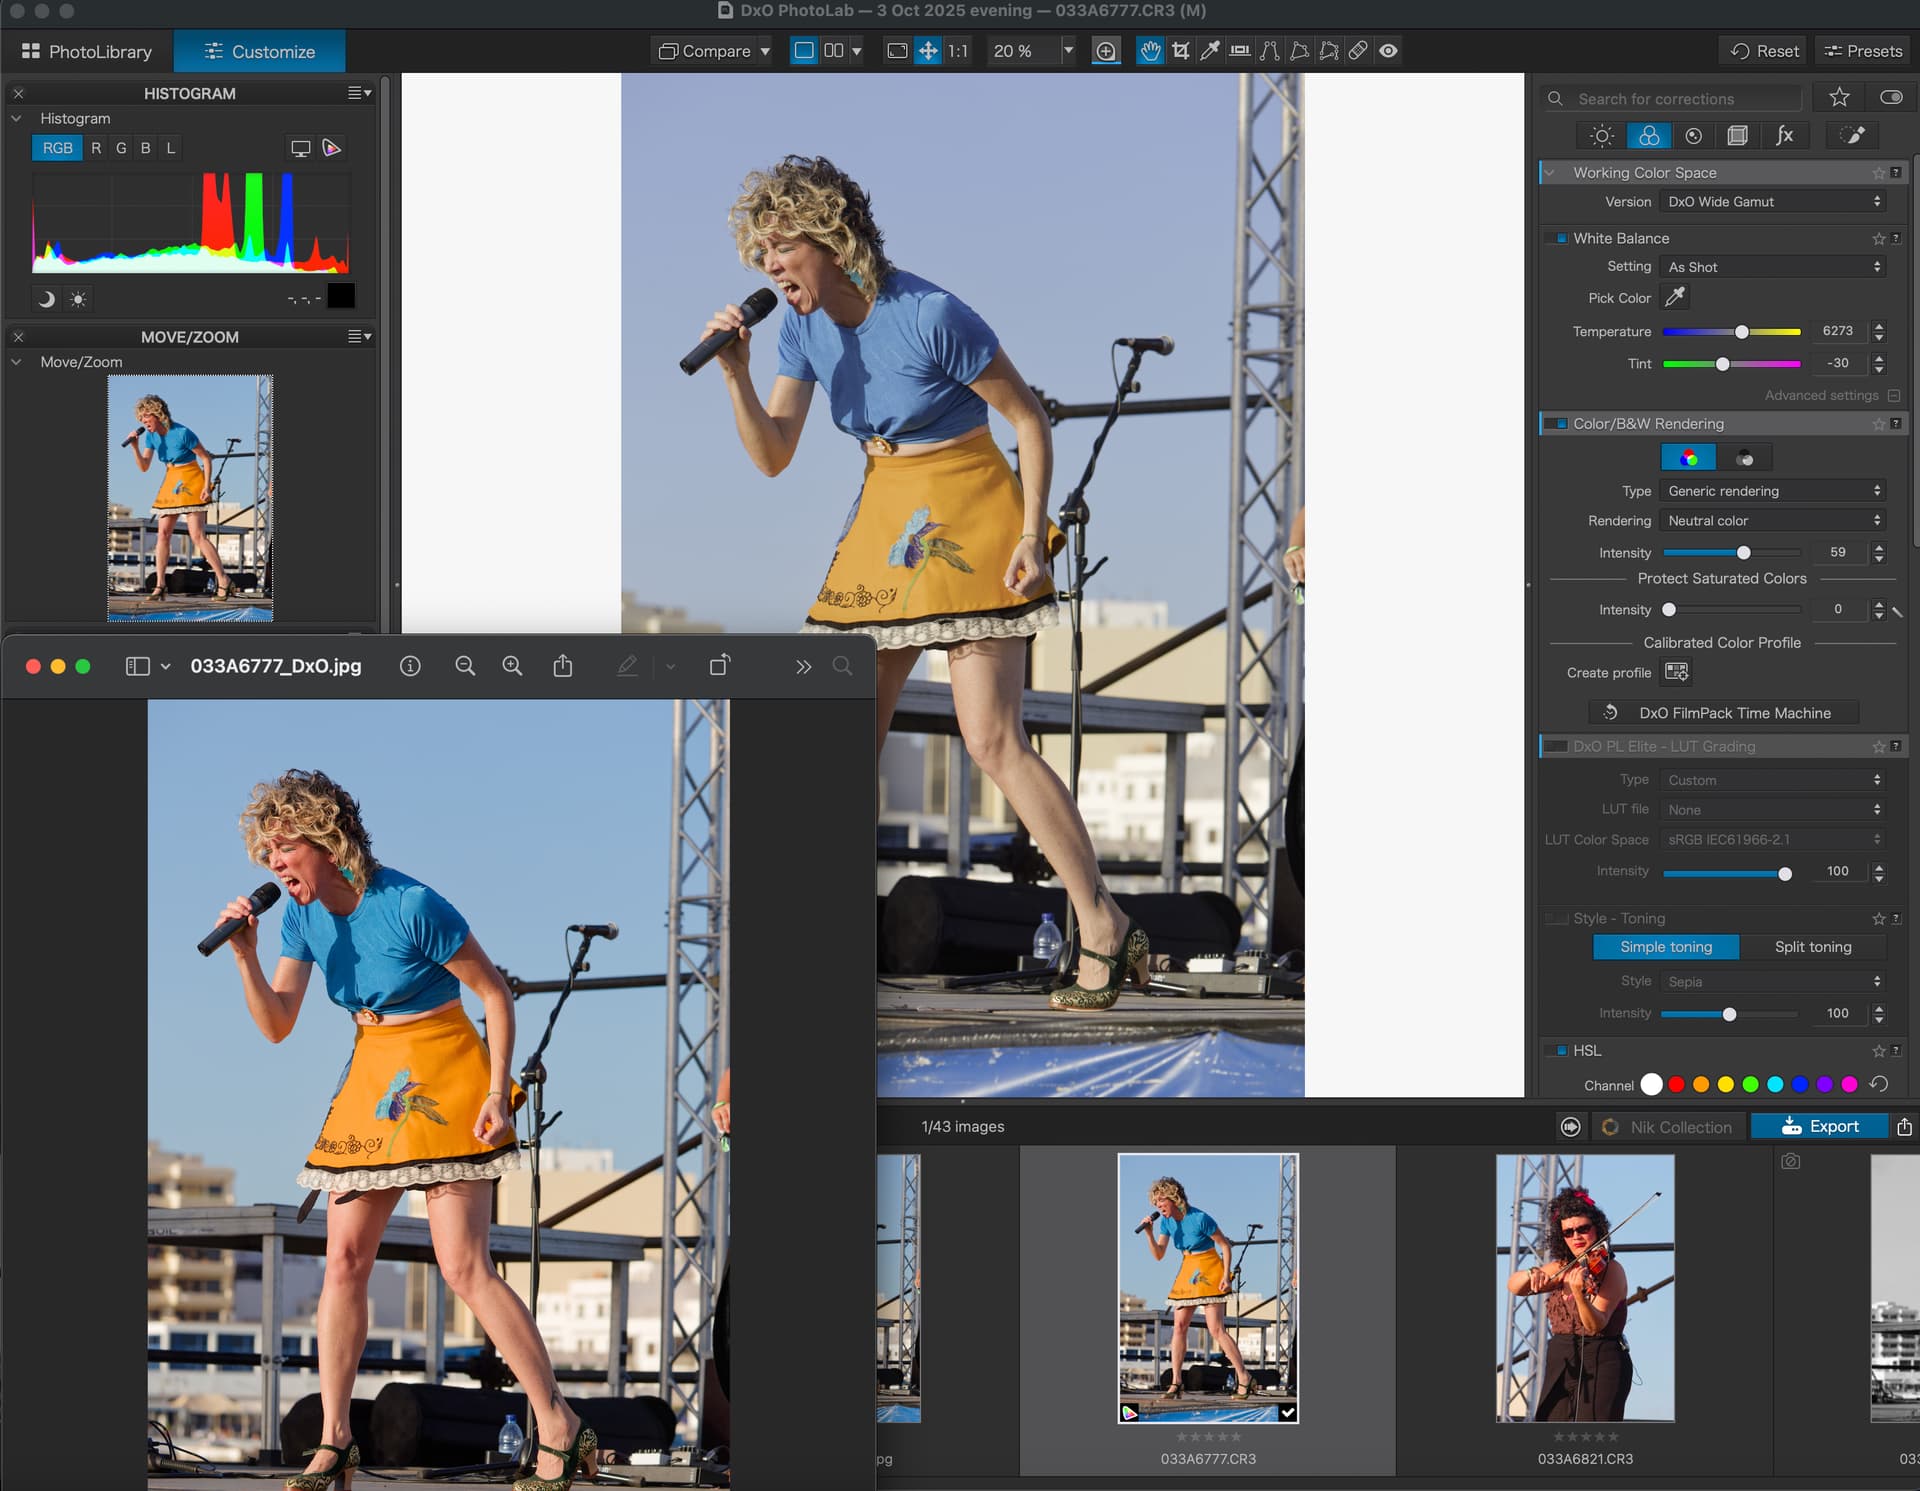
Sorry if this has already been covered, I did search for posts talking about exported images looking different from what might be expected. However, my issue (perhaps) is a little different. I’m currently trialling DxO PL9 after finally jettisoning Adobe. The issue I’m experiencing (see image above) is that exported jpegs don’t look as expected (too saturated). The edits I make seem to be muted on the main image panel, but much more vibrant on the left Move/Zoom thumbnail. When I export, the image’s colours match the overstaurated thumbnail and not the main image edit panel. I’m sure it’s just a newbie issue, but colour me confused as to where I’m going wrong?!
A simple solution might be to turn on the Soft Proofing feature in PhotoLab and also make sure that your export settings match the desired output parameters. The color rendering pipeline can be complicated. Learning these two parts of PhotoLab can help figure it out. Hope this helps a bit.
Move/zoom helps to position the image at high zoom settings. I’ve not even thought about it being anything like a true representation of colours and tonalities.
As proposed by @Egregius , check your colour and output settings and post a screenshot so that we can see whether some of the settings are unfortunate.
Settings can be found in the “Color” palette and the output dialog(s).
Thank you so much for the advice. I really appreciate it. I have tried exporting with various settings, but I seem to get the same oversaturated result. Obviously, I understand that colour can be difficult to control precisely, but it seems odd that the exported images differ so vastly to what I see in the main panel (and look more like the preview thumbnail). Below I have put the current settings and also another shot showing the original image (without adjustments) and the adjusted image to the right. The exported images look like the much more saturated thumbnail on the far left.
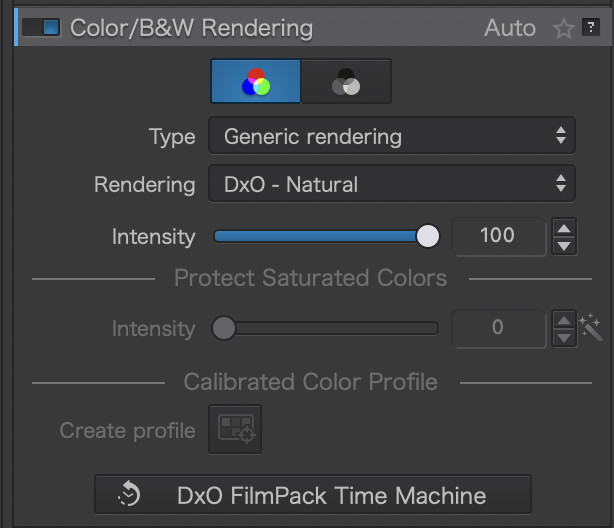
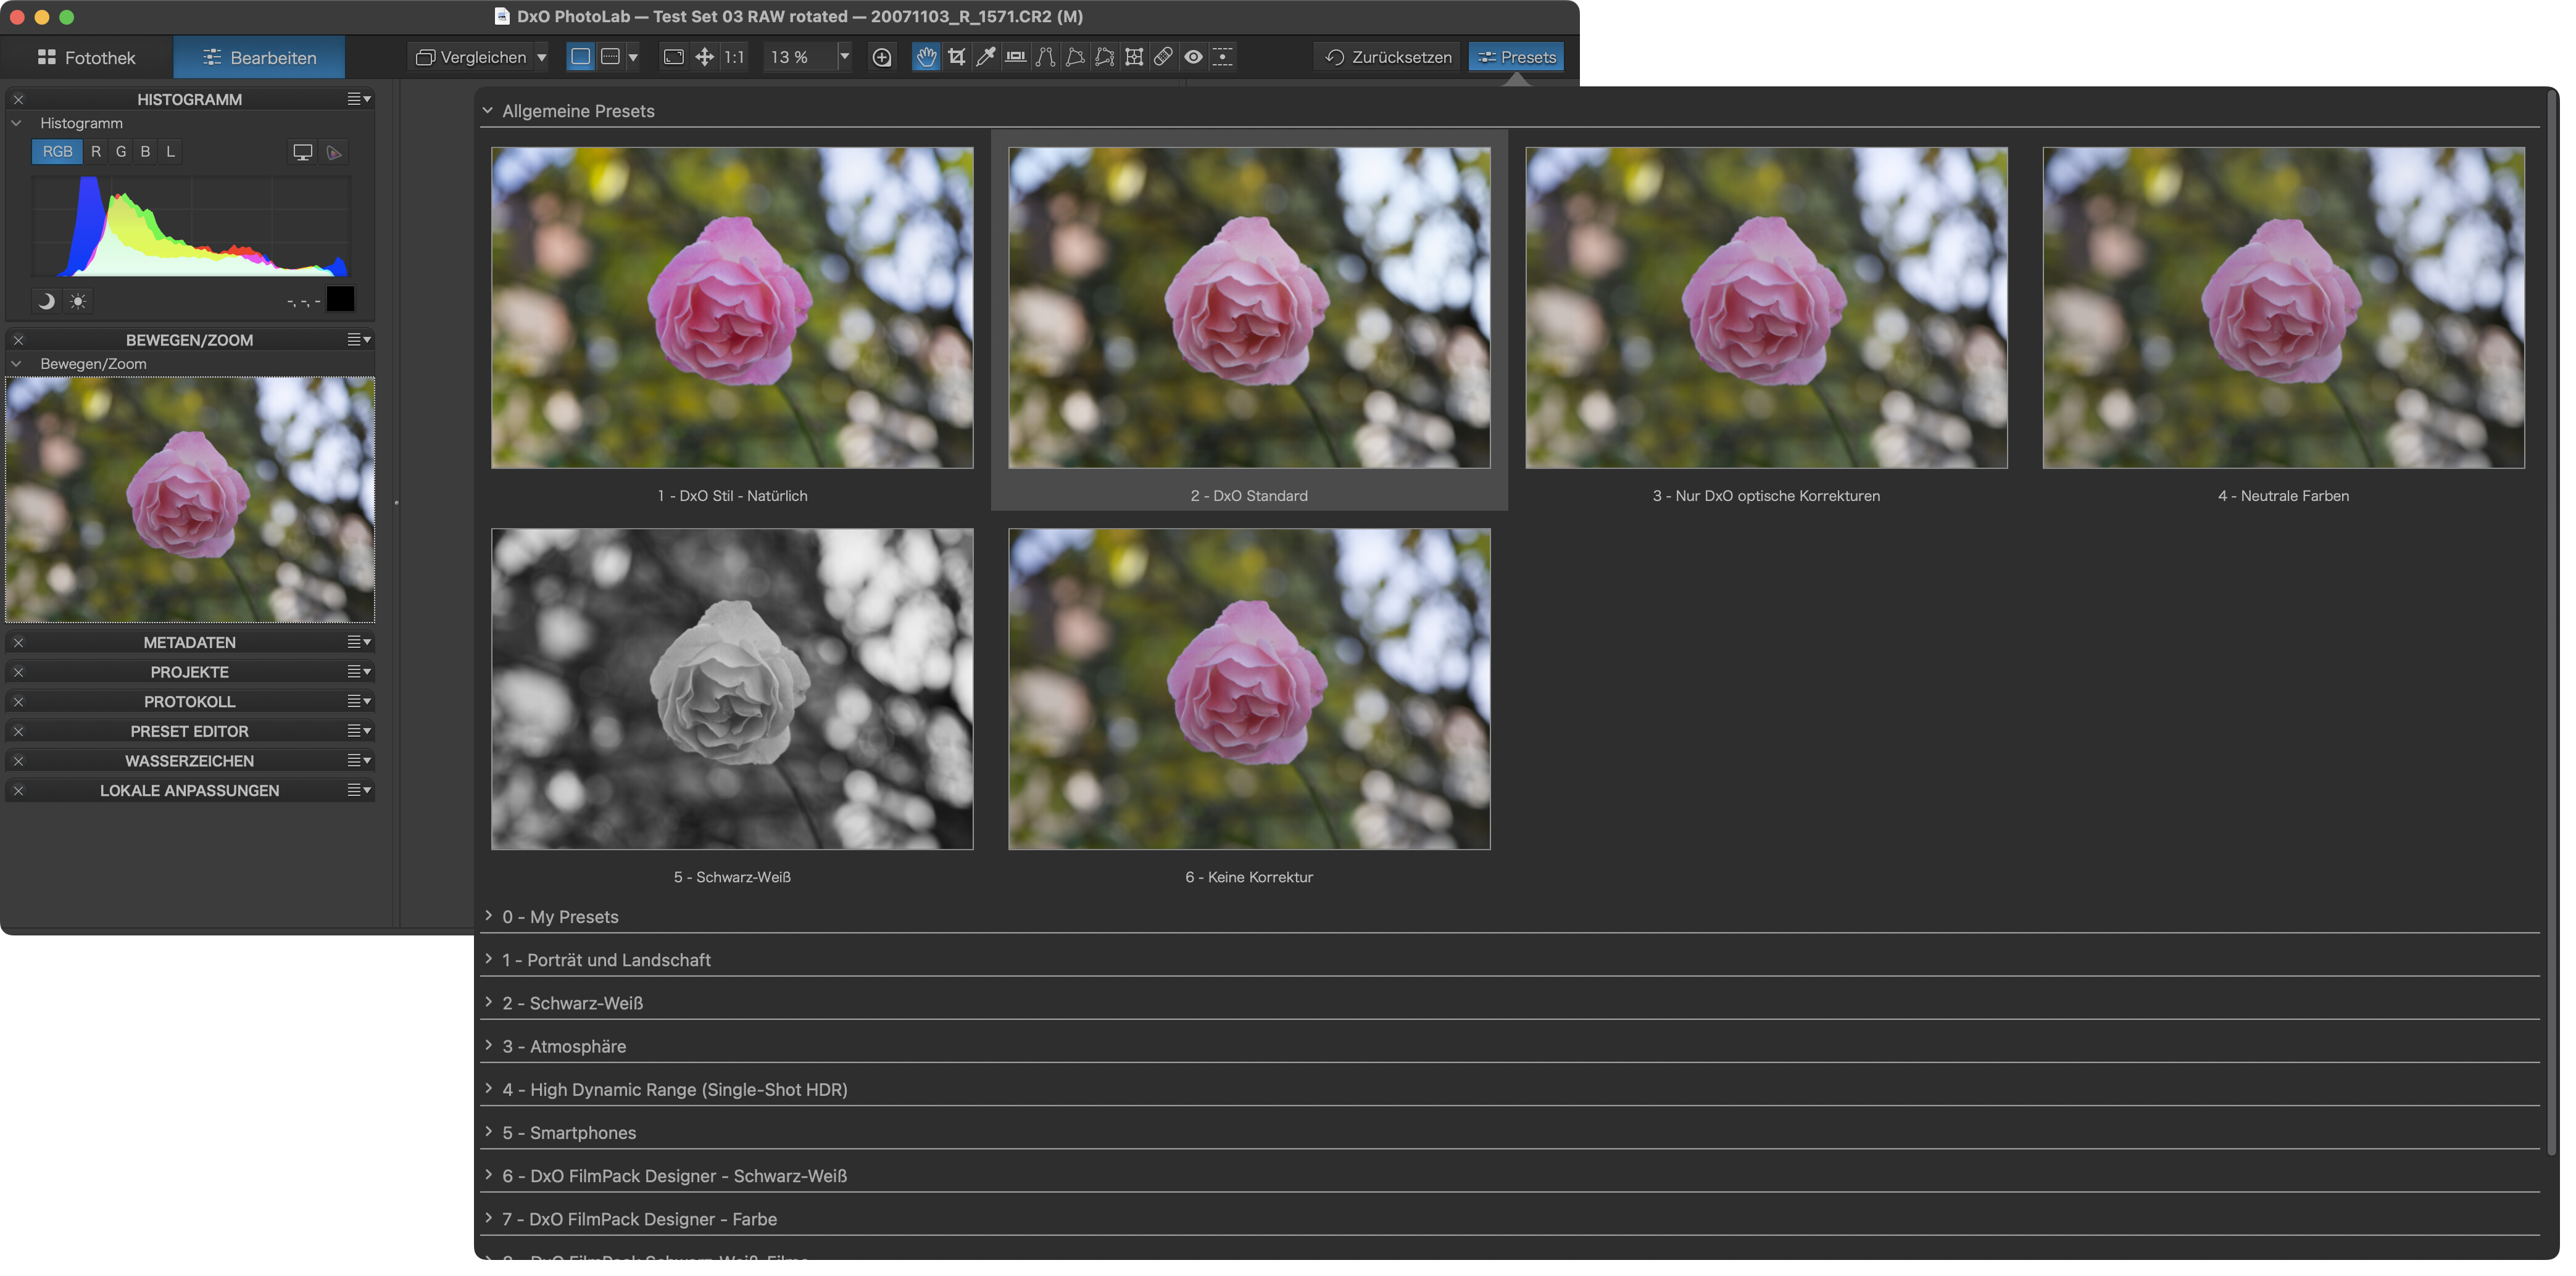
You’ve been using DxO’s (new) default rendering, “DxO Natural.”
Try “Standard” or “Neutral” instead. If you prefer one option, set it as the default for new files in Preferences.
e.g.
That isn’t going to solve his problem of seeing something different in export than in the image preview. Soft Proofing probably will solve that. He still hasn’t tried it.
What you see depends on many things.
-
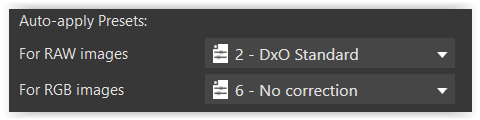
Default Preset → is applied only when PL sees an image for the first time, but can be selected manually. Better seen on the PC. “Natural” is way too strong imo.
-
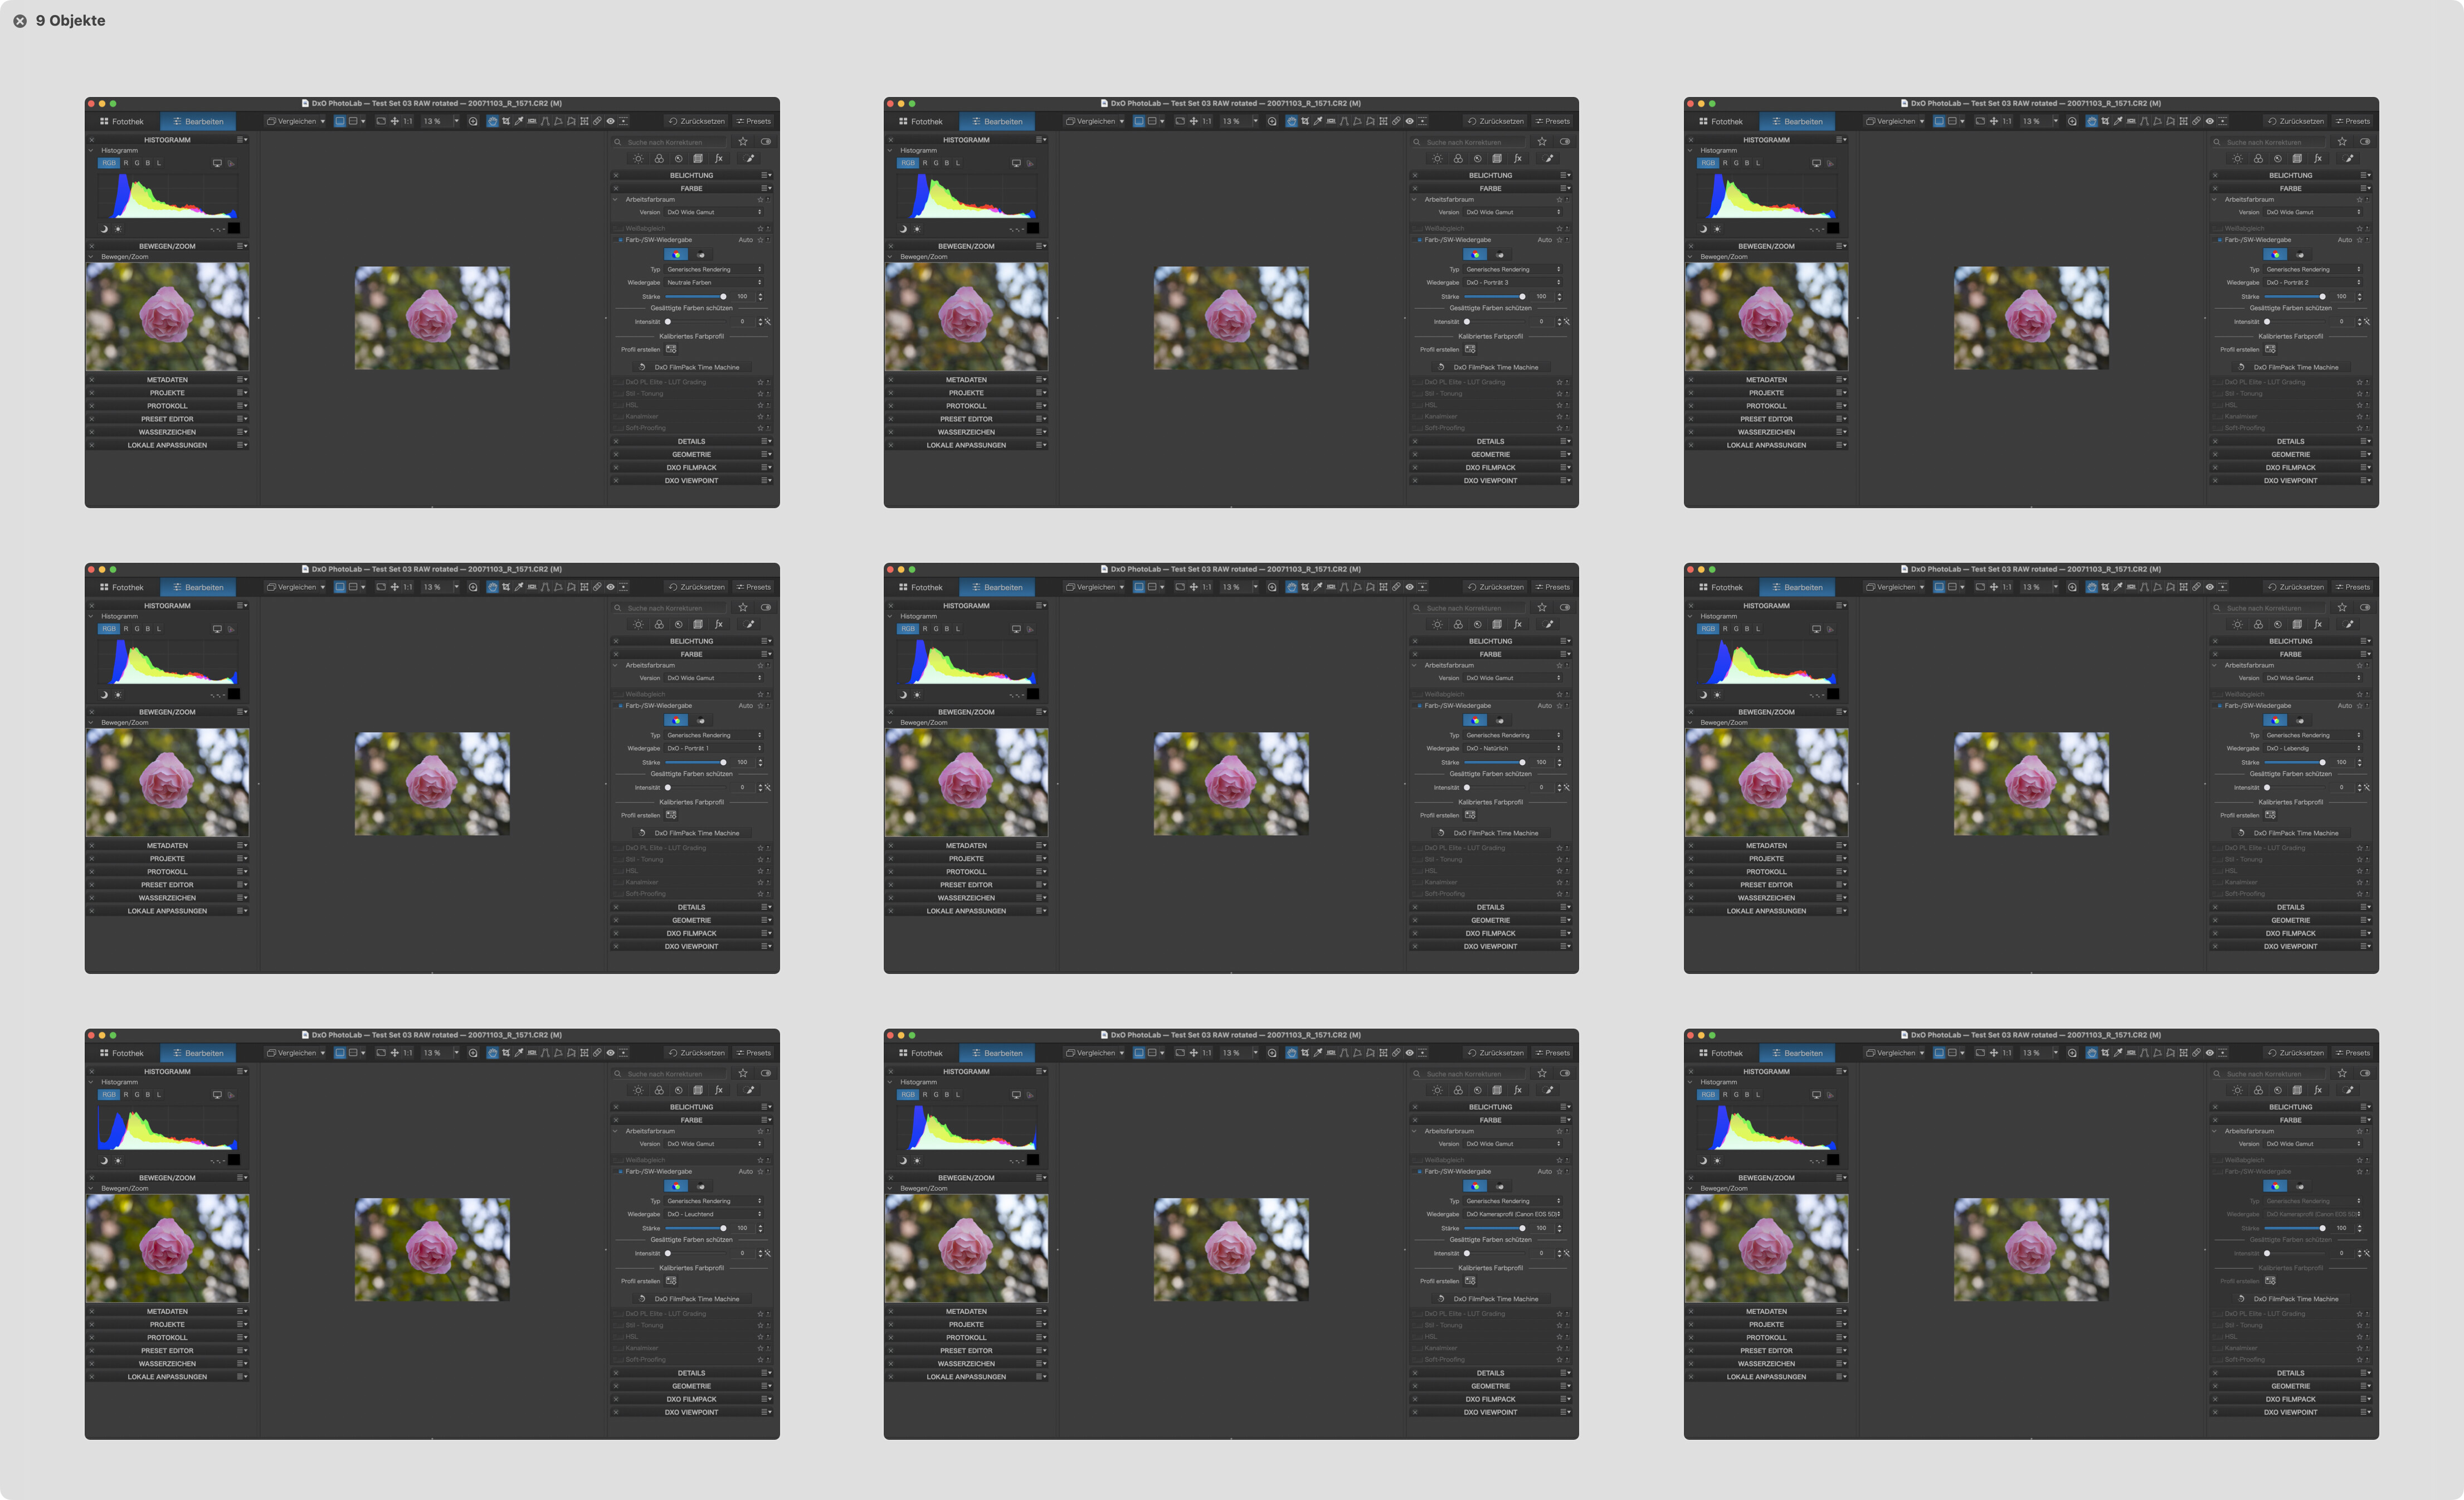
Rendering → effects are more or less visible depending on the preset that has been applied. With “No Correction” I get these looks with DPL 9.1 on Mac. Slight differences can possibly be made out between the looks of the preview vs, the move/zoom thumbnail.
-
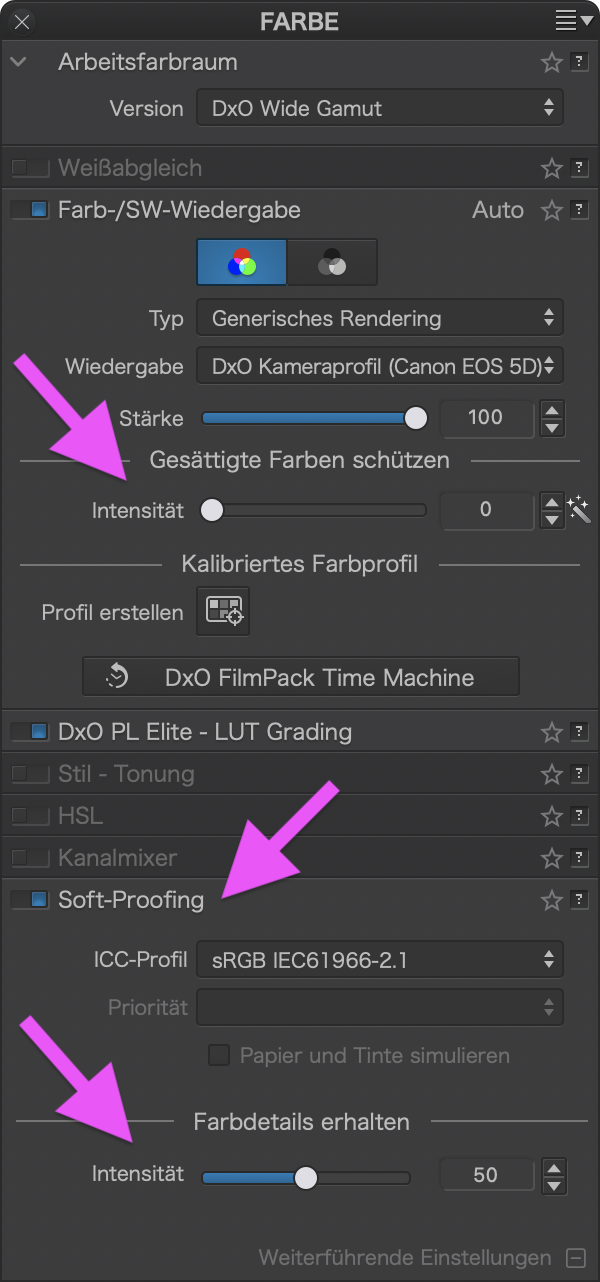
Colour Palette → Try different settings as shown below. Play with these sliders!
-
Calibrated Screen → depending on properties of the screen you use, colours can shift noticeably…and I suppose that the move/zoom image drives on a different road than the preview.
-
Win vs Mac → macOS manages colours throughout while Windows doesn’t, unless it’s switched on in system settings.
What can you do?
- Check colour management in Windows system settings
- Try settings (incl. softproofing and handling of colour saturation and -details
- Set “No Correction” as your default preset of PhotoLab and apply it to all images with odd colours and that you’ve already edited.
- …
ooff - long post!
I remembered this thread, which had to do with Export & Soft proof
… but no idea if it helps.
(ed)
Welcome to the DxO USER Forum, Justin.
The following suggestion will very likely address your issue;
If you wish to experience WYSIWYG (in terms of what you see within PL versus the exported result) then you need to have Soft Proofing switched ON - with its ICC-Profile set to reflect your intended output target.
- For example, when targeting consumers with standard sRGB capability;

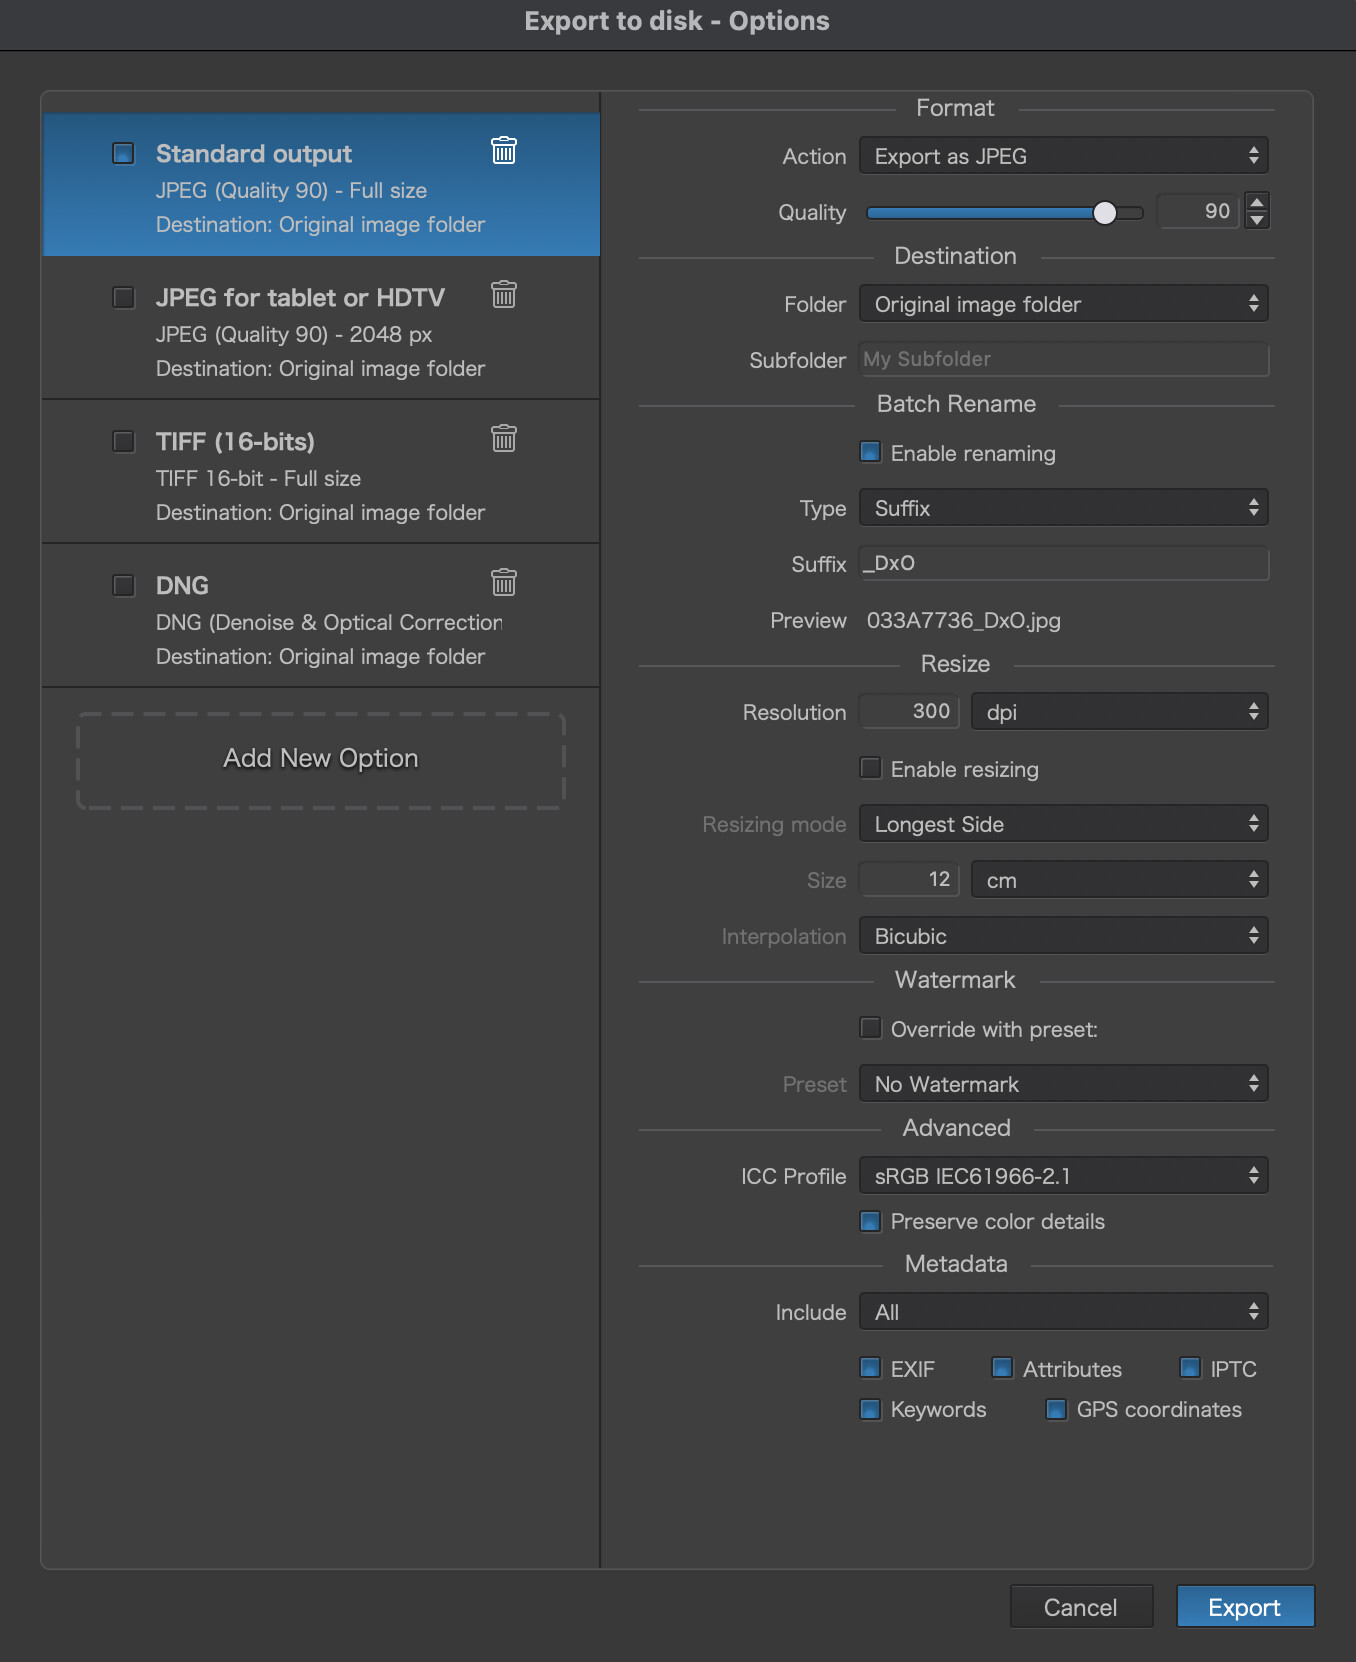
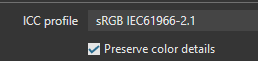
Also, in your Export to Disk options, you will need to have matching specifications for output ICC-Profile AND be sure to have selected the option to “Preserve color details”, which will apply an algorithm to ensure an appropriate balance of saturation versus detail in the process of conversion between PL’s internal colour-space down to the target ICC-Profile.
-
-
Alternatively;
John M
PS. If you’d like to delve a bit deeper into PL’s colour/color management pipeline, then see here.
Note: The pipeline diagram shown in this link is speculative (with a high degree of confidence) - it was not produced or confirmed by DxO.
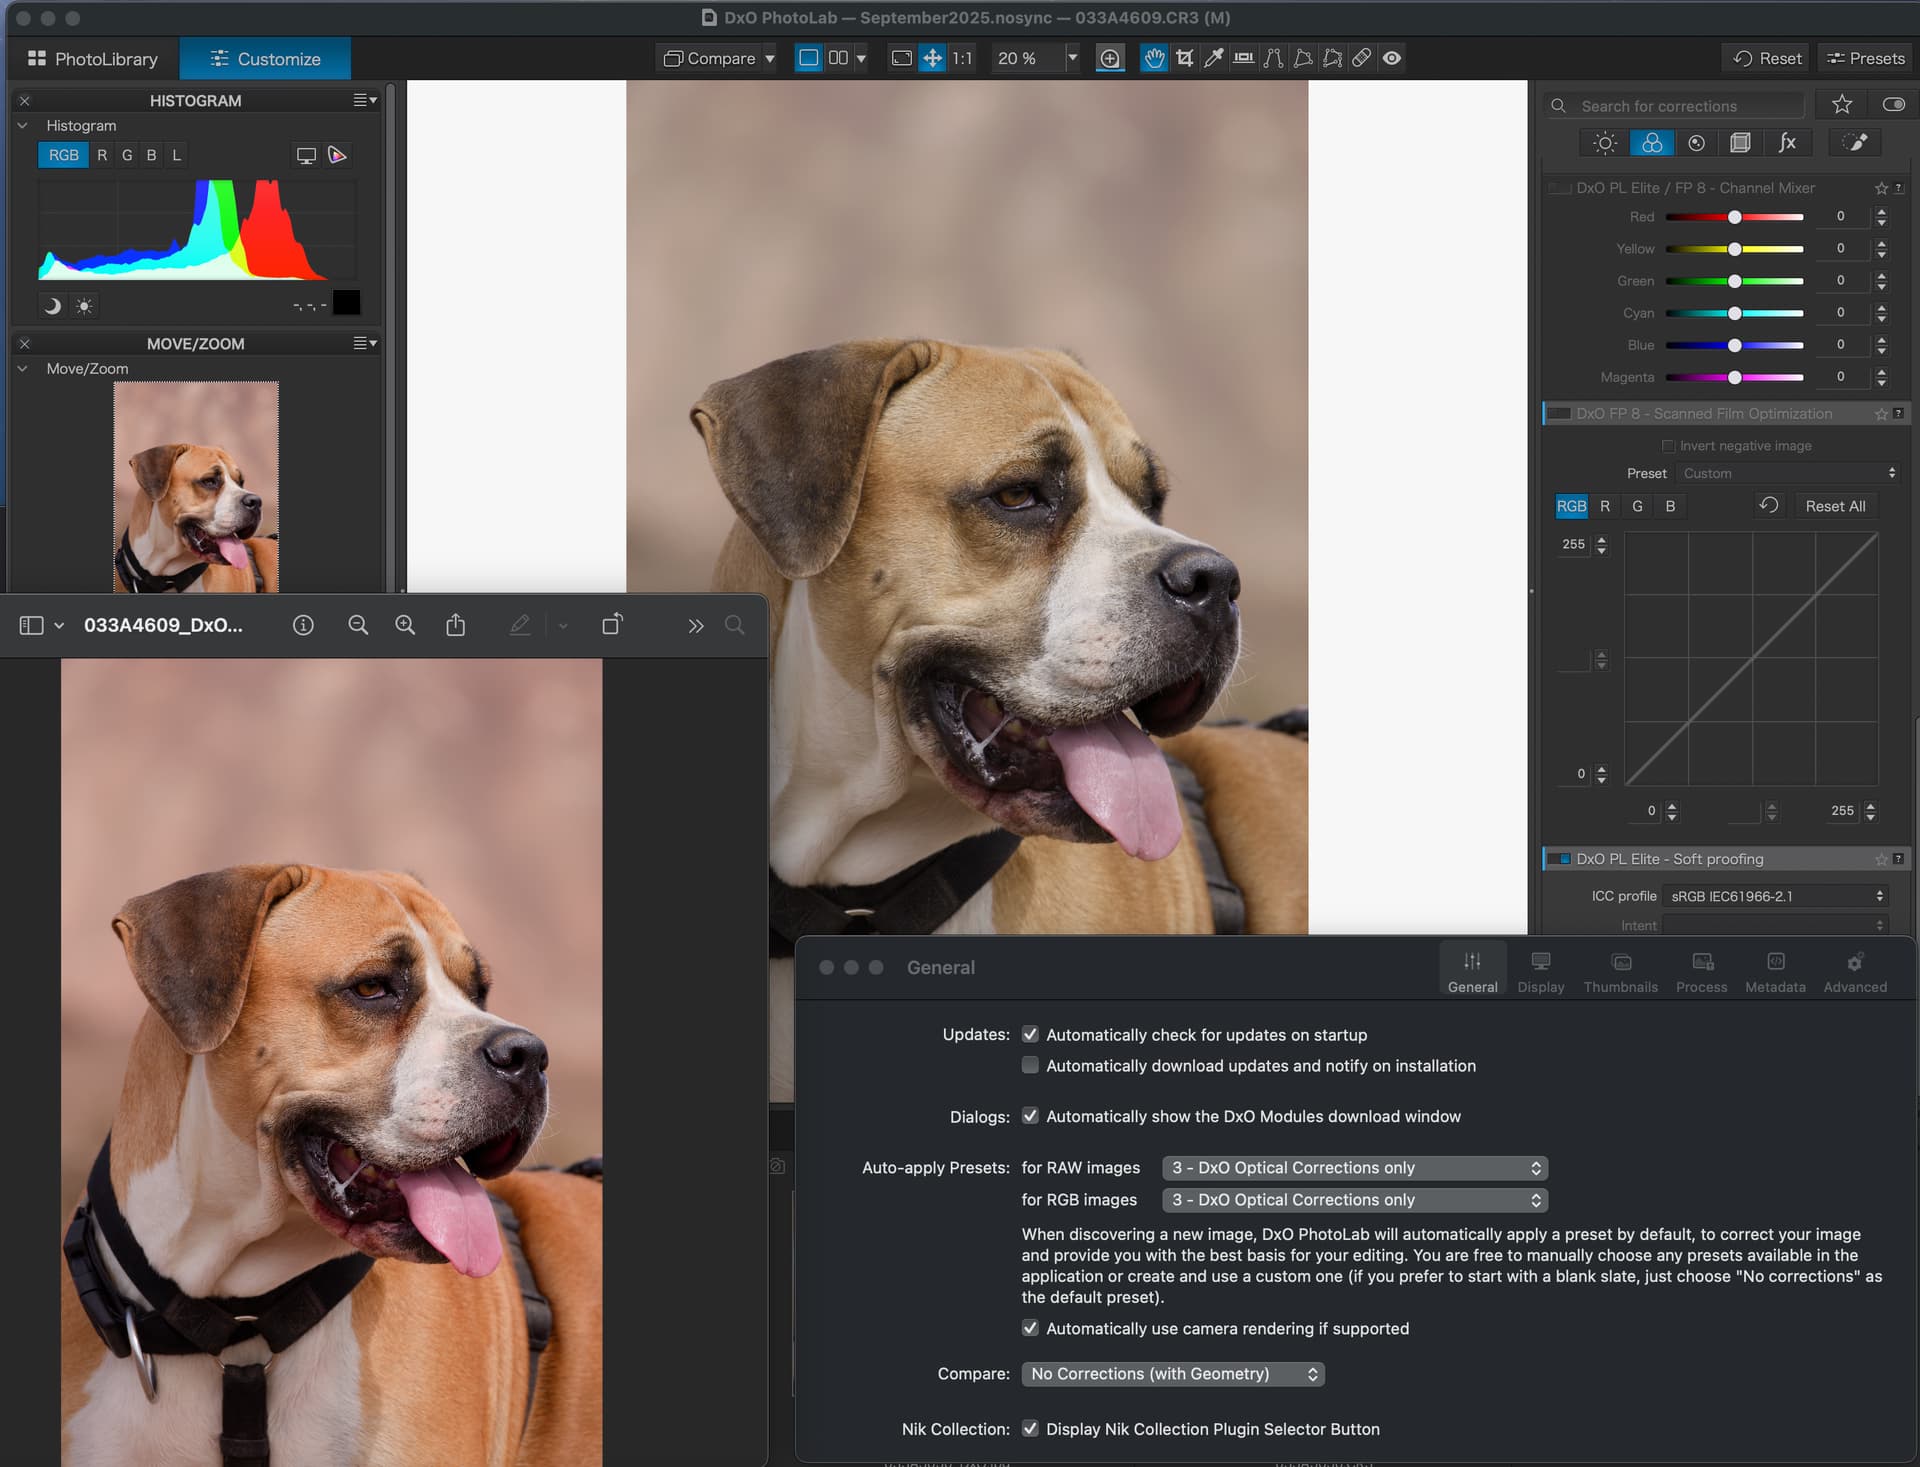
Thank you to everyone who has made suggestions. I really do appreciate it (and sorry for the delay in replying, but, as a new user, I had to wait 24 hours). I have enabled soft proofing and ensured my ICC profile is the same on export. I also chose neutral color to create as little ammends to the RAW file as possible. However, the issue persists. See image below. Even with soft proofing on, the exported jpeg matches the preview thumbnail (i.e. a large degree of saturation) and not the main workspace image. If I make corrections to the main workspace image (i.e. boost vibrance, add color correction etc) it looks closer to how I would like it, these changes (whilst subtle on the main workspace image) are more extreme on the thumbnail image. The exported jpeg replicates the thumbnail image’s color and saturation and not the main workspace images (despite soft proofing being enabled). If it helps, I’m using a Canon R5 MII and obviously shooting RAW. It’s not an issue I’ve run into on either lightroom or Photomator. I’d like to make the switch to PL9, but it’s unworkable for me unless I can find a solution …
In the preferences. Try setting DxO optical preferences only.
Thanks. I have tried that, but the problem remains that the RAW file opens with no corrections, but any adjustments seem to amplify what already exists in the thumbnail (which looks like color correction is already applied) and it is this version that is exported (and not what I see in the main workplace window). It’s perplexing!
This is a color management problem. What is the ICC profile for your monitor? What’s it set to in Soft Proofing and in the export window? Please share all of your settings. Hopefully one of us can identify where the problem is.
@Justin
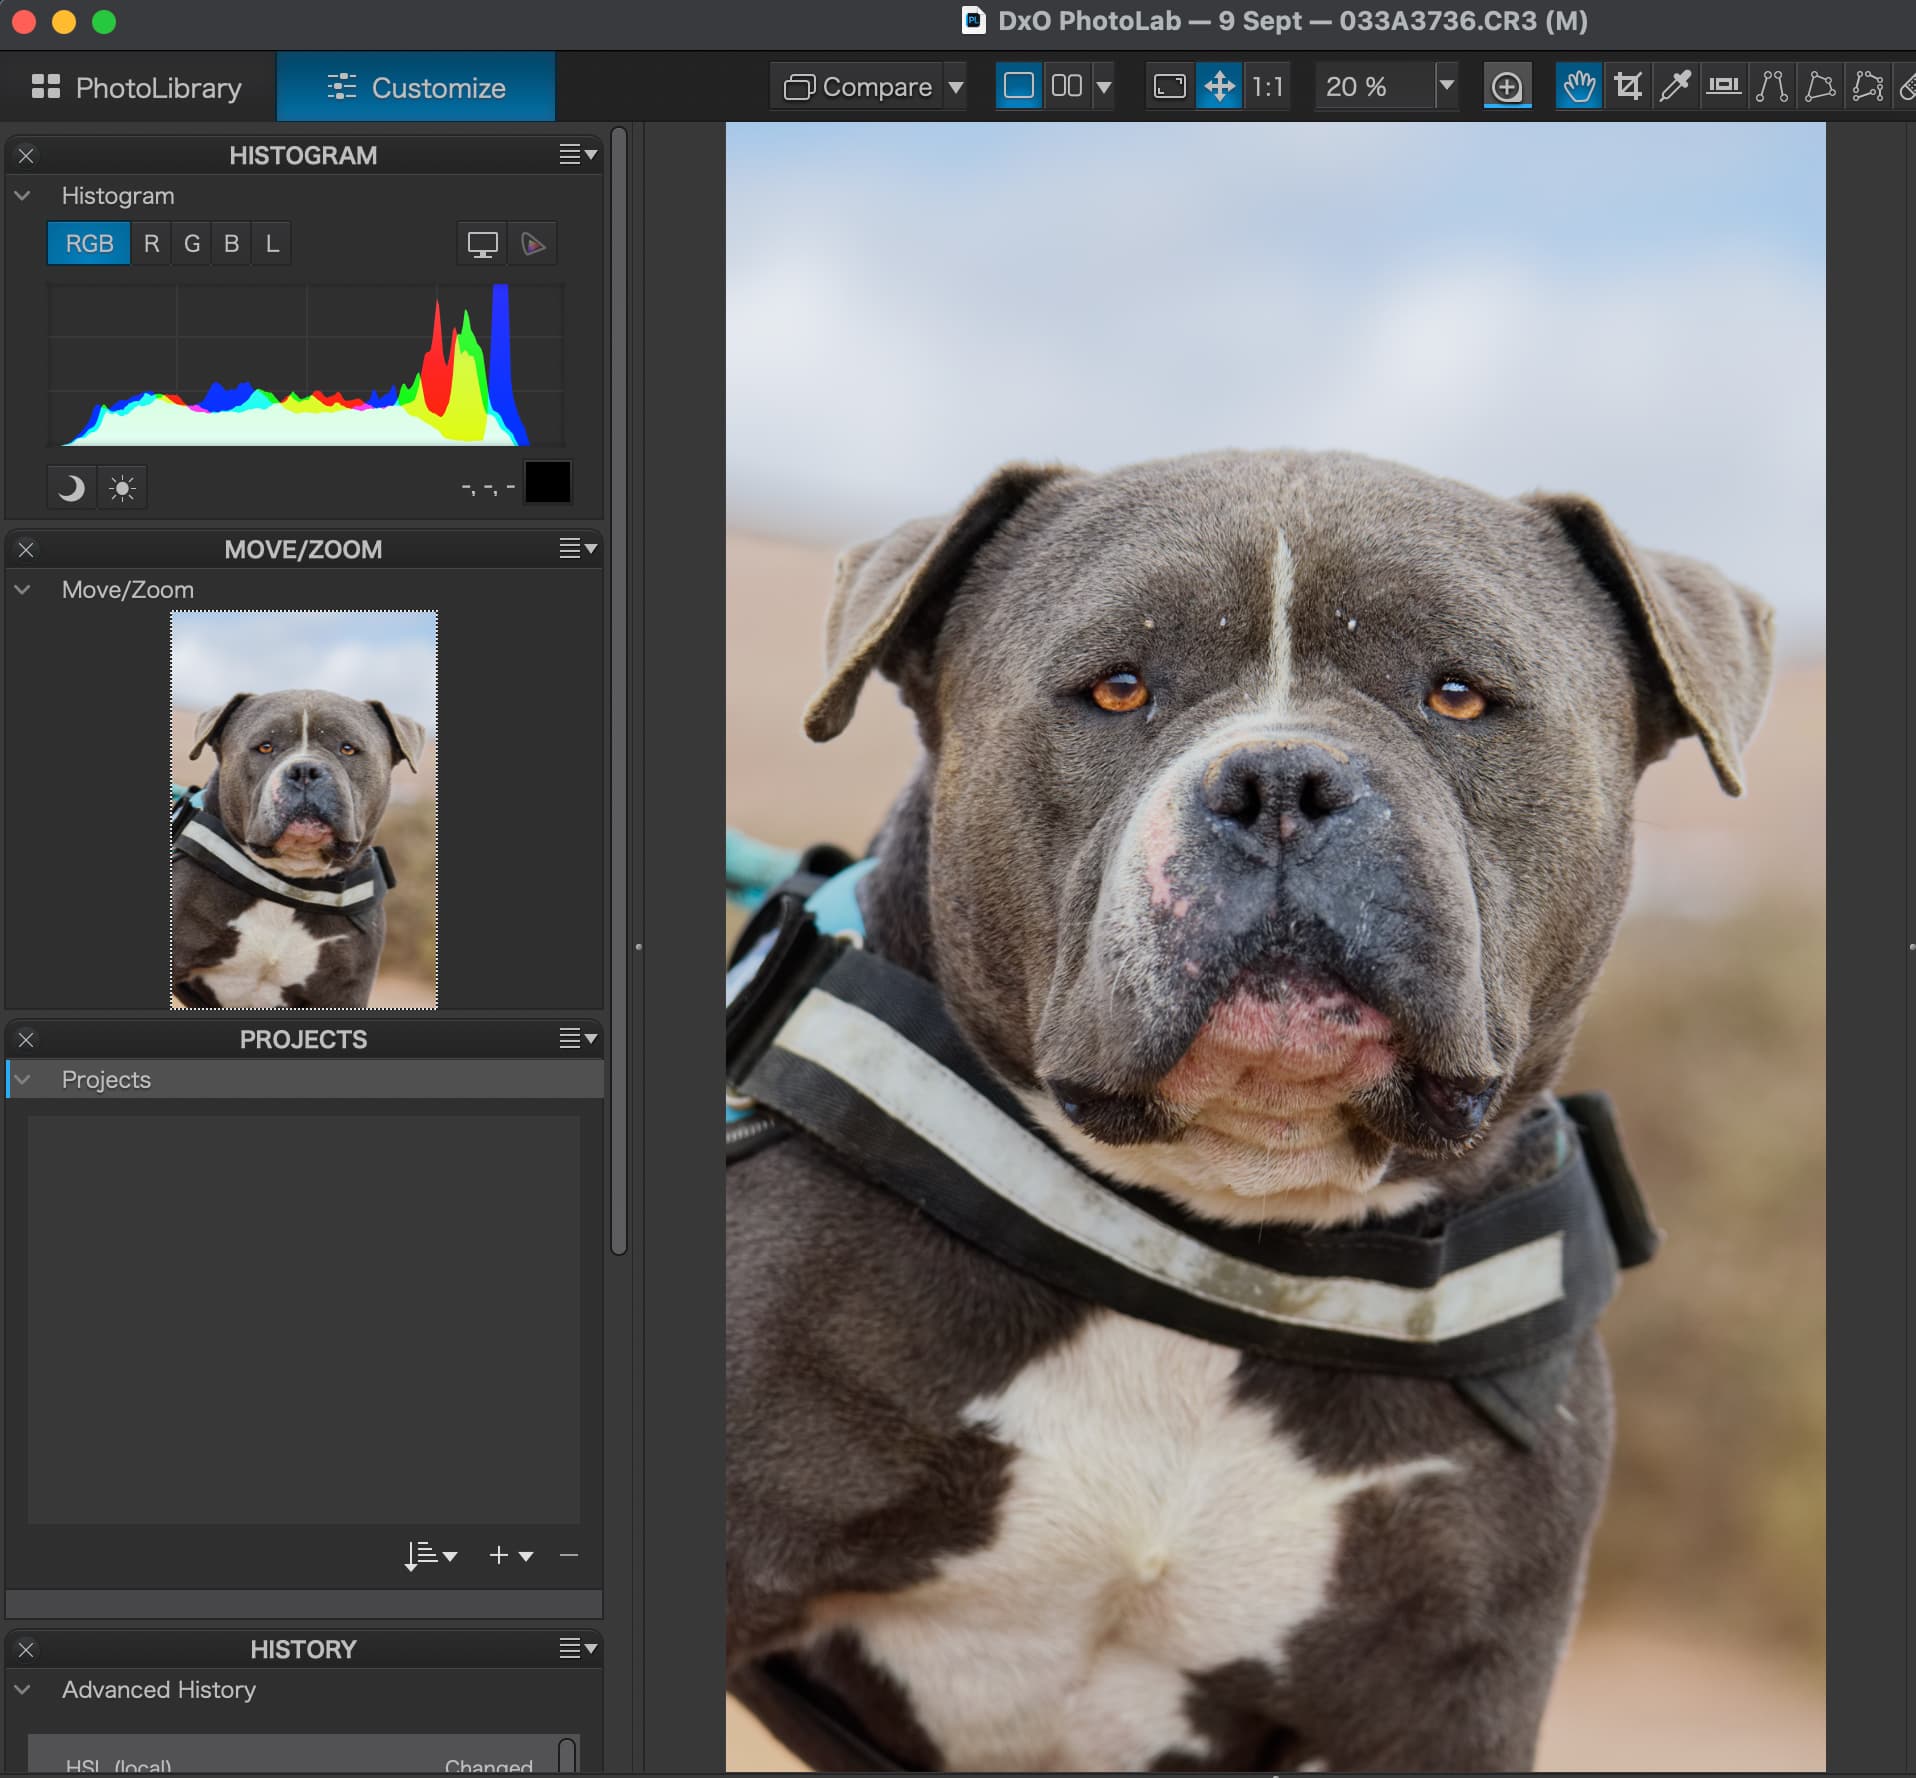
Just a thought. Take an image with your camera in B/W and process it the same way as you did now. It looks as if the thumpnail isn’t updated in a right way.
How did you get the thumbnail lose from the filmstrip?
George
NEVER seen such huge difference between main preview and thumbnail in PL7–PL9, except if Compare function was used (but it’s NOT in your case). Tried also two Canon R5 II CR3 files from dpreview samples – no such problem either.
I’m on Win11 24H2, using mostly Nikon Z8, sRGB is set in camera, monitor, and output, so I don’t have to use SoftProofing.
You may share raw sample here or escalate to DxO support. Could be Mac specific (??).
Asking google I got this link → Difference between the colours of the correction preview and thumbnail
Check it out.
4 Likes
THANK YOU! That solved it. (Again, apologies for the delay in responding but , as a new user, I’m time limited in my replies) Changing Settings > Advanced > changing Apple Neural Engine to GPU Apple M1 Pro. Looks like they never solved this issue with a fix. However, I don’t know how this will affect performance, as Photolab 9 has been a bit sluggish already updating after making changes (not something I noticed in Lightroom). Still, at least I now have a level playing field to fully explore it and see if it’s the right fit for me. ![]()
2 Likes
Great!
(Windows user, not familiar with Mac internals)
1 Like