Some masks can only be added but not subtracted, cannot be used multiple times within same “mask” or cannot be used with mask layers at all:
Graduated filter - can only be added but not subtracted (I don’t remember if it works with layers, since trial ended)
Hue mask - can only be added but not subtracted and cannot be used multiple times within same “mask” (I don’t remember if it works with layers, since trial ended)
Luminosity mask - can only be added but not subtracted and cannot be used multiple times within same “mask” and doesn’t work with layers
It would be great to have more options like:
Intersect - apply mask only to overlapping area
Outersect - apply mask only to regions which do not overlap
mwsilvers
(Mark - New Jersey, USA, Win10, RTX 4060, PL9, FP8, VP5, Nikon Zf )
2
When you say subtracted, do you mean the ability to protect an area from the effects of a mask like a control line or a control point, or do you mean the ability to erase part of a mask itself?
The graduated filter, the Hue mask, and the Luminosity mask can all be applied in a way that allows you to erase parts of them in areas that you do not want affected. The new masking features.in PL 9.4 allow you to create compound masks where, among other things, you can add the brush mask to any one of those masks and then use the brush eraser tool to erase whichever areas of those masks you would like eliminate.
Well I’m not sure what’s the difference between protecting and erasing part of the mask, so I would say both.
Let say the is a picture of seascape with sun setting on the very left at horizon. For the sake of simplicity photo is 50/50 landscape and sky.
I would like to bring details in the sky with most retrieval at the top and least retrieval at the bottom (middle of the photo). Also I would like to least retrieval on the left (sun) and most retrieval on the right.
For this I would create a sky mask using AI or Gradient top (100%) down (0%) or Luminosity + negative/removal gradient at desired angle left (100% removal) to right (0%) removal
Control point would most likely require a lot of add and remove tries and still effect would be “patchy’“
Yes, the new masking system is a good start but you cannot do what I just mentioned.
Luminosity mask cannot be used with layers (and Hue as well if remember) - luminosity is definitely like a separate tool.
And also Graduated filter does not have negative option, same as Luminosity and Hue.
You can edit your mask as @mwsilvers described.
And you can also add (as well subtract … to exclude from the selection !) multiple Graduated filters, Hue and Luminosity masks to the same mask / layer.
That is, with Graduated filters you might select different areas in the image, with Hue masks different colors and with Luminosity masks different luminosity areas (if that make sense).
All of them act as so-called submasks, just like the other available local adjustment tools. They “follow” the mask / layer (1, 2 3 …) and you can apply the same set of adjustments !
If to apply different adjustments, start with a new mask / layer.
For ease of use you can “recycle” (duplicate) submasks and move them to the new mask / layer. Or you duplicate the complete main mask and then delete / adjust things to your liking. …
.
The Local adjustments in PL 9 work a bit different to how it was in PL 8.
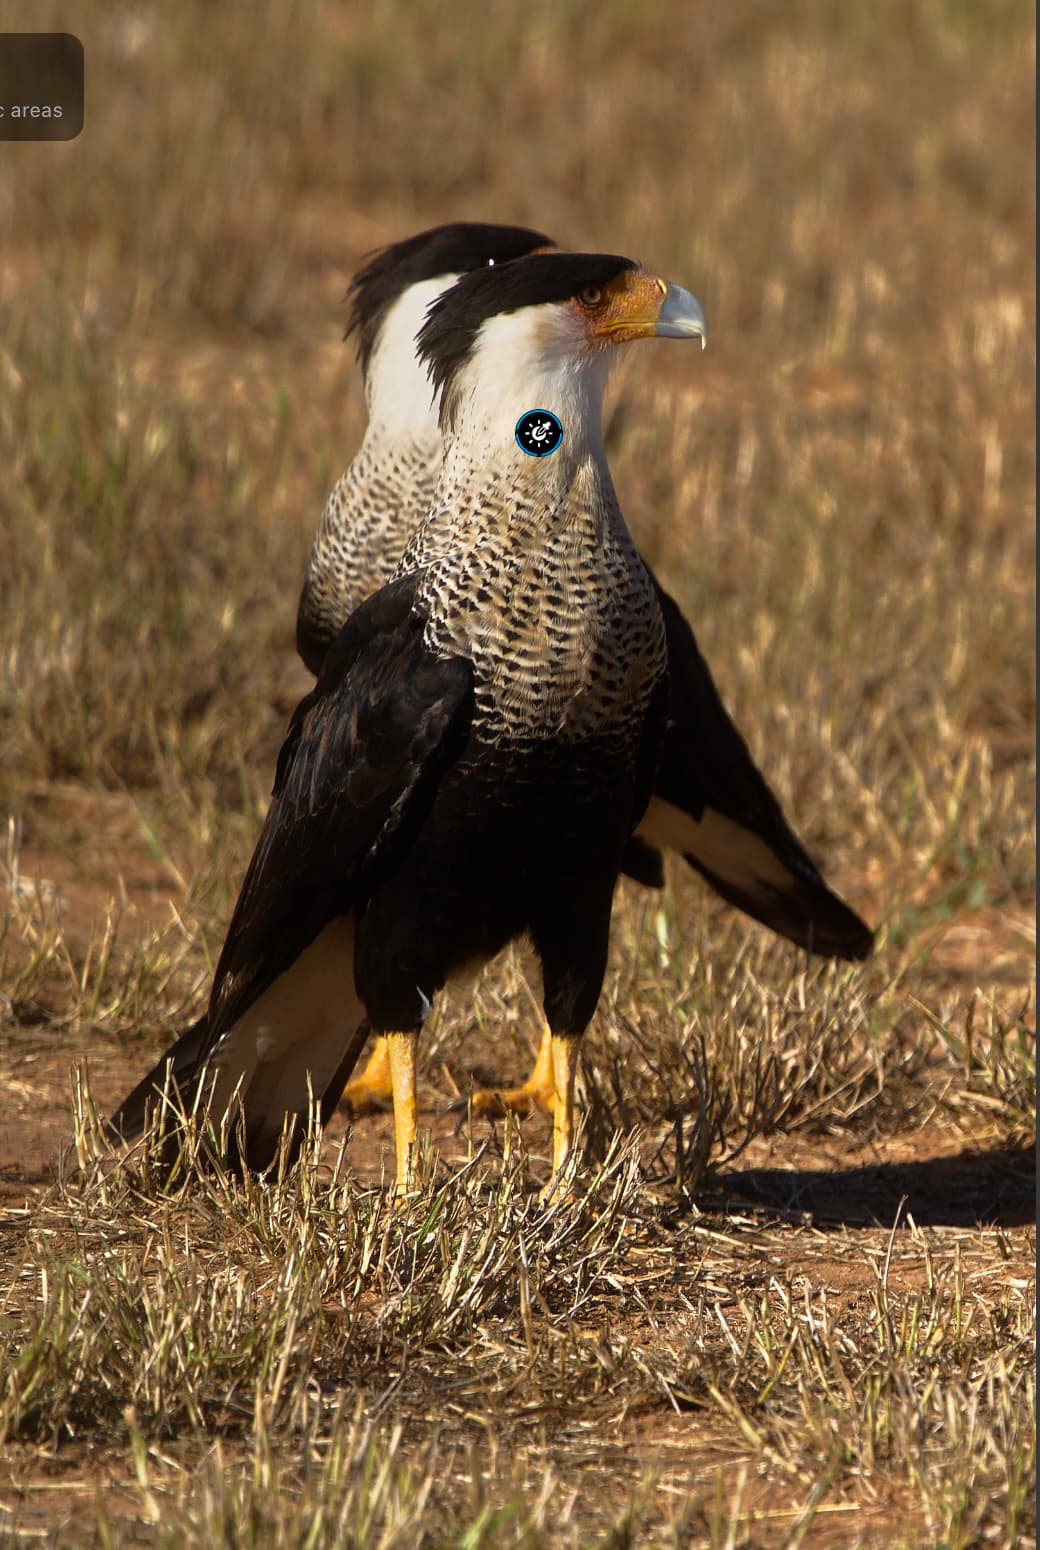
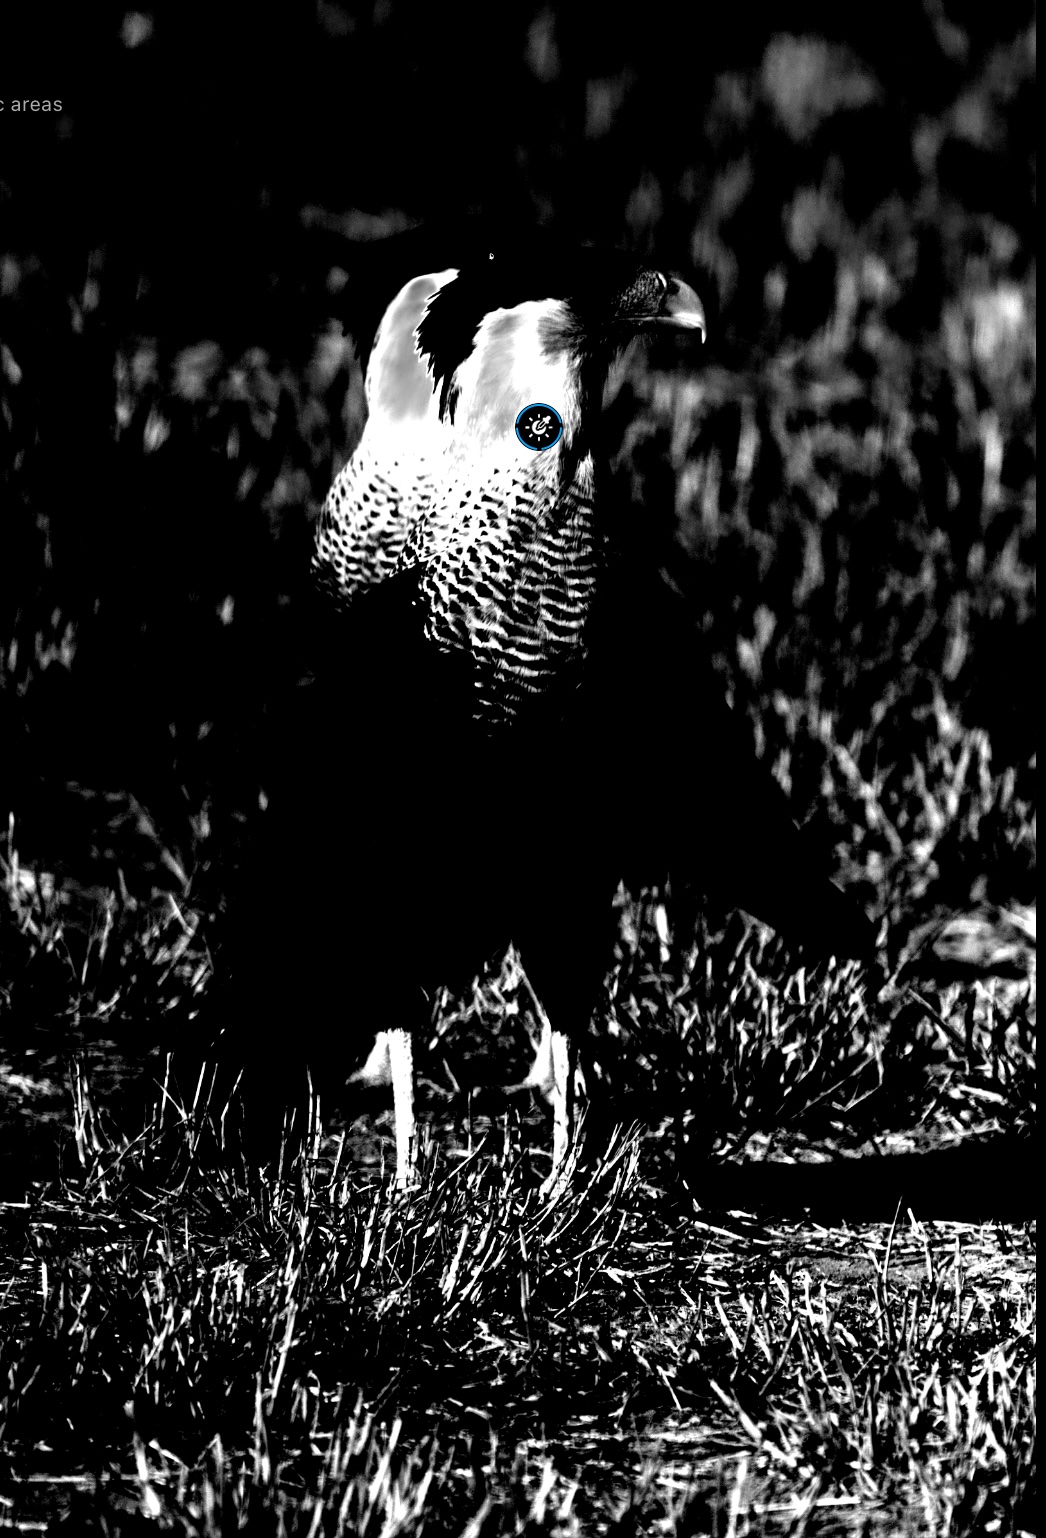
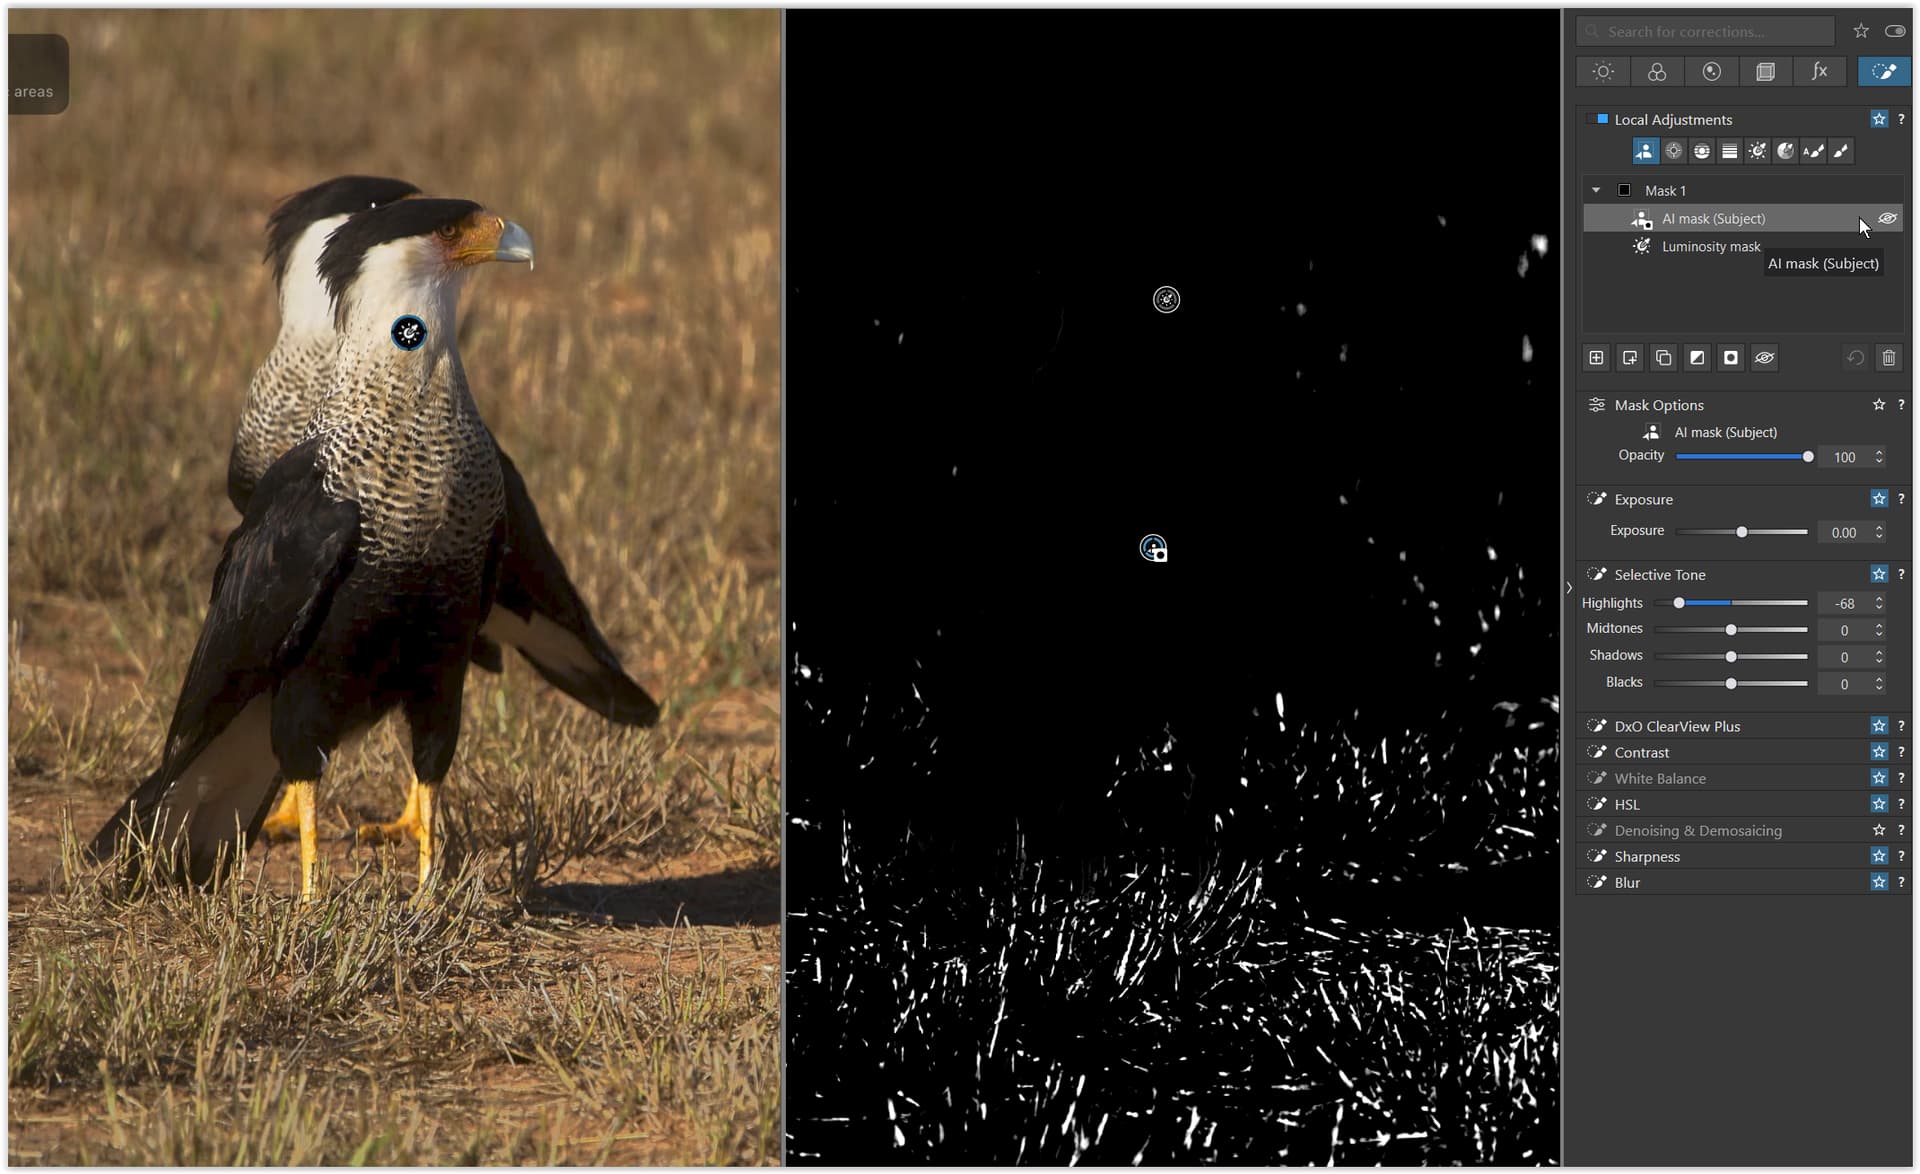
Here’s a quick rough example image where I would like to apply graduated contrast and sharpening to just the bright parts of the birds based on luminosity. This includes the chest, bill, and legs.
The luminosity mask does a great job of selecting the parts of the bird I’d like to affect, but it also includes the background elements of the same luma range.
Now, as in the past, I used the eraser (negative brush) which is still available. Ideally one could simply choose an AI mask (subject in this case) to clip the luminosity mask to just subject (birds), excluding all background (grass).
Is this possible using the new submask features? I don’t see how.
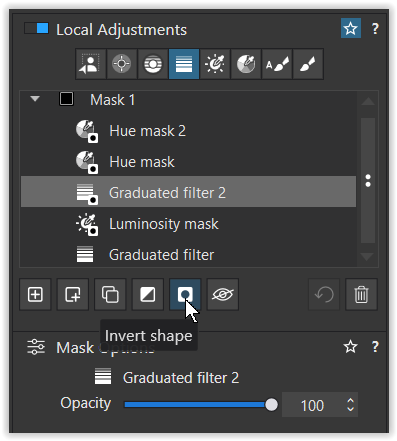
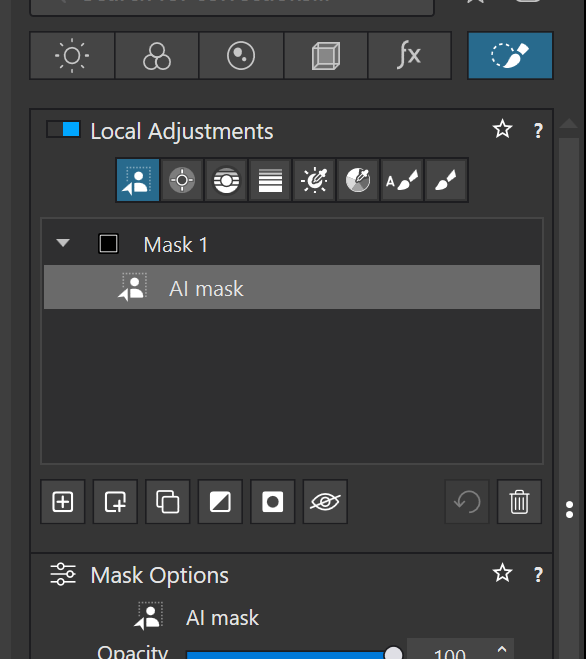
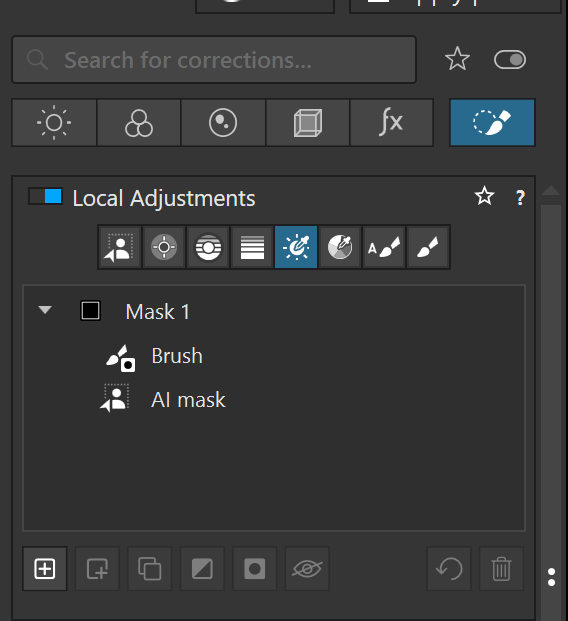
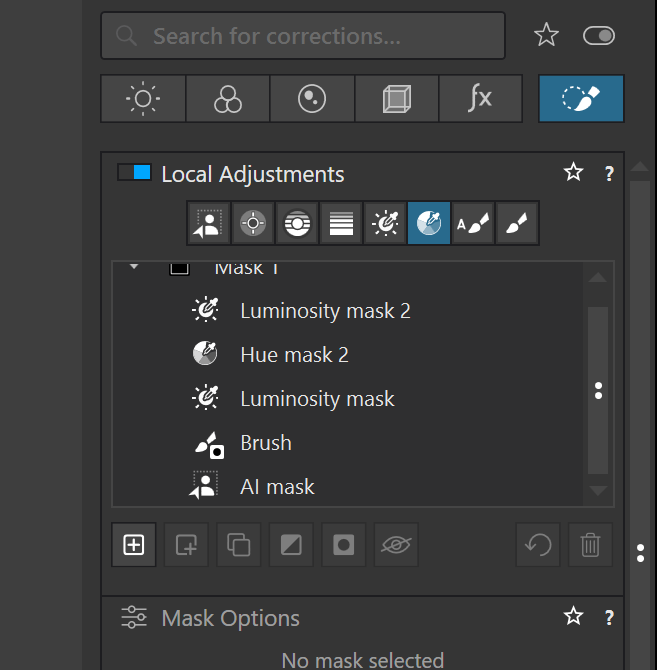
This following shows an example of a complex mask containing an AI mask, a Brush mask, two luminosity masks and a Hue mask. This is by default called Mask 1, but it can be renamed. You can have multiple compound masks with unique settings for each sub-mask. You may notice that the Hue mask is Hue Mask 2. That is because I also had added a Hue Mask 1 but deleted it to eliminate the need to scroll to see the entire mask.
You can have multiple compound masks and accomplish things that are only limited by your imagination. By adding the brush tool you can erase parts of ANY mask and shape them anyway you would like. Besides AI masks, you can erase parts of Control lines and Control points as well as Graduated filters , Hue masks, Luminosity masks. and Auto Brush masks.
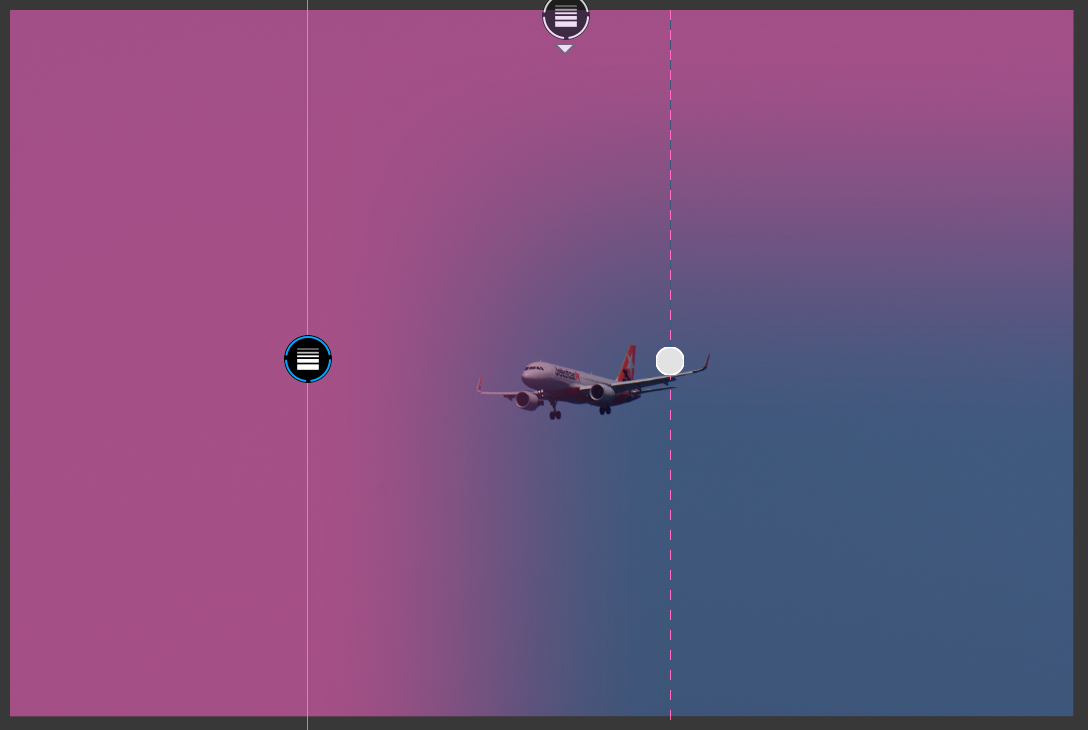
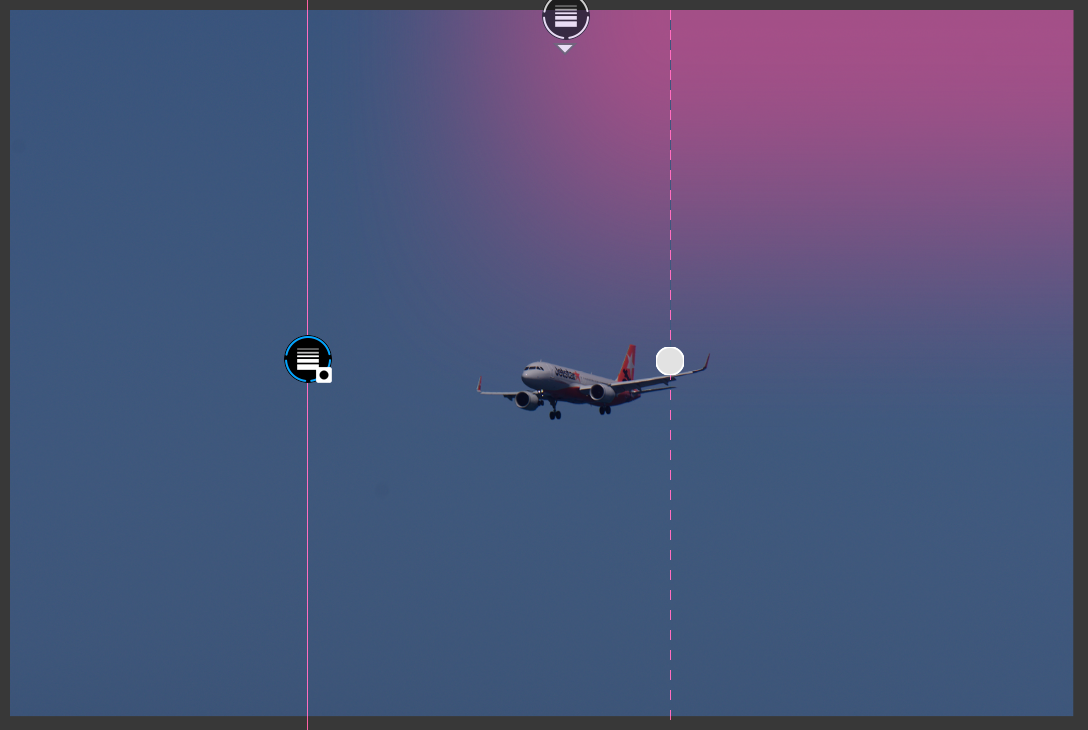
From the left to past half way. (Shown selected in the screenshots.)
The order they were created is important, but without changing anything other than inversion (shape and mask) on each I can get all three of these. (And also one case where the mask affects nothing!)
Looking for the opposite. The intent was to show the luminosity mask on the bird while excluding the background.
Could not do it with a "subject mask, but using “invert shape” on a background mask does the trick. Seems I don’t fully understand how to use “invert shape” to create a clipping layer and missed this option.
Thank you everyone posting replies here, really appreciate it.
I either did not try it out correctly or sth has changed, since in my head it didn’t work the same way as I saw your screens (but I’m glad I was wrong).
Nevertheless 2 things would remain?:
all masks to have this switch option to add/remove with an alt/option key for ease of use, so you see the effect immediately and not to click invert shape all the time.
intersect option e.g. I want AI selection of a Bird and only specific color range inside to manipulate.
All masks and submasks have visibility (enable/disable) icon on the right side in the palette. It’s also present below the masks list.
Create AI mask for the bird.
Click on ‘Add sub mask’ and create Hue mask of your liking.
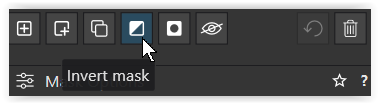
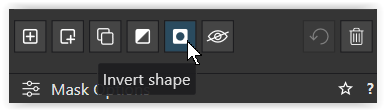
With Hue submask selected, click on ‘Invert shape’ and ‘Invert mask’.
If A and B are subsets of X, then the intersection of A and B is equal to A\(X\B).
The first ‘\’ corresponds to ‘Invert shape’, the second to ‘Invert mask’.
EDIT: To put it short: ‘Intersect’ = ‘Invert shape’ + ‘Invert mask’
So I guess the only thing is to make those features more user-friendly = add/subtract/intersect modes/shortcuts (as some masks already have some of it)
I would agree with that.
Many people may have problems getting used to the tools. ‘Invert shape’ just changes the way the submask is combined with the “current mask” (= combination of previously defined submasks). By default, adding submask creates a union with the “current mask”. If ‘Invert shape’ is used, elements of the new submask present in the “current mask” are removed from the mask.
1 Like
mwsilvers
(Mark - New Jersey, USA, Win10, RTX 4060, PL9, FP8, VP5, Nikon Zf )
14
There is a sizable learning curve to get the best from the latest functionality in PhotoLab 9’s local adjustment features. While software functionality should always be made as user friendly as possible, PhotoLab’ sparser interface is not structured to do the same sort of hand holding available in some of its more bloated competitors like ON 1.
For those of us who have been using PhotoLab regularly for many years the incremental increase in new Local Adjustment functionality in each version is much easier for us to master than it will be for new or more casual users.
The power is there, It will just unfortunately take a lot of effort to learn how get the best from it.
Since DxO’s approach to applying local adjustments is so different from the layers used by so many of irs competiitors, It probably makes it even harder for users accustomed to other software to understand how to use it properly in PhotoLab. I, for one, am very comfortable using DXO 9.4’s masking from my many years of using this product almost exclusively, but I am completely lost when working with layers in other software like Affinity Photo or ON1 Photo Raw.
Sorry – obviously my mind was on vacation and I missed the part “to apply graduated contrast and sharpening to just the bright parts of the birds based on luminosity …”
Yes, you can …
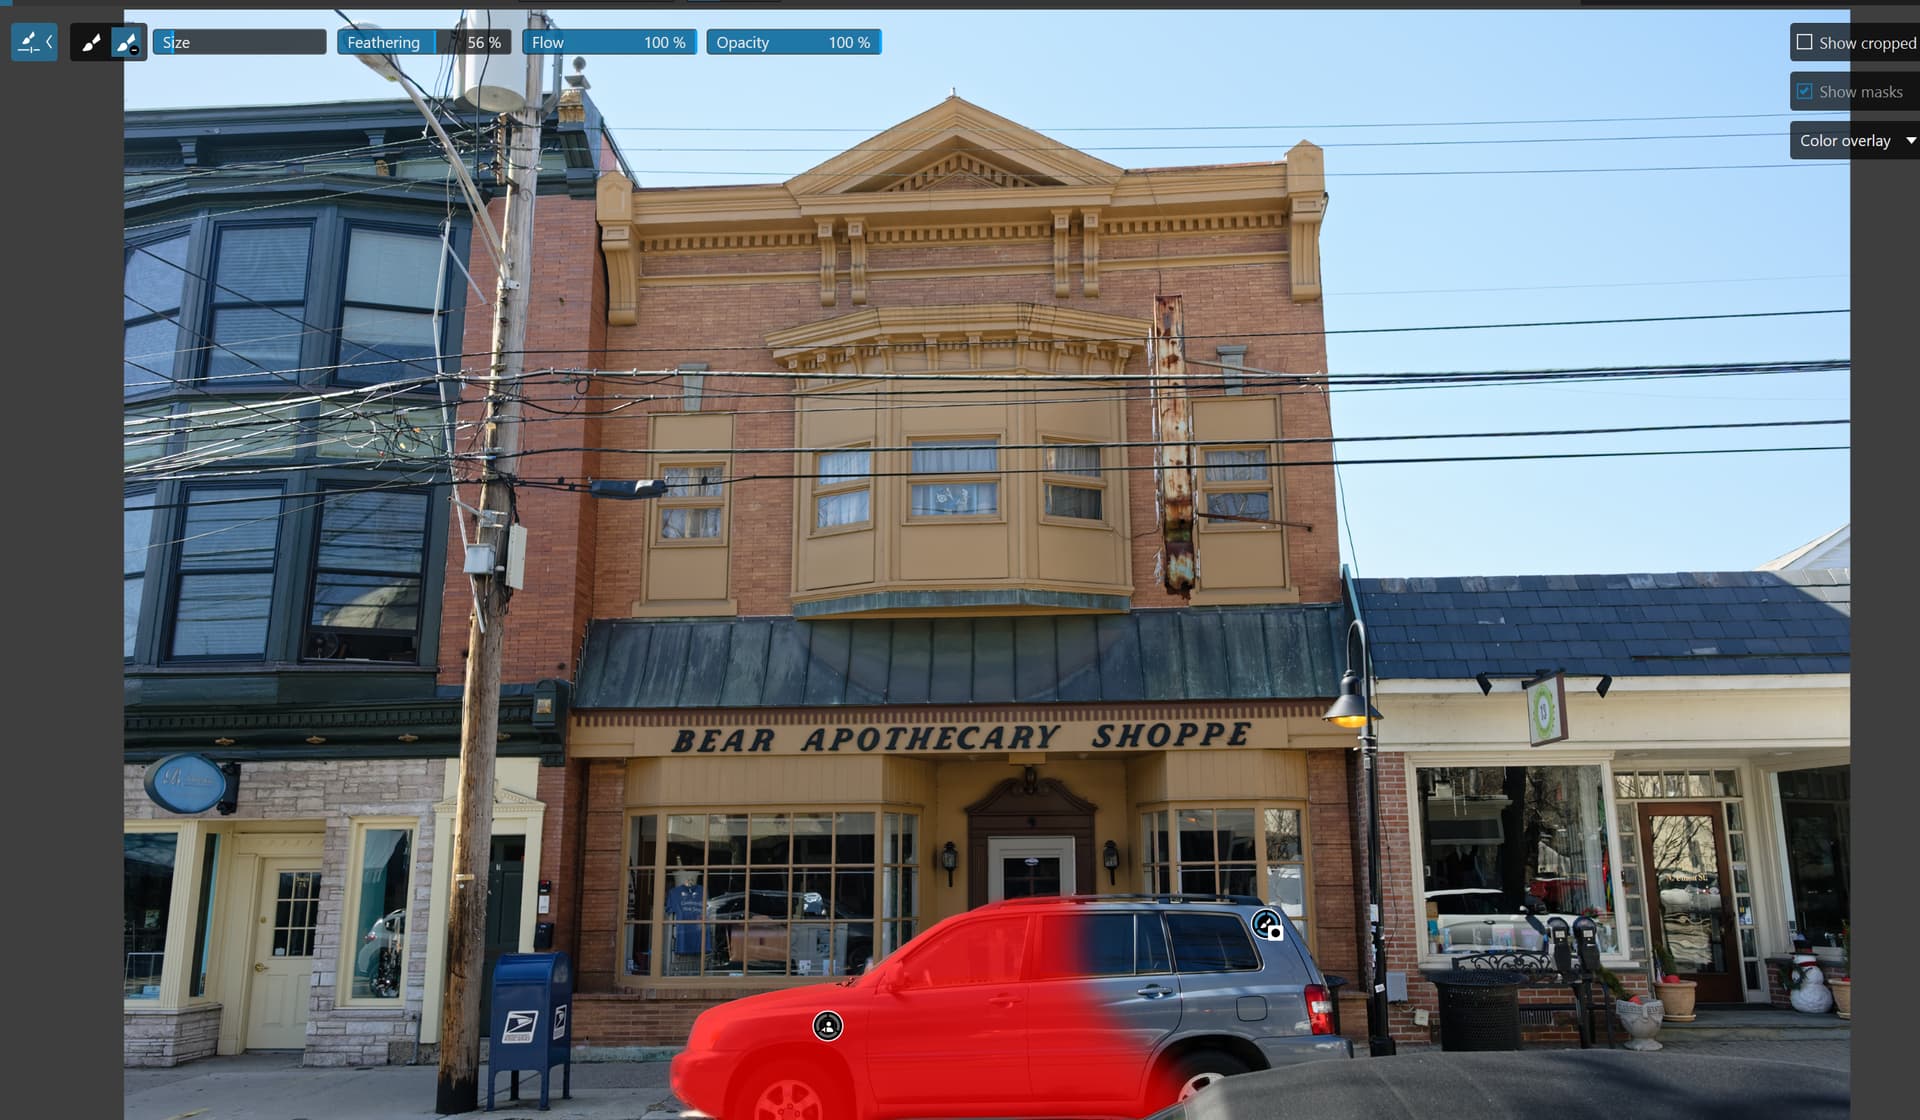
Version / Mask 1
AI mask (Background) → excluded w/ “Invert shape”
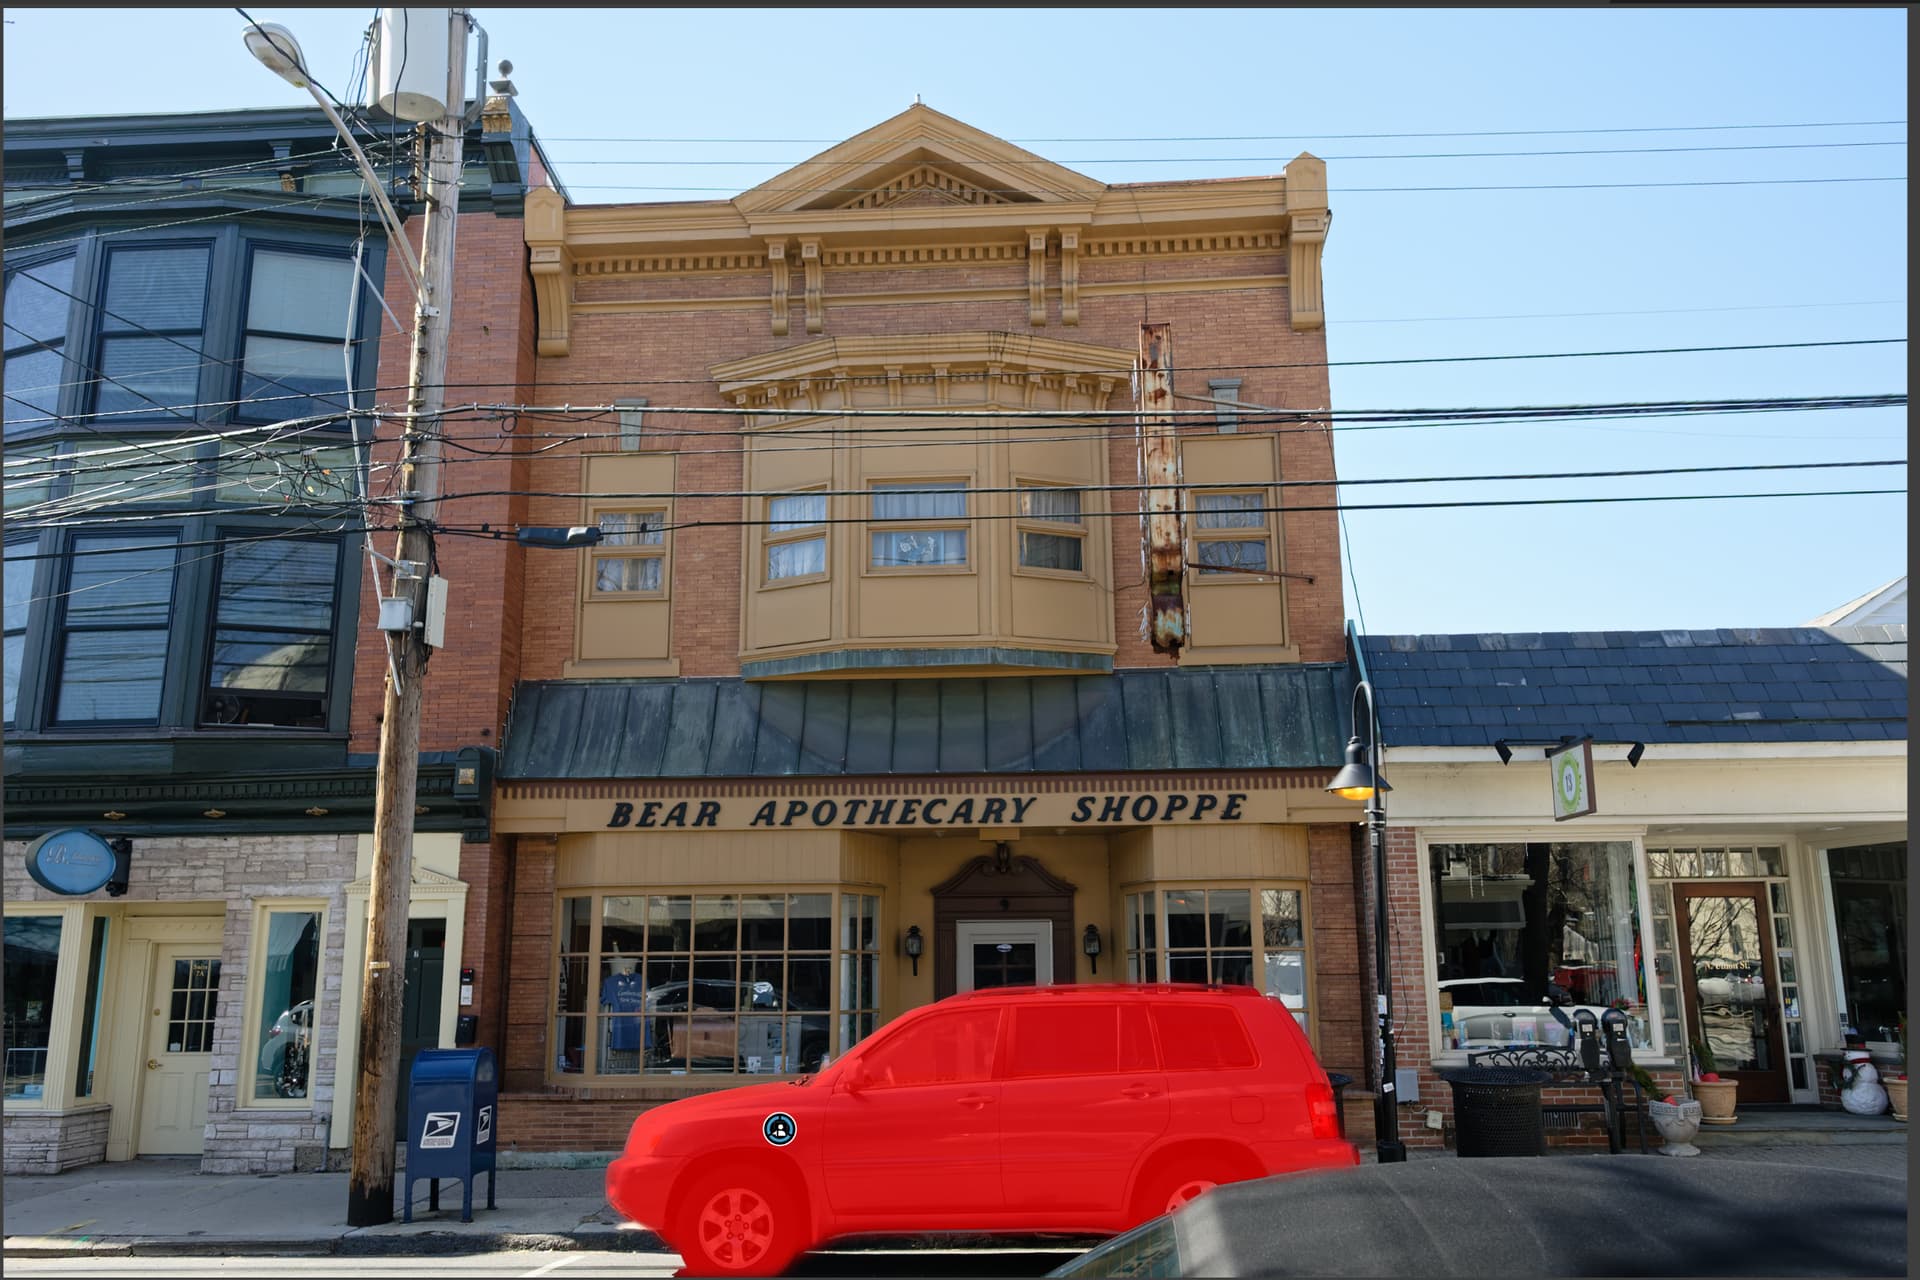
For illustration, I duplicated the new VC3 (with masks and adjustments) into VC4.
On the left you see the result (VC3), on the right (VC4) the combined masks.
→ In both versions the background is excluded, but the luminance adjustment for the birds is slightly extended into the dark feathers.
Lightroom Classic has a few more menu options but for no additional capability. It just makes it more intuitive to select, for instance, “Intersect with…” and then choose the next mask type.
Thank you @wolfgang. From your first example I was able to sort it out. No excuse, but honestly didn’t appreciate how to use the combination of invert mask + invert shape to make the desired clipping mask.
The same mask results are obtained when applying the invert mask+invert shape to the first submask, regardless of mask type. That is AI Mask then Luminosity, or Luminosity then AI Mask are equivalent.
Somehow I’m missing the truth table logic of how mask layers are combined when using the invert shape on the luminosity mask.
Well I just tried myself the “The intersection method”:
To solve this:
Create a mask for the sky using the AI Mask.
Apply your desired corrections.
In the mask list, right-click on the sky mask and choose Duplicate mask.
Right-click on the duplicated mask (named “New” by default) and select Invert mask.
Right-click on the same duplicated mask again and choose Invert shape — this hides the corrections from step 2 within this newly inverted mask.
Add a Graduated Filter sub-mask (technically, you can use any tool, but for landscapes the Graduated Filter is ideal because of its smooth transition).
Draw the Graduated Filter from the bottom of the image upward — the hidden corrections will gradually reappear.
Adjust the filter’s position and range until the result looks as natural as possible.
This works only because the sky is also selected, so the graduated filter overlaps with sky but if you remove sky mask, the effect will apply not only to the landscape but also to the sky. So this is not intersecting at all.
All of the methods you guys provided work but the opposite way of intersecting - it is by removing what is unwanted after you apply the effect and not before.
It’s like splashing entire wall with a paint and then cleaning what you don’t need rather than painting only where you need it.
The example with bird is to interact with highlights of the bird but the way to achieve it in DxO is to interact with all the highlights in the image except everything but not bird or except background.
Yes, the end result looks the same but the way to achieve it is in definition of “intersect” wrong.
It’s like limiting you to think and act only in one way, which in many cases is a workaround rather than actual work. Moreover you can see the result only afterwards but not beforehand, which makes you constantly think what is going to happen rather what is happening.
It’s like asking for a roll with poppy seed by telling can I have everything with with poppy seed except things that are not a roll…
So the Invert Shape is just to protect/remove, which is under that name in Control Point or Control line… Why to name differently the same thing? Moreover why Graduated filter doesn’t have “protect/remove” button?
Your goal → apply a Luminosity mask
which tackles the whole pic (“globally”)
then selects certain parts
and applies sth (e.g. Microcontrast and Sharpening)
but only to the birds
which means … “exclude/hide the background”
.
Version / Mask 1
I chose the background directly → AI mask (Background)
to then exclude it from the “global” adjustments → “Invert shape”
.
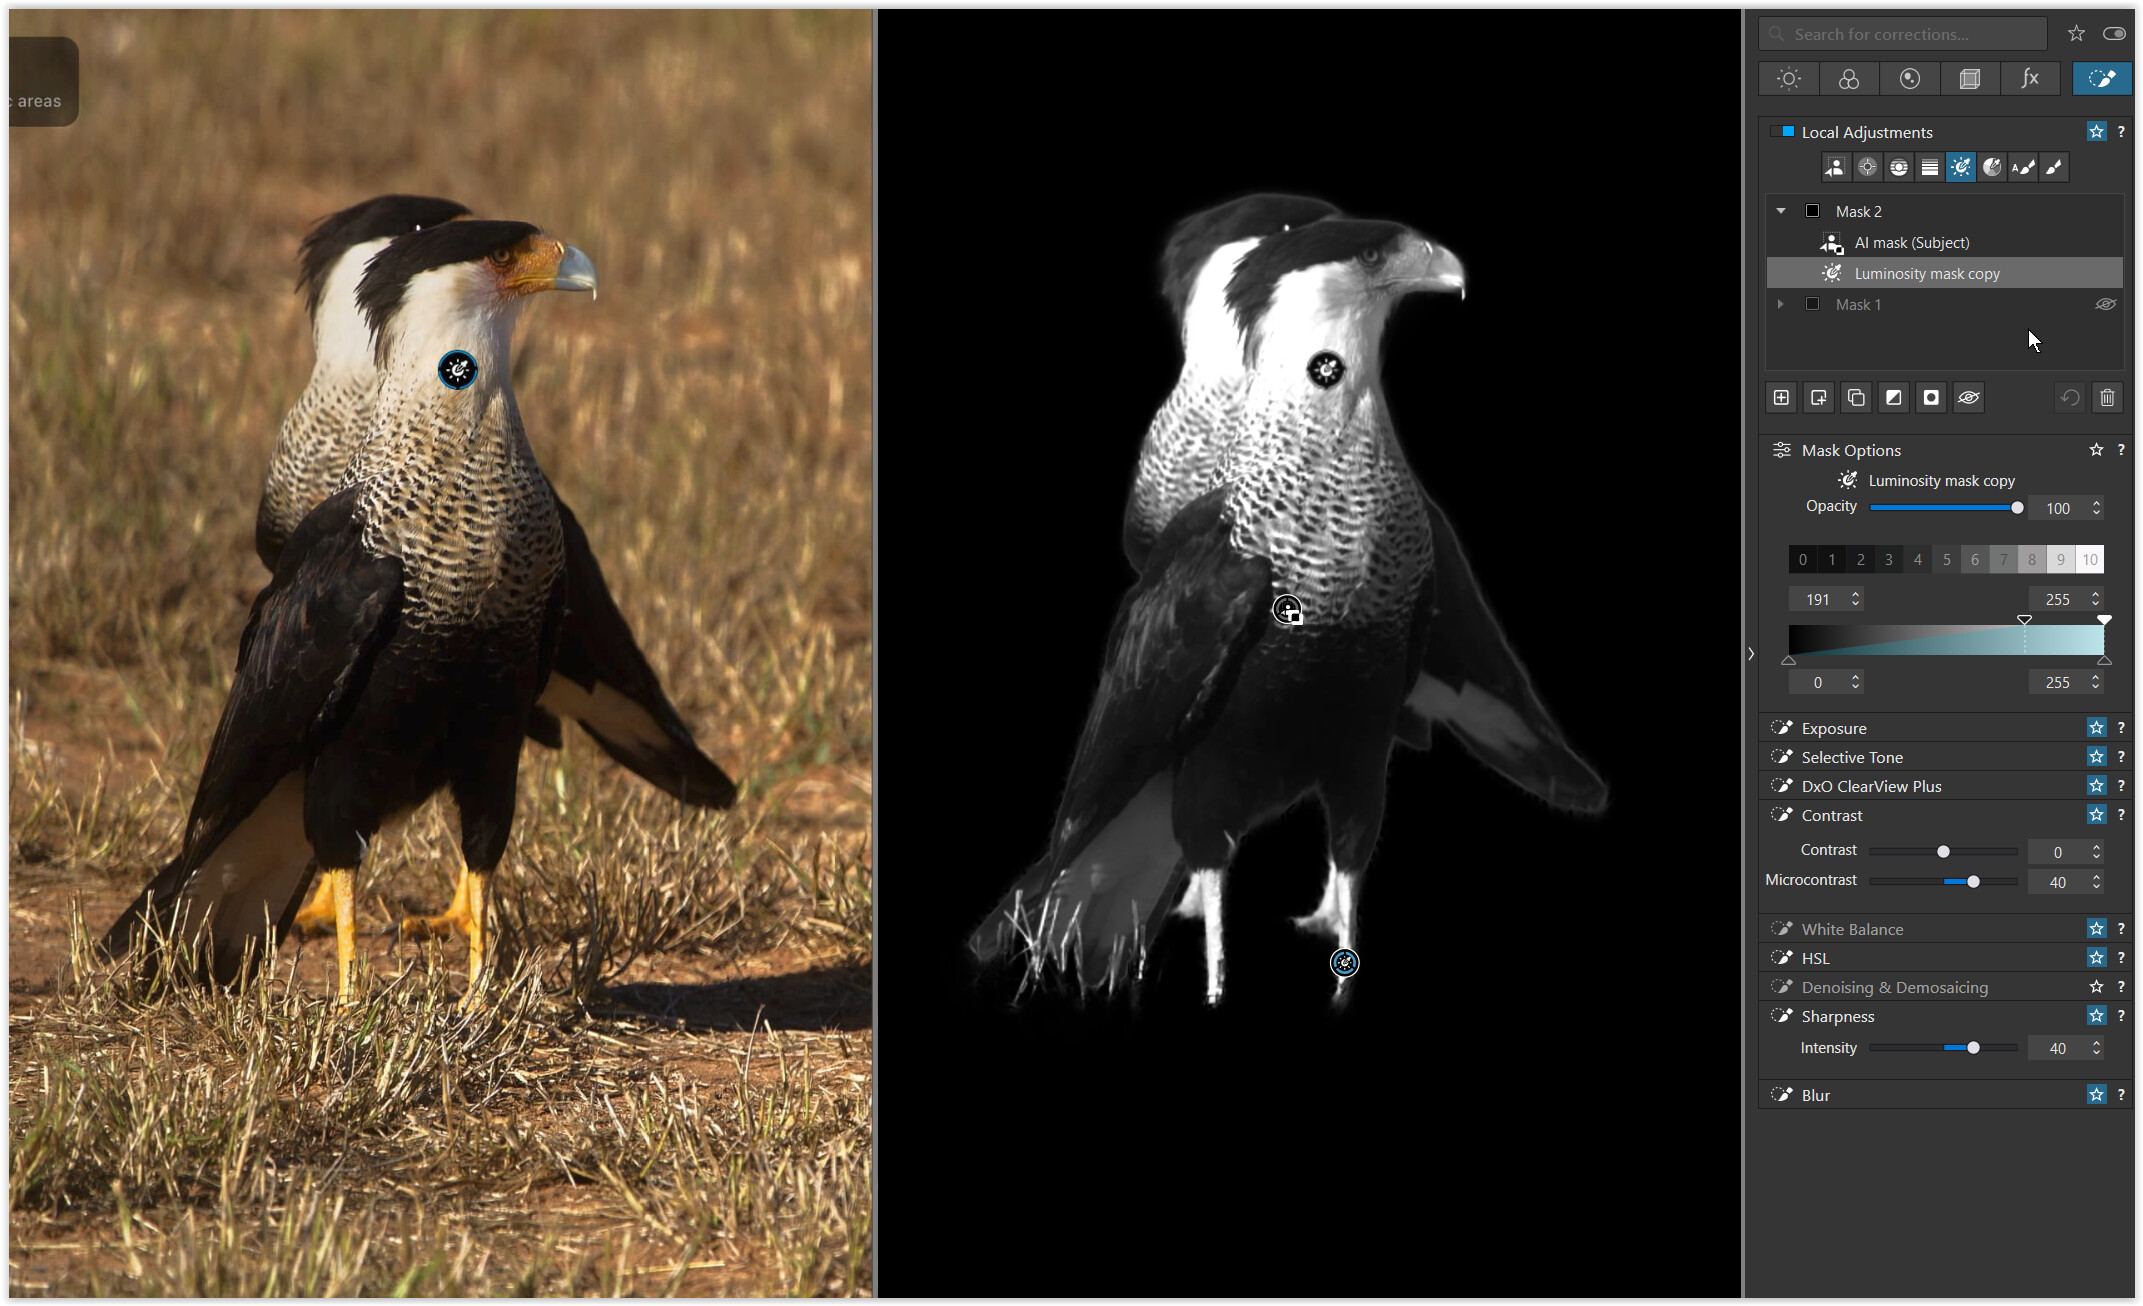
Version / Mask 2
Here I chose the subject → AI mask (Subject)
which I had to invert first to get the background → “Invert mask”
to then after exclude it from the “global” adjustments → “Invert shape”
.
The result is the same, and your example is characterized by clearly defined areas, a distinct theme, and a quite clear background.
What at first glance looks like nonsense (version 2) merely shows how a different approach can be chosen depending on the situation, e.g. when selecting between several objects.
…
The same mask results are obtained when applying the invert mask+invert shape to the first submask, regardless of mask type. That is AI Mask then Luminosity, or Luminosity then AI Mask are equivalent.
Somehow I’m missing the truth table logic of how mask layers are combined when using the invert shape on the luminosity mask.
The current DxO solution …
Everything that belongs to the same Mask 1, 2, 3 … can only obtain the same set of adjustments.
. If any part of a (sub)mask / selection should not get these adjustments,
exclude it with → “Invert shape” // or use a “negative” control point/line instead.
. In contrast, the “Invert mask” function inverts a (sub)mask / selection,
and the adjustments are applied to the inverted part.
By default, an additonal (sub)mask is positioned on top of the first one. You can move them around to your liking, but as long they belong to the same Mask it doesn’t change the output. – The latter can be very different in other software!
If to apply different adjustments, start with a new Mask / Layer.
. For ease of use you can duplicate a (sub)mask and move it into a new Mask,
reuse the same (sub)mask / selection but with different adjustments, etc.
. Or you duplicate the complete Mask, which you can rename,
and then delete / adjust things to your liking. …