Google is your friend
The term “IR filter” is used in two opposite ways: though most filters are named after the colour of light they let through, IR filter is used both for a filter that passes or blocks IR.
Apart from blocking all visible light (necessary if all you want to record is the IR light), the replacement glass is needed to lengthen the optical path length again, which is shortened when you remove the IR blocking filter (by about a third of the filter’s thickness). If you don’t, sharpness on the sensor depends on depth of focus being great enough to cover up the error in focus.
Focus, however, is also affected by the long infra red wavelengths now also contributing to the image formed on the sensor. Longer wavelengths also need a longer path way to form an image, so depending also on what the lens does, the replacement path lengthener (which you did not out in) may make things worse and the right thing to do is not insert such a thing.
Your camera is now indeed recording both visible and IR light. Nothing wrong with that, though when you only want to record the IR, you need that opaque Hoya on your lens. Then it would have been better if the opaque filter was in front of the sensor and not in the part of the optical path you need to see and frame the subject.
I did the same with a Nikon D70s: remove the IR blocking filter with nothing going in to replace it (no soldering, just a few screws and the filter came out), and have not noticed any focus issues. I found a ND filter worked well enough to balance visible light and IR. No need for an opaque IR-only pass filter, so i could still see something through the viewfinder. I think you should be fine with the Hoya filter on the lens, if and when you want the IR-only effect.
…no idea how this has anything to do with my question, but the easy answer is just to view them in PhotoMechanic, which still shows them in B&W. I thought there might be a setting to do that in PhotoLab, but perhaps I’ll just use PhotoMechanic to narrow down my selections.
PhotoMechanic “sees” the images the way they looked on my camera’s screen.
Neither do I. Why do you quote something concerning IR-photograpy???
George
I didn’t. I was only trying to find the difference between the two types of filter.
IR is a whole different world, and a different discussion. Anti-IR filters are already built in to almost all cameras, except the Monochrom Leica, and my M8 Leica, which was a mistake for most people - not me. I bought the M8 because it did NOT have the anti-IR filter.
I accept that a “blocking filter” blocks out light based on the wavelength.
Why would someone want a “passing” filter. Or is “passing” the same thing as “non-blocking”?
You did. Read your quotes before posting.
Did you read the other link I gave you??
George
No, maybe I didn’t scroll far enough, but I plan to drop out of that part of this discussion. I set either camera for B&W, and both of my cameras, and PhotoLab, show them all in color. All I’m trying to do at this point is view them all on-screen in B&W, and I don’t want to convert all 50 or so images, one by one. It’s not that big of a deal to me - I’ll just sort them in color, and the ones I prefer, I’ll convert those to B&W in PhotoLab.
I’m speculating that the jpg image in all of those raw images is b&w, but the full raw file of course is color.
My simplest solution is to just sort them out in PhotoMechanic, which is effortless.
None of this apparently applies to what you were discussing, so I’ll drop out of this part of the discussion. Sorry…
Idiot. It’s only one page
As usual.
George
Well, you’re the one who thinks I was talking about infrared photography, which I wasn’t.
Found your link:
Using colour filters for black and white photography
Actually, the first mention of IR in this thread comes from your quote of an article on the subject that you posted
This was my original question, that seems to have prompted this part of the discussion.
I certainly remember filters from my film days, but while that’s important, it is irrelevant to what I was trying to find out.
Plan “B” solves my issue - do the selection while viewing my images in B&W in PhotoMechanic.
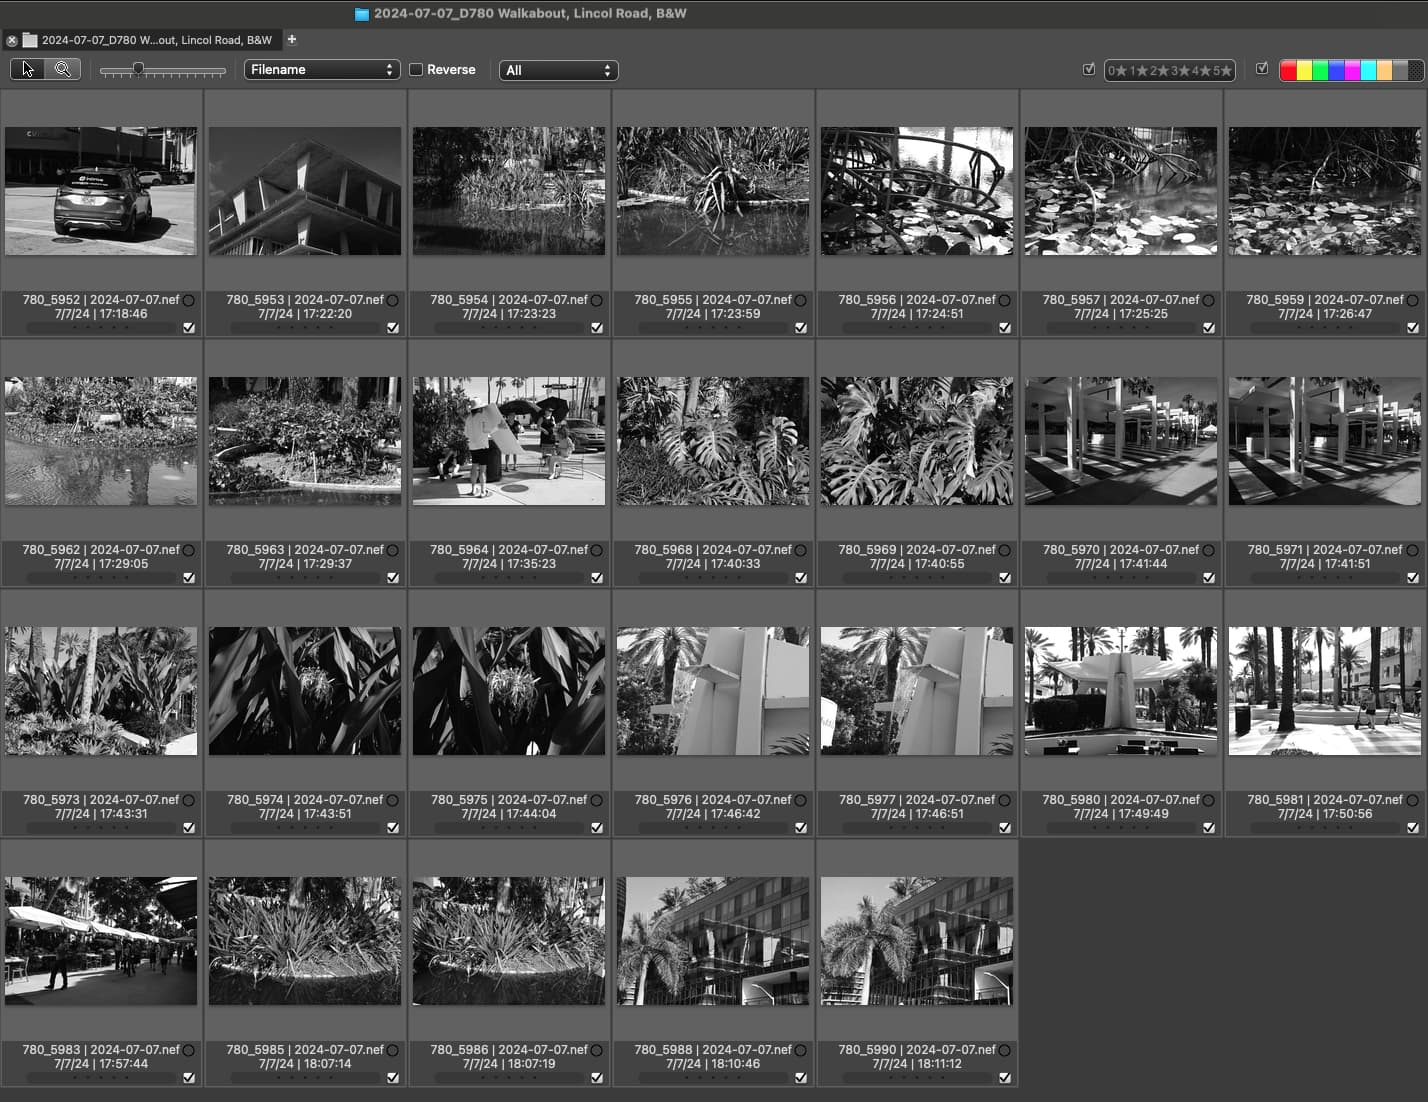
Out of 50 or so photos that I came home with yesterday, PhotoMechanic shows them in B&W, and PhotoLab shows them in color. I’d like to narrow the 50 images to the 10 best, after which I’ll convert all 10 and select which one(s) I prefer.
Yes, I was very, VERY ignorant about much of what you all have been saying, and I appreciate all the information, but for what I want to do, I still apparently have one of two choices:
- View the 50 or so photos in PhotoLab, in color, and pick my favorites, or
- View the 50 or so photos in PhotoMechanic, in B&W, and pick my favorites
You could always select all your 50 images (or a virtual copy) in Photolab, and simply apply a B&W rendering. Though culling the images in PhotoMechanic, which displays the jpeg embedded in the NEF and therefore a B&W images makes more sense.
Yes, that is “Plan A”. Plan “B” is to use PhotoMechanic.
So, can I select all 50 images and apply the correction to all 50 images simultaneously in PL, or is it one at a time. I’m not trying to correct anything, just to view them in B&W to see which ones I prefer, and which to delete. For one image at a time, I’m all set - THANKS TO ALL THE ADVICE HERE. My goal was to create B&W images, and I think I got several candidates.
I just tried to re-open the images in PhotoMechanic, now that they are on my computer. So that ends this discussion for me - I’ll do my B&W comparisons in PhotoMechanic, in B&W. I guess I’ll only be seeing the jpg version, but that’s enough for what I want.
Problem solved.
With PhotoMechanic I can go through them, one at a time, full screen, in B&W, which was my goal.
Mike. You have a Mac computer. You don’t need anything apart from Finder to browse and select RAW images.
Open the folder with your “B&W” RAW files, straight from the camera, select the thumbnail view and move the size slider to maximum…
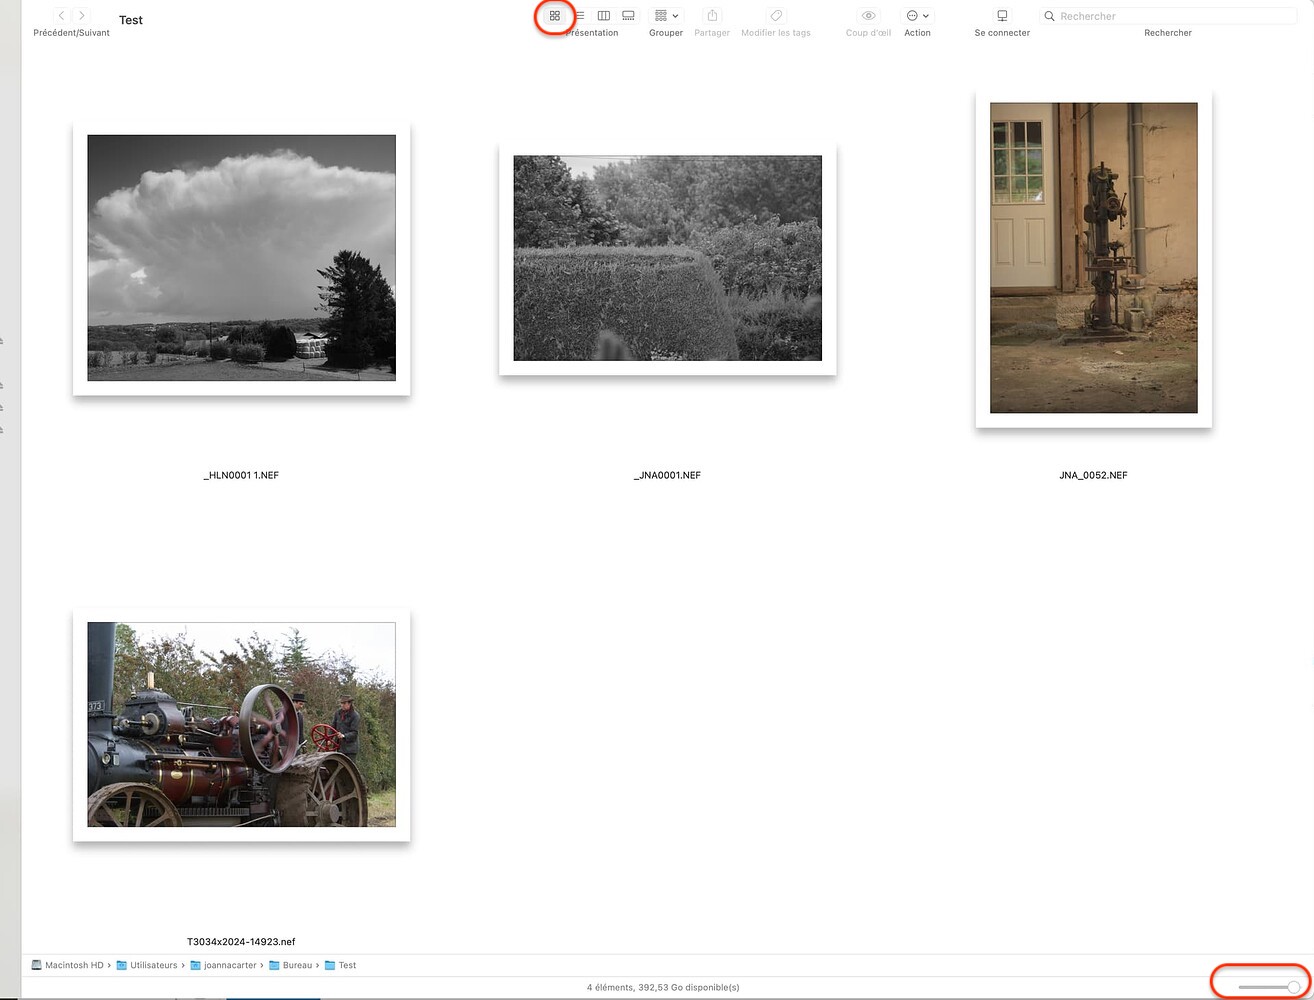
You can see that this test folder contains two files from my Nikon, which were taken with the Picture Control set to B&W and two where it was set to colour. You get to see the preview JPEG generated by your camera in both cases.
If you want to inspect a file more closely, simply select it and press the space bar…
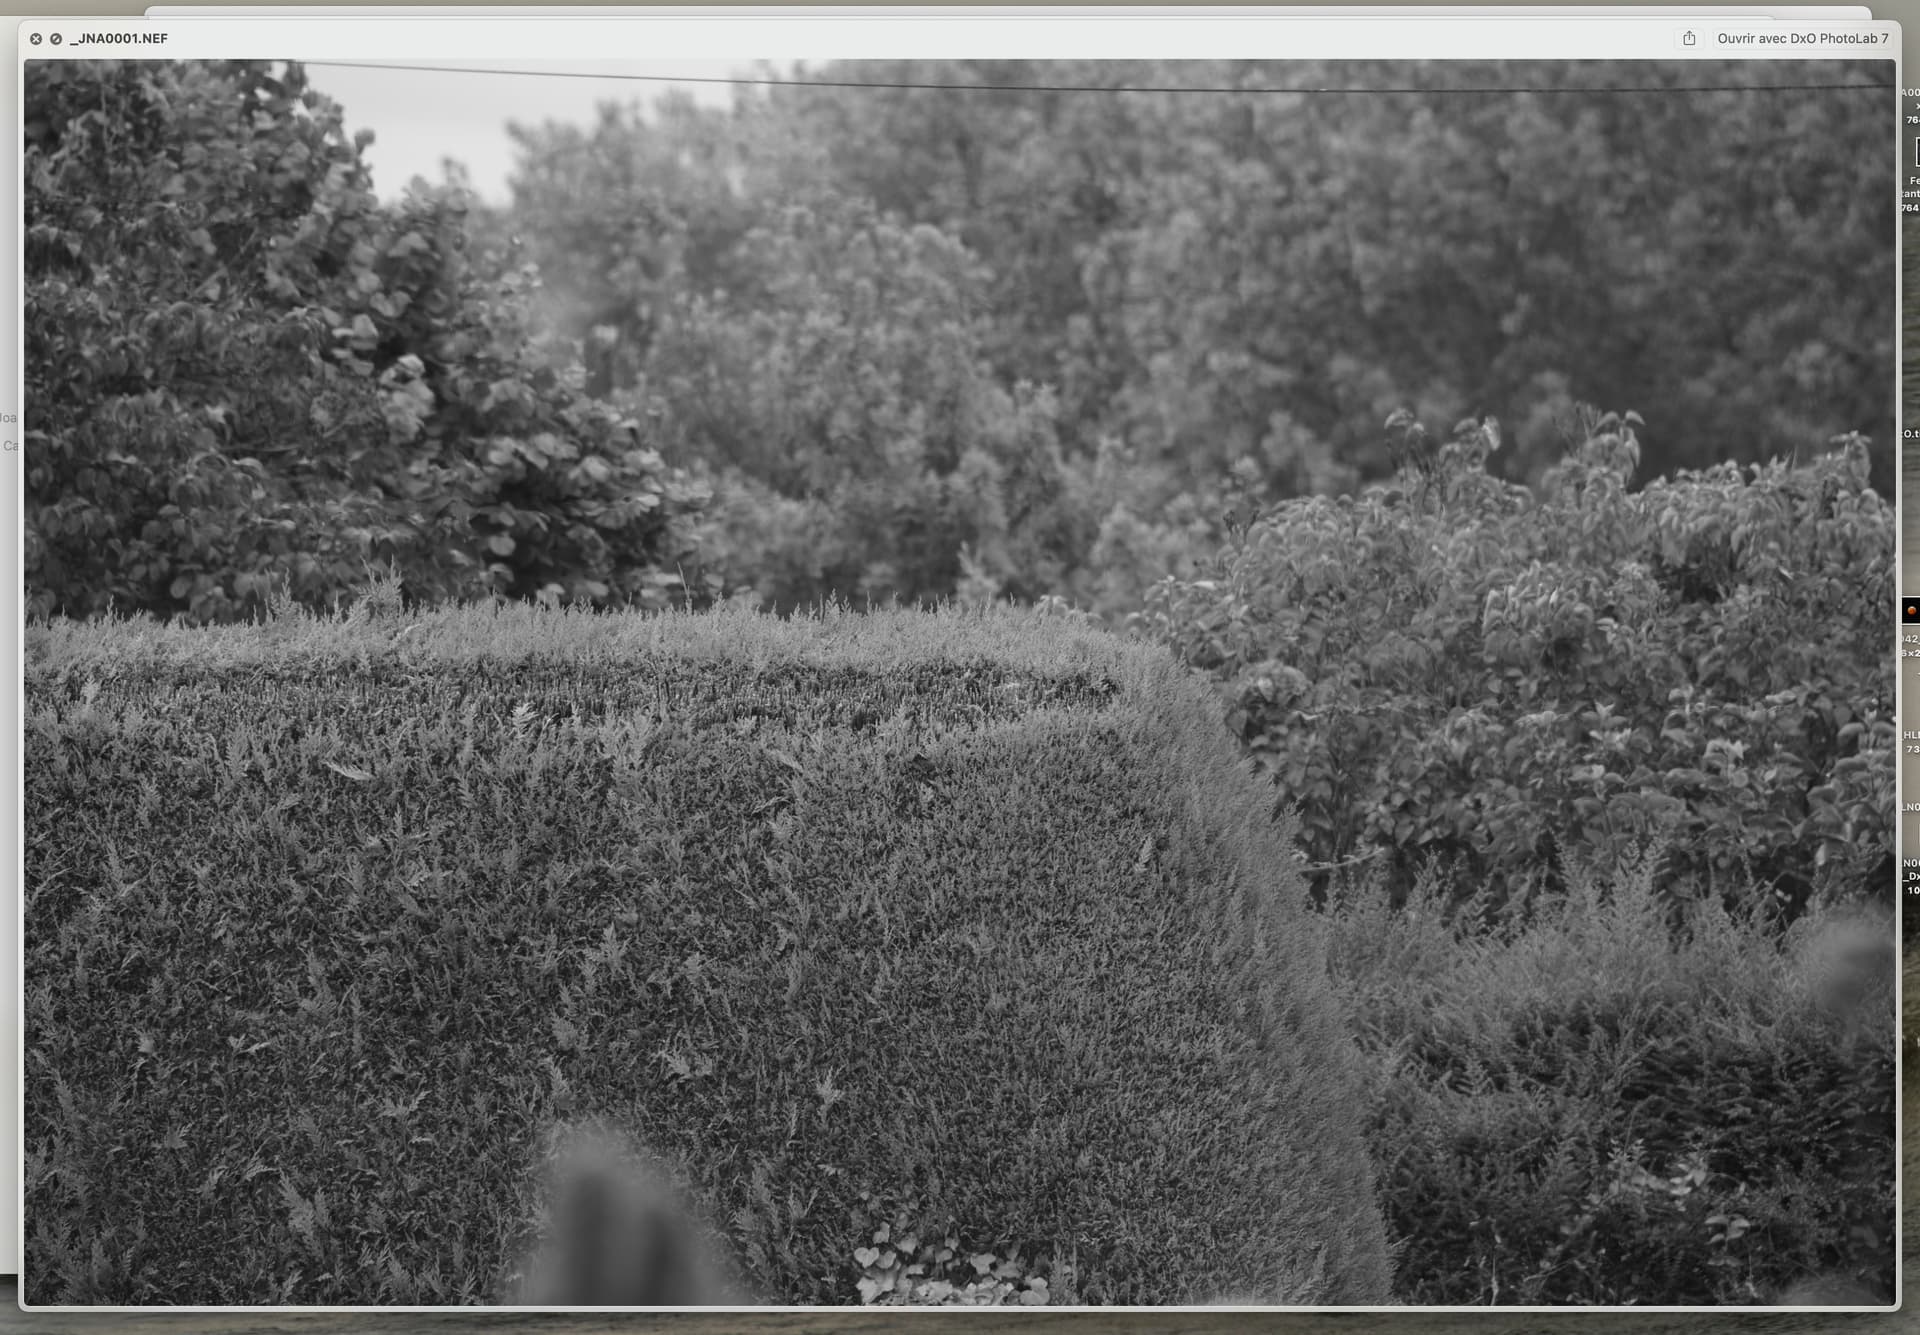
The Quicklook pane opens and shows it enlarged, still in B&W.
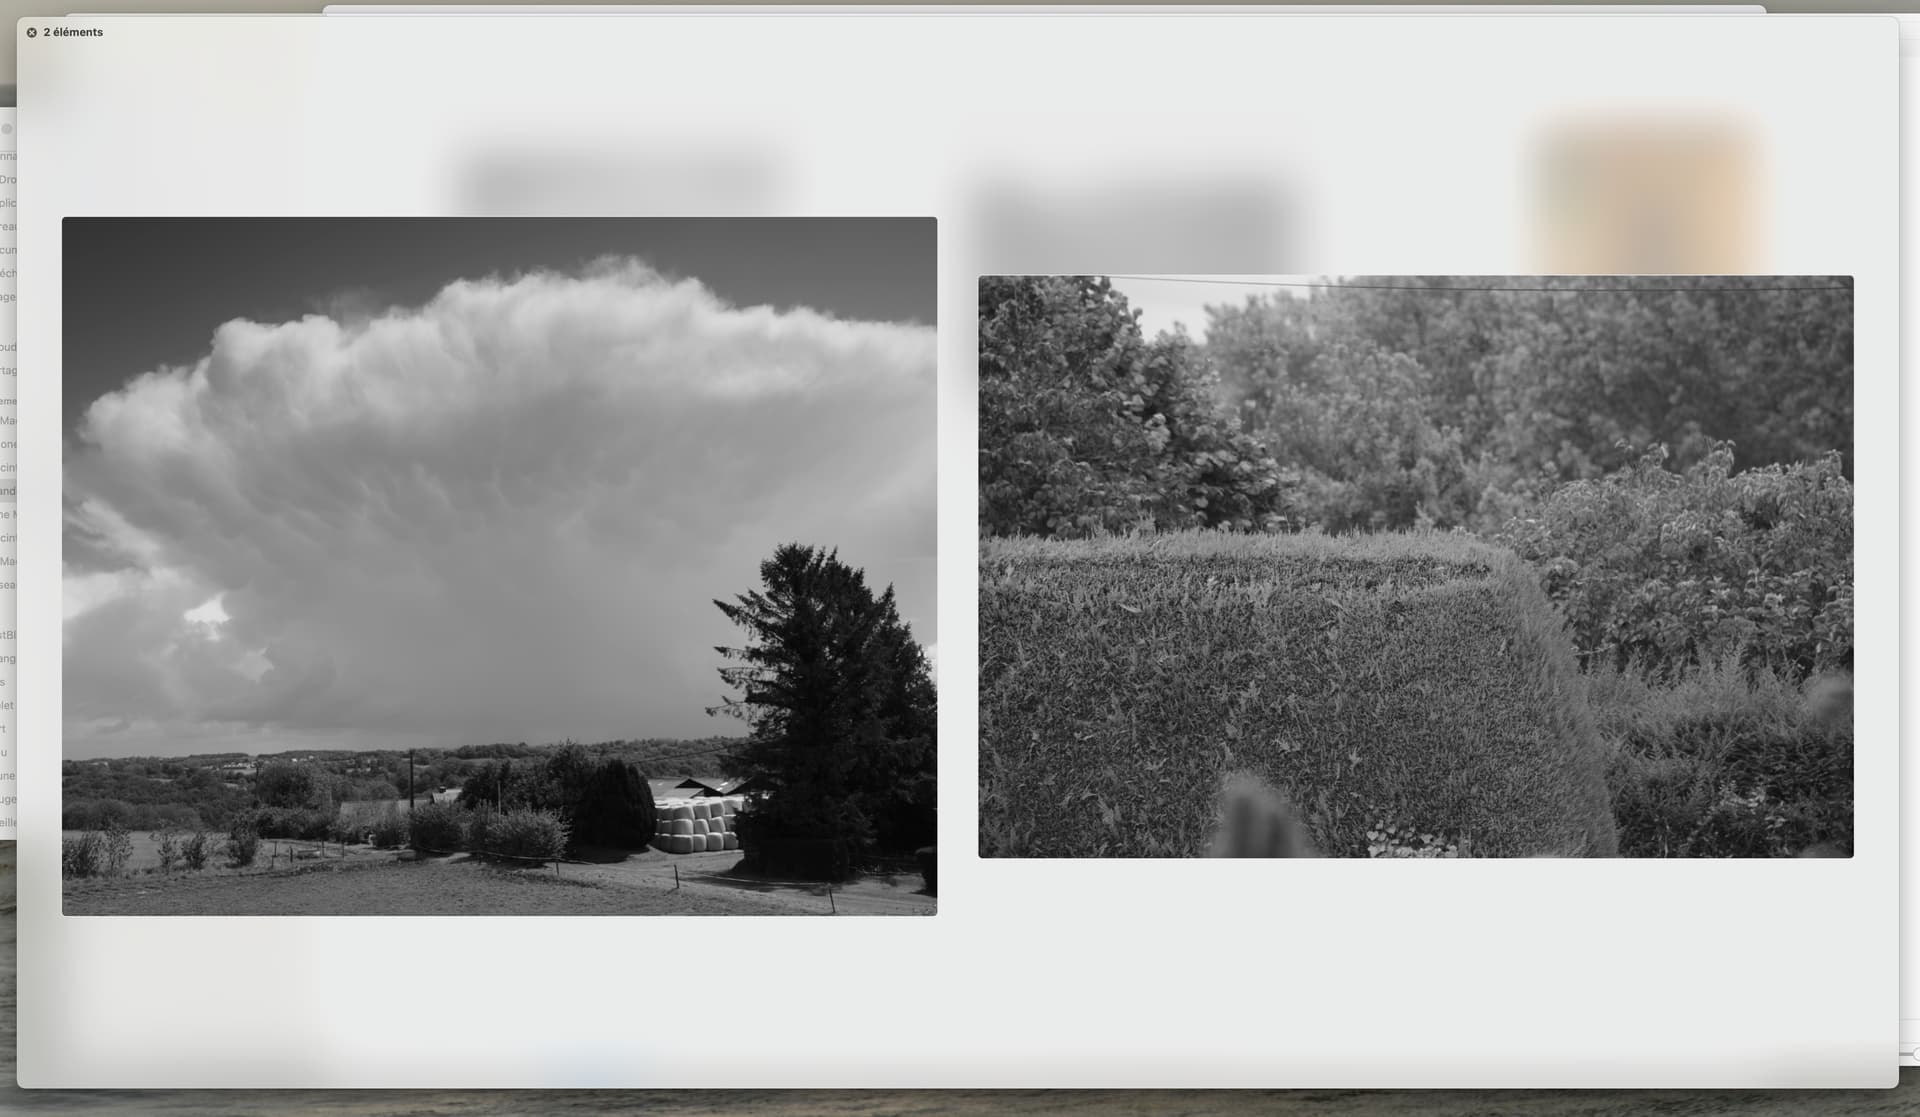
If you want to compare two or more files, select all those you want to compare and press the space bar, which will only show one file to start with, but then press the Index view button…

… to see all your selected files at the same time…
There’s quite a good video on using Finder to preview images…

So now you don’t even need PhotoMechanic if all you want to do is sift images to choose, even in B&W.
Thank you! I wasn’t aware of all those additional uses of Mac Finder. I’ll be off to the doctors in a few minutes, but later today I will watch the video you linked to, then try it out.
I never thought about it before, but it’s logical that Finder is showing me the ‘jpg’ image, not the ‘raw’ image. I went to Finder, and opened the folder, and sure enough, all those images were shown in B&W. I feel like a car, not running on all cylinders. Too many incidences like this, of things I “should have” known.
Your link sent me to YouTube (“playback on other websites has been disabled by the video owner”). No problem, YouTube is fine.
Space bar brings up Quick Look!!!
Geez, I wish I had known this years ago. Excellent!!
I knew nothing of “Quick Look” until now.
“Column View” - this I know about, and is one way I look through my images.
“Inspector” - ditto.
“Gallery View” this is what I’ve been doing for many years.
Apparently, long ago, I learned the basics, to do what I used to do in Windows, but better. There was so much more yet to be learned.
Before I forget, Joanna, what is the “hamburger” you referred to?
Does it have a “proper” name?
Yup! Which is why we are encouraging you to look things up and read the docs
Google “hamburger menu icon”
Of the 50 or so photos that I captured on Lincoln Road, all but one were discarded. I tried them, but did not like the results. Other junk was in the photo, or distracting items messed it up, or everything was way too small until I cropped it more than I wanted to. Only one photo showed up the way I hoped, and PhotoLab had enough tools that I think I understand for me to distort/edit/renew itself so it had what I hoped for in B&W.
While I fully expect Joanna and Mark to point out all my mistakes, when I look at this image in B&W, for the first time I see something that I might print and frame, if I did those things.
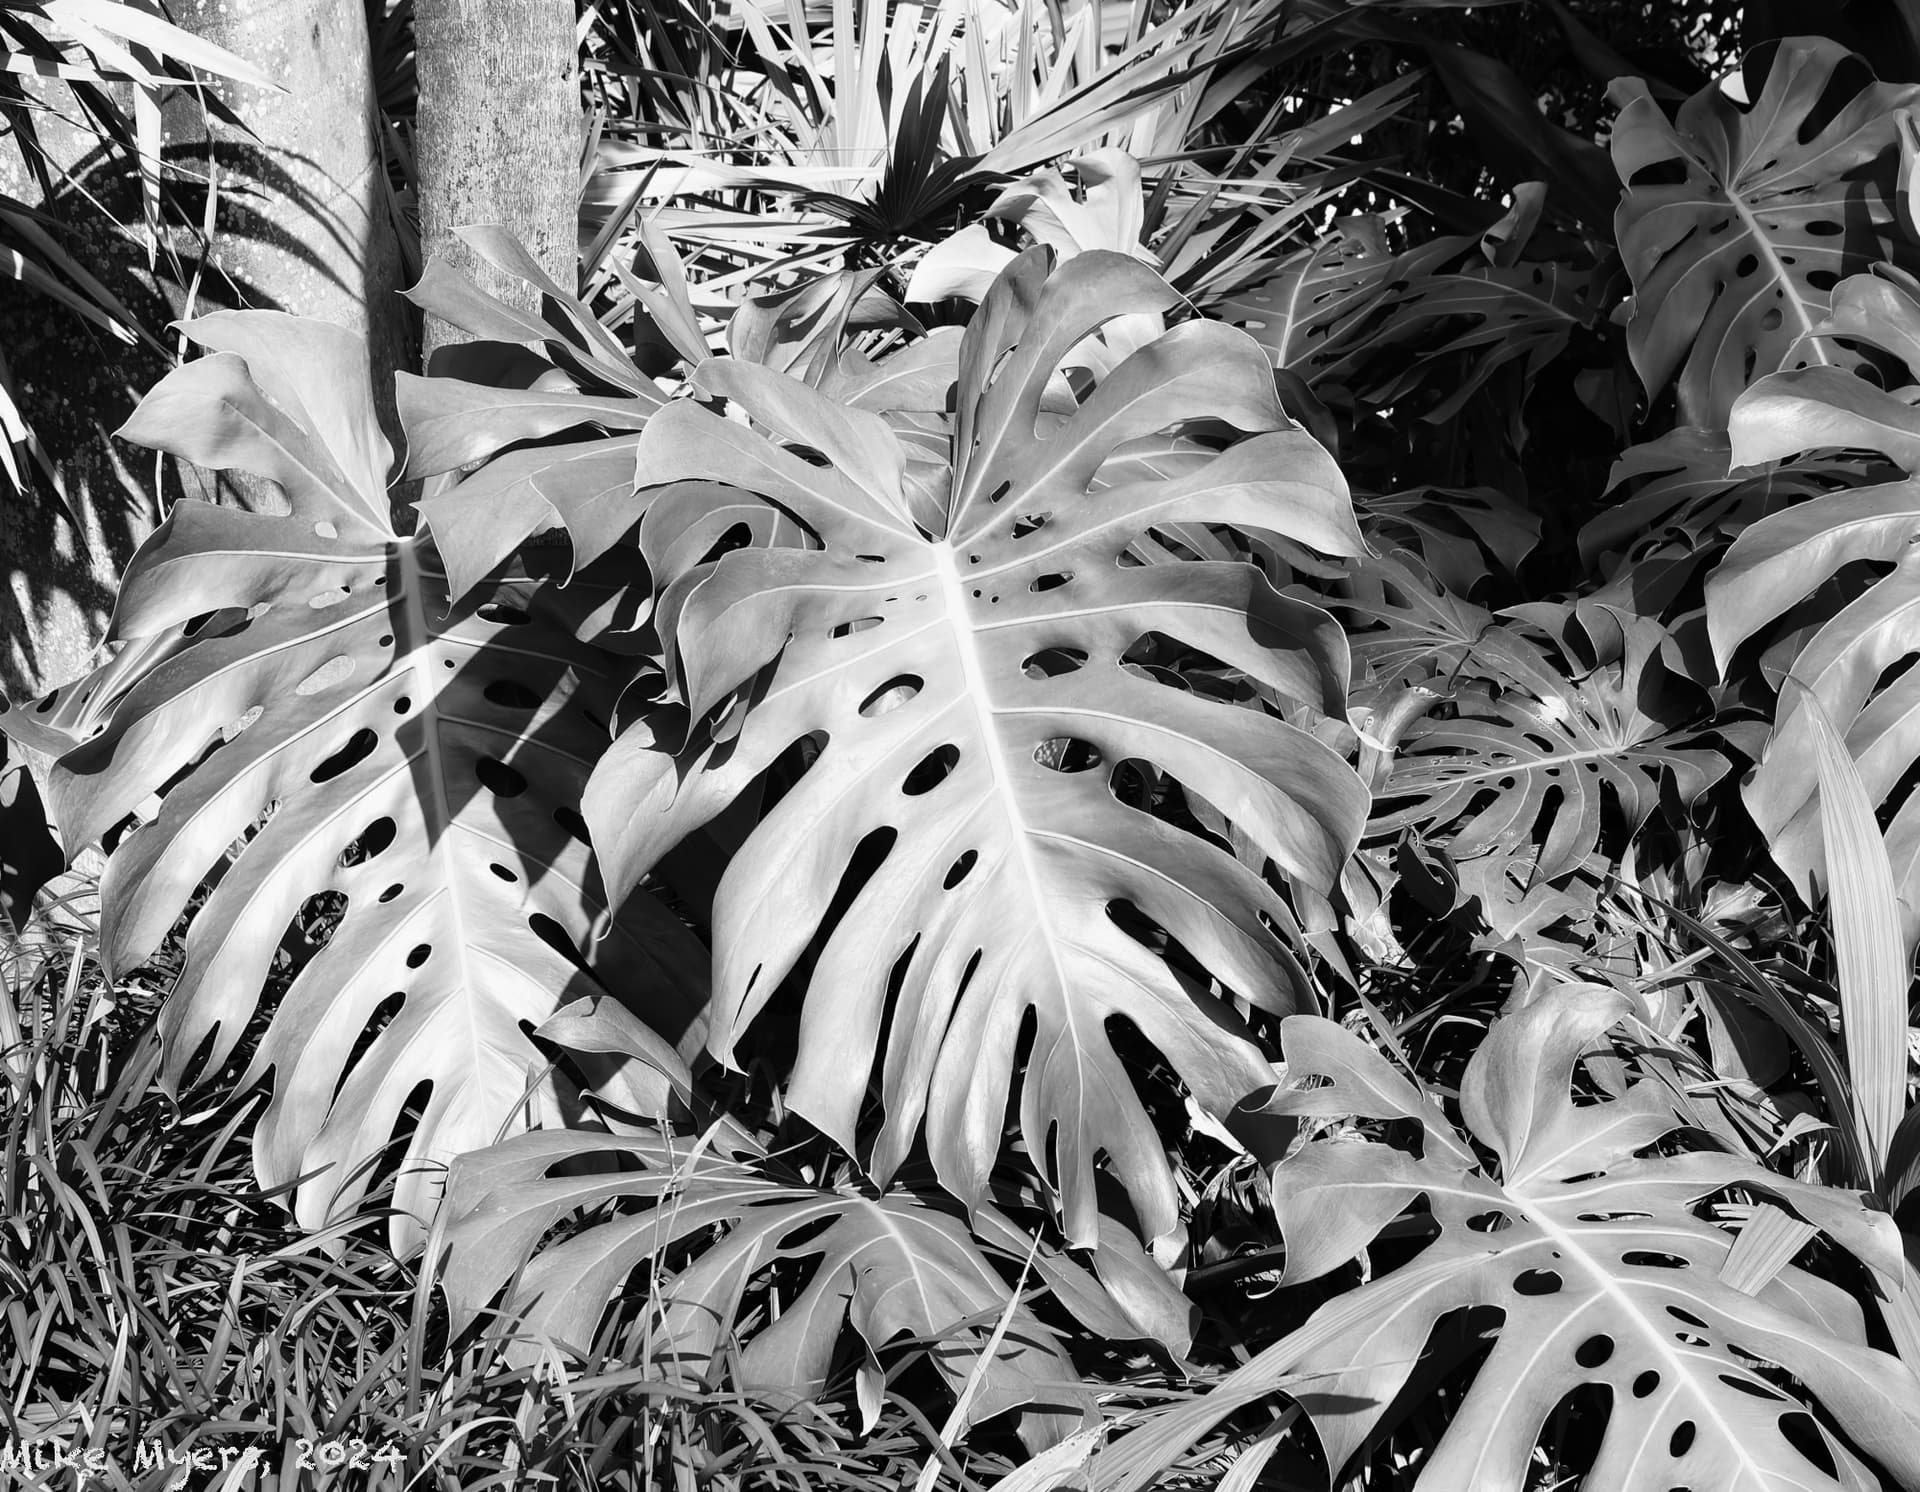
780_5968 | 2024-07-07.nef (31.3 MB)
780_5968 | 2024-07-07.nef.dop (13.5 KB)
Even if this image gets a universal thumbs-down, I mostly understand how I did it, and can do so again tomorrow. For me, that’s an improvement.
Why do I like it? All my other photos had tiny foliage, but not this one. The “stuff” around it seemed to compliment it. I fiddled with all the controls getting rid of what bothered me, and this is what was left.
…added later - with a gazillion PhotoLab presets available to me, the ONLY one I liked isn’t even a preset - it’s the Fuji Acros 100 simulation.
I would love to try it with the preset I’m still trying to figure out, so I can download and install it. Very popular, but I can’t find the key to get “in”.
What did I learn, beyond what all of you have shown me - simple, have something big and interesting to be the subject of my photo.
Or, with Clear View Plus set to only 25:
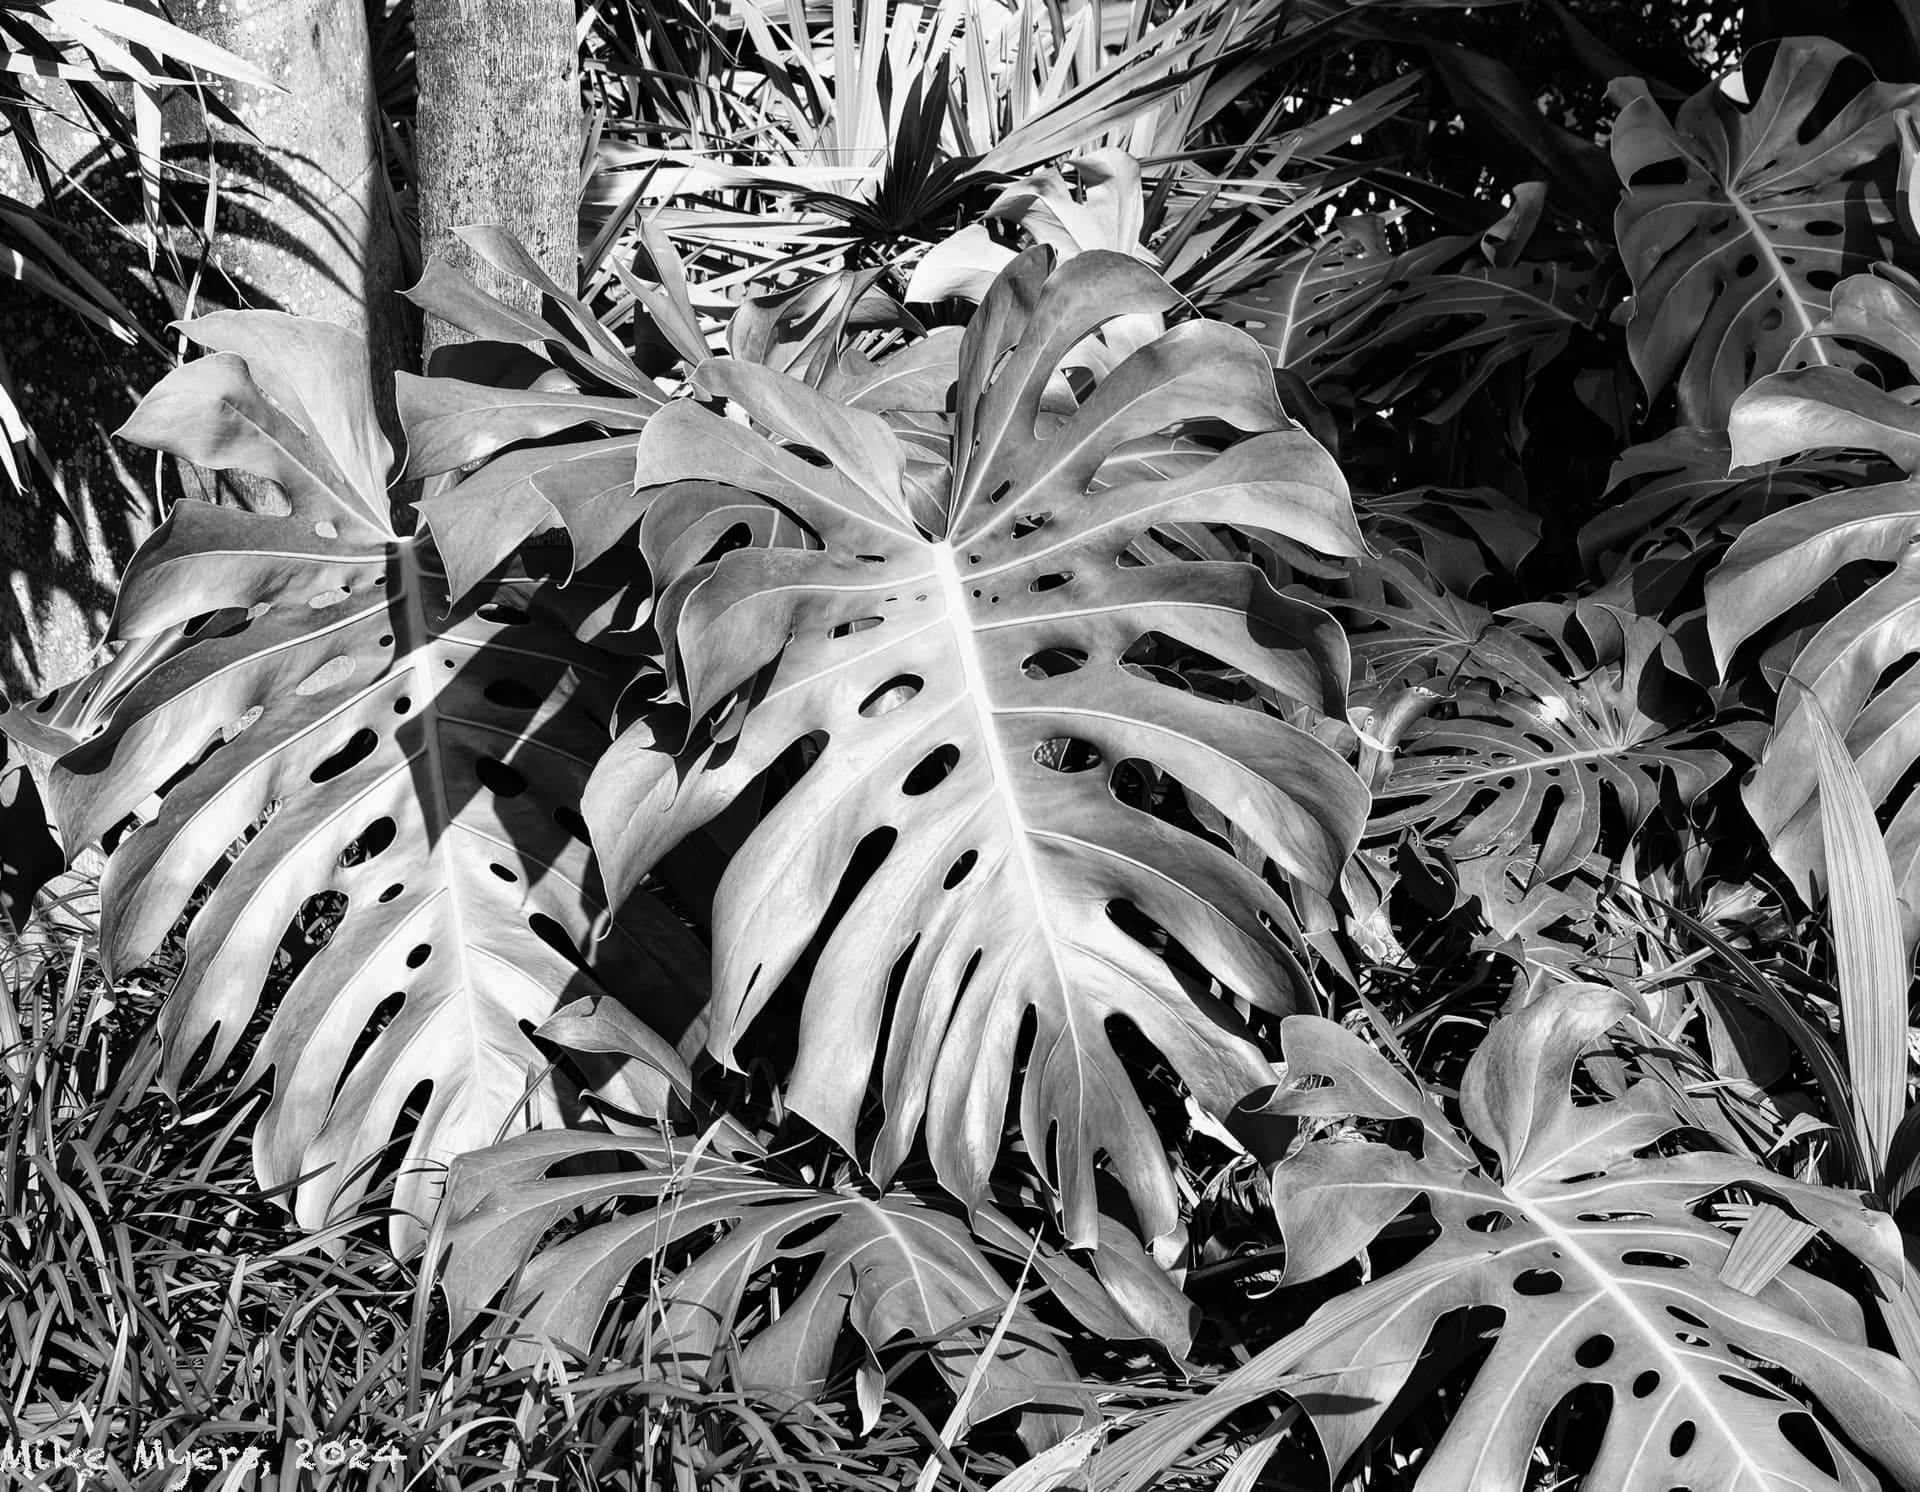
I will try to replace Creative Plus with the additional controls for Contrast in an hour.
You need more self-confidence. While @Joanna, and perhaps occasionally I, may give you some useful feedback, in the end it matters very little what we think. The only thing that should be important to you is how you feel about what you created.
Mark
Well, for what it’s worth, I feel wonderful about the final result.
I want to try “Portra 400 Preset” if I can find one.
After 49 other photos seemed to be a lost cause, this one was different.