Creating B&W Photos - good techniques

Consider this post something entered in the ‘Chat’ category, but it includes a real question.

Last year I wanted to get involved in B&W Photography again, but didn’t use it for much. My question is, when the end goal is known to be a B&W image, what settings are most useful to accomplish this.

I suppose I could mortgage my home and life, and buy a Leica Monochrom, but that’s not practical for me.

Or, I can shoot with my Leica M10 set to B&W, but while can create lovely jpg images, I want to shoot in RAW.

My DSLR shows what my eye sees, so it’s always in color looking through the viewfinder.

Are there any settings that can create the best possible starting point for an image to be changed to B&W?

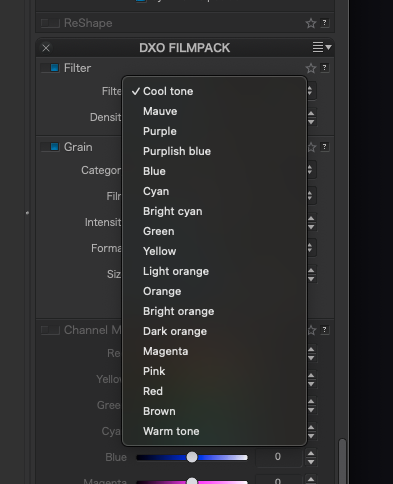
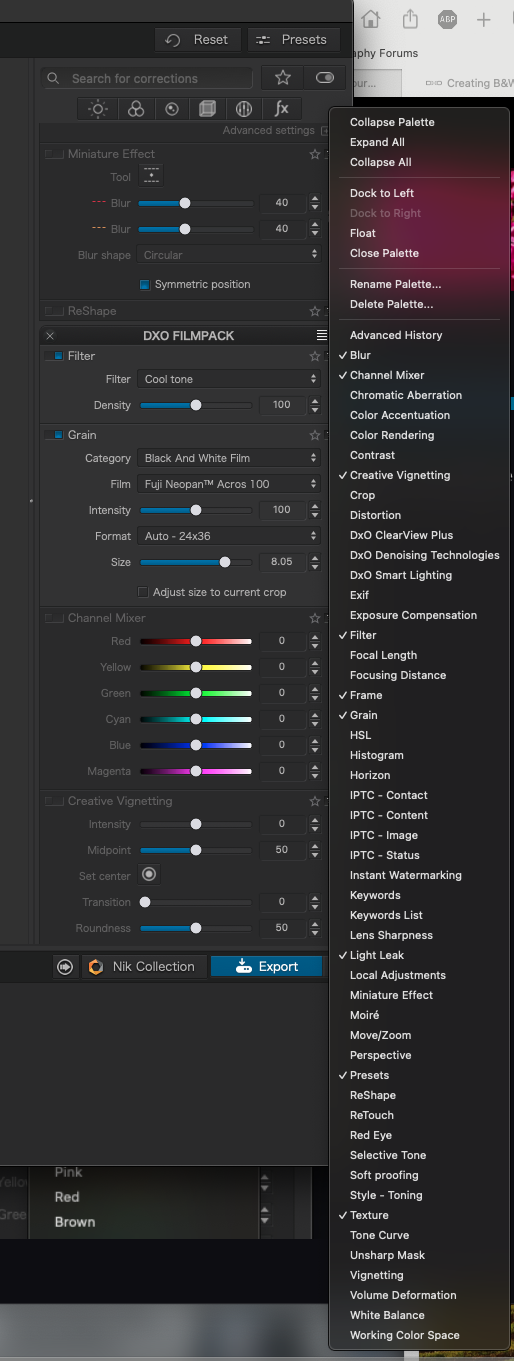
I’ve found that PhotoLab has perhaps a hundred presets, which show the image in lots of variations, all in B&W. That is one possible answer, but I’d like to view the image in B&W in the camera, if possible.

Perhaps this post is mostly directed at @Joanna, who publishes so many beautiful B&W images, but I don’t have 1/100th of the ability of Joanna.

My Nikon D780 is probably my best camera for this, but with my Leica M10 I can easily visualize the image in B&W in the “Visoflex” viewfinder which goes on top of the camera (or on the rear screen). I struggle with this visualization, when I’m looking at a color image in the viewfinder.

I suspect a mirrorless camera can convert the image to B&W as I’m looking at the viewfinder also, but I’m not about to buy one - yet.

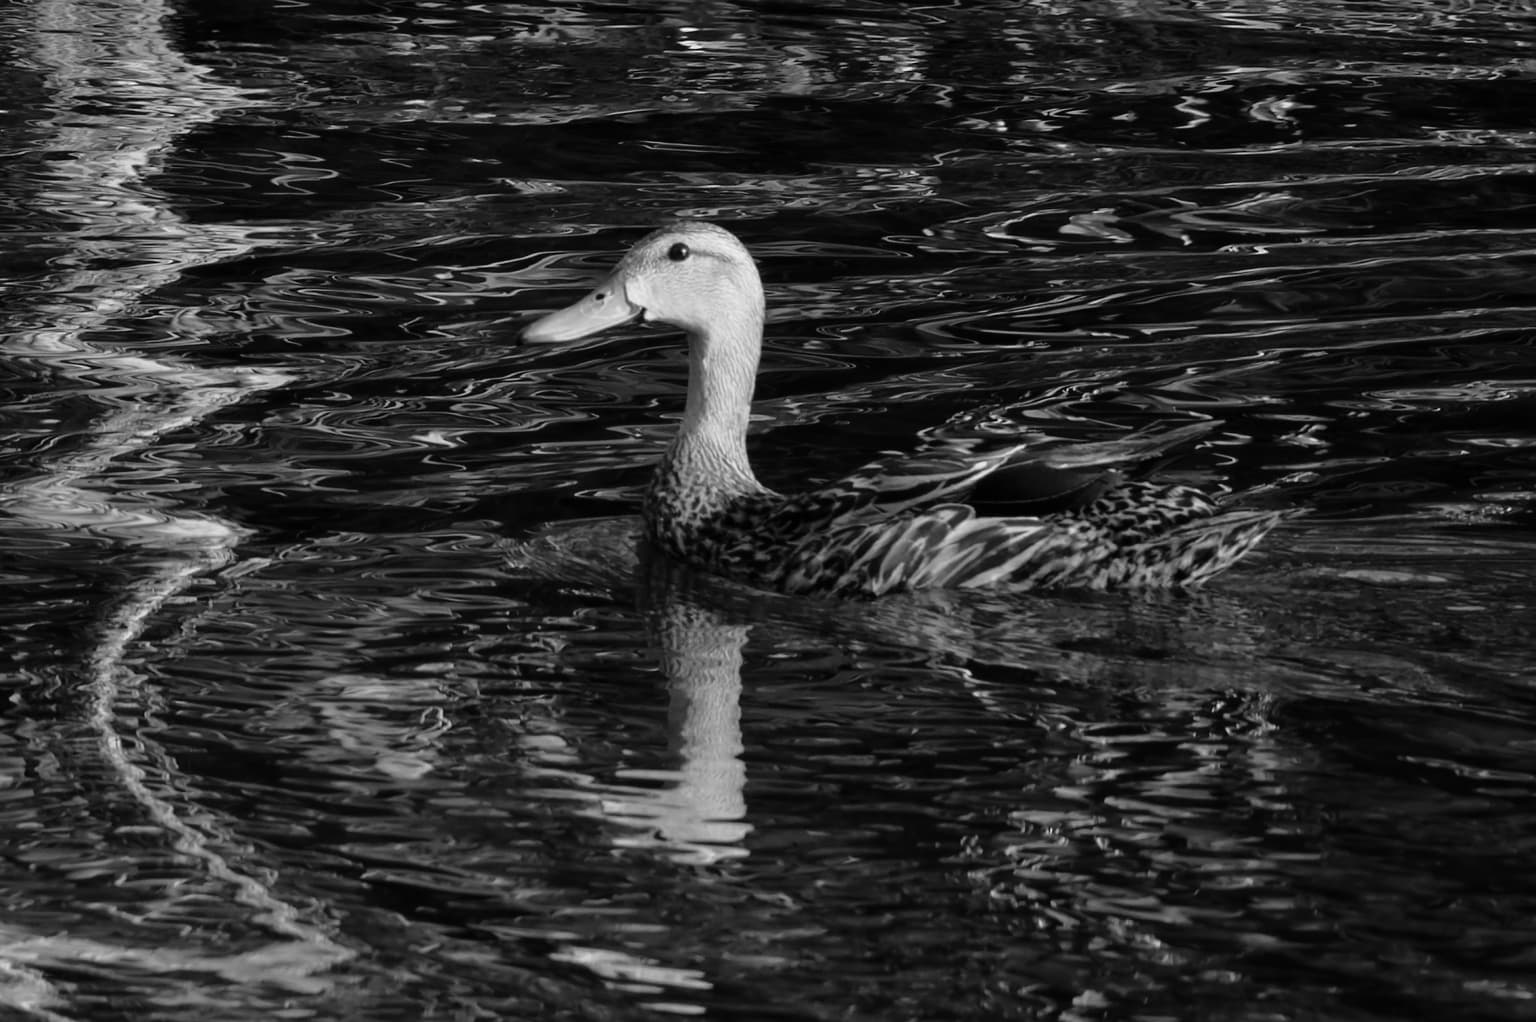
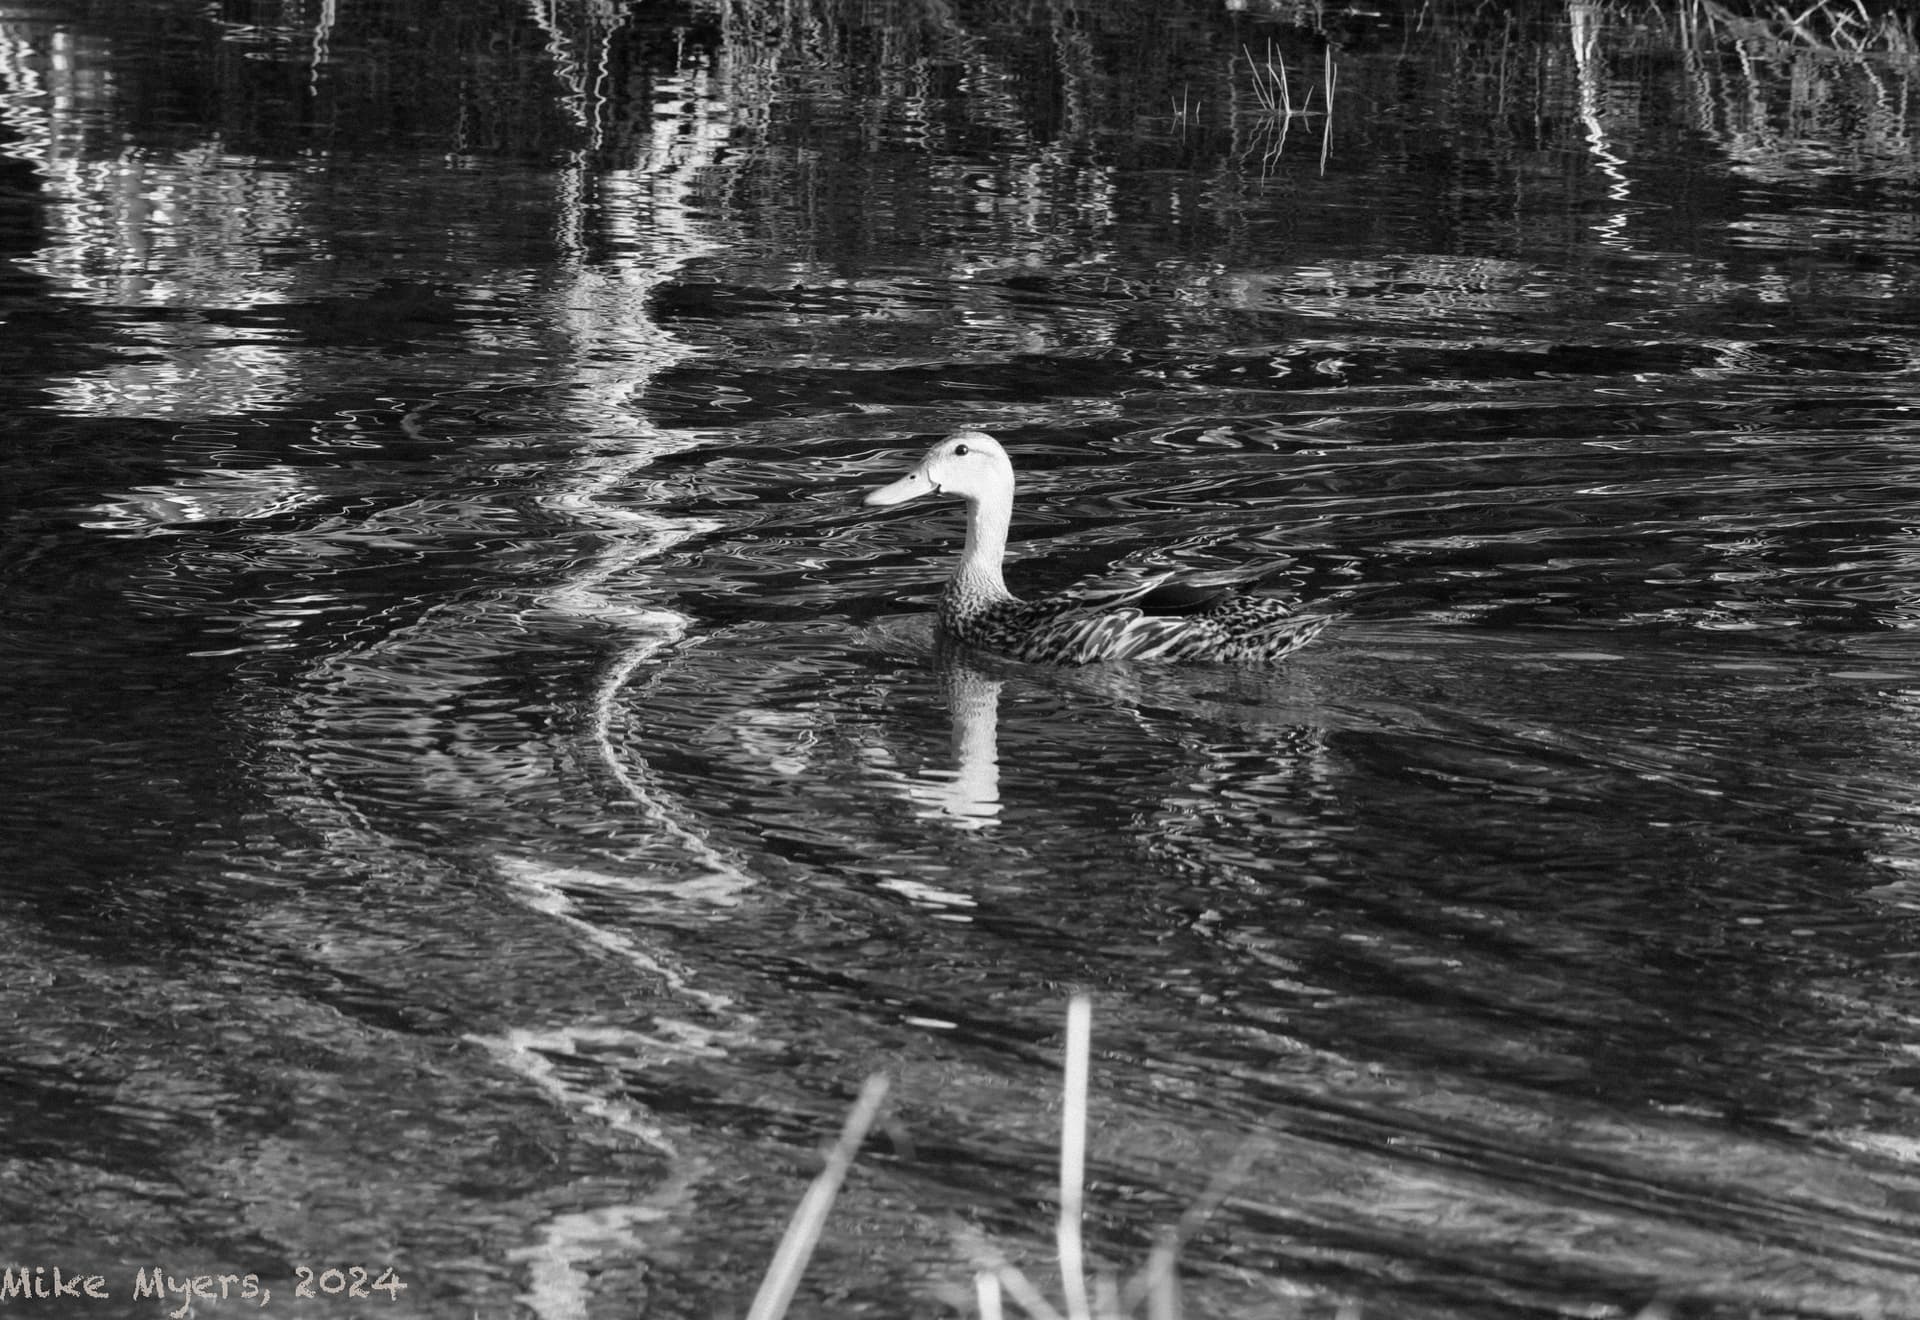
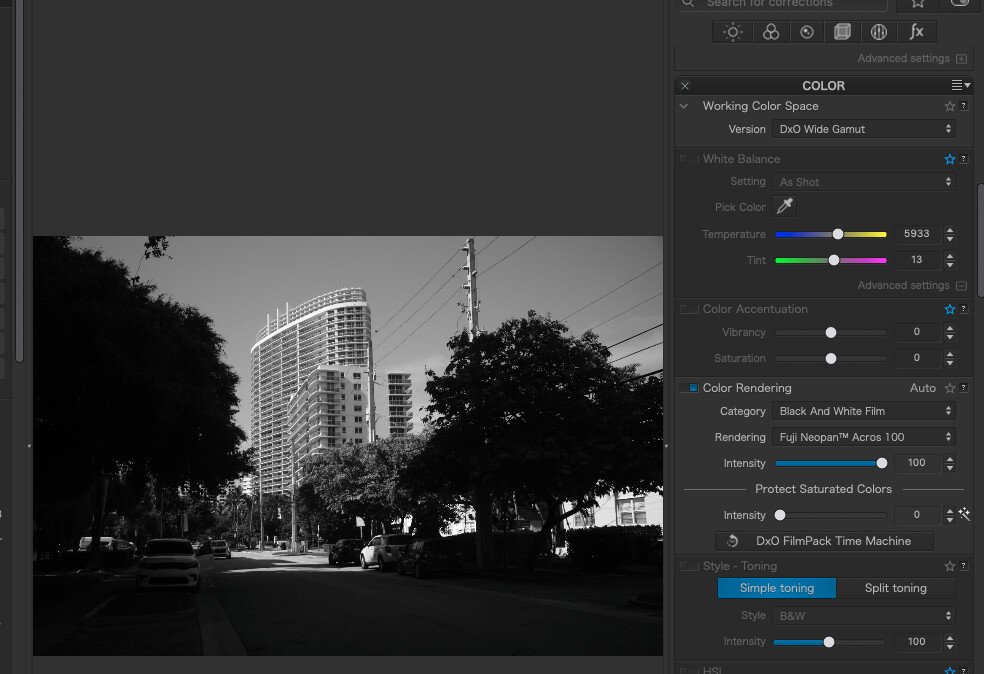
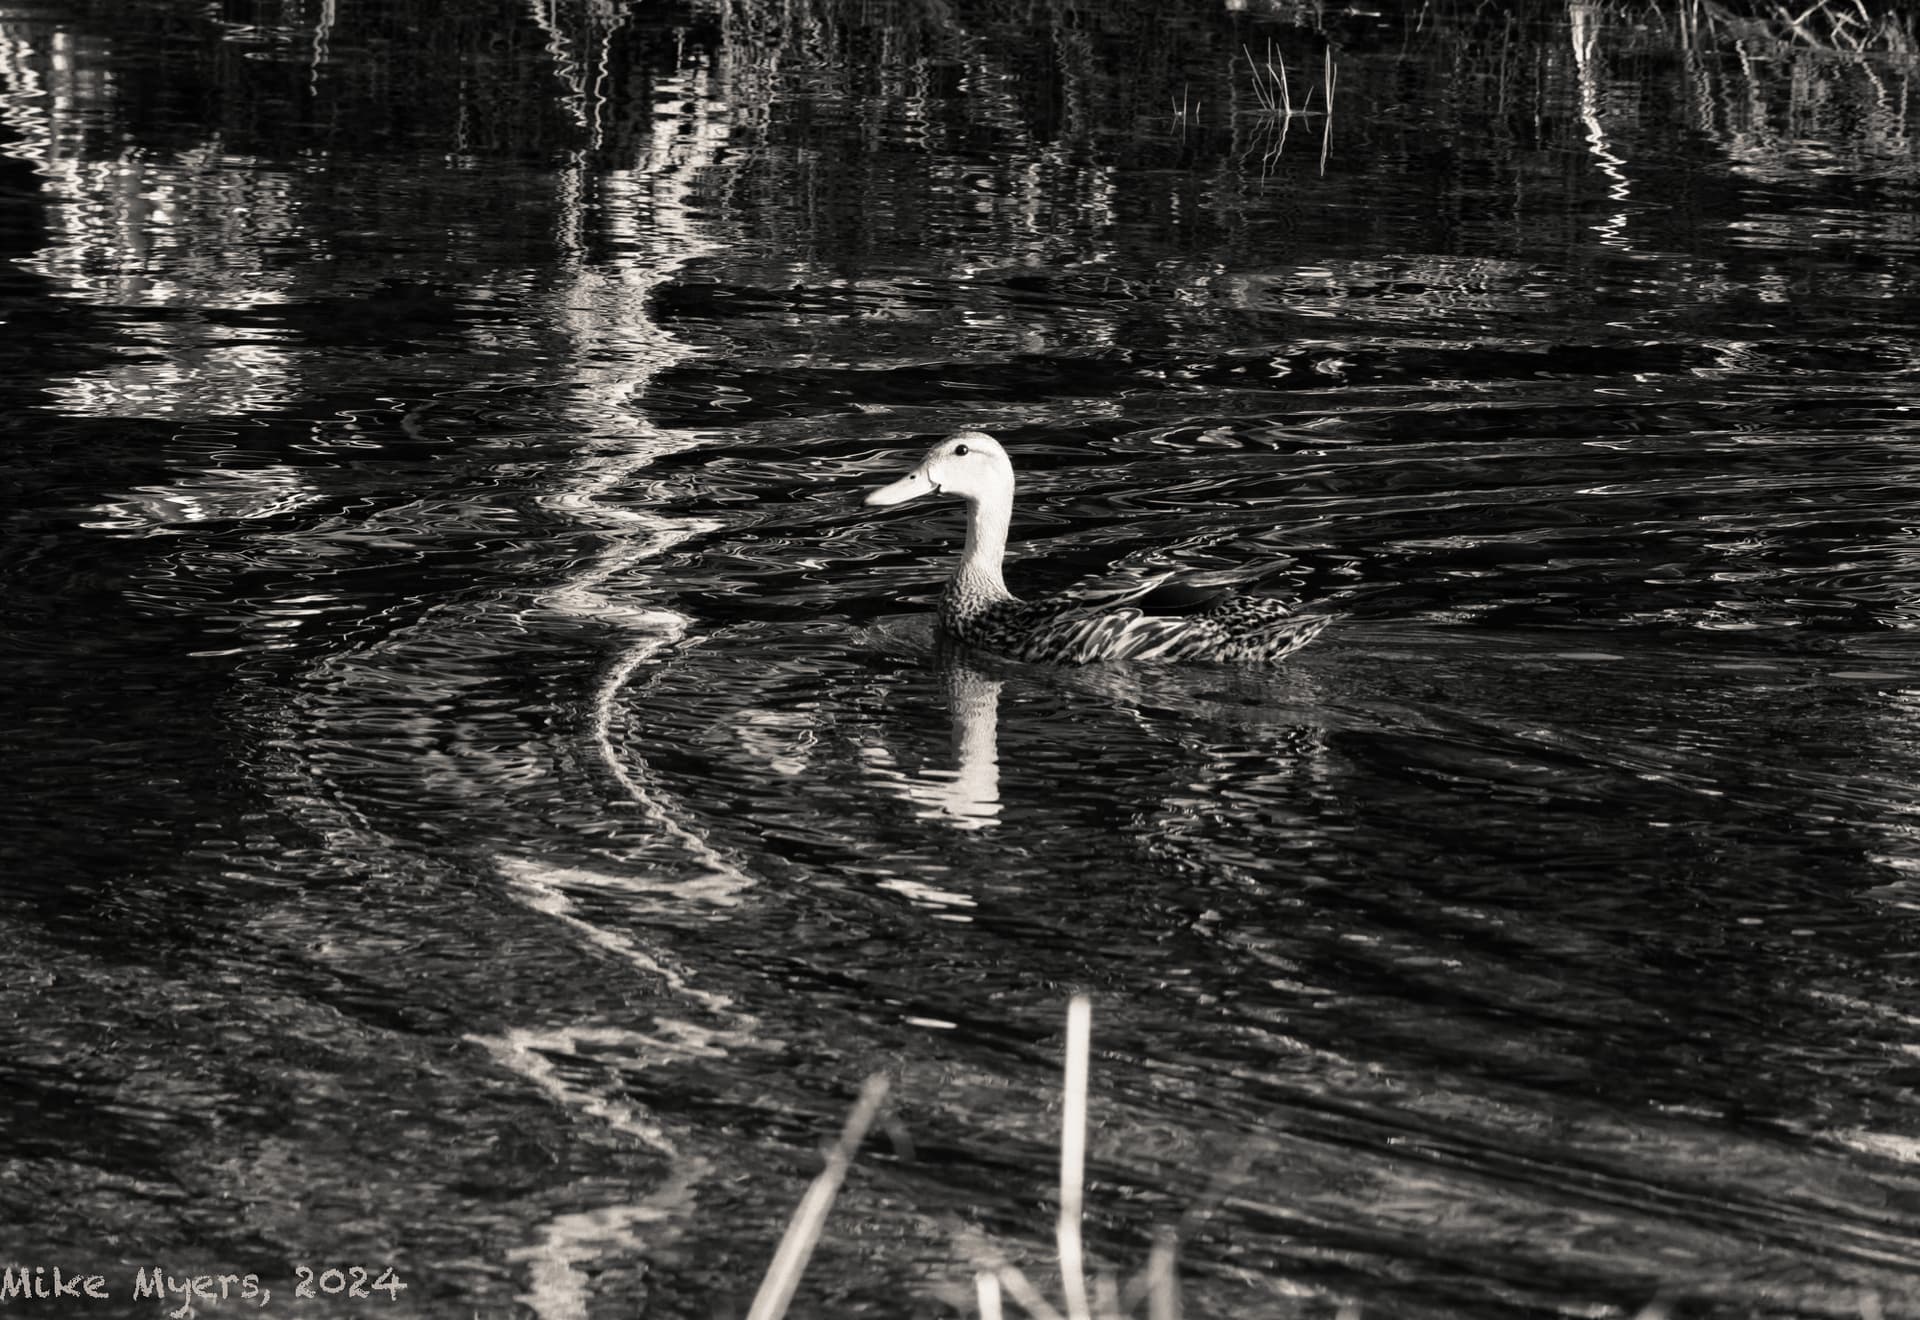
Or, is everything I’ve been thinking useless, and I should just shoot in color and use a PhotoLab B&W Preset??? This is an image from this past April, converted to B&W:

780_4777 | 2024-04-25.nef (28.1 MB)
780_4777 | 2024-04-25.nef.dop (30.7 KB)

I think not visualising at the time of capture is natural with a DSLR. As you say, you see the world; your camera just happens to be in between.

I’m sure this is why I have, for most of my camera-using life, consistently shot a degree or two off level on average. I’m lately trying to train myself to correct this, but it involves deliberately looking at the inside of the camera to check that black edge looks level to the scene. I find it unnatural and distracting, so I only do it when I have the time.

As I shoot mostly moving subjects — ephemeral scenes — I rarely consider the finished product when shooting but instead how the subject is presenting. In the case of an aircraft, the angles. In the case of birds, the background and the pose — if I have that luxury of time!

I suggest not worrying about the result at shooting time. If you then find that you get shots that would be “good if only I had…” then you can think about that aspect more when shooting in future.

One of the reasons I am still reticent about mirrorless cameras is because I don’t want to see the photo at the time. I want to see the world, and what it is doing.

There are no specific in-camera settings that will help. It is a matter of seeing what is there and pre-visualising what it will look like in B&W. The only practical purpose that the viewfinder serves is to frame the image and allow you to limit the composition within its boundaries.

It has always been thus. When I use my ultimate mirrorless camera (made of ebony and titanium) I see a colour view of what is in front of me. What can help, composition-wise, is the fact that it is upside down and back to front; thus abstracting the subject into shapes rather than objects. But that is impractical, if not impossible, with modern cameras

No, apart from perfect exposure.

It is up to you to decide whether colours will contrast or come out as the same shades of grey.

Then there’s the question of filters. In the days of film, we would use a red or orange filter to enhance sky contrast, because it darkens blues. This is why, in my photos of Locquémeau, you can see clouds so clearly and they have texture. Had I used one of the micro-contrast type tools, I would have ended up with a stippled texture instead of the smooth gradients I got with the filter.

However, if I had used a red filter on the lens, I would not have been able to manipulate the rest of the image because I would have ended up with a red and white RAW file instead of black and white.

Had I used a camera that shows a black and white image, I would end up with a JPEG, which would further limit my post-processing options.

Let me make one thing abundantly clear - folks have been making the most amazing B&W images long before colour film was invented, let alone colour sensors. And, in the days of film, you had to know what effects various films and filters would have before you pressed the shutter, with only what you had in front of you. The nearest thing to a B&W preview was to hold a red filter in front of your eye and squint.

Basically, yes. but you need to know how things are going to translate.

For example - I have taken your duck picture and reworked it…

  1. Most important, it is meant to be a picture of a duck, therefore the duck should occupy the majority of the frame.
  2. It was already a high contrast image and yet you added more contrast, so you ended up with the duck’s neck being over-exposed and lacking in detail.
  3. The duck’s patterned body feathers get lost in the patterning of the ripples on the water, which are reflecting the lighter reeds.
  4. There is a horrendous vertical bright band on the left, which is fighting for attention with the neck of the duck

This might work in colour but, it was obvious to the experienced eye that it would not work in B&W. And this is what you need to work on. Not getting more or different gear - just learning what works in B&W - just like you used to do with your B&W film cameras.


Here is a dramatic cloud image, with the FilmPack Fuji Acros 100 emulation…

But, if I add a red filter at medium density, things get more dramatic…

And, if I increase the red filter density even more…

Now we start to see the cloud as the principal subject and the beach as “supporting cast”. This is a technique that Ansel Adams used often and which gave him such powerful images.

Note, I have not touched either exposure or contrast - the difference is purely the density of red filter.

All I needed to concentrate on in the viewfinder was getting the framing and proportions right. I already knew that a red filter would add to the drama.

1 Like

I do have another option, with my M10 and either the rear screen, or the Visoflex, I can set the camera to B&W mode, which creates an ordinary color image, but shows me my image on the rear screen (or Visoflex) in B&W. I don’t think I can do that on my D780, where I feel most comfortable using the standard viewfinder.

About mirrorless - I feel like I’m watching a TV screen, which in reality, I am. For me, something is lost - the direct connection to the world that I’ve had since my very first camera. But, in B&W, I no longer know what Joanna pointed out, knowing how the image would look in B&W, and how colored filters would change the image. …one of many “skills” that I have lost.

To Joanna - the goofy image is because I tried lots of DxO “Presets”. Maybe I should have just used the Fuji Acros 100 preset? I didn’t like any of the other presets with this image, and hated most of them - just as with my pigeon photo. I’ll know better in the future.

Or, I could mortgage my soul, and buy a Leica B&W only “Monochrom” camera body. Lots of good reasons for doing this, if I were to decide to only shoot B&W. All the pixel structure would become B&W only, for better resolution.

https://www.adaminsights.com/the-advantages-of-the-black-and-white-only-leica-monochrom-sensor/#:~:text=More%20Detail%20with%20a%20Black%20and%20White%20Only%20Sensor&text=With%20a%20dedicated%20black%20and,in%20a%20higher%20quality%20image.

Unlikely to ever happen, but who knows…

As to not worrying about the (B&W) result, I guess it’s one of three choices - what you wrote, or using the Visoflex, or forcing myself to re-learn what I used to know a lifetime ago, before I switched to digital. (I could have used color film back then, but couldn’t afford it, so I used Plus-X for almost everything - bought a 100 foot (or 50?) roll, and loaded my own Contax or Nikon film cassettes…)

So true - I guess color film was available, but I couldn’t afford it. This was the 1960’s.

I wonder how few people in this forum are still shooting in B&W exclusively?

For a mere $5,000 or so. I could have one in a few days:
https://www.keh.com/shop/leica-m10-monochrom-digital-camera-body-black-40m-p.html#view-2

But for now, I’m going to covert to B&W in Photolab.

Agreed, completely. Lots of practice, and no more “pre-sets” other than Fuji Acros 100 emulation. That’s what I used the most for my past B&W conversions.

For my ducky photo:
Now that I remember how much I liked this film simulation:

Maybe from now on, I’ll use this film for my B&W conversions.

I’ll check if PhotoLab’s red filter for this B&W conversion can do what you’ve shown here. That’s a project for this afternoon.

Several of my cameras have (had) an option of a “level” gage on the viewing screen. If it’s activated, and if I’m not in a hurry, I try to adjust my camera accordingly. Most of the time, I don’t have enough “time” to do so, meaning like you, my photos are often not level. I think this is most useful for photographing buildings, or images showing the horizon.

1 Like

You used ‘I’ 31 times in this post. Post 4.

George

Have you actually tried it? Of course it works. Just set the Picture Control to B&W and use Live View.

If you want to do non-standard things, you either replace all your kit, or you learn how to use what you’ve got. The only reason for us upgrading our digital cameras is the thirst for more megapixels to make bigger prints.

Well, do what we have done and get back to some serious learning.

They are not simple “presets”. They are film emulations that can be fine tuned to suit your personal taste.

Oh no, here we go again. Trying to solve problems by throwing money at them.

You have a perfectly adequate D780, which is capable of doing anything you’re likely to need in the B&W world. You often compliment my B&W images but, don’t you realise, they were created without monochrome sensors or EVFs.

Take this image…

… taken with my Ebony and not even a battery in sight, let alone a viewfinder.

Or this one…

… taken by Helen using the Mamiya RZ67.

Neither of which required us to have a monochrome preview, just a good B&W film and knowledge of its dynamic range and profile.


Sounds like a plan, although nothing stops you from trying out if another film emulation suits a given picture better.


Do not - I’ll repeat - do not use a red filter on the duck image. It would be a complete waste of time and effort.

Remember what I said - a red filter is for darken blue skies. Do you see anything blue in your duck image?

Unfortunately, this is just not a B&W image, so don’t even bother trying to make it into one.

Take a look at the Colour Wheel in PhotoLab…

See how red is opposite to blue. Thus, a red filter darkens blue.

Now, look at the water around the duck - it is predominantly green

Then look at the duck itself - it is predominantly brown or cream.

Both these colours are on the same side of the colour wheel. Therefore, applying a filter is not going to separate them out.

And, in addition, the patterning on both the water and the duck is almost the same, so they get confused and just “munge” together.

When considering whether to convert a colour image to B&W, there is more to consider than just colours.

Tell me, where does the duck finish and the water end?


Then look at these two versions of one of my favourite images…

I absolutely adore both of them and cannot decide which one “works” better. The truth is, with this particular image, it is a rare case of an image that suits both colour and B&W. But such images are rare and the treatment is quite different, depending on the version, not just the presence or absence of colour.

Well, this post is for “Chat”.

Without explaining what “I” did, and will do, I might not have gotten such helpful replies.

From now on, I will try to not use “I” unless necessary.

Thank you!

I shot several test images this morning, to be changed to B&W.

By the time they were imported into PhotoLab, they were in color of course.

In PhotoLab, I scroll down to the COLOR palette, go to the Color Rendering and the first choice is Category - where I select Black And White Film.

Next category I select for Rendering: Fuji Neon Across 100.

Works fine, but I think I used to access a box where I could select things such as filter color and filter intensity; Not sure where that is, how to access it, or if my memory is even worse than I suspect.

The goal now is to darken the sky, with a simulated red filter:

The end goal is to create a Black & White photo from my original color image, and I’m trying to use Fuji Across 100.

1 Like

It’s on the FilmPack palette…

Maybe I’m blind, or maybe it somehow got moved?
Here’s my screen next to yours:

Maybe I need new glasses, or new eyes, or a new brain…

Go to the hamburger menu, top right of the palette and make sure it is checked…

The “Filter” is the very first tool on your screenshot.
You have to choose first the color of the filter, then adjust the strenght of the effect.
If you stay on the setting, you can use the arrow keys up and down to quickly compare the different results.

Oops! Even I didn’t spot that :crazy_face:

Never heard of a “hamburger” but here are two screens, one after selecting “filter”:

Screenshot 2024-07-06 at 15.58.04

Screenshot 2024-07-06 at 16.00.09

Not sure what you want me to click on, or what to do with this “filter” menu?

Maybe I’m supposed to select something here:

Just choose a colour of filter. Red will affect the blue sky. You can then adjust the strength to vary the effect.

Aha! Simple.
“Easy peasie”.
Works just like what I expected.

Thank you all!!!

One of the things I like about using a modern mirrorless camera with an EVF is when I am shooting images I hope will work in monochrome. I can select one of several B&W film emulations in my camera including Kodak T-Maxx 400, Tri-X B&W, a light and a dark sepia emulation, and a couple of others and see the emulation through the viewfinder. For me, this helps immeasurably with monochrome visualization. While the resulting jpegs are in monochrome, raw files still contain all the color information, of course, and need to be converted to monochrome in post. However, seeing the scene in B&W through the viewfinder when capturing an image is very helpful for me.

Mark.

VERY helpful advice. I was looking in all the wrong places. Now that I know where it is, I think I’m all set. Need to use it some more, so I’ll remember.

Thanks for pointing it out as you did!

This is the first thing that I have read, that might push me in the direction of eventually buying one of those ML cameras, but if ever did get serious, it would be a Nikon Z8 or Z9 which is not included in my budget. I don’t see myself buying any new cameras for many years, and at 80, I don’t have that many more years.

The best I know, and can learn to do, is “get the most I can out of what I’ve got”.

Gosh, one of these (used) is about to be less expensive than a used Monochrom!!!

https://www.keh.com/shop/nikon-z-9-mirrorless-digital-fx-camera-body-black-45-7mp.html#view-2

https://www.keh.com/shop/leica-m10-monochrom-digital-camera-body-black-40m-p.html

Anyway, aside from all that, there’s a lot of good advice up above on creating good B&W photos, and the only thing holding me back, is me (not camera gear). I love seeing what @Joanna has done, and that gives me a huge desire to do the best I know how to do, and I’ve already got the gear.

Nope.