Coming from LR I am familiar with adjusting black and white points to avoid clipping. However in PhotoLab I can see no way of adjusting the white point - what am I missing? 
On the few occasions I need to, I use the curves tool to adjust the white point. Just drag the point at the top right corner of the curve to the left.
1 Like
I had not even thought of that, many thanks:-) Guess I find it strange not having access to a similar mechanism to that used in LR last al.
I often use the curves tool on both white and black points. It’s just a pity that adjustments are labeled on a scale from 0 to 255 although the x-axis usually covers 10-12 bits (in raw).
1 Like
Yeah it seemed odd to me, too, not to have a white point adjustment, but I have since found that while I often adjust the black point, I rarely need to adjust the white point. Instead what I need to do is raise the curve in the highlights (around 225, where pure white is 255). Maybe the way DxO’s algorithms work they don’t see the need for a white point slider, and in my experience I haven’t often missed it.
The main reason I switched to DXO OPtics Pro is because of the great automatic settings of black,mid gray and white points. I had set these points manually from instructions I had read from within a paid course. When I compared my manual setting to DXO OPtics Pro I found DXO had made the same points. Thus I purchased Optics Pro immediately and have consistently upgraded with confidence and have not need to set these points manually since.
Copykatnj, which preset or setting do you use to automatically adjust black, midgrey and white points? And does it always give you the results you want?
I use the standard default. When I initially tested it it worked every time. That is the beginning of my workflow. I do all enhancements in CS6 off that standard since I am confident it correct for me.
Good if DxO Std. does its job well on your images. I find that it works well on unproblematic pictures but struggles on others. Smart Lighting creates halos around objects in the shadows, often blows highlights on images that are fine as seen in Raw Diggers histogram and usually gets night shots wrong.
I have been playing with ON1 Raw beside DxO PL and am getting better results easier with ON1. DxO does the best auto edits without doubt but in an awful lot of cases more editing is required and I am finding the ON1 method (which is not unlike Nik) better/easier. Maybe DxO has lost some ground for even LR’s auto is improved and again the LR workflow is much easier (for me).
I like the Photoshop Levels tool that provides white, mid-tone and black eyedroppers. When PL has problems with w/b points I open the file in Photoshop, use the levels tool, flatten the image and open it in PL.
I can set everything in PL, but need to set white point elsewhere. Pity.
Automatic settings do a decent job, sometimes it is sufficient, but often tweaks are needed. Highlights recovery is great, but will not be done by any automatic stick, but them you need to reset white point.
Is using the Curves tool to set the white point not a viable solution for you? Or is it just that you want the setting of white point to be more automatic? (I see that some are happy with the Curves approach, so am interested in knowing what might make it inadequate. Thanks.)
So its really a guessing game, with the white point and black point. I want a clear indication like in lightroom, why can’t DXO do the same?
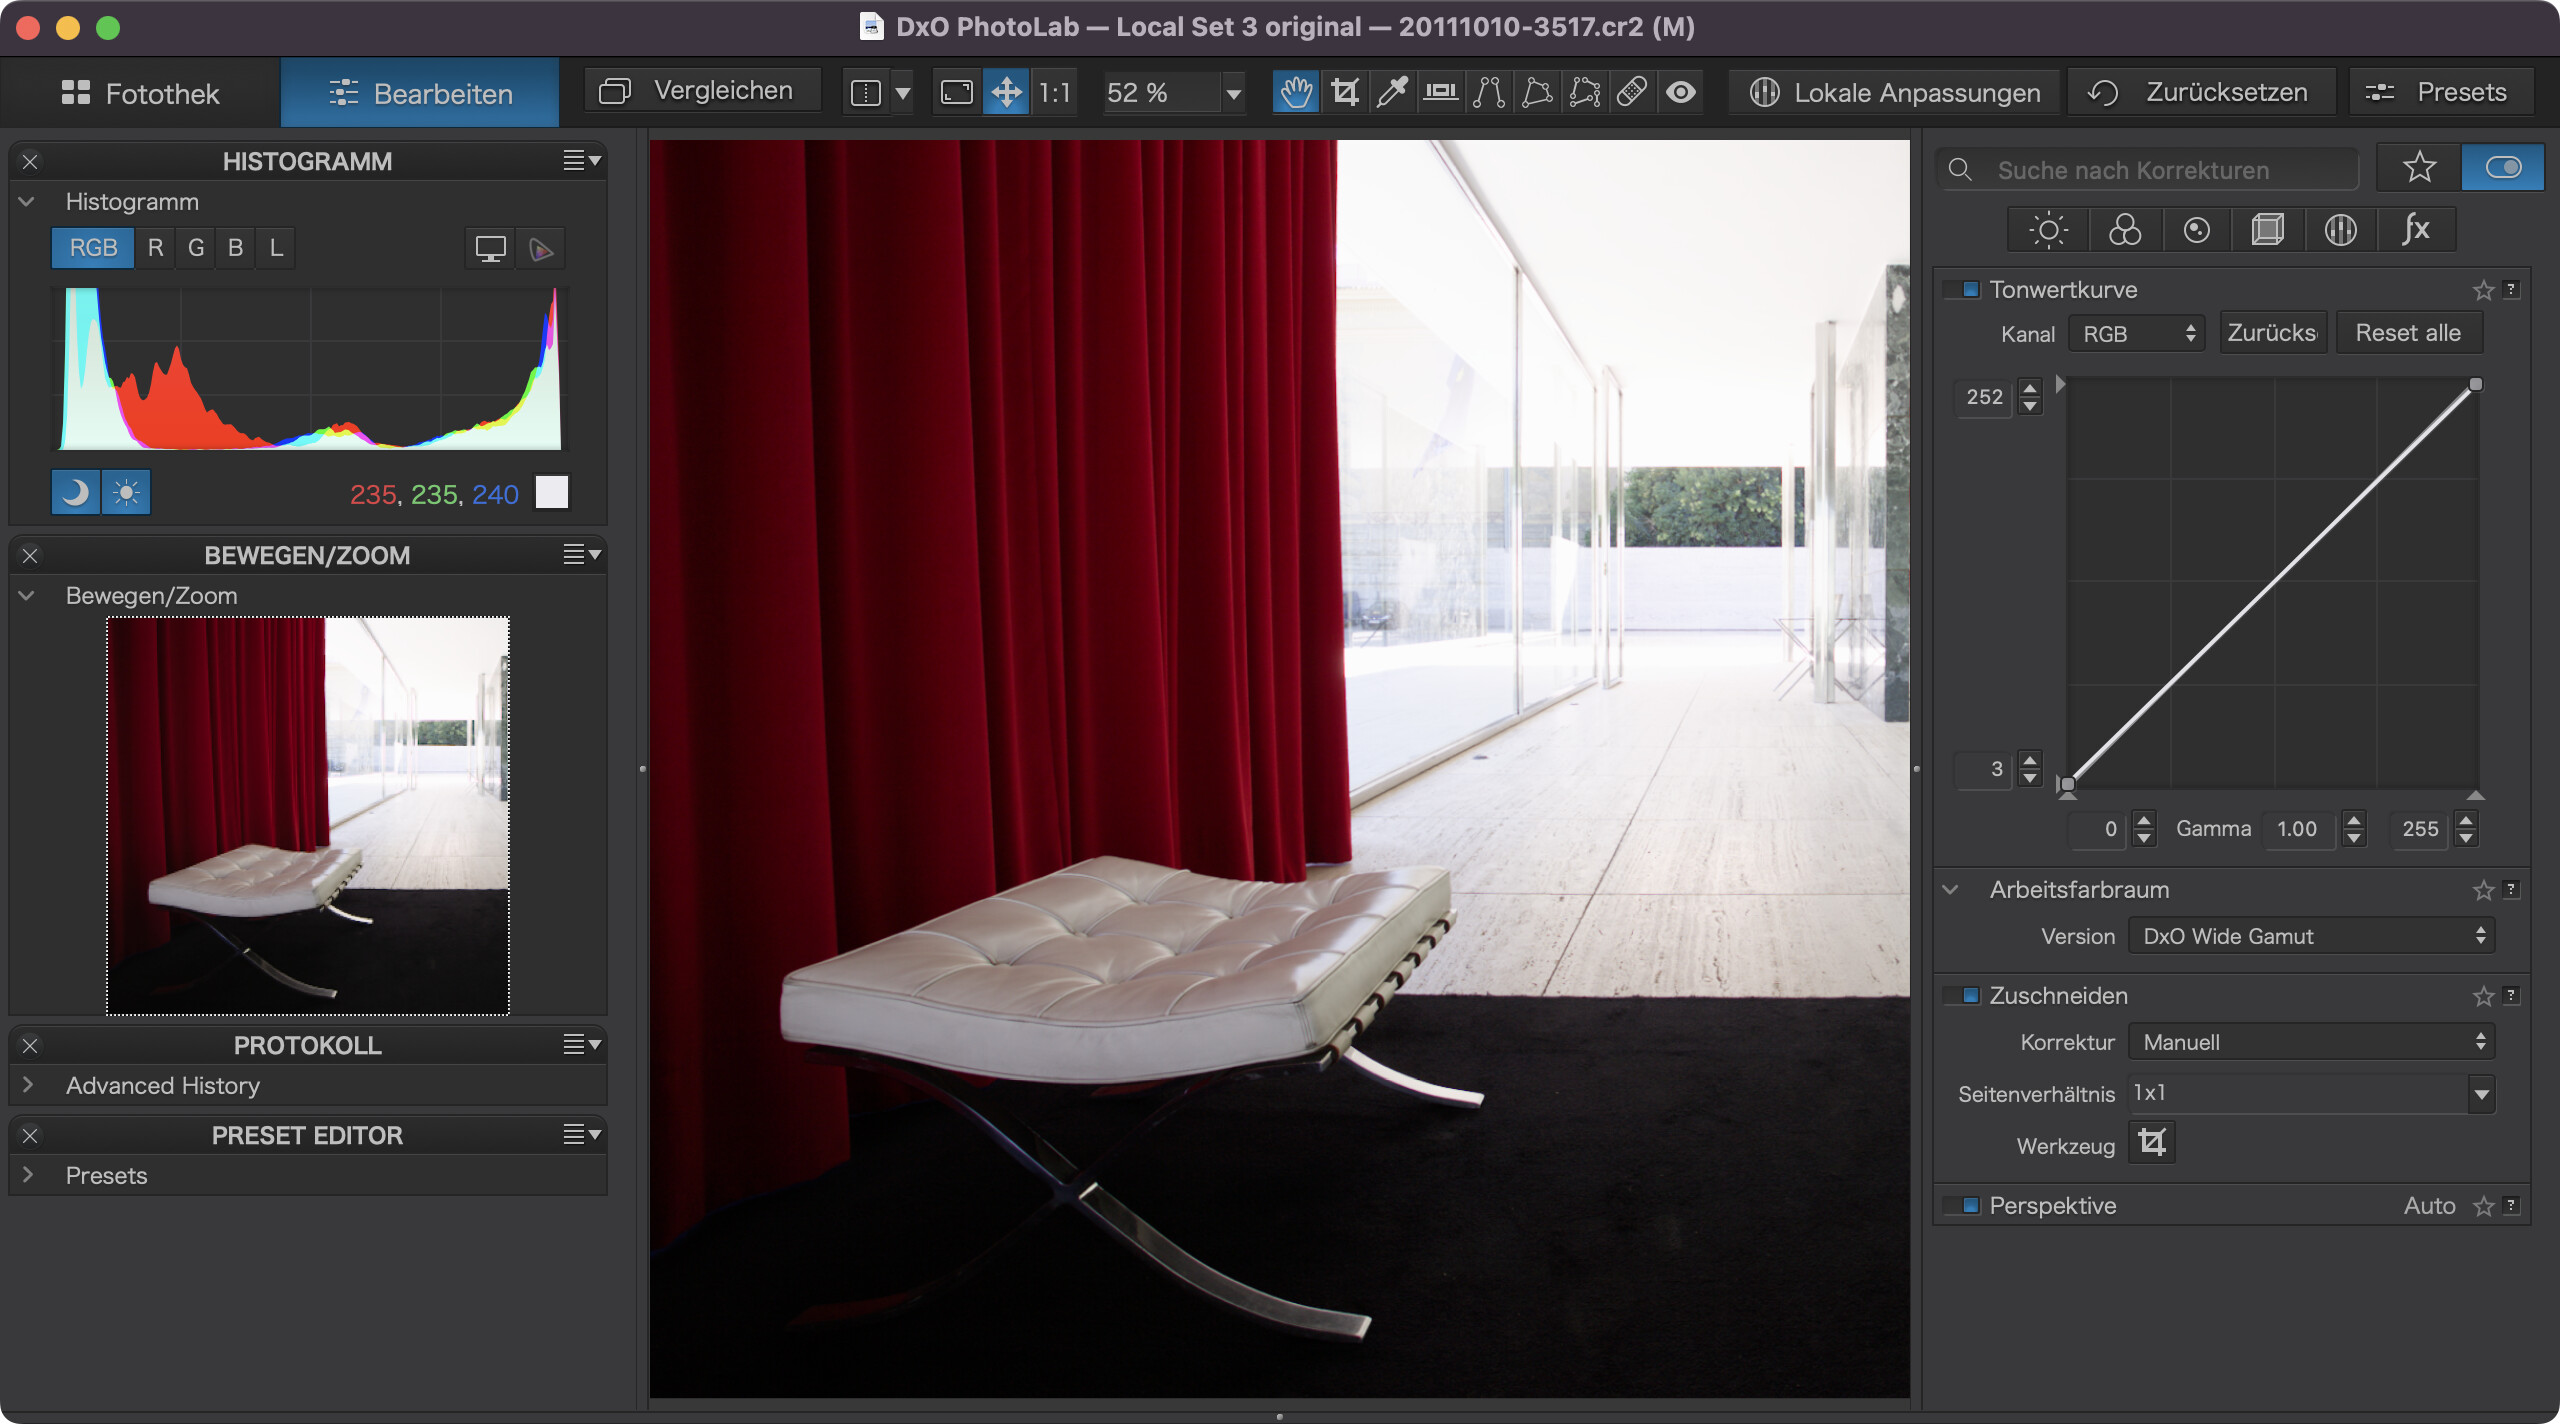
Drag the corner points or change the values of the tone curve to avoid clipping…even though it only avoids clipping indication. If highlights are clipped in the original file, nothing can bring back any details in those clipped areas.
over/under indicators without tone curve changes
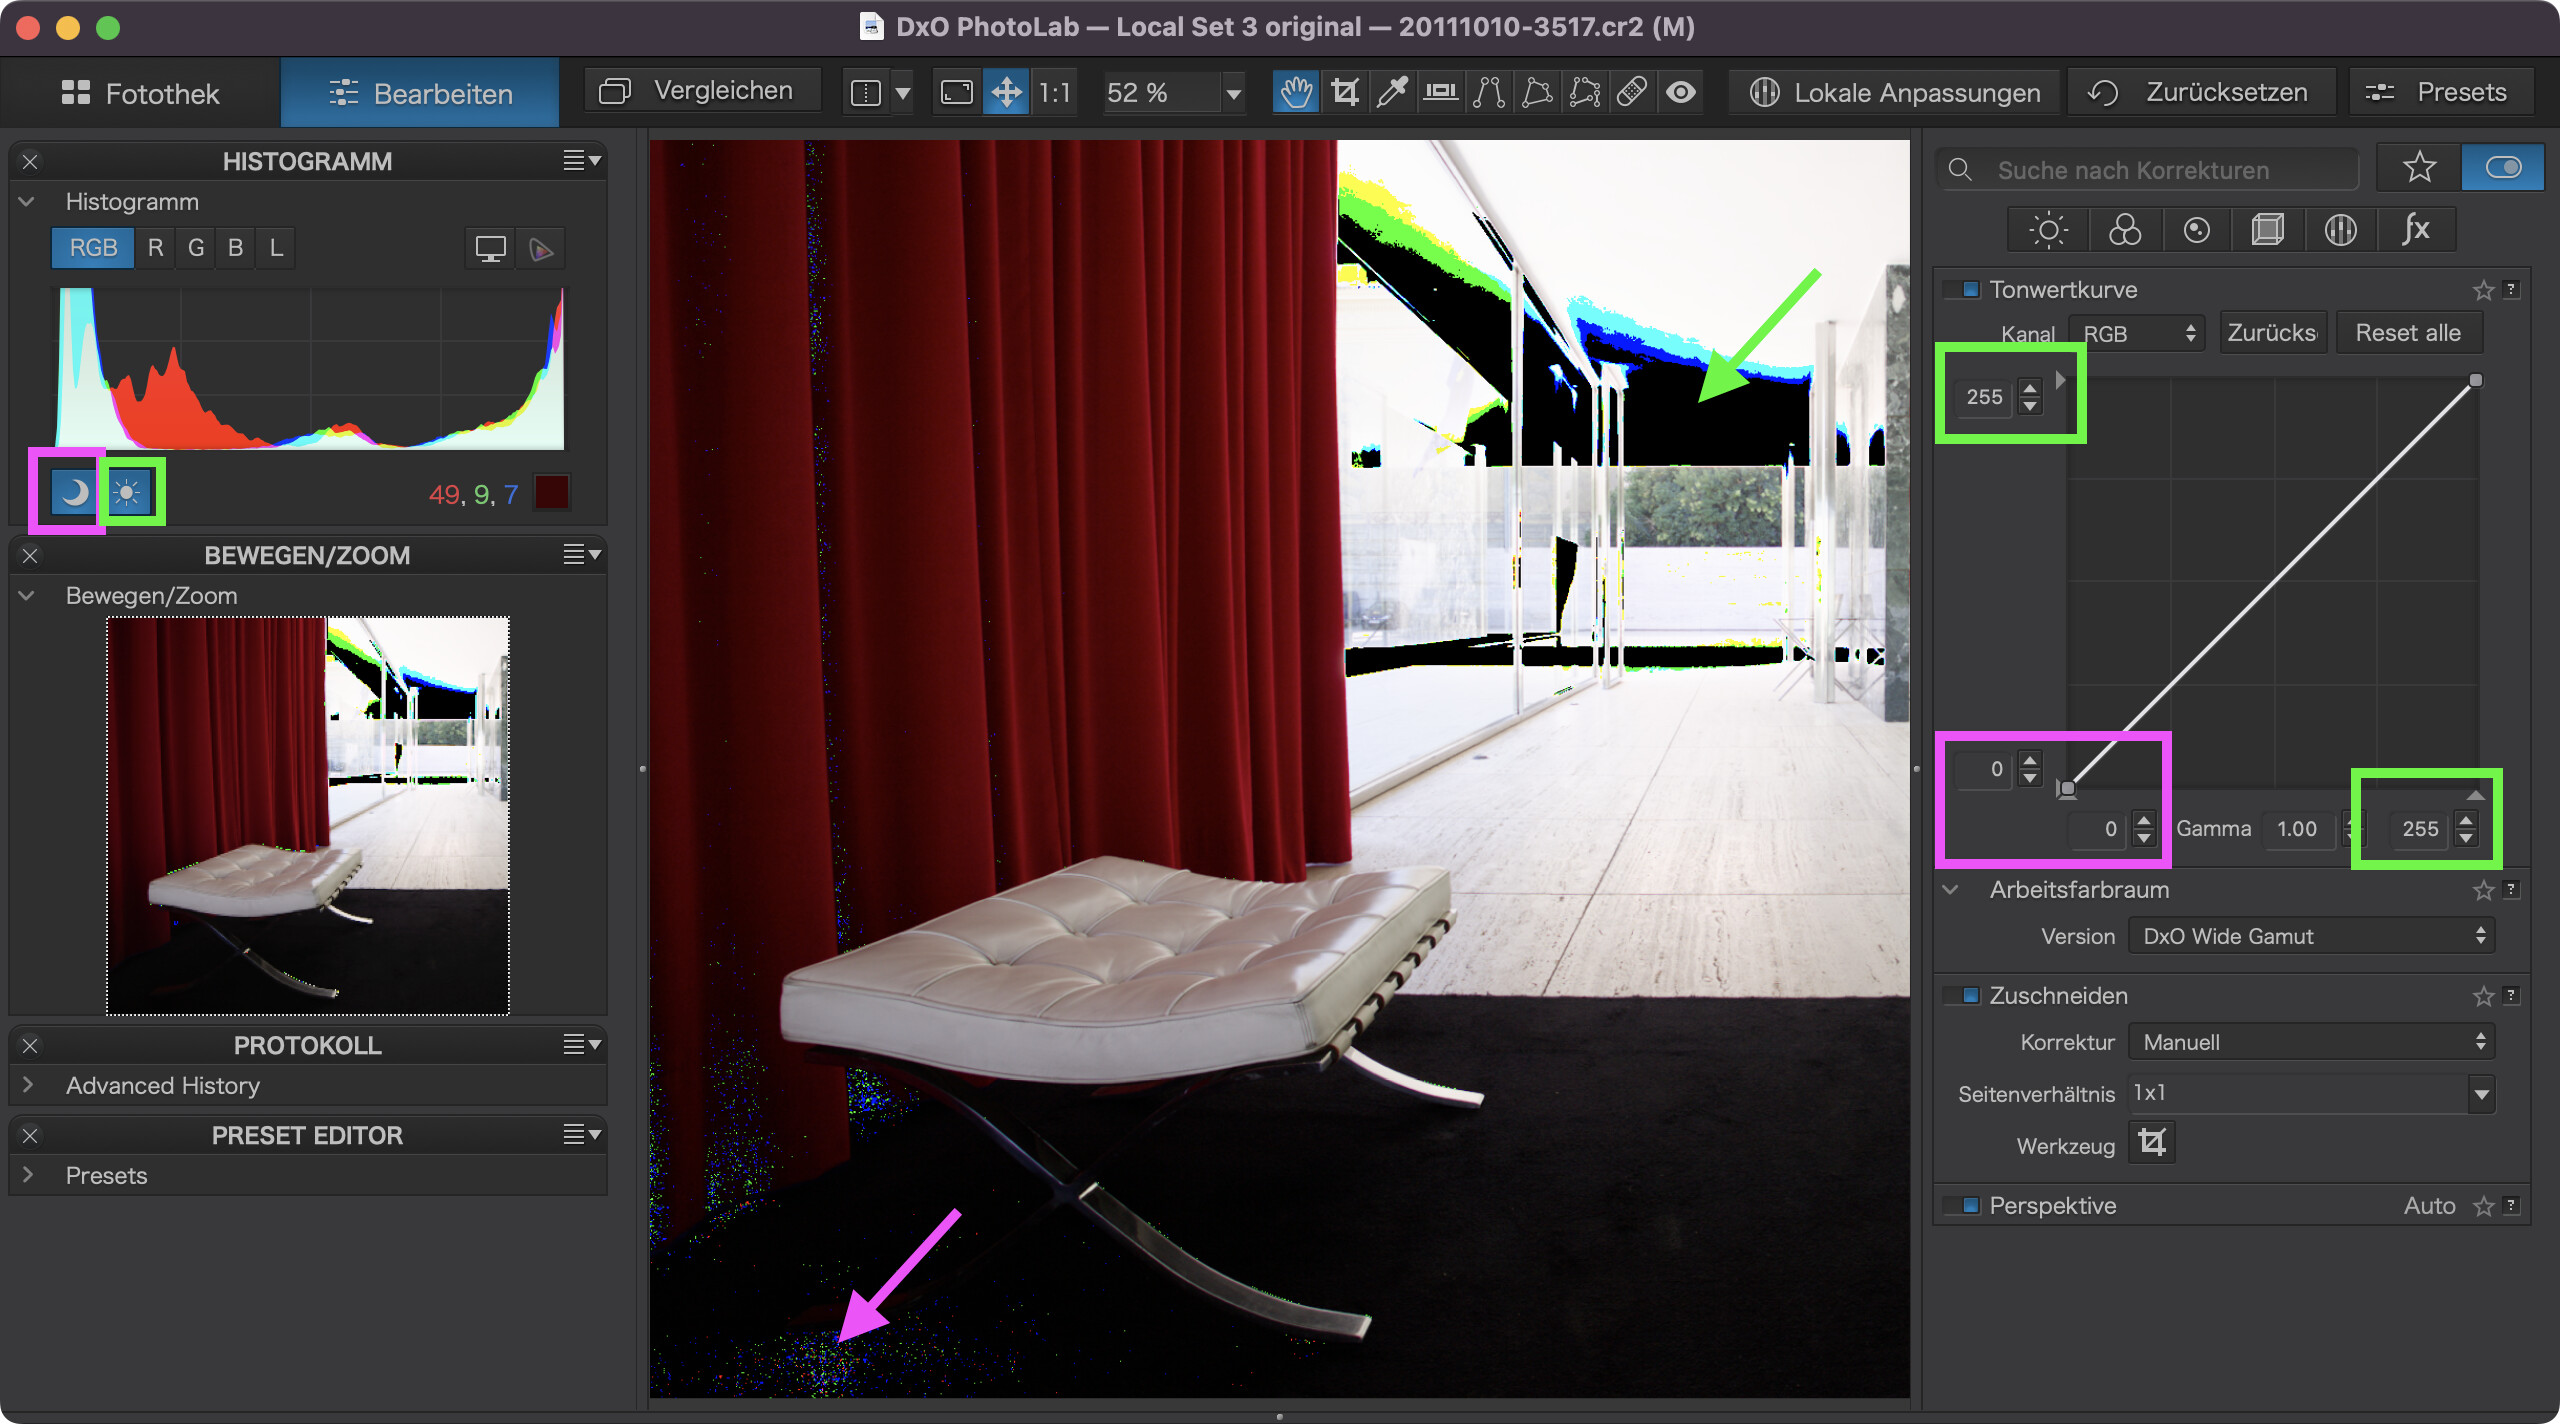
same with changed tone curve / W&B points
Not really for the black and white points. Just for anything in between these two ![]()
The curves function does not adjust the white point. When highlights are overexposed, pulling the top right down just moves the blown highlights to the left. It does not smooth out the curve.
Reducing the exposure does recover blown highlights, where possible and so does reducing the contrast. However, adjusting the white point would be much more convenient. Even Canon’s free DPP software does that.
If the interest is to avoid clipping, there are quite a few options that are easy to use and work very well.
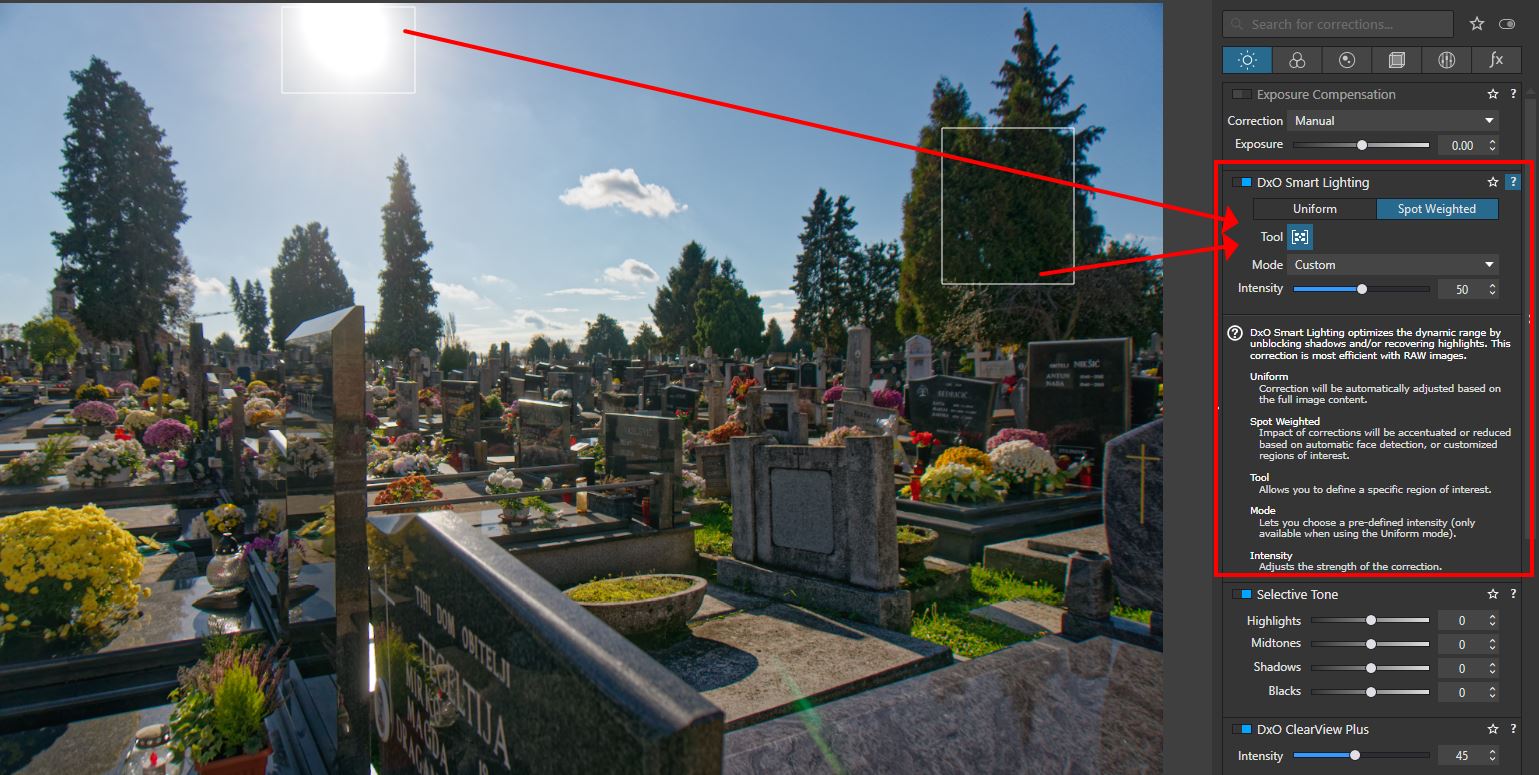
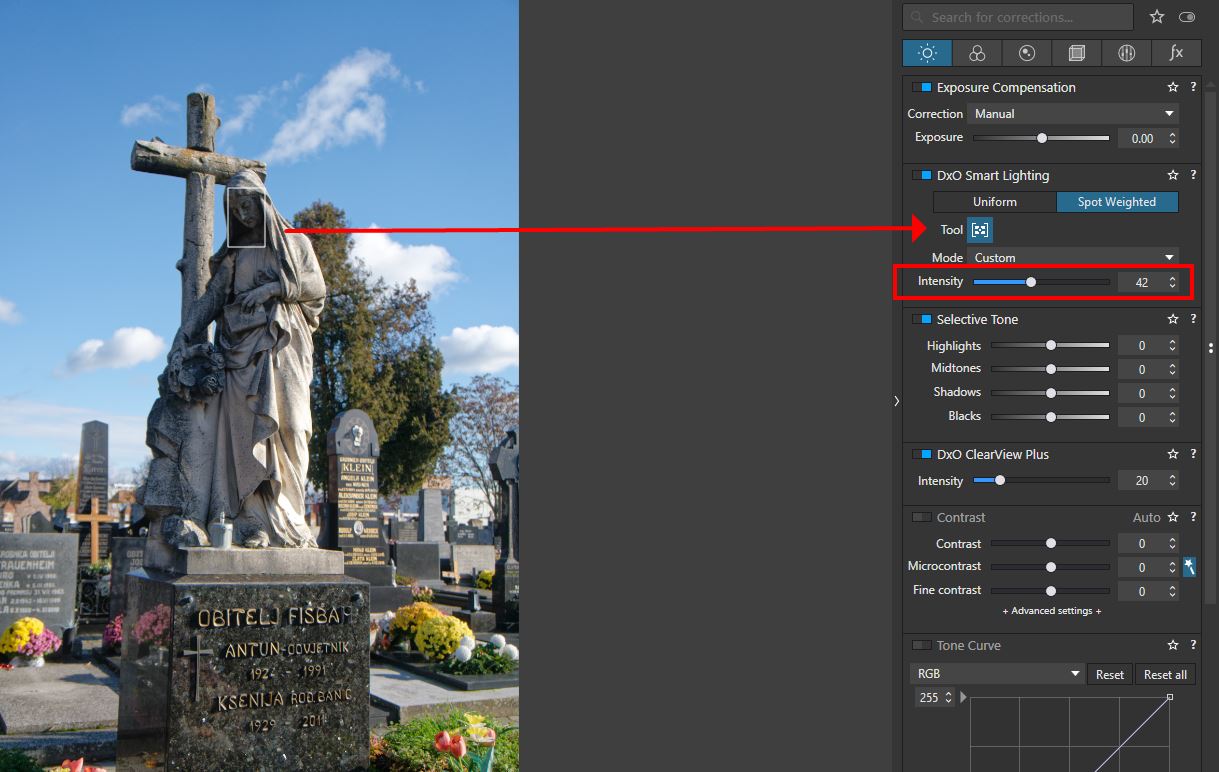
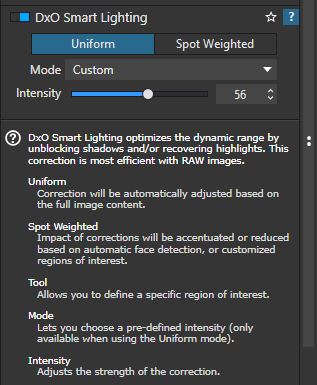
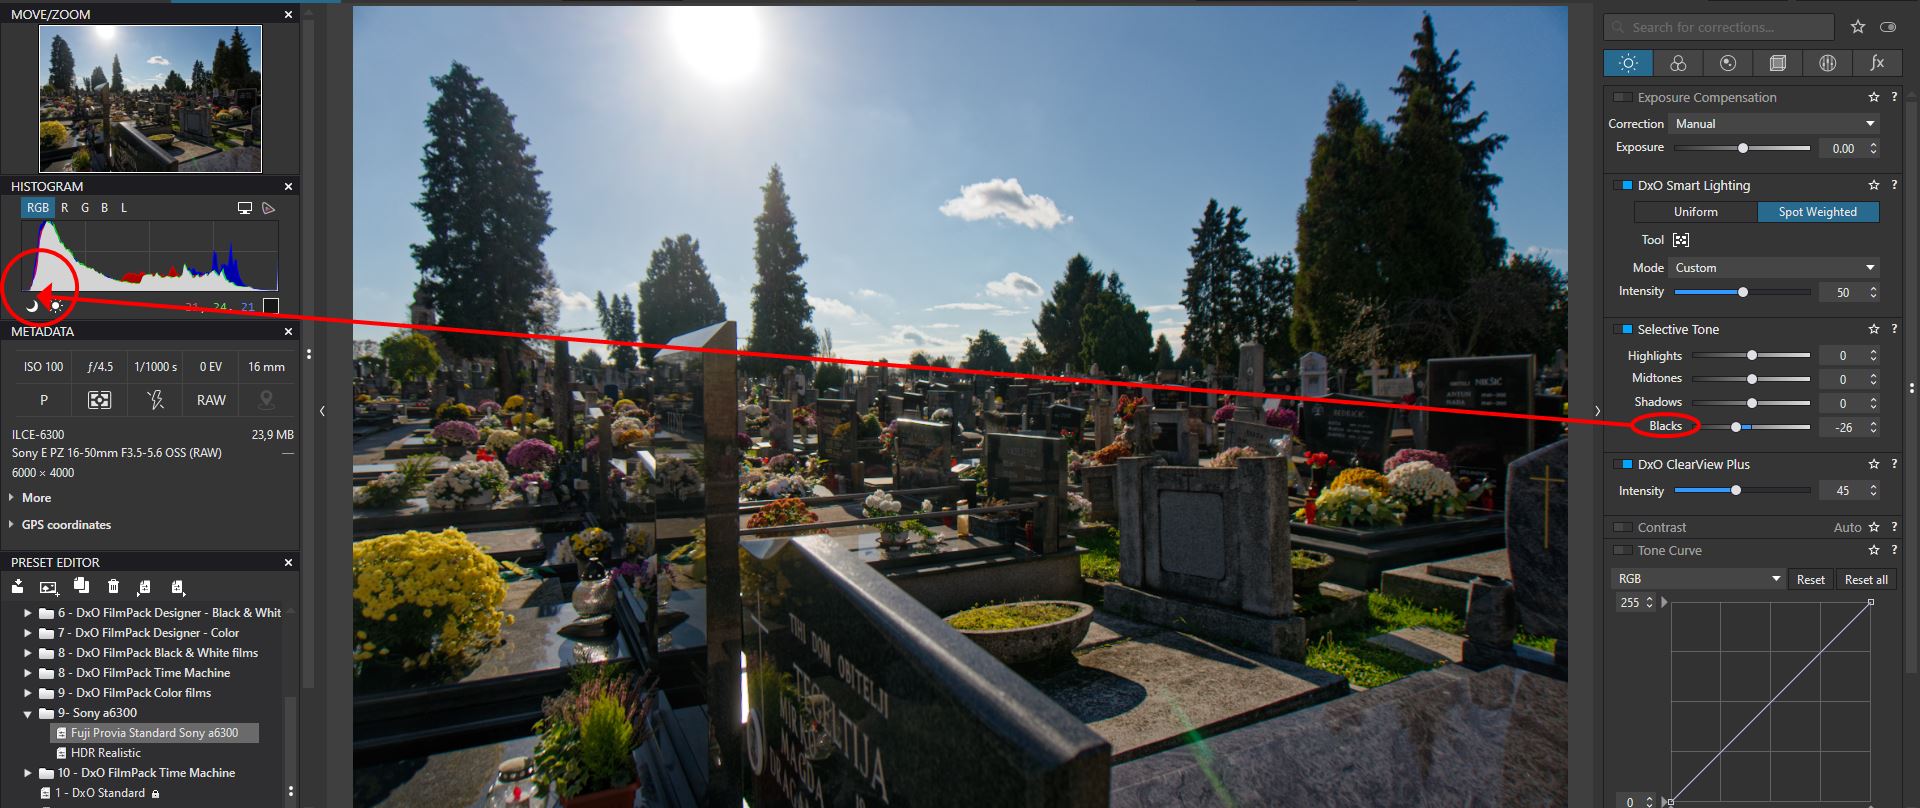
Generally speaking if I need to avoid clipping in blacks or highlights, the closest equivalent to black and white points you mentioned can be found not in Tone Curves, but in Smart Lighting. Simply use Smart Lighting either in “Uniform” mode that works most of the time, or switch to “spot weighted” and simply draw a rectangle selection with the tool over darkest and brightest areas of the image and dynamic range will be optimized, You can than adjust the size and position of the selection in the image or simply use intensity slider of the Smart Lighting tool to your taste. Its quick and easy and works I would argue better than black and or white point in Curves.
Here is a visual demo.
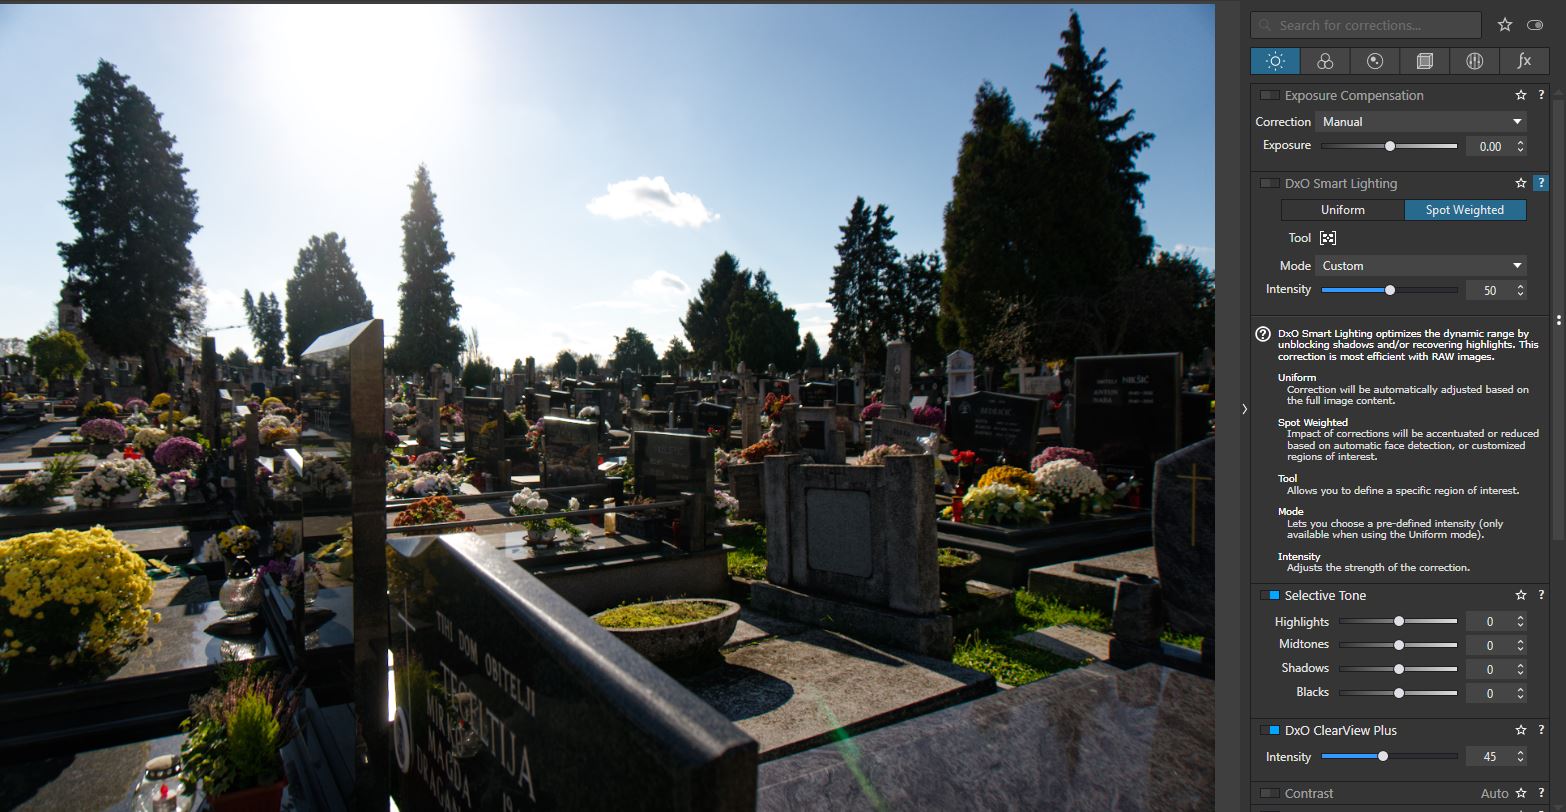
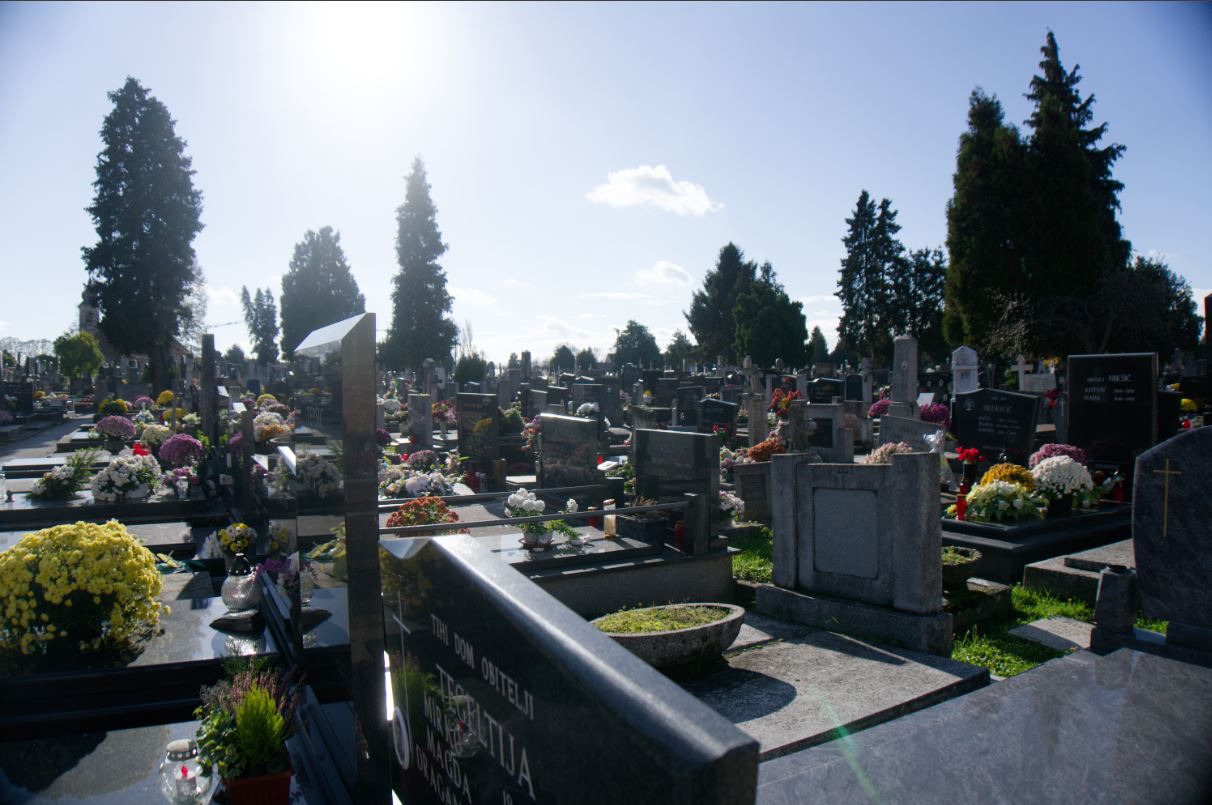
Here is an image with dark shadows and blown out bright sky. If I wanted to adjust the dnymic range to be more even in an image like this there are quite a few ways to do it quickly and easily.
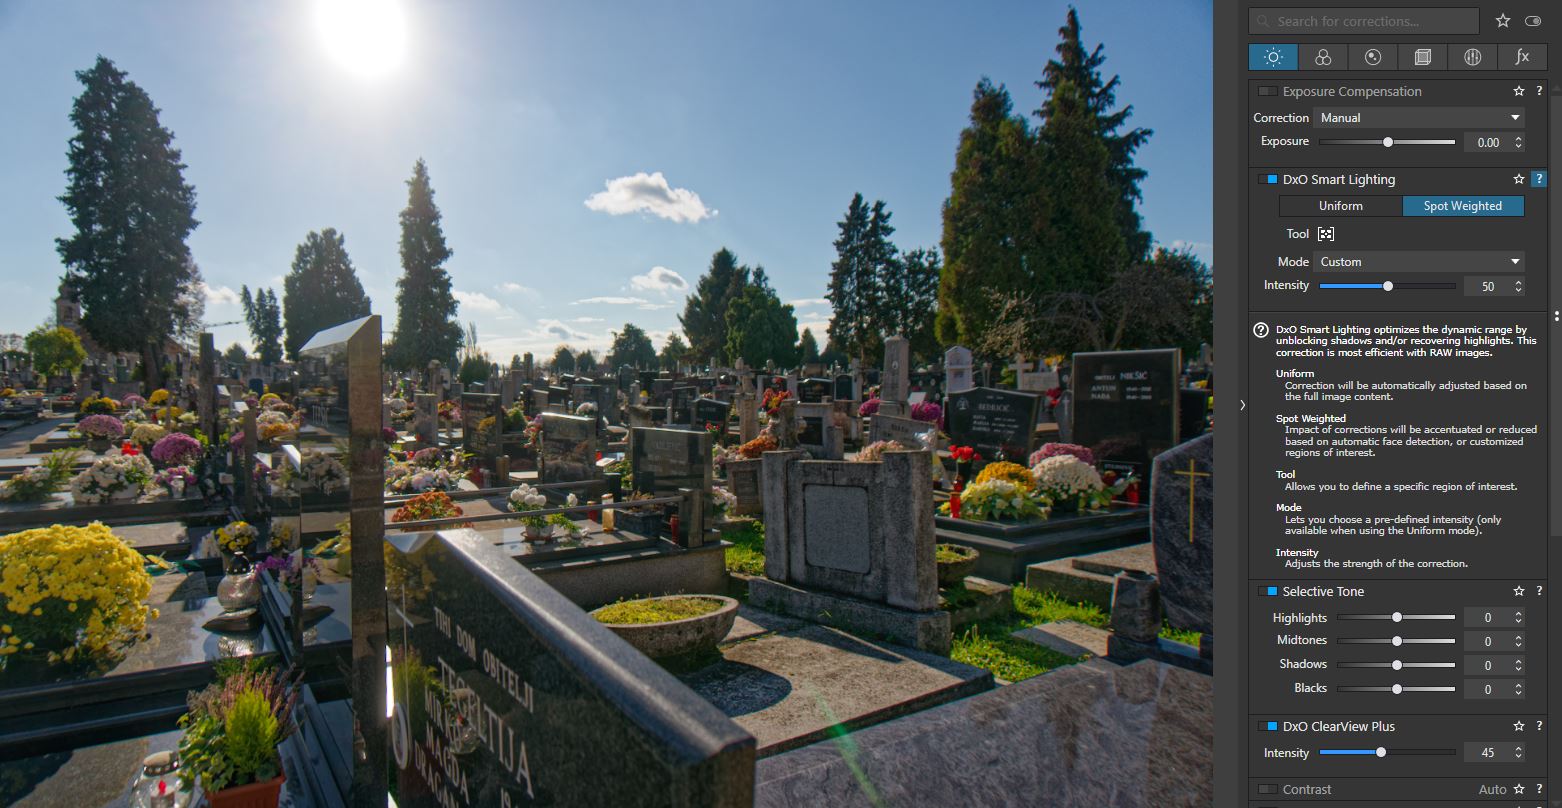
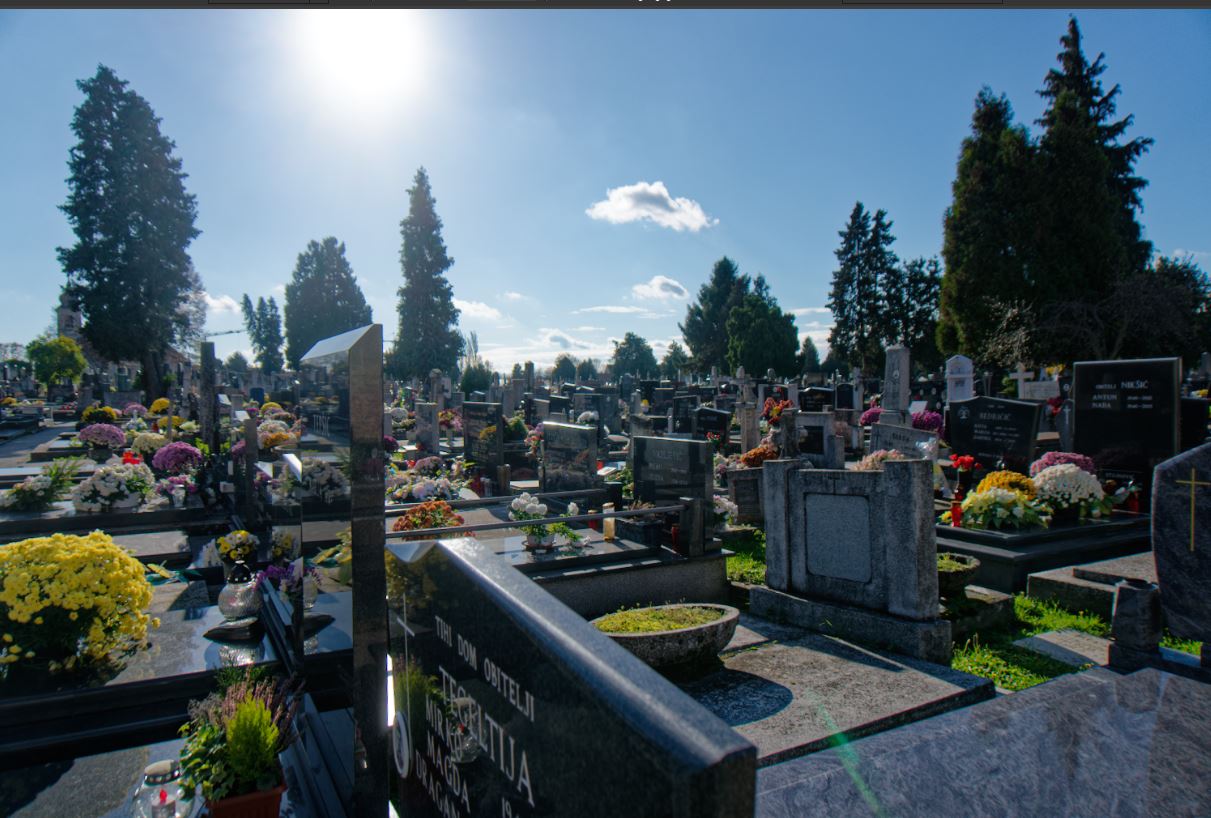
Here is using Spot Weighted selections in Smart Lighting tool I mentioned.
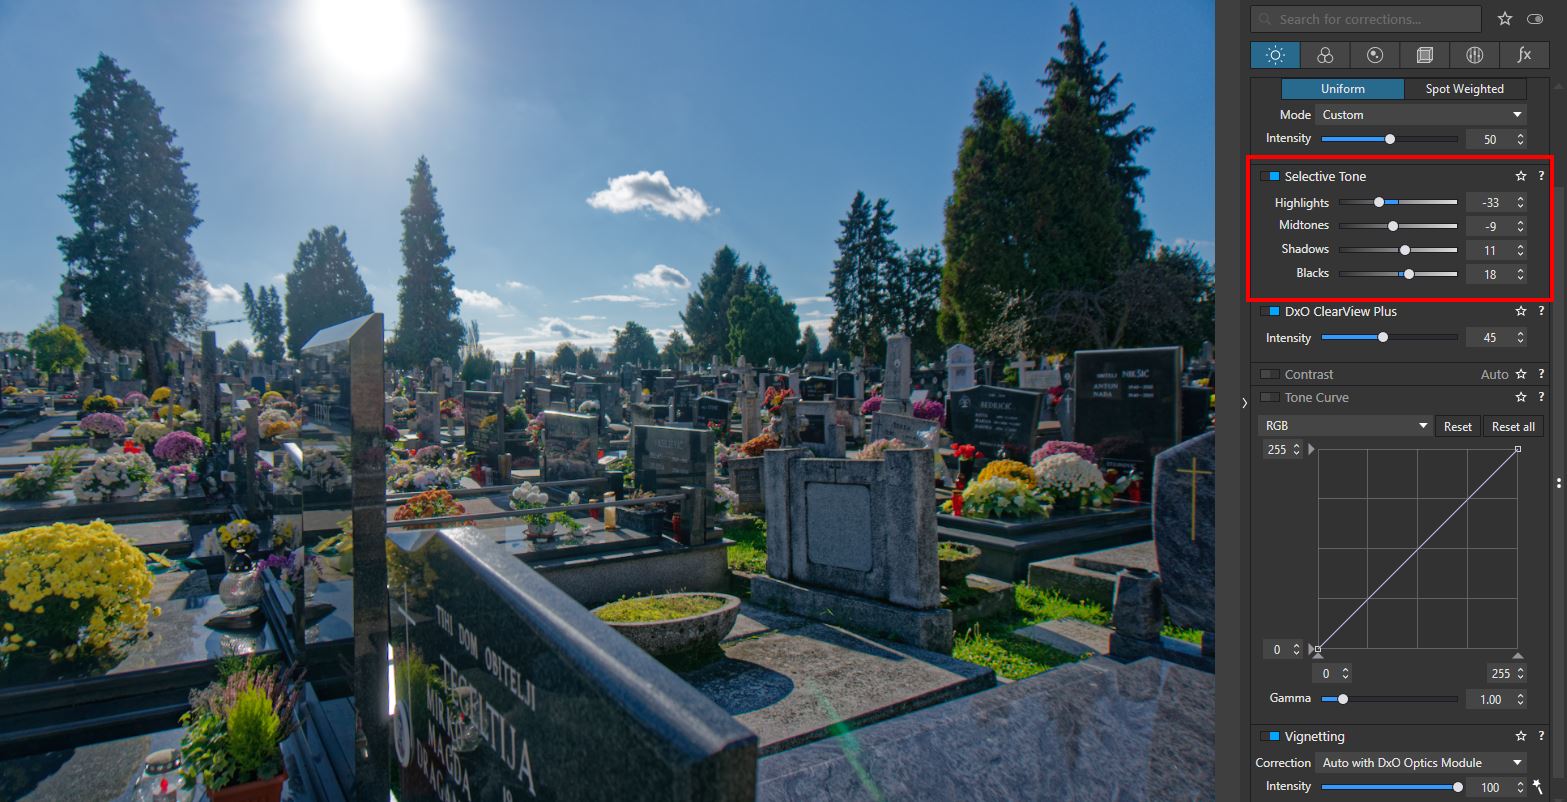
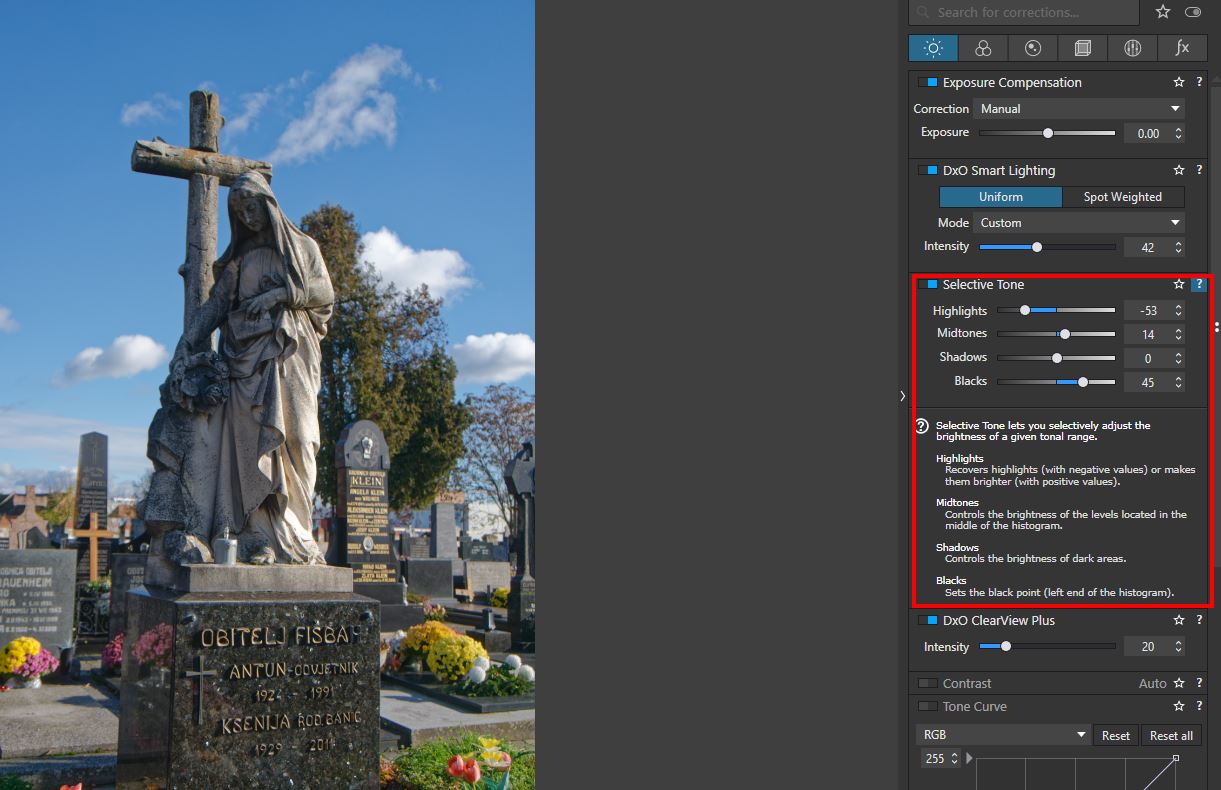
Alternatively I would use quite useful and easy to use “selective tone” which is a lot like Levels or Curves but with sliders. In Lightroom think under the curves you have similar settings.
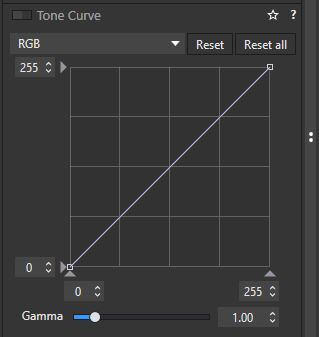
I use them all the time and quite frankly while Tone Curve exists in DXO I almost never use it to adjust tones, because there are so many easier to use tools, but curves can be useful if you use R,G,B individually for color correction of for example color tint in the shadows only or if you want a cross process creative effects.
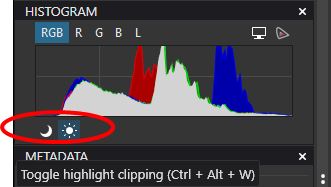
You can always rely on Histogram with “clipping” warnings if you don’t trust your eyes, and it can be used to warn you of clipping both of tone and out of gamut colors.
Otherwise I would use either Smart Lighting which can also detect faces, very useful for portraits, or “selective tone” controls.
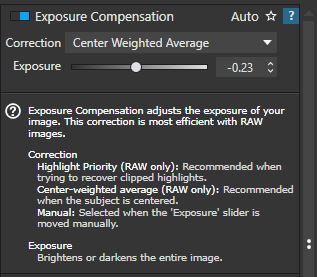
So you have quite a few options including exposure compensation that works almost identically like it does in most cameras.
A lot of this can be automated with presets, so that when you apply a preset to almost every scene it will give you excellent starting point or finished image. And if it needs little tweaking, there is plethora of tools to choose from.
Here is how much a preset I created for my photographs does for me, even with challenging images that are backlit. This preset is applied upon import, so its automatic.
I think its more a matter of personal preference than anything. Tonal adjustments with curves are there if you really need them, but curves implementation is pretty rudimentary compared to competition. However the other tools are quite powerful, intuitive for me at least, and they work great. Most can be automated and therefore I only use tool for creative color grading or correction of colors based on tonality, but I never use curves for tonal corrections alone. There is simply no need. Its only a preference of the user.
2 Likes
I forgot to say that using “Smart Lighting” to get to a ballpark of dynamic range you want is quick, but if you need extra precision of particular tonal range, you can also than use “selective tone” controls to find the desired results. And if you can’t trust your eyes, watch the histogram. Quite powerful controls.
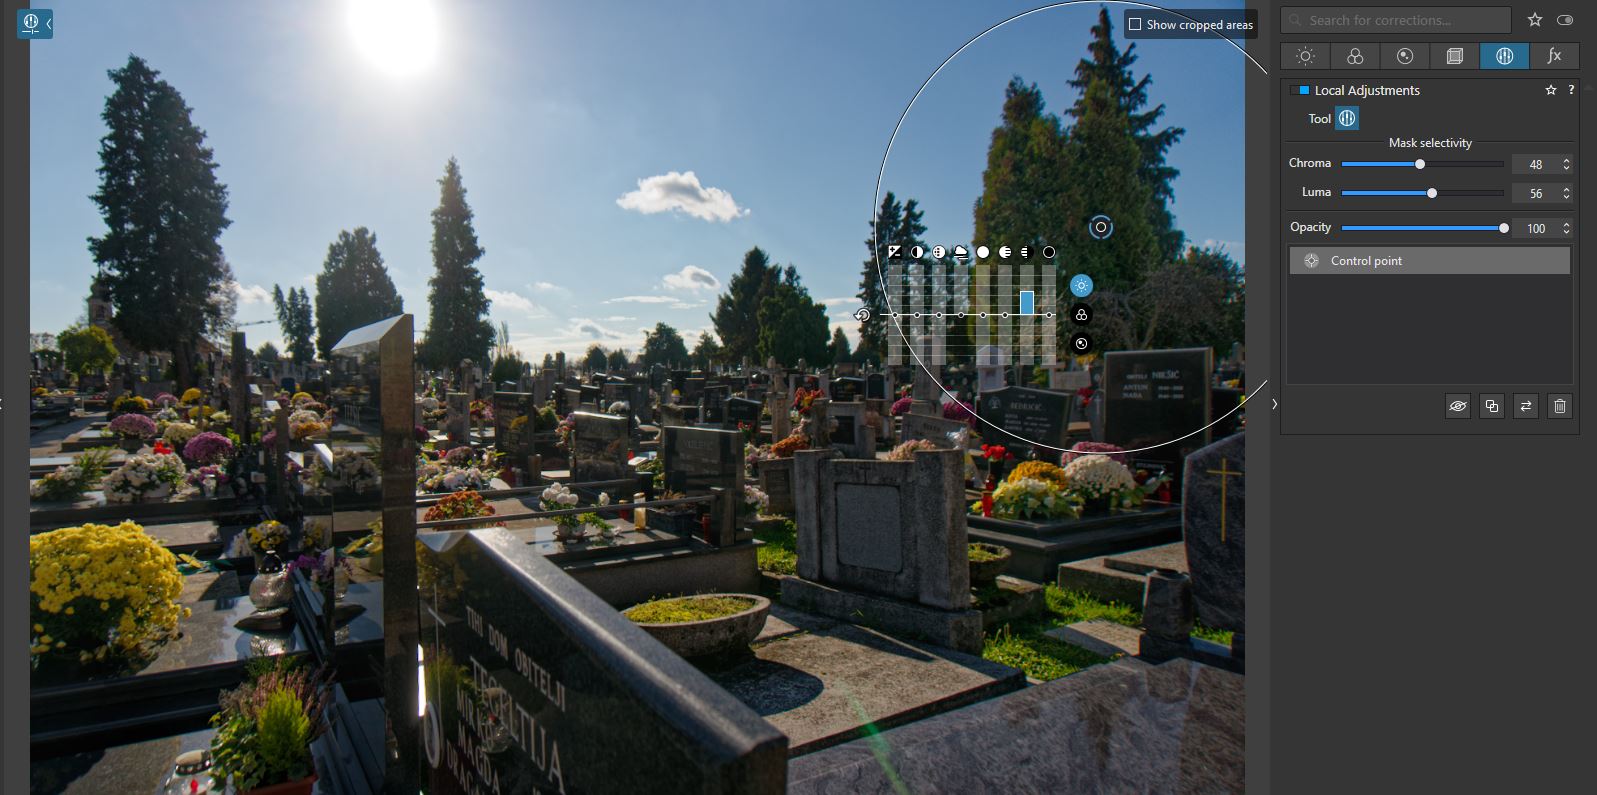
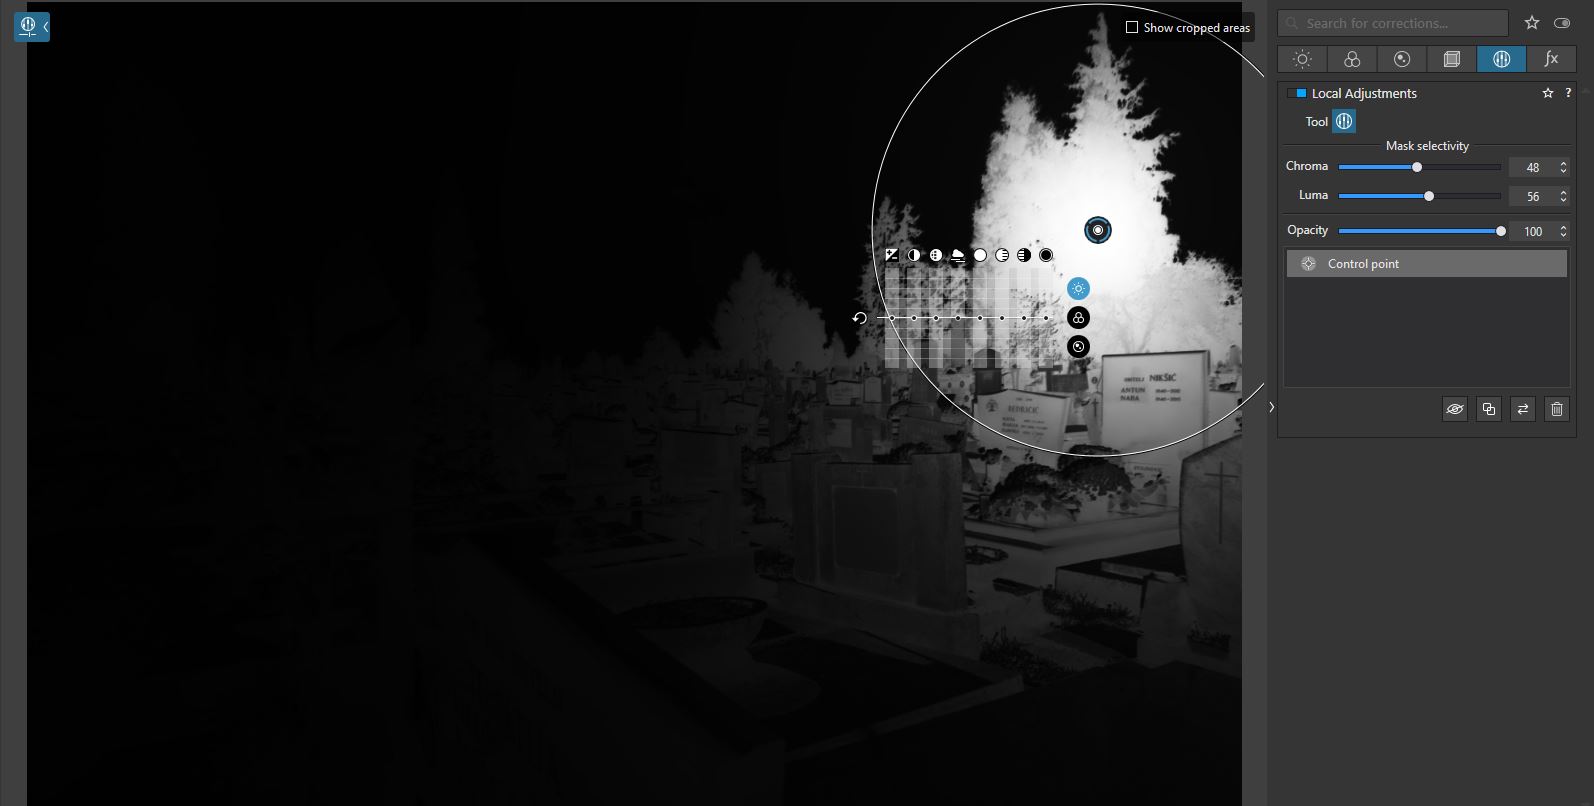
And off course if you need to adjust dynamic range only in one area you can use local adjustments such as control points to do that. There is rarely something in the image that cannot be brought under tonal control sort of speak, using these tools. Especially in combination with each other.
6 Likes
A very informative post. Thank you:-)
1 Like