You don’t need to go into FilmPack standalone version it should be integrated into PhotoLab.
Three things you can do to check it is activated and available:
Check if it is activated…

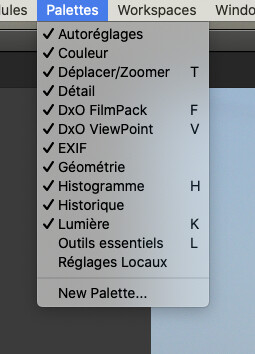
Check the palette is available…
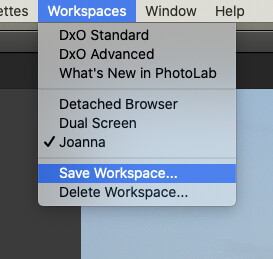
Add the palette to the righthand side (or left if you prefer) and, once you have organised the palettes and tools how you want, save the workspace under a name of your choosing…
There are two ways to select a film:
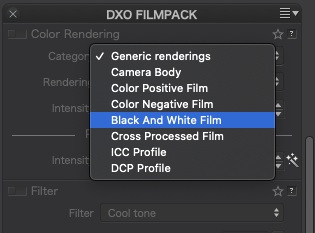
- Use the Color Rendering tool
Select the film type…
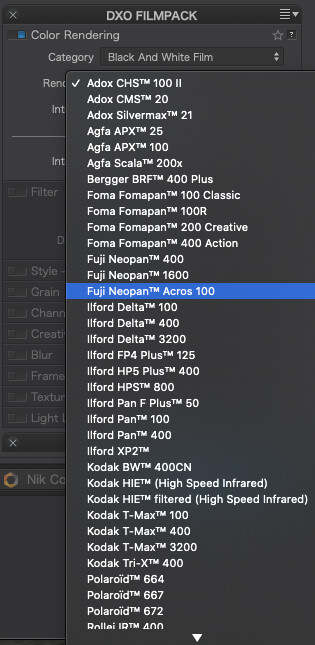
Then select the film itself…
- Use @mwsilvers’ presets
They are available from here…
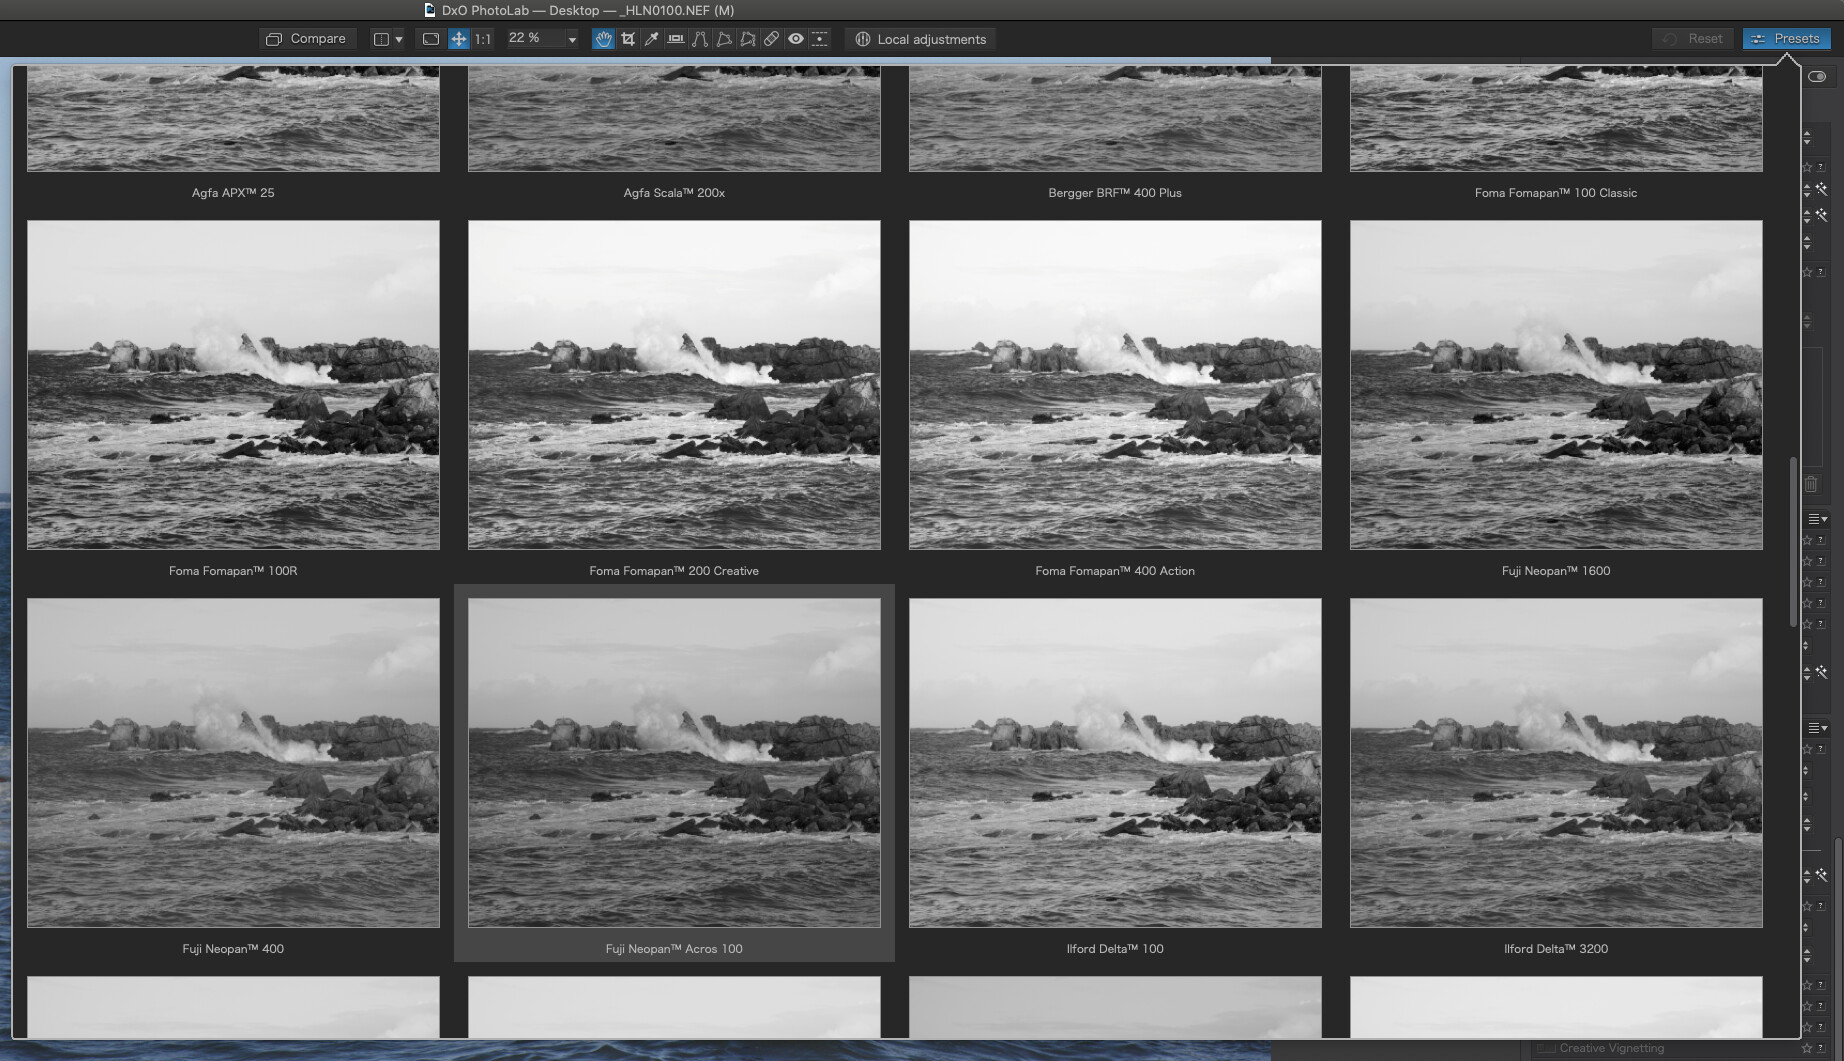
Once they are installed, you can simply go to the Presets button and see previews of what each film will look like when applied, much like in the standalone version…
Don’t forget that every time you change lens, you stand the risk of getting dust on the sensor. My “walkabout” lens is the Nikon 28-300mm (see Ken Rockwell’s site for a review). It can be a bit soft around the edges but it certainly saves lugging a load of kit around ![]()
All I can say is - use it with caution; it can make a real mess if done wrong. Here’s a screenshot of what I did with your shot…
… but you really need to play with the settings to see how, or even if, it works best for a particular image.
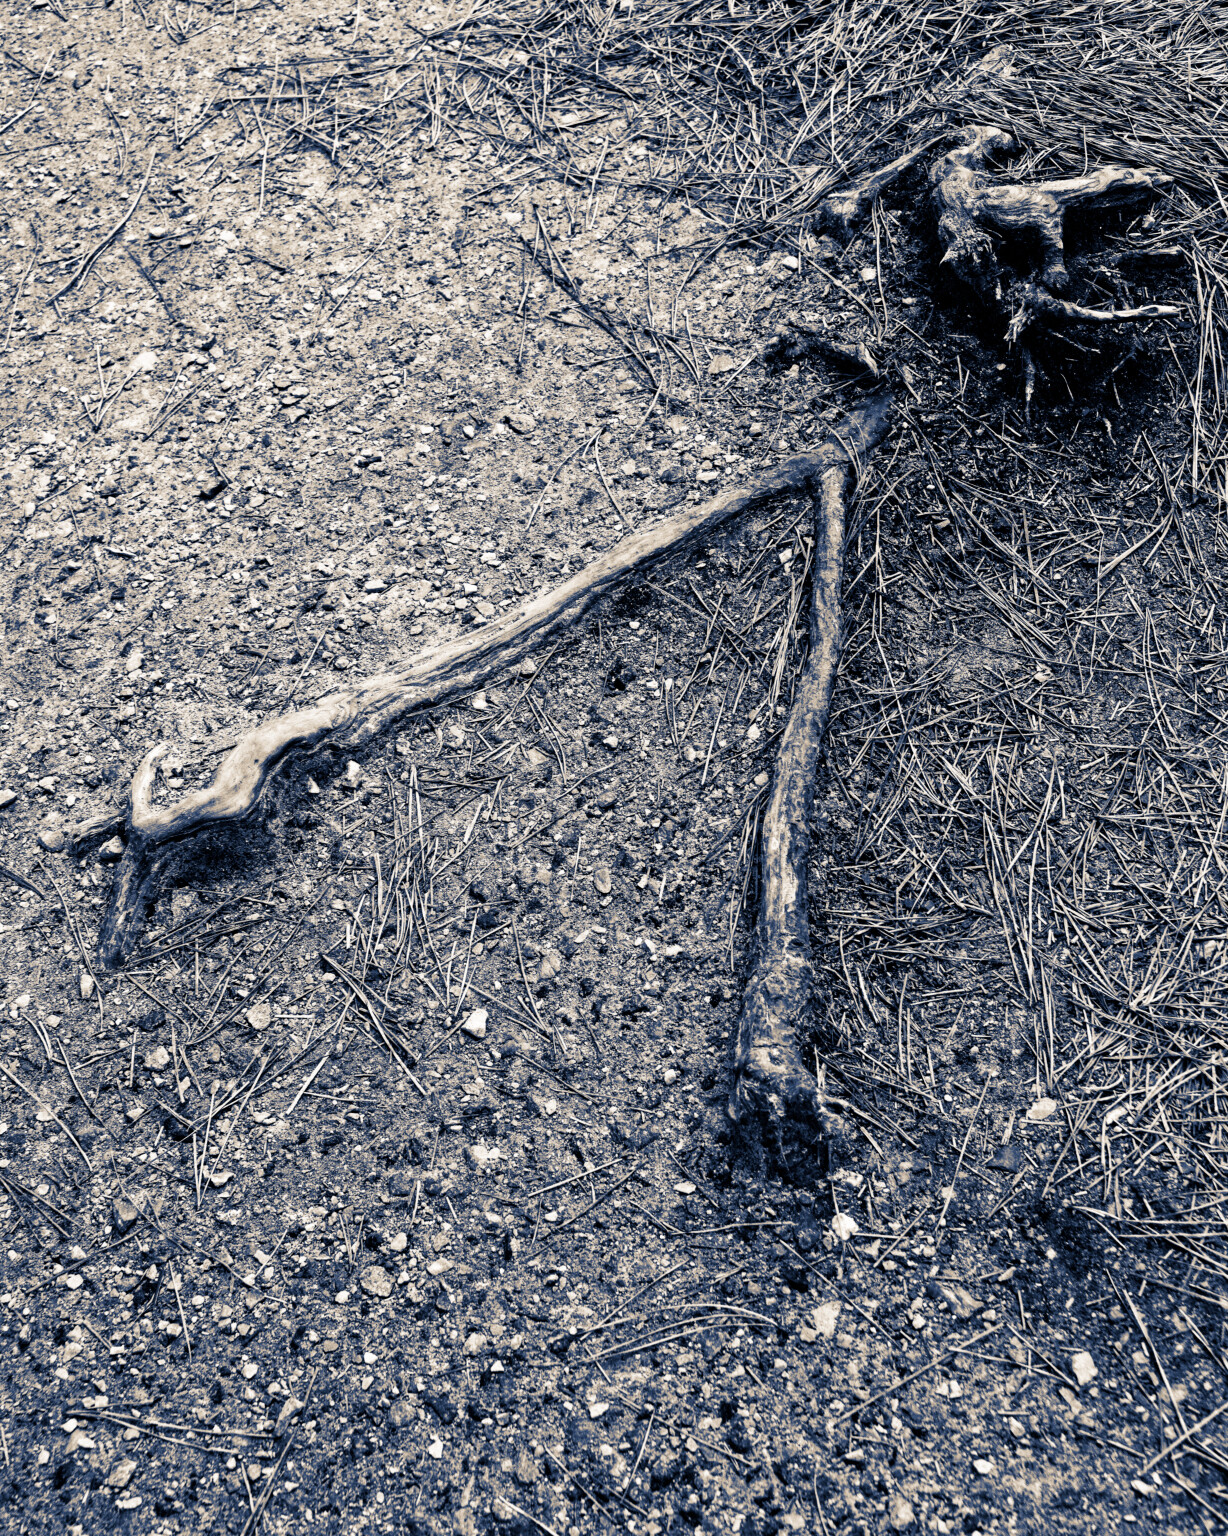
Here’s a shot of some weird tree roots that I tried to rescue using it. In my own opinion, I was “throwing good money after bad” ![]()
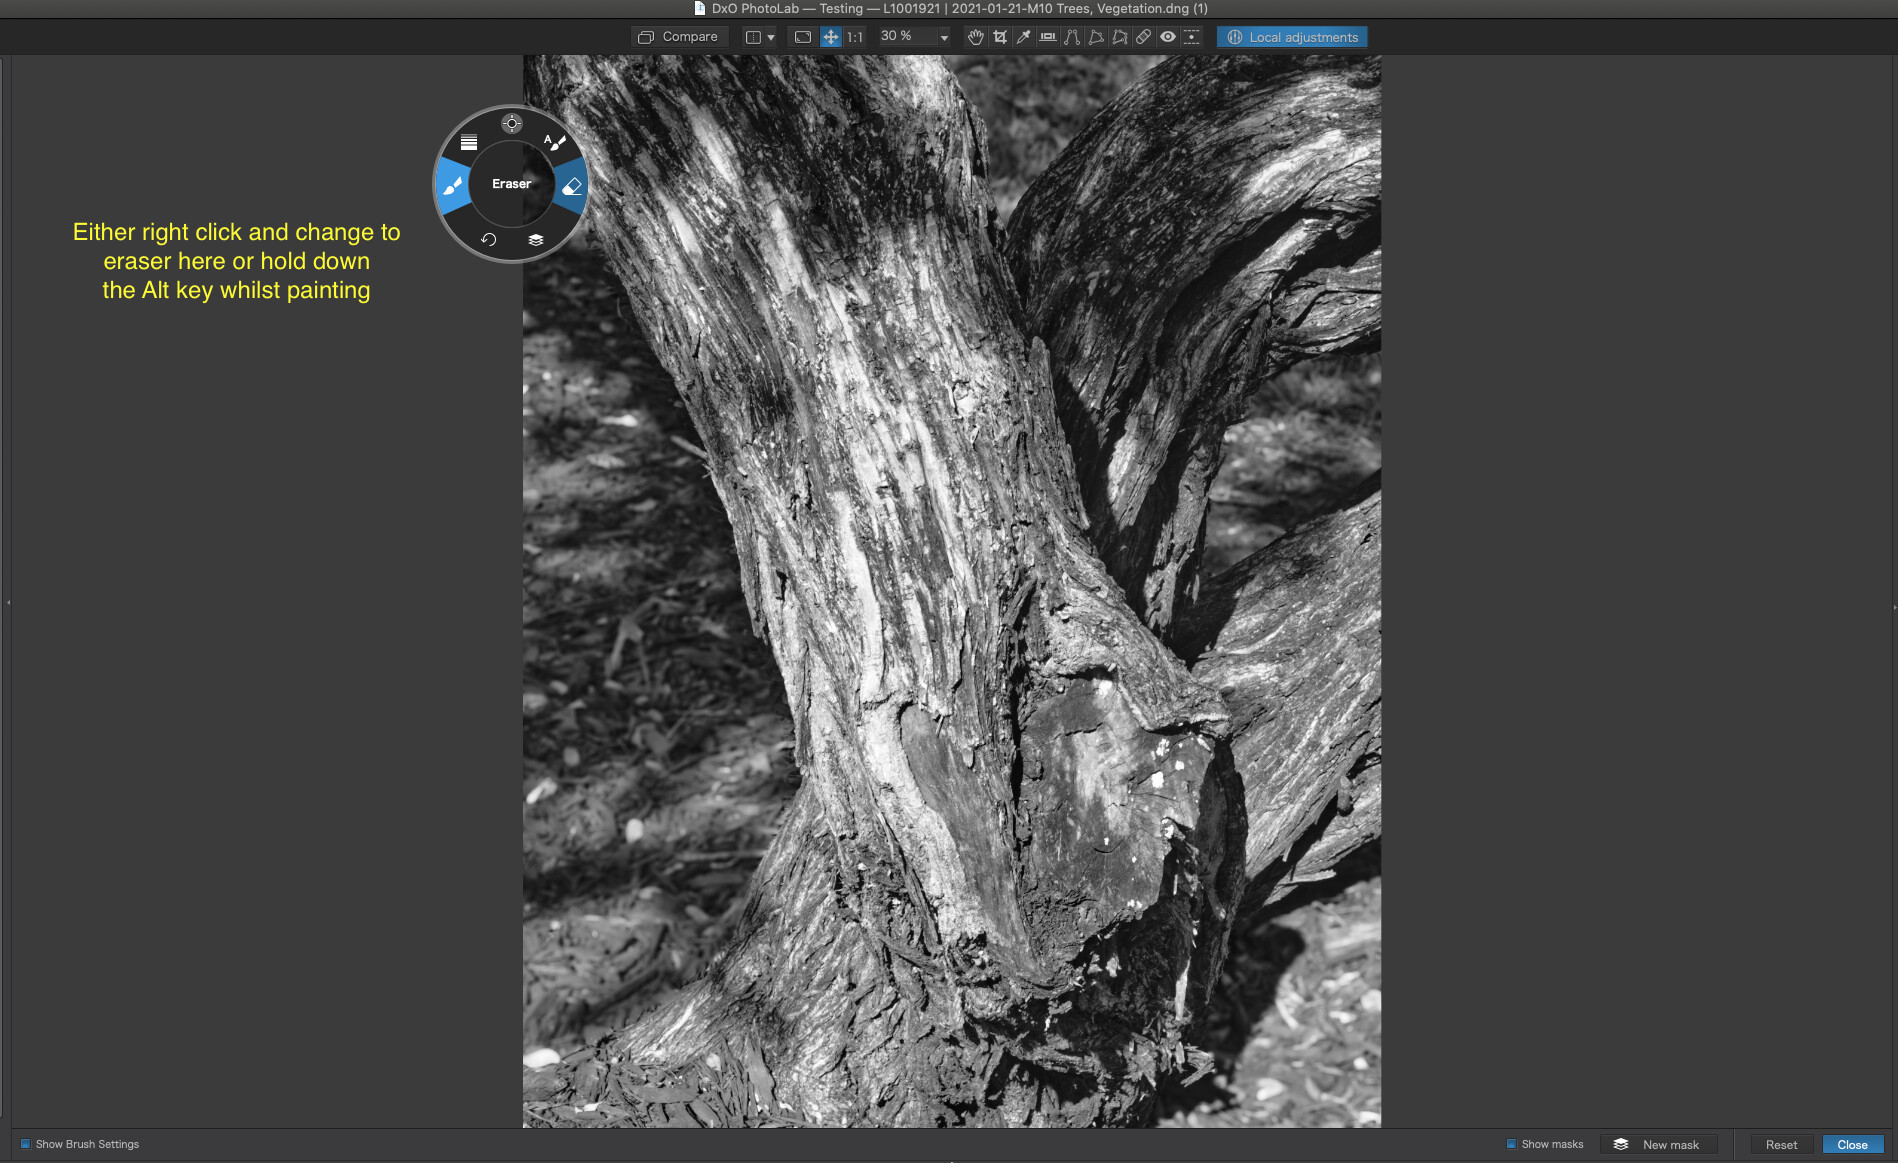
It was a hand-drawn brush mask in local adjustments…
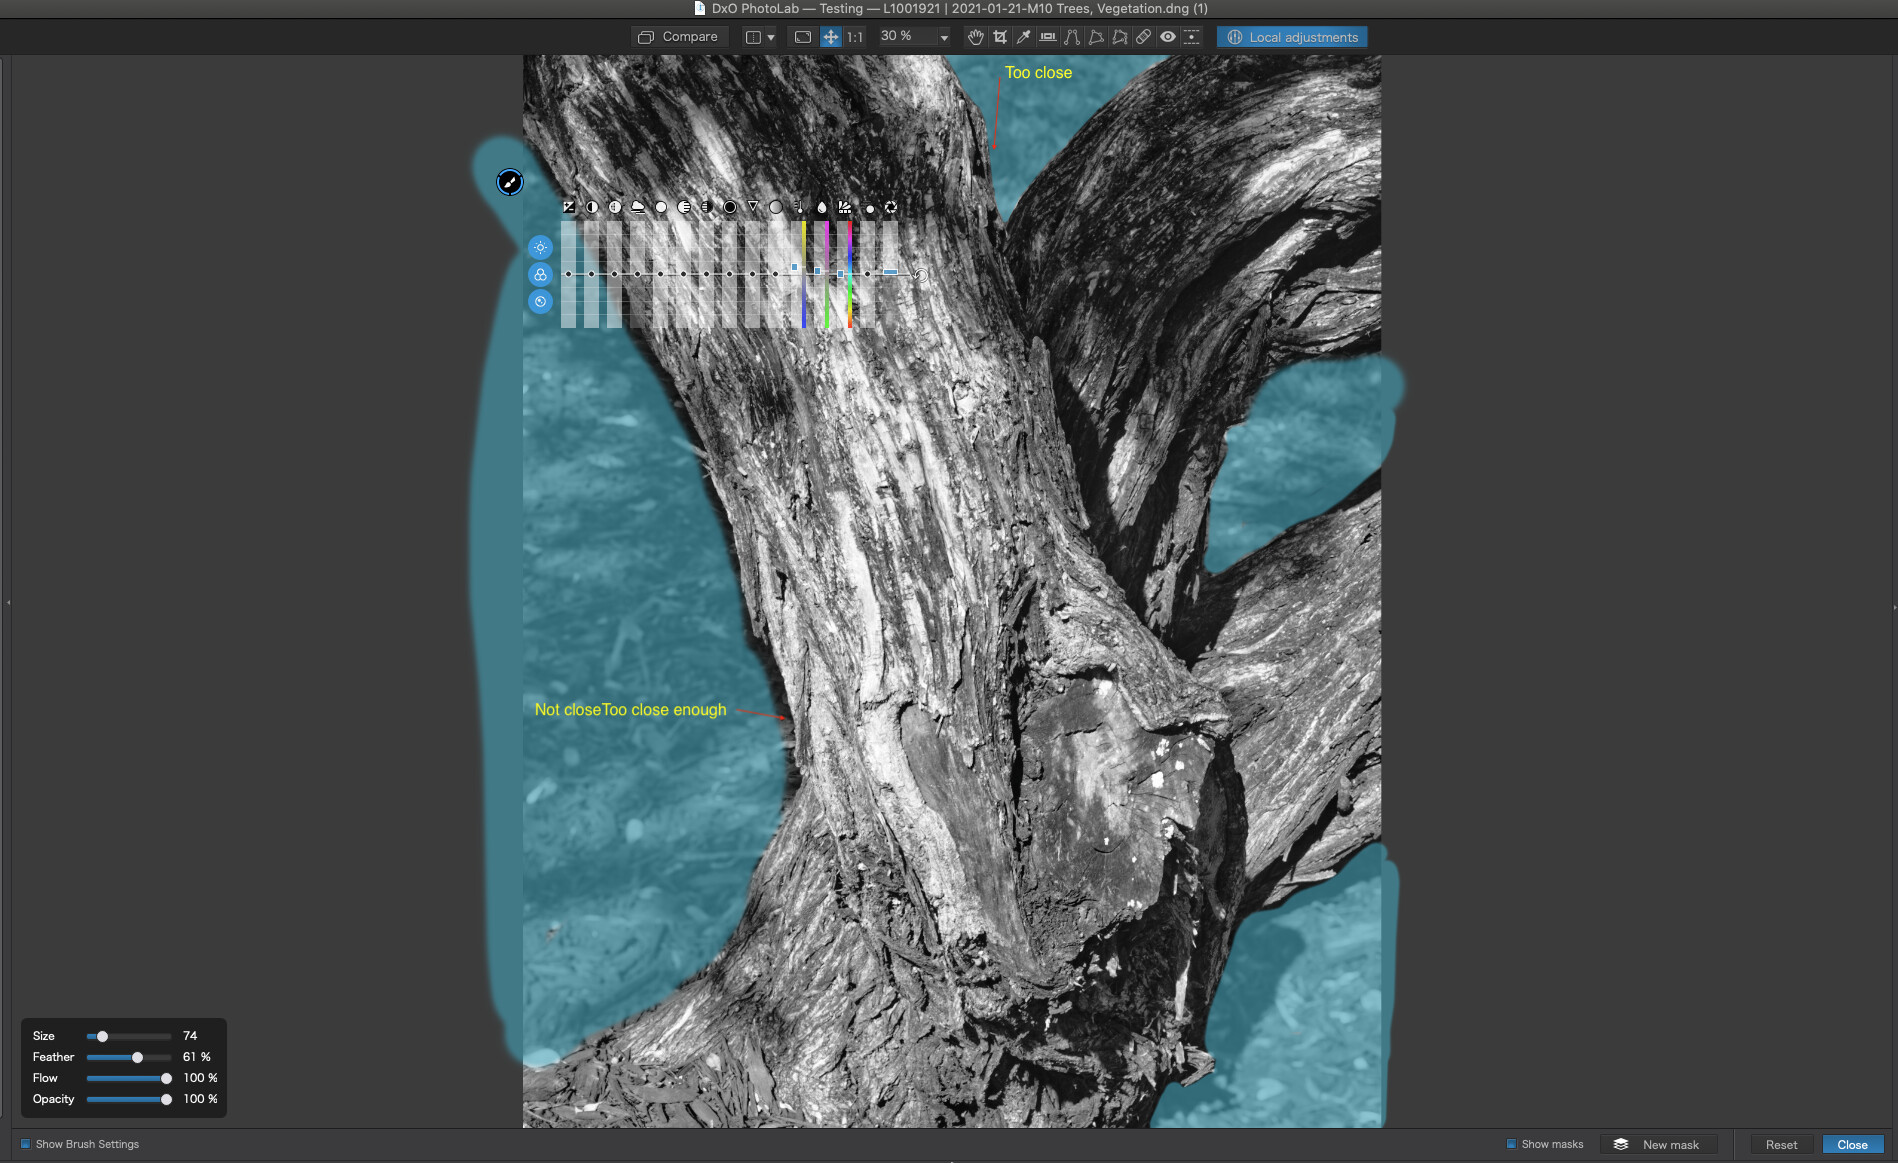
What I have done is far from perfect - I needed to spend more time refining the edge of the mask by zooming in a lot more and carefully choosing the amount of feathering on the brush. What you won’t see is how, sometimes, I brushed over the boundary to the tree trunk and had to use the eraser to remove it from the other side.
Once again, lots of playing is required to get the hang of this particular tool ![]()