The "Compare" feature in PhotoLab and creative ways to use it

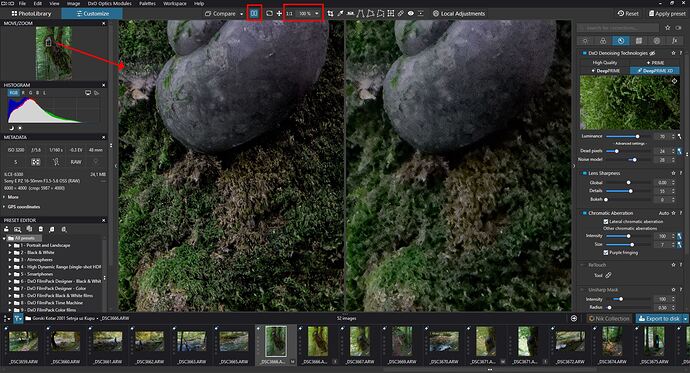
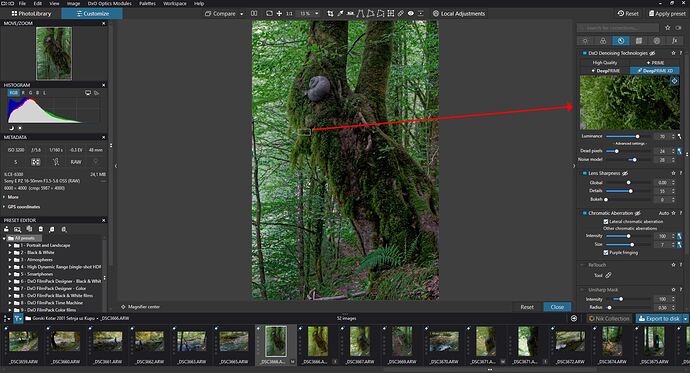
There have been requests, complaints, and feedback regarding some features on DXO PhotoLab; one of those was the ability to see the before and after of the entire picture when applying DXO DeepPrime and DXO DeepPrimeXD AI noise reduction and demosaicing. To my understanding, the very processor-intensive job of applying these AI effects means DXO’s way of allowing you to preview your results is either to export the image and see it in another application or to use a little preview box that you can place on the image and see the results. Neither is an ideal solution, but they do work.

The little preview box is often too small to give you good context and only covers a small portion of the frame. With a high-resolution monitor or high-resolution images, you can only see a tiny portion of the image, making it very hard to judge the effect of the noise reduction.

Another option is, of course, to export the image with effects applied and see it in another application and check the results. If you have the image viewing app ready, it’s easy to see the results.

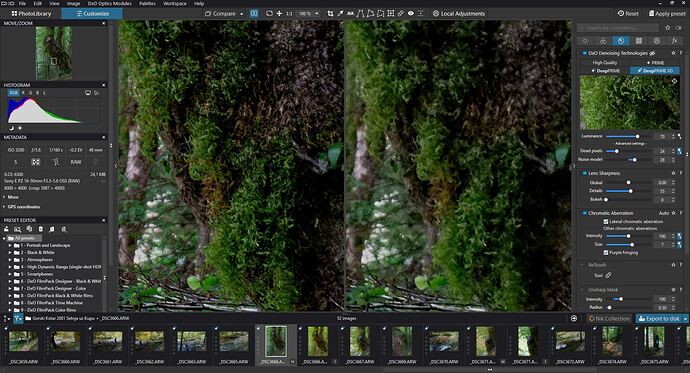
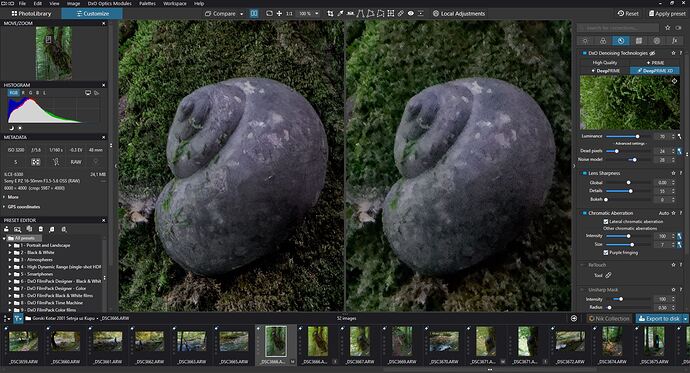
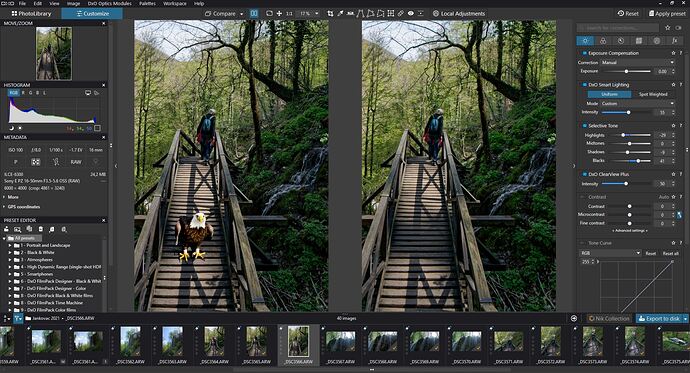
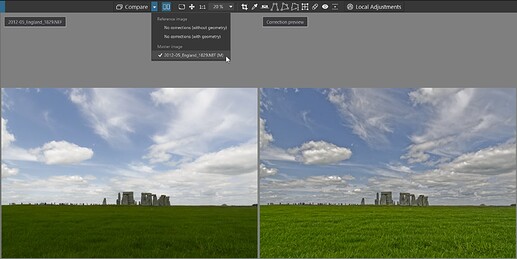
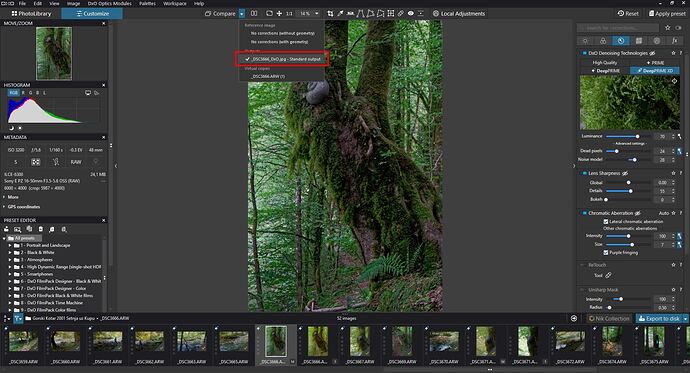
However, there is another option. The “compare” feature in PhotoLab allows us to see before and after images of the effects we have applied while working on the image. Usually, we have two options. To see just the tone and color changes or to see tone and color changes plus optical corrections, such as lens distortions, etc.

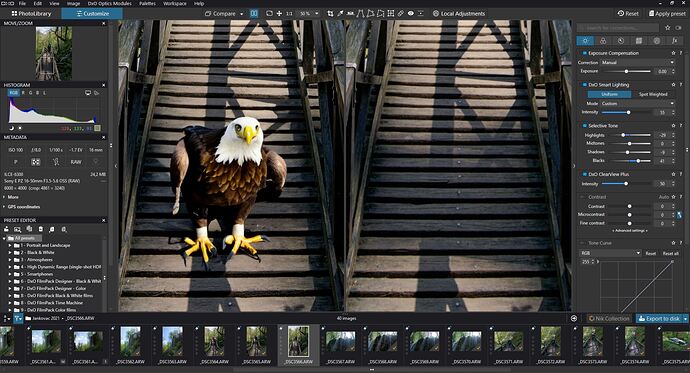
We can also choose to preview and compare virtual copies and the outputted image. So I started using that to see the results of DeepPrime in full screen. I simply output the image, usually as JPEG, and choose the output in the drop-down menu as the source image to compare with the one I have openly in PhotoLab. Then I can see before and after in full screen of even the DeepPrime feature.

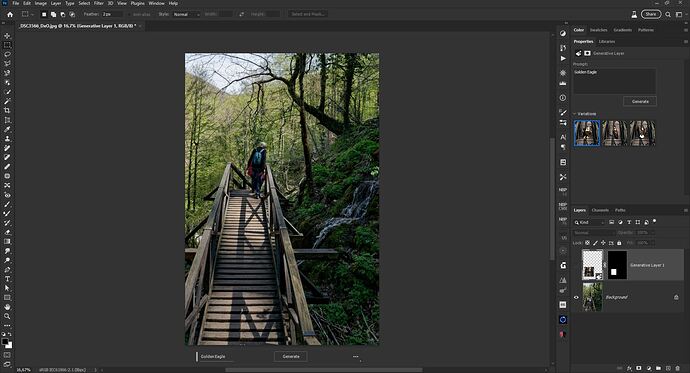
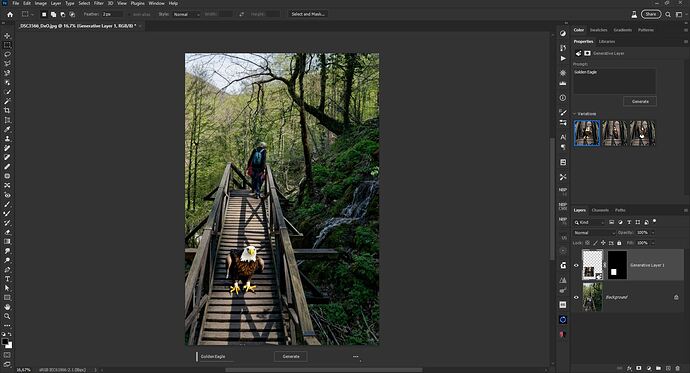
However, what PhotoLab will use is whatever it remembers from its database that was exported. The same name and dimensions of the image. So I opened the exported image in Photoshop and added a golden eagle to the scene using Photoshop’s new generative fill features. You know, just for fun, to see how it will work. And as long as I save it from Photoshop over the original exported JPEG from DXO, I can then preview that back in PhotoLab.

I’m not sure how useful it is in day-to-day workflow, but I just wanted to share a little experiment I did and what I found. That’s all. Perhaps DXO team can give us full-screen preview support in the future releases and we get better integration with other external apps such as Photoshop.
the best way is to simply output to DxO itself ( roundtrip ) as DNG w/only NR and optics correction applied - not to some other application - people do this for a long while

or they can at least do like Adobe and provide a bigger-sized preview window… more so with option for users to resize , so that everybody can tune to whatever GPU they have… people w/ weaker GPUs can stick w/ smaller windows and people with RTX4090+++ can opt for bigger windows

4 Likes

That would be a sensible compromise. Yes. That would be great.

As of today, DPL has no means other than export and comparing the source and exported images.
Lr uses a basically similar approach, with a fairly simple overlay and a low number of clicks needed…but Lr can easily show side-by side comparisons of any (two) images at any zoom ratio, a feature that is absent in DPL and that has been requested for a few years already.

DPL6’s current implementation to compare images is limited and more complicated to operate than desirable - as well as different on Win and Mac. But it’s nice to see that the lack of a feature has led @MSmithy to creative use.

  • Limited to before/after: Works only for an input image and (one of) its output image(s)
    But: no comparing of any two images.
  • Complicated: Select the input, go to the toolbar, select the image you want to compare, then click (one of the) compare button(s)…and while the two images can be compared…
    the filmstrip does not show (or allow to select) the images that are being compared.
4 Likes

Yes, very true.

I’m on PC. I didn’t realize there was a difference on the MAC. Can you tell me what is the difference between PC and MAC?

as a side note
(and only possible with the same pic)


the normal side by side comparison

and when ‘misusing’ the picker

1 Like

What did you mean by that? I was wondering if you choose color picker does DXO changes behaviour? Is this on MAC? When I choose color picker on PC it reverts back to only showing one image and give me option to use color picker to set the white balance point.

PhotoLab 6 on macOS does not provide a side by side comparison. Just before/after with the slider…


Interesting. I also have side by side and all the other version of preview when I go full screen mode, F11 is the shortcut. How is it on the MAC, also no side by side and only before/after preview?

@MSmithy, @platypus

Yes, on Mac you have the split preview in the main screen, while in Windows it is side-by-side.

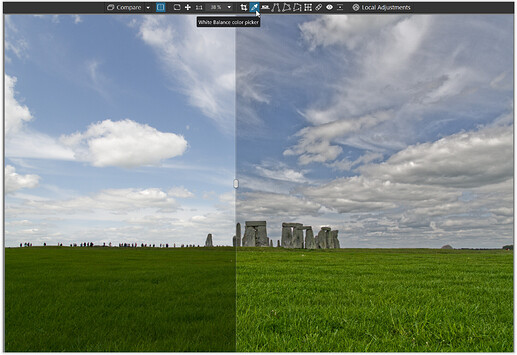
Missing the split preview, I was complaining already – until I discovered ‘par hazard’ that when I used the picker, the compare symbol in the top bar changed to split preview. – But in fact, it is another mode!

  1. Windows’ side-by-side comparison
    selecting VC1 in the filmstrip + settting the reference pic → to M
    shows Master /left and VC1 /right


    .
    .

  2. activating the picker by default then shows up like this
    All corrections except White Balance


    .
    and when re-setting the reference pic → to M + activating the split preview


In Windows’ full screen preview


I can then either toggle between M and VC1 or make use of the standard split preview
(don’t know about Mac’s full screen).

:slight_smile:

1 Like