I’ve just started using DxO PhotoLab 9 on a Mac Mini M4, Sequoia 15.6.1.
When I use the Repair or Clone tool, it is not giving me a control point to move around to select a source area for the repair or clone. Instead, it makes an immediate change to the image, and my only option is to undo if I don’t like the change. I’ve watched videos on how to use this tool, but it doesn’t match my experience of this tool, which is a PhotoLab 9-determined change and no way for me to edit the process.
Any help or solution would be appreciated. Thanks.
Thanks, but the problem is that I don’t get a Repair or Clone selection bounded by a white outline. The white circle appears when I am using the cursor to select the area to be repaired or cloned, but as soon as I release the mouse button, the repair is made and the white circle vanishes. There is no white outline around the area that was repaired/cloned and no way to edit my repair. The Retouch Settings do show up, and whether I choose Repair or Clone, the results are the same. I get an instant ‘repair’ with no way of editing the result - no white outline bounding the repair I just made, no white circle for me to drag to edit.
Thanks for taking the time to response. Please see the response I made to to LVS. I am not getting any repair/clone results that I can edit. No white outline around the repair, no white circle to drag to edit.
Did you check the “Show ReTouch settings” box that @LVS referred to?
EDIT:
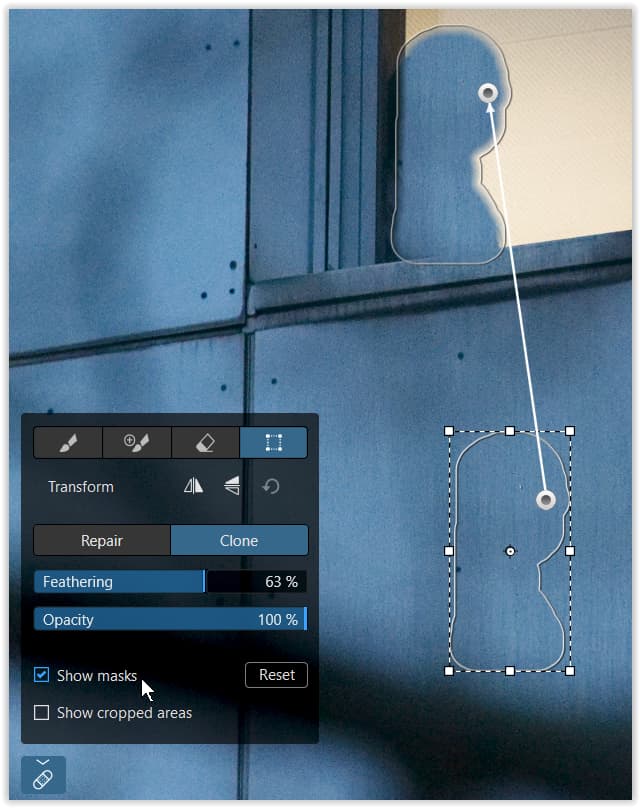
Sorry that’s the wrong box needed for the lines to show. There’s also a “show masks” checkbox to the far-right of that. Make sure that’s selected.
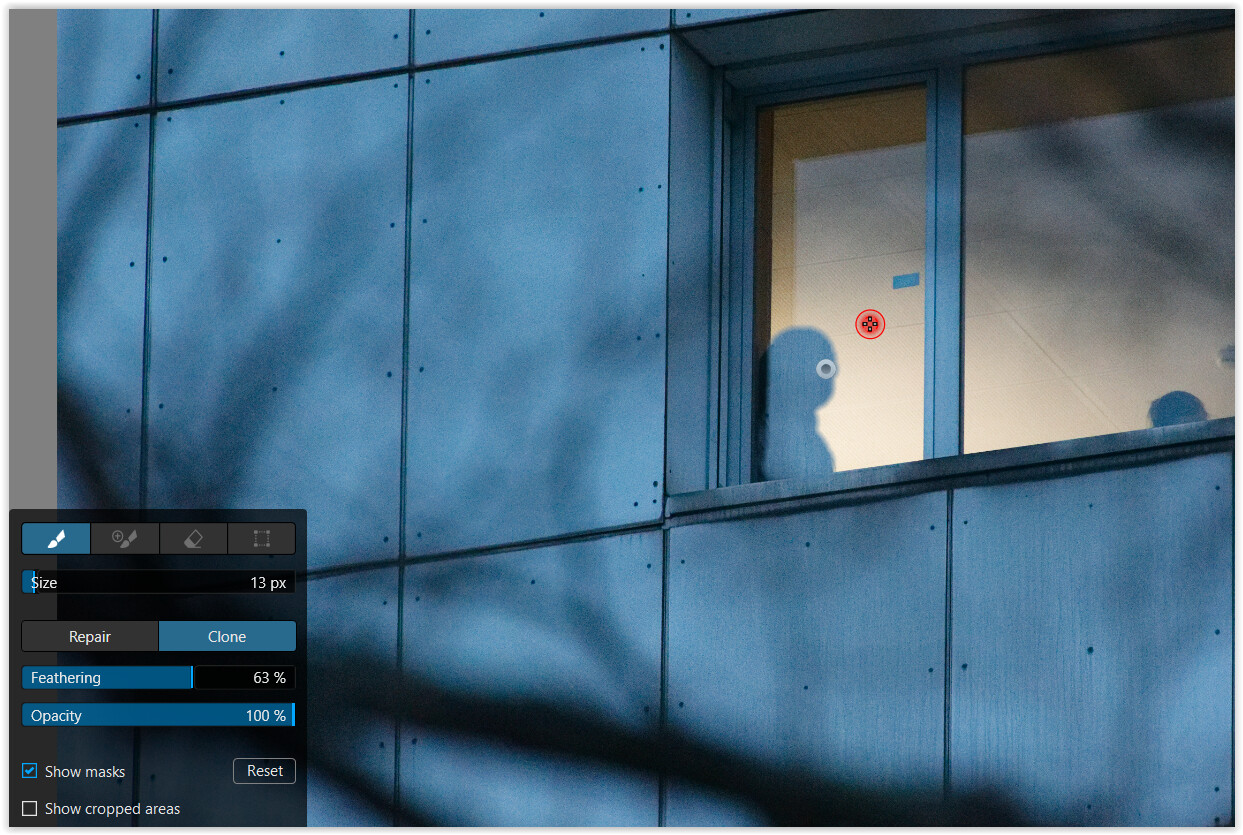
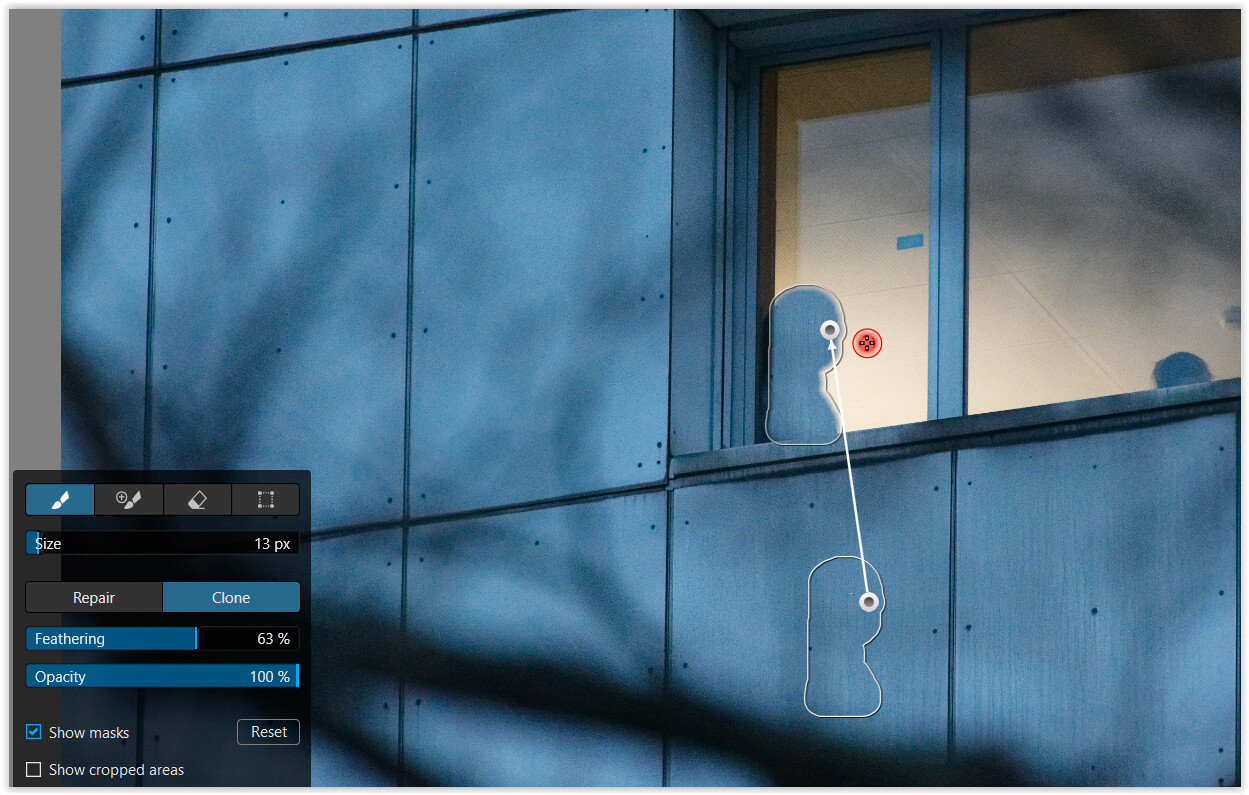
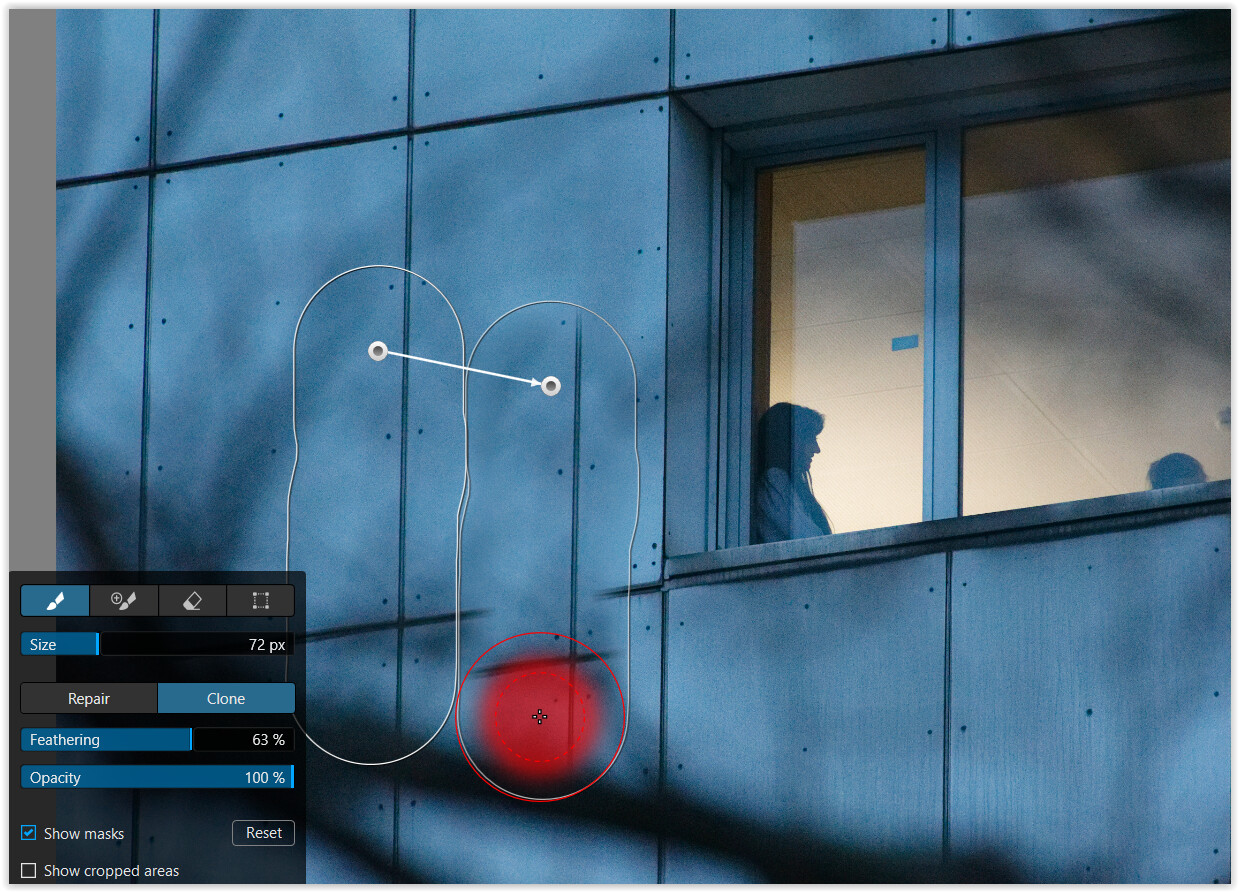
you need to manually draw the area that you want changed, clicking on one area will create a point and hence to area. so click hold draw the area you want release
The handling under MacOS is slightly different, but you need to experiment a bit.
If you just click on a spot it does what you describe.
Click / hold + drag over the area you want to repair or clone. Then click + drag the visible “dot” if to move either your source / target area. Use the +button to add, the eraser to … and the dotted square box to transform …