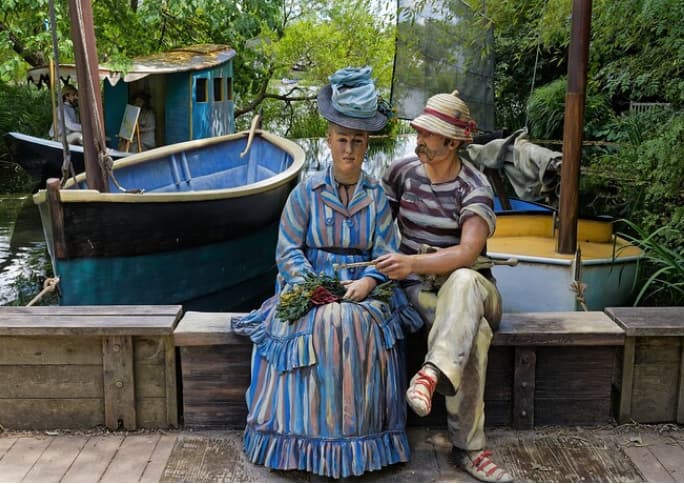
I’m glad that you liked the overall picture. If you read what I wrote you will note that I was using a 28mm prime lens and was one backwards step away from falling in the water behind me. Angling my camera to capture a little bit more space at the feet would have reduced the amount of space above the woman’s head and hat putting it too close to the top of the image. The increased angle at such a close distance would have also significantly increased the amount of distortion. The whole bridge was probably less than 10 ft wide.
If I cropped on the right It would have moved the woman from dead center in the image which is where I wanted her. Looking straightforward with her companion leaning into her and looking towards her from the right, I see her as the main focal point or anchor of this image. The other components, including her companion, provide balance to the left and right of her.
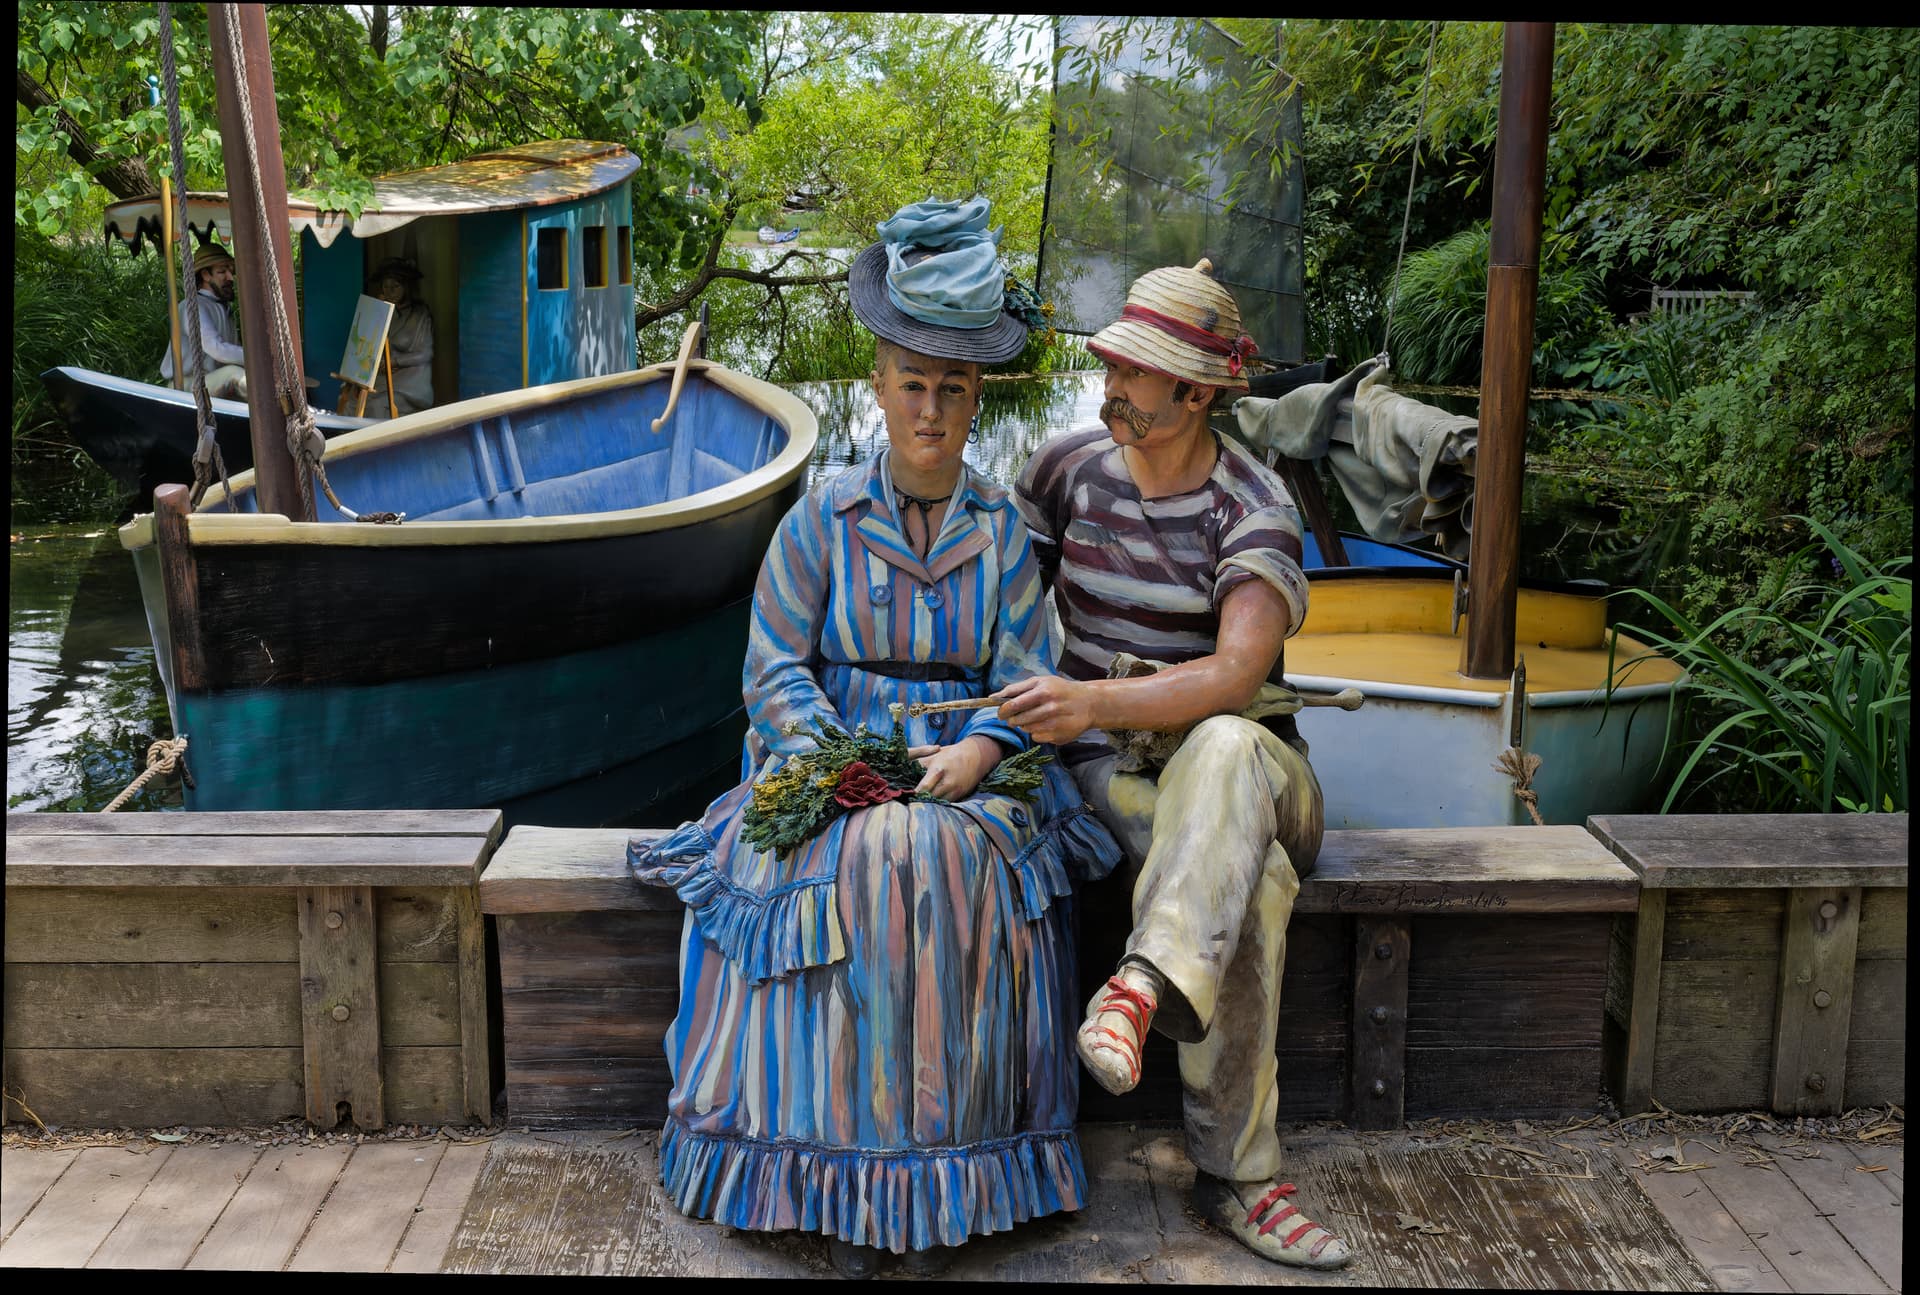
Given the limitations of my prime lens’ fixed focal length and where I was physically able to place myself, this image is not cropped at all except as a result of a slight change in the angle of the horizon and the application of PhotoLab lens profile’s distortion correction.
If I had been able to place myself another foot or two farther back, I might have decided to frame the image slightly differently. As it is keeping those limitations I am happy with the final result.
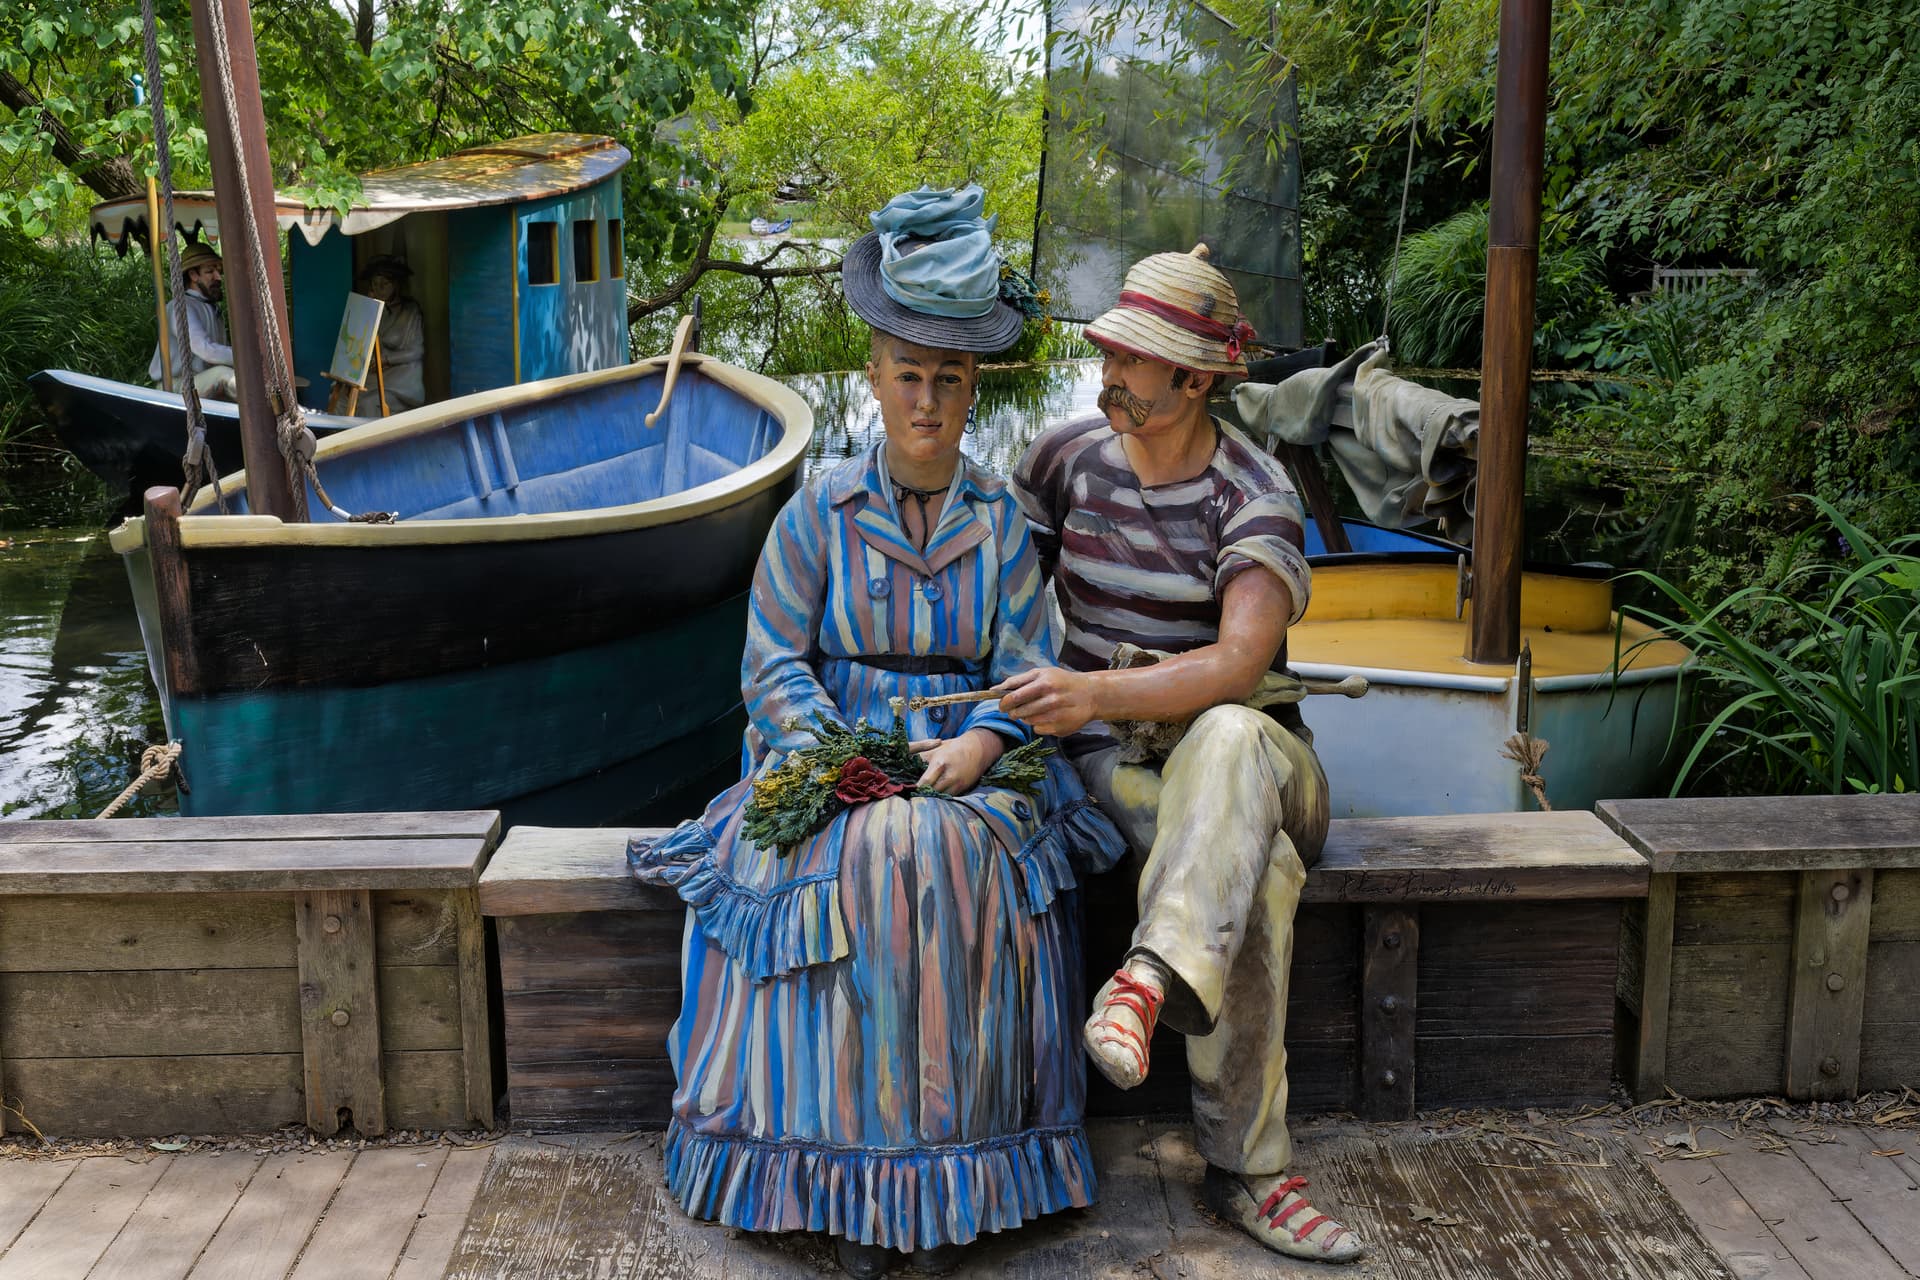
All the components of the scene were created by the artist to be a unified whole. That includes the three boats , the bridge, and the boxes that the figures are sitting on which were created in the style of a 19th century impressionist painting.
If by lower position do you mean down on my knees? in this case that that would not have resolved the issue with more space in front of the feet. I actually tried it and in that position the angle was better but It moved me much closer to the subject, which was not that far away from me even when I was standing. Kneeling eliminated much of the feet altogether not to mention part of the image to the left and the right. I am a big and heavy guy. Getting down on my knees put me significantly closer to my subject than when standing, and as I mentioned, I had absolutely no room to move back any further. It was a question of compromise.
If I had been using my Voigtlander 23mm f/1.2 Nokton I would have had greater compositional flexibility. The challenge I set for myself yesterday was seeing what I could accomplish with this inexpensive Chinese 28mm AF lens.
Me bad. Or maybe just “slow”.
Now I understand. Thanks.
I had no idea the whole scene was “created, boats, people, and boxes”.
To my eyes, just a little more cropping would have balanced the photo, while also making the lady the center of the composition.:
Just my opinion. The cut-off foot still bothers me. Angling the camera a tiny amount would have corrected that - or, holding the camera l little lower. Or, a slightly wider wide-angle lens. If it was me taking the photo, I’d have just angled the camera down a tiny bit more.
Again, I had no idea the entire scene - boats, people, boxes, and dock was “art”. A bad assumption on my part.
Of your two photos, I enjoyed this one the most. Baby is relaxed, sleeping (?), and it’s a wonderful photo for your family album. It’s a very relaxing photo. Send it to all your family members.
Did you photograph it in B&W, or convert it from a color mage?
The original did have slightly more space below the feet. Unfortunately, even though I thought I carefully adjusted the horizon in my viewfinder, it was farther off than I was happy with and when I adjusted the horizon it ate up that space. His foot is not actually cut off at all. The bottom of his soul is right on the bottom edge of the image. I will post the version without the corrected horizon so you can see the decision that I felt I had to make.
I don’t know if your camera has a foldable lcd screen but using that doesn’t cost any more space. And would be usable for an static shot.
I’m not the lightest and youngest either. Getting down is no problem even if I don’t want it But getting up…
It’s funny. These statues are bronze,cast, statues. I have never seen these painted.
It does have a movable LCD screen, however I have never favored using a small LCD screen for framing or setting the horizon. Viewing a 3-in diameter screen on a camera body held near my waist to change the angle of view is not very useful at all If I want to avoid camera shake, want my framing to be exact and want to ensure the horizon is reasonably flat. I don’t even review my images on the LCD, only through the EVF. I would only use the LCD screen for framing a must-have shot where I had no other choice. The LCD on the Z fc has an option to fold inward so the screen is protected and all I see is the black pebbled back of it that matches the finish of the camera. I rarely ever unfold the LCD.
One of the first conditions I set when looking for a mirror-less was a usable viewfinder. I never use the LCD screen for shooting. However I tried it several times and I think in your specific case it could work. It’s a matter of giving it a change. It’s digital, you can always delete it.
If you post the original, and if it does have space below the left shoe, PhotoLab has other tricks that might allow you to correct that. Keep the image horizontal, as you’ve done, but twist it so the right of the image moves upwards slightly.
It’s the tool towards the right, labeled “8 points”. I forget what the other tool, labeled “rectangle” does - maybe that’s another possibility.
One of these does the trick. @Joanna wrote something about it long ago. You don’t re-angle the image, you just move the right side up slightly, and everything comes out looking “straight”.
If you already know this, you can try it. If not, you can post the original image, and one of us can do it. I haven’t used it in ages, but I’m aware that it’s available. The image you posted is a .png file.
Thank you, George. I wanted to lower my camera for the theater photo, but I forgot about this. Yes, my screen can allow me to hold the camera lower, and look down into the screen. I haven’t done that in so long I forgot about it.
Those are the perspective tools and they would not help at all in this situation. As a matter of fact they would make things worse.
However, there is a way to fix it, I just did not want to waste the time doing it but changed my mind. The fix involves using the Retouch tool. After straightening the horizon I turned off the crop and exported the edited raw file.
Here is the result. It includes the wedge shaped black edges around the perimeter which was a result of modifying the horizon without applying the crop. They may be difficult to see against the background if you are using dark mode for this site. If you change to light mode they are easy to see.
I then used the Retouch tool to fill in the black wedges from other content in the image. The end result provides more “foot room.” The interim export step was required because the black wedges only become an actual part of the image during export.
It was a delicate and very time consuming task which took well over an hour. While the result is pretty decent, it is far from perfect. I may spend some more time fixing some of the more offensive artifacts. Essentially, almost the entire perimeter of the images has been cloned.
You will get a better result if you use the 8-point tool on the original file.
There will be 4 adjustment points - move them to the correct corners of the image.
The image will twist and stretch, as needed.
Someone here taught me about this tool a year or two ago.
Done carefully you will have even more space below the shoe.
I used to dislike the tool, because of the way it twisted and stretched my image.
But in my opinion, it worked.
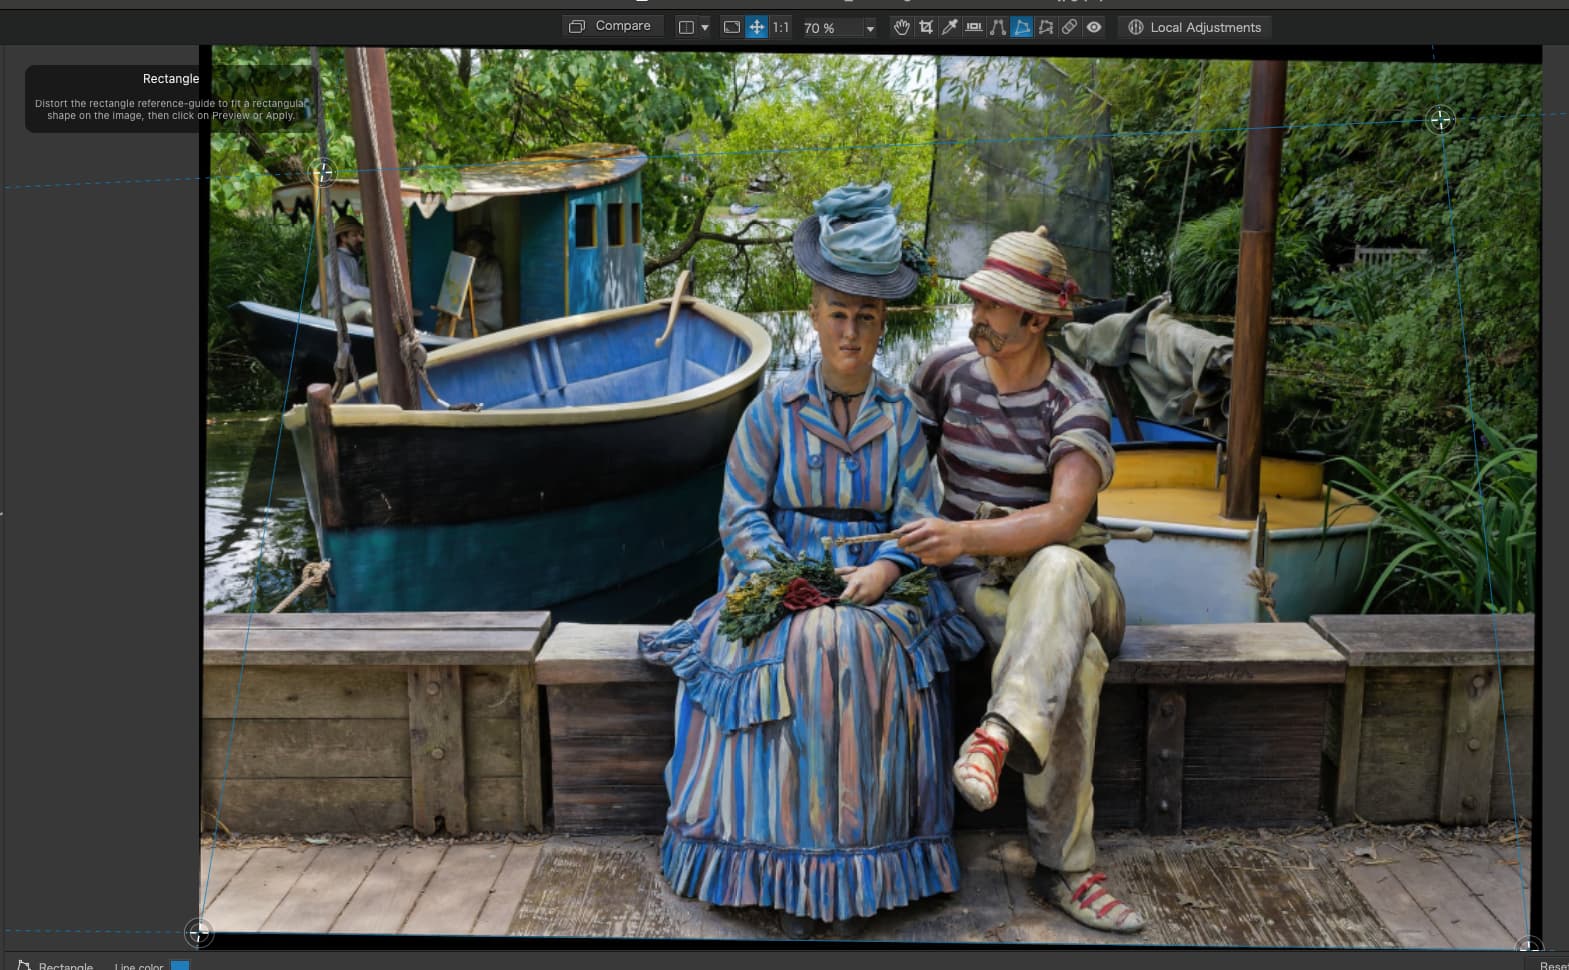
@Joanna can probably explain it better, but this test image shows that it can do the needful.
In this screen capture, I have positioned the two lower marks.
The upper marks still need to be positioned to the upper corners.
Enlarge this image, so you can see what I did…
The twisting, and stretching, that bothered me long ago beats cloning so much of the image.
I don’t like either way, for my own personal reasons about editing, but that’s a problem with me, not with the tool.
I did this stuff with a screen capture of your image. Since you’ve got the original file, you can do better than what I was able to do.
Thanks for trying but I had already tried that when I was originally editing the image and rejected it for two reasons. However, I was impressed that you gave it a shot.
The first reason is that it does not address the Horizon issue I was originally trying to fix. The crates that they are sitting on and the road bed of the bridge is still tilting down and to the left in your version as it does in my version when the Horizon tool is not selected. If I had been happy with that I could have just avoided using the Horizon tool in the first place. The second reason is that using the proportion tool created some distortions in various objects, especially the seated couple, that I did not like.
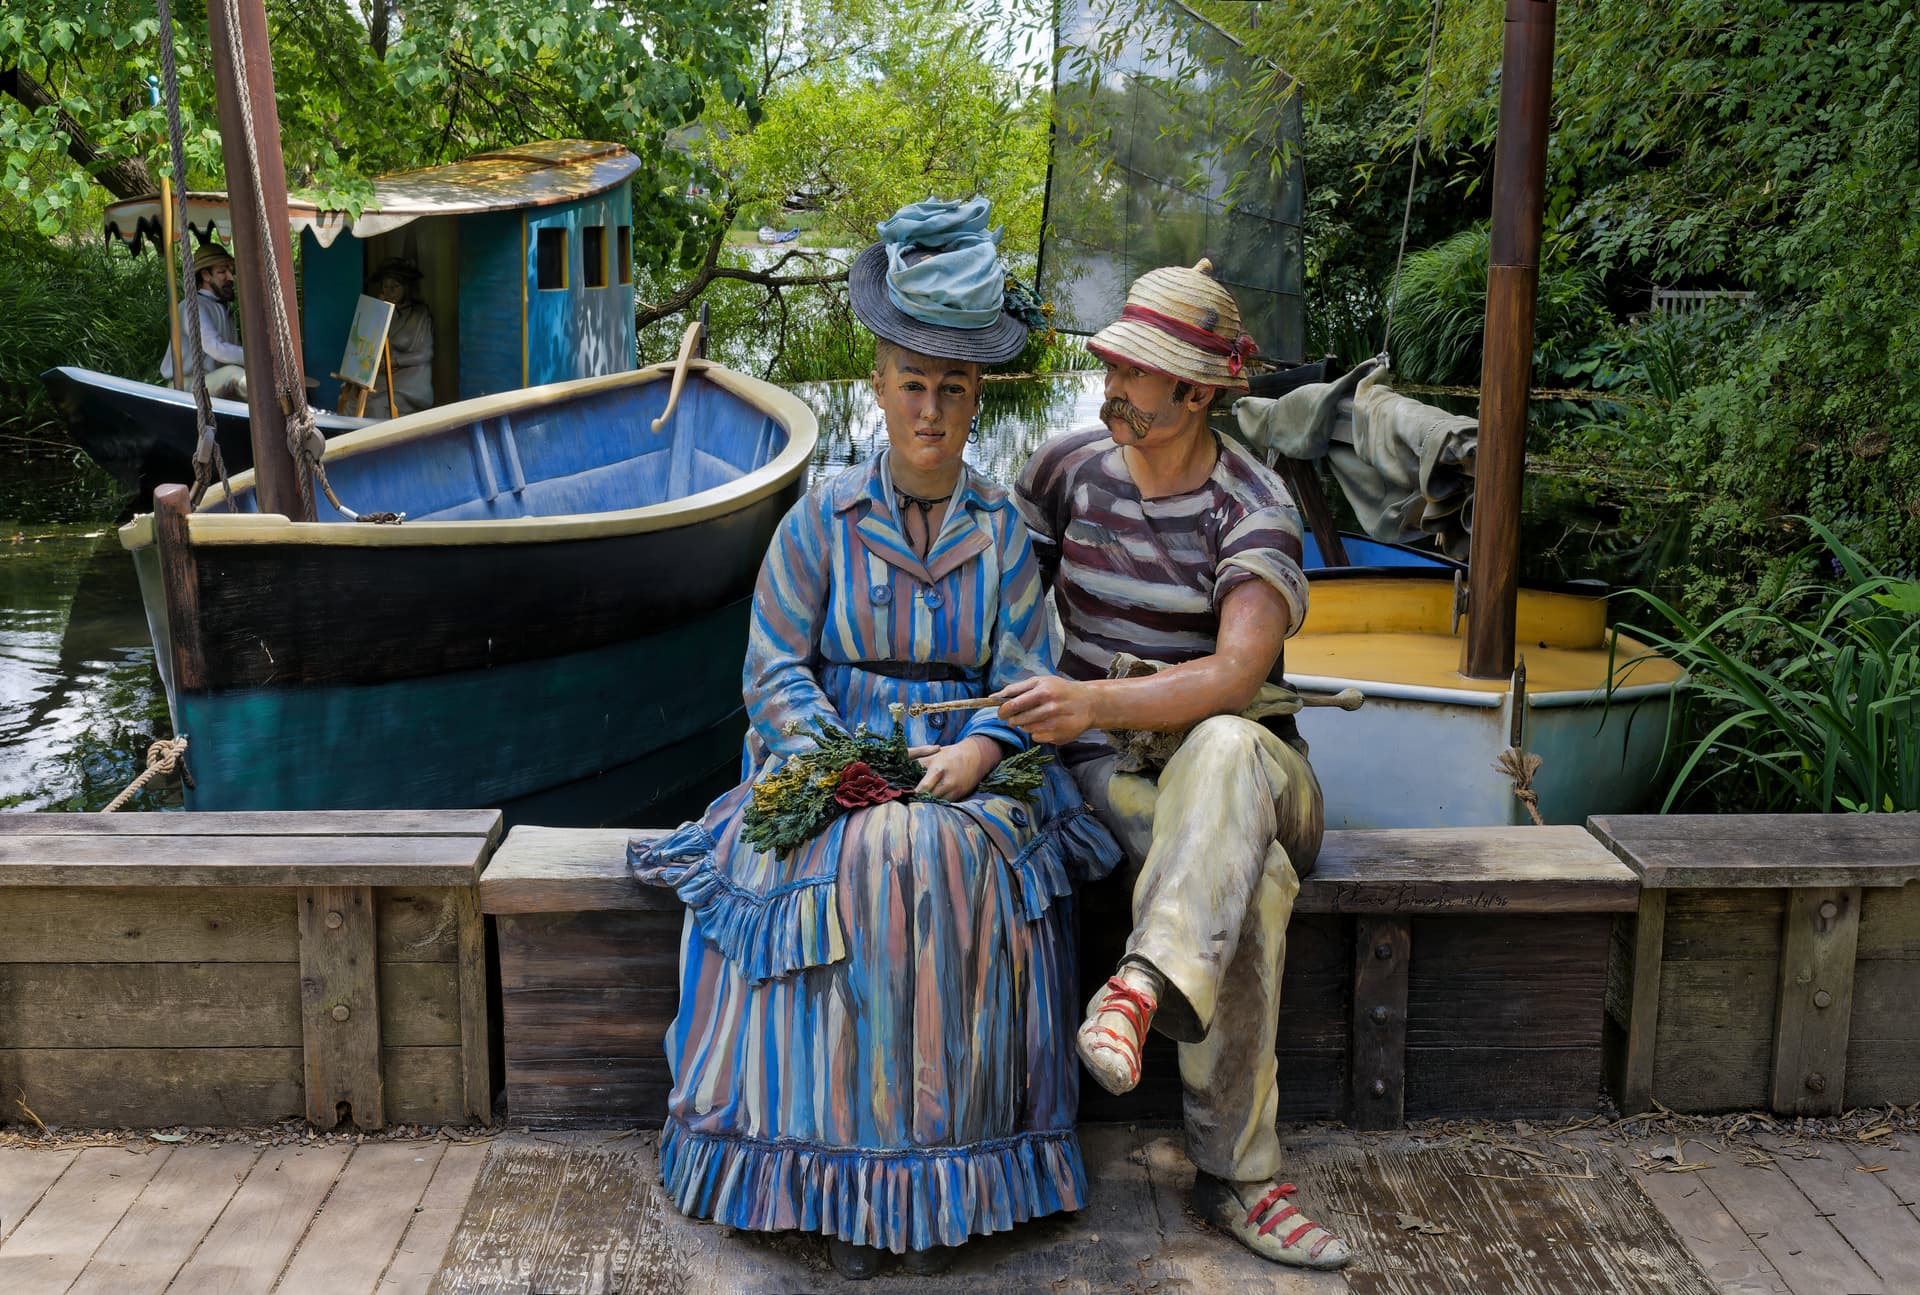
Here is my original edited image with the Horizon tool turned off. I just wasn’t very happy with the tilt, but perhaps it is best to leave it in, especially since it automatically fixes the issue with the man’s foot without creating any additional distortions.
My original edited image with the Horizon adjustment disabled.
I just now become aware what you tried to do. Was it so important for you to use a not existing line as a horizon for a minimal correction? I would care more about the vertical of the crats, they where better in the original. In the original the camera looked leveld but a little tilted. In the corrected image the camera looked not leveled and a little tilted.
Existing verticals are more important as not existing horizontals, to me.
Just as an example, it doesn’t solve the problem with the foot.
My goal was to fix the cut-off “foot”.
The leveling, or lack of, didn’t bother me as much as the “foot”.
A little less space at the top would have allowed a little more space at the bottom.
For better or worse, for any hand-held photos I take, I try to leave a little extra space on all four sides of an image, just “in case”. I wrote “try”, because in some cases, it isn’t possible.
I learned this tool years ago, but never felt good about distorting the image in order to “fix” it.
The leveling was the only reason that the space under the foot was cut off in the first place. I would have loved to have had more space around the scene to allow for leveling and even for cropping, but as I mentioned I could not step back even an inch further. My biggest error was not leveling my camera as well as I thought I had which would have avoided this problem altogether.
Using the proportional tool the way you did was a good attempt at fixing the problem, but unfortunately it did not straighten the horizon and introduced unacceptable distortions to the image, and more specifically to the cast sculptures of the couple.
As a result If gaining more space under the foot rather than leveling the image was the primary purpose of using that tool, then the better solution would simply be to not use the horizon tool in the first place. Of course, you did not have access to my original raw and .dop files so you would have been unable to do that.
Plan “B” could have been to aim the camera a tiny bit lower.
Plan “C” would find you in the water, and your camera would never forgive you.
The 8-point tool does what it’s supposed to do, but I hate the way it has to distort the image to accomplish what it does. I really only used it once before, but that was due to my stupidity or ignorance in not being more careful at leveling the image in my camera. That’s one of my many “faults”, or maybe I should call them “ignorant mistakes”. For my images, I can be as harsh as I feel I need to be, which hopefully reminds me in the future before I repeat the mistakes.
It’s amazing how that photo worked out. I had reasons to doubt it, but I accepted for a while that it was real, with real people. But for the fellow’s trousers, I never would have doubted that. Joanna of course noticed what I didn’t, and corrected me.