I’m trying Photolab 9 on Windows to see if it’s worth the upgrade from version 7. AI masking works quite well-- better in some respects than Lightroom-- but I find the implementation pretty clumsy. The AI masking menu only appears as a pop-up when you mouse over the photo, with a separate pop-up on the other side of the screen offering three visibility options. The Mac version has a much less fussy fixed strip at the bottom of the image, with all functions available.
More irritating is that the “Show masks” box is grayed out and can’t be unchecked. The mask will disappear when you make an adjustment and then reappear as soon as you finish. In order to hide the mask you have to uncheck the AI Mask icon-- you might think this turns off masking entirely, but no.
When you’re done with masking, it’s not enough to switch to another development tab. The mask will remain visible unless you once again uncheck the AI Mask icon. On the Mac version, there’s a “Close” button on the menu strip, which I assume does what it says, and closes the masking tab, but no such thing on Windows.
Am I missing something here that makes this simpler? Happy to be enlightened.
I’m not sure why your show masks as grayed out. I am able to check/uncheck mine. I have always left it unchecked. I can still see the mask if I need by hovering over the name in the list under Local Adjustments.
As far as the AI menu coming and going, yeah that’s how it works on mine. Perhaps a little odd, but if my mouse isn’t over the photo I can’t be adding/removing/modifying masks anyway, so what good would it do even if the menu was visible?
I do agree that having to unclick the AI mask when you leave the Local Adjustments panel seems like an oversight and not behavior which feels natural.
I find the masking system very powerful but not very performant. I could forgive many of the idiosyncrasies (mainly UI glitches) if it was simply faster.
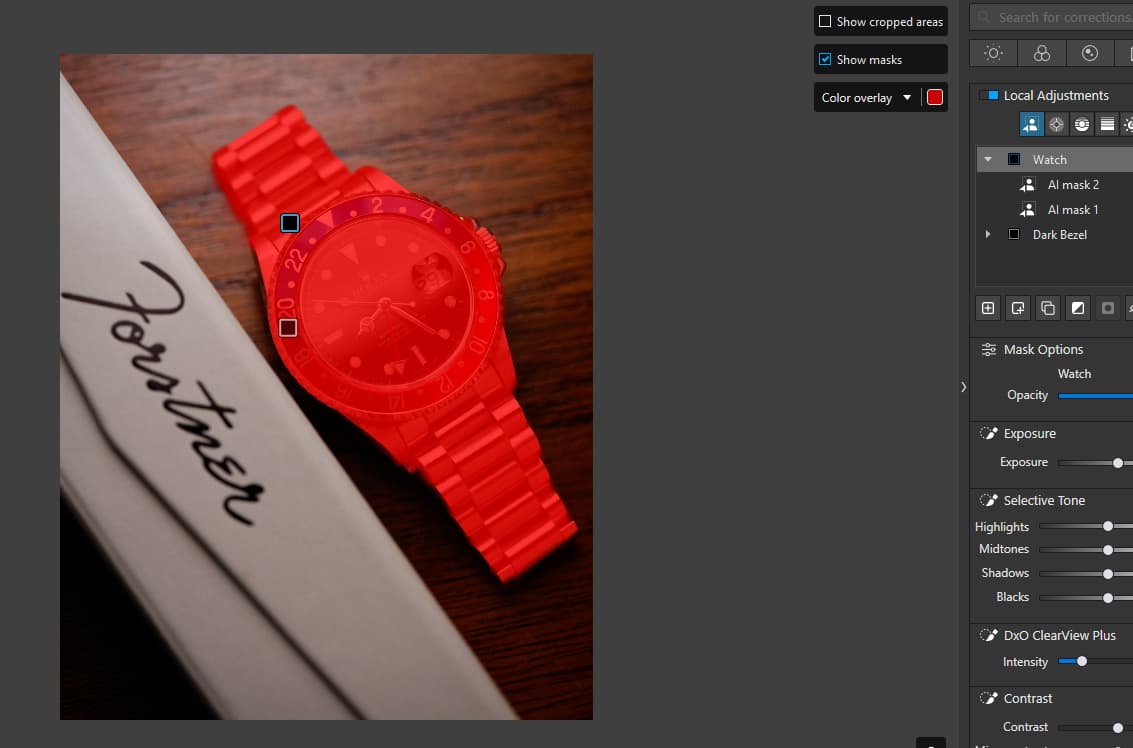
In the screenshots mentioned, @OzarkNerd simply made a selection without any adjustments. In this state, a (red) mask overlay is permanently displayed and the corresponding checkmark is grayed out.
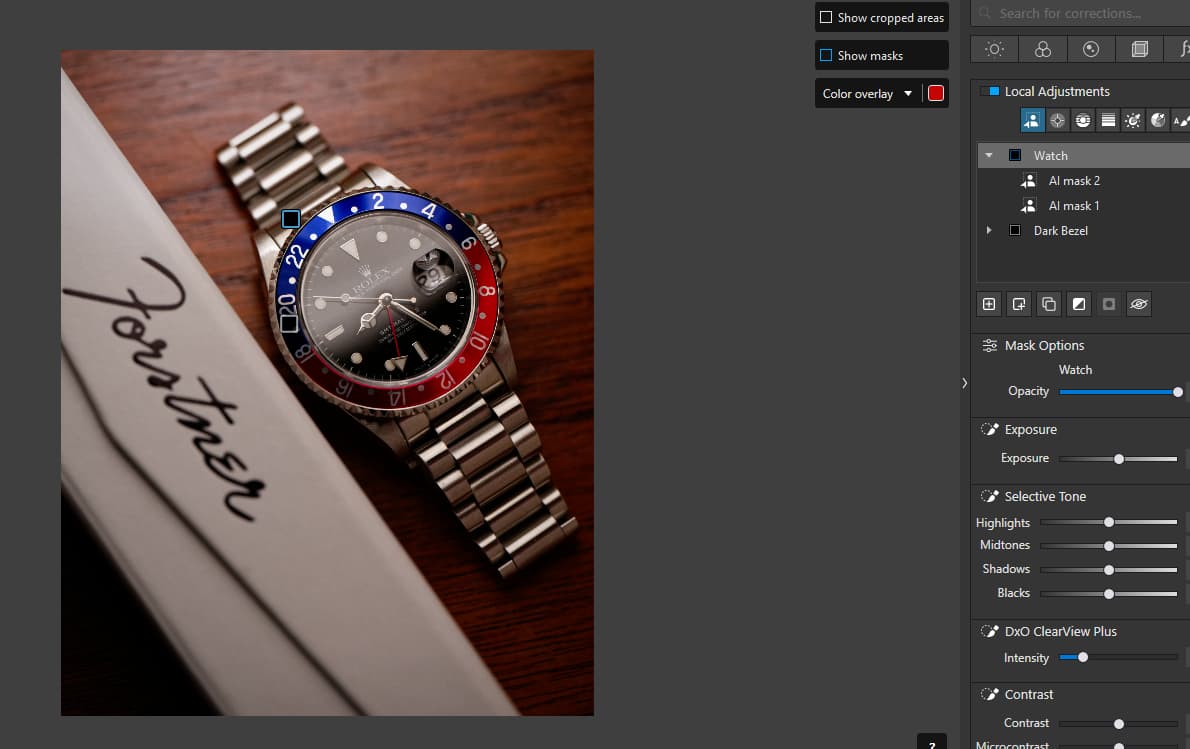
As soon as you make adjustments, the mask overlay disappears and the option to show the mask overlay becomes active (as does the M hotkey … ).
It was different some time ago, but DxO has opted for today’s process.
1 Like
Stenis
(Sten-Åke Sändh (Sony, Win 11, PL 6, CO 16, PM Plus 6, XnView))
7
As usual there are UI issues with new features. As it is now there is hard to understand how these designers of the UI have thought. There is a performance problem placing some of the graphical controls in the left corner of the working space and the rest to the right. That is a school book warning example of how to NOT do it but don´t forget for now that you don´t need those really since there are Shorcut Commands that are much more efficient. Use the keyboard instead.
Aha! You’re right, you have to make an adjustment first. I’m resisting the urge to call a lot of this counterintuitive, when what I really mean is “not like Lightroom,” but still…
to create a transparent overlay,
which, of course, depends on what you’re doing.
.
( not to be confused with the mask’s opacity/effectiveness setting at the RHS ! )
If you want to see the effect of your adjustments but not the distracting mask overlay, simply “start” the mask, for example with a soft edge brush at reduced opacity, then roughly adjust what you think might work, and paint with that brush to lighten/darken (dodge & burn) or sth else.
.
Don’t be afraid to make mistakes … you’re working on a separate layer.