So I’m having a REAL issue getting to terms with PL8. Masking. And I’m getting REALLY frustrated with the software.
Something that I want to be able to do, I simply can’t figure out.
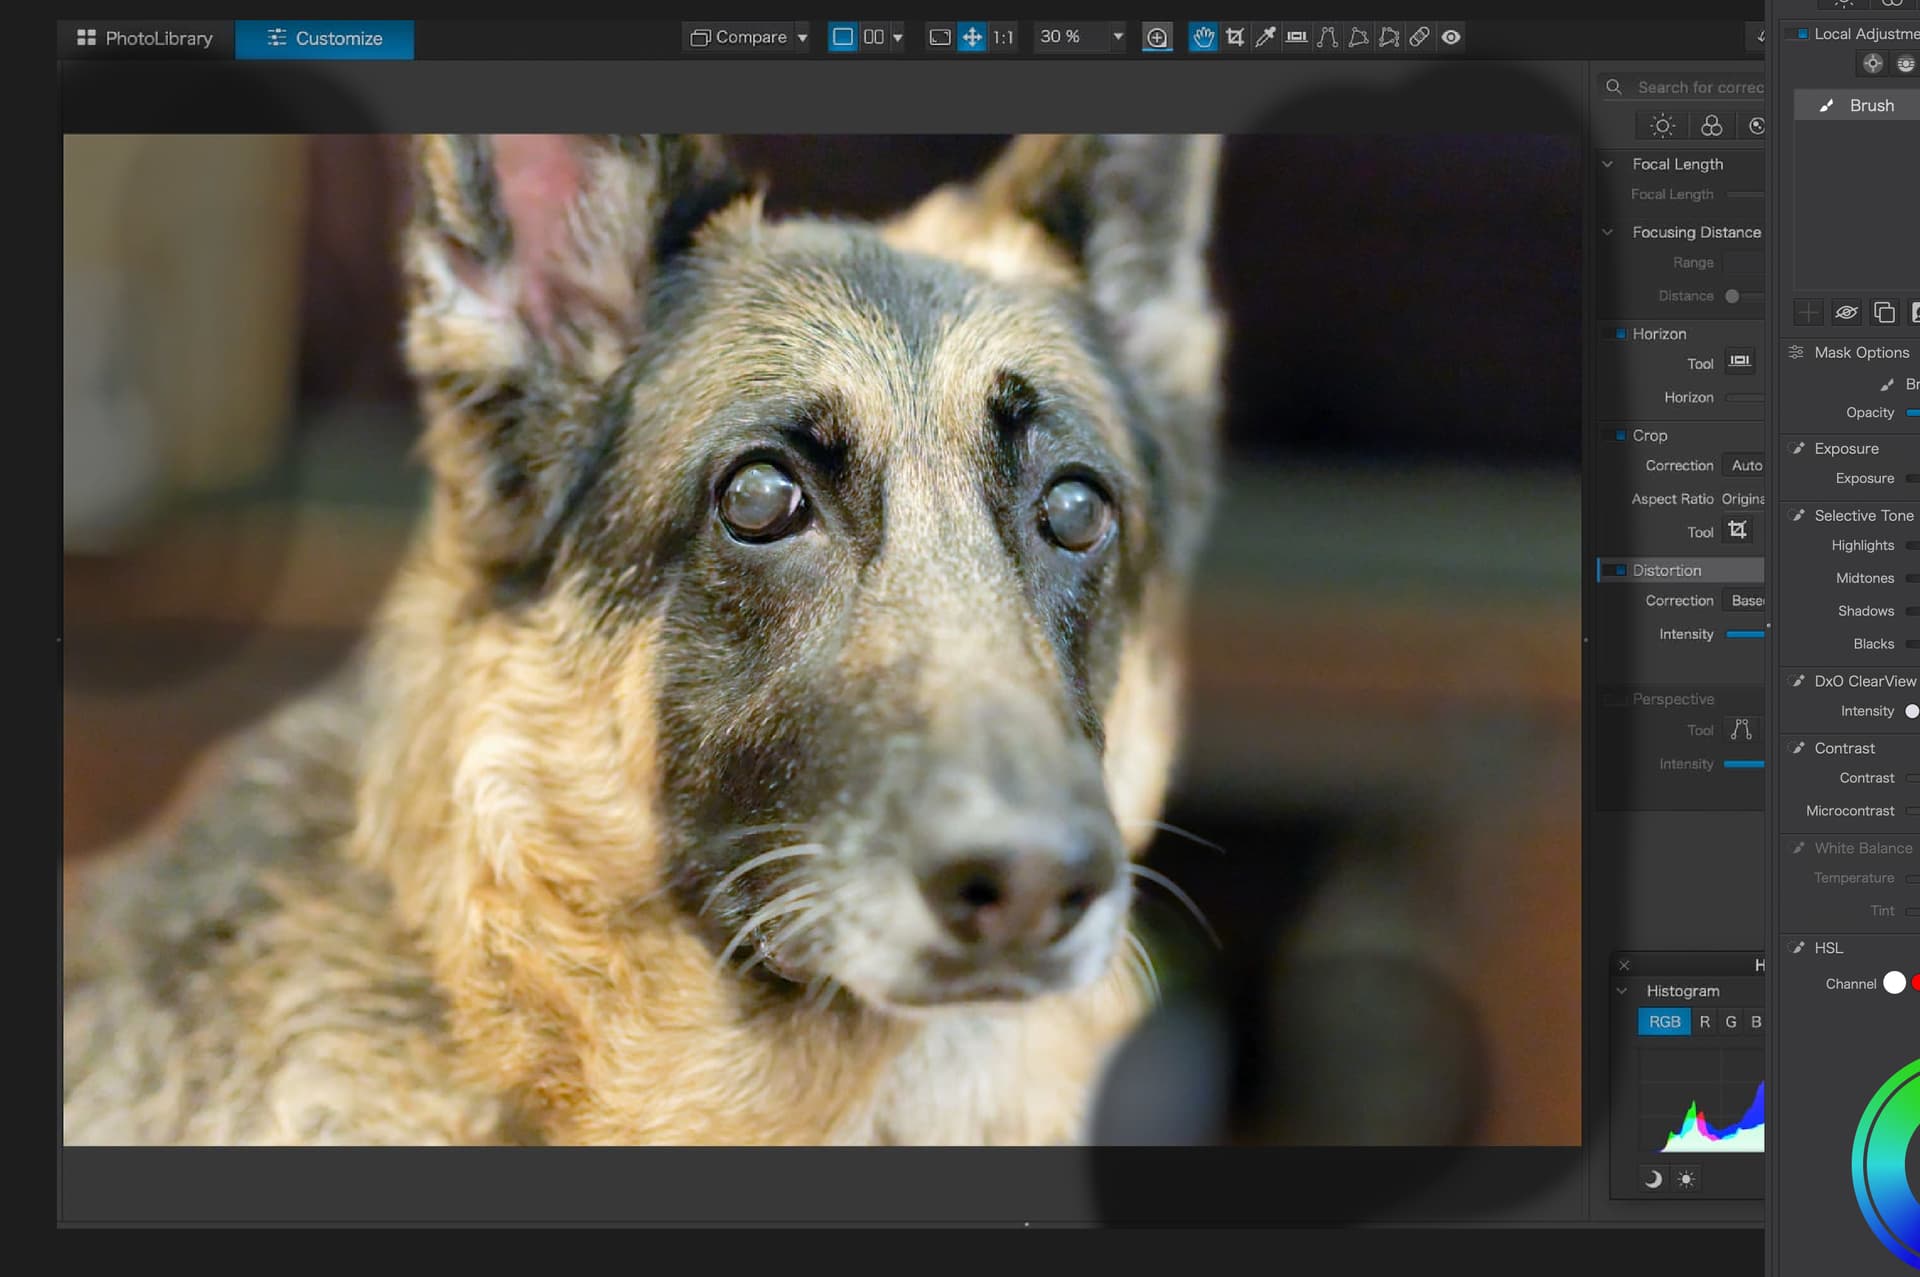
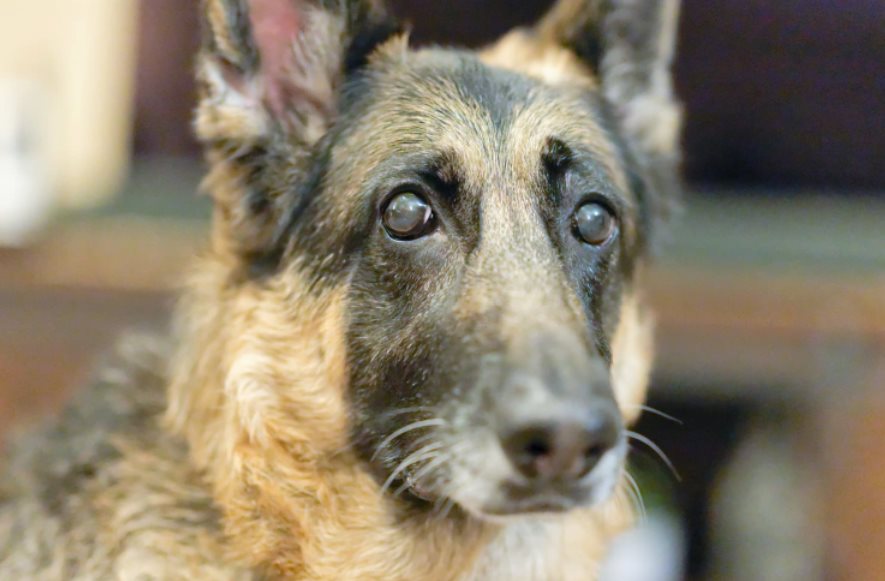
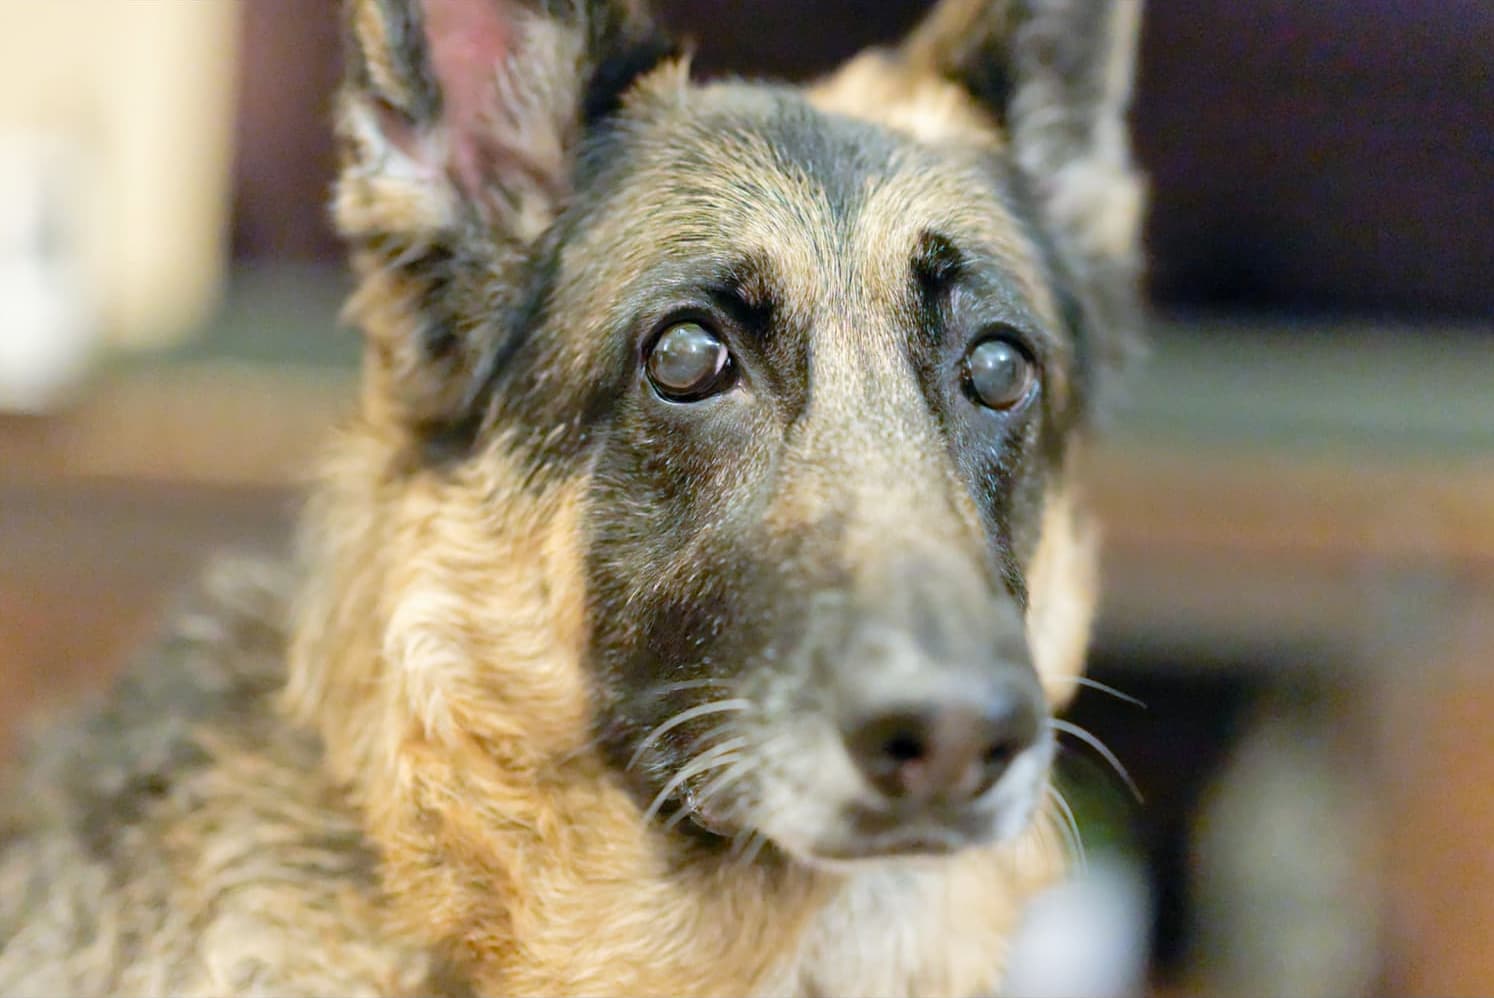
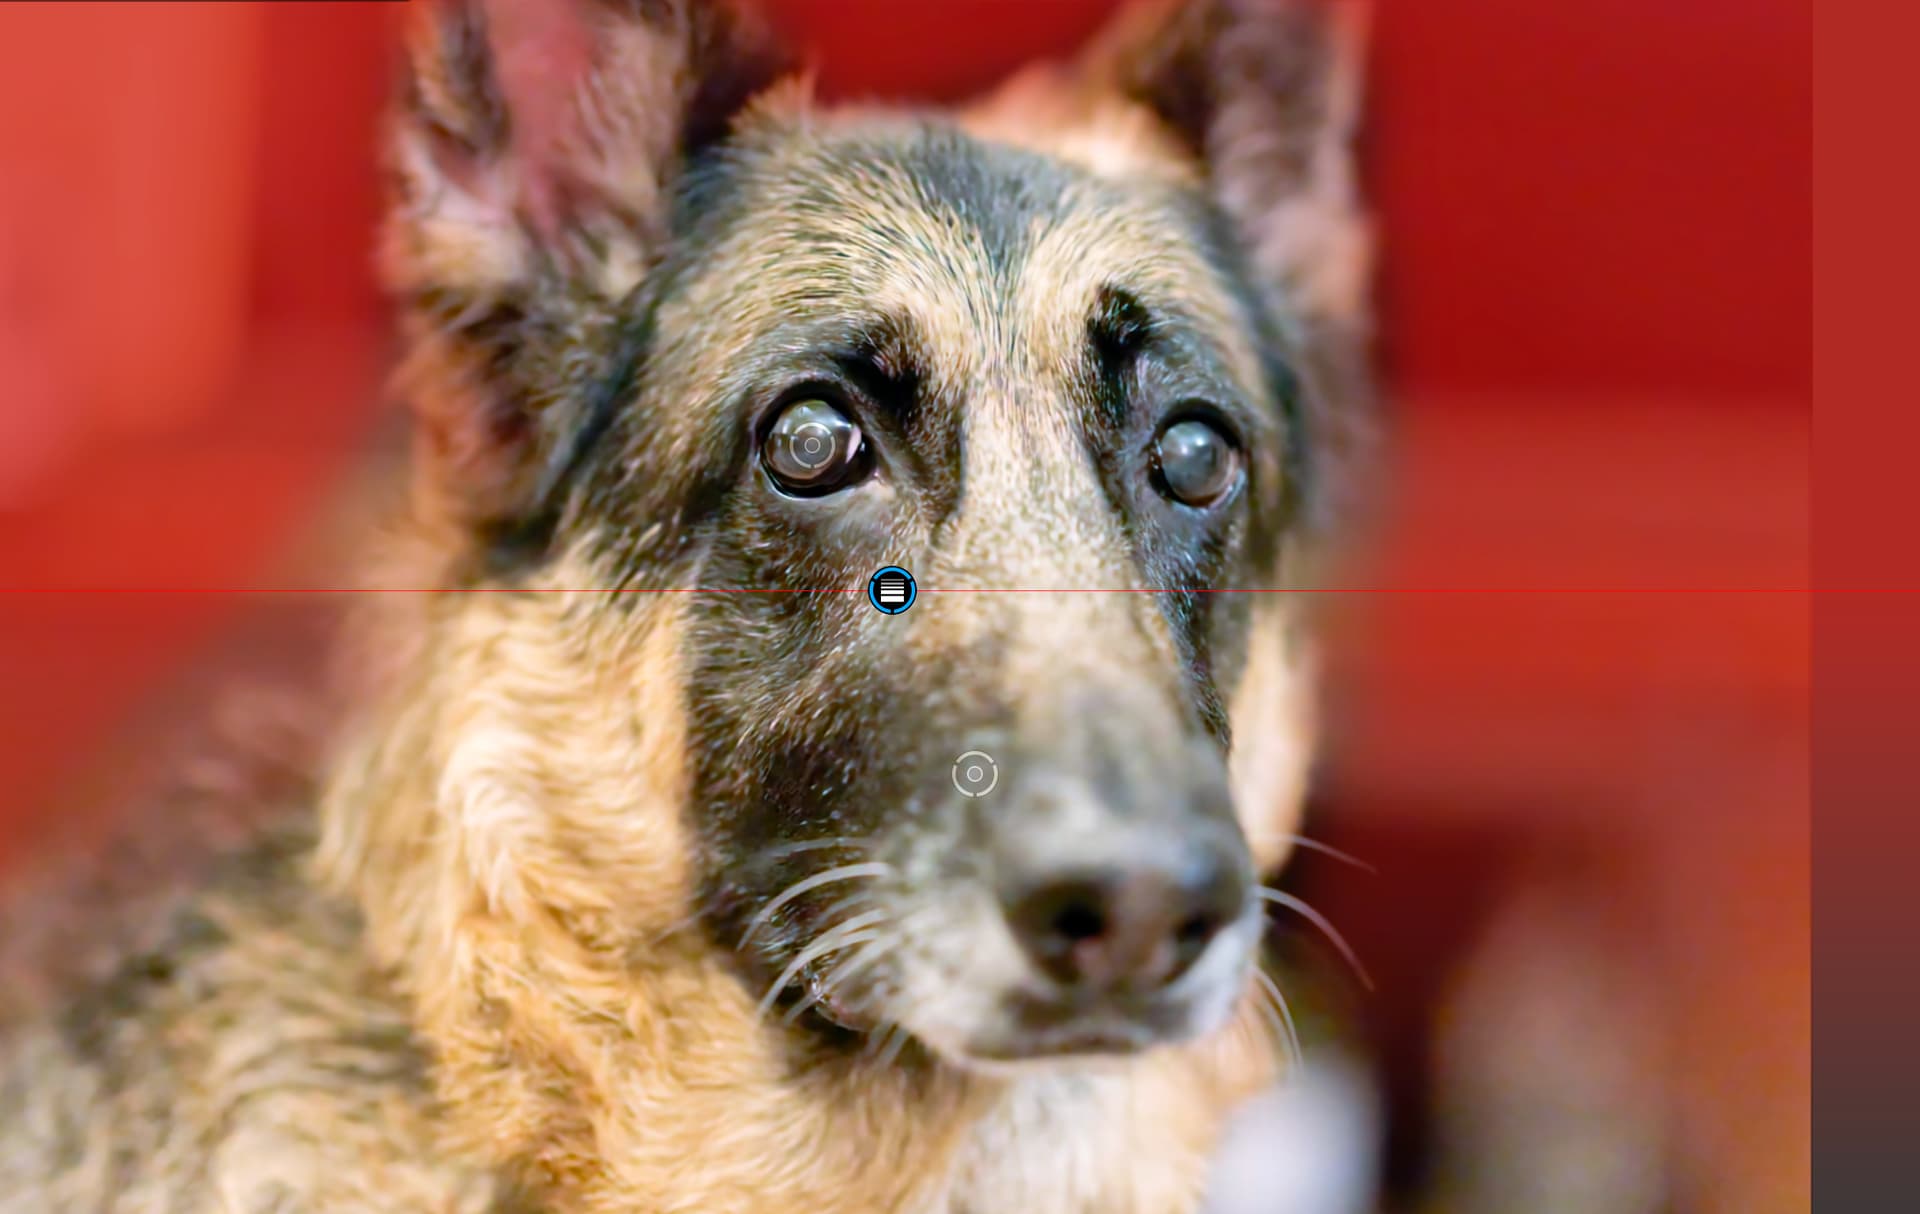
As practice, I’m just messing around with the attached image. What I want to do, is isolate the subject from the background… ie. mask the background to reduce exposure… and/or vice versa.
Again, no real reason other than practicing to learn the software and this is something that I’ve found myself doing in post.
No matter what method I choose (of the ones available to me) I can’t get a decent mask… of either the subject or the background.
I think the way to go is to use an auto mask or brush mask, paint it over the subject, and then invert it if you want to choose the background instead. If you’ve not used these tools before, the user guide gives the details. (In the guide: Edit pictures with the Customize tab → Using masks, then search for “automatic masks” to find the relevant section.)
With images like this I tend to underexpose the whole image slightly first in the light panel.
Then in local adjustments place a few control points or brush over the subject. I can then increase the exposure/detail/colours in those areas as required.
Auto brush works well, if there’s any spill over, select the auto brush again and press option button Mac and brush over the spill points to remove them from the mask.
(note my posts often require approval, so you may see my reply a week late)
To be clear get those kind of mask perfect : hair, fur, and with parts in dof, some not on a background of about the same color than the subject, is tricky with any soft.
But photolab has no good tool to do it.
Don’t how AI masks manage this now, but I would bet this is not perfect neither.
But, as others have said, separating a soft-edged subject from a blurred background ain’t easy, no matter what the software.
The only really fix is to get it right in the camera
Stenis
(Sten-Åke Sändh (Sony, Win 11, PL 6, CO 16, PM Plus 6, XnView))
9
This is one of these examples when I use to leave Photolab and open Capture One instead. Most of you remember these long discussions we already have had around the absence of these tools in version 7 and sorry to say, not very much has changed in version 8.
In Capture one you choose AI Select and click just once somewhere on the dog and usually that it really all it use to take. If there should be necessary with some refinement you just select refinement and pull a slider untill the tiniest little details gets perfect. By the way there is no refinement tool even in Lightroom to support Adobes AI tools.
I have spent quite a lot of time using older dull tools trying to make quite a few animal portraits during the last years and I can say that it was first when the AI Select tools came to C1 that I felt I had everything I could possibly need for thee kind of jobs. Trying to do this kind of jobs in Photolab is just some sort of self-harm behavior.
I’m surprised Joanna didn’t try to solve this problem with some kind of the Luma-mask options in Photolab but they will not be of all that much use in a case like this anyway.
Someone that have C1 might show you how to do it. I don’t have the time now because I wil leave for Greece in a couple of hours, so I have to pack my bags now and get ready to go.
Could @PopsInABox provide the raw file and could @Stenis make a test with last C1 and put it on an well choosen background (completly different colors and lightness) to see if this really works well (the mask - not the resulting image) ?
(100% zoom needed to show real result and if this tool can handle this well).
I would really like to see how C1 AI mask handle this (I do not have recent enough version avalaible).
Even if this image is not the best to test this (in addition to this, silouhette furs in the sharpness zone would be make a more complete test).
I’d add that I think it’s right that DxO should end up providing, as it is doing now, the classic masks (luma, hue, etc …) used to refine image processing, before providing tools that are more in the realm of special effects.
I think people have gotten trained by precise masking that Adobe and others offer, but its mainly for compositing, not color and tonal adjustments. It quickly loses its advantage and it is as if people have completely forgotten about tone and color and only see objects. DXO is all about tone and color masking and that is in 98% cases all you would need when not compositing.
If you add a vignette with a fall off to a dogs face, like a control point you get nice darker tones in the back, nice brighter tones in the front and nice fall off in between. Trying to mask the dog as an object and darken the background is less natural appraoch to managing color and tone because you get something you would not likley to get in real world scene. If you are compositing, fine. If you are managing tone and color, I like the way DXO works because it does all one would need. The problem seem to be more on the user side of things, where Adobe has created some strange expectations that are not really about photography anymore, but about object selection algorithms. The whole way you compose with a camera and light is to manage color and tone to separate subject from the background or draw attention to an area, you don’t click on an object to get hair perfect selection so you can light it, you do it as it is done in DXO with tools that already exist. Like I said, Adobe has though people some bad habits in expectations.
If you want to draw attention to the dog and not background and make the image less flat looking, don’t think in objects, think in how light or natural depth of field would fall off, so simply apply few adjustments to the front and invert the mask, make few exposure or whatever adjustments and you get all the attention to the dog.
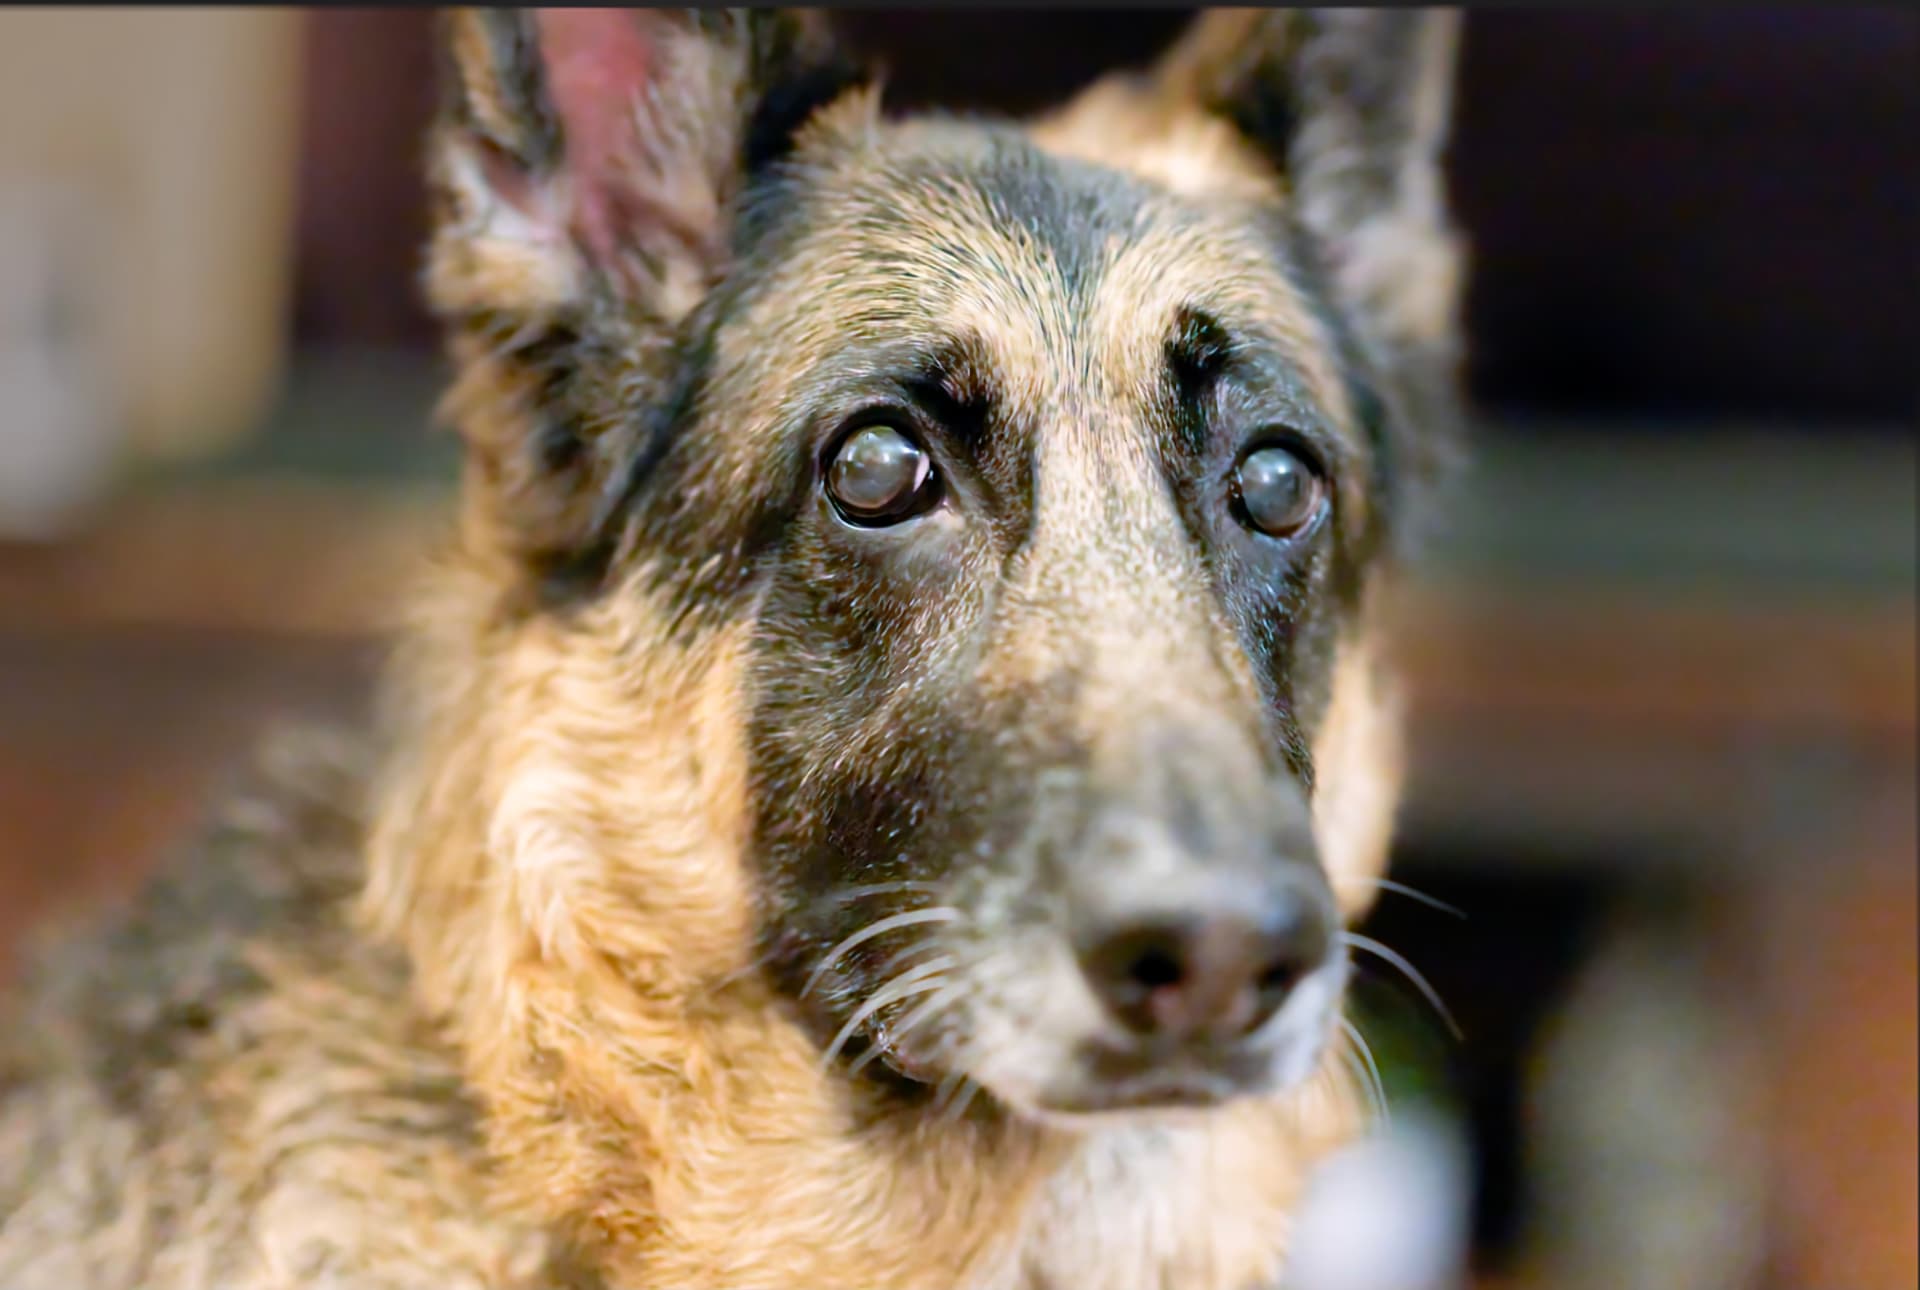
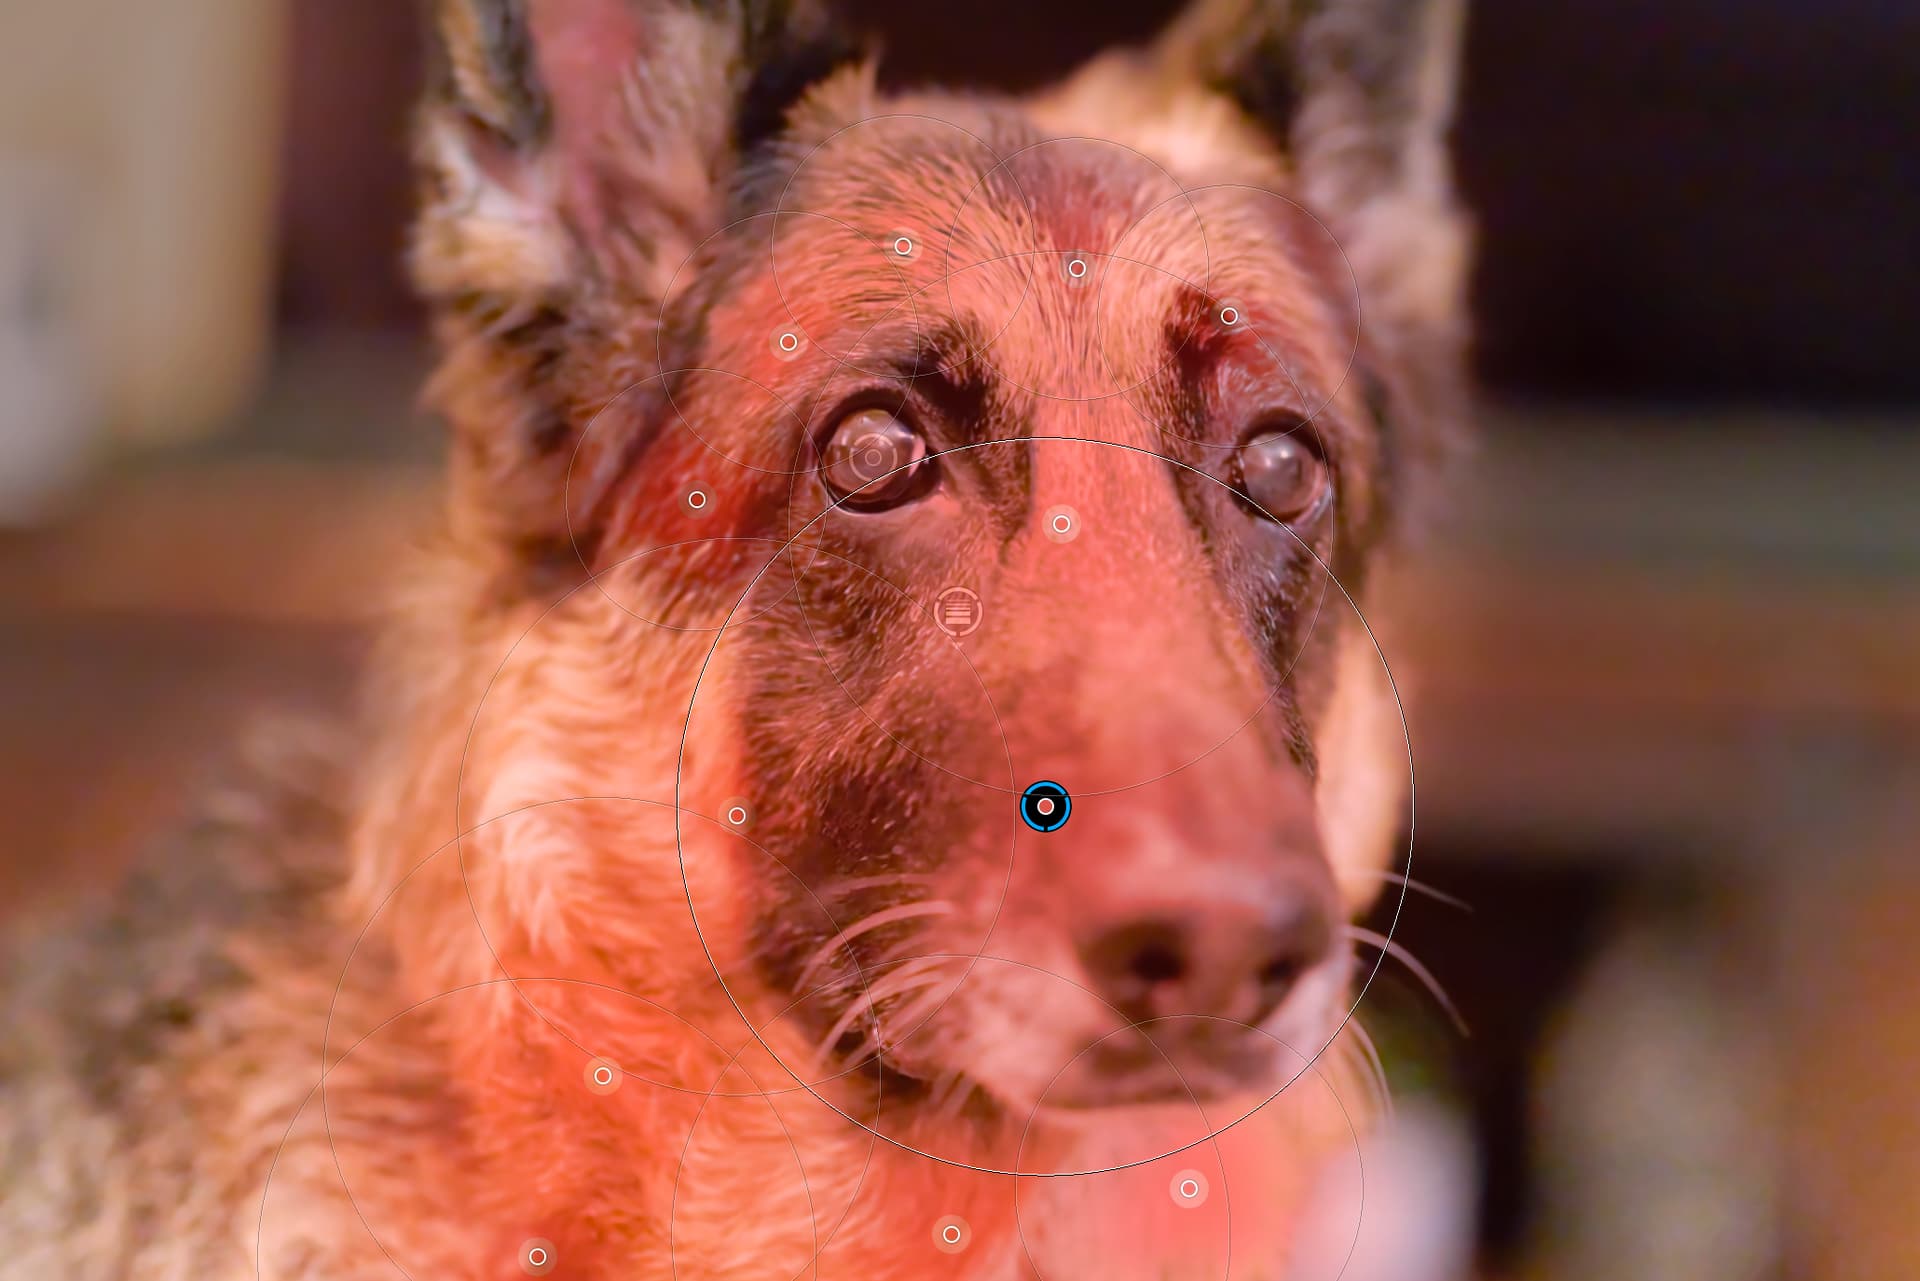
This is highly compressed screenshot of the image so naturally quality will suffer, but its enough to illustrate a concept.
Hi Tom, @PopsInABox I had quick play with your image, obviously limited to what is possible from the source. But here is a quick edit and step by step how I achieved it; I’m sure everyone has their own method this is just one of mine.
I used Velvia 50 from FP set a 25% opacity, smart lighting to subtle.
First I applied a graduated filter to the whole image, then used the eraser at 100% opacity to remove the key facial features from the mask, then brought the opacity of the eraser down to 50%, then 25% as I worked further toward the rear of the dogs face to create a more subtle blend.
To the grad filter I dropped the exposure, contrast, sharpness, vibrancy and added a tiny bit of blur.
I then used control points to create subtle uplifts in the detail and exposure to the key points of the face and fur, I like control points as they offer what I feel are more natural fall off points for detail/colour work.
This was… excellent!! Thank you very much for taking the time to walk this through and teach. I really do appreciate it.
I also appreciate everyone else’s comments on the matter. I was really frustrated last night when I went to bed. A little less so this morning but I’m determined to give it a go and try to figure stuff out.
For those who asked, here is the NEF file. This isn’t a good image… it’s just a snap shot I made a few weeks ago that I was testing out my new Z8. So I was just using it to play with PL.
Please note that I don’t mean to bash, but rather tell you (the truth) that this picture is not worth investing a lot of time into. Instead, take new ones whenever you feel like it and try again.
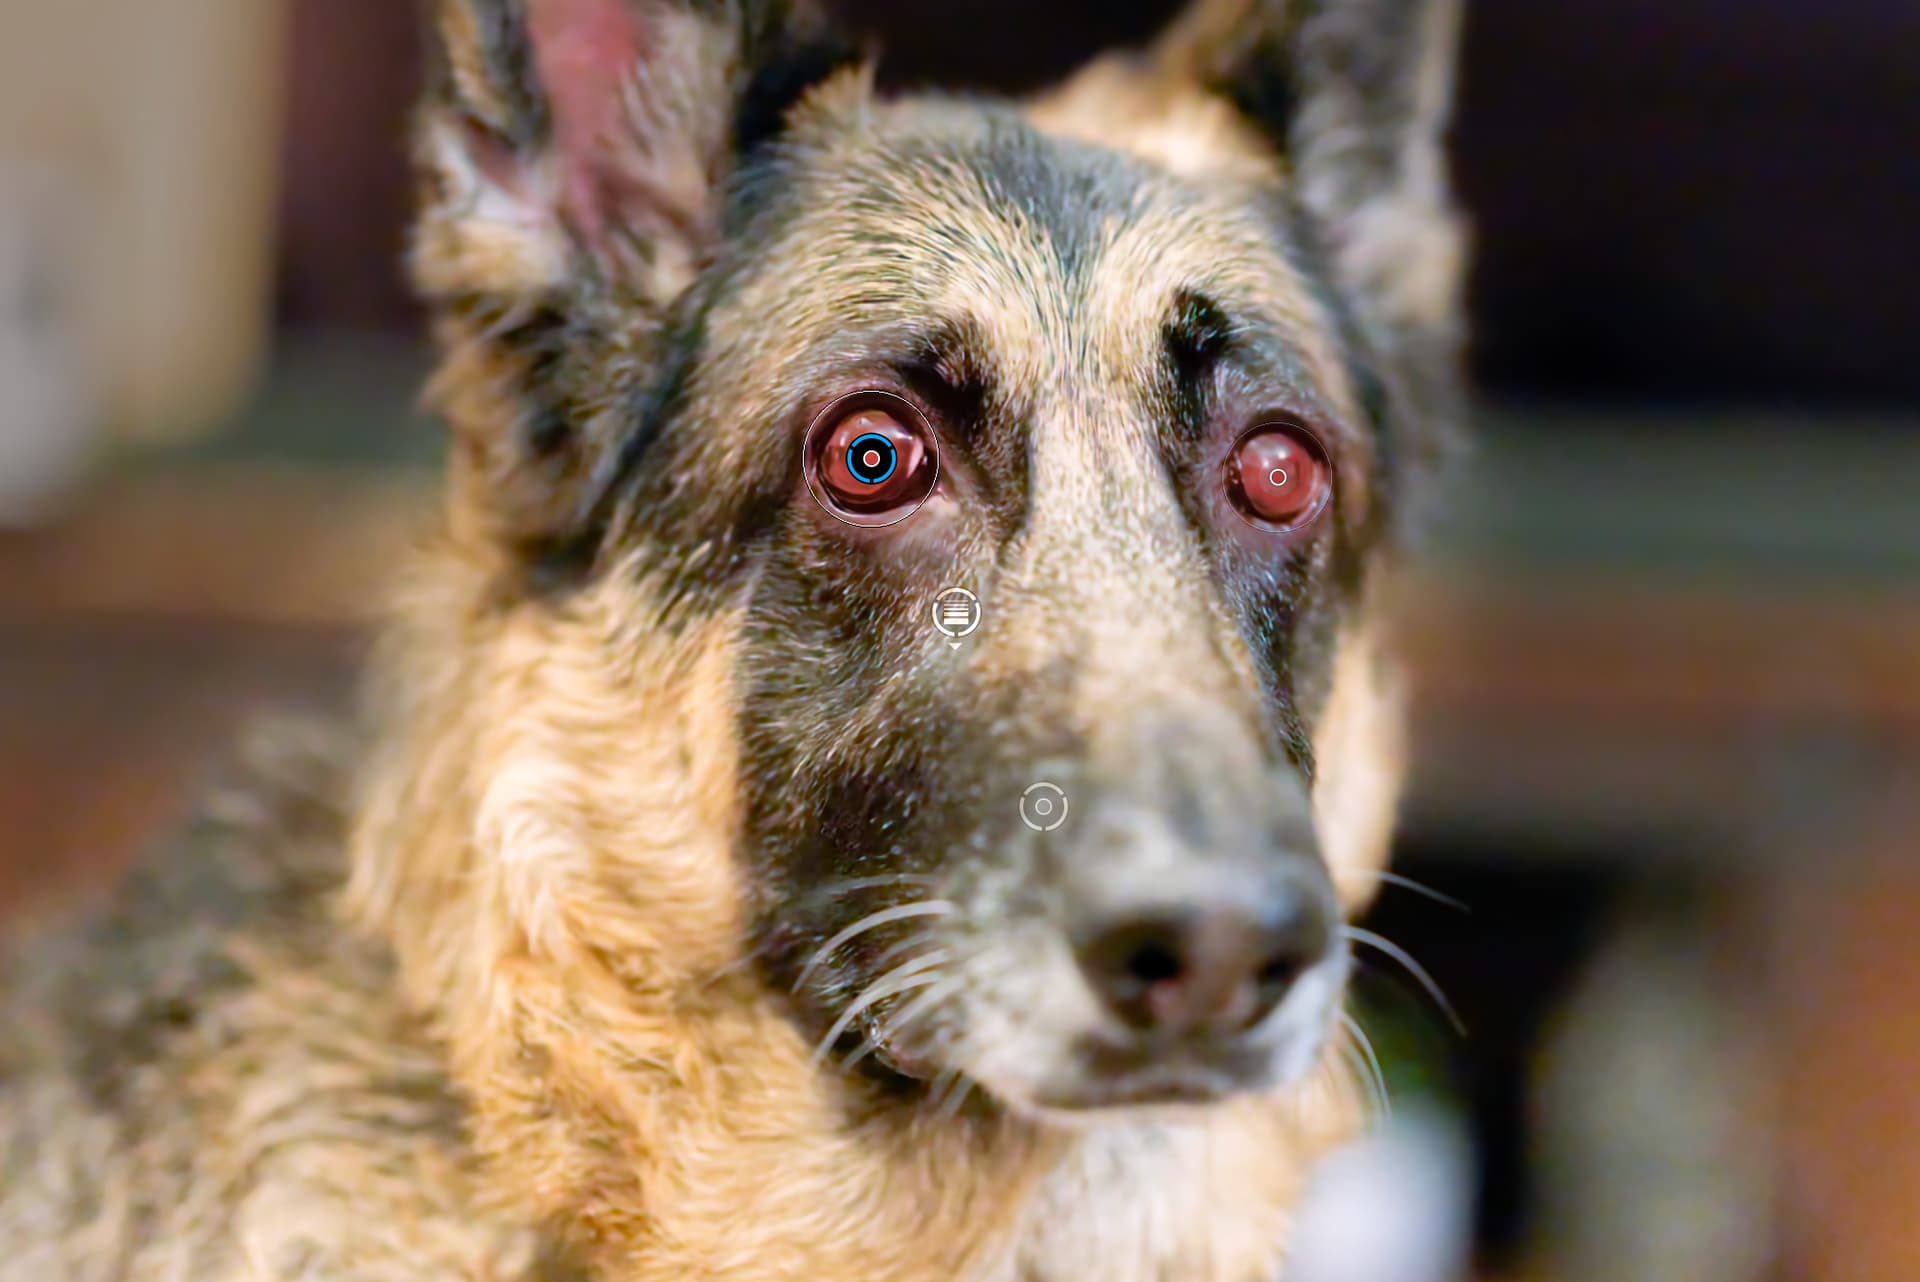
( I used a big soft edge brush plus control points )