Once I understand this better, I will do it as you suggest. Right now I’m just trying to do it to one image. Yes, I like having a routine of what to do, in what order, but only if it is necessary. Major adjustments first, minor adjustments last.
First step for me is to get rid of any mistakes, like if the image isn’t level. Second step is usually to crop the image to show what I want to include. Then I start working on the tone controls, contrast, and so on. When that is done, I get into what I will call “fine tuning”, with control lines, control points, and so on.
A dictionary isn’t much good until you understand what the words mean, to the point that I know what I want to do, even if, as now, I realize I don’t know how to do it. After four hours, I decided to move on to something else for a while, and start up again later.
I used to think I knew what I needed to get what I wanted, which is what I already did with this image, but I can now appreciate how much better it can be. That’s all I’m trying to learn now.
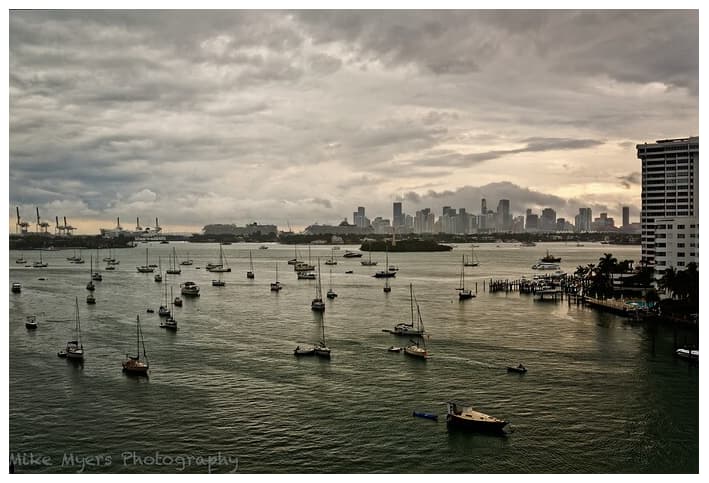
We are thinking differently here. I already know what I “want”, which is why and how I captured the image. I just need to manipulate what the camera captured, so it matches what I already have in my mind. To be honest though, I often change my mind as I’m doing the editing.
You need to create negative control points or negative control lines to eliminate an unintended edit to a specific area of your image. I’m on a Windows machine. Perhaps a Mac user will explain when and how to apply negative control points or control lines on that platform.
When you are still in the “Control Line mode” (= CL still active), add a new tool (= as if you want to leave that “CL mode”), press + hold the ALT key (on PC, don’t know the equivalent on Mac) and choose / click the Control Point tool, to provide / add the desired negative CP to exclude something from the existing CL selection. → With this building and it’s brighter & darker tones you might need more than one negative CP.
Yes, it’s always simple when you knowand have experimented to get familiar with.
→ Don’t forget to analyze the photo in question before you throw all kind of tools on it, that might ‘technically’ work. It helps, to get the picture you want to convey while staying ‘productive’. ←
I can post the current .dop of you want to see how little I’ve done.
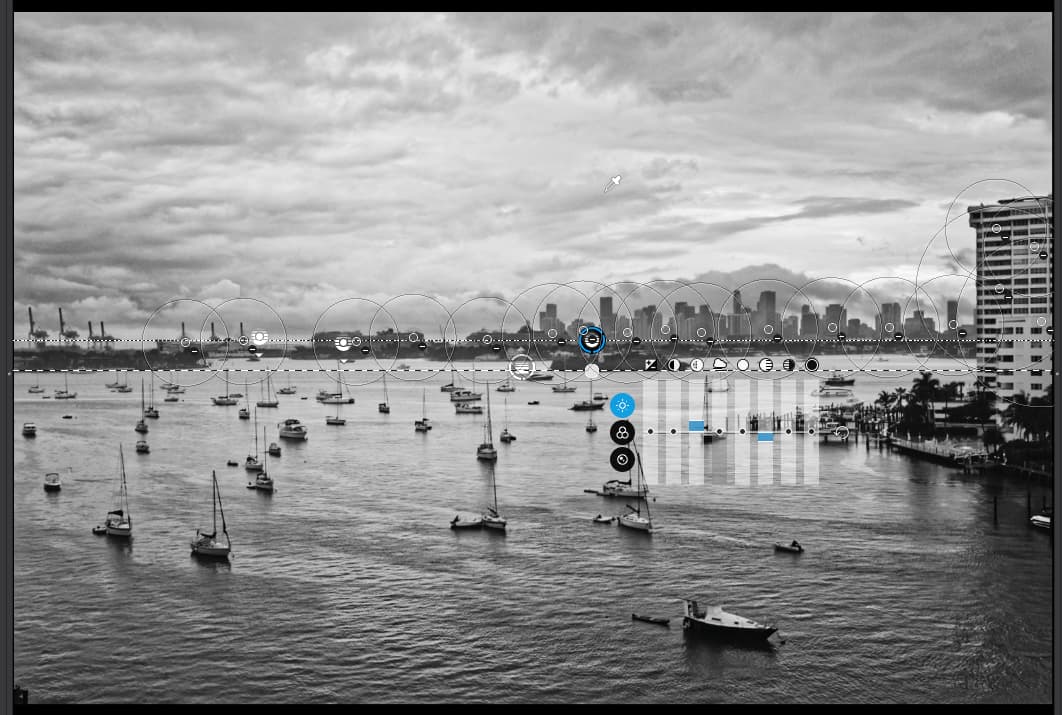
I suspect this is what I need to do:
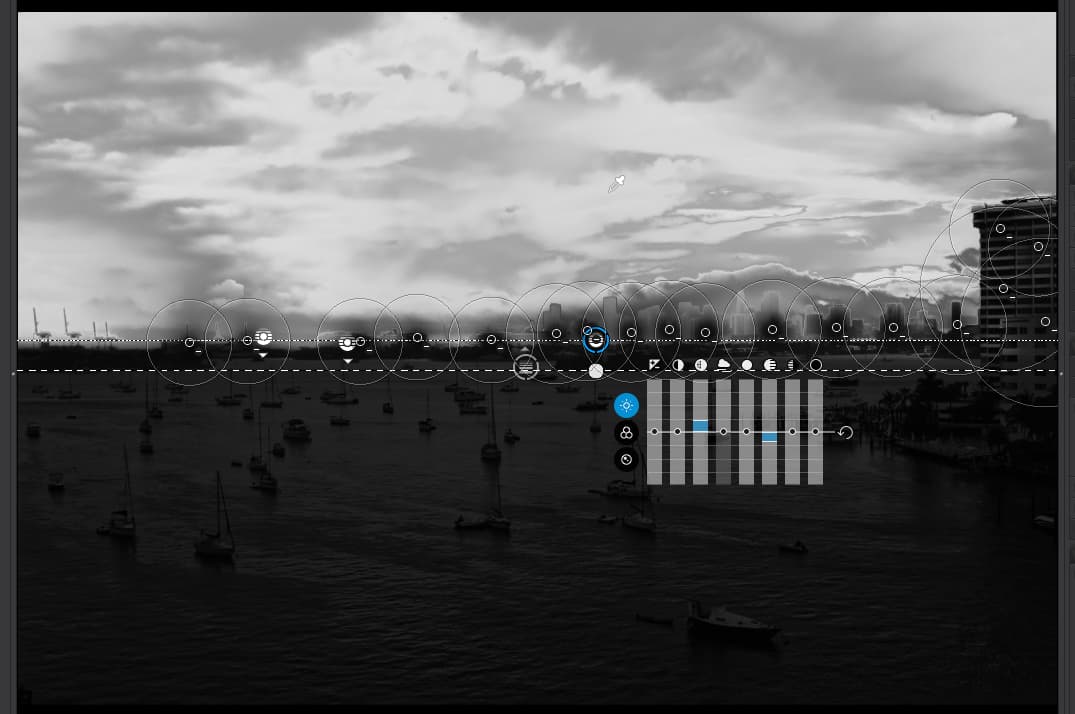
I don’t know what to click on next, to achieve that. None of the things I’ve already tried seemed to work. Since there is a rectangular area I want to “mask”, I thought masking would be the appropriate way to do that. Using control points would be difficult, to cover the rectangular area, and adding a vertical control line going to the right should allow me to do that, but it needs to be done to my current control line, not by creating a new control line, right?
At least I’m learning how to zoom the image, and move around in the zoomed image.
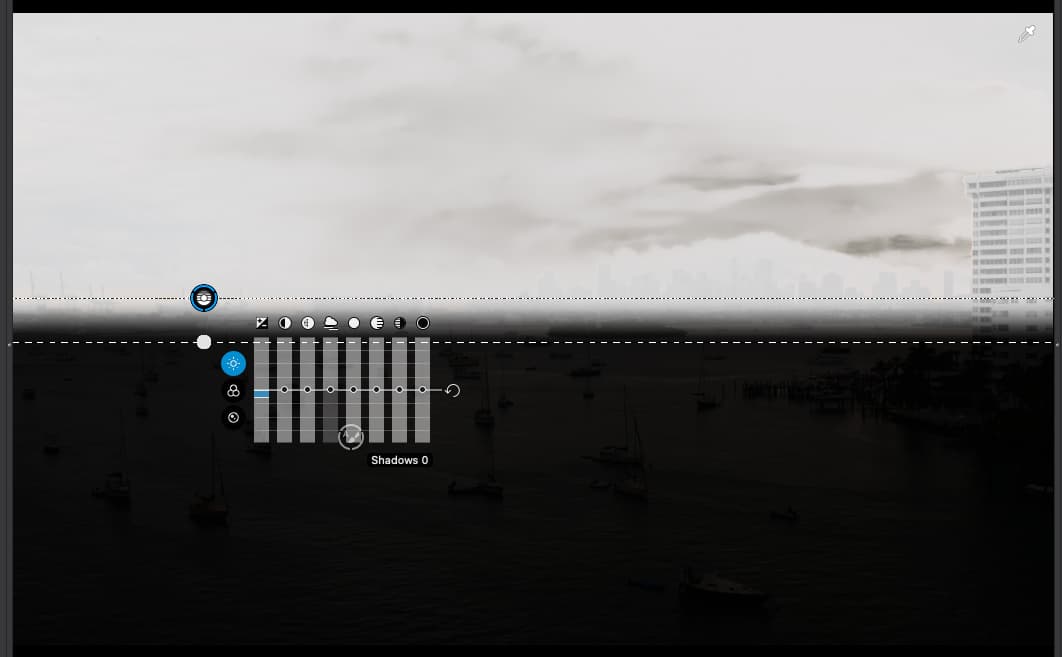
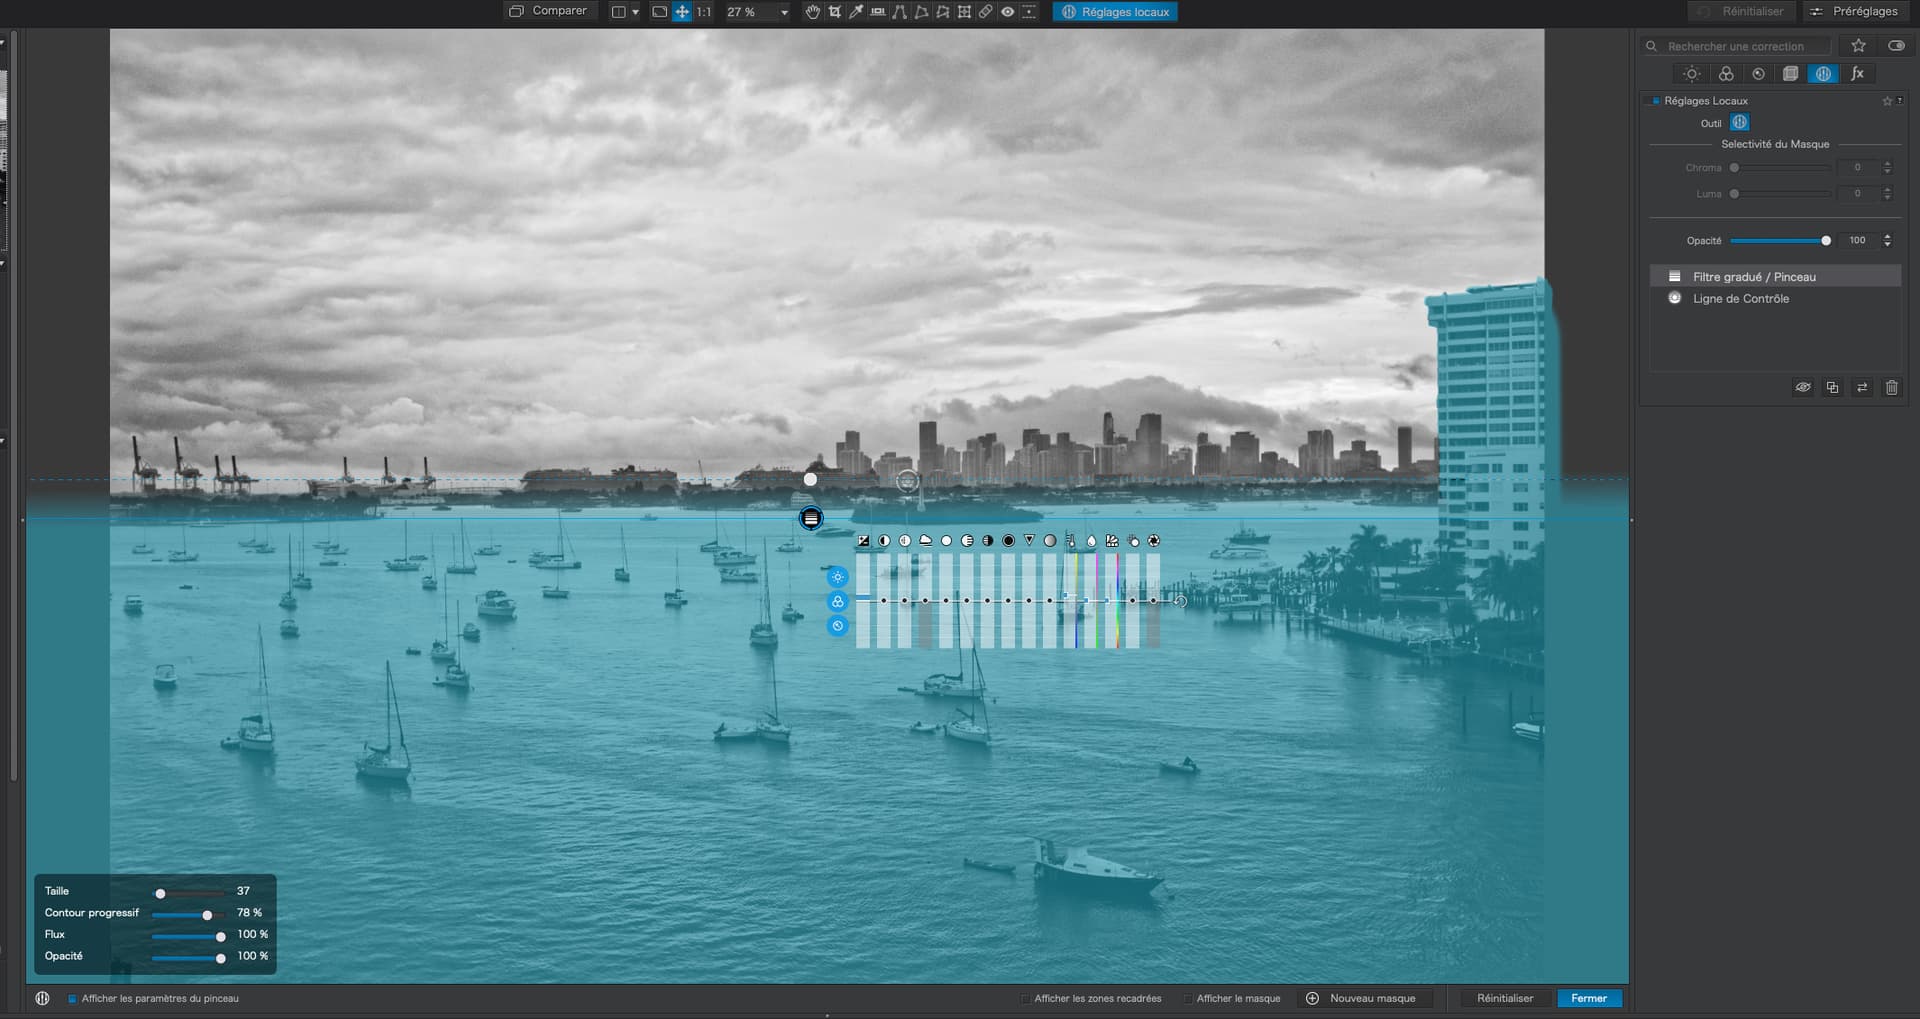
But now that I’ve done this mask, my control line seems to have vanished.
Time to take a break. I am learning, but not what I’m trying to do, as in lighten up the building at the right. If I do that, my control line correction vanishes.
I suspect this is the missing link, to allow me to do what I’m trying to do, but on macOS.
Thanks - I’ve tried searching, but keep finding other stuff. Time to stop for tonight.
I accept that now, it all needs to be done in one “control line application”, but what can I do in my example to prevent the building at the right from being darkened by my control line? When I try with a control point, I see the “minus” sign, but it won’t let me. click on the image.
Are you aware of any training videos that show this? I guess that’s my next attempt for tomorrow, watching videos on control lines, and hope to find what I’m looking for.
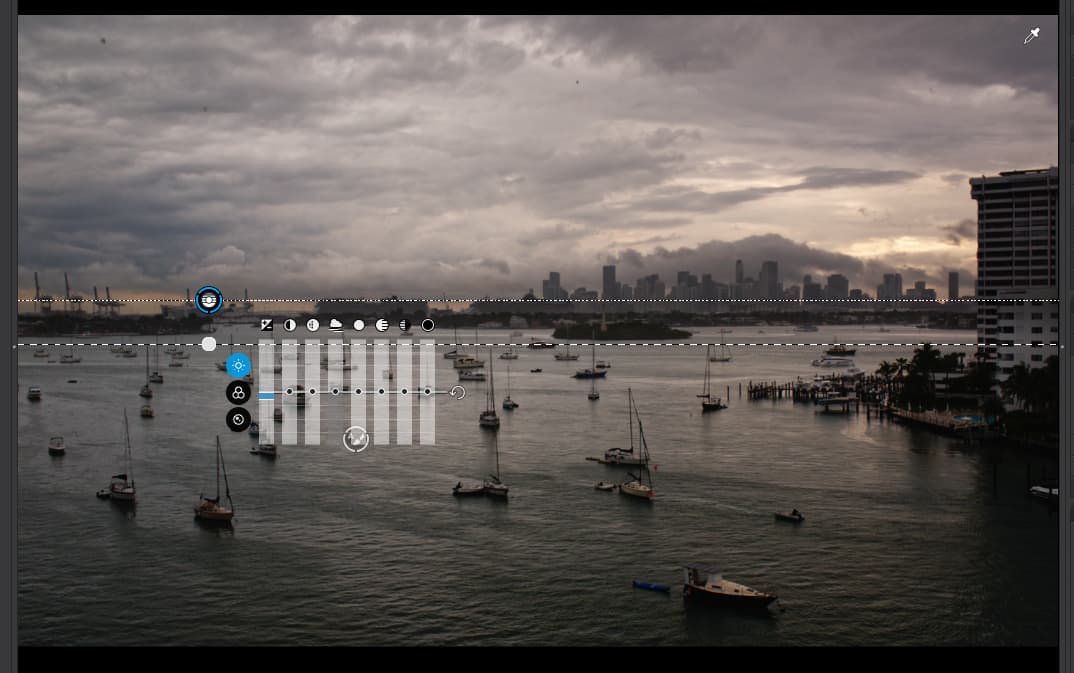
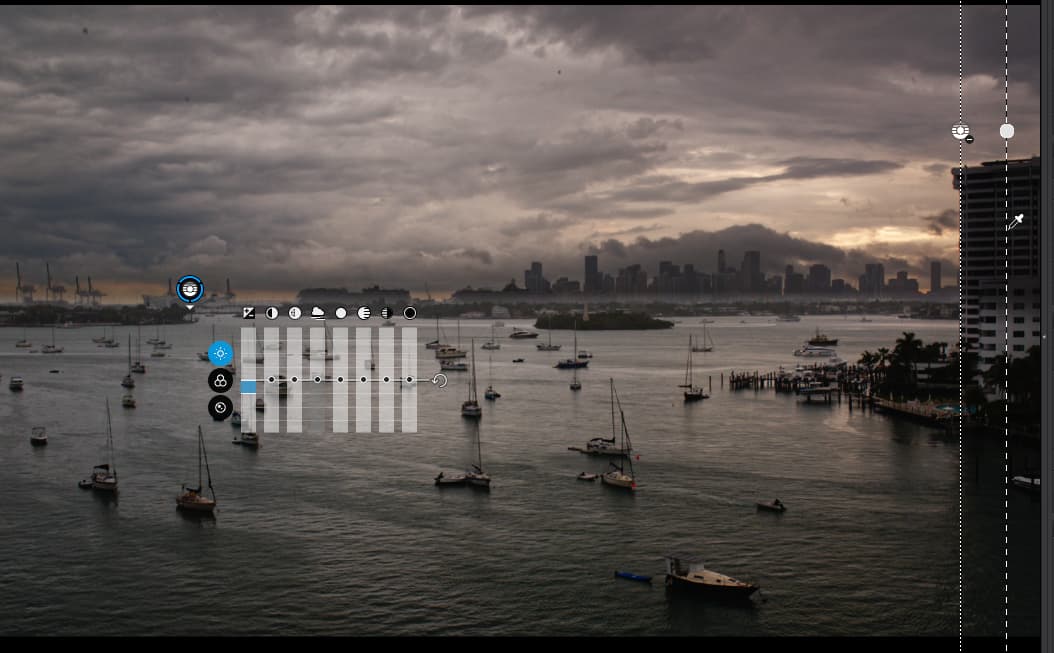
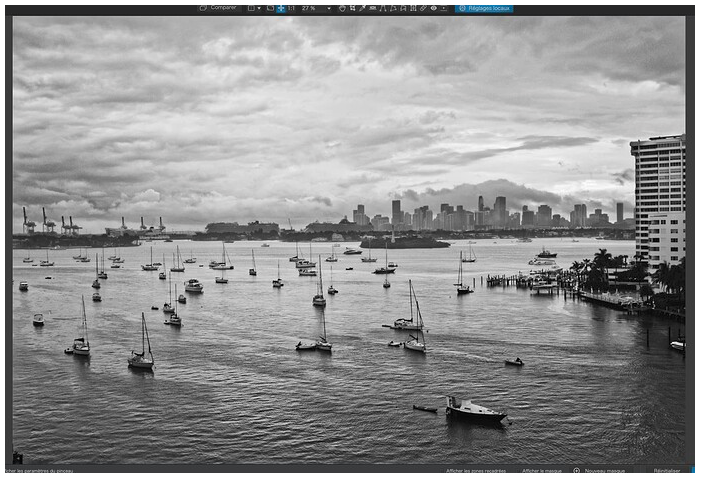
I really need to turn off my computer and go to sleep. But after watching a few videos, I was able to create this image with my original control line to darken the sky, and adding another. control line that I expected to lighten something at the right side of the image, which did not happen. It was just a test. So I guess I need to use control points to accomplish that, and not a second control line. Will try this tomorrow.
I suspect that both control lines are doing the same thing, “darkening” the image, even though the vertical one has a “-” sign which I expected to be a negative control.
It’s all good, I guess. You can all have a good laugh at my expense.
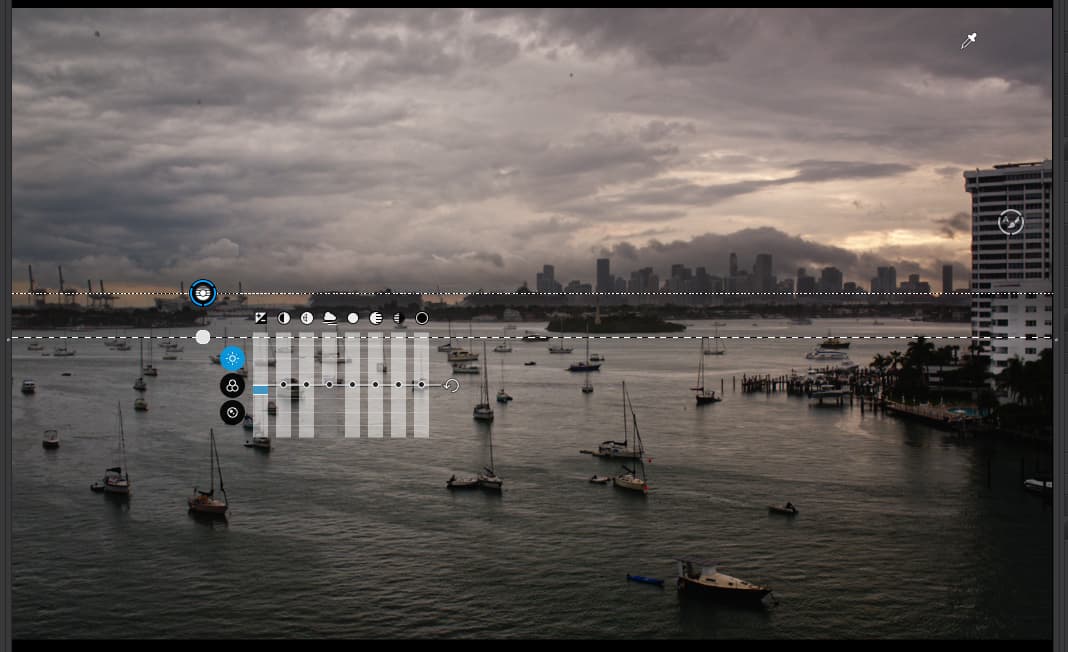
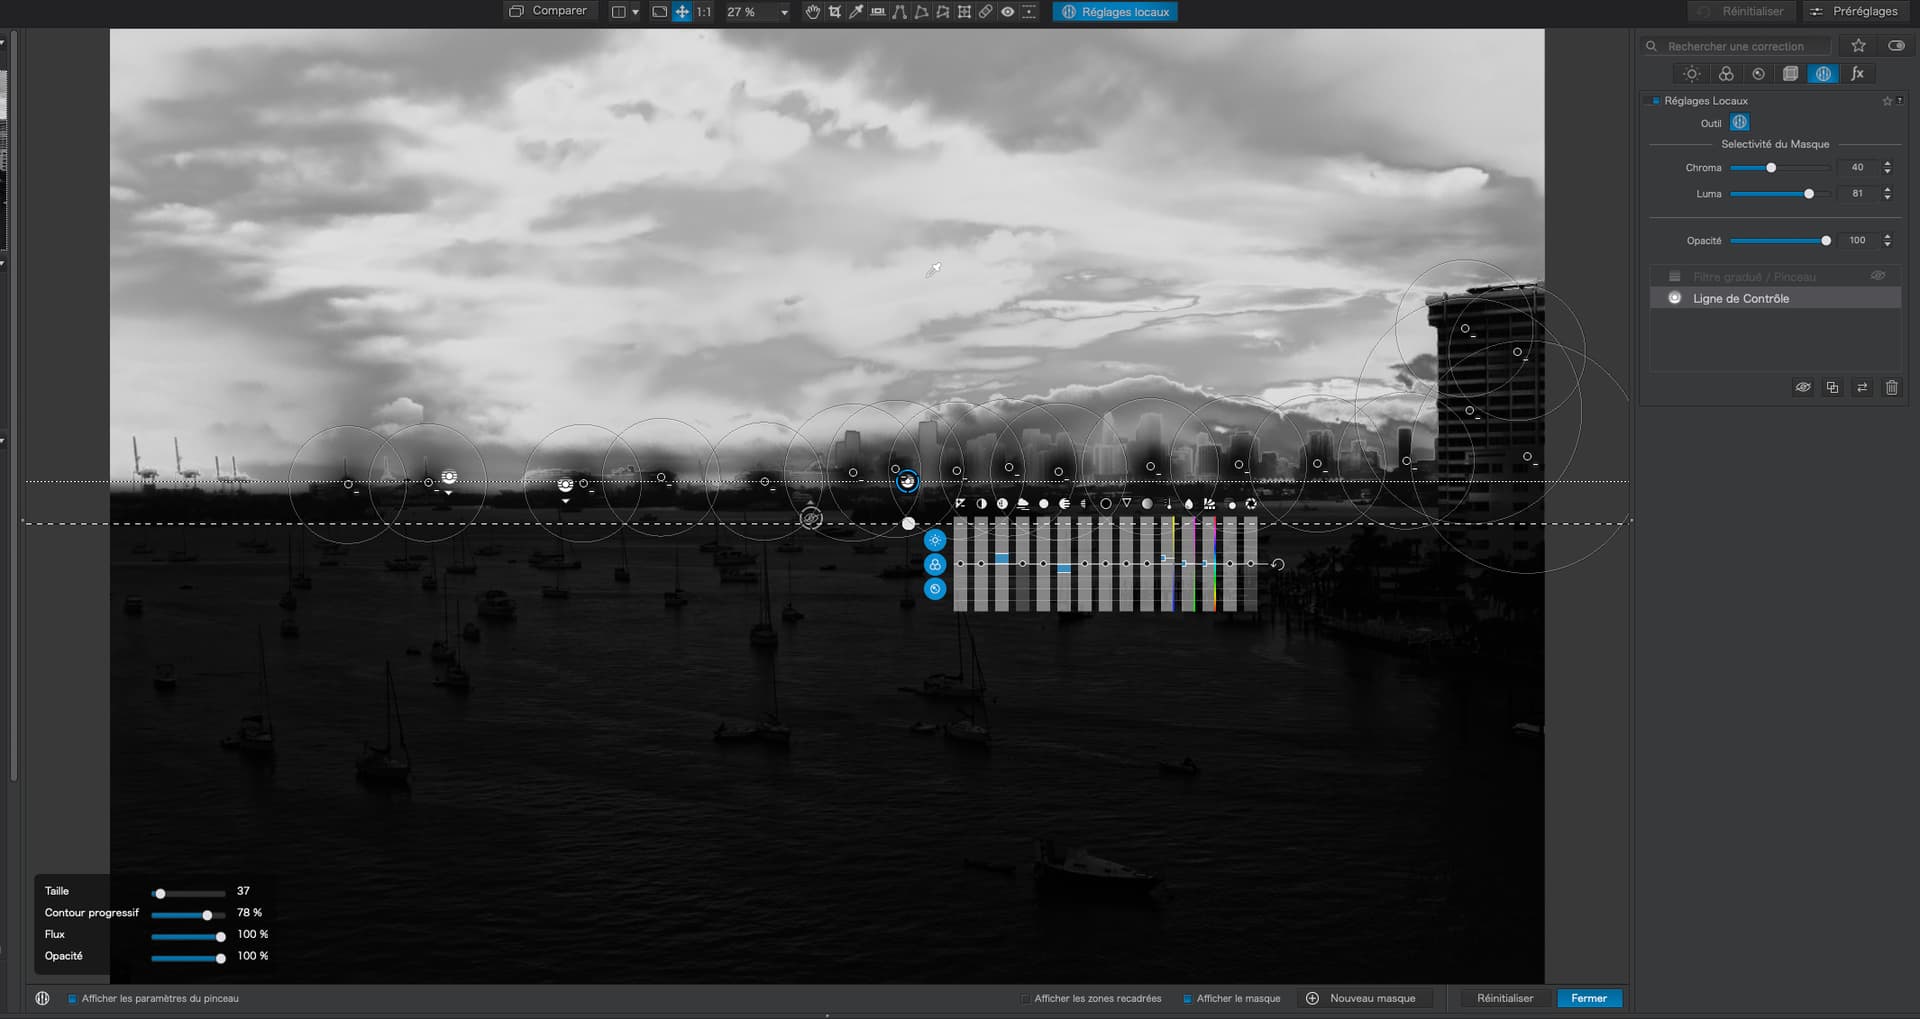
This is to lighten the water in the foreground and the building on the right
Certain mask types can be combined on the same mask. You need to try them out and, as @Wolfgang mentions, to obtain a negative mask, simply hold down the Option key whilst applying the tool.
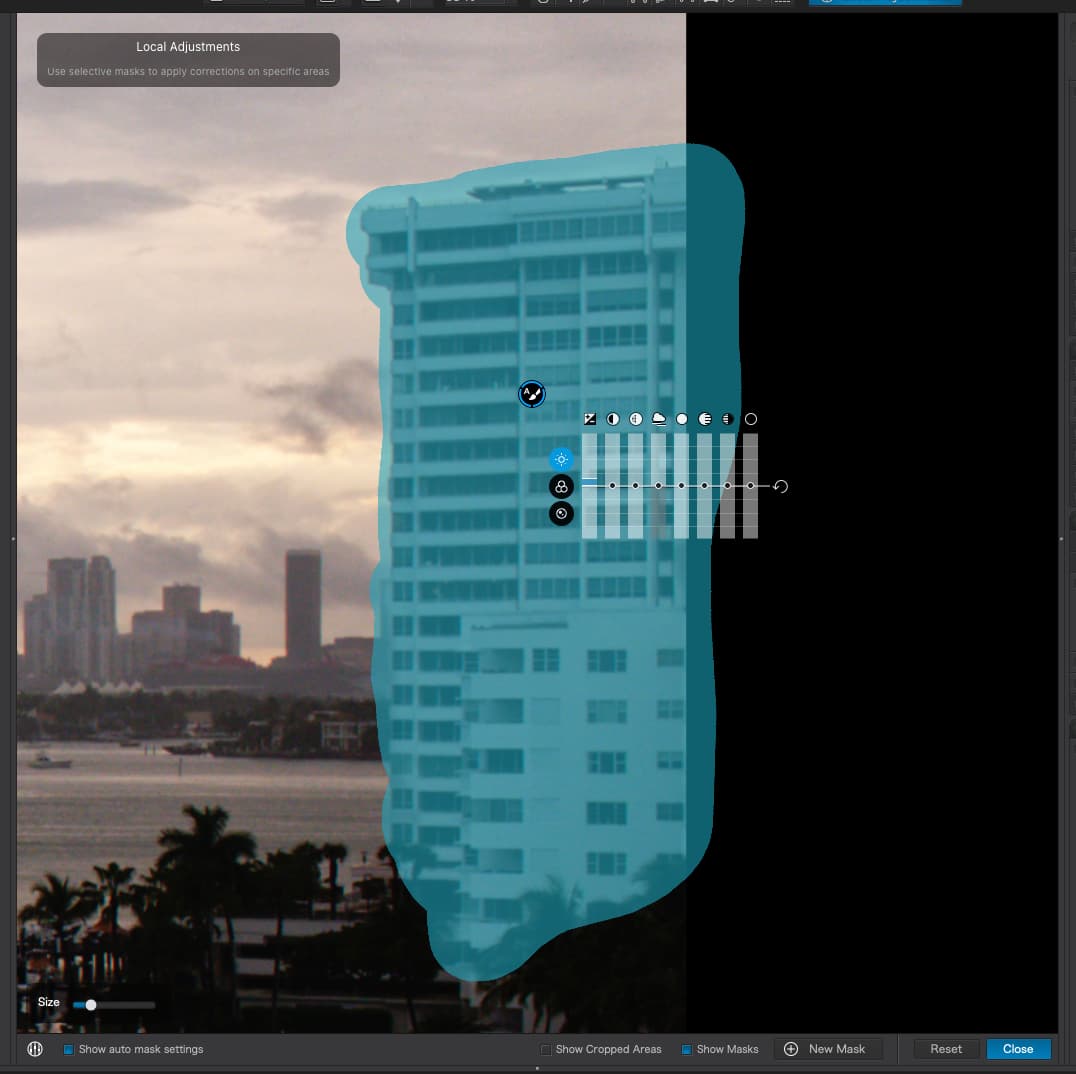
However, in the light of your recent screenshots, I cannot emphasise to much how important it is to build your masks with the “Show Masks” checked. Only after you have masked the appropriate area should you then hide the masks and make adjustments on the masked area.
With Control Lines and Control Points, it is a two stage process Don’t ever attempt to create such masks without being able to see the masks.
herman
(Leica M9 | iPhone 17 Pro | iMac M1 | PL9, FP8, VP5 | Photo Supreme)
1524
Are you using the “Protect an area” option of the Control Line?
No, we are thinking alike. We are both talking about manipulating the RAW data that came out of the camera in order to realise the image we ‘saw’ when we pressed the shutter and we both realise that the editing process may lead us to something different to our original vision.
Not yet. I’m stuck on learning how to add an additional correction to my control line correction. I suspect your .dop will show me what to do, but not how to do it, but in case I’m wrong, I will download your .dop file and create a new VC to use it with.
Aha!! Maybe holding down the Option key is what I’m missing. @Wolfgang showed me how it’s done in Windows, but didn’t know how to do it in macOS. I suspect this is just what I need to continue. …and yes, I am constantly turning on/off the “Show Masks” to see what I’m doing, or in this case, failing to do.
I’m trying to add a mask to my control line, using the control line as you showed me, and masking off the building. I’m not sure yet what I will or won’t do with the water - that comes later, as I see things (or fail to).
Not yet - that is what I am trying to do. I don’t remember seeing those words on my screen, “Protect an Area”. Maybe I just didn’t see them. That certainly IS what I am attempting to do. Thank you - one more piece of my puzzle…
The first part of what you wrote is what I am thinking. I accept the second part of what you wrote, but at least for now, that is not what I want to achieve… although I might change my mind, as I often do.
I can see all your control points, including the ones that protect the building, but there must be a trick to allow you to accomplish this - when I tried, I got an icon showing me it was not allowed - but maybe what has been causing me all the grief was my not holding down the OPTION key.
What do I click on, to bring up the “help window” showing tips on what I can do?
Where does the display say anything about using the OPTION key?
I feel very retarded right now, but I accept that ignorant would be a more appropriate word.
…and as I posted in the other thread, now that I’ve got 5 VC images in PhotoLab, is there any way to add a description for each of them, that might show up as I “hover” over that small image, to remind me what I had done for each VC ?
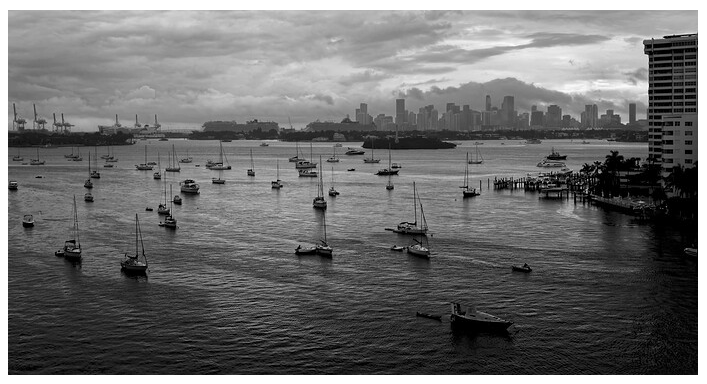
To me, with my (lack of) ability, if I was going to hang one of these three images on my wall, it would be an interesting choice. I like different elements in each of the three images. But understanding better how to use the tools, I now understand HOW to do it better from now on.
I think that was the goal - so I say a big THANK YOU to each of you.