Hi friends, I’m an amateur photographer getting back into photography after many years away. I am working to improve my raw processing and throughout the 30 day trial I finally got to the point where I understand the basics of many of the corrections and have built a set of presets to streamline processing.
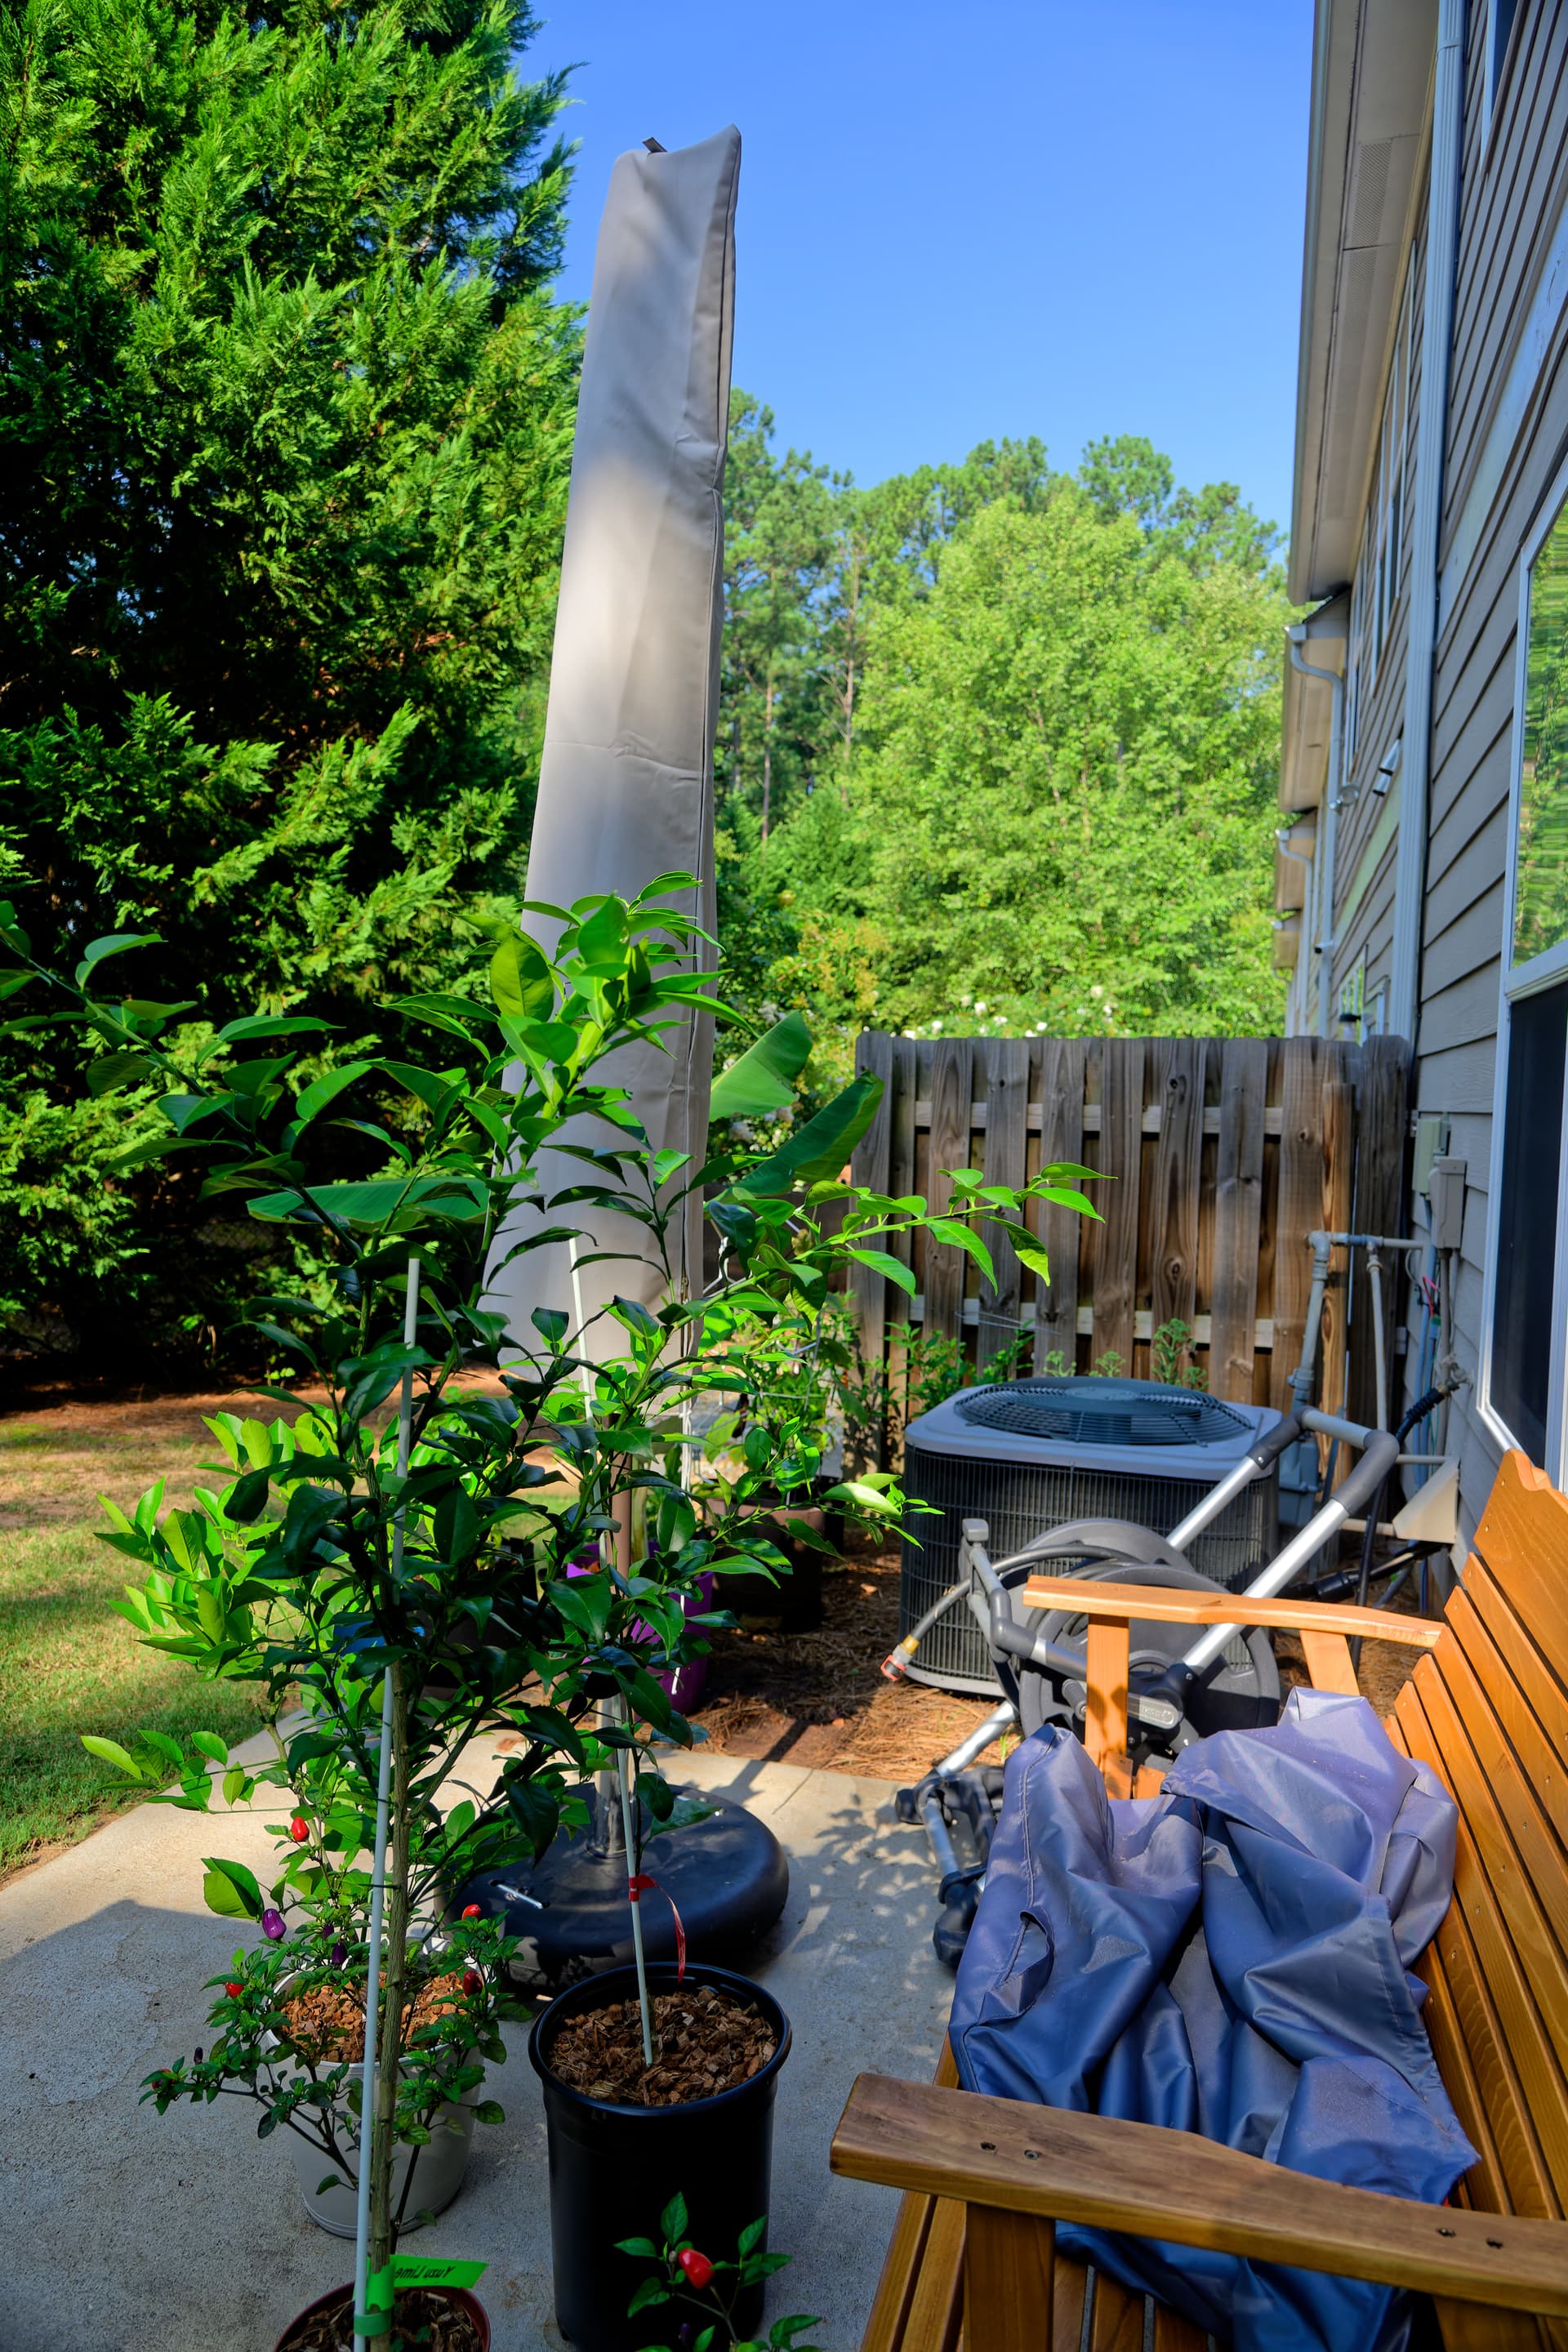
However I have realized now that I have a big problem with color. When DxO processes my raw and applies Preset DxO Standard, my image becomes immediately washed out. The sky is turned nearly gray (I use a polarizer and get bright blues on the Nikon Z50 display) and greens are washed out and the whole image loses depth between highlights and shadows. I thought that this was a correction process and I spent weeks building presets that jack-up contrast, big values for smart lighting, clear view, Color Accentuation, HSL, etc trying to bring back the color.
My issue is that when I load a raw for the first time, for 1 second I see a beautiful color with bright colors and full saturation. And then -click- PL6 applies a preset and the whole image becomes totally washed out.
I have noticed that when I use “5. No Corrections” preset about 50% of the color comes back, but it’s still nothing compared to the beautiful color that I see for 1 second before PL6 automatically changes the photo. I also see the beautiful color in my Nikon Z50 display or that the Nikon JPEGs have (I shoot raw+jpeg).
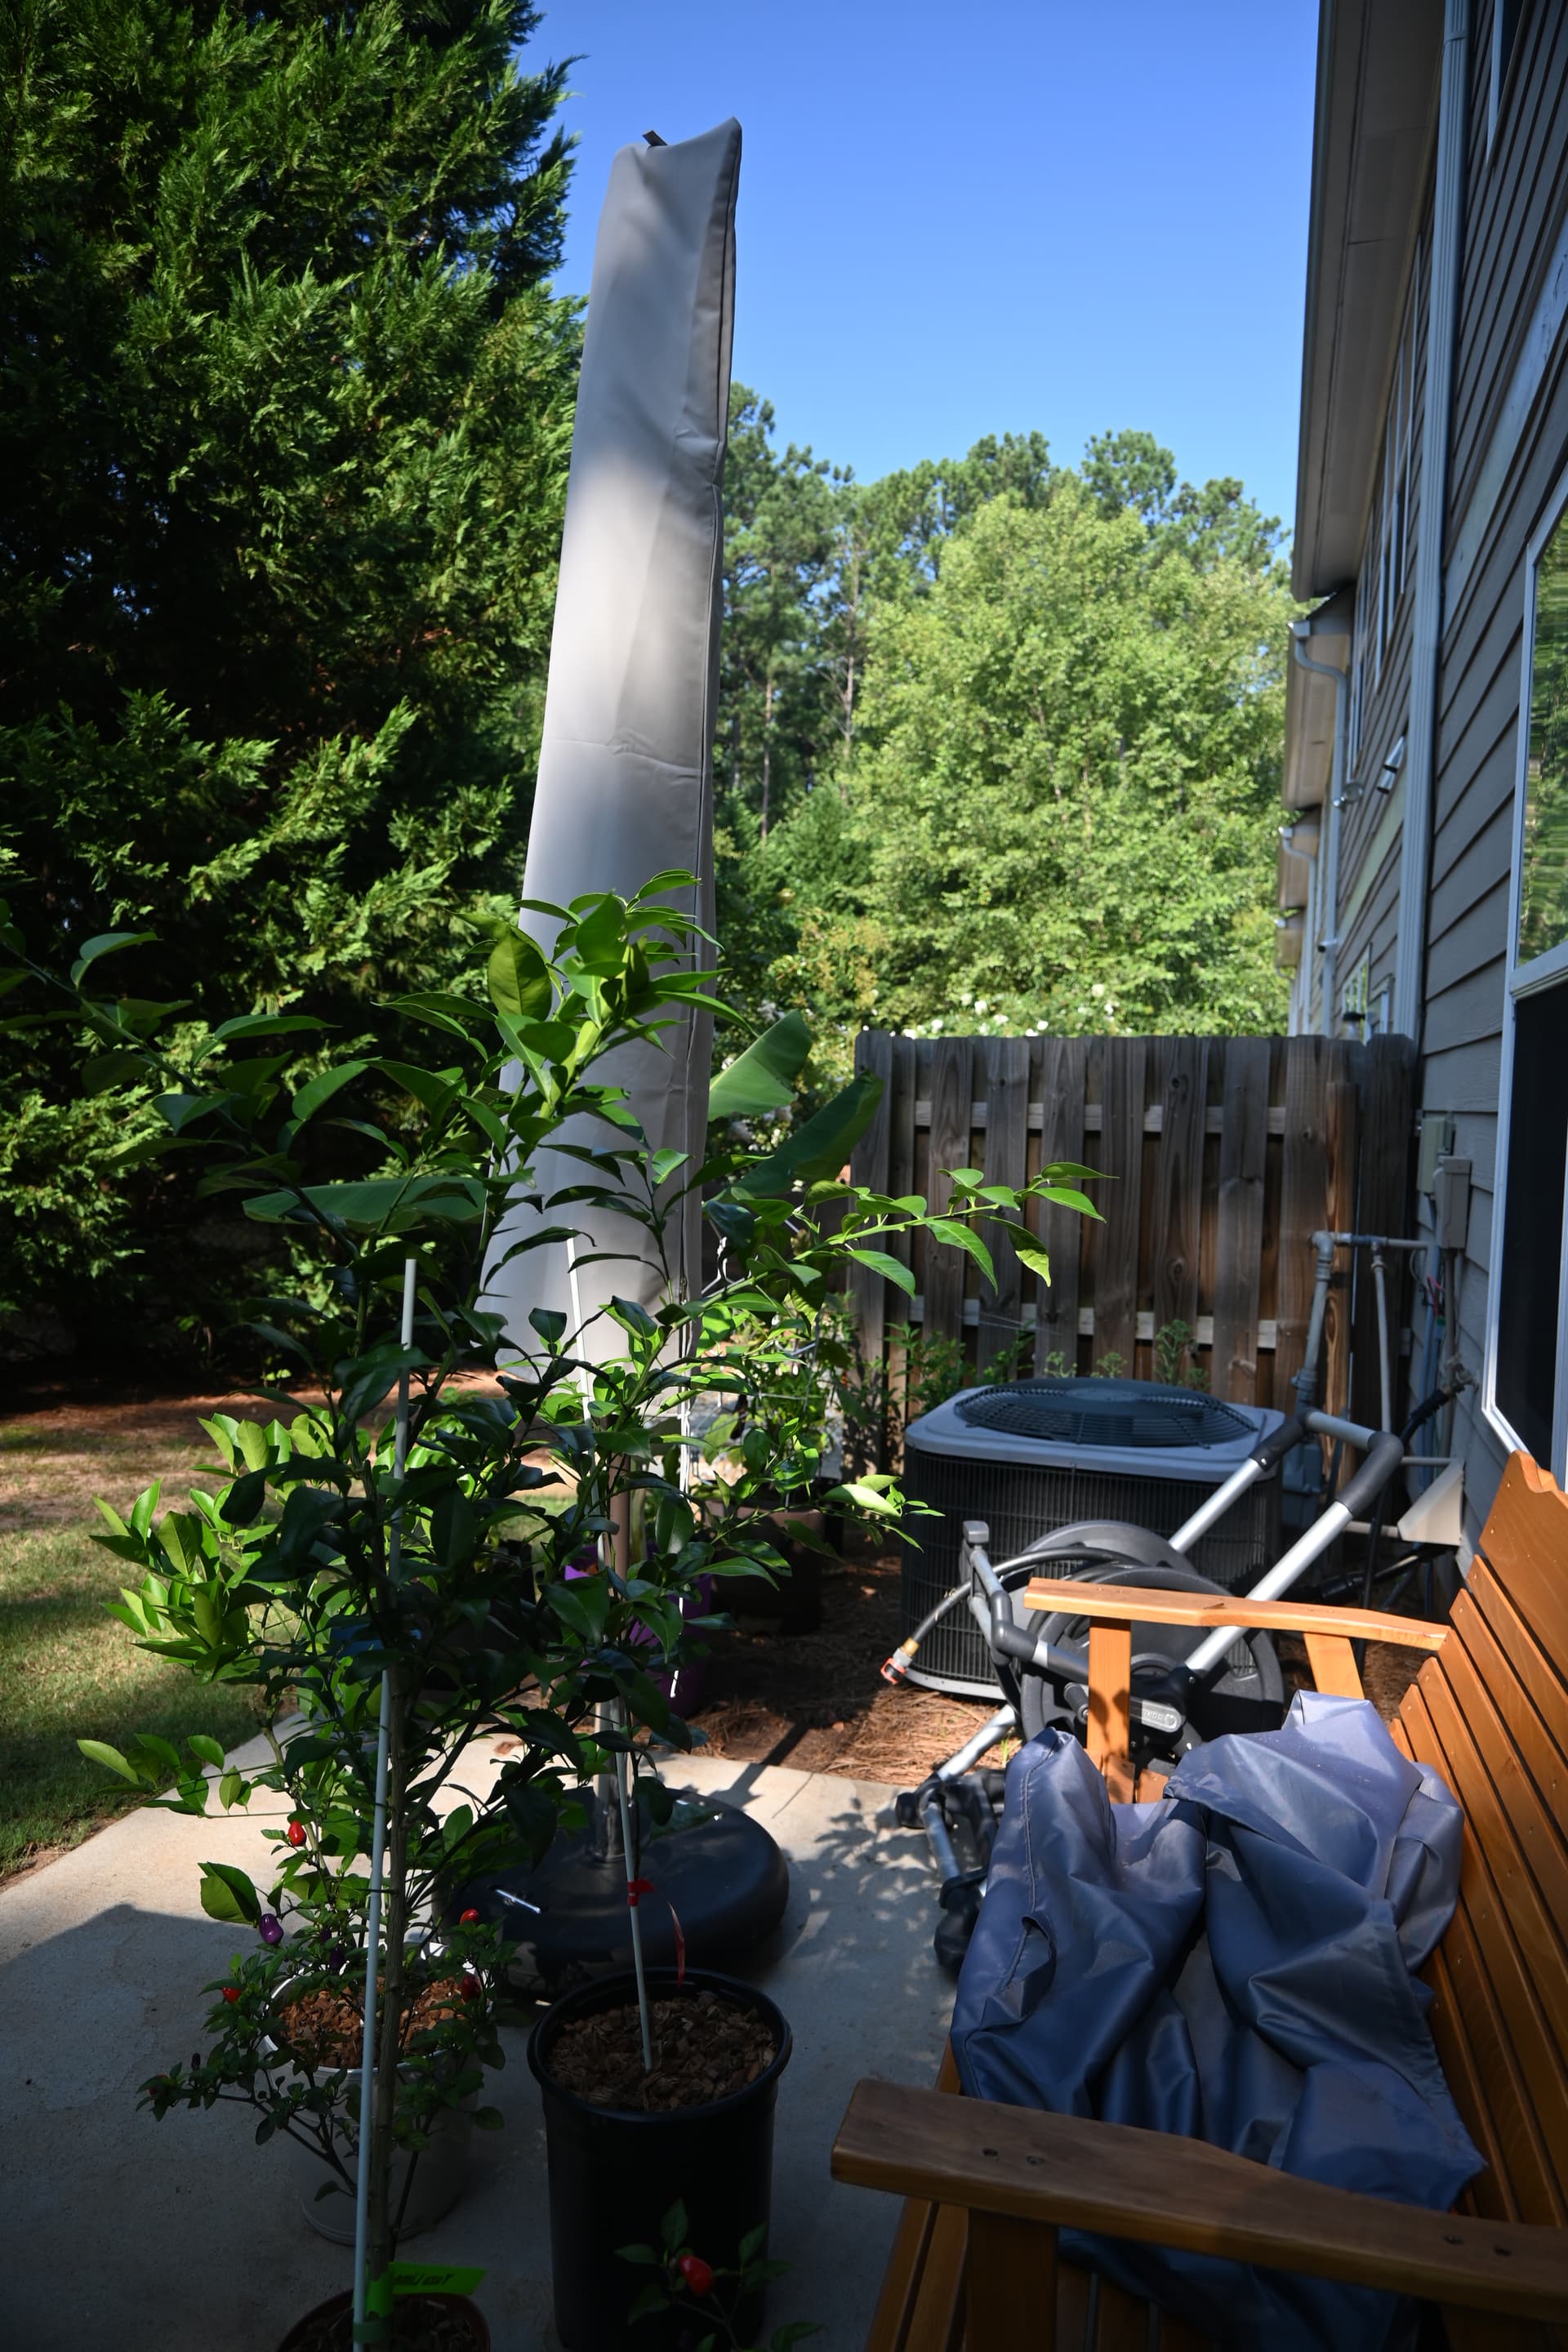
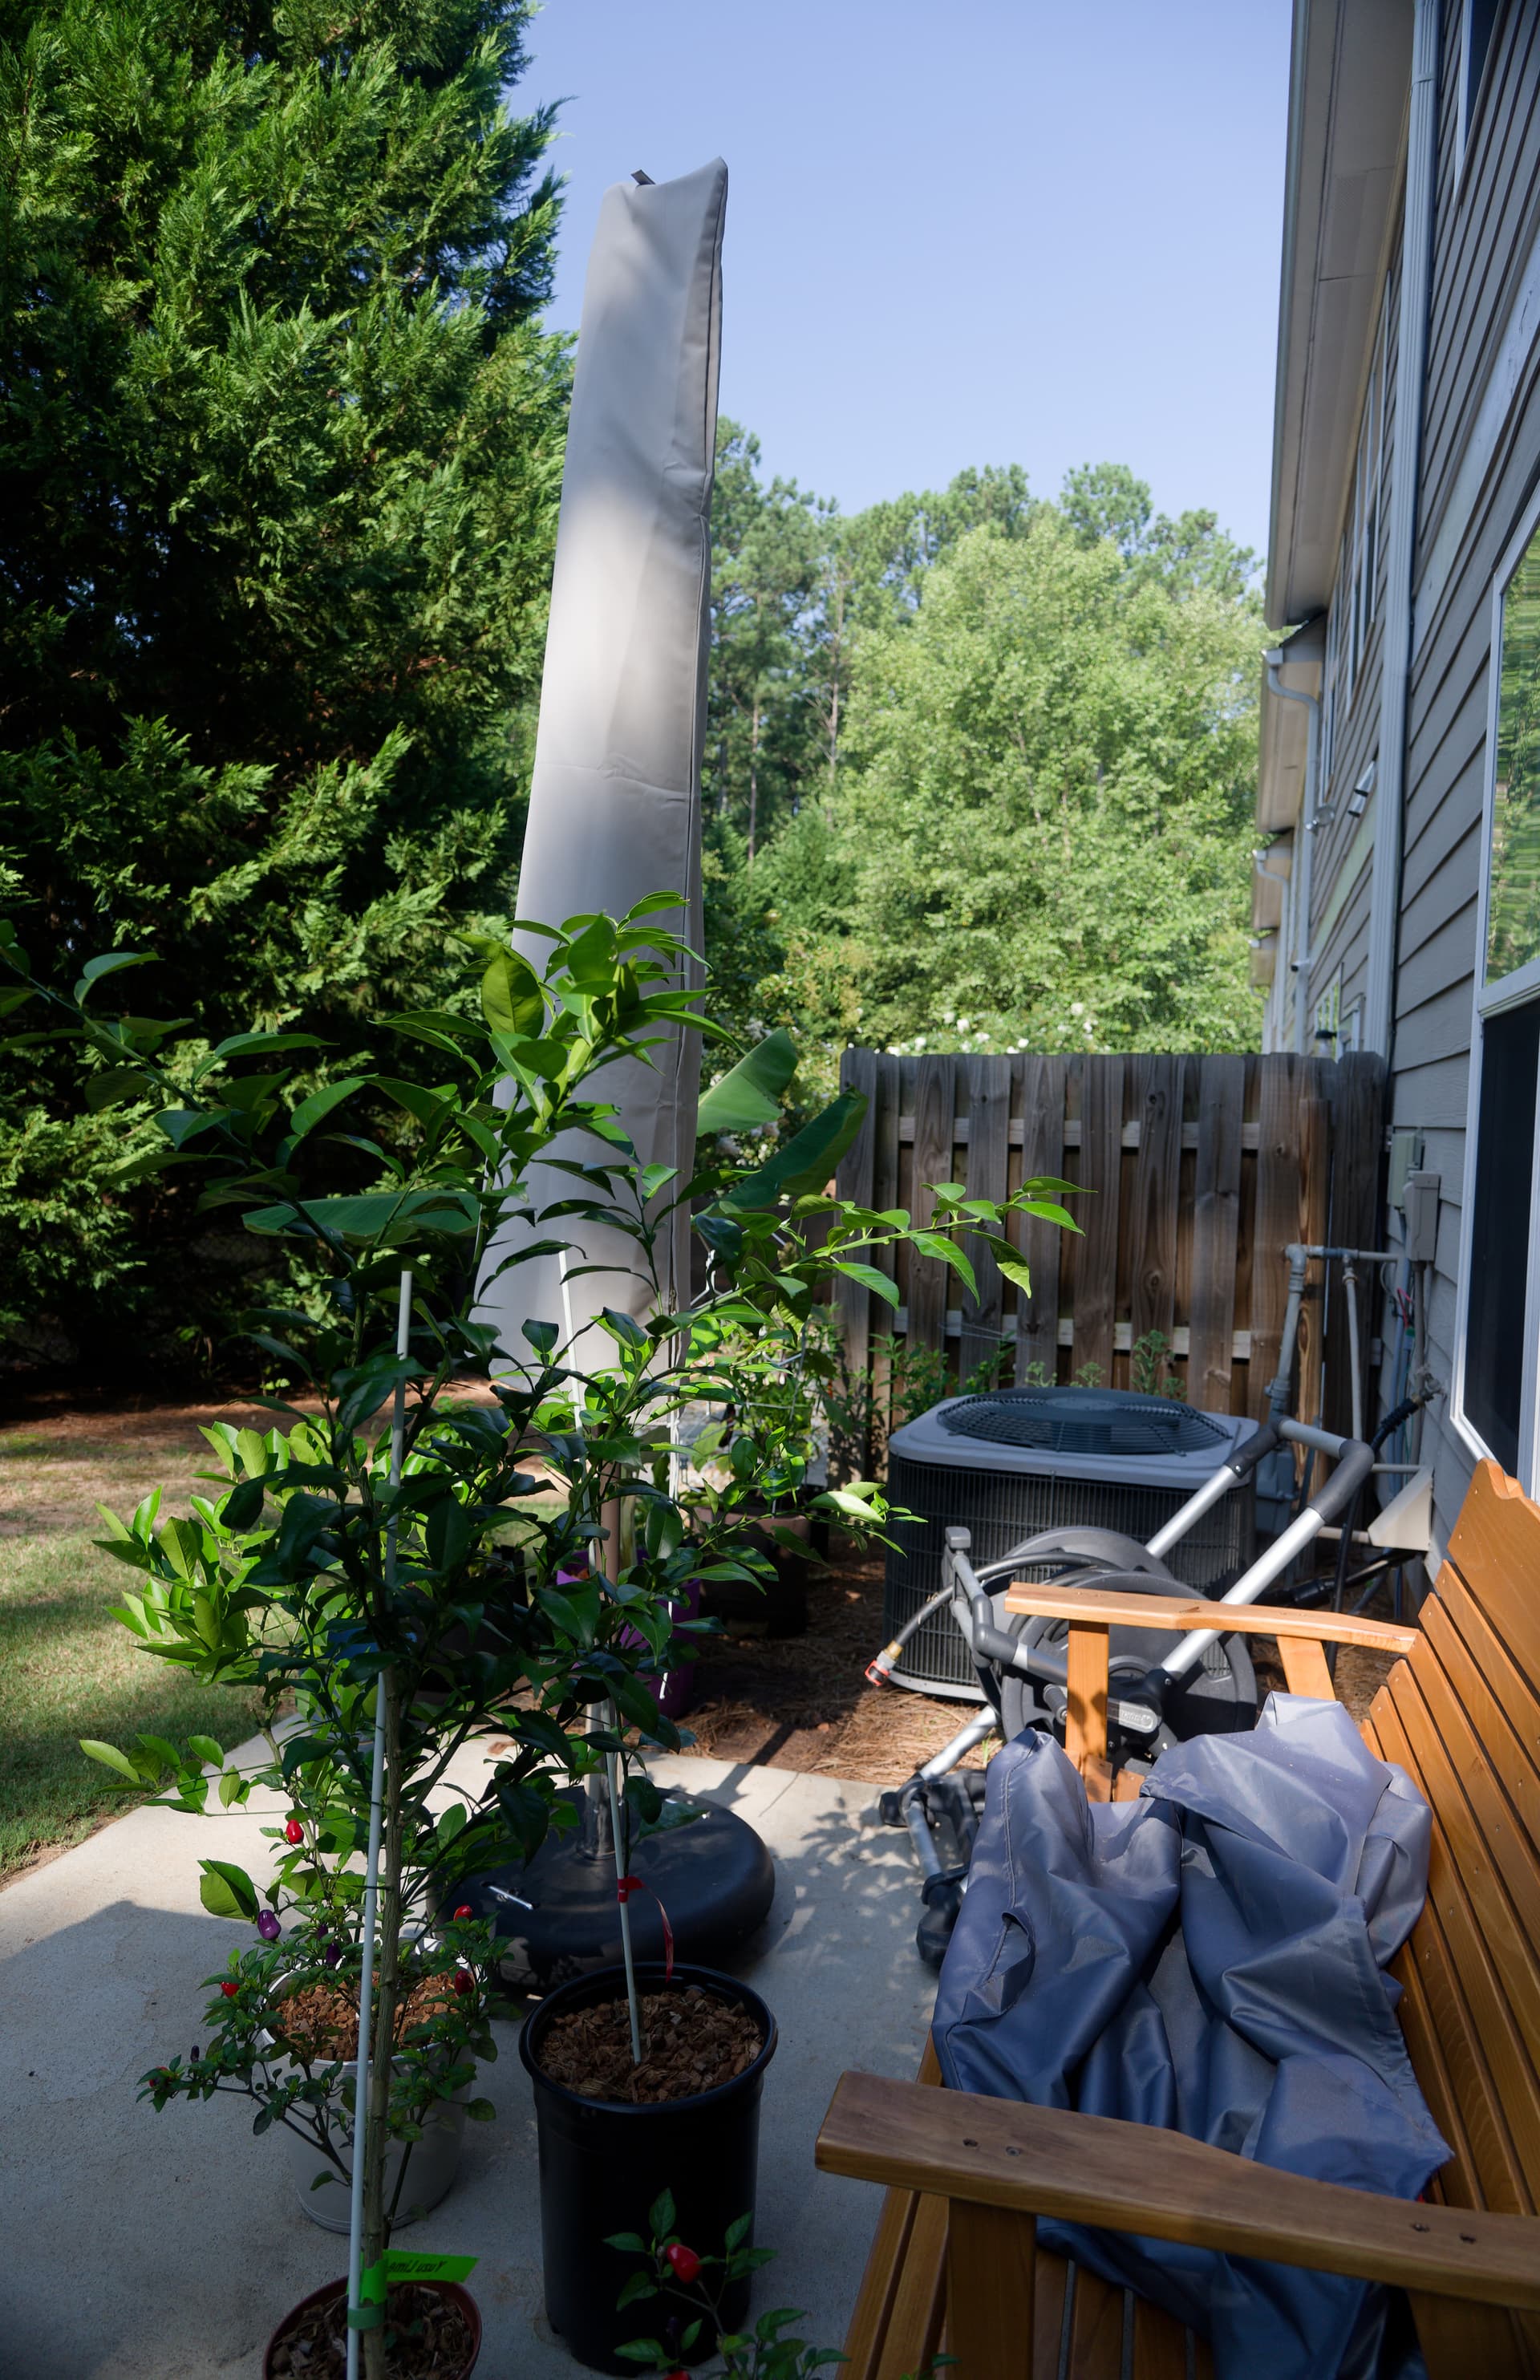
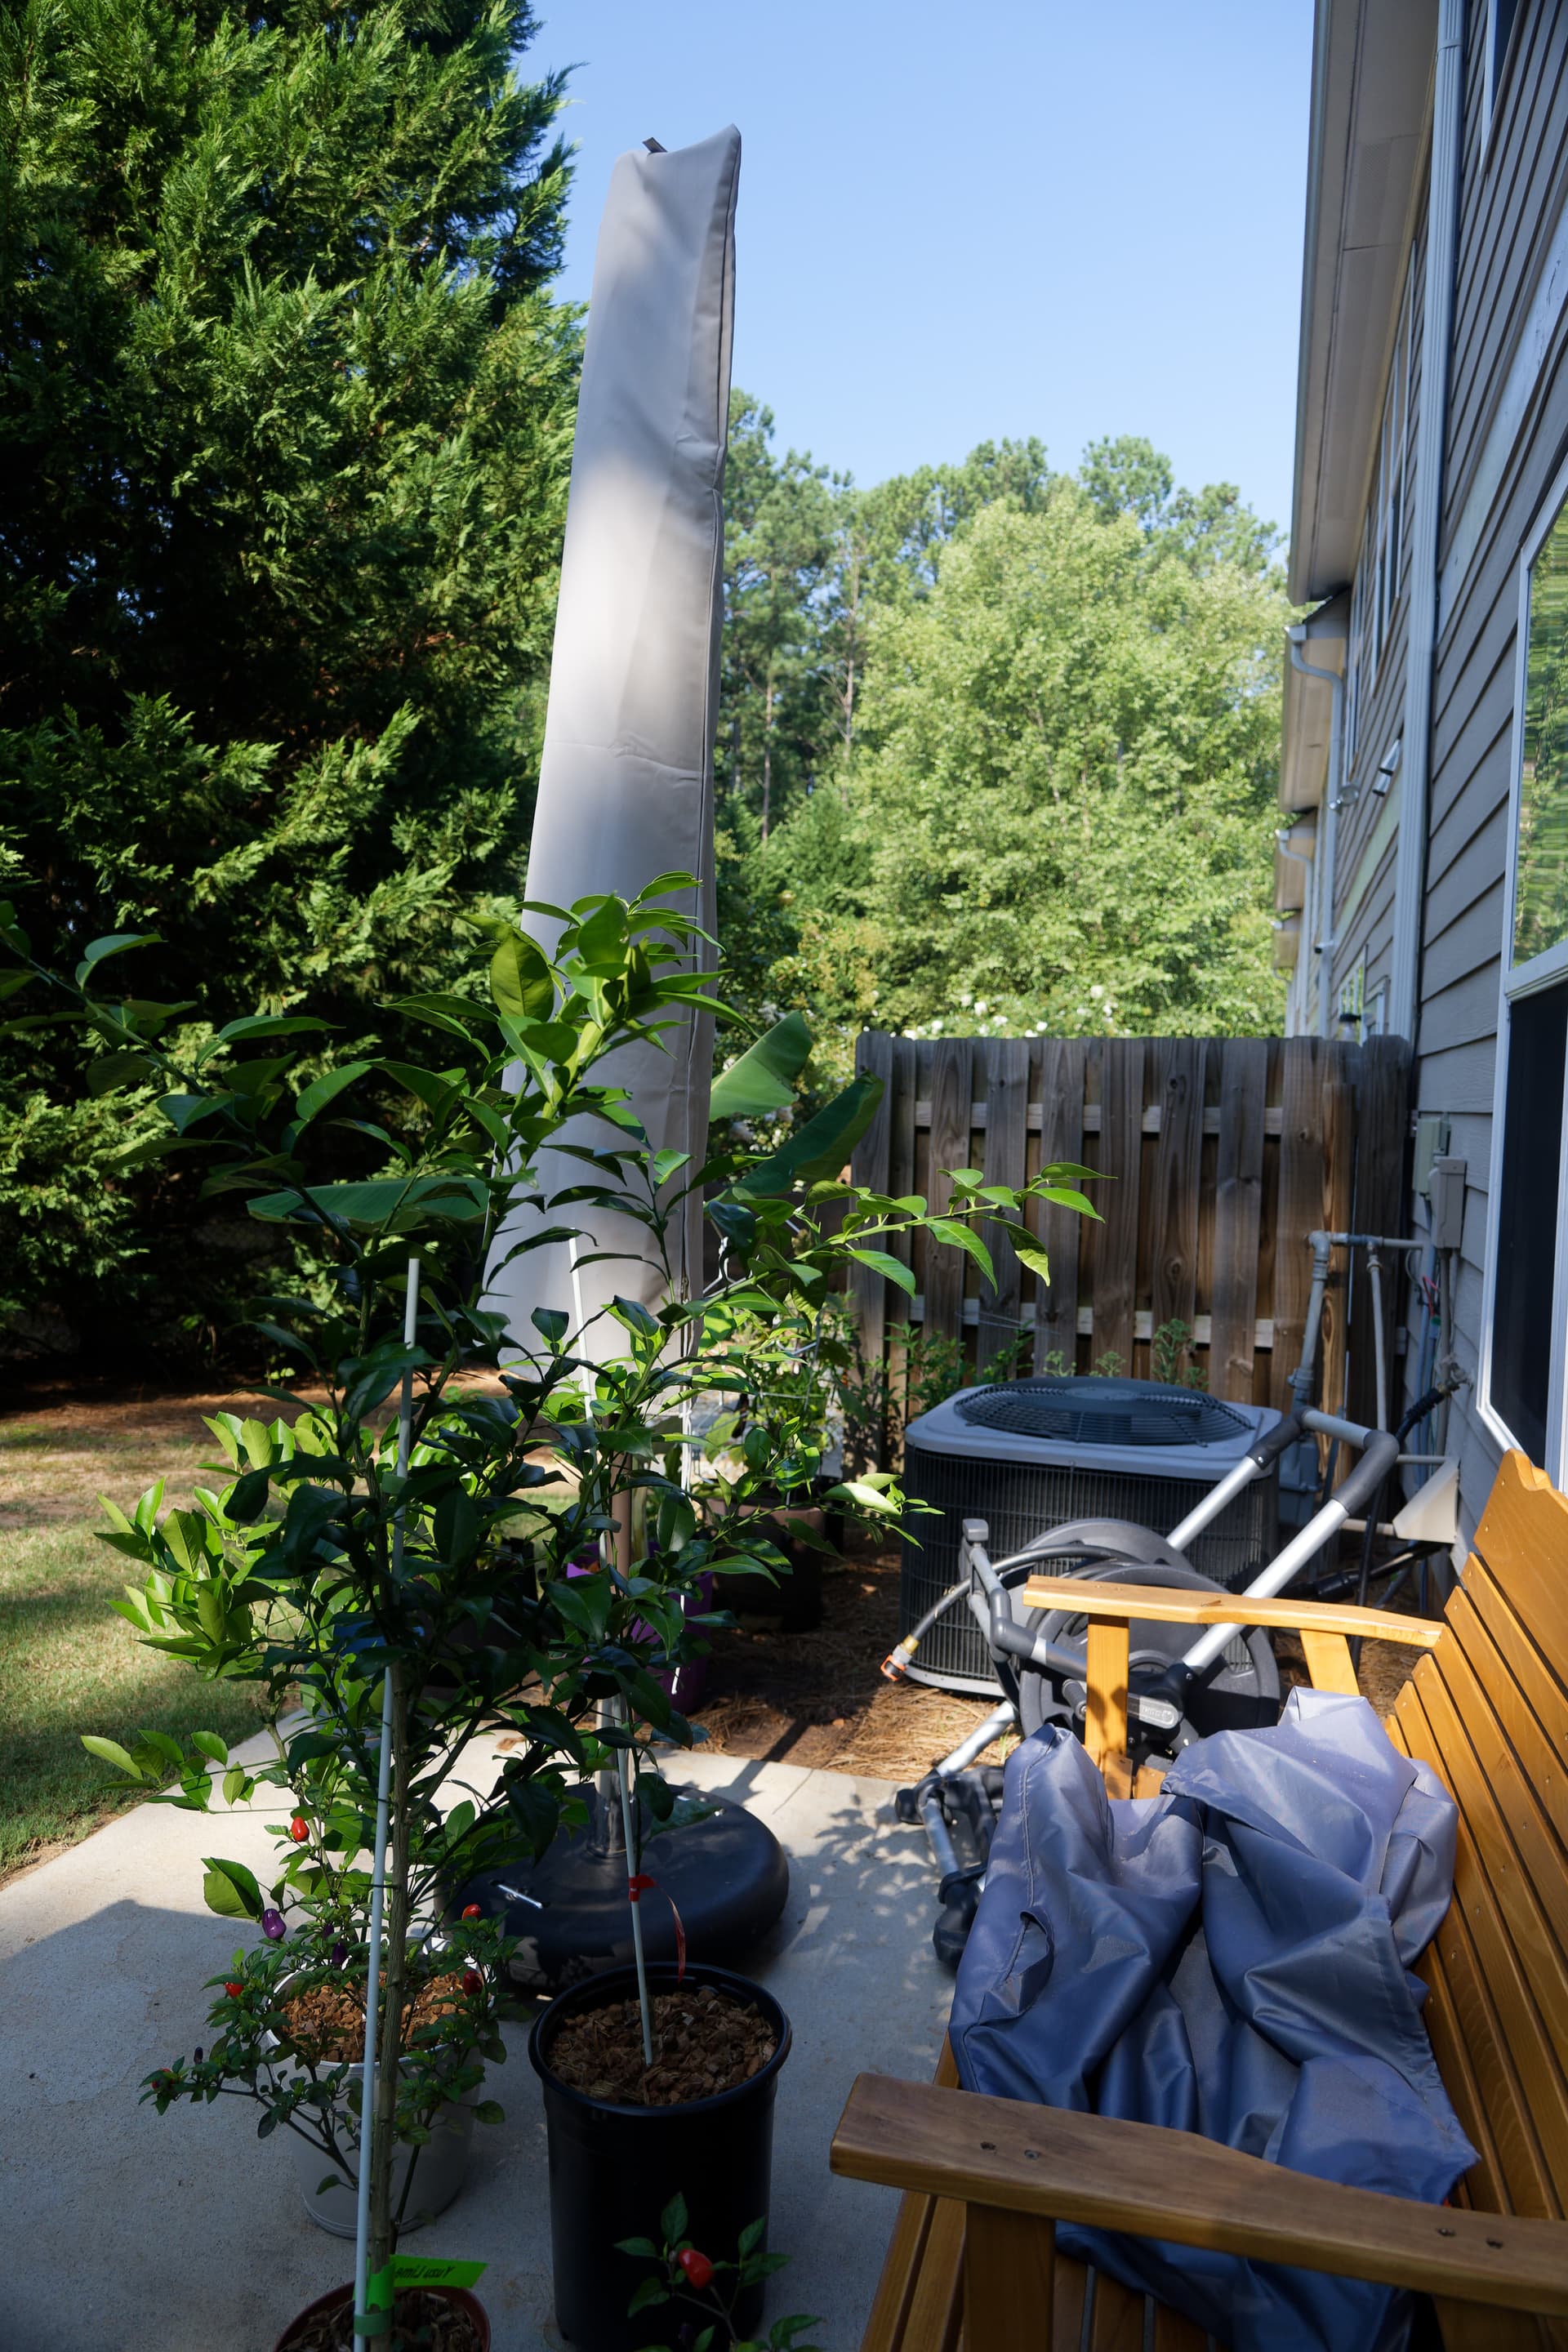
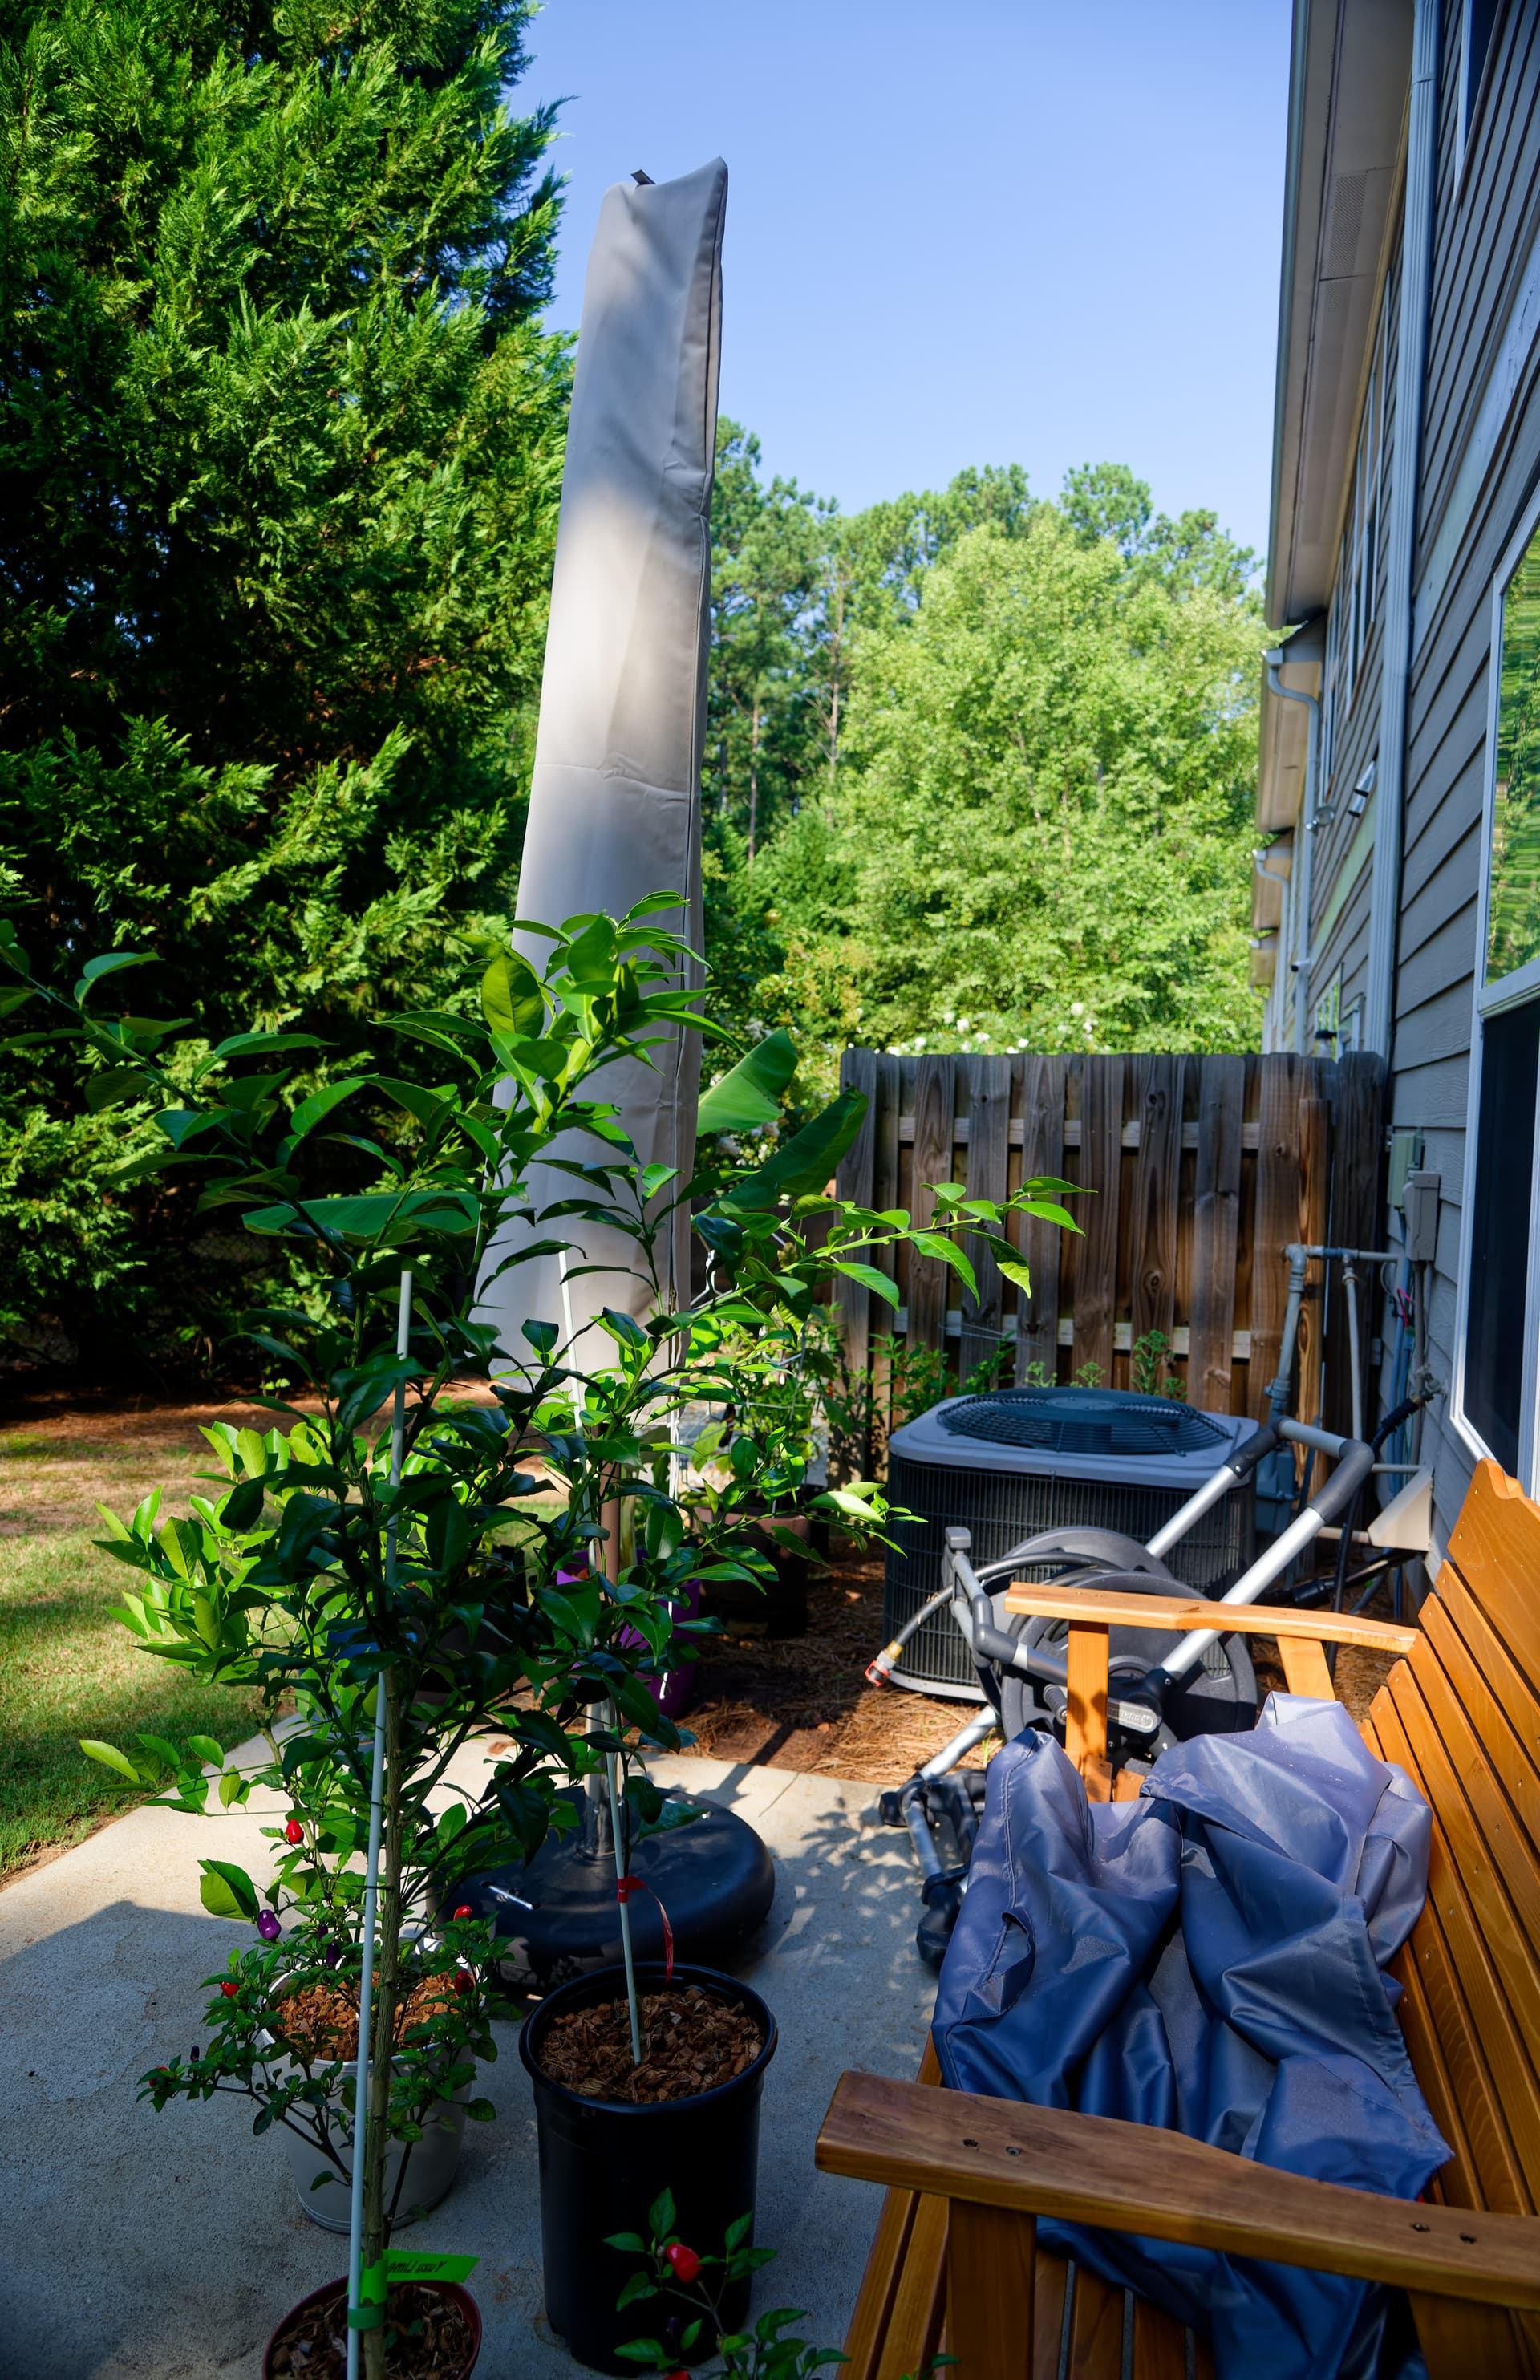
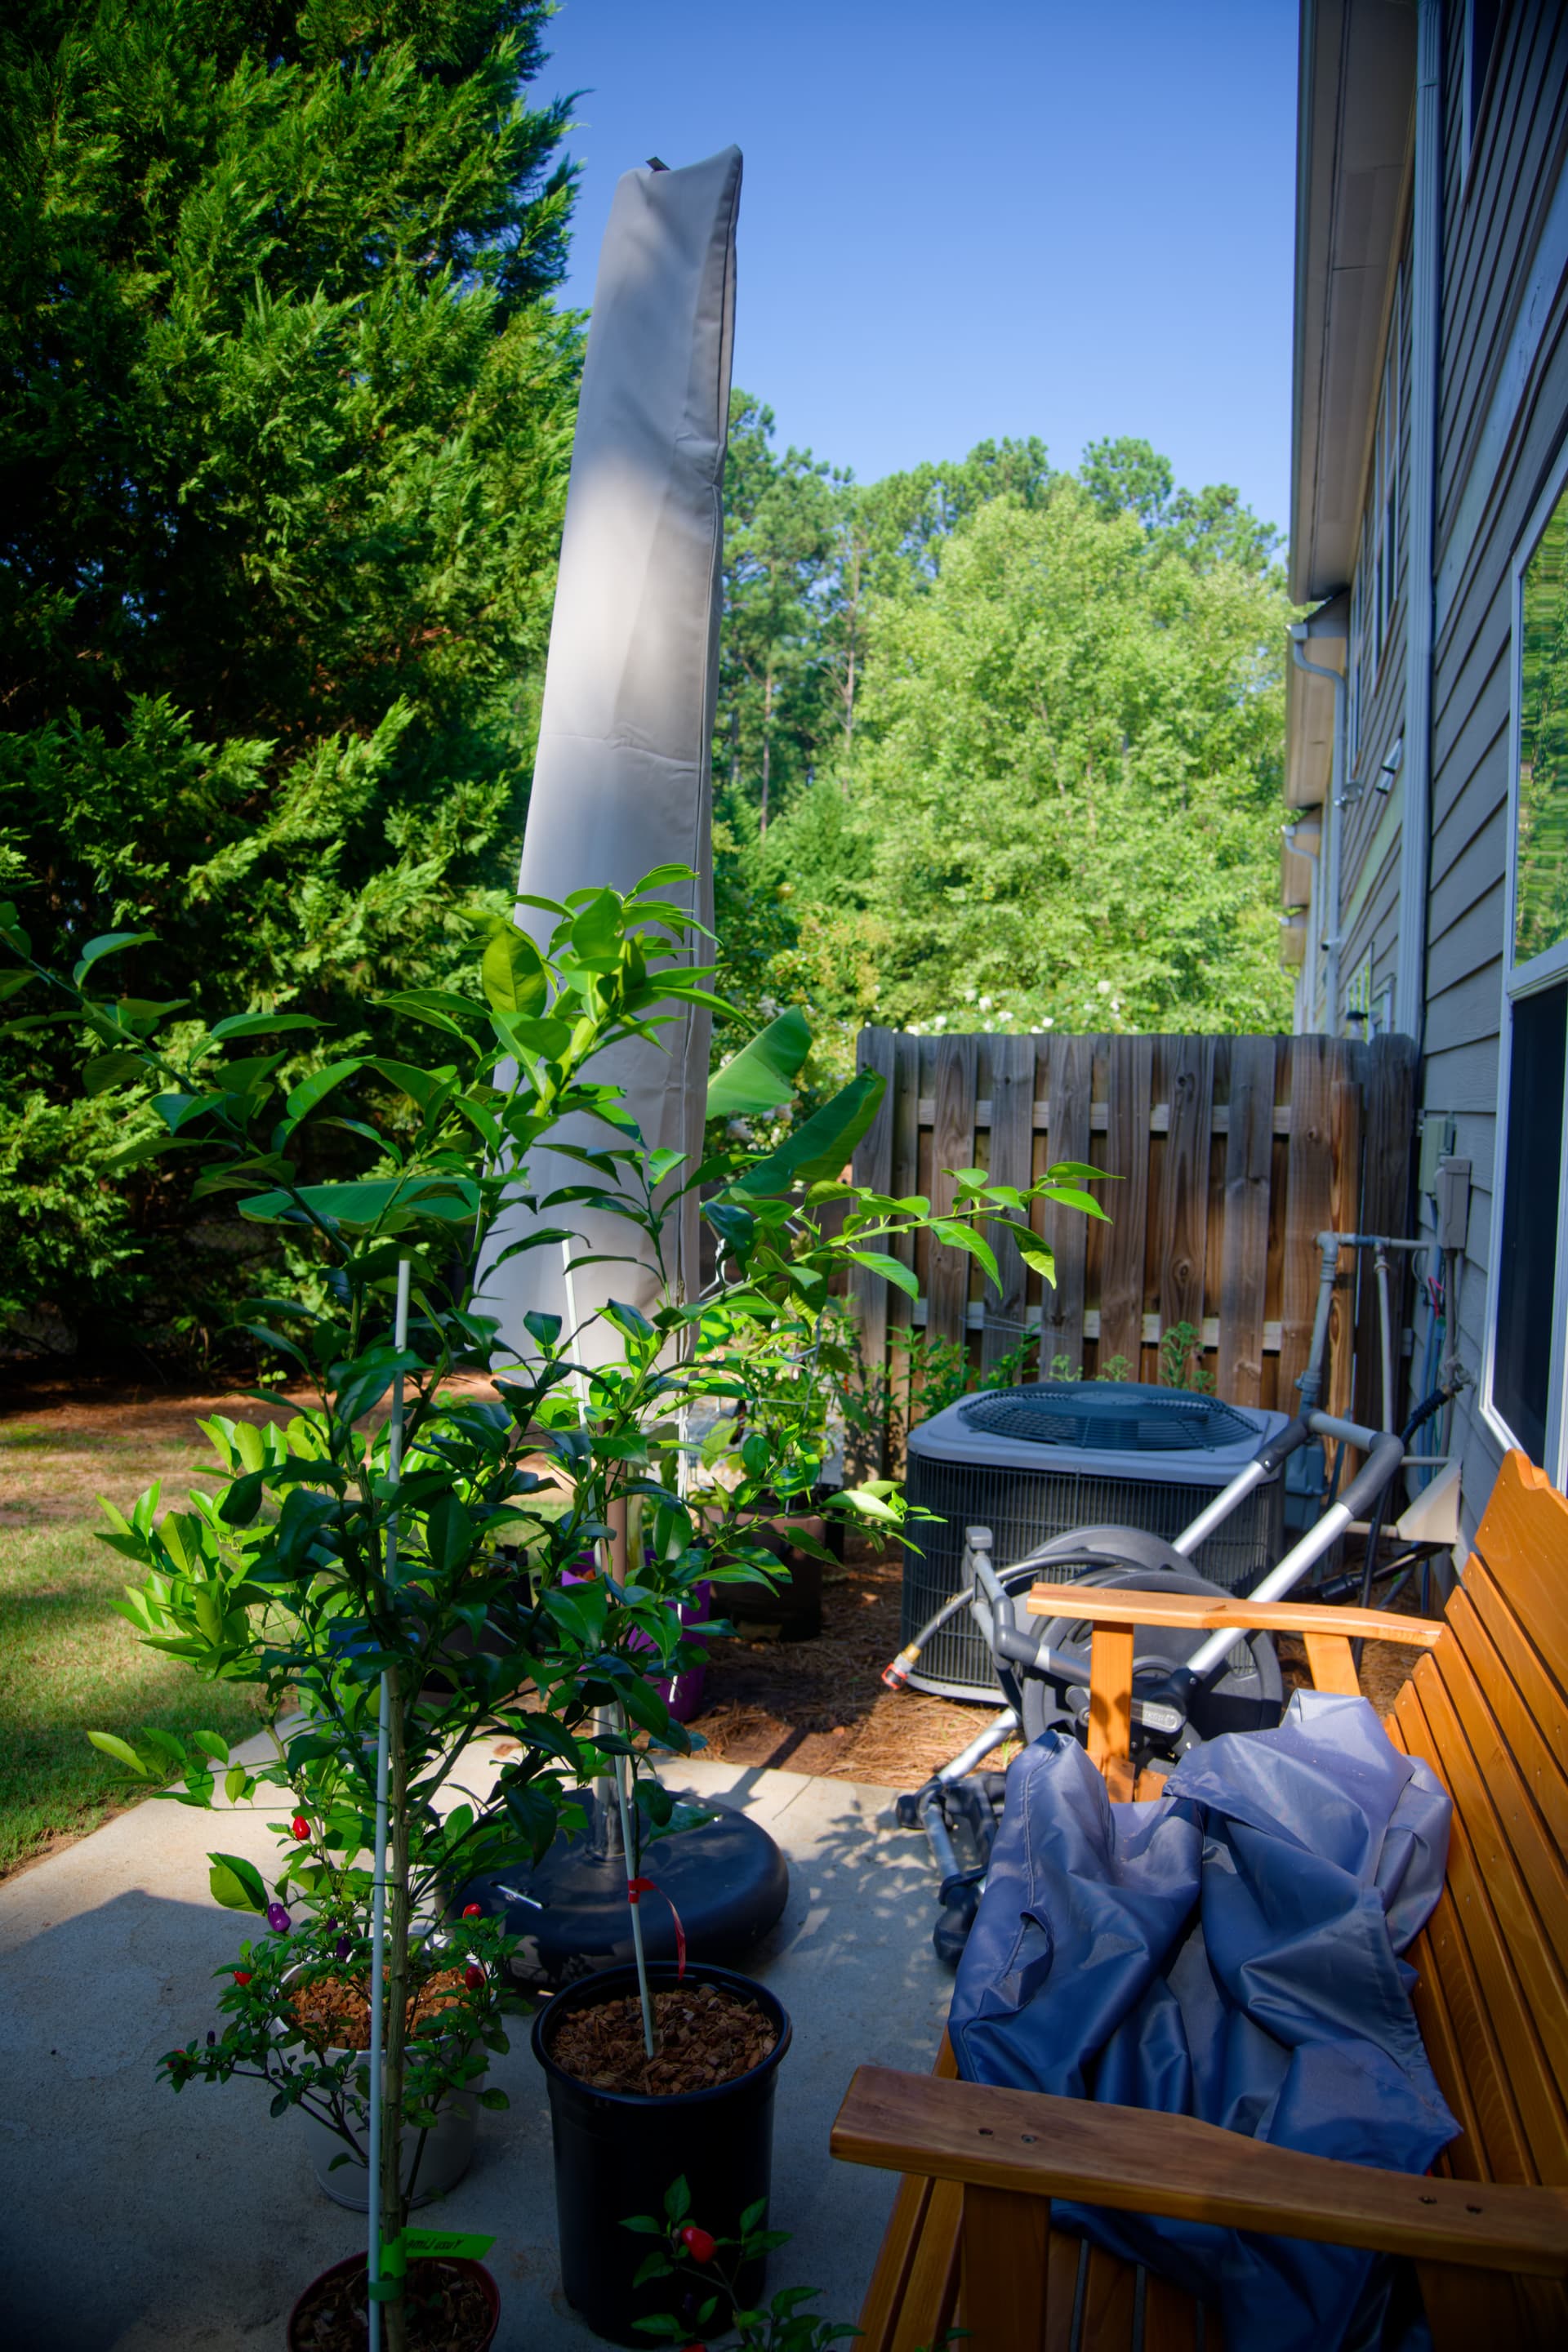
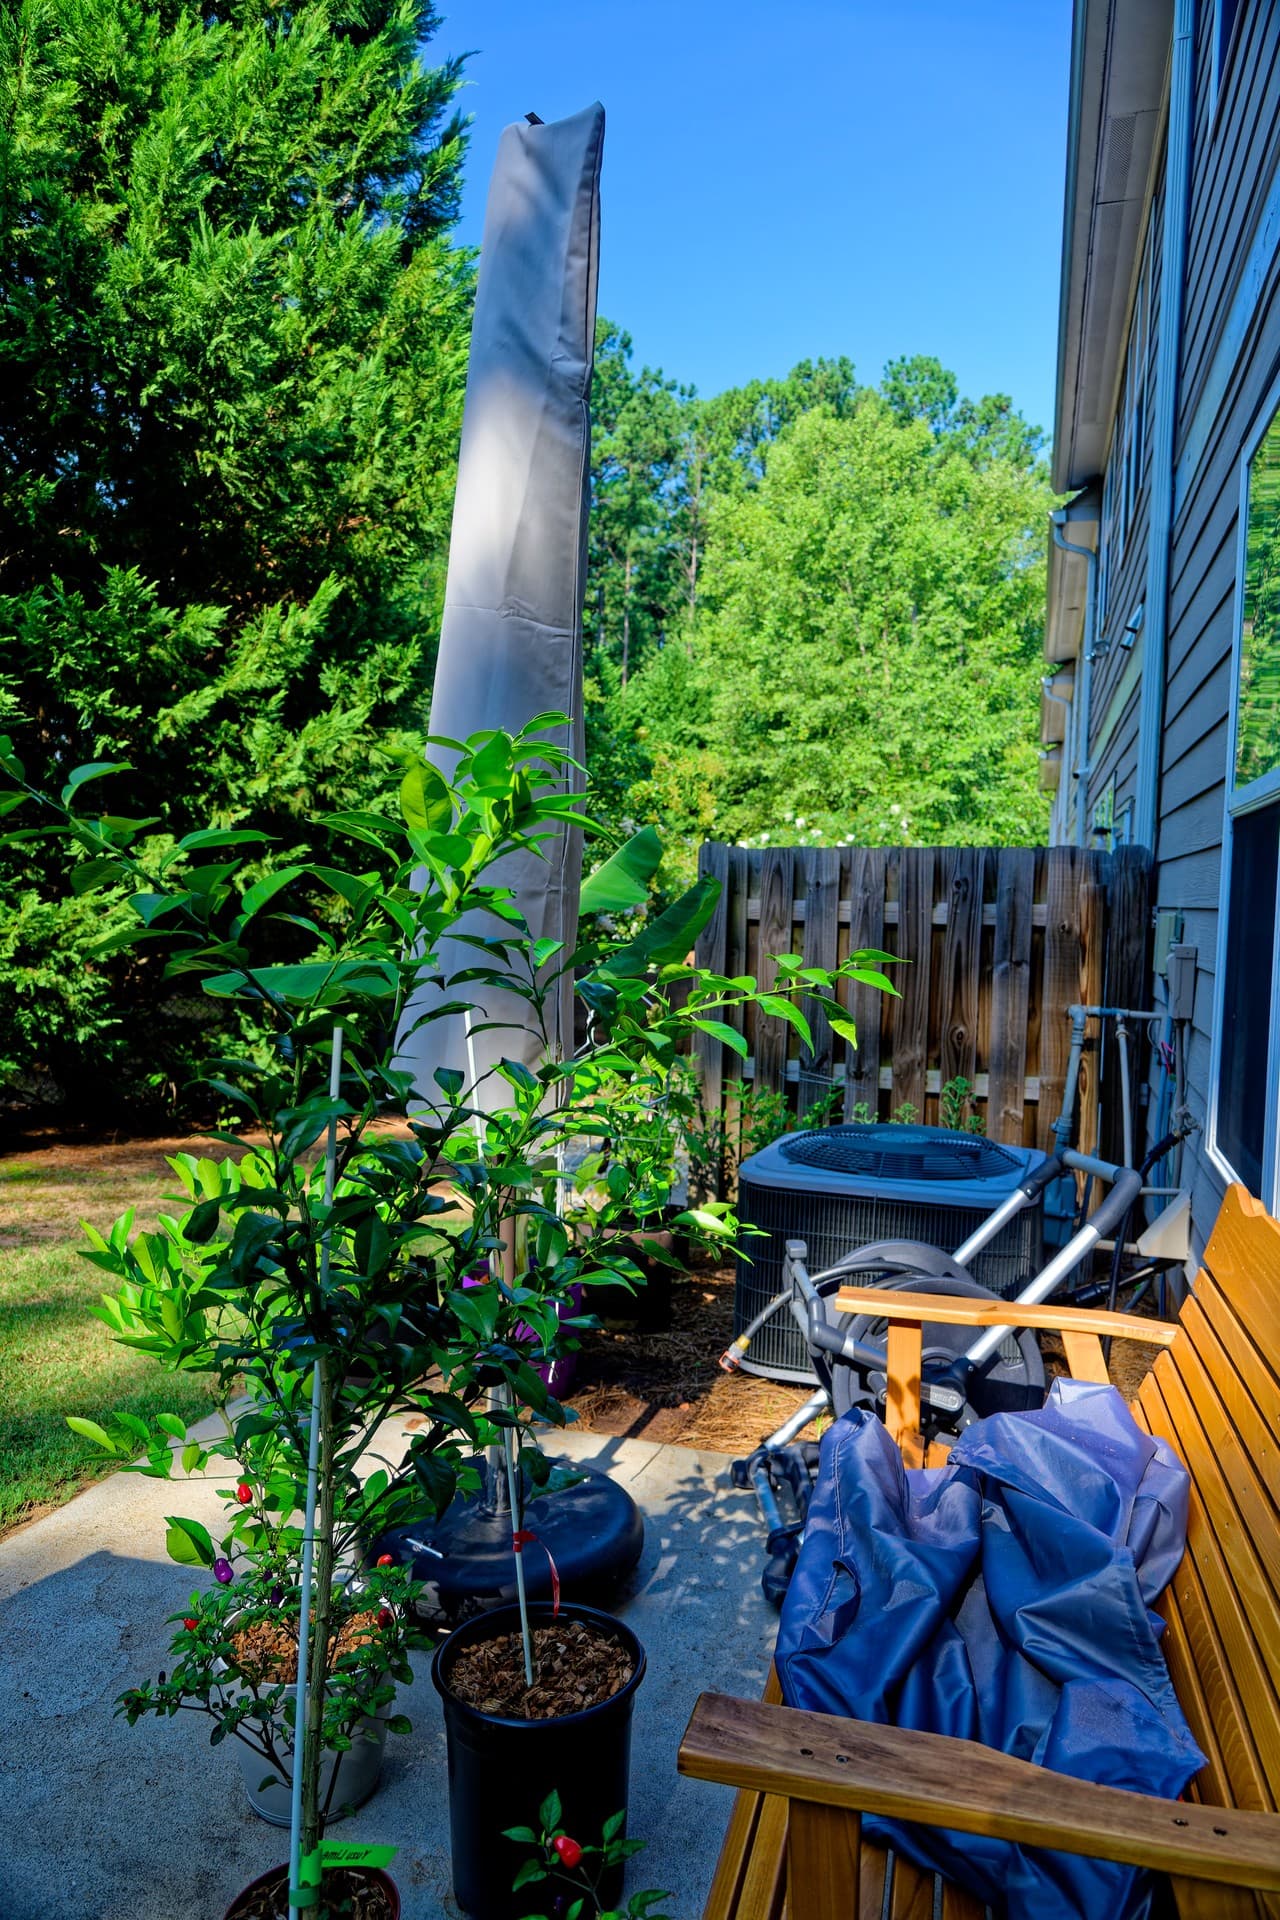
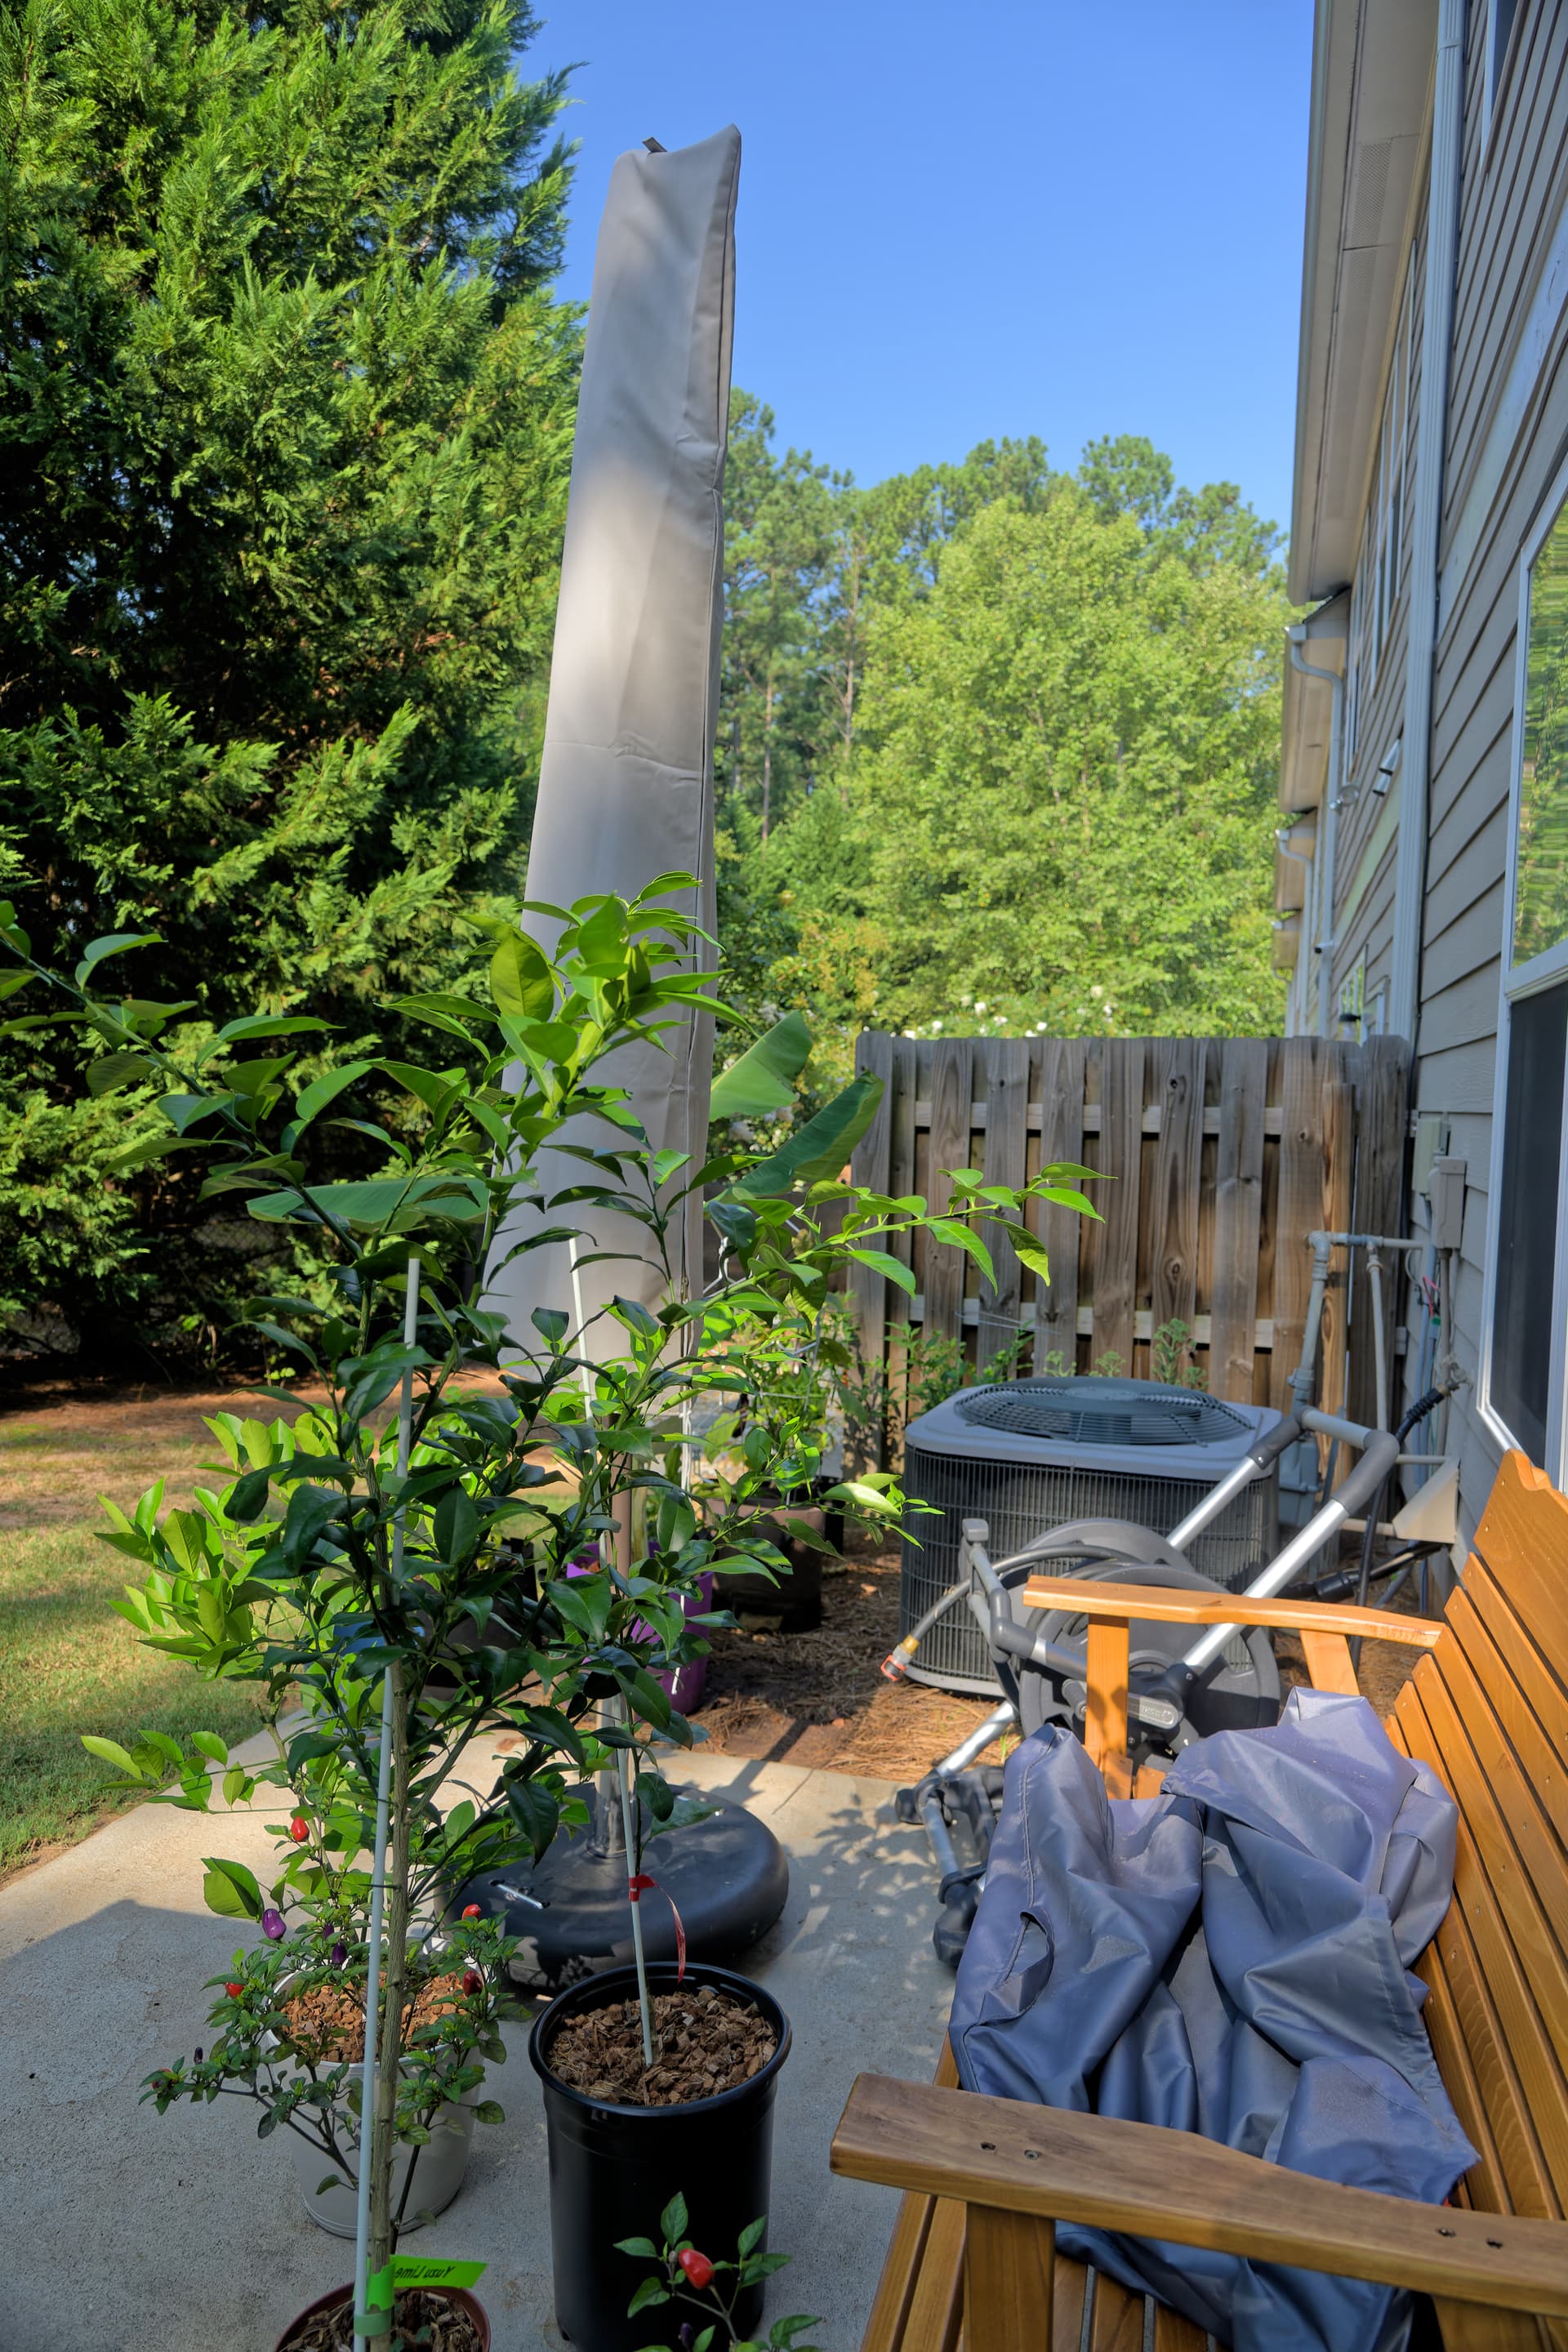
I’ll post some JPEG+raw of a photo that demonstrates what I’m talking about. This photo uses Nikon Z50 with the Z 16-50mm lens, with ND6 and polarizer. It’s not a pretty picture but often I am practicing and learning!
JPEG directly from camera (and identical to what I see in PL6 for 1 second when I load a new raw and the automatic adjustments have not taken effect):
First, if you’re using Soft Proofing, make sure the color space specified there is correct for your monitor and/or whatever the final destination of the image is (usually sRGB or Adobe RGB). Check your export settings, too.
The image you see in the first second(s) is the buil-in preview of the RAW file.
PhotoLab then starts “developing” the image(s) from RAW, and what you get can be more or less similar to the built-in preview(s) or the out-of-camera JPEGs.
What you see after applying a preset is not necessarily what you want though, which means that you’ll have to apply another preset and/or tweak settings until the result meets your taste or momentary intention. This is what you do to “make” an image.
Camera makers usually don’t publish the recipes on how to achieve the exact same result that you get with an ooc JPEG. Software makers must therefore try to produce similar results, which is kind of frustrating considering that we can get the very same results in ooc JPEGs without further effort with a piece of software.
A word on “automatic correction”. This term implies that what you’ve got is inherently wrong and needs to be corrected without your intervention. This means that something “wrong” will be replaced by something else…and what you found is that this something else is “wrong” too.
Try to leave the beaten path of ooc JPEGs and discover what the tools of PhotoLab can do.
Go wild, do some crazy stuff…or stick to OOC JPEGs?
I have not been using soft proofing. I read some threads about color and soft proofing and clicked around in it but nothing changed.
I do not have a calibrated monitor nor a windows calibration, and I’m not expecting perfect results, but soft proofing didn’t seem to change the colors for me much at all. Maybe with calibration it would?
Yeah I’ve been delving deep into the PL tools and presets and corrections but I’m definitely not producing better color than Nikon’s stuff. I know it must be possible and my “5. No corrections + manual tweaks” preset gets pretty close in the example above! But I’m not there yet, and I know PL6 has a lot more advanced features I need to learn about.
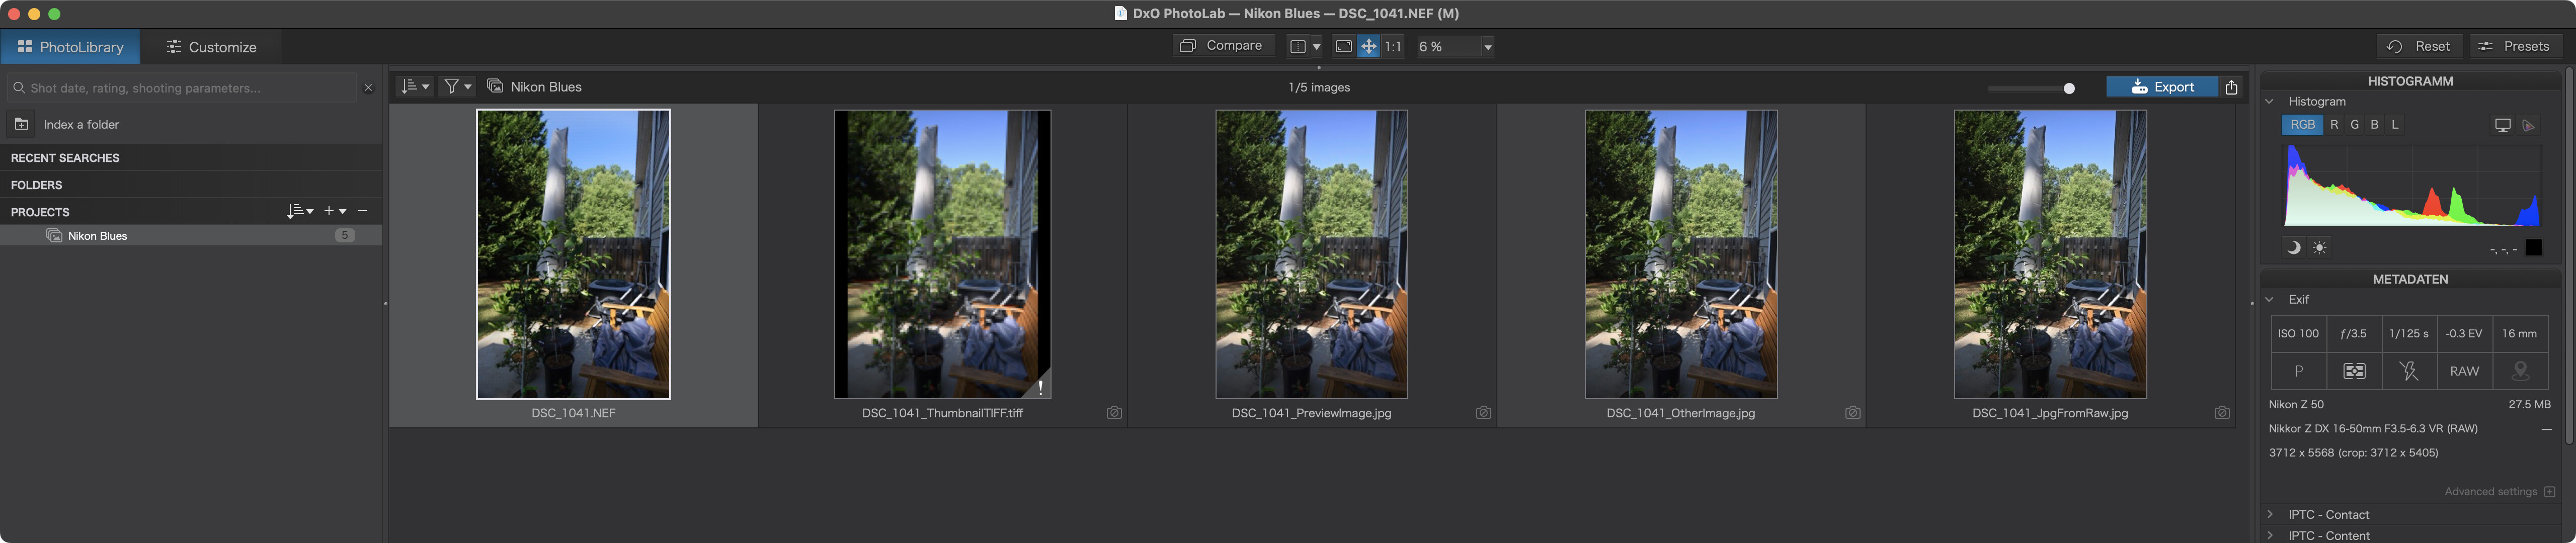
Thanks for the link, I’ll give your image a try and will return with the resulting .dop sidecar files. Interesting: the file contains three JPEG images (one in original size) and a TIFF thumbnail, all in sRGB.
Okay, you definitely want to get the Nikon look from PhotoLab and you seem to like high saturation and contrast. I’ll see what I can do.
Beware of the following: Even if you can achieve the desired look with one image and create a preset from its settings, that preset might not work well with other images. Some people work around this by creating lots of presets that they can flip through, others like to start with flat, low saturation images and work their way towards the desired results.
Hello @criley9000,
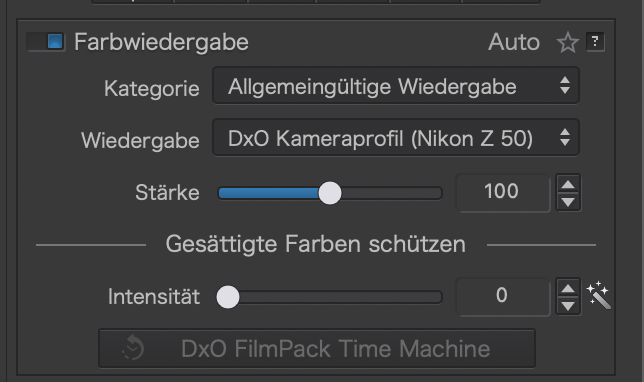
as far as I can see from your image, the main effect on the colour of the sky comes from the vignetting setting. Remove the vignetting correction and you’re almost back to the standard jpg image.
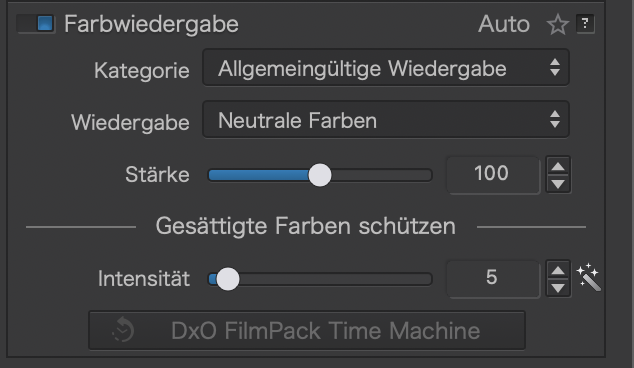
Camera color taste settings of the OOC-jpeg OutOfCamera-jpeg set those in neutral.
the OOC-jpeg is used to create that thumbnail you see 1 second before the “plop” in dxo when you select a rawfile.
Then.
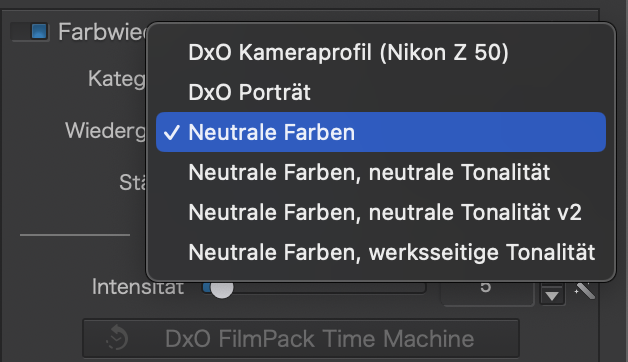
Color rendering: If dxo recoqnise your camera the rendering shows your camera type in generic rendering.
If not it jumps to default which is could be more flat/neutral then you are used to in an other application.
in prefferences you can change the preset for NEW ( not already loaded in dxo library) files for jpegs and rawfiles.
Set both in neutral color.
Then load oocjpeg and see if your camera lcd and the dxo display is more or less the same. If not change you LCD settings in the camera those are secondary in this comparison.( i suppose/assume that your pc display calibration is done before.)
Ok now your in to the step that you can create your own default preset for new rawfiles.
1 vibrance, is the same as “lifely” what we do incamera is choose often lifely so the lcd looks nice colorfull and the oocjpeg on your tv is more saturated and colorfull.
Slide vibrance about 18 steps up. And check if jpeg and raw are looking roughly the same.
An other thing could be the screw on filters and vignetting correction incamera.
In my panasonic g80 i have to turn off vignetting correction because dxo isn’t seeing the flag it’s done internally and corrects again according to its optical module => wast out corners can be the result.
So use a clean lens no external filters take a good exposed shot.
And use that to create your own default preset.
For my taste, it’s the colours are too saturated and I’m not sure the shadows should be that blue but as @mwsilvers has already asked, are you satisfied?
I’ve got photos on my walls that I like but other people are less convinced by them.
Yes, that was my point. It’s not as if there are any significant issues with @smallpotato’s edits. They just may not be to everyone’s taste or may not meet the goals that other people might have for a similar image.
Sorry if there were misunderstandings, but I intended to reply to the OP’s post of the RAW file. I was asking this because he seems to have issue with images tuned with PL6 color rendering.
Personally, I am not sure if I am satisfied because I have not physically visited that scene. Therefore, I was asking the OP if the image more or less reproduced his scene with the polarizer, instead of getting a washed-out image from PL6.
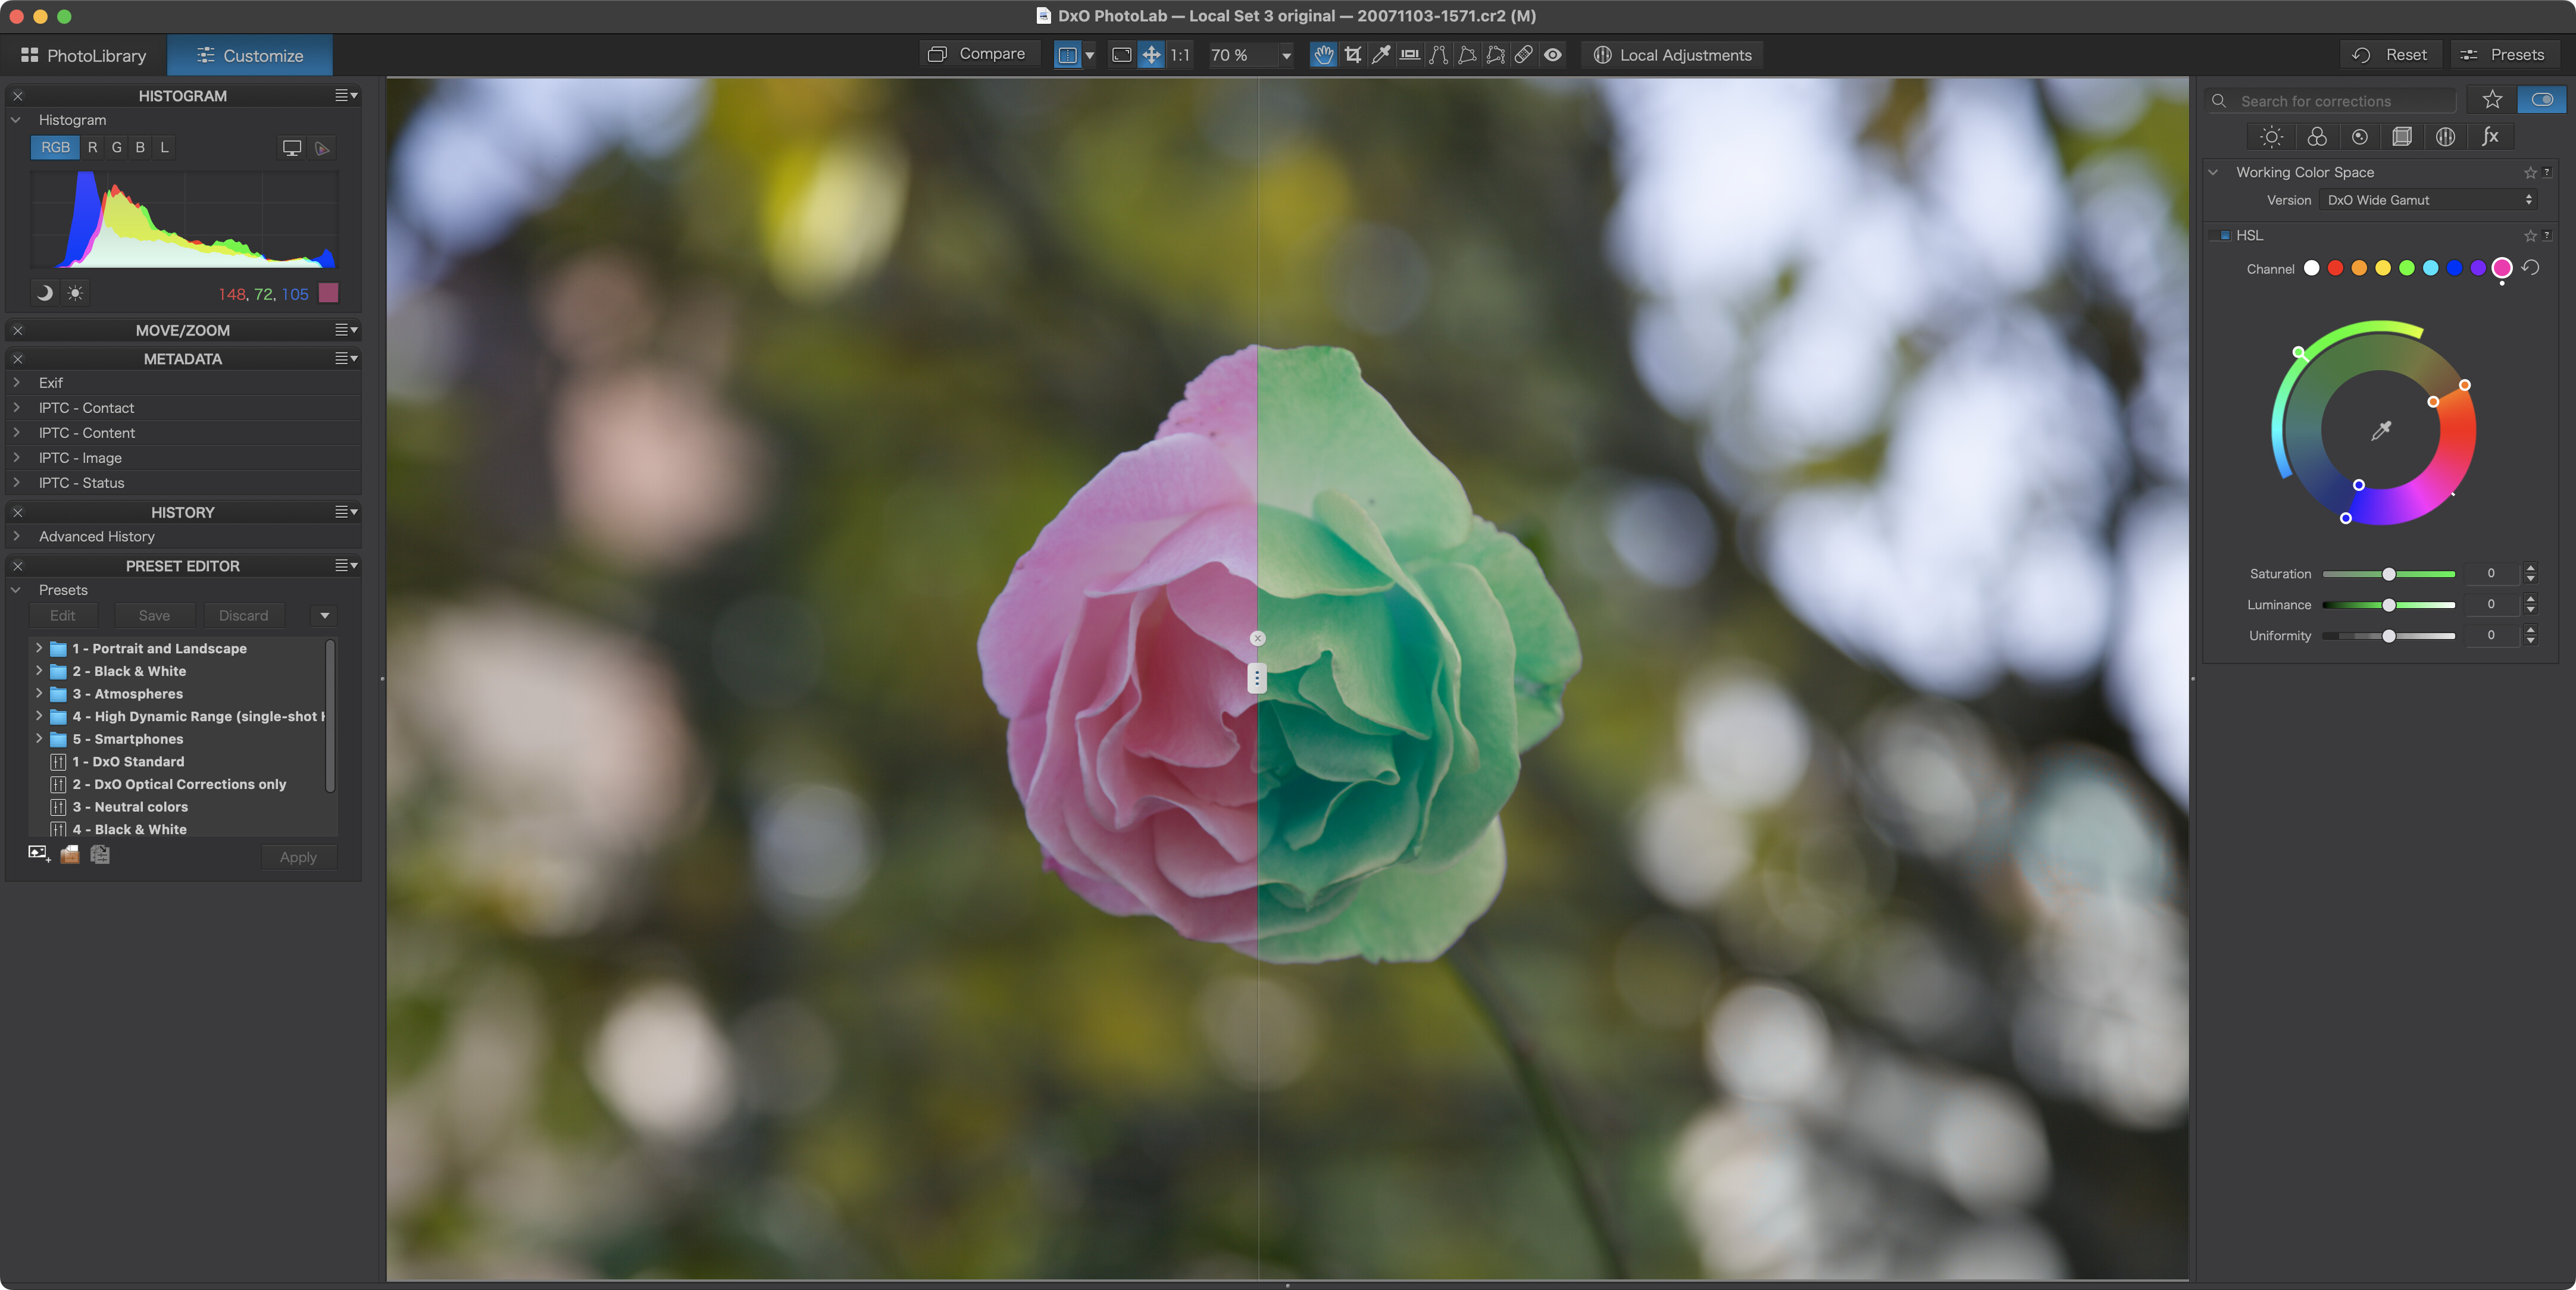
I also found that it is very easy during post-processing that we get over-saturated greens. If the OP desires, I think the greens can be tuned via HSL tool to suit his taste.
I’ve never doubted that you did. But I think that some replied to you, because the forum is pretty much used as an any-to-any communication platform by many people here. That is good too, because it helps learning new thinngs.
@smallpotato, In order to address one member, you can add the member’s forum name by typing a @ sign, followed by the first few characters…and you’ll get a list of names to choose from… Doing this will not prevent others from getting into the conversation. If you want 1:1 conversation, private messages can do that. Click on the member’s avatar and click on the blue envelope icon to start the exchange.
I tried to adjust the blue of the sky with HSL, but found that it also increases the blues in the shadows like on your trial. I then used a “control line” local adjustment, which can intensify the sky without changing the shadows.
I almost never use Nikon’s NX studio, but because of your post here I wanted to try, and here you can see the result - doesn’t it remind you a little of your jpg?
I have done nothing but run it through the raw converter in Nikon’s NX studio.
Almost never use it, because it is not intuitively structured like DXO is, and that means a lot to me, but we probably have to recognize that DXO has to manage so many RAW formats/conversions, while Nikon only has to manage on their own.
I.e. you can use this for a Tiff (it’s free) and then work on it in DXO if you’re not happy with the conversion.