I downloaded your NEF file and loaded it into the free “IrvanView” image viewer, I selected the “Smart Curve” from the “Image” menu sub menu “Adobe 8BF Plugins”. Then I pressed the “Shift” key while clicking on the “Auto” button, and again clicked the “Auto” button. I then used the “Shift S” twice to apply sharpening and this was the result.
Trying to match out of camera jpeg images has been an issue not just with DXO but with Adobe products also. My suggestion is to shoot in RAW only and learn how to develop to your liking. Presets are great but for me every image requires a different set of adjustments. I know it’s a rather simplistic solution but it’s also the best way to learn the software. Good luck.
Steve
1 Like
NEF is a RAW format so you should use a RAW processer to edit it. IrfanView is not a RAW processer, it is a image viewer. When you open a RAW file, like a Nikon .NEF or a Canon .CR2 / .CR3, in IrfanView it does not access the RAW data. Instead IrfanView extracts the JPEG image that is embedded within the RAW file and displays that JPEG.
What is your point? How does it add to the discussion? Am I missing something?
Mark
Thank you for the suggestions, especially the link to tutodxo, I hadn’t been here before. Very useful!
I didn’t realize the vignetting was having such a strong effect on contrast like that! That’s a great call. I do like the image with the natural vignette still in place.
Thank you for the link to the LCD calibration site! I’ve used this before but hadn’t thought about it in years. Sadly my current monitor did not offer a lot in customization, but it did perform reasonably well at least! Perhaps I should consider a monitor better suited to photo work next time I upgrade…
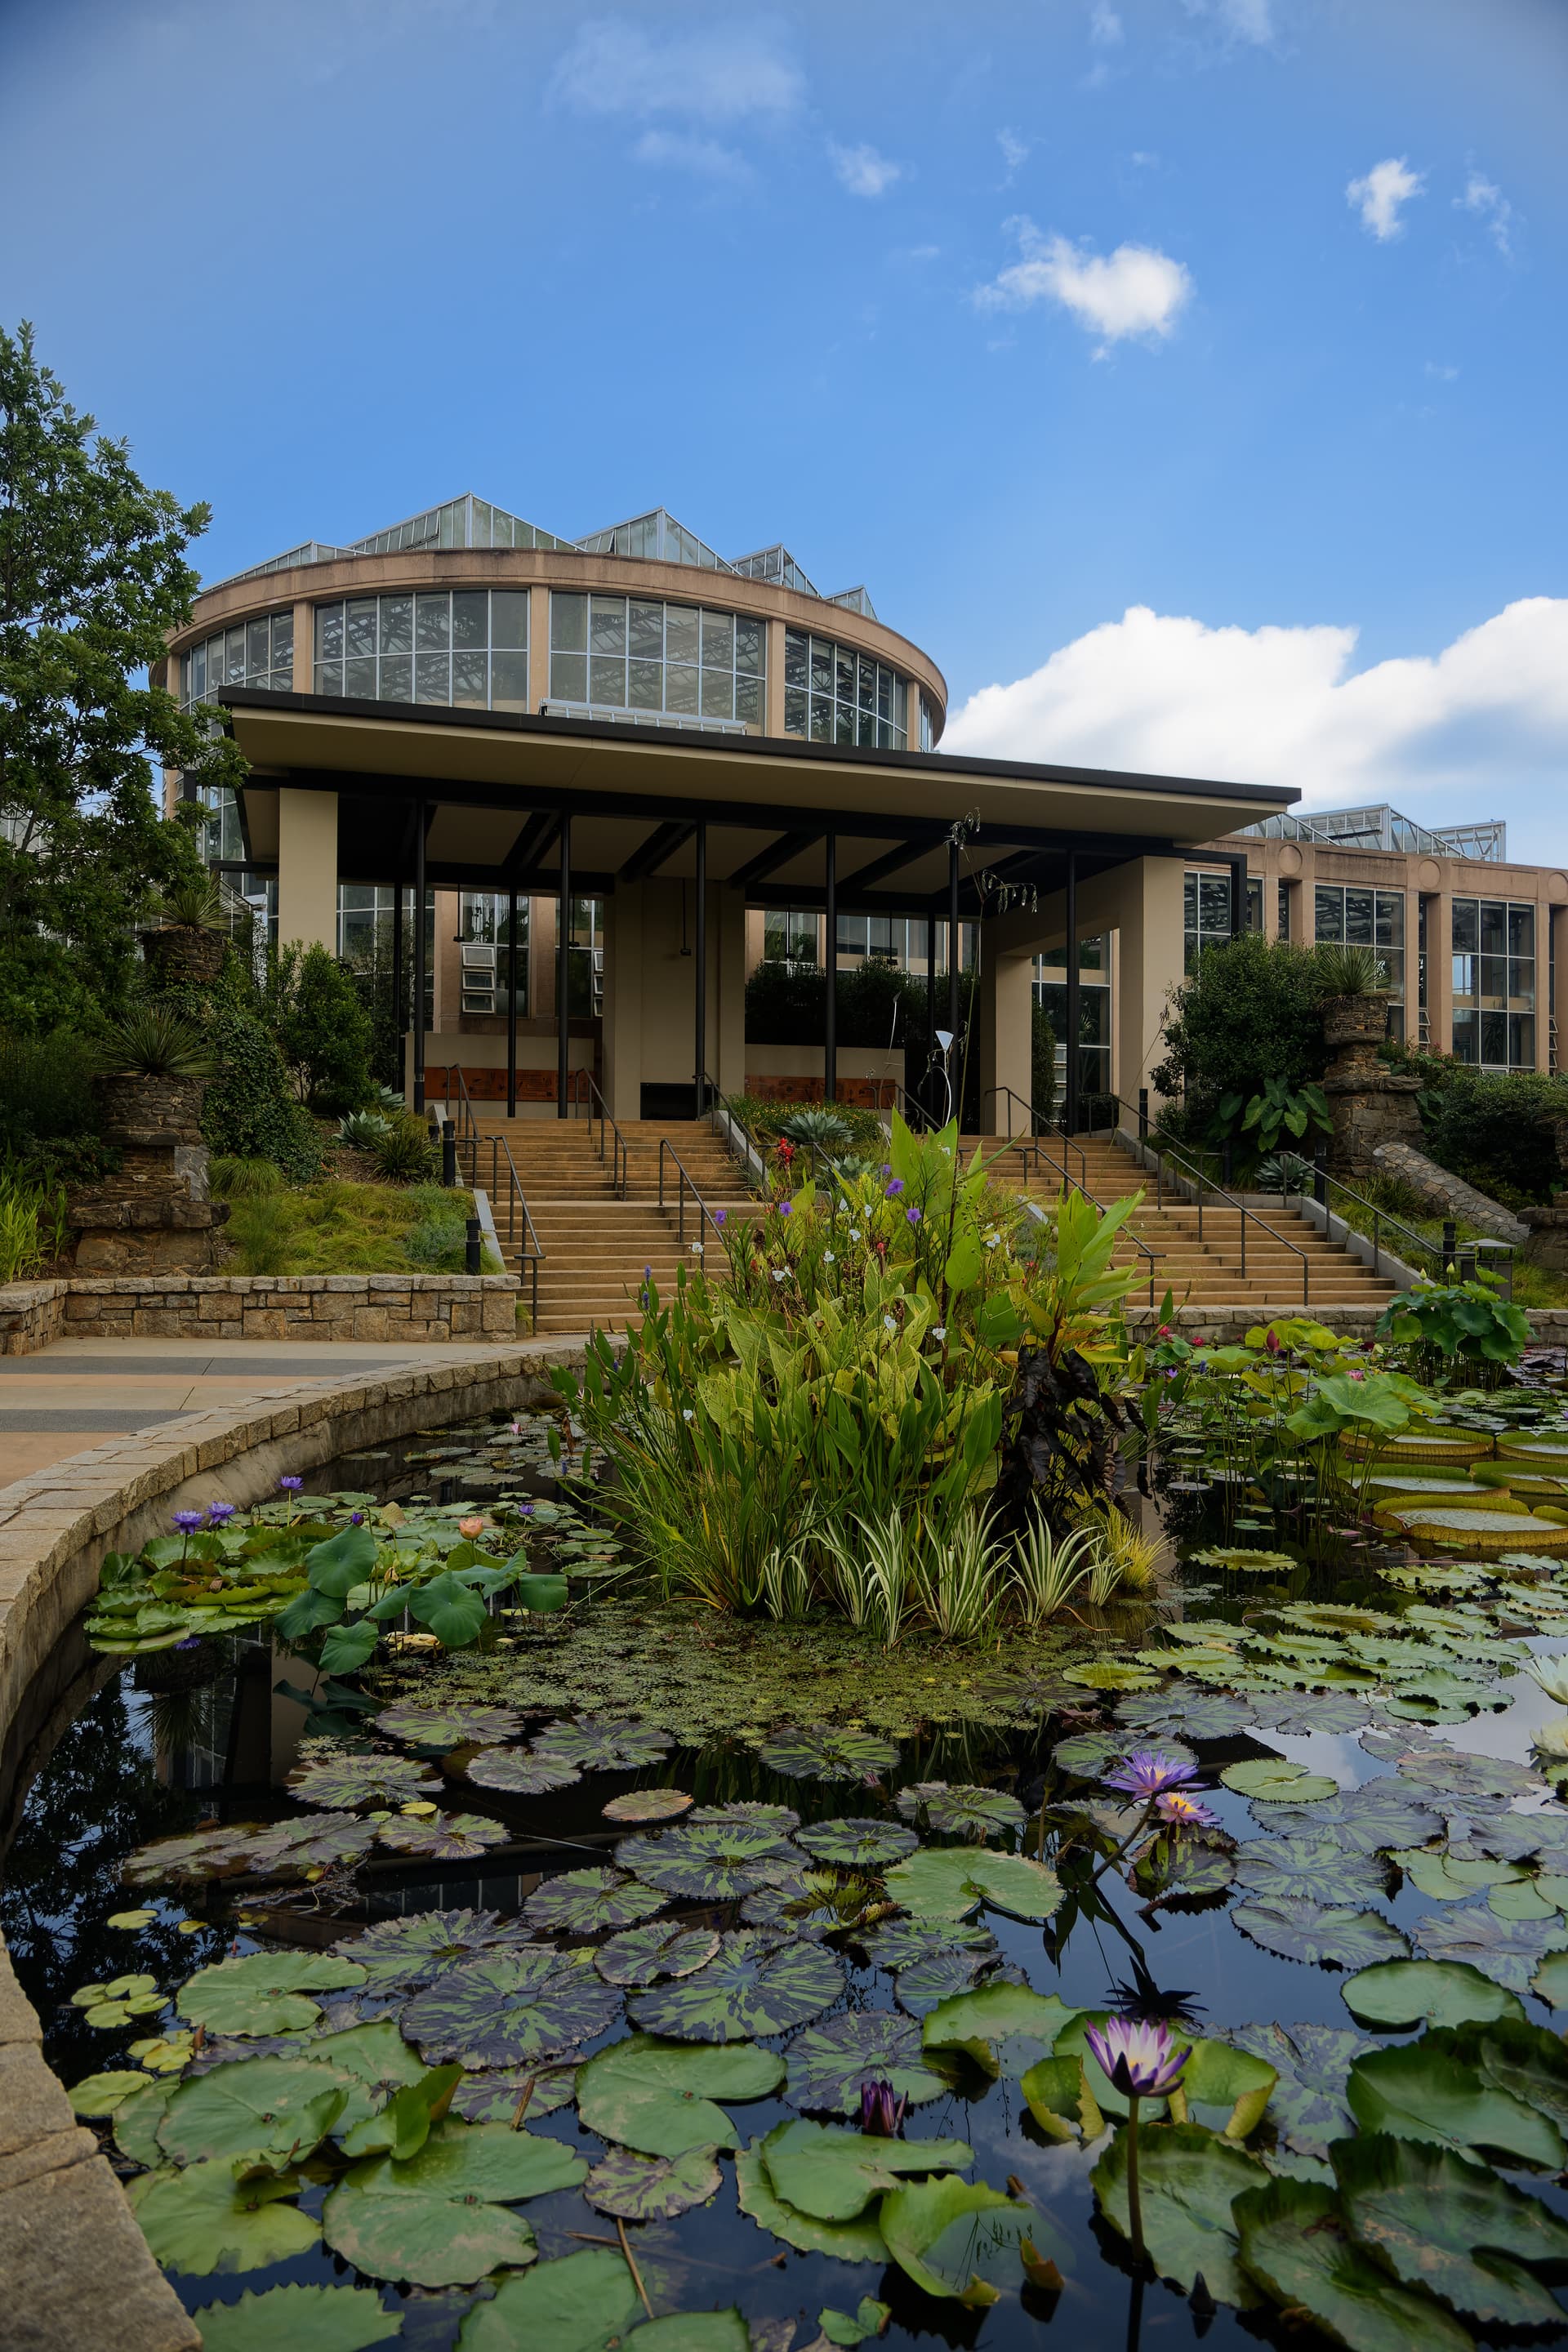
Thank you for the preset! It does look great on the photo and I am trying it on others as well. I don’t see many settings in use, it seems to all be Local Adjustments? I need to learn more about using this feature! I think I see how this filter modifies settings above the top of the image, fascinating. I feel like this is cheating a little bit (it can even turn overcast into a blue sky) but on the other hand it’s really difficult for me, my skill and my camera to capture the blue I perceive so this feels like a fair compromise when used appropriately.
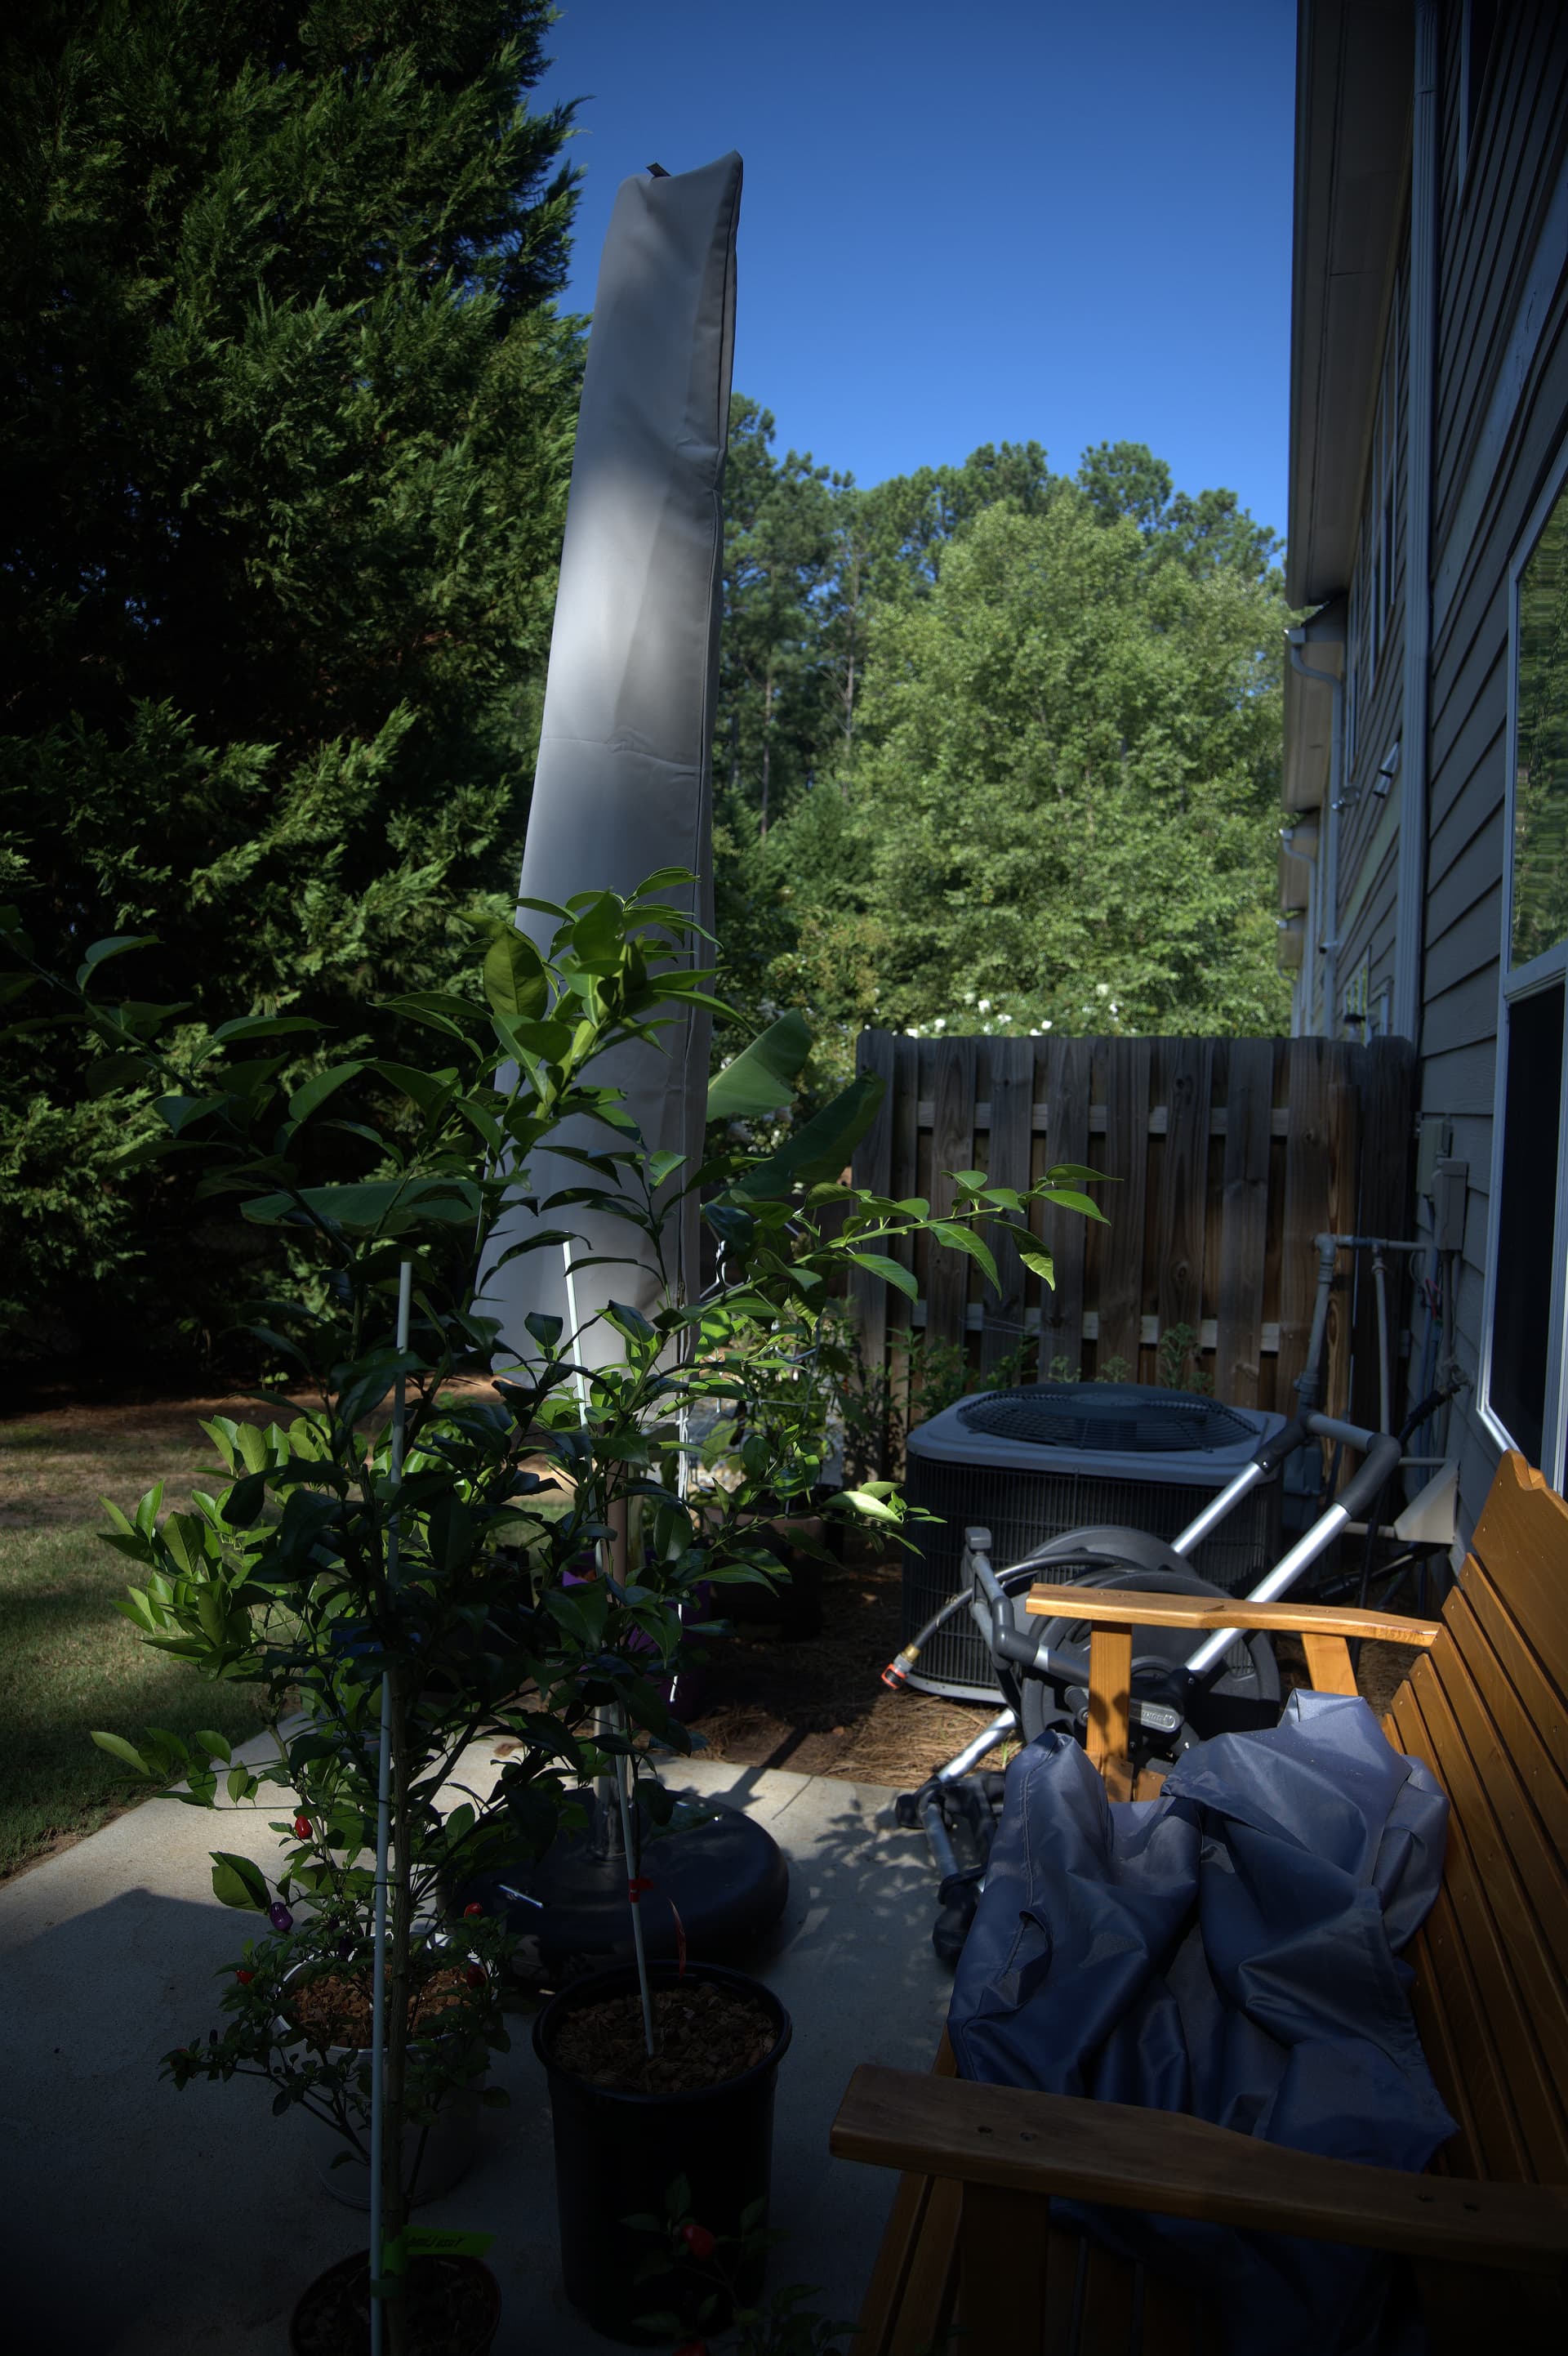
I do like the Z50 Vivid DCP Profile, it does capture the blue of the sky and the green of the citrus plant, even if it does overly boost the trees which are not that green. It also lets the red cedar in the bench shine through a touch more too.
DSC_1293 - With the use of the blue-creating local adjustments, it can look great to me!
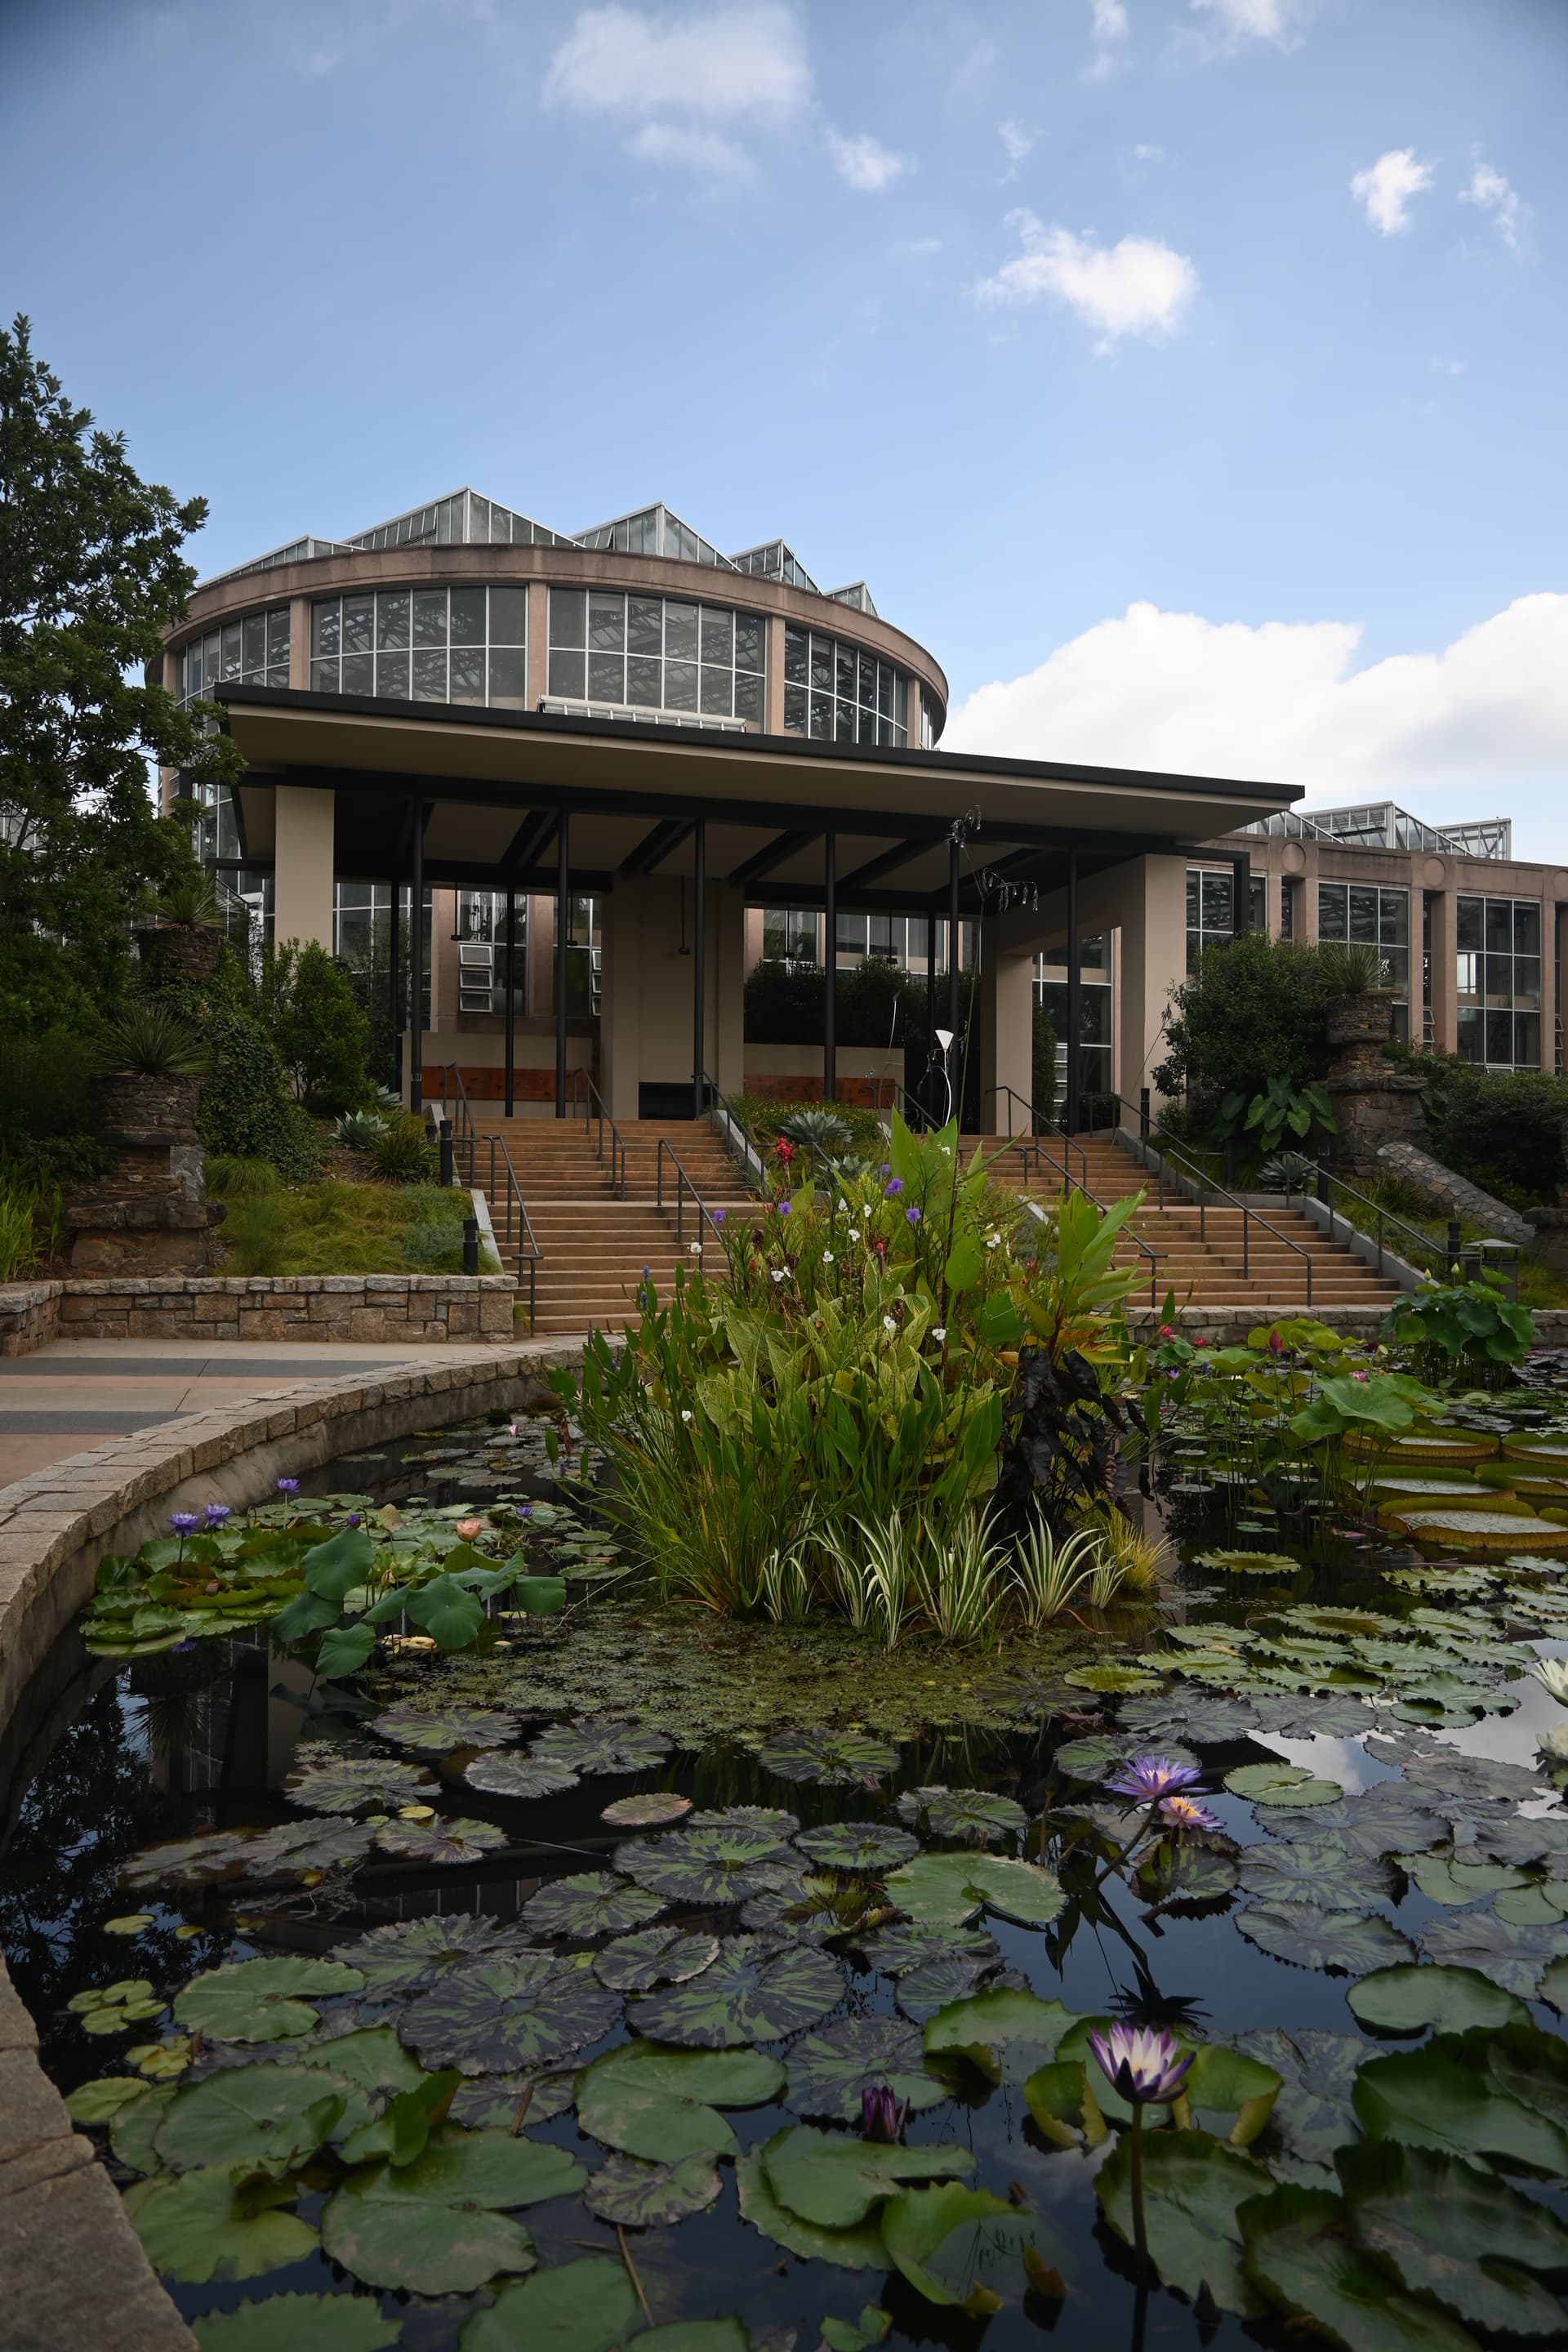
Camera jpg for reference:
Raw: DSC_1293.NEF - Google Drive
Thank you to everyone who posted, I learned a ton, unlocked many new settings in DXO and am happier than ever with the images ![]()
Yes. The Control Line tool allows to influence e.g. the colours of an image depending on how you set chroma and luma sliders. In your first image, this helps to boost the blue of the sky, all while preventing the shadows from getting too blue.
The Control Line tool is really flexible and powerful and I propose you dedicate some training time to it.
First, we take a photo, then we make it…and whether that making is “cheating” or not, heavily depends on what you want. Show what was or inspire a feeling? Art or documentation? Consider photography as a tool of artistic expression or the truth, the full truth and nothing but the truth? Or an aggregate of it all?
(no answer expected)
@criley9000,
PL will probably use wide gamut as the working color space. If so see whether Color Rendering is checked or choose Classic as the working color space. Both gives about the same result. Maybe this will satisfy you more.
George
@platypus I “launched” DxPL 6 from FastStone Image Viewer using the latest image posted by @criley9000 and started editing using your preset and also re-editing with my own and decided that I should have started with Virtual Copies to help keep track of the variations.
I then made VCs in the wrong order and decided to delete one of the VCs but can’t!?

But loading the image directly from the download folder, which has the DOP intact then I can ‘Remove’ a VC as per

So we have different behaviour for a VC created in an ‘External Selection’, i.e. passed from another program and an image that has been directly selected in its folder by DxPL(Win).
This may not be repeatable on the MAC, and can be detoured in Windows by direct selection but the behaviour should be identical in both cases and since both cases are using the same DOP, I can delete the VC in the direct selection and then re-discover in the external selection, pointless in this case because there is only the one image!
The simplest solution is to copy all images in the ‘External Selection’ (including all VCs etc.) and create a ‘Project’, when deletion of any VC is then available!?
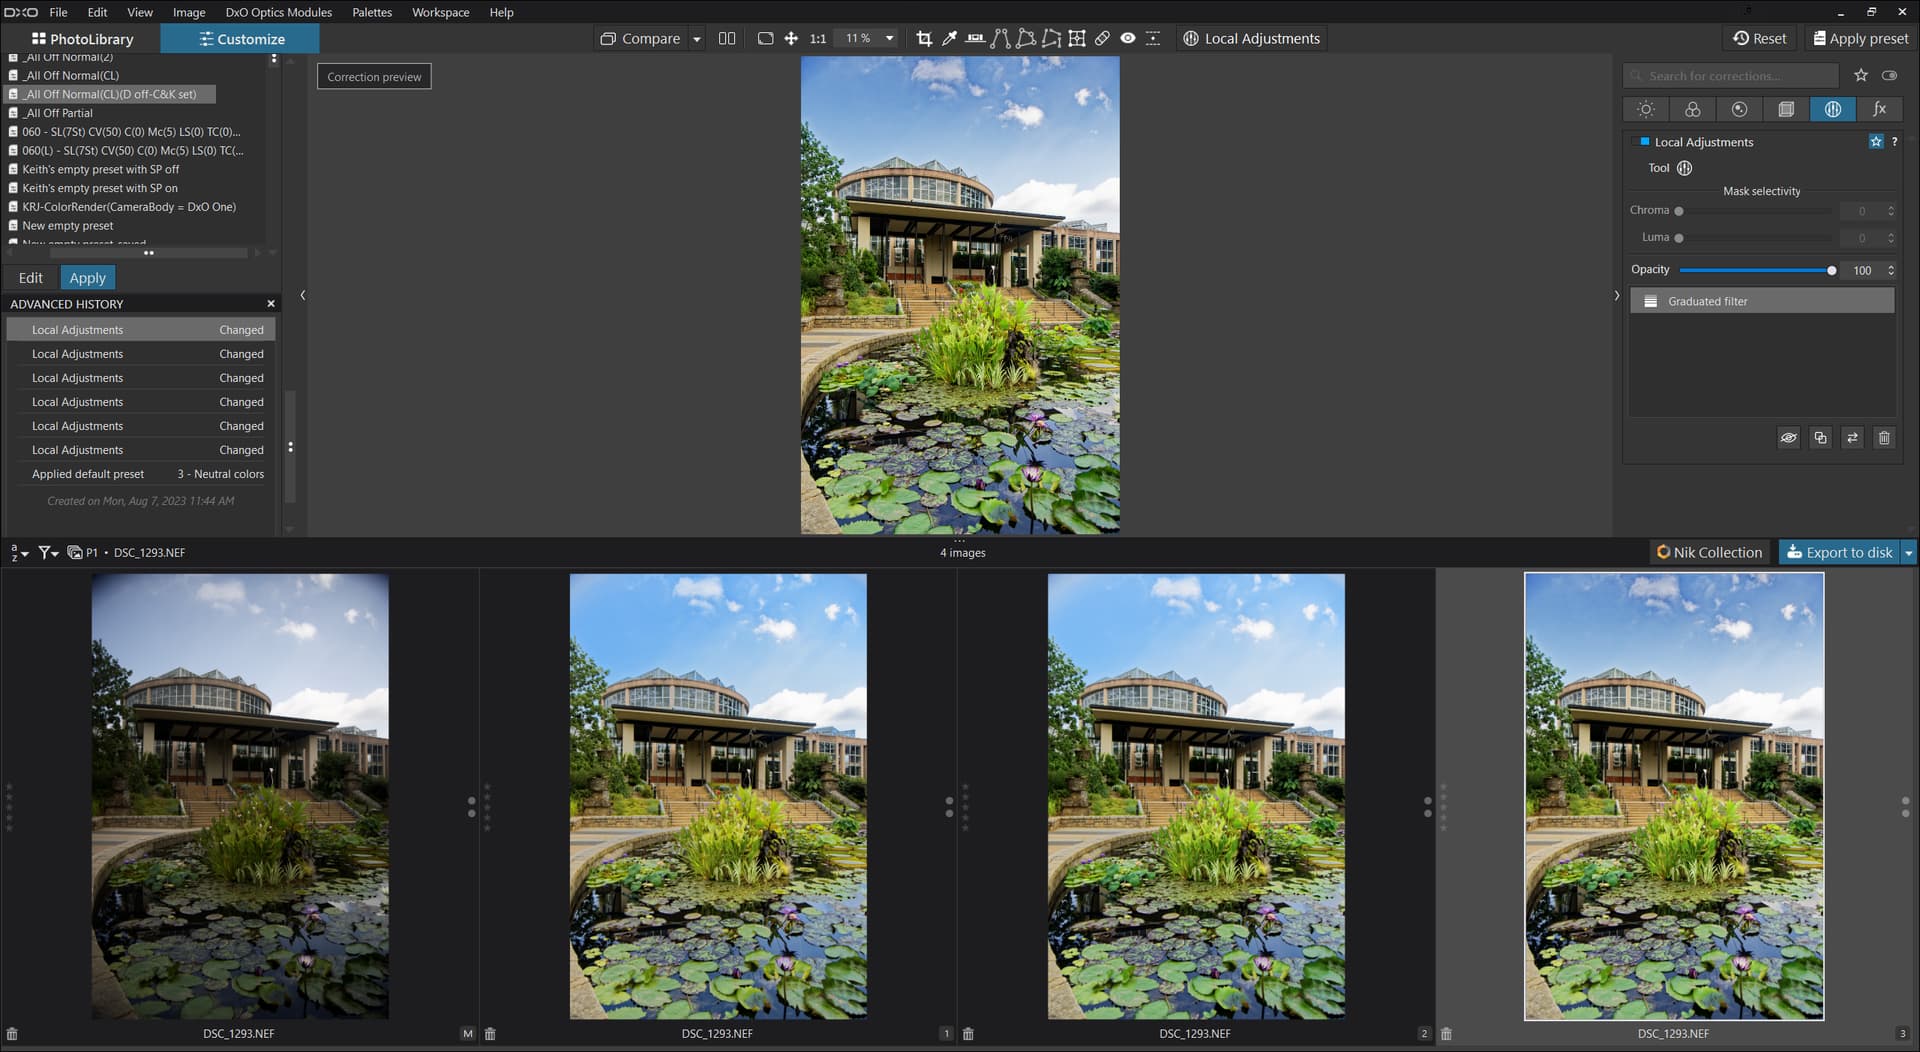
@criley9000 I felt that ignoring the sky for one moment the image seemed too “dark” and I was looking to make the foreground brighter while keeping some blue in the sky so the images are
[M] no adjustments
[1] Wide Gamut + other adjustments
[2] Other adjustments + Classic(Legacy) + ‘Simple Toning’ = ‘Landscape’ which can overdo the greens at times
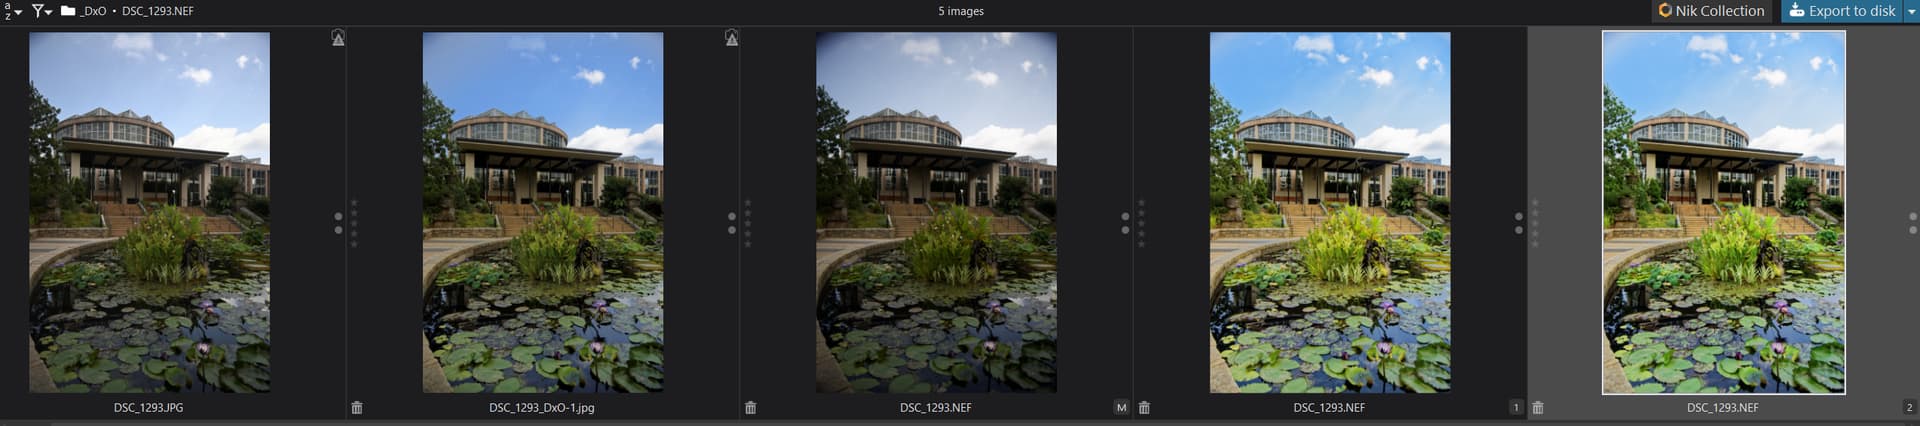
[3] Removing the ‘Control Line’ from [2] and adding a ‘Graduated Filter’ that targets the sky only and slightly overdone in my example!
I have used ‘Fine Contrast’ which is only available with the FilmPack I am afraid !!
A DOP
DSC_1293.NEF.dop (47.9 KB)
I delete the photos