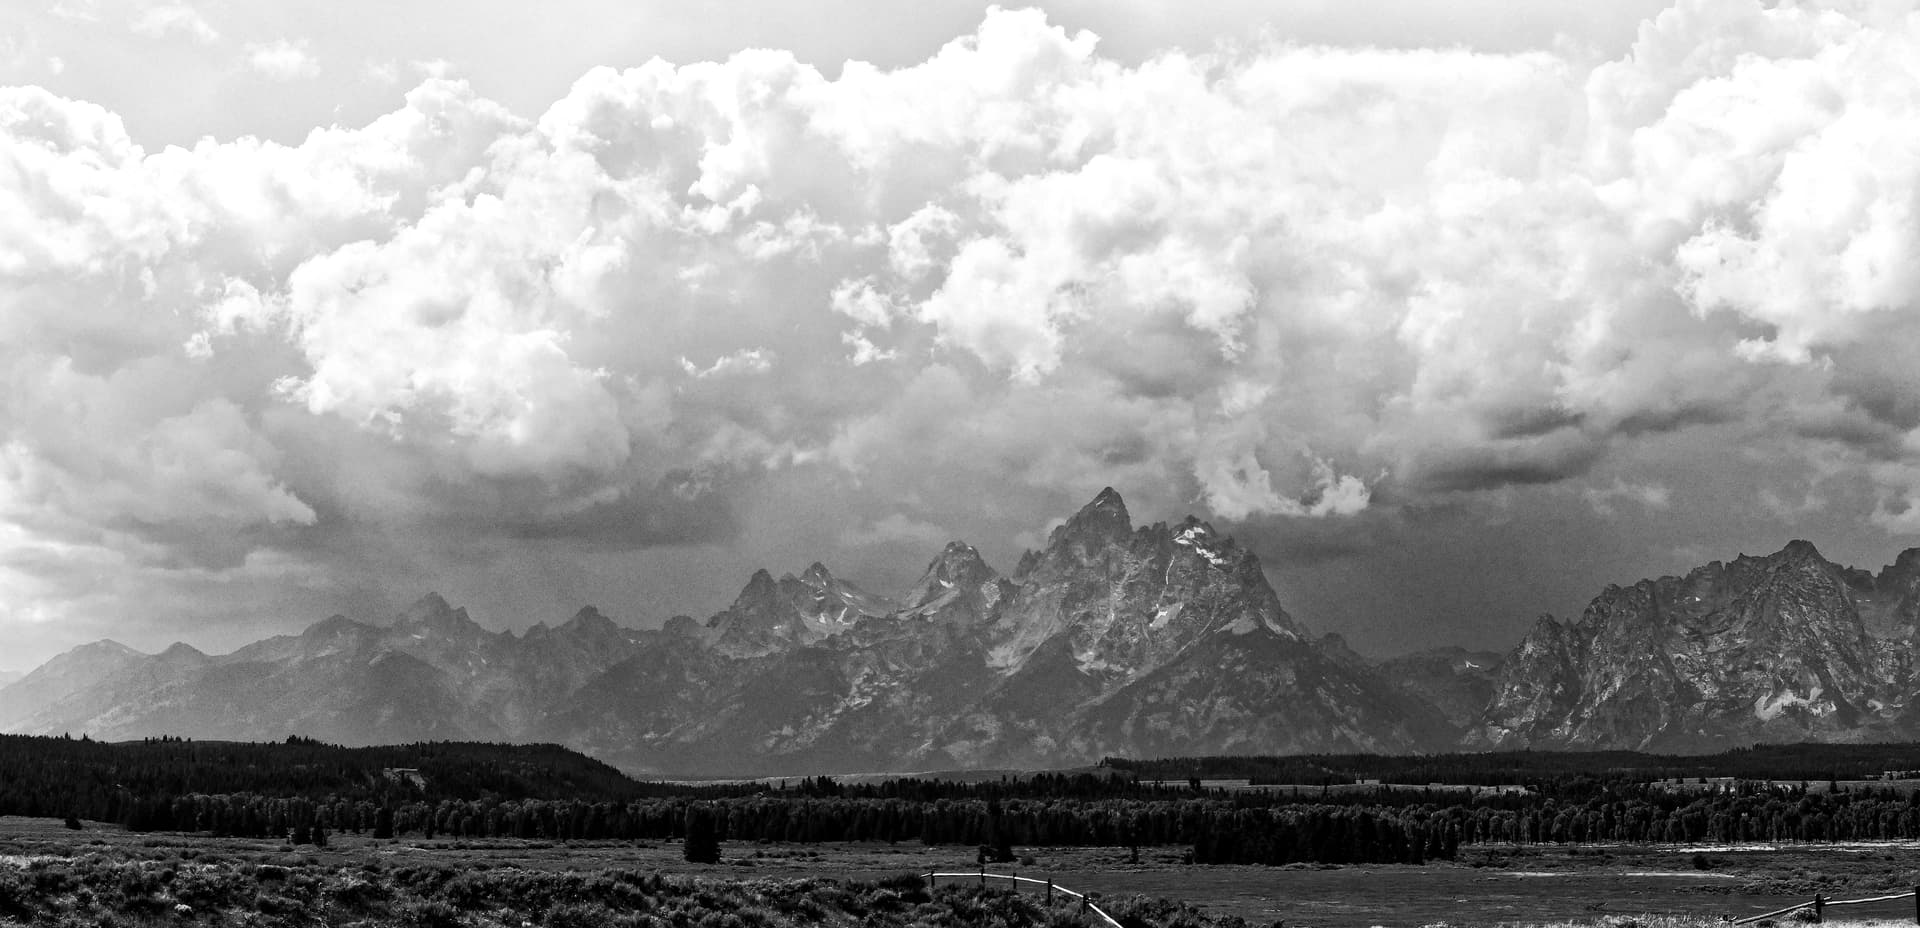
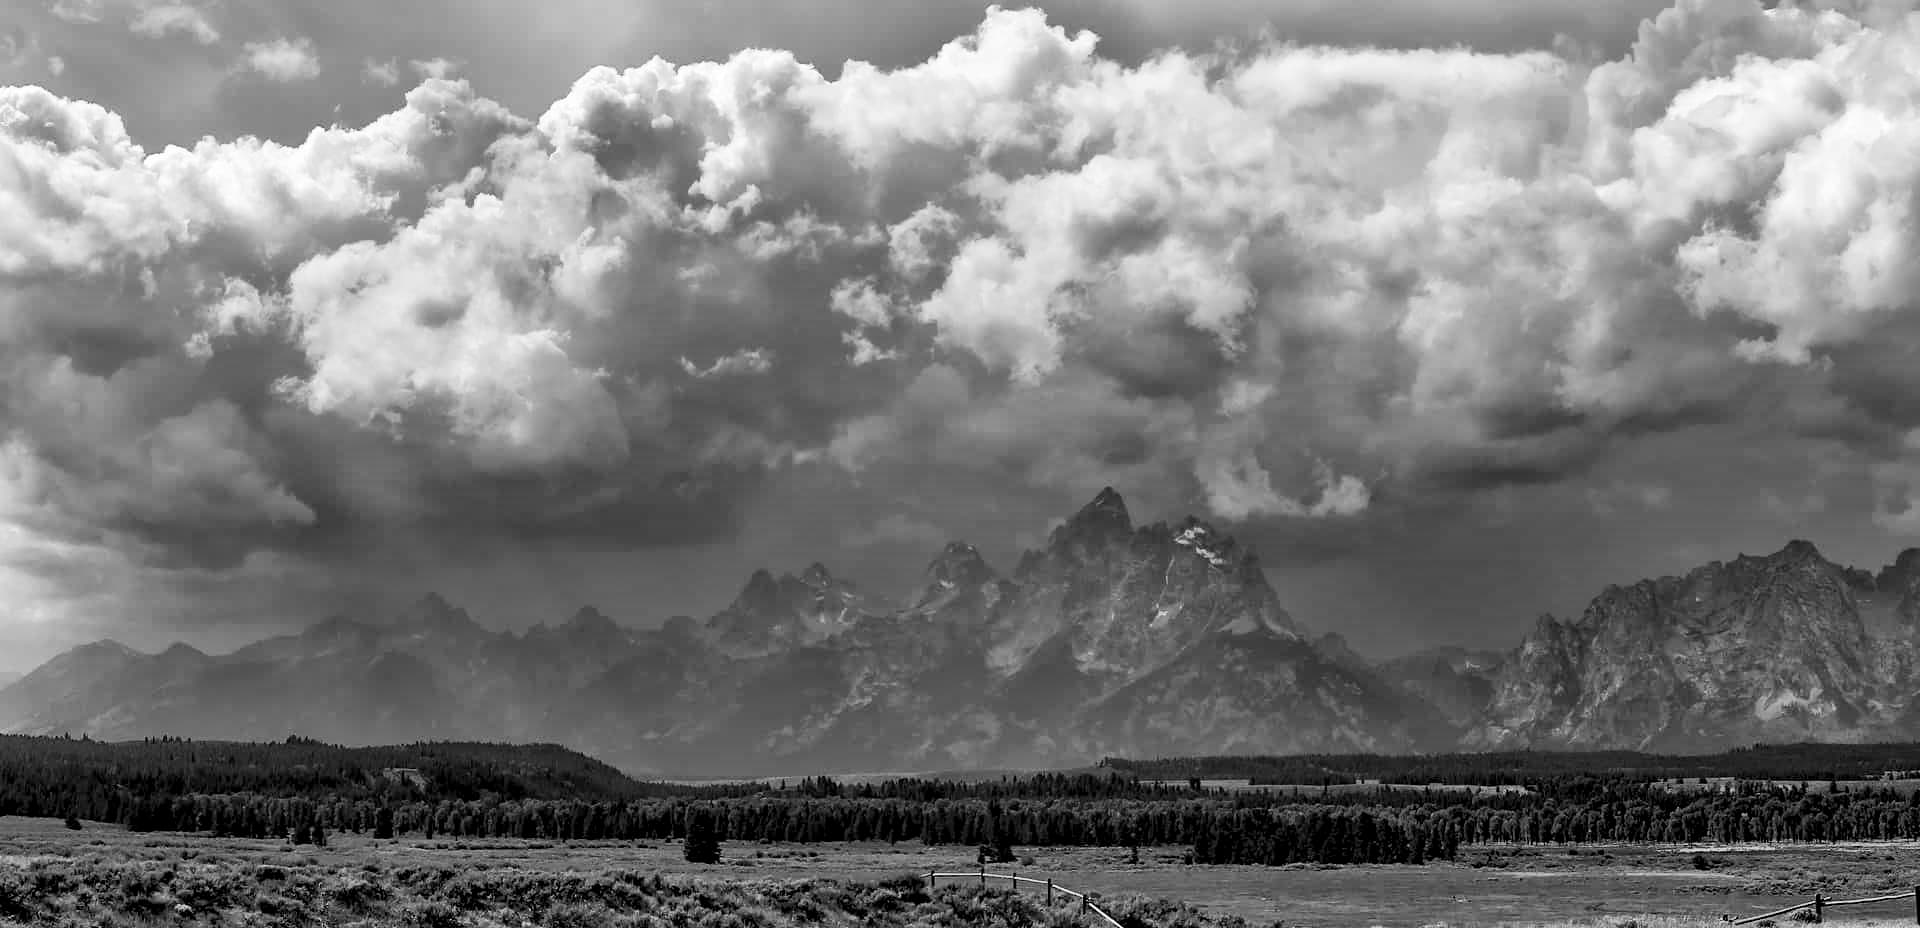
We were coming back yesterday when the clouds reminded me of the famous Ansel Adams Snake River photo. Unfortunately, my camera wasn’t with me, and we didn’t make it to the famous spot while the clouds were "right. So… I settled for this stitched image captured with an iphone to inspire me to actually look for the opportunity in the future.
For fun, I’d like to mimic Ansel Adams’s style, but I have no experience attempting to use filmpack for such an effort, or knowledge of the various film types.
I understand this doesn’t get the river light reflections, smoke haze hangs in the air, and there isn’t as much snow on the mountains this time of year. And it appears like the Adams photo was taken later in the day too with the light more "through the clouds (view is to the southwest) rather than beside and reflecting off them from the south. As such, I hope this isn’t a fool’s errand.
Just trying to get some ideas to mimic the iconic look.
Suggestions welcome!
Thank you!
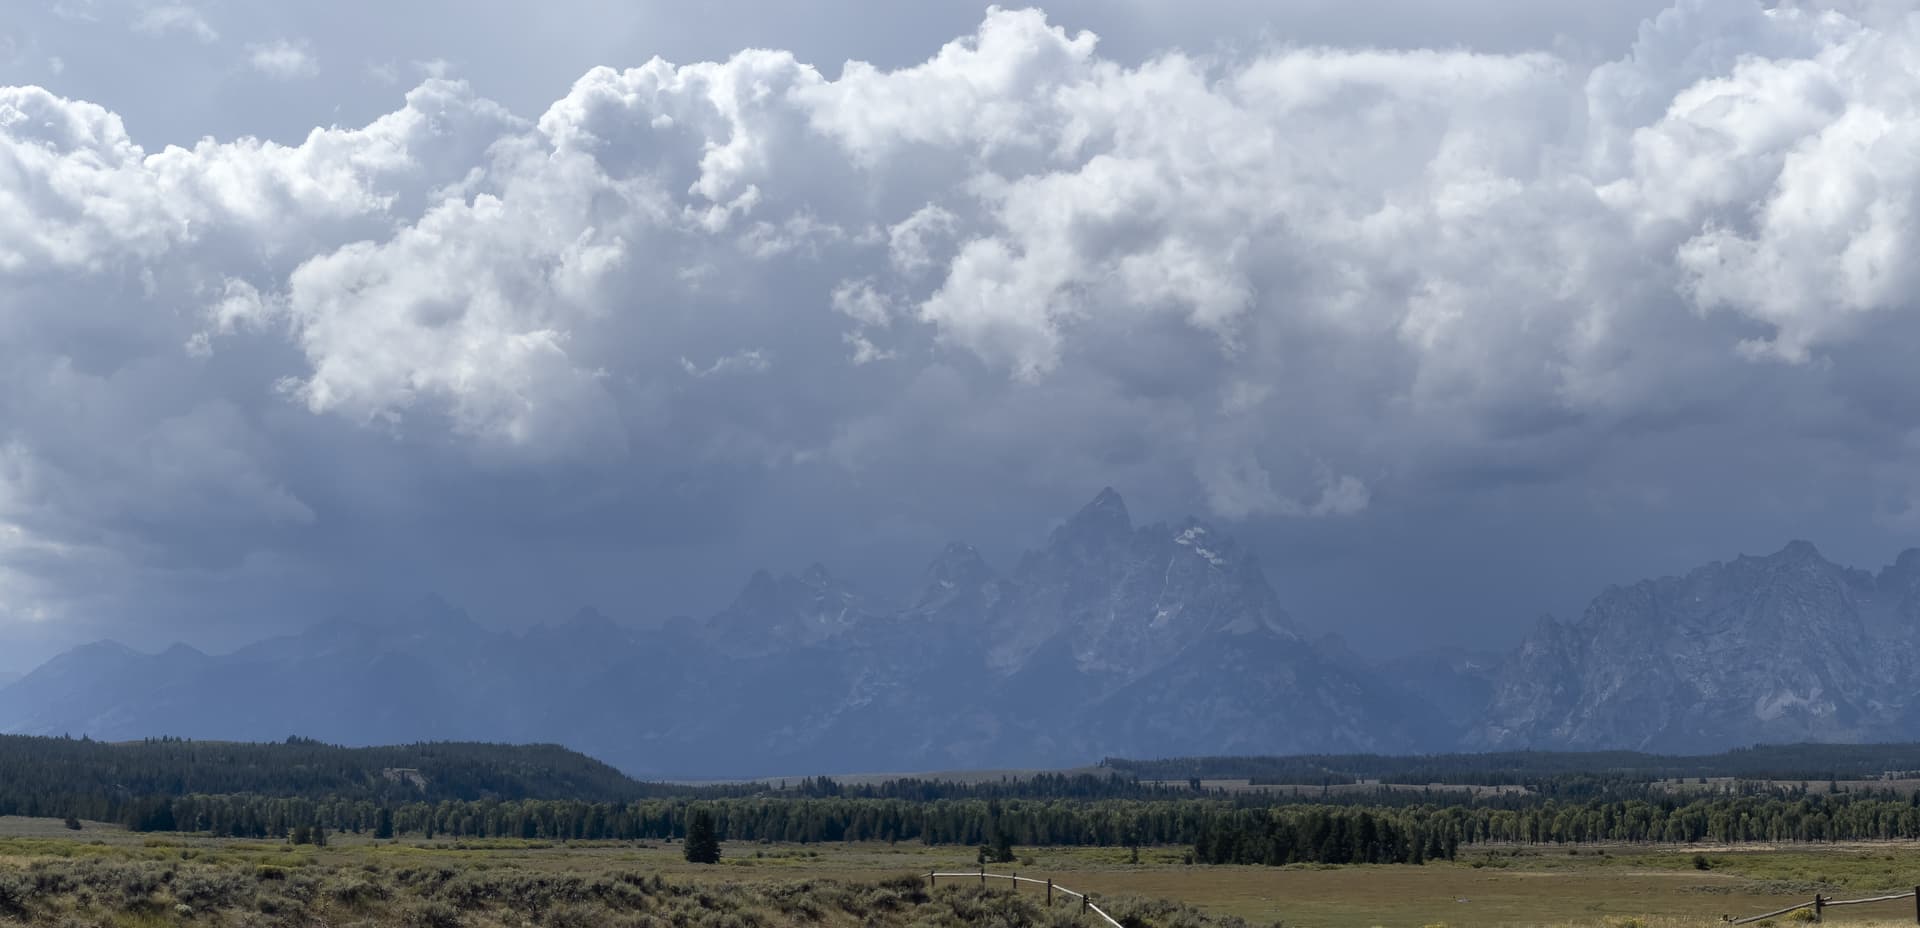
Filmpack - with random B&W film and added fine contrast:
Whether this actual shot needed the higher vantage point or not, it is still a stunning image.
From experience of using LF cameras and B&W film, unfortunately, there really isn’t much chance of reworking that image, mainly due to the excessive haze, lack of contrast and lack of visible clear sky, which really helps bring out contrast when using a red filter.
My friend Helen is good at this kind of thing and she will tell you the same.
Take these as examples…
The biggest requirement is contrast on the original negative or RAW file. You can never get such clarity by “recovering” it.
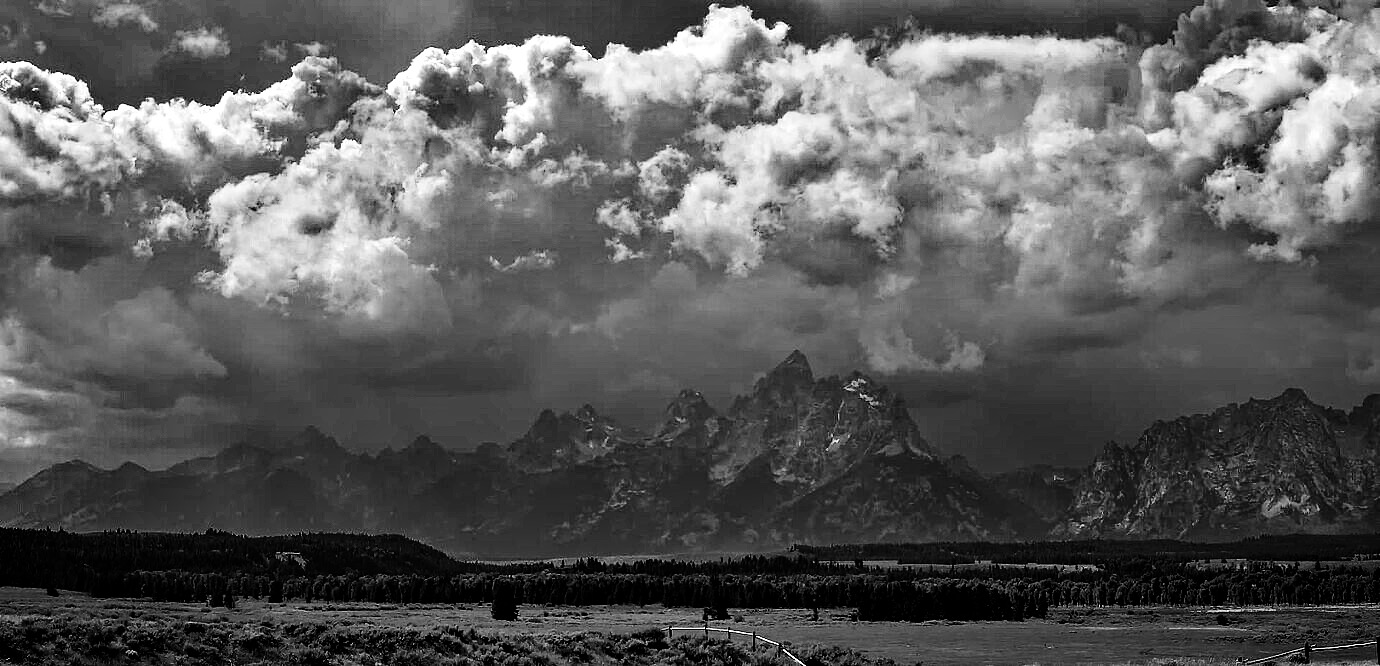
@swmurray I had a quick play with your uploaded jpg in PL7 to dehaze a little, then final tweaks in Radiant using one of their B&W Landscape luts. Maybe a little closer to Adams vibe?
@onelife69
Thank you. That’s what I was trying to capture with the clouds. I’ll have to learn more about Radiant and their luts. I’ve got a lot to learn about working with B&W contrast regardless.
@Joanna , @onelife69:
Thank you for the references. Mitch Dobrowner’s photos are amazing. I’ll have to listen to his talk a few times to absorb more insight.
I agree with all your observations regarding the capture quality. As this photo was very much spur-of-the-moment with Ansel Adams in mind I should be happy with what I did capture. I suppose I was hoping for a processing “magic wand”, and @onelife69, you provided a great one. Your clouds far exceed what I expected out of this photo.
Both reminders that I have a lot of work to do to put in the time on location, and learn B&W skills.
I think you’ll get quite a bit from Radiant, it is a nice companion to PL, I tend to use it for final tweaks and almost as a second opinion to my edits. Pretty cost effective with a perpetual licence. Worth a trial
Even better than hoped for! I like the balance between the mountain detail without over crunching the clouds, as well as the way the lightrays and brighter areas of the foreground come out too. I’ve never used Silver Efex, but will experiment to see if I can come close to what you did.
Perhaps you are right - maybe this is “my shot” to keep rather than trying to return and copy AA’s famous photo. The timing was happenstance when the clouds were “perfect” to mimic AA’s famous shot. We just couldn’t get to the location in time.
I’ve copied most of the other iconic shots of the area, so maybe a few of “my own”, would be good too. Thank you for the example and inspiration!
Does “Radiant” do things that can’t be done manually using the PhotoLab tools? Is it a short-cut, or can it make changes that can’t be done with the PhotoLab tool set? Or, maybe I should ask, is it a “short cut”, or does it allow people to do things that can’t be done with the DxO tools?
I view it as an alternative eye/second opinion for an initial edit. I often edit the photo in PL to where I’m really quite happy with it. Then drop it into Radiant to see what tweaks it suggests. If the tweaks look good, I’ll often go back to PL and adjust as required.
For social media I’ll often just export from Radiant.
You can definitely live without Radiant, but there are moments when it does shine quite nicely, it does have an exceptionally good vignette tool and the crop tool is very nice too.
If a year later, I go back to make a change to the image, anything I might have done in “Radiant” will not be in my .dop file. If I stick with PhotoLab, I just re-open the file in PhotoLab.
I suppose it might be useful for photos I process in DarkTable, but that’s a lot I need to keep track of for the future.
Maybe sometime you can post an image you’ve finished in PL, and then show how you improved it with Radiant in ways that PhotoLab can’t also do it?
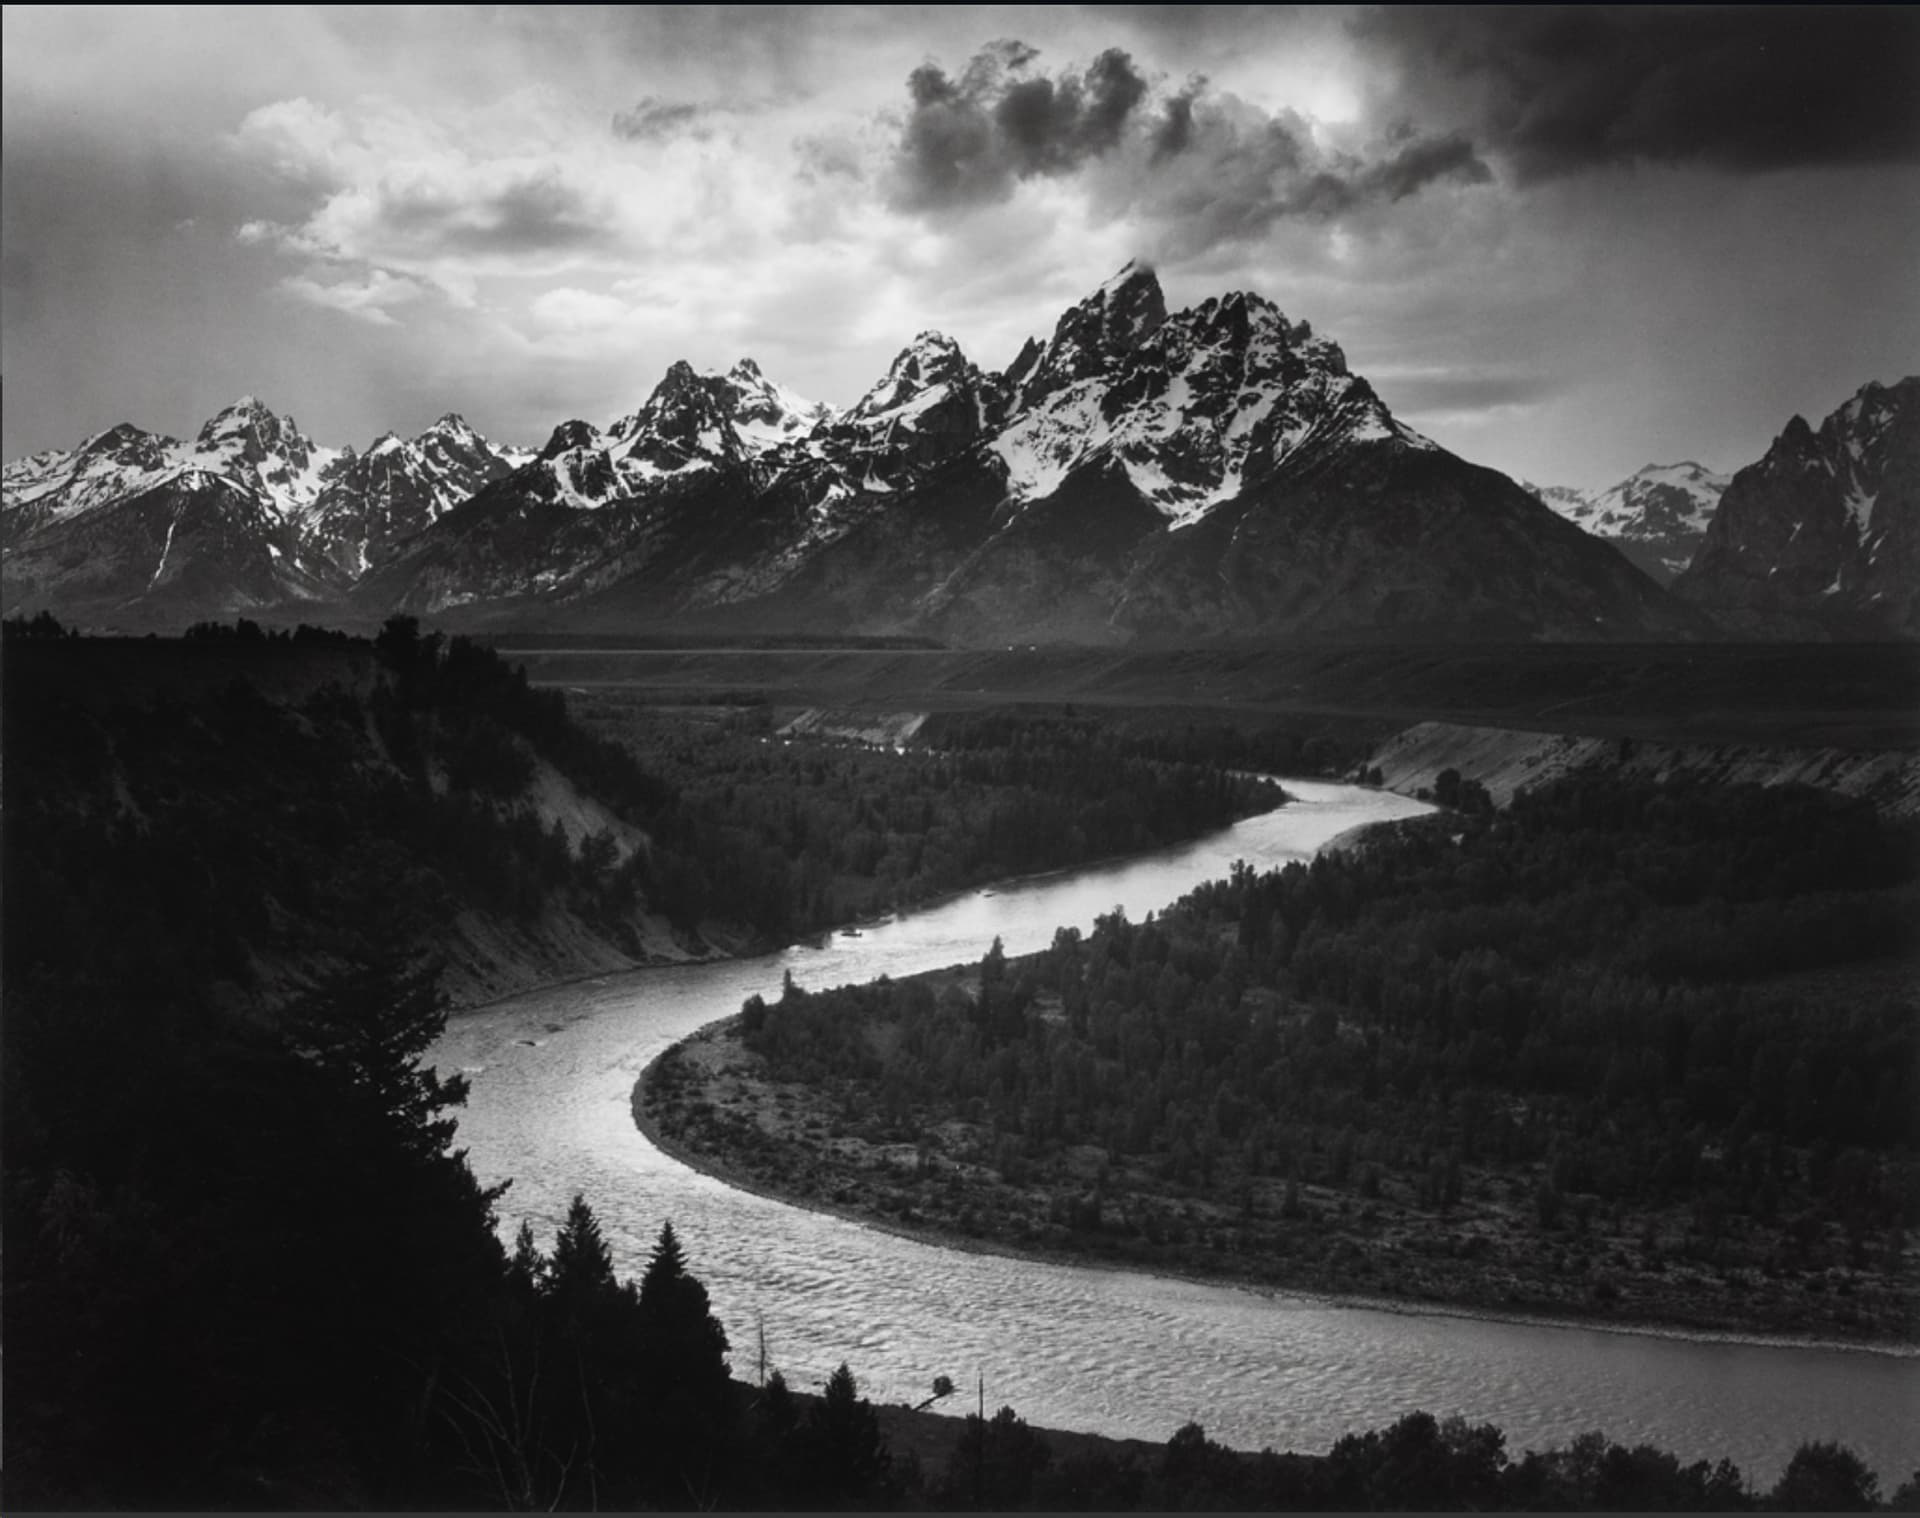
Ansel Adams was a formidable photographer. He didn’t invent the photographic zone system, and he never claimed that. He was a decent man. But he formalized known professional knowledge based on Kodaks 18 % grey card and the stepped tone scales from Kodak and called the exposure steps for zones. He defined a scale in Roman numerals around the mid tone of 18 percent reflectance going from 0 to 10, or as he preferred, 0 to X with the mid-tone called V. He also described what zone 0 to IX should look like. The exposure-development combinations N-3, N-2, N-1, N, N+1, N+2, N+3 were known by professionals in advance.
The reason for his success was his ability to observe and execute when all parameters were right, and when his shot was in the box, typically on large format film sheet, his skills in the darkroom would make the difference to what others managed at the time.
Don’t think his results came easy or can easily be reproduced. It’s hard even with modern editing tools that makes his elaborate darkroom work much easier. The first step is to know what to do. Further the film and papers of those days had their own quality that supported a superior subtle graduation.
I understand the “Zone system” was/is mostly about getting the right exposure in camera by measuring and knowing the scene’s light before image capture. AA’s method also includes related darkroom work to develop that image and transfer it to a print that relied on this same concept of zones. AA used chemistry to accomplish this, but today’s tool is software and I see no problems with today’s software adaptation of his brilliant concepts. To argue otherwise seems pedantic.
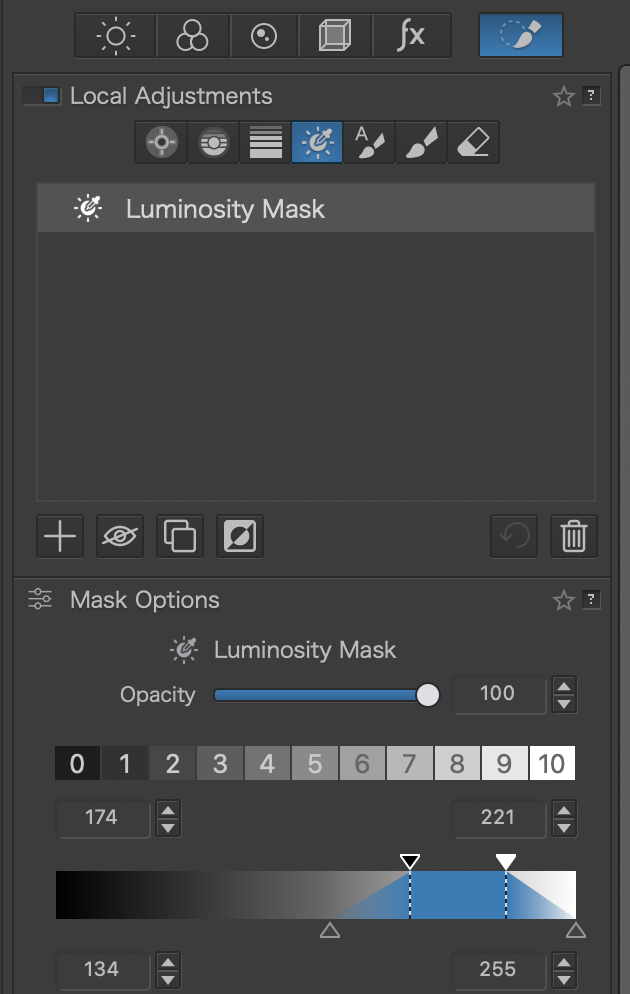
I was initially working in the PL7’s LA luminosity brush as you reference above.
@Wolfgang suggested a look at Silver Efex. I find Silver Efex preferable because it has the ability to scroll through the “zones” from the top level to better visualize the photo overall without affecting masks, and the additional controls within each mask to change tonality/contrast. SE has structure and fine contrast controls which are not present in PL and the other controls seem to work differently too.
Overall, this software allows me to better visualize these “zones” and explore how various changes affect the overall image. While this is certainly not how AA did it, working towards imitating his results helps me better visualize what he did and appreciate his genius. And, I get a personally captured image that brings me joy.
While not my primary photography focus, my broad whimsical goal here is to “learn” from the masters by imitation, as well as capture some of these famous photos for my own “collection”.
Thank you to all for the support. I am working in Silver Efex with appreciation to @wolfgang.
… which looks alike at first sight, but is not at all the same.
The Luminosity Mask (also) allows you to select (= to preset !) a range from 0 to 10 to then process it – locally. And if the area is unfavorable, adjust it.
.
Regardless of whether you correct locally or globally ( → displaying the “highlighted section”), the locally selected area does NOT change and therefore neither does the mask overlay.
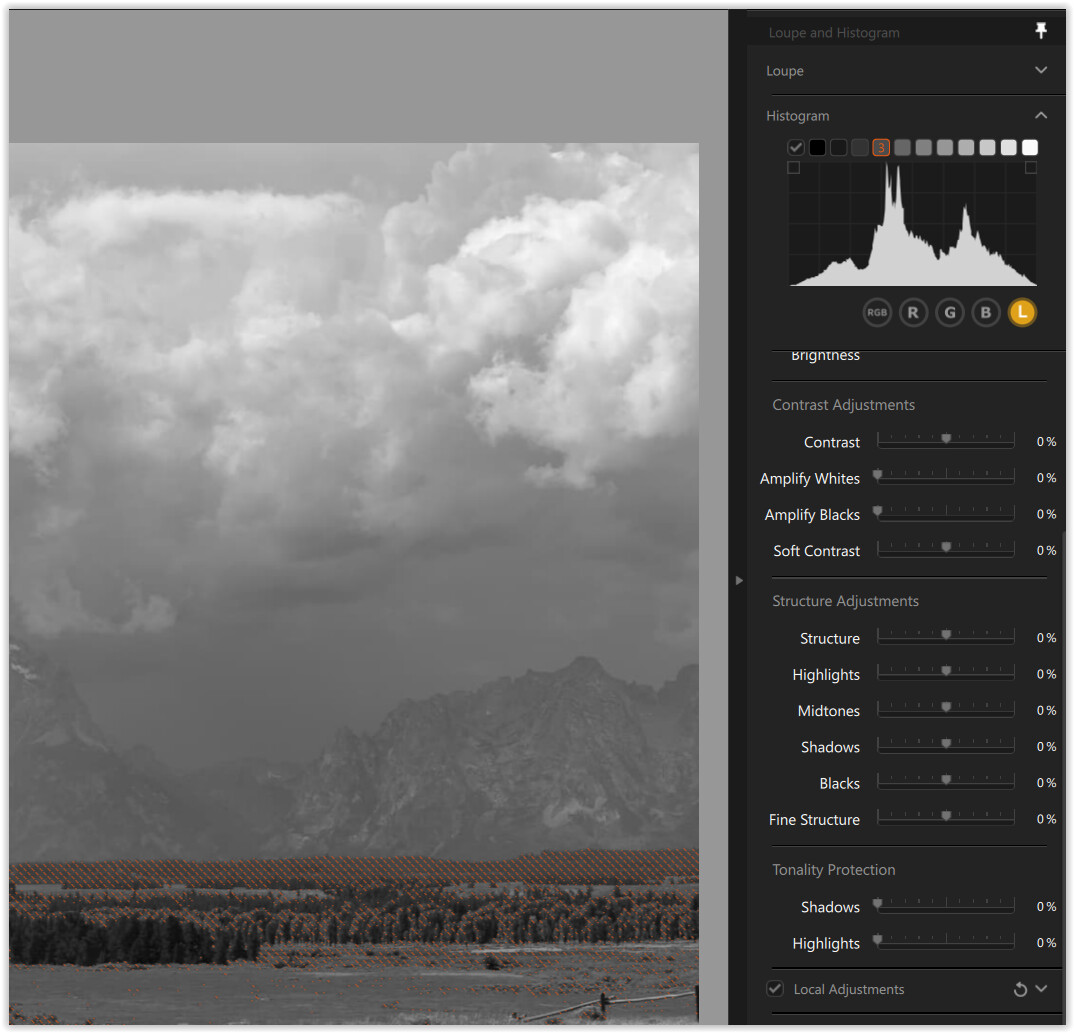
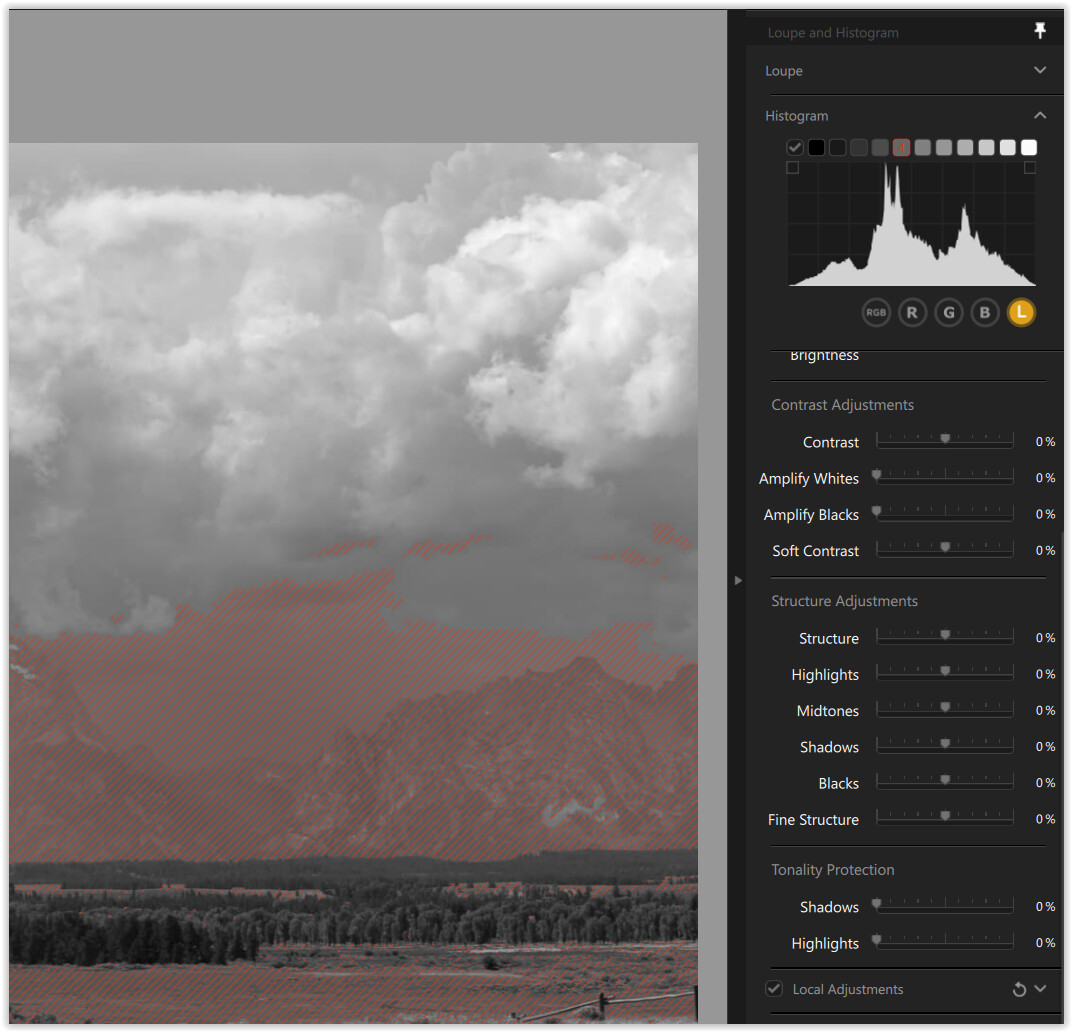
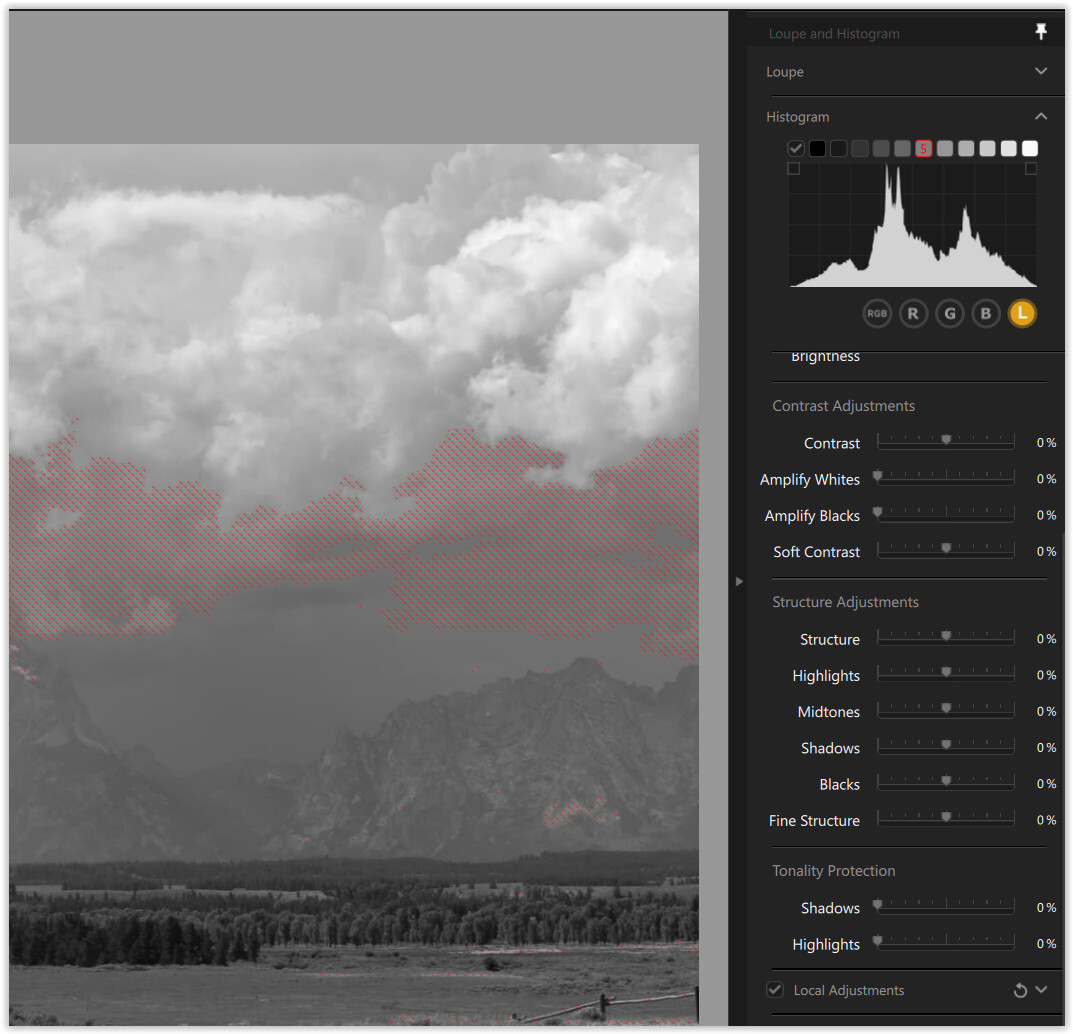
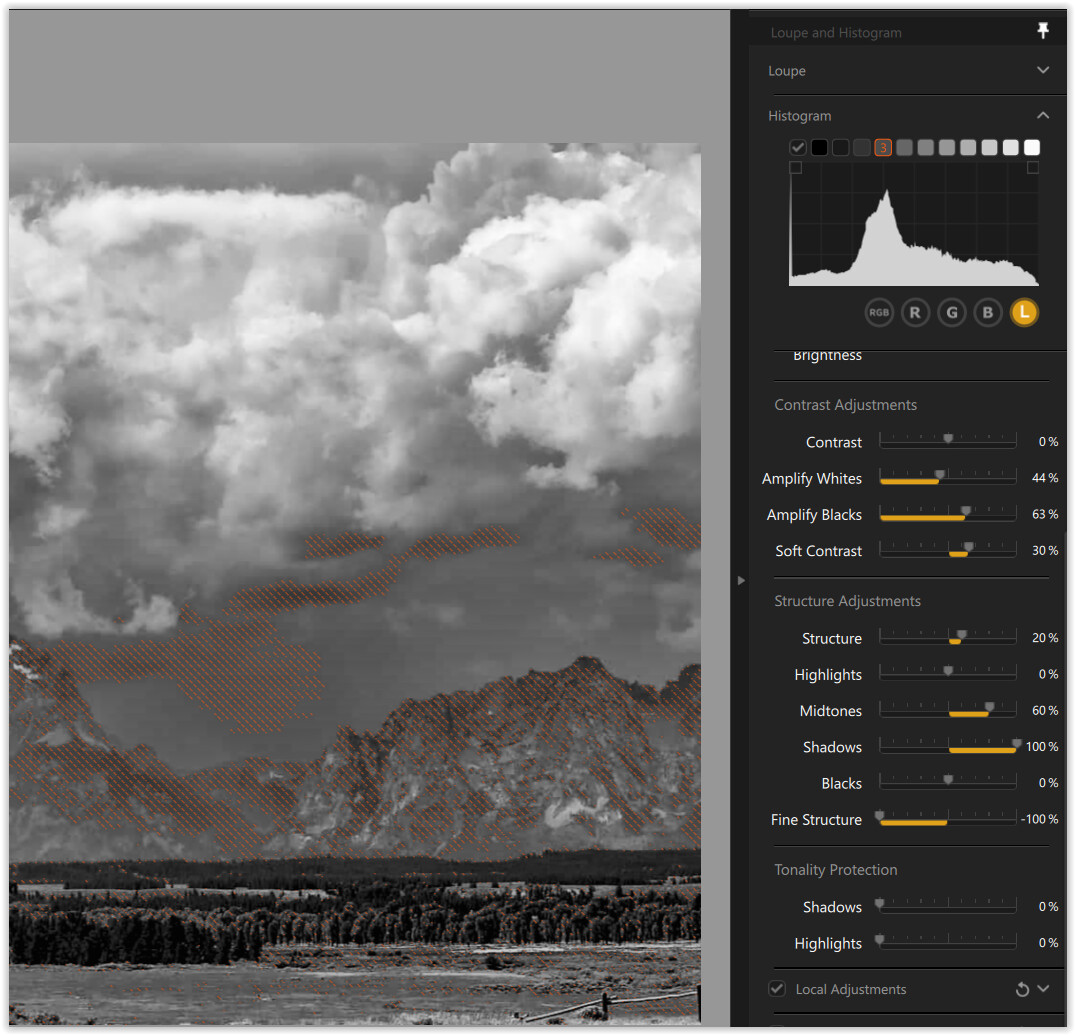
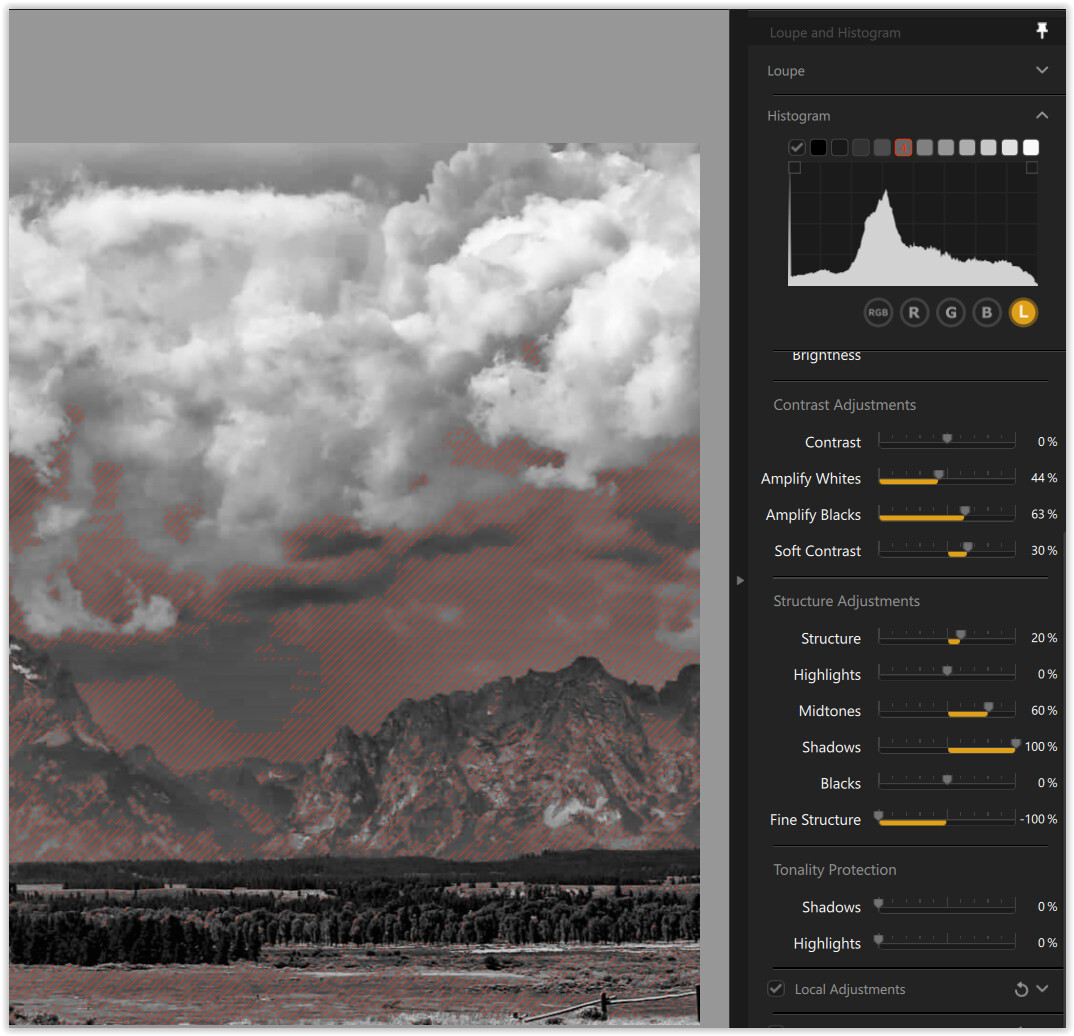
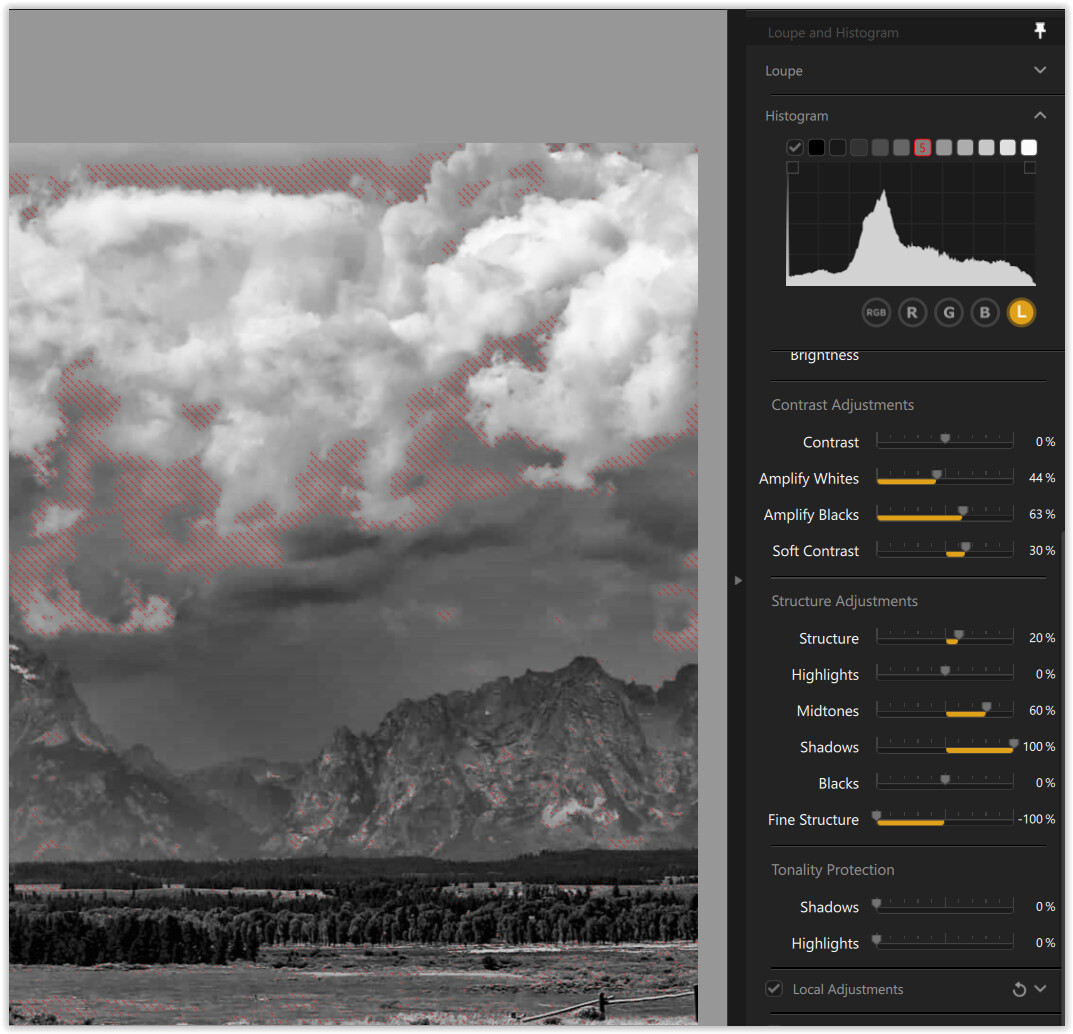
The “Zone System” as implemented in Nik Silver Efex allows you to permanently (or on the fly by hovering over the checkbox) “highlight" an area / zone.
.
Correcting globally or locally, it will affect the “highlighted area” and show tonal changes. – Additionally, use the checkboxes next to the selected area to check if it already falls into the next zone, as well as the Loupe tool.
.
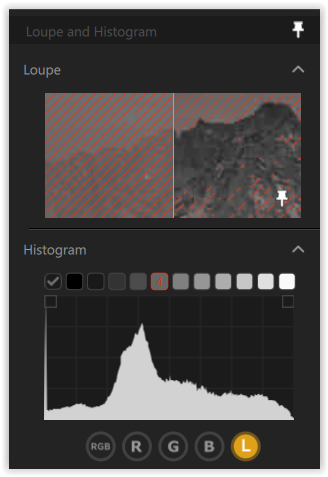
The Loupe displays any chosen point at 100%
and in connection with the “Zone System” the before and after.
(well, not so effective on a small JPEG)
While some work with PL7 + FP7 for B&W, personally I still prefer SilverEfex,
which is a specialized and therefore extremely effective tool for B&W.
Since version 7, in addition to the new oval control points (with the option to place their settings over the image) and the control line, a polygon selection and a luminance mask are also available.
But by calling it “not true zone system, just a marketing gimmick for describing the division of brightness into 10 discrete levels” you indicate to not (fully) understand the tool(s).