I think Control Point is the only local adjustment that can be stacked within the same sub mask but if not then this might also affect other masks…
When you “Add” 1 Point and “Protect” second, then invert the mask twice then you do not end up in the same place as you started - The 2 point will be “Add” as well instead of “Protect”
I’m seeing something along a similar line, with Control-points;
I create a sub-mask - say, a selection using Auto-brush
– and I make a slider adjustment - say, a tweak to WB-Temp
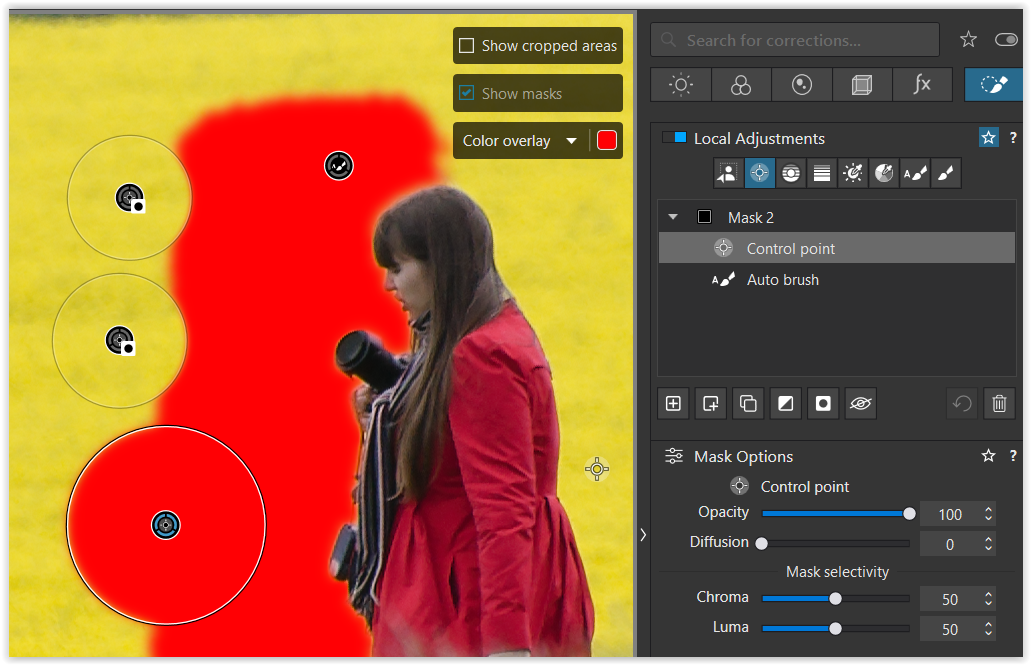
I next add another sub-mask, in this case using a Control-point to select a part of the selection made by the Auto-brush
– I apply “Invert shape” to the Control-point
– for the sub-parts selected by the Control-point, this cancels out the change to WB-Temp that was applied via the Auto-brush … As expected.
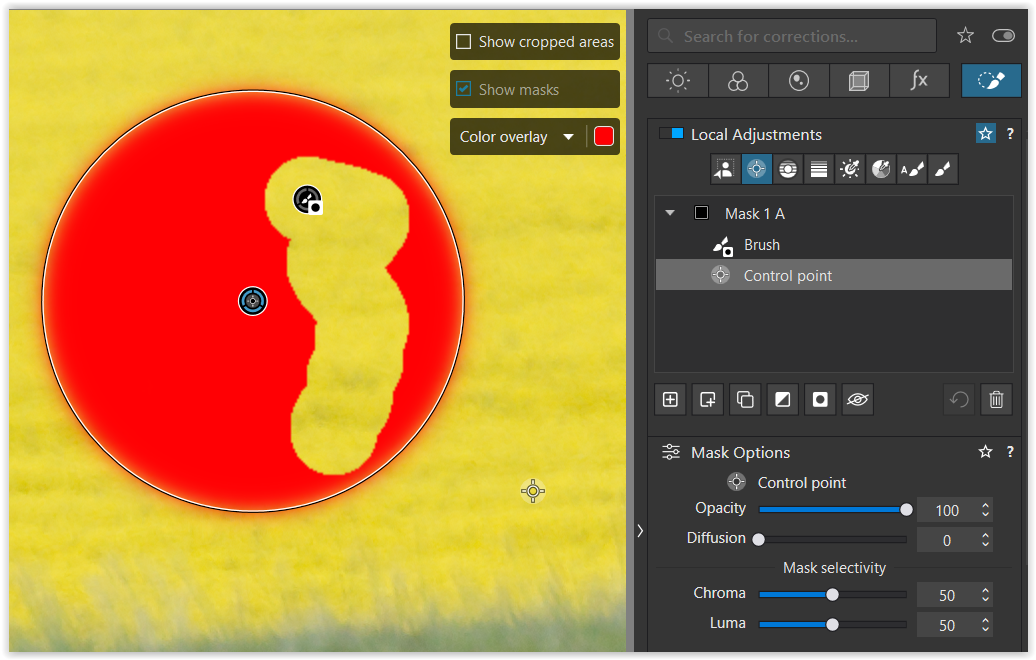
Then, I click on the original Control-point and I add some more Control-points to the area selected by the Auto-brush
– BUT, these areas (selected by the additional Control-points) are NOT cancelled out.
Now, if I reset the “Invert shape” status on the Control-point sub-mask (that is, with “Invert shape” switched OFF) then the opposite applies !!
– Areas selected by the additional Control-points ARE now cancelled out - - but the area selected by the original C-P is not.
I’m a bit late to the party, but I’ll try to clarify a few things.
Correct, you can combine positive and negative Control points, Autobrushes and Brushes within the same submask.
For better illustration, I refer to them as a “pair” since they are treated as such!
When you “Add” 1 Point and “Protect” second, then invert the mask twice then you do not end up in the same place as you started - The 2 point will be “Add” as well instead of “Protect”
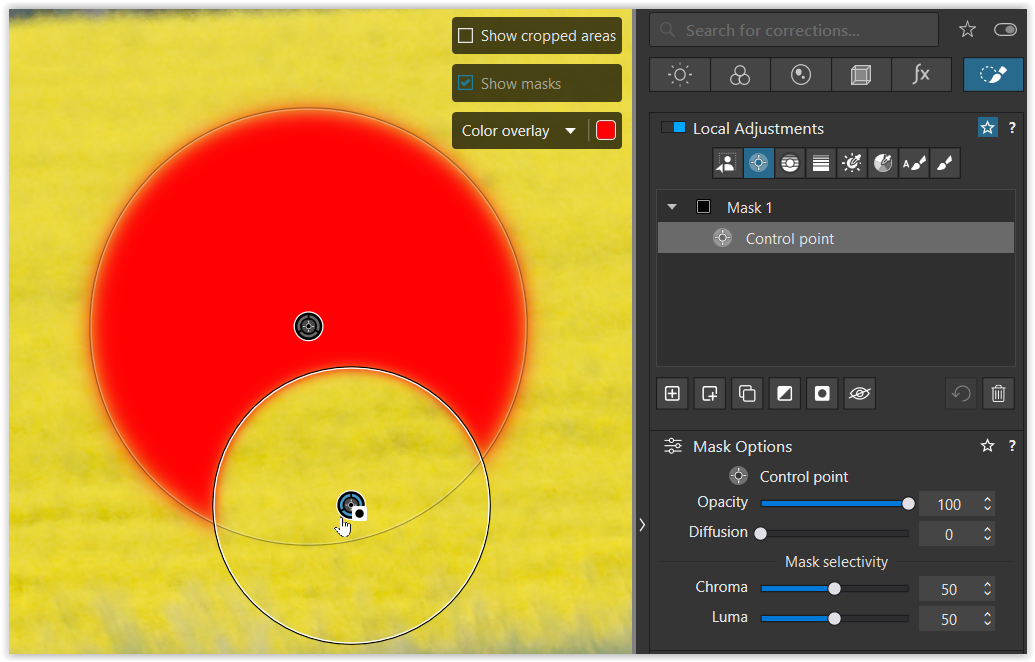
While holding down the < ALT > key I added a second (smaller) Control point to subtract from the first selection, indicated by the → “Invert shape” gizmo.
Previously, we corrected a mask/selection directly.
Since DxO introduced dedicated submasks, both methods can be used for Control points, Autobrush and Brush. – But submasks are used to correct selections made with AI, Control lines, Graduated filters, Luminosity and Hue masks – and for “cross-corrections”.
Submasks with the “Invert Shape” function must remain above the mask to be corrected.
.
@John-M
I’m seeing something along a similar line, with Control-points;
I create a sub-mask - say, a selection using Auto-brush
– and I make a slider adjustment - say, a tweak to WB-Temp
I next add another sub-mask, in this case using a Control-point to select a part of the selection made by the Auto-brush
– I apply “Invert shape” to the Control-point
– for the sub-parts selected by the Control-point, this cancels out the change to WB-Temp that was applied via the Auto-brush … As expected.
Then, I click on the original Control-point and I add some more Control-points to the area selected by the Auto-brush
– BUT, these areas (selected by the additional Control-points) are NOT cancelled out.
Your observation is almost correct…
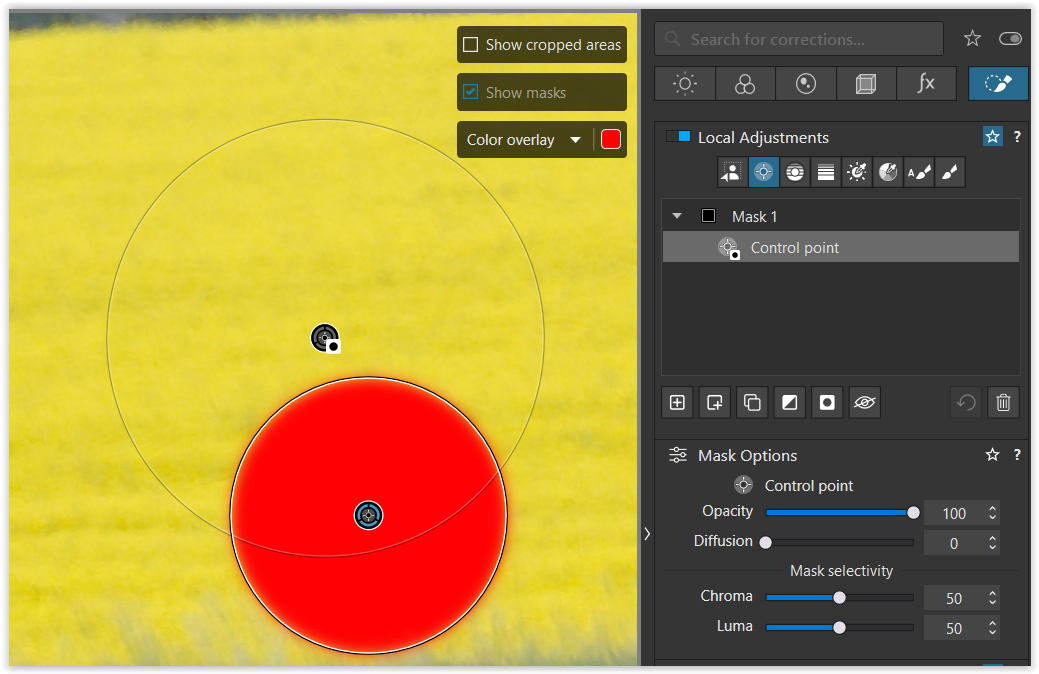
At first glance, the two smaller (positive) control points appear to incorrectly enlarge the originally selected area (Autobrush). – But they belong to the “Control point” sub-mask and are “paired” with the first control point.
Now, if I reset the “Invert shape” status on the Control-point sub-mask (that is, with “Invert shape” switched OFF) then the opposite applies !!
– Areas selected by the additional Control-points ARE now cancelled out - - but the area selected by the original C-P is not.
No, “Invert Shape” doesn’t get deactivated / switched OFF here. – Actually, the “paired” Control points are inverted. The first (larger) Control point becomes positive and adds to the selection, while the two smaller ones subtract from it.
I think this is a bug because it makes no sense how it works.
[ … ]
So creating sub-CPs does not take into account the fact the original CP has been inverted.
Hmm, no. While it can be irritating, I wouldn’t call it a “bug”.
[ If you create a CP with one or more additional CP sub-masks and then Invert Shape it works as you would expect with all CPs working in unison. ]
That’s correct. The Control points are all “paired”.
What’s called “Invert Shape” in the Windows version seems to be “Invert Mask Effect” in macOS. – And of course, I don’t know if they behave the same way.
.
The point is…
In Windows some LA tools can be combined in the same sub-mask and when using “Invert Shape” they all invert / switch over.
LA tools belonging to different submasks or mask groups function independently. Now they can be “switched OFF” / deactivated individually by clicking “Invert Shape” again.
.
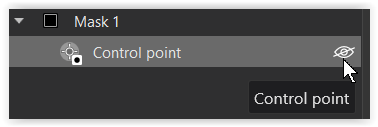
Personally, I use the eye icon to deactivate them.
“Negative” Control Points behave differently than “Normal” control points within a submask when applying the Invert Shape action. Negative control points loose their “negative”, or blocking action when the Invert Shape tool is applied a second time. They become “normal” control points.
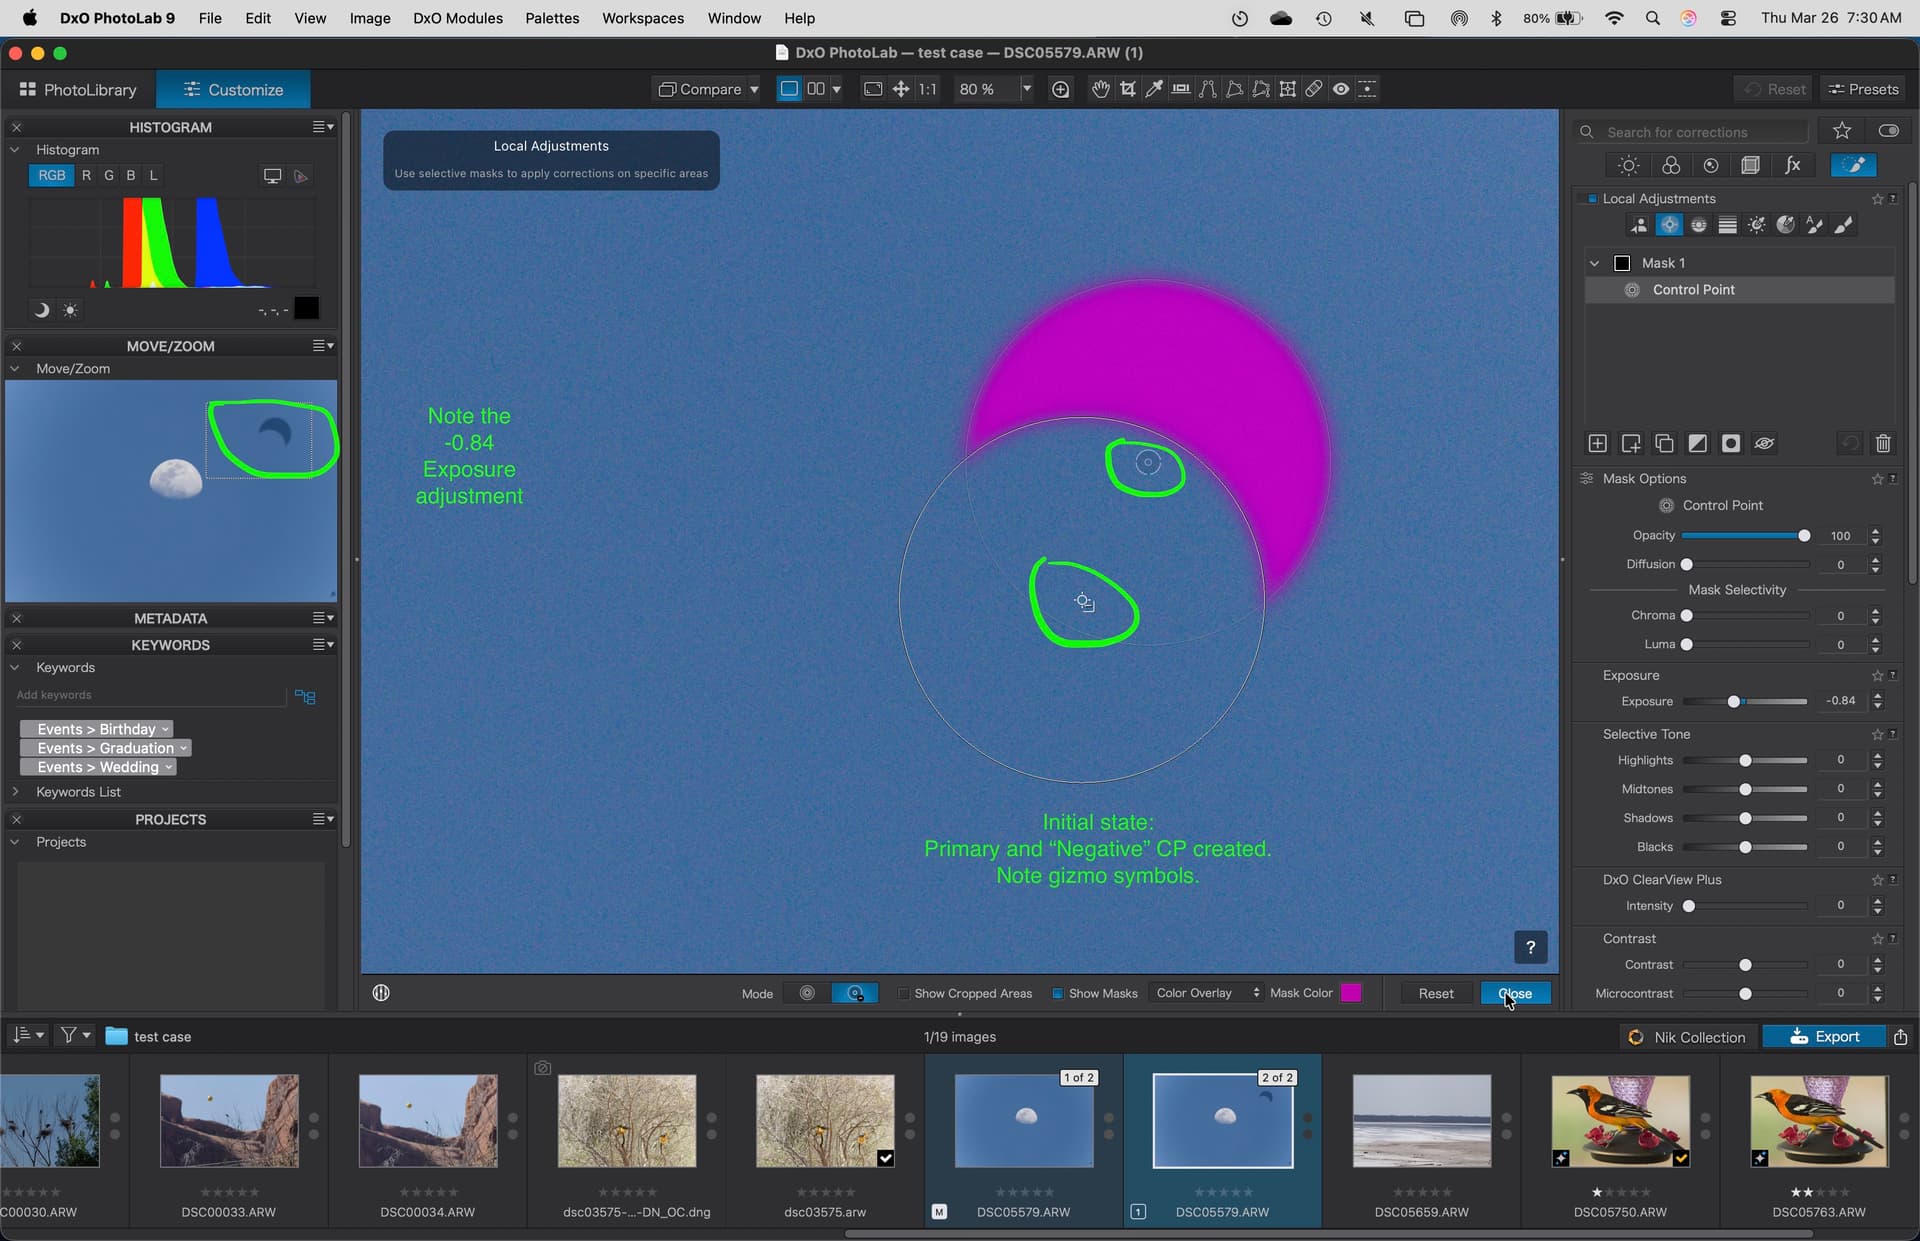
To demonstrate:
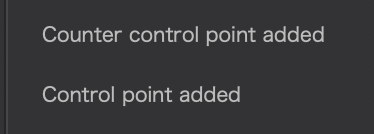
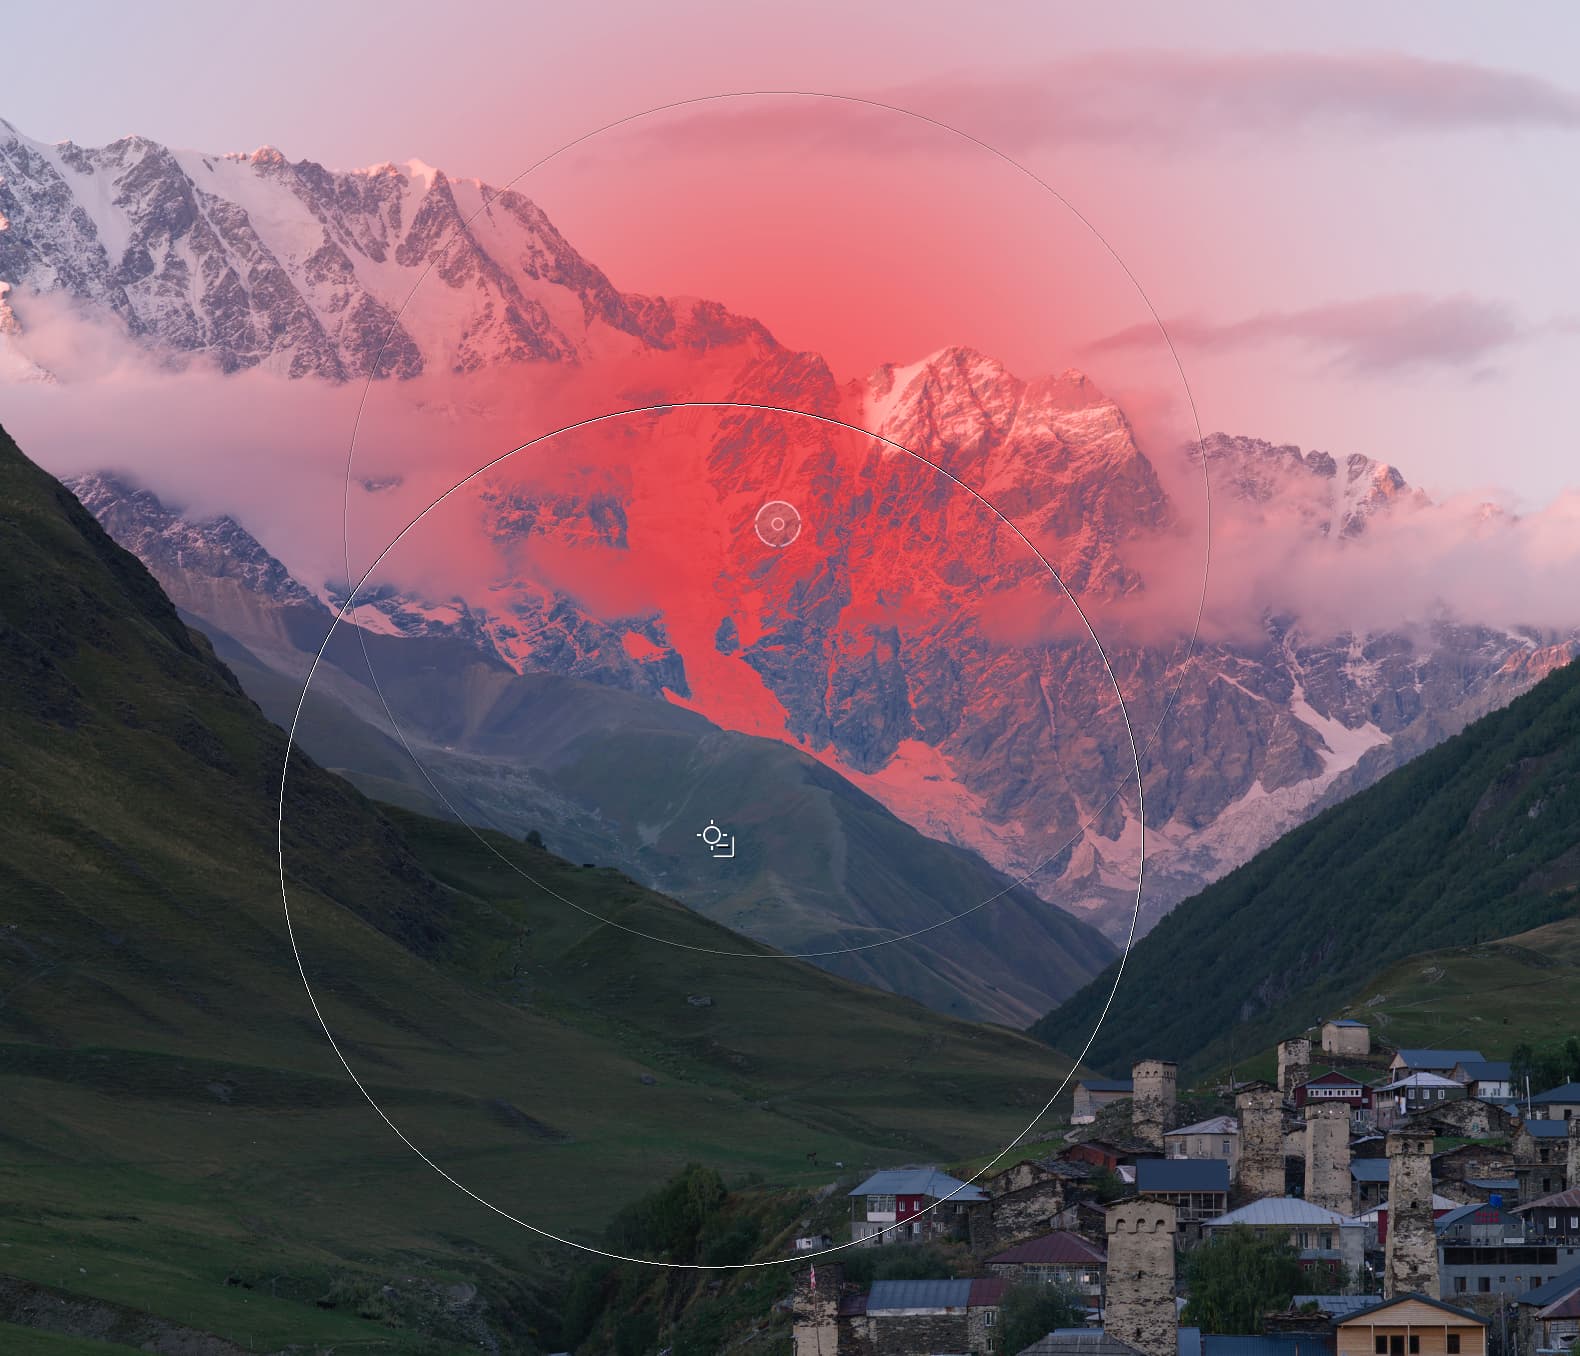
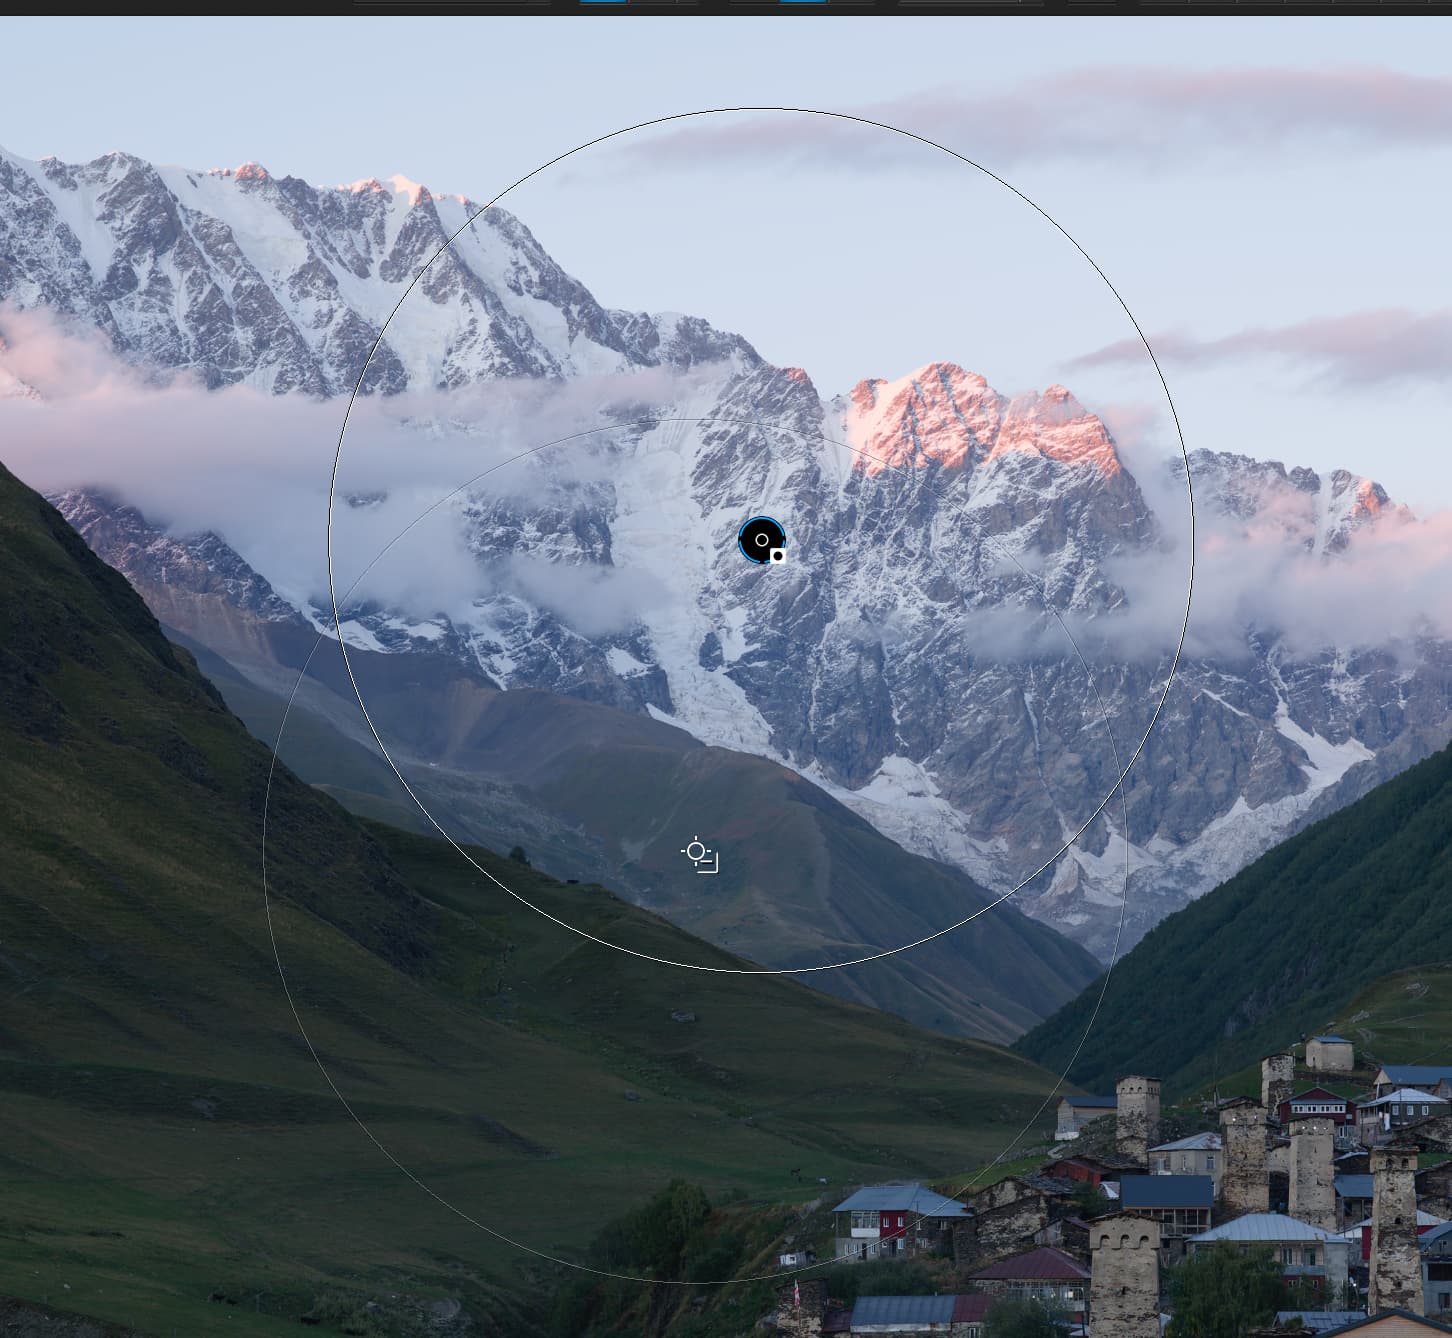
A "normal Control point was added, then a “negative” control point was added using the “Option-key”. A negative exposure adjustment was applied.
Then the Invert Shape action was applied. First once, then a second time. Note the changes to the gizmo symbols and effect on the local adjustment (exposure).
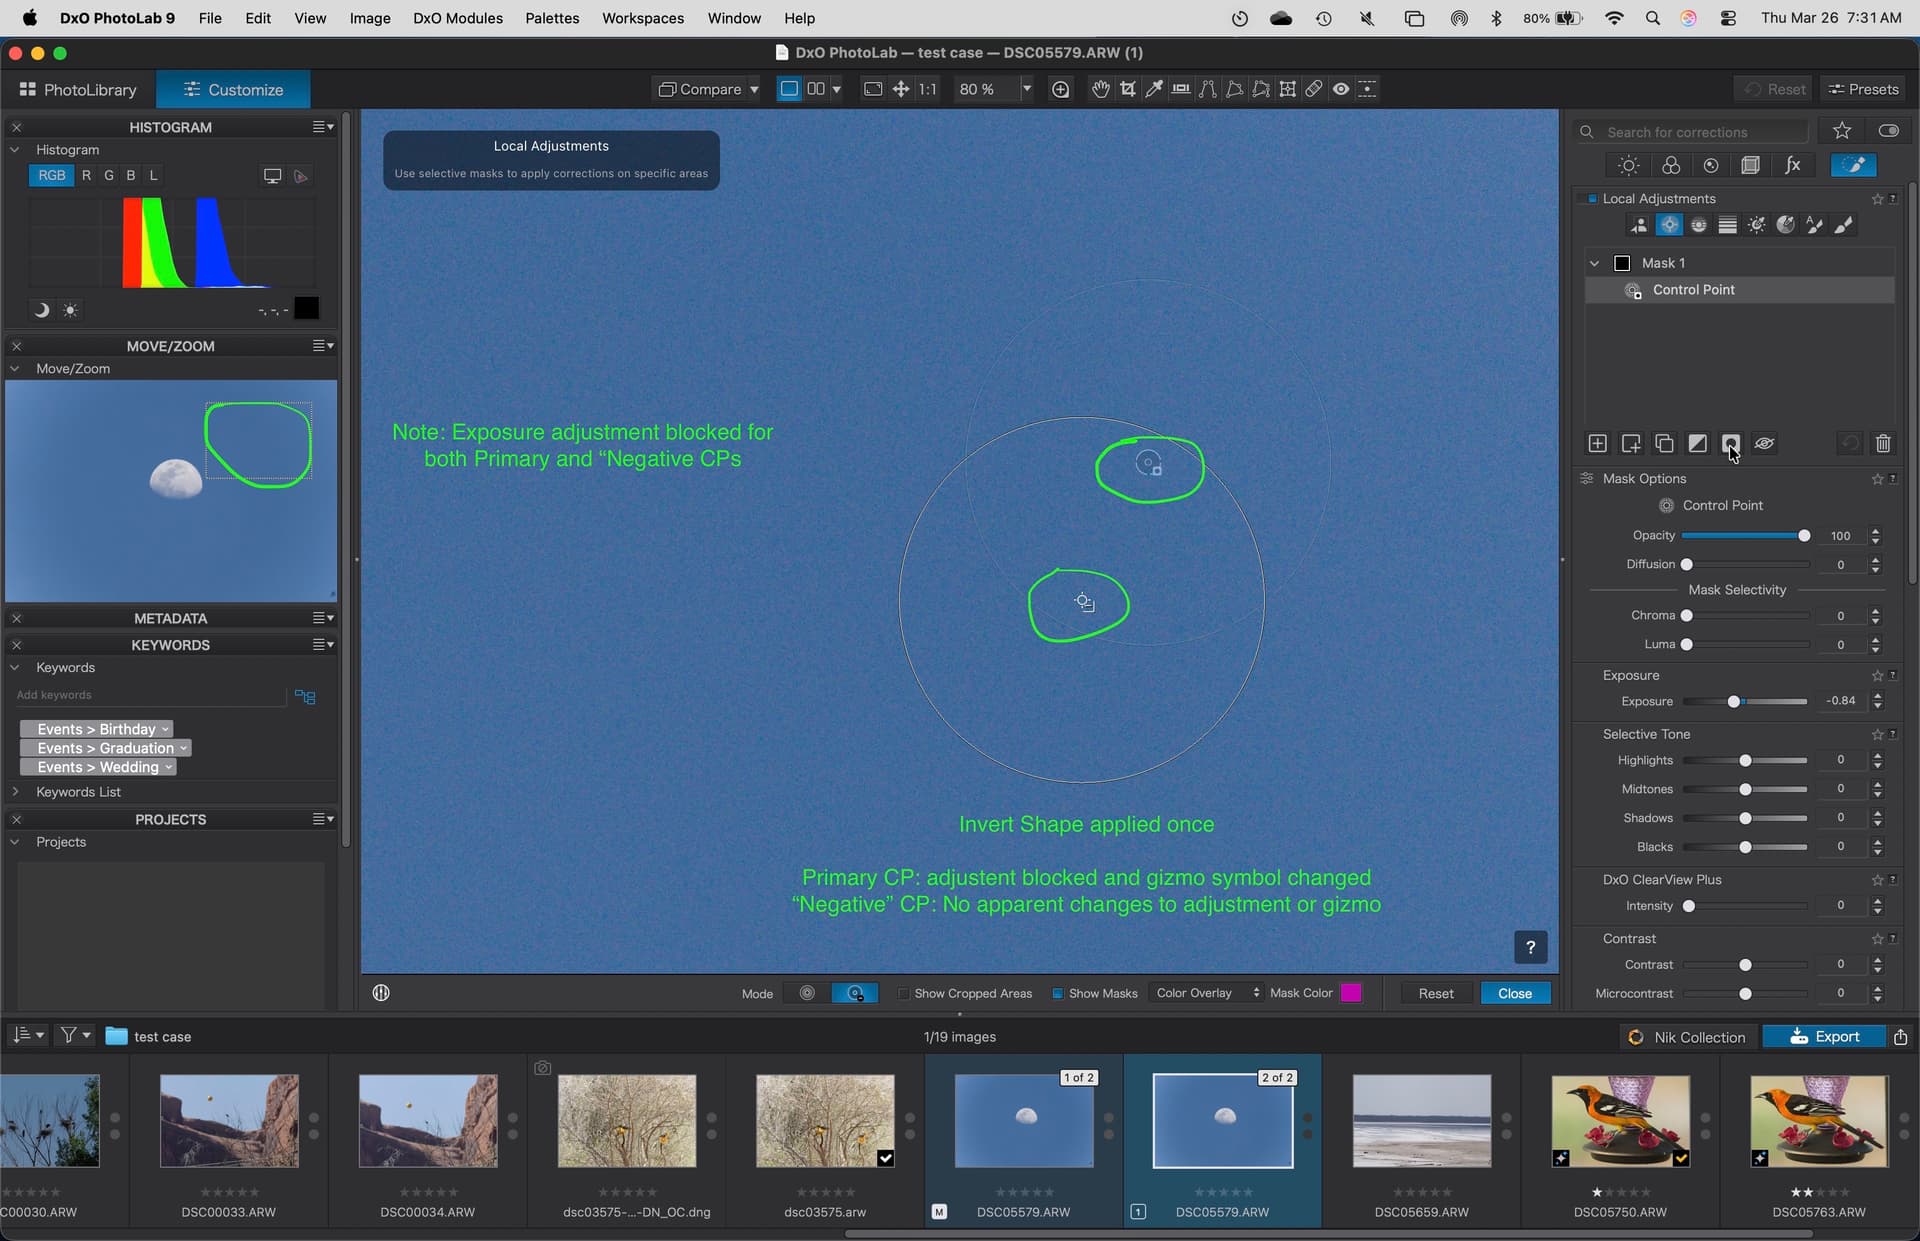
Here is the state after applying the Invert Shape once. The “negative” control point does not seem to be affected by the Invert Shape action. It does not “invert”. The initial blocking behavior and gizmo symbol are unchanged.
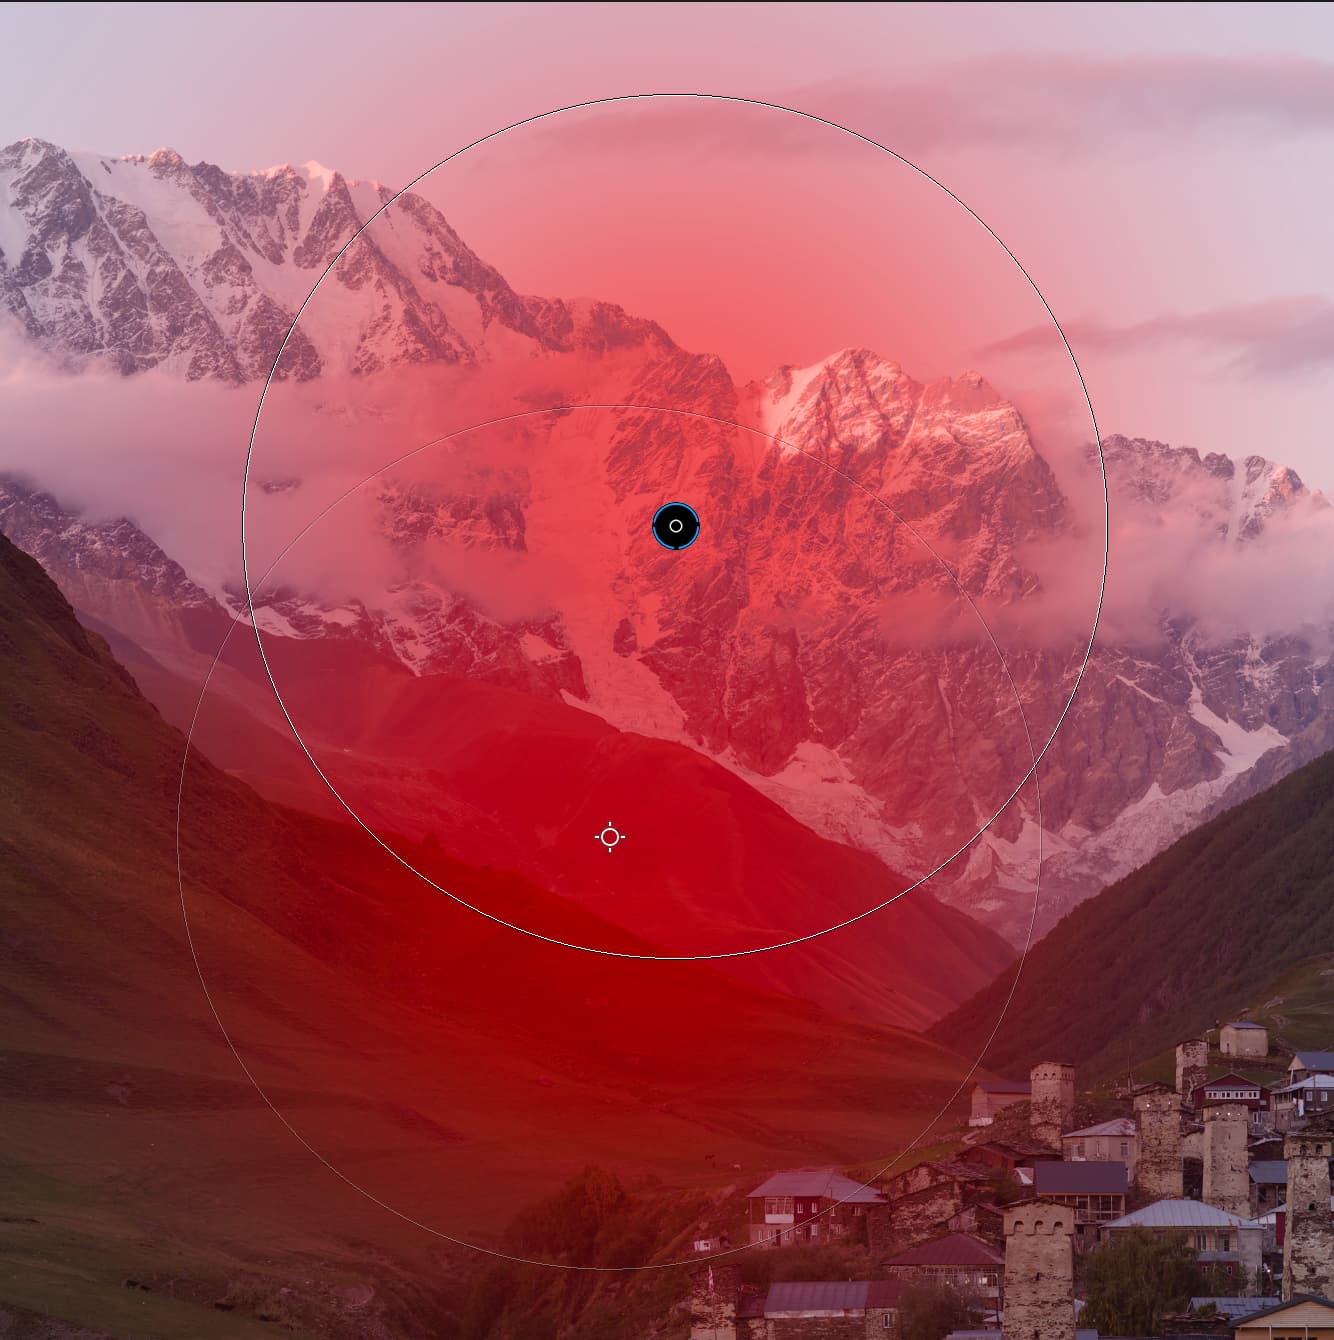
Here is the state after applying the Invert Shape action a second time.
Note: the “normal” control point returns to the initial state. The “negative” control point does not. It now behaves like a “normal” control point.
Brush tools (which also allow both “normal” and “negative” types) behave similarly. The “negative” brushes do not invert on the first use of Invert Shape, but then revert to normal brushes (not negative) when Invert Shape is applies a second time.
In contrast, using the Invert Mask action retains the difference between “normal” and “negative” control points or brushes.
Personally, I only use the Invert shape action when trying to a create clipping mask to isolate a lower submask. So find this very awkward to use.