The two use cases I have for combining masks are
a) affect only the background.
b) affect only part of the subject.
I can do a) by, for instance, having an AI subject submask ‘shape inverted’ as well as a linear gradient. The adjustments apply to the gradient except where the subject is.
But b) doesn’t work for me using the duplicate and double-invert process described.
If I invert shape only on the duplicate, then the adjustments disappear as described. If I also invert the duplicate, they come back. Then the third part (that I want to intersect with) just adds on to the mask.
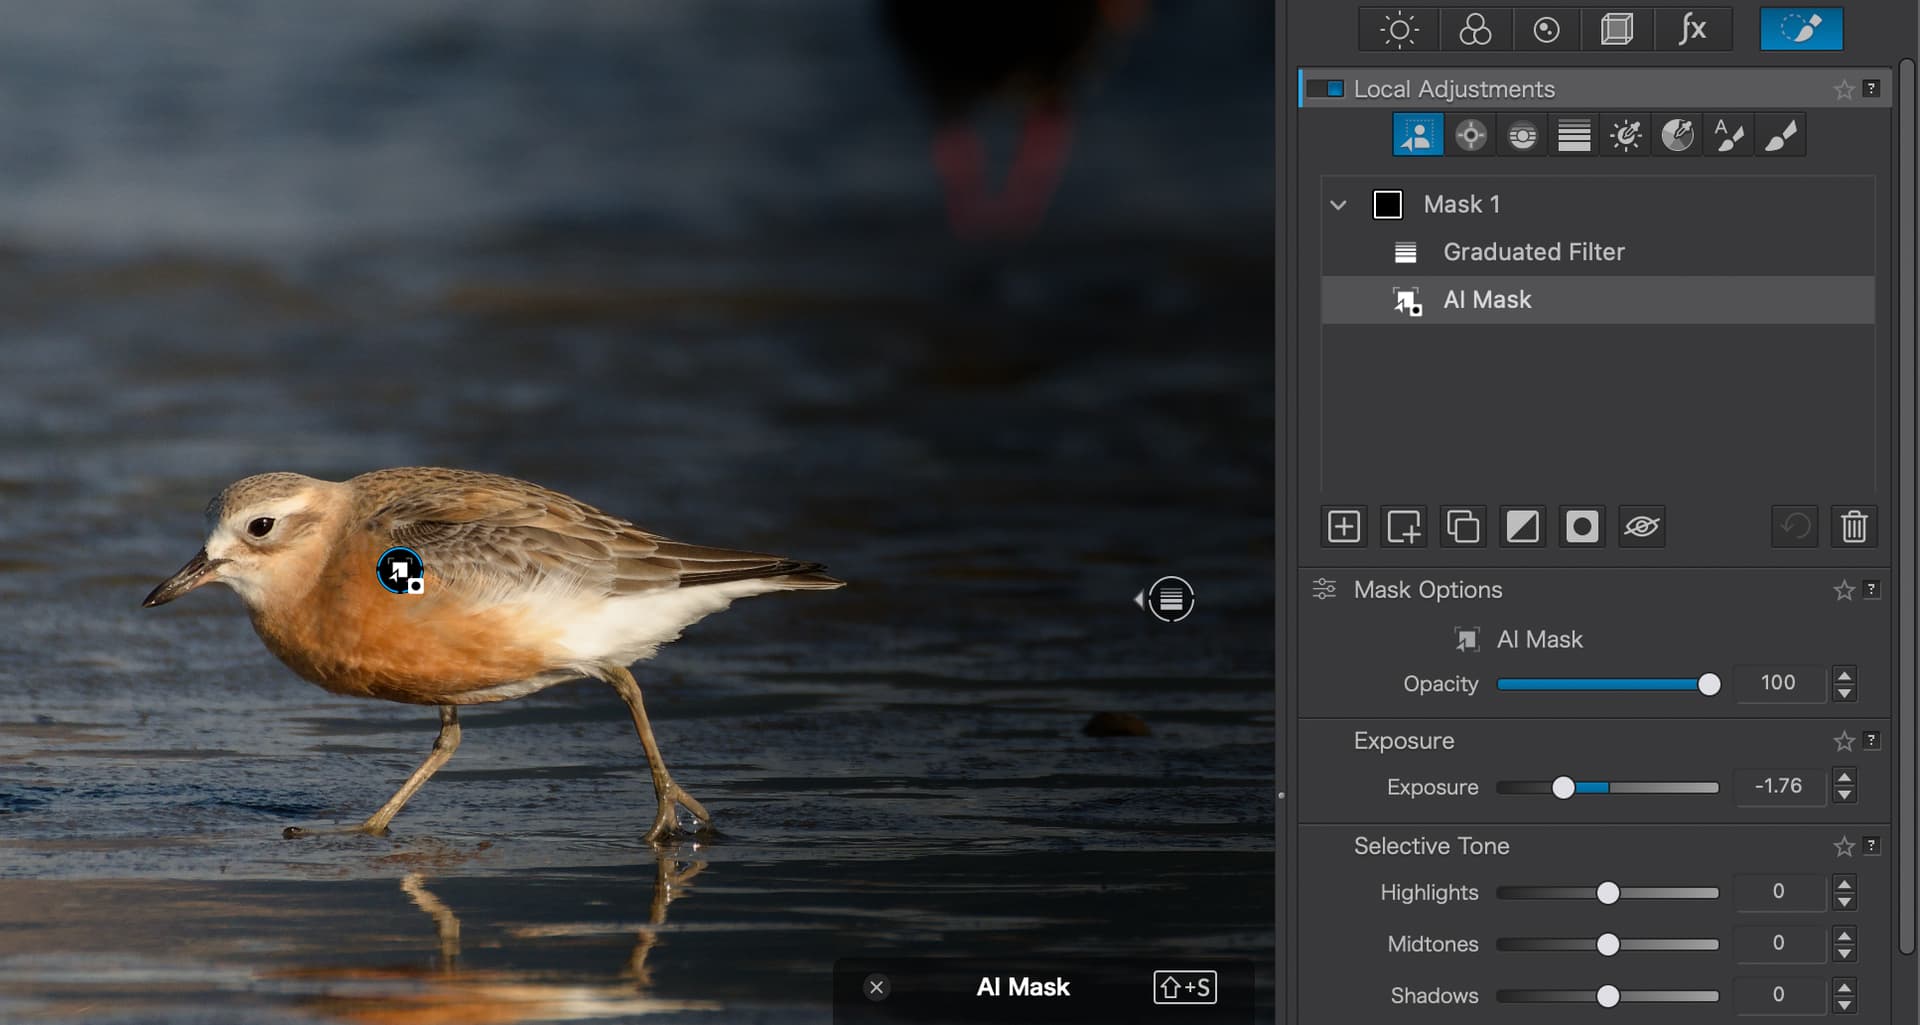
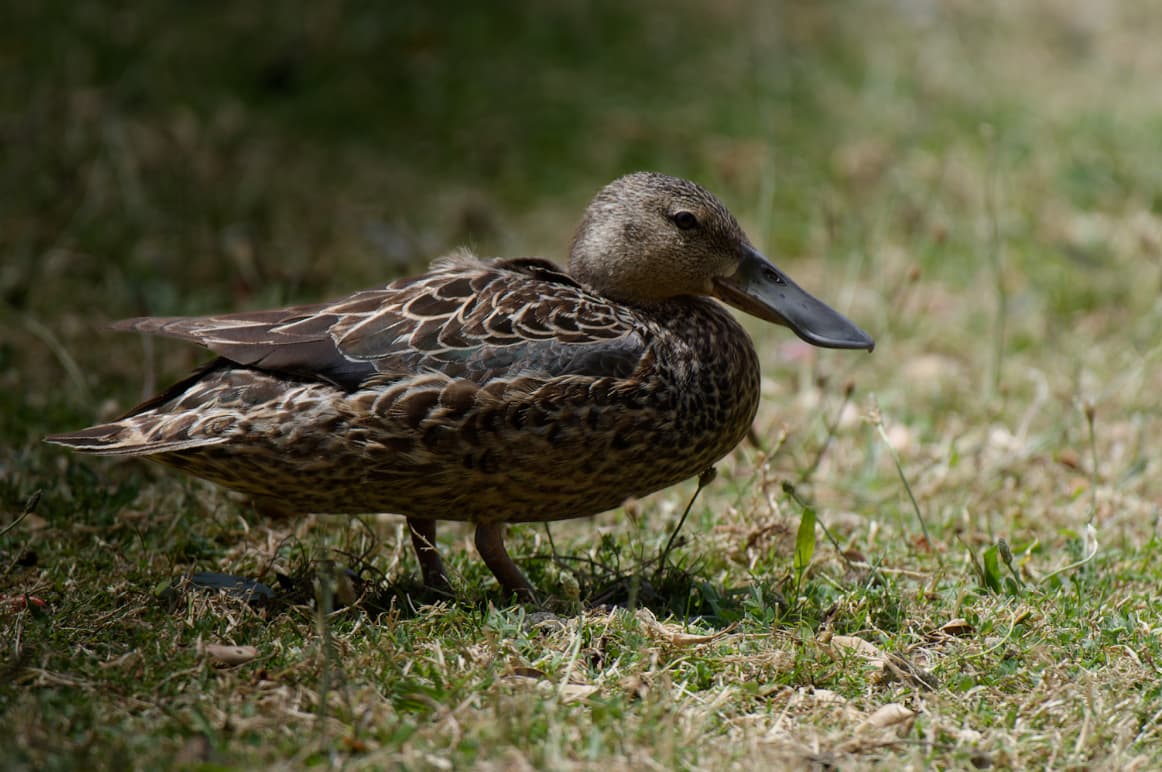
Here’s an example of a) where the bird is not affected by the dark gradient.
Not sure if this was your goal, but created a CL over the image, Then added a negative AI subject mask for the water (leaving the bird selected in the CL mask). Made the adjustment.
Still experimenting, but it seems that with subtasks you can add the negative adjustment to remove an area from a mask.
If I start with an AI mask of the subject, then add a gradient/brush that overlaps it, then
a) it is by default additive - both the subject and full gradient are affected.
b) shape inverting the gradient causes it to subtract from the subject mask.
c) also inverting it swaps the effect so the gradient is intersected with the subject.
Now I just need a true radial gradient (with shape control). A Control Point will suffice in some cases, or a large feathered brush in others.
I do think the whole interaction between sub-masks needs at least way better documentation (with many examples that are obvious), if not a rethink on the UI.
After getting stuck trying to recreate what I had already managed, I spent some time trying out many combinations until I hit upon this basic approach. Order matters.
Create the mask that you want to adjust.
Add a sub-mask for what you want to subtract from step 1.
Shape invert the subtractive shape mask.
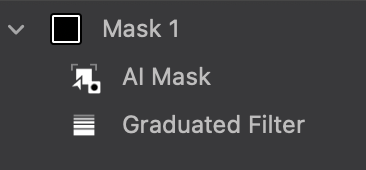
For instance, to apply a gradient only to the background, place your gradient, then select the subject and shape invert it. Now apply your edits to the main mask, or to the first sub-mask you created (the gradient).
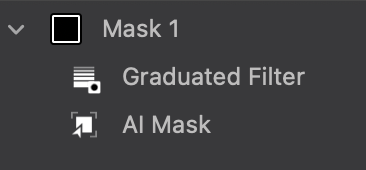
To apply the gradient only on the subject, the reverse order of sub-masks is used. Create the subject mask, then the gradient, and shape-invert the gradient.
I’ve been wishing for a true radial gradient (with shape control) since moving over from Lightroom to Photolab around… PL v5?
It’d allow for much faster creation of effective masks for all kinds of purposes.
I also agree it’d be nice to see a rethink on the way masks are implemented. I frankly don’t care if they lift heavily from the way Lightroom implements this; it works. Let us add and subtract from all masks, using any of the available masking tools.
Assuming AI masking works effectively in PL (right now it seems buggy) it should still be easy to (for example) create a gradient mask of the sky behind a subject, subtract the subject from it, and apply that mask. The steps and method to achieve this in Photolab are simply not as intuitive as Lightroom right now, and for no good reason.
Now that I’ve worked out the process, I don’t think it’s that bad. It’s almost exactly as you describe. The main difference from LR is that instead of saying “subtract this” you say “add this, make it negative”.
IDK, sometimes it works a bit janky if applied literally:
For example, I wanted to create a huge mask of a beach photo that would let me control the blues. It selected the sky very well, along with a beach umbrella and part of someone’s swimming shorts.
Creating a gradient that selects everything that isn’t sky then inverting it to “deselect it” doesn’t work as it spoils the hue mask used above.
However, using a brush and then inverting that does.
Whereas I believe if you created a hue mask in Lightroom then a “subtract this gradient” from the above mask" rule/gradient for it, it would just remove anything previously selected within that gradient, while leaving the hue mask alone.
I’ve only worked on the two specific use cases I need often. Even those could use improvement, but I think it is more of a case of knowing the right steps than not being able to do it.