And like you @Joanna I don’t find any way to launch Time Wrap within PL9, but only within FP8.
I believe John was actually referring to the Time Machine feature, which has been changed slightly in FilmPack 8 and from within PhotoLab 9, and not to the Time Warp feature which has completely different functionality and so far is MIA in PhotoLab.
To my eyes Time Warp is the biggest single update to FilmPack but only appears to be available in the stand-alone version, While I don’t think I’ll miss Time Warp in PhotoLab, there really doesn’t seem to be much else in FilmPack 8 that would entice PhotoLab users to upgrade from FilmPack 7.
Mark
1 Like
It is bad if Photolab and Filmpack would diverge and things start to get exclusive for the standalone which is basically a plug in to the Adobe-world I guess and having to use TIFF as an intermediate format like it have used to be even with NIC Collection is nothing I like at all.
No sharpening seems to work with Negative RGB just contrast and Clear View.
With PhotoLab 9 + FilmPack:
It all depends on the source of your negative scan.
- If it’s a TIFF from a scanner, the unsharp mask is available and works normally.
- If it’s a raw file photographed directly with a macro lens, and the camera and lens are recognized by DxO, automatic lens correction is available (distortion, sharpening, etc.). Once the negative is inverted, these corrections are no longer available (they have already been applied). However, you can always enable the unsharp mask for additional adjustments.
(at least on Windows 11)
Thank gerato I will try it on a JPEG too
I’m using a licensed copy of PL9. I am fairly sure I had my licensed copy of FP7 activated within PL9. Now… it’s giving me the trial FP8 features with no further action on my part.
I’m not sure that makes sense. If I can turn off the inversion and adjust the sharpening and then turn it back on, then why can’t I just adjust it with inversion enabled? I can think of no other pair of controls that have this behaviour. Same goes for tint.
A lack of lens sharpness and tint is characteristic of editing an RGB image which I am not doing.
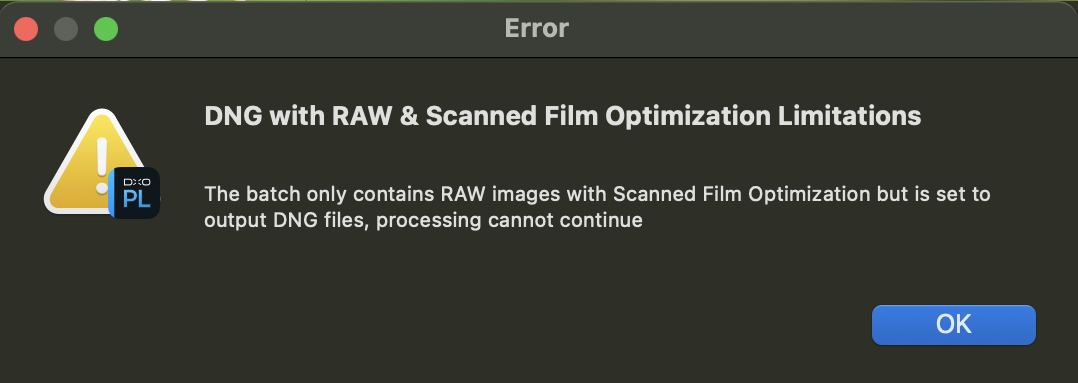
Except for the latter, I’m not seeing any advantage compared to just applying a curve preset to invert the image and get colours in the right ballpark, exporting to DNG, and then editing the DNG. No incompatible tools with that method. (Also see that Working Color Space is forced to Wide Gamut with Scanned File Optimization.)
Convenient definitely, even though the supplied presets don’t give my negatives any joy, but that seems to be about it.
So you’re exporting to DNG to get around the reversed slider issue?
I get if you don’t want to spend the money on FilmPack when you have a workaround. I hate workarounds. I’d rather spend the money.
Also, while none of the presets may work for your negatives, once you’ve worked out a manual curve set for one (at least of a single film/film stock) you can just copy and paste that across the others.
I also tend to run scans through Topaz Photo to clean up the ‘noise’ (film grain). This already generates another file. If I were using the extra DNG to use the standard curve method, that’d be three files per photo.
I was putting up with this problem when I was using Lightroom for editing my bird photos (PL → LR for editing → PL for watermark and final export) but when PL9 arrived, I jumped at the chance of skipping an intermediate file I no longer needed.
I know some people just do the work, export and never revisit the photo again. I do come back to them. Often. Having tons of files and tons of applications involved just gets messy.
I don’t really see what the problem is… (or maybe I didn’t understand your point).
The question concerns the only case where lens sharpening is possible: a negative film photographed (scanned) by a camera + lens (macro) with a DxO module.
So we have a raw file - for which we can correct distortion, vignetting, and apply lens sharpening to obtain the best possible image quality. Since, as a general rule, the shooting method is optimized, there’s absolutely no point in constantly changing these settings: once you’ve adjusted all the digital shooting parameters, you shouldn’t touch them again.
After inversion, you can adjust - if you wish - the aspects related to film shooting: possible distortion, vignetting, sharpness, etc., but obviously this can only be done with manual settings. And of course, it’s possible to make different adjustments to each image.
I’m saying it is not possible to make “Lens Sharpness Optimisation” adjustments on inverted images. Yes, you can turn off inversion and move that slider, but when you turn inversion back on the slider is disabled. The only reason I can see for this is because it has no effect on an inverted image.
This is the same approach as disabling the non-Standard noise reduction algorithms when opening an RGB image. It’s not a function PhotoLab can do on RGB images.
So I infer that Lens Sharpness Optimisation (and only this) cannot be applied on an inverted image at all.
Another limitation of inverted images. There is obviously some smoke and mirrors being employed to do this.
Actually, I don’t. The reverse sliders don’t bother me much, so I’m fine without an intermediate file, but I’ve mostly used Affinity Photo for digitized negatives and the new Scanned Film Optimization probably won’t change that.
If it was more helpful in correcting colour then I’d see more value, but if it’s only an additional set of curves applied before anything else then it’s not a big deal for me, especially when Scanned File Optimization looks to be adding new limitations of its own.
1 Like
I actually find it easier to convert manually than with the new tool - requiring an FP license. Manual conversion is relatively easy to do with modern film exposed properly, but Negative Lab Pro does its job more quickly with bulk conversions and older, difficult negatives.
4 Likes
Agree, I have just decided to uninstall FP 8 and revert to 7 because I feel it won´t change my day.
I just started a demo of PL9 with FP8. While it’ll take me a while to evaluate PL9, I’ve quickly determined that I’m not one of the people who would benefit from upgrading FP7 to FP8. I like a few of the new film emulations, but that’s about it. Despite two years of development since FP7, none of the long-standing problems with frames (large minimum size and incorrect positioning outside the image area) has been improved. Most other effects are also the same, including known bugs with filters and the wide gamut working color space. Textures and light leaks might be better (I know grain is), but I don’t use these. And sadly, the standalone app lacks many of the benefits introduced in PhotoLab 8 last year - particularly, mousing over adjustment settings to see the rendering preview. The interface is rather terrible compared with PhotoLab IMO. And while Time Warp and Ageify aren’t integrated into PhotoLab, these are just slick demos of FilmPack features that are already integrated.
EDIT: I just played with adding grain in PL9/FP8: while it’s often interesting, some of the film emulations are quite terrible looking. Most especially Lomography Color Negative 400: whatever format or size I choose for the grain pattern, it shows up as distinct squares of the given size with grain in each one. The new Harman Phoenix film grain and some of the B&W grains are also bad. Is it supposed to look like that??
2 Likes
I just checked, and I don’t see any problems with these film renderings at all. Neither in PhotoLab nor in FilmPack standalone.
Perhaps a screenshot would help clarify.
In the ‘grain’ context:
Agree. That one looks horrible indeed, shame. Personally, I use only B&W grain and that works nicely in many cases, although I don’t like e.g. ‘Foma Fomapan 200 Creative’ (ok, it’s “creative”). I’ll stay with some Kodak or Ilford B&W grain.
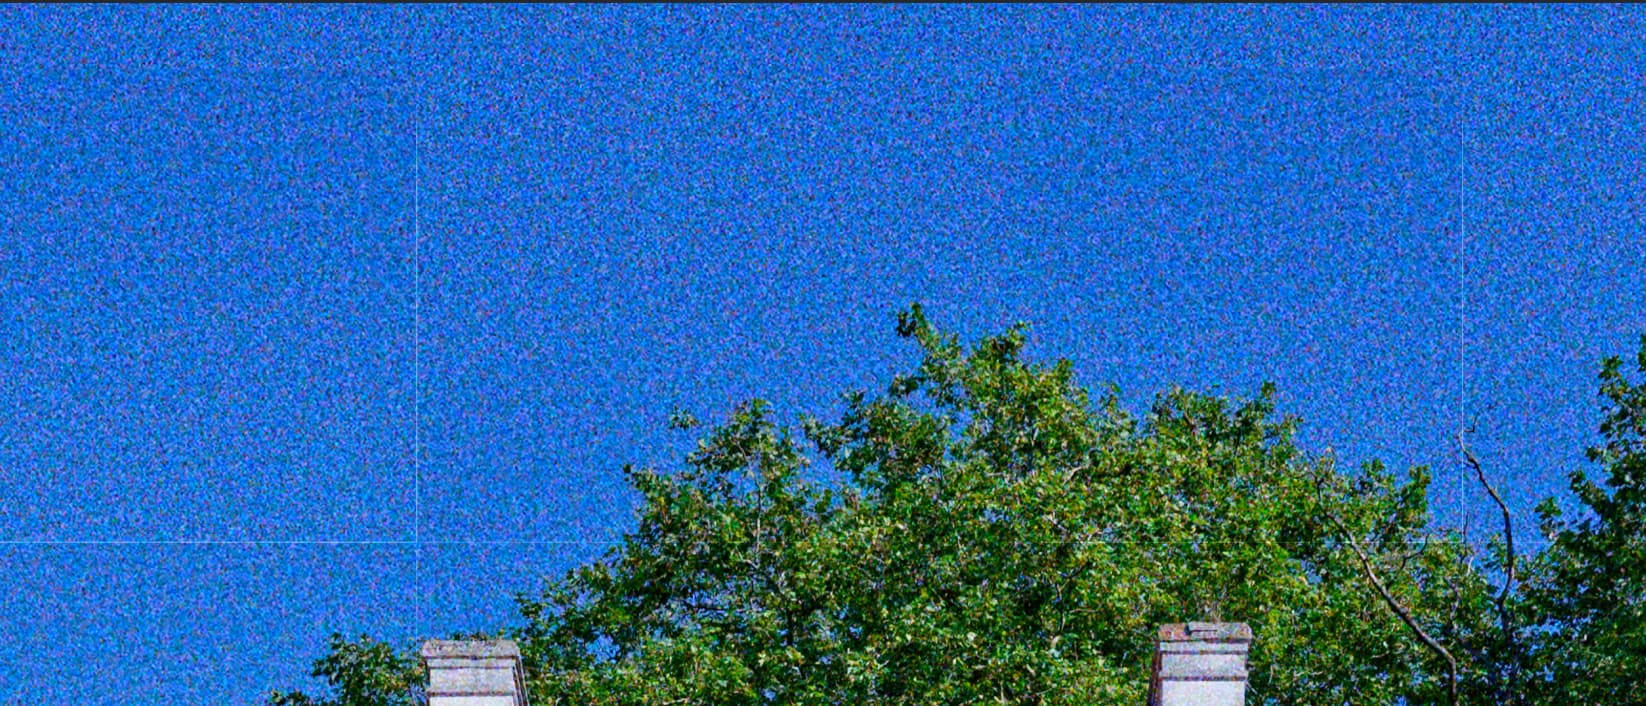
Sample for Lomography Color Negative 400 grain, 70% screenshot, Intensity=200, Size=10 (overdone to make the problem more visible):
2 Likes
Thank you - yes, that’s the problem I was describing. Doesn’t live up to the marketing hype, does it? I believe it’s an old problem. When I get around to it, I’ll do more testing and submit a bug report. (However, if after submitting a report with steps to reproduce the problem, DxO makes its usual demands for superfluous data like videos and multiple retests, I will need to tell DxO to carry on without me.)
1 Like
Yes, indeed, there’s a bug with this rendering… except it’s a little more complicated than I thought.
I missed it with PhotoLab because I didn’t have a sky in my test image.
I did find this network of white lines with the Lomography Color Negative 400 rendering in PL9+FP.
But with the same setting in FilmPack 8 standalone, there’s no problem!
I tested the 15 new FP8 renders, and it’s the only one that has this problem in PhotoLab, which is not just a display problem since it is found on a jpeg export…
1 Like
No it isn’t - it’s just the most obviously problematic one. As I mentioned, try Harman Phoenix as well. There are others, but you’ll have to look very carefully to see the cell boundaries. Repeating patterns tend to be more obvious and are probably by design - but are still unpleasant.
1 Like