I am on the distribution list of a wildlife photographer. In his recent posting, he claims:
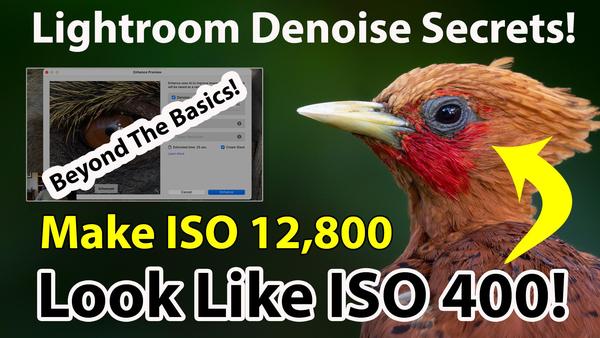
Make ISO 12,800 Look Like ISO 400!
A Master Class On Lightroom Denoise!
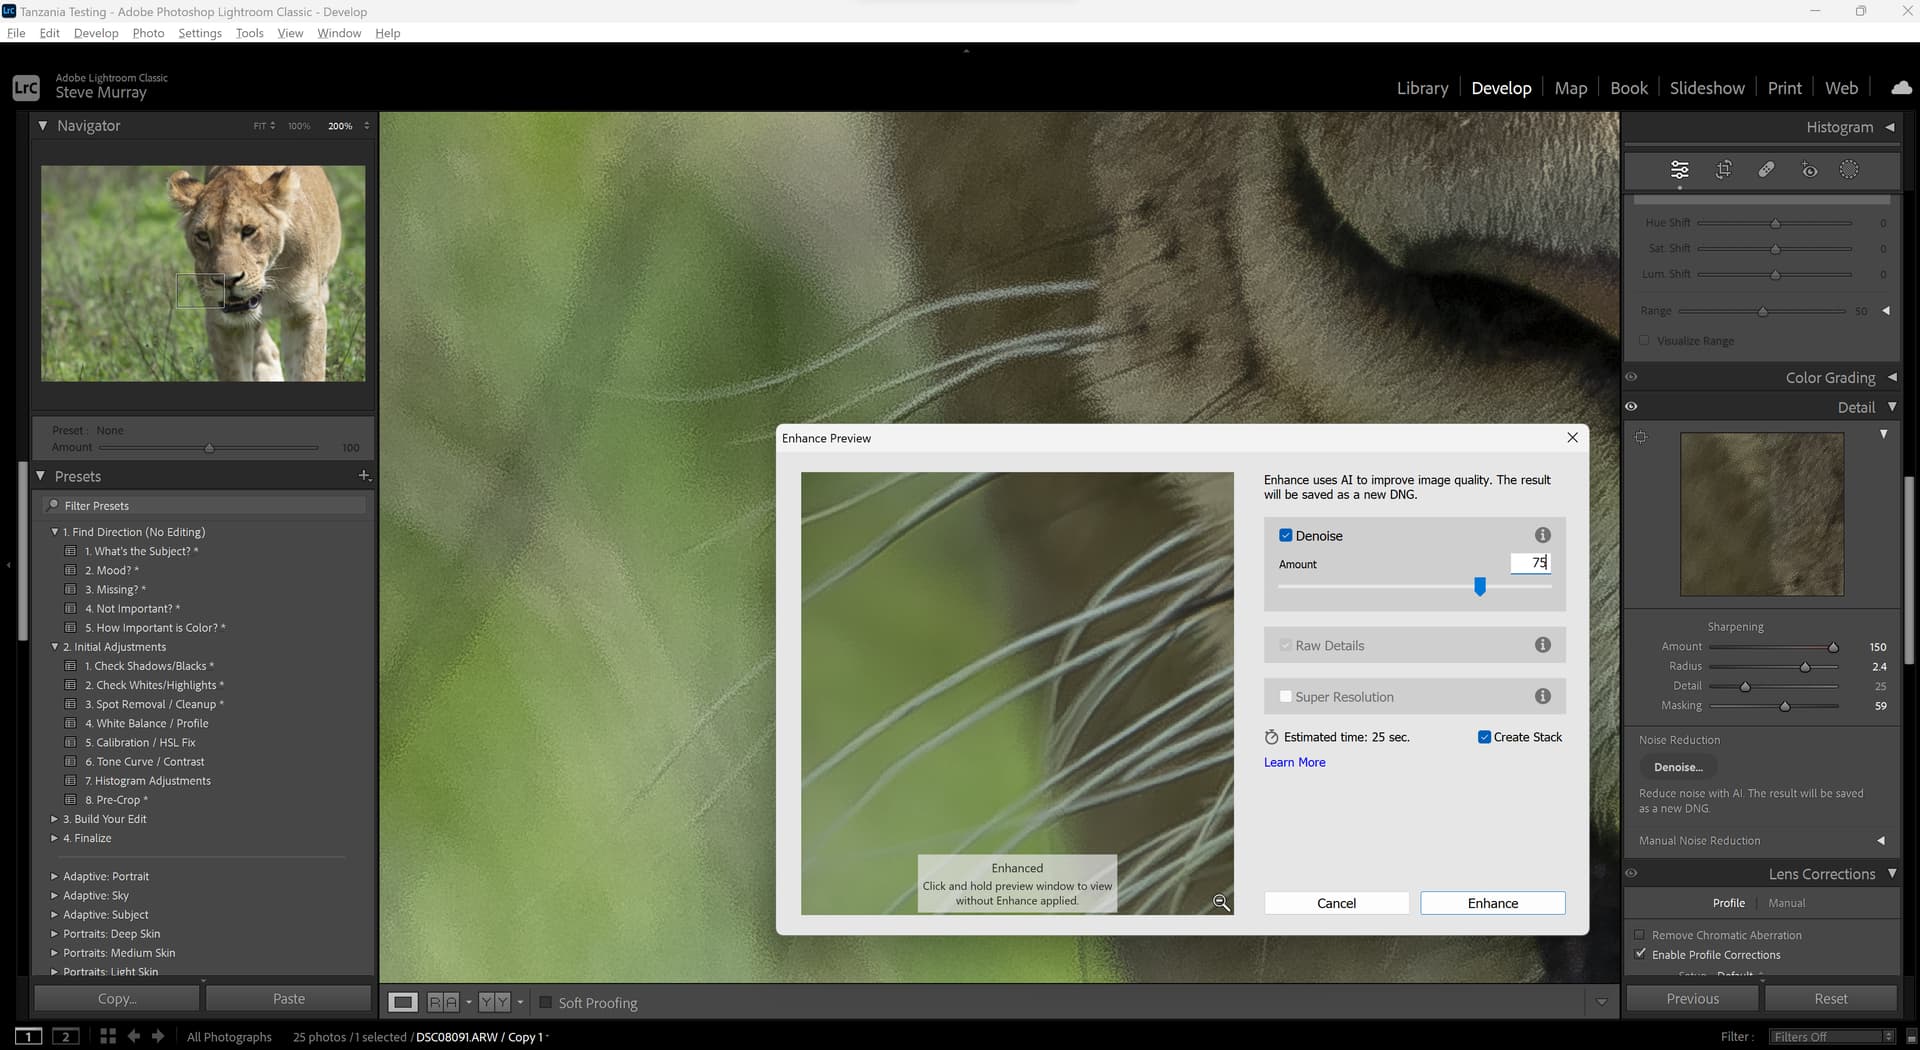
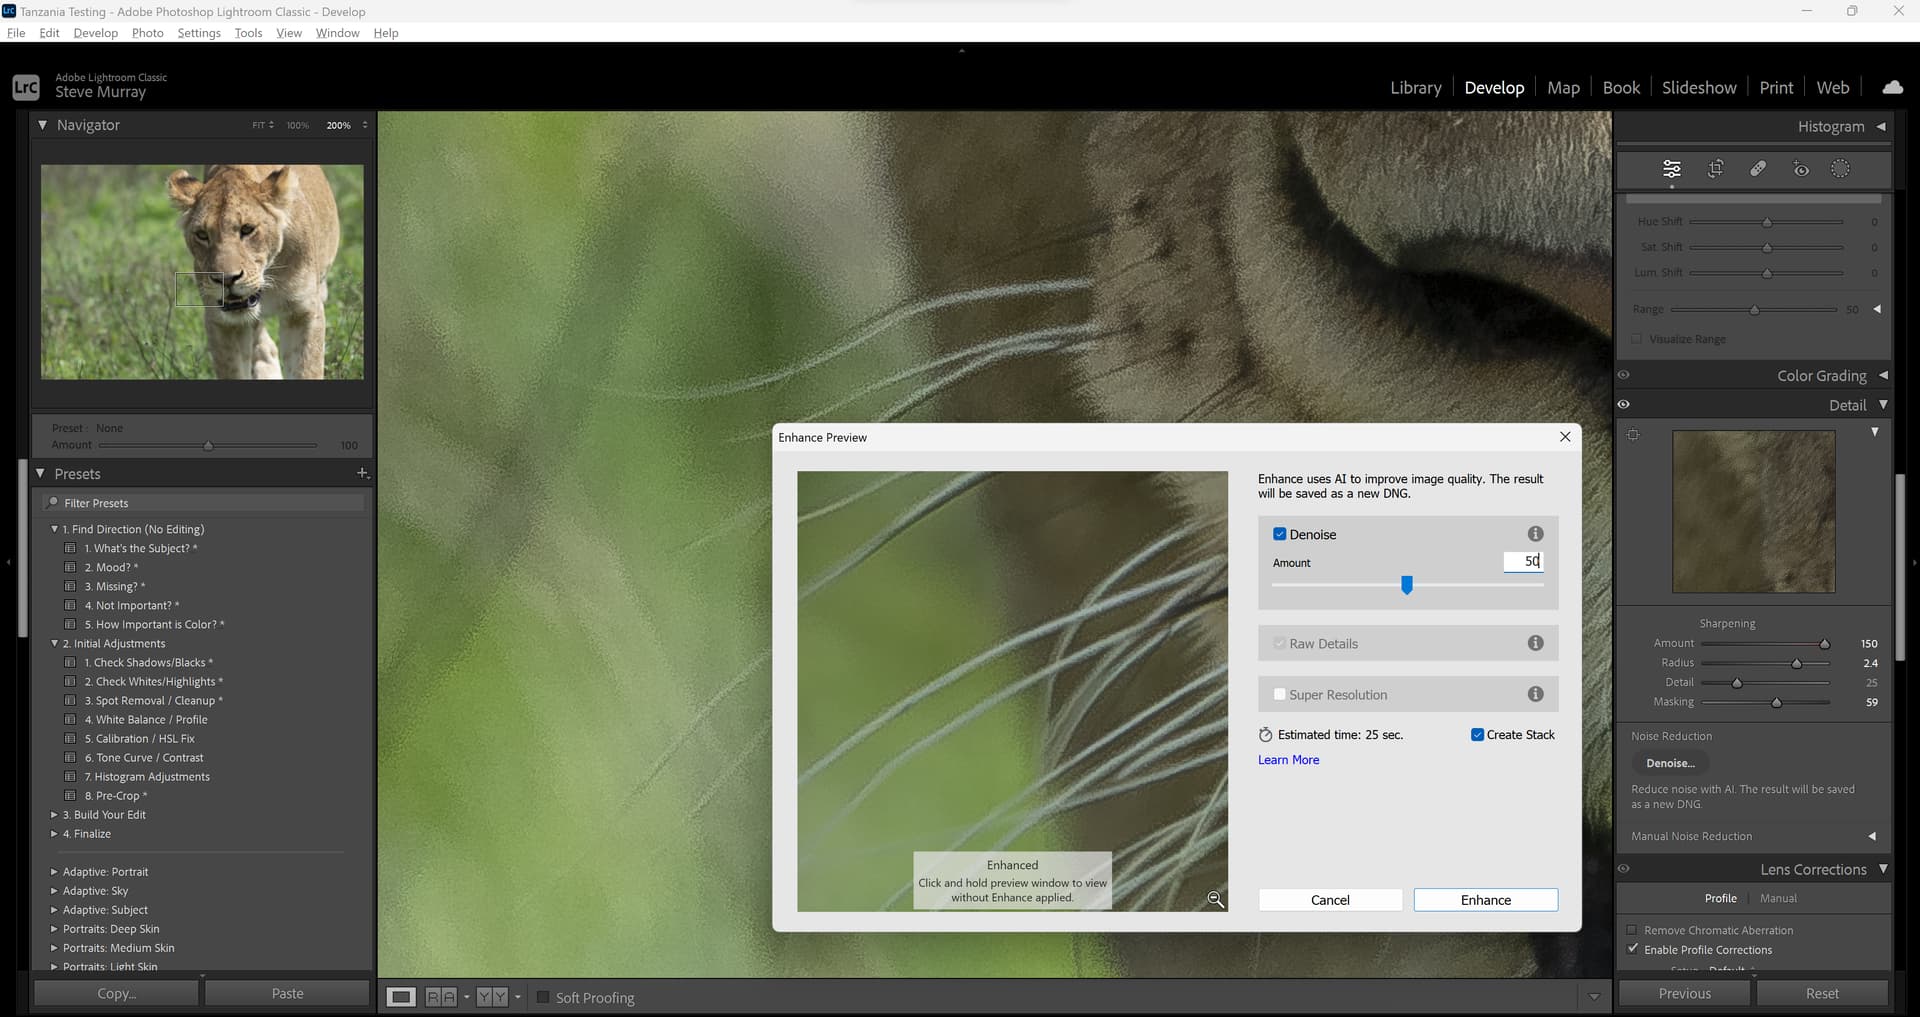
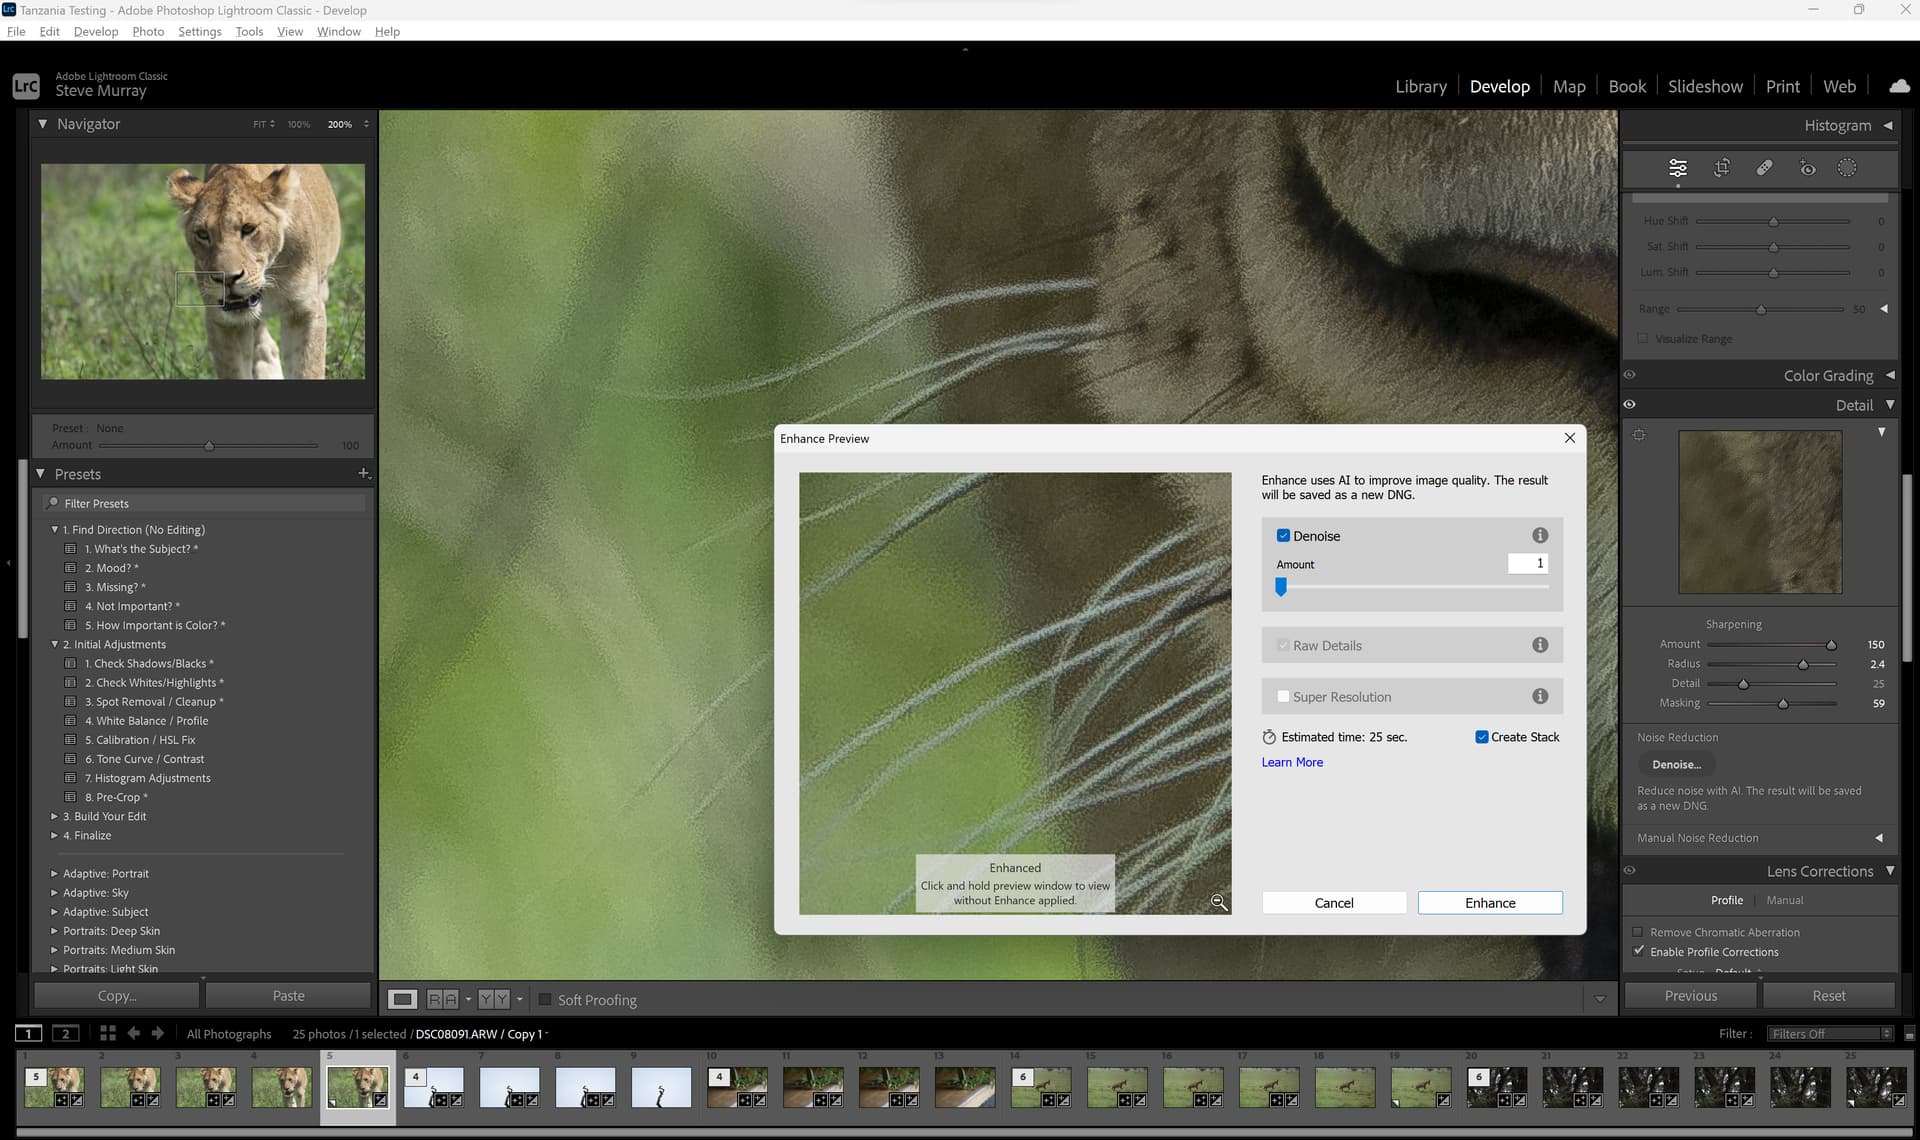
This video is a master class on Lightroom Denoise! If you want to see my techniques for making ISO 12,800 look like ISO 400, you’re gonna love this! It’s the BEST way to fix a noisy photo!
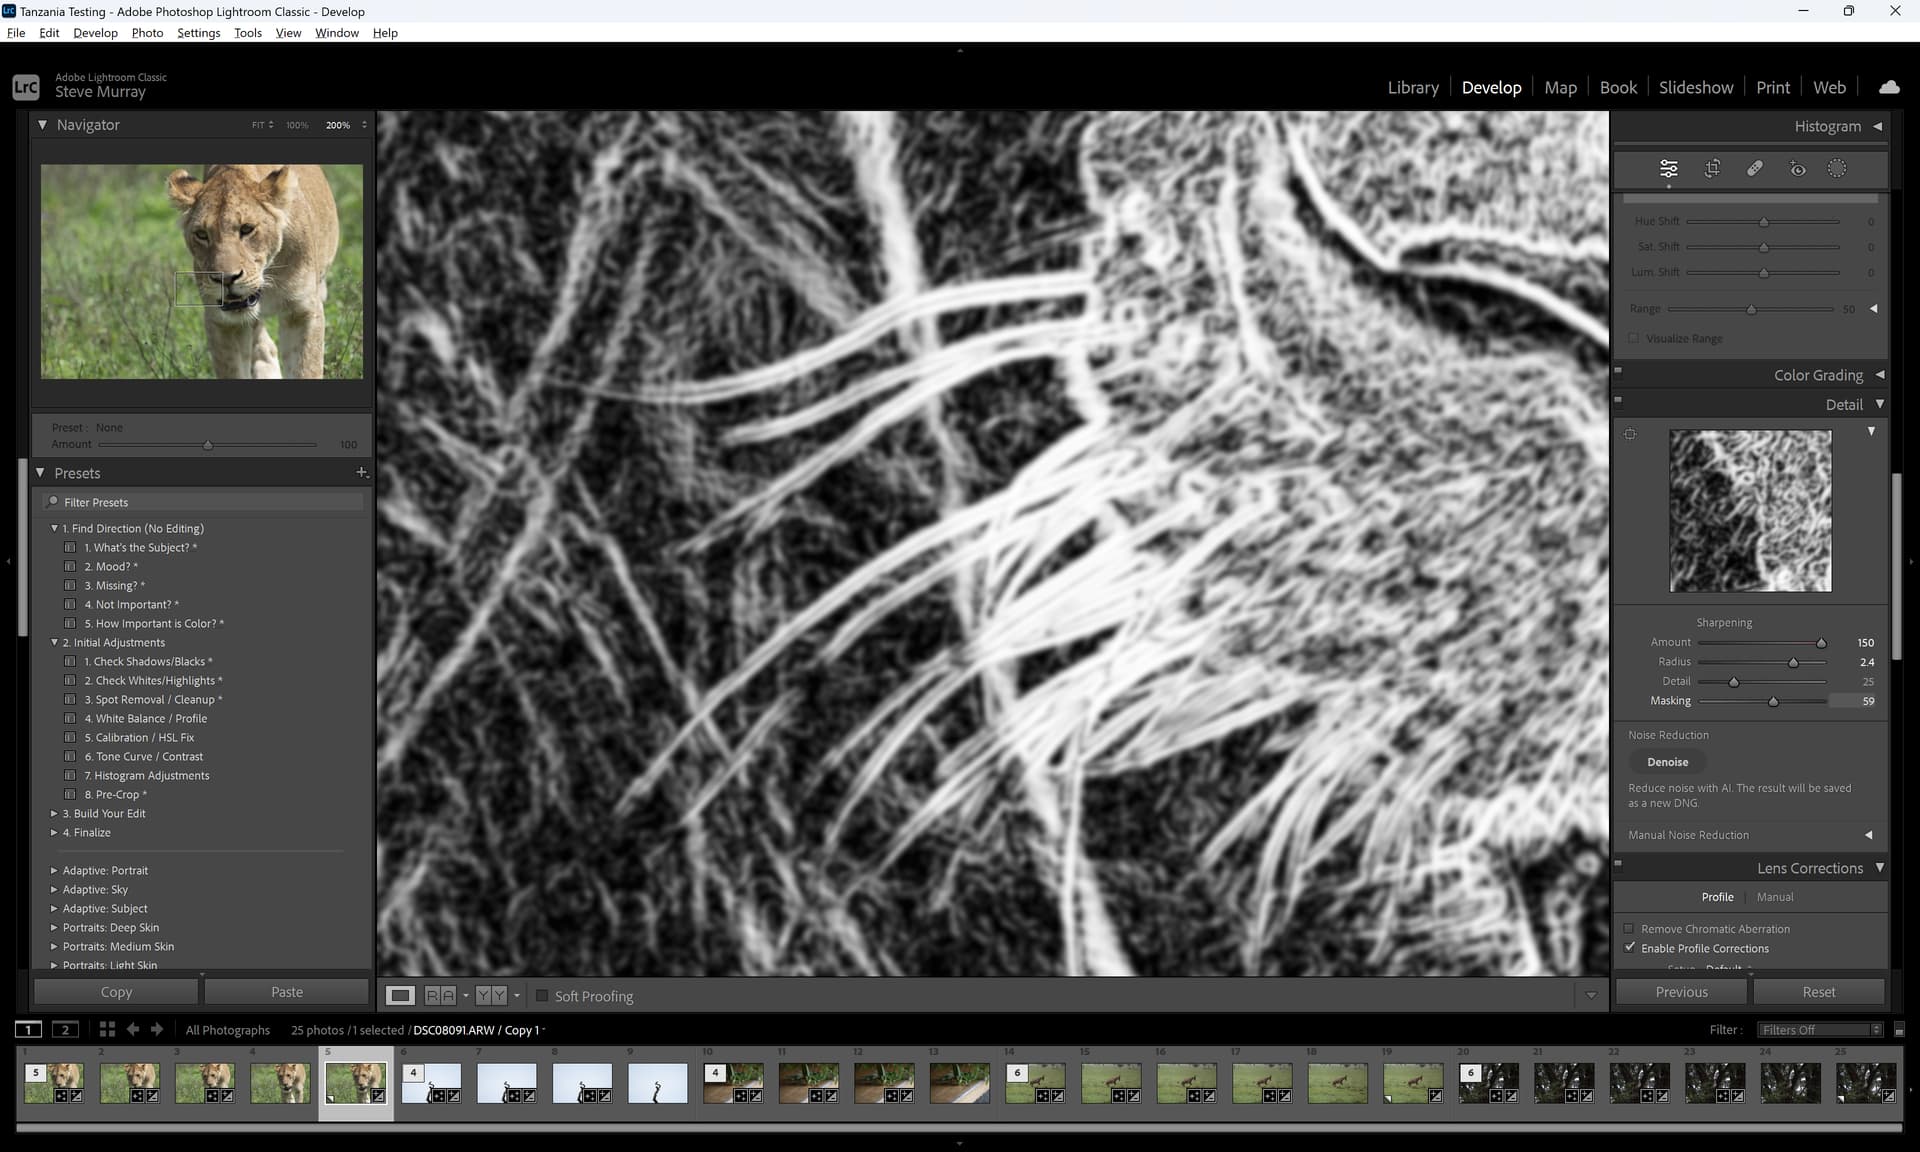
In fact, I think the advanced techniques at the end of the video allow you to make your images look better than any third-party app - just using Lightroom!
In this video, we’ll take a really deep dive, and I’ll show you everything you need to know to get the most from Lightroom Denoise. We’ll talk about the kinds of images that work best, how the Donoise tool works, and some advanced techniques beyond just the simple Denoise dialog.
In fact, in my experience, the advanced techniques featured towards the end of this video preserve detail better than any third-party software I’ve tried while giving you the best possible noise reduction.
It’s the best 45 minutes you’ll spend on post processing!
the above is present on youtube:
I do not have a current Adobe suite rental license; because of the rental requirement to stay current, I no longer use Adobe. However, the claim above is very strong and I cannot evaluate it. If anyone on this list is proficient with PL7 Elite and has a current Adobe license, it might be useful to compare the Lightroom “techniques” in the video to what PL7 Elite can produce. If indeed the claims are correct, and one needs to use “high” ISO exposures, then this might be a reason to rent the Adobe suite. My suspicion is that PL7 Elite does as well or better than the techniques in the video.