DXO you have a great opportunity here to make your masking industry leading. The new AI masks are great but don’t always get it right often leaving small areas requiring touch ups depending on the complexity of the subject.
To fix up the AI masks you should be able to use a robust Auto Brush Masking Tool. The current Auto Brush Masking Tool has five issues from my point of view…
You can’t change the sensitivity of the selection
You can’t change whether it selects based on colour or brightness difference or both
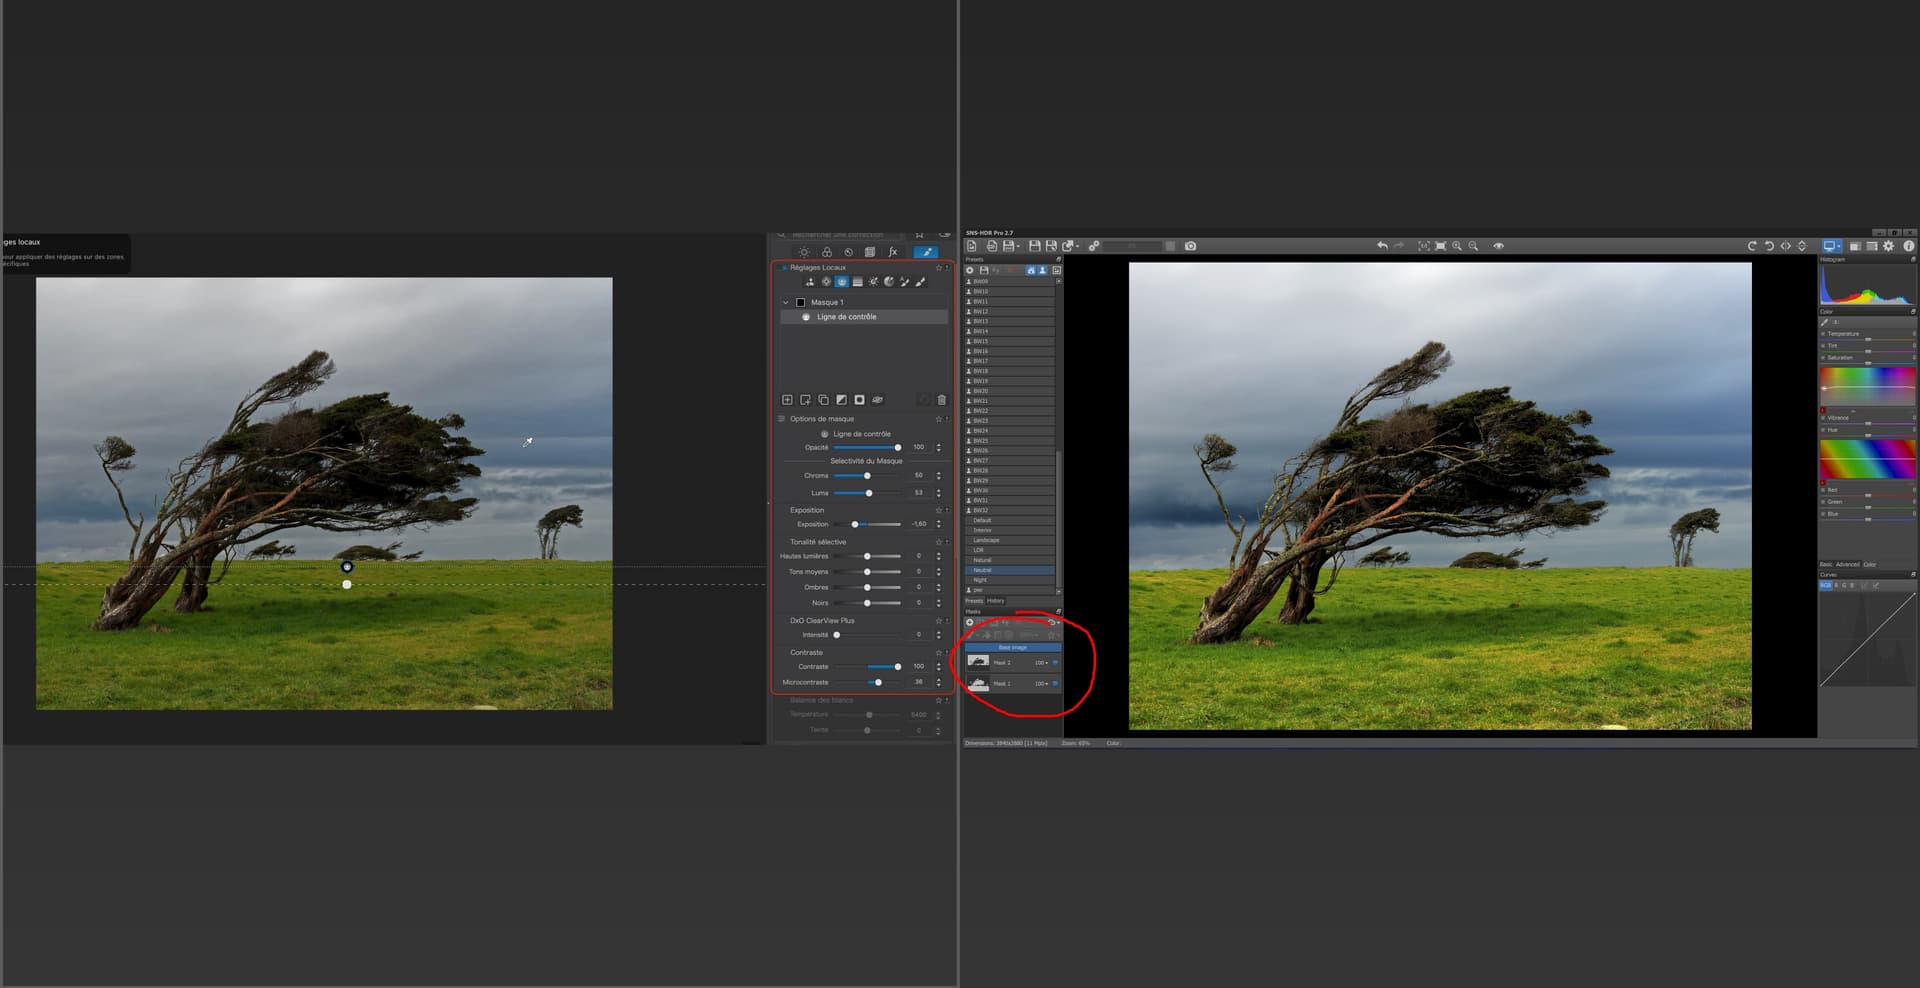
You can’t change whether the sample point is when you first click with your mouse or continually updates. The current method is the later which when dealing with fine trees for example you can’t always have the tone you want to Mask under the cursor but can easily select it at the start of your masking by being the first point you click your mouse on. Check out SNS-HDR’s masking it uses that and is very useful.
Using the alt key or selecting the negative masking option only gives you a blunt eraser option and not an inverse auto masking function meaning it is very easy to remove parts of the Mask you want to keep. Again refer SNS-HDR which does this very well using the right click option.
If DXO could add those to the Auto Brush Masking Tool it would be perfect.
Stenis
(Sten-Åke Sändh (Sony, Win 11, PL 6, CO 16, PM Plus 6, XnView))
2
Try the Local Adjustment Brush not the Auto Bruch to refine a mask.
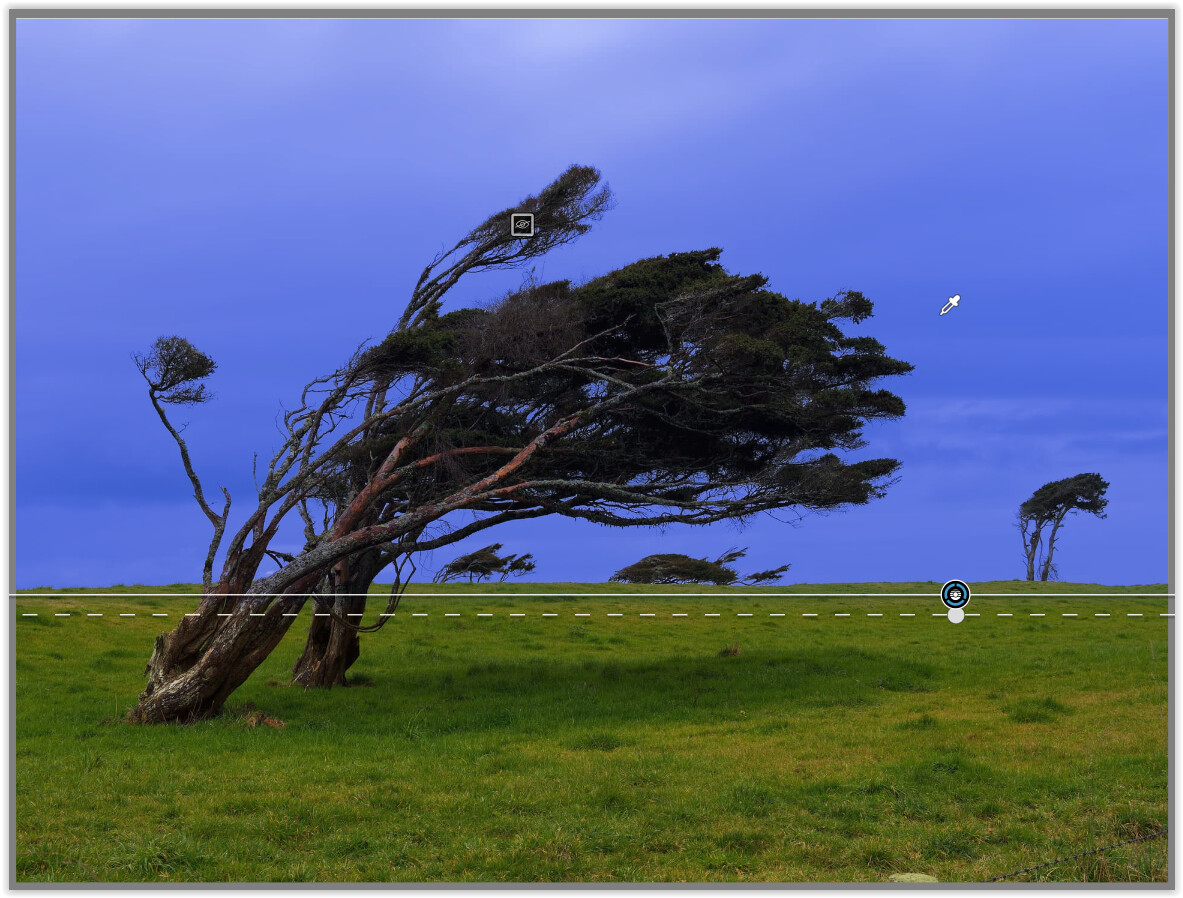
When you have an image like this it is impossible to clean up a mask using the Local Adjustment Brush it’s just way too finickity. If an Auto Brush could do those things I mentioned an image like this could be masked up neatly in seconds. Using SNS-HDR’s masking brush I can darken just the skies also darkening the sky showing between the the branches in around a minute. The problem with that software is the tolerance range is bit course and needs a finer tolerance. The DXO Auto Brush has a set tolerance amount that you can’t change plus the only way it would work is if the sampled area was only the area you first clicked on and didn’t change as you moved your mouse around.
I use this image a lot to test masking and Affinity and SNS-HDR pro can but seems like a battle in DXO Photolab 9 with the current tool options.
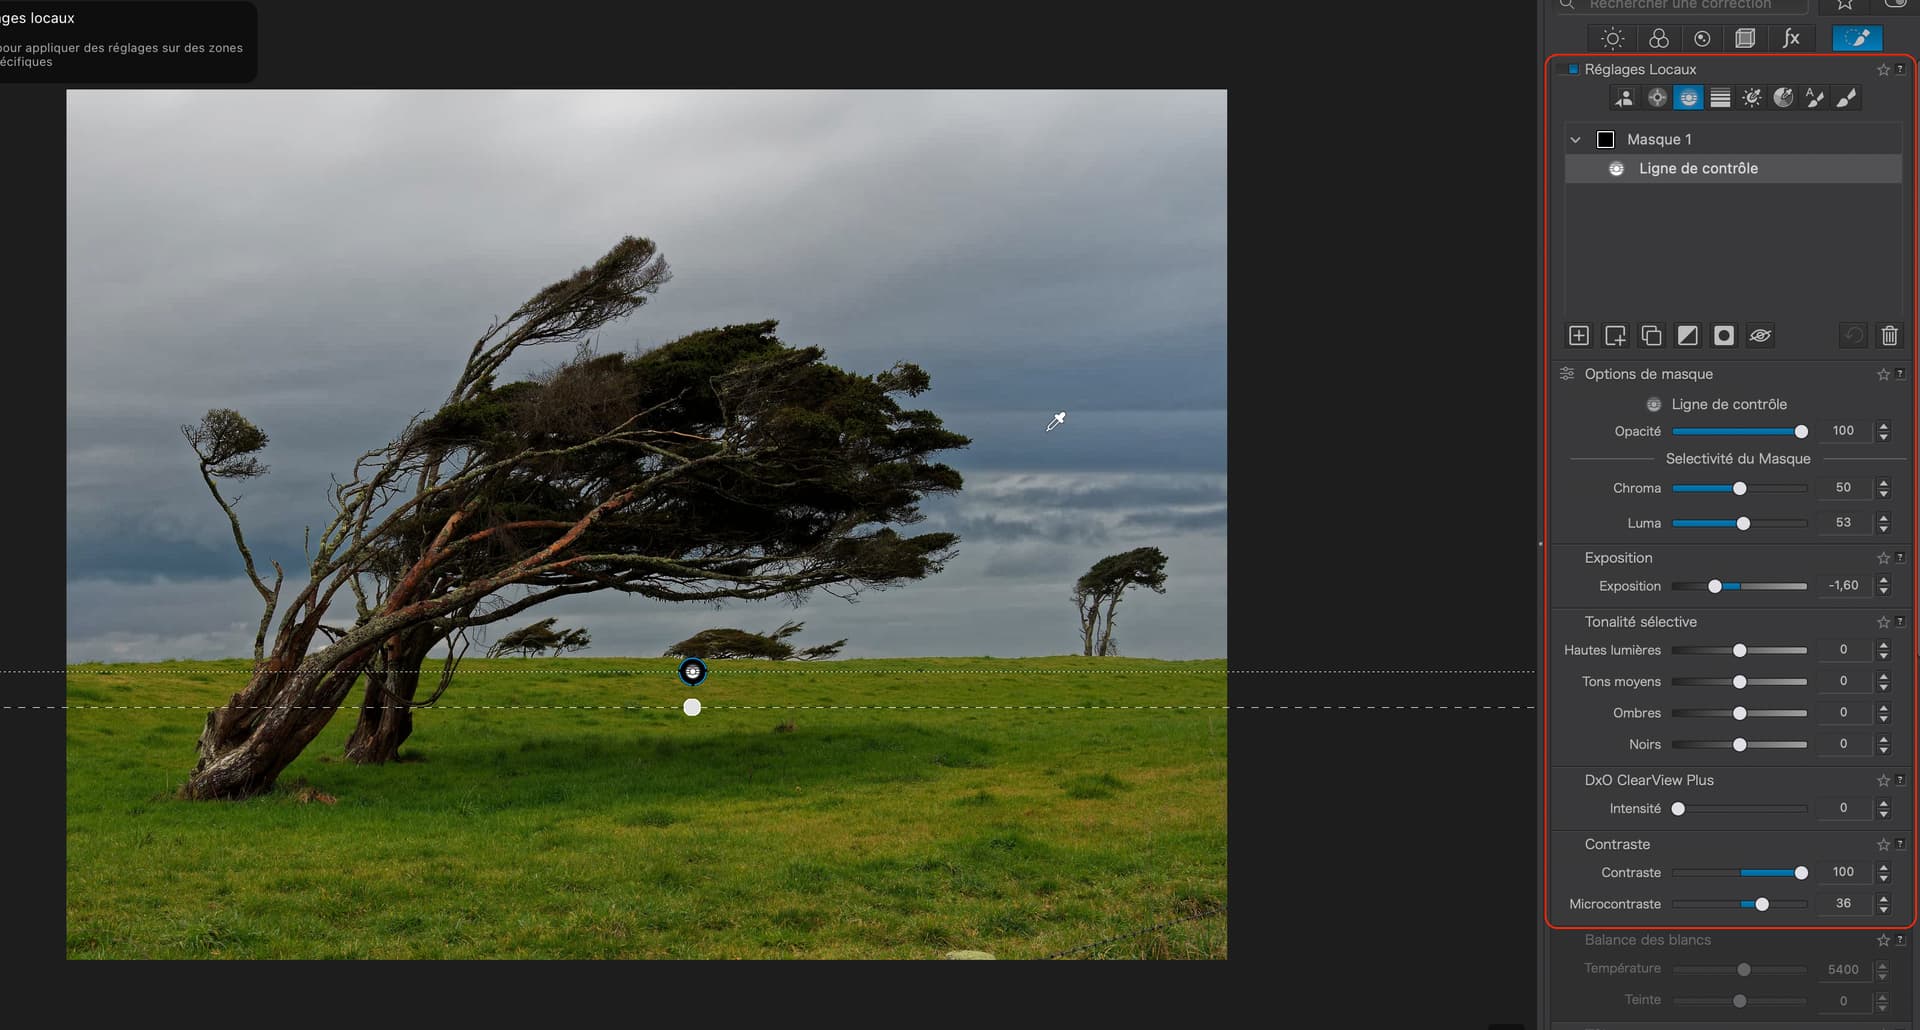
As you see even Wolfgang suggests using the Control Lines.
The old tool box has some really useful tools too and the new AI-Tools are not the best to use in all situations and sometimes the best is a clever mix of the older ones and the AT-masks.
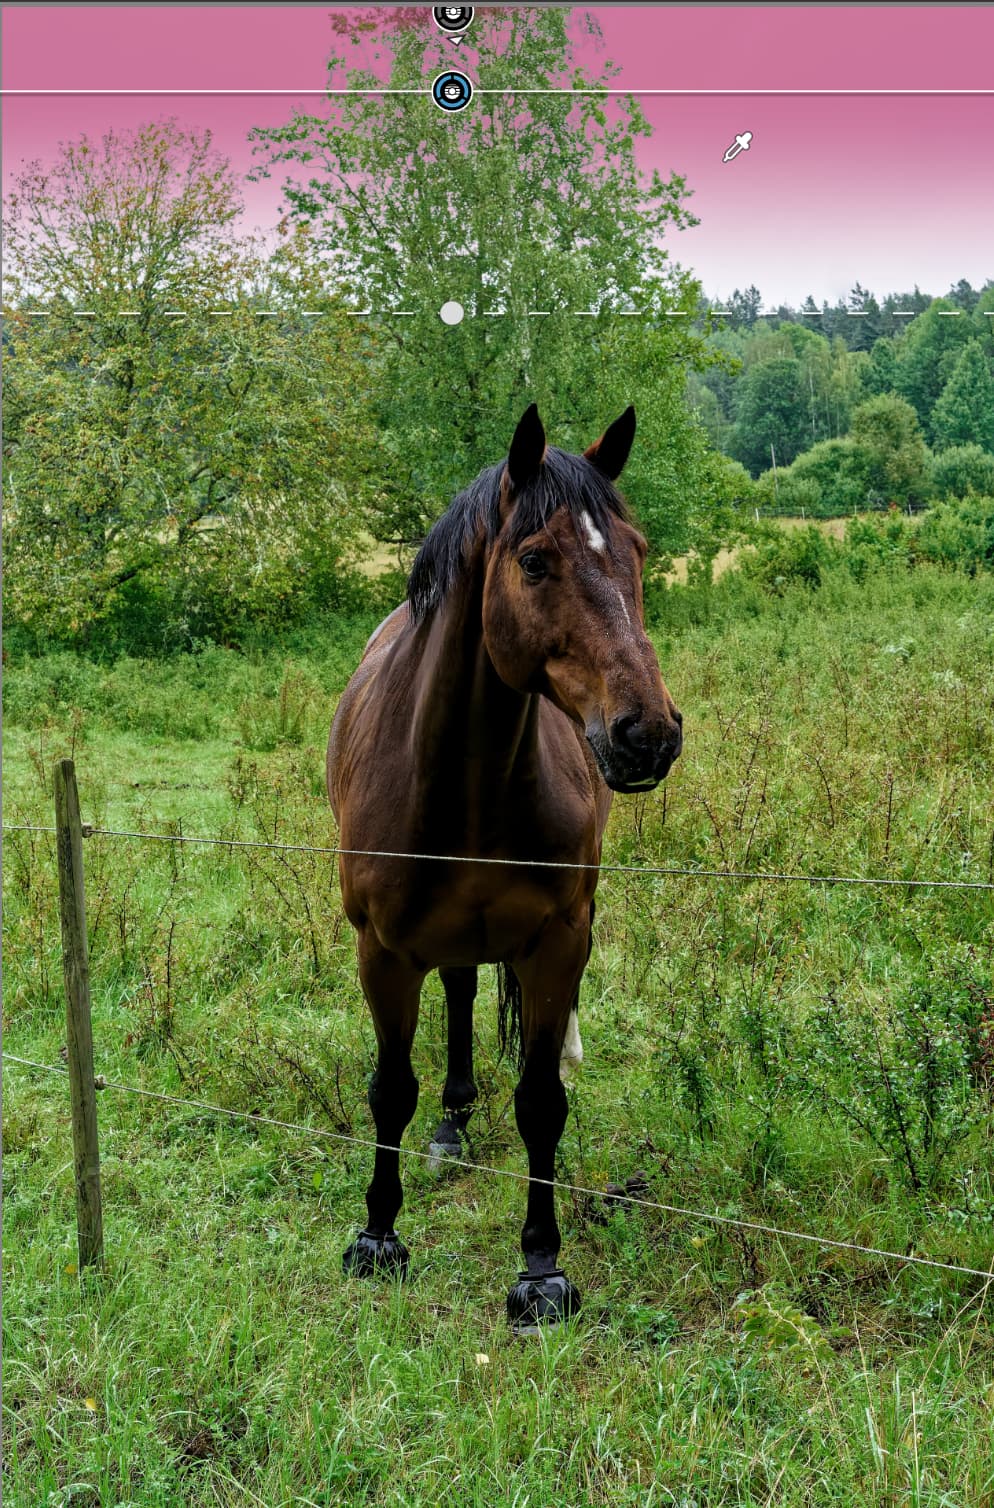
Will that is a surprise, the control line handles this really well. Feels like the name doesn’t do it justice as is more a Flood select tool based on brightness and colour secltion with optional gradient to feather in the effect on problematic horizons. Maybe Control Line is shorter
Thanks so much and a little weird to see old tools beating out these new AI masks.
Many thanks
Stenis
(Sten-Åke Sändh (Sony, Win 11, PL 6, CO 16, PM Plus 6, XnView))
8
Its like that even in Capture One too. There they got the “Magic Brush”-tool years before the AI Tools were released. It is much better masking areas where AI might struggle like in your example with the tree.
Not at all. The new tools are based on “Artificial Intelligence”
The older tools are based on good old real intelligence and have worked well for many years.
So far, I haven’t produced an acceptable image with the new masks but I have just done an exhibition of B&W images, which produced some, very favourable comments.
It would seemed that PL9 has escaped rather than being released.
I like the old tools and that’s why I am in no rush to upgrade to new artificial intelligence in PL9.
1 Like
Stenis
(Sten-Åke Sändh (Sony, Win 11, PL 6, CO 16, PM Plus 6, XnView))
12
The names are pretty logical. A Control Point is round and the Control Lines are linear.
There are many situations where the AI Tools are so much more convenient and effective than the old ones. As you easily can see AI many times gives a much better precision and really is “the only” effective alternative when a motif has complicated settings when it comes to luma, colors and edges. Some HSL Tools for example the global Color Wheel is very problematic to use when for example handling a blue sky since it will change all the blueish T-shirts in a place below that sky too. Before version 9 it was pretty useless.
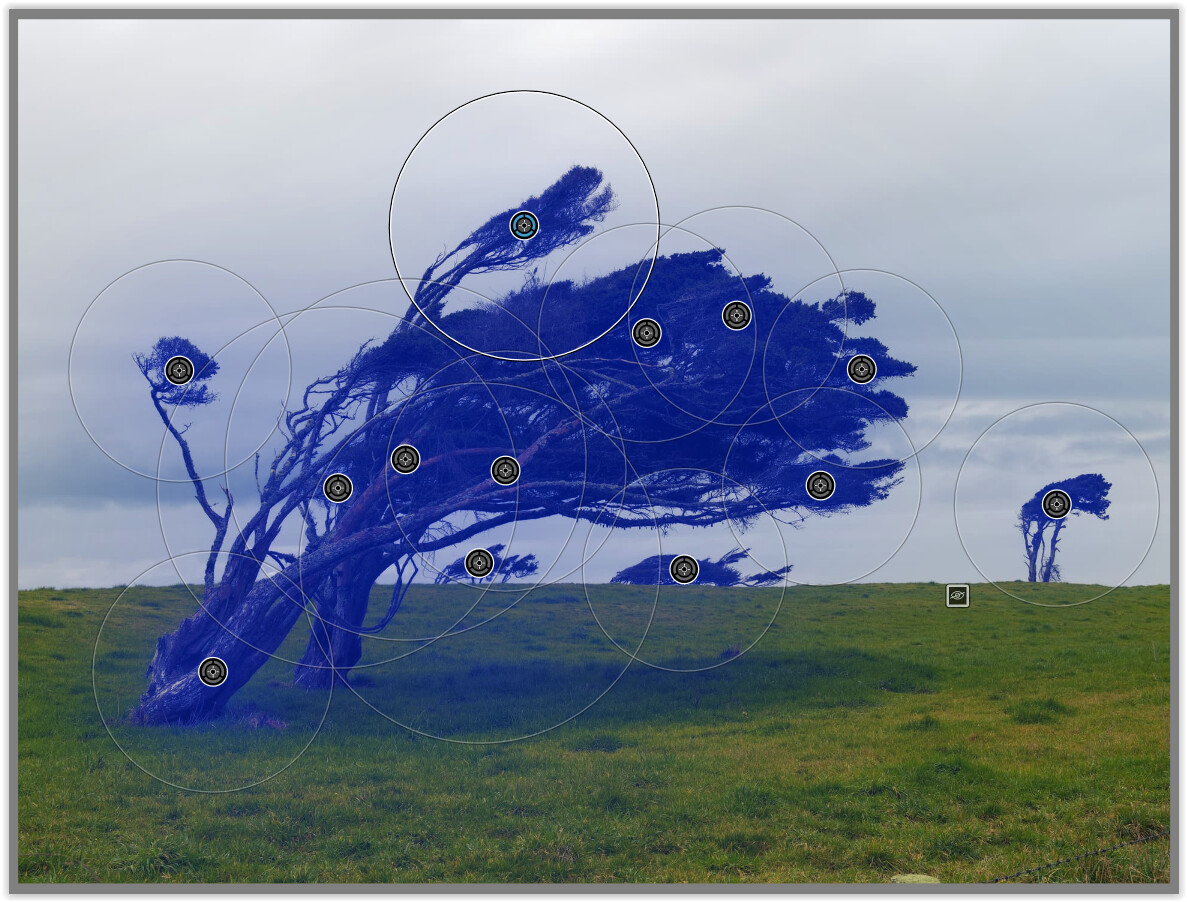
… and if precision masking is needed the Control Points are often not a very good choice. Before version 9 also the Auto Mask was often a pain to use too - now it is improved but often far less effective to use most times than the AI-masks when precision really matters - but if it doesn´t Control Points might be the far best choice to do, especially when smooth transitions is preferred.
That´s why I use to call Control Points the best photo QD-tool (for Quick and Dirty) on the market. The problem before version 9 was that it often was all we had in Photolab. Luckily that has changed now. I´m sure even more conservative users that have problems with AI in general today, in a close future will find it being a very useful complement in our Åhotolab tool box.
Thank you all it’s a pretty impressive feature and a must for landscape photographers.
So say in this example you wanted to darken the sky and you do that using the control line. Now say I wanted to use the inverse of that exact masking to change the tonal values of the inverse e.g add contrast to the tree etc assume I just duplicate the mask at the top level (not submask level) invert, then adjust?
I think this is an area SNS-HDR shines. You can easily duplicate then invert that sky mask, then easily edit the non-sky area. All with flood select or a brush tool with tolerance to select based on what is under the cursor when you first click, plus you can use unlimited click and drags to build up your mask. Is such a simple but effective tool.