A thread for us to share presets!

Hi jwc. To check-out your preset, I did the following;

  • I applied the “No Correction” preset - to be sure that all settings were OFF
  • I applied your 16x9 preset - to see exactly which corrections/tools were applied (Easiest seen with the “Advanced” workspace).

Your preset sets the Crop tool (as expected) - but, it also applies settings for Distortion, which may not be what a user expects.

Looking at the contents of your 16x9 preset; there are other remnant settings for “WhiteBalance” & “MultiPointColor~”, etc … I simply removed everything except your Crop settings.

This very simple result works just fine (as you intended, I believe): 16x9_jm (RexBlock).preset (250 Bytes)

John M

Argh! Ok I see it. I will correct it and upload a newer version. Thanks John, and sorry to turn you into a beta-tester!

1 Like

Hi Mike, I see you withdrew your post but I have it in email. I assume you solved the problem with Mac keyboard shortcuts? If not, perhaps it was the {}'s in my post that muddied the issue.

For my set-up, I have all of my home-grown presets in a folder named “0 - jwc”. The keymapping would then require the menu title to be

Image->Apply Preset->0 - jwc->16x9

Let me know if this managed to confuse you further! :crazy_face:

Yes my mistake John, thanks!

1 Like

Instead of reverse engineering wouldn’t it be easier to start from an empty preset and just activate the crop tool? This produces really clean preset files.

Clean but not completely.

Preset = {
	Settings = {
		Base = {
			CropActive = true,
			CropAuto = true,
			CropRatio = 1.7777777777777777,
			CropRect = {
			},
			KeystoningActive = false,
			KeystoningHorizonActive = false,
		},
		Version = "15.0",
	},
	Version = "15.0",
}

Somehow, the Keystoning was added and I never touched it whilst editing.

Probably a by-product of your Correction type setting (in the Crop tool), Joanna … (?)

John M

to Gianpaolo64 Engraved color preset also very nice.
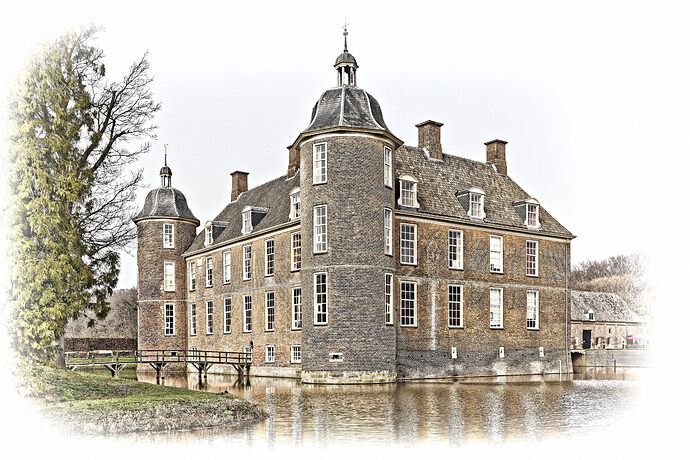
Here Castle Slangenburg (NL)

4 Likes

Hi, how can I download the infrared preset please?

1 Like

Awesome photo ! Love the hue and richness of the sky !

Incredible

1 Like

Omg … Incredible…I want to try so bad … I’m so nervous I won’t be able to … I’m gonna try tomorrow through!! It’s amazing how great everyone’s photos are turning out… thanks so much

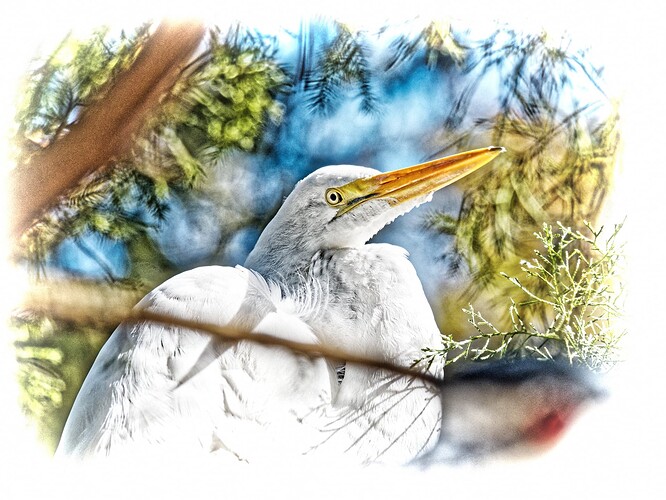
One of mine using the engraved color preset.

4 Likes

The Engraved Color preset does look interesting and versatile…and worth trying on different subjects.

Has anyone modified it for use with PL5 or is it restricted to PL$ for now???

I would welcome any updated links for it for PL5 , or if only PL4 a link to the one proven to function in that PL version

TIA :slight_smile:

It still functions correctly in PL5. It just can’t use any of the new editing functions in PL5 i.e. Control Lines or Croma/Luma mask adjustments. These are local adjustments and the preset does not use local adjustments anyway. You can apply them manually if it is desired.

Thanks for confirming that…one extra question?

As far as you are aware in the the one in this post the I should download?

TIA again :slight_smile:

I’m not sure Laurence. There’s another version HERE and I don’t remember what the difference was. Why not download both, label one “A” and the other “B” and see which you like better? I think that on most of these home-cooked presets you may have to tweak them in order to make them fit your photo or style. Have fun!

Thank you Mark for your insights and the extra link.

Yes, I surmised that any such Presets would be the starting point to adjust to “taste”.

I just need to go to Pascal’s Tutorial and look up about installing them :wink: and how during/post the installation the method to rename them “a” and "b " as you suggest :slight_smile:

1 Like

Sure thing Laurence. Glad to help. :grinning_face_with_smiling_eyes:

I realize this is an old conversation. But I’ve been studying with interest. Yesterday I was experimenting with the engraved and color engraved presets shared in this thread. I think I understand something I saw happening and would like to tweak the presets to my preference here. Can you help clarify?

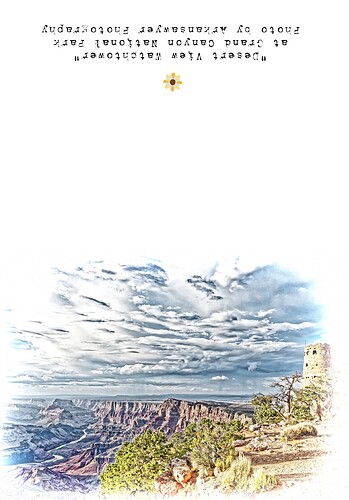
I had originally taken a couple of photos of the American southwest. I processed the original raws and created jpg outputs that look the way I like them. So far so good. Then… taking the output from them, I wanted to try printing a greeting card, using the engraved and color-engraved presets. In this case, the stock I have is 10x7 (folded, 5x7 is printed). So I cropped the original photo, then applied the engraved preset, exported to a new image I named something like fname_5x7. I did this with both images, once for color and once for bw engraved. I then opened the new images in an editor and started to add the “back” of the card (basically, changing the canvas size to 10x7, so I can add some text on the back of the card). After going through this a little ways, something wasn’t adding up. I went back and checked the sizes of my images and they were the original ratio, not the cropped 5x7.

After some experimenting, I realized that as soon as I applied the preset, my crops went away and the jpg was as originally exported. My workaround then was to redo the whole process in a different order. That is, I applied the preset, cropped to 5x7 and exported. However, I am not sure the vignetting looks quite centered on the resulting image. So then on the 3rd attempt, I went back and cropped the jpg, exported it, then applied the preset to that image and then exported again. I have a lot of intermediate files, but I can see the work through to the end.

Here’s what the code in the preset looks like (searching for word ‘crop’ in ‘Engraved Color.preset’):

Line 52: CropRect = {
0,
0,
1,
1,
},
Line 65: CropAuto = true,
Line 303: CropActive = true,
Line 416: CropRatio = 0,

If I wanted to ensure that any crops that I applied to the base image “stick” through the application of this preset, what would I change? Or am I better off to try and apply the preset, then crop as needed?

The end result may be something like this image.