A few questions from a newbie about PL7

Hi,

I just started using PL7 a couple of weeks ago, and simultaneously started shooting (a Sony A7iv) with JPEG and RAW. Previously, I was mainly only producing JPEGs and tweaking the JPEGs, but I want to move to a workflow where I start with the RAW/ARW files instead (with PL7). I think that the main thing that prevented me from doing this earlier was that, the couple of times I tried (before I finally took a look at PL7), I was not able to produce image (either sharpness or color) from the RAW files that I liked.

I think the “workflow” that I am using now with PL7 is something like:

  • Apply the camera preset
  • Set the white balance using the color picker
  • Tweak the exposure
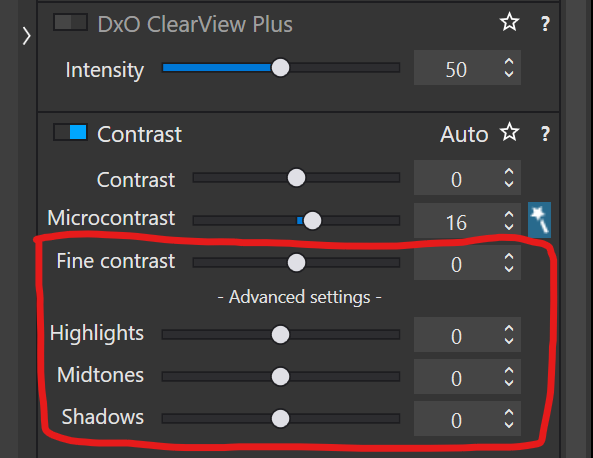
  • Set the DXO ClearView
  • Try the DXO Denoising setting
  • Export the image

So far, I am getting what I think are “good” JPEGs from the above (“good” == I like them).

Now that I am working with PL7, I have a couple of questions:

  1. I know that when I make changes in PL7, it is producing the .dop files, which, I think, contain the changes that were applied to the original RAW file. Is that correct?

Question: If I delete the .dop file from the filesystem (I am on Windows), does that basically revert the image to the original, unaltered state?

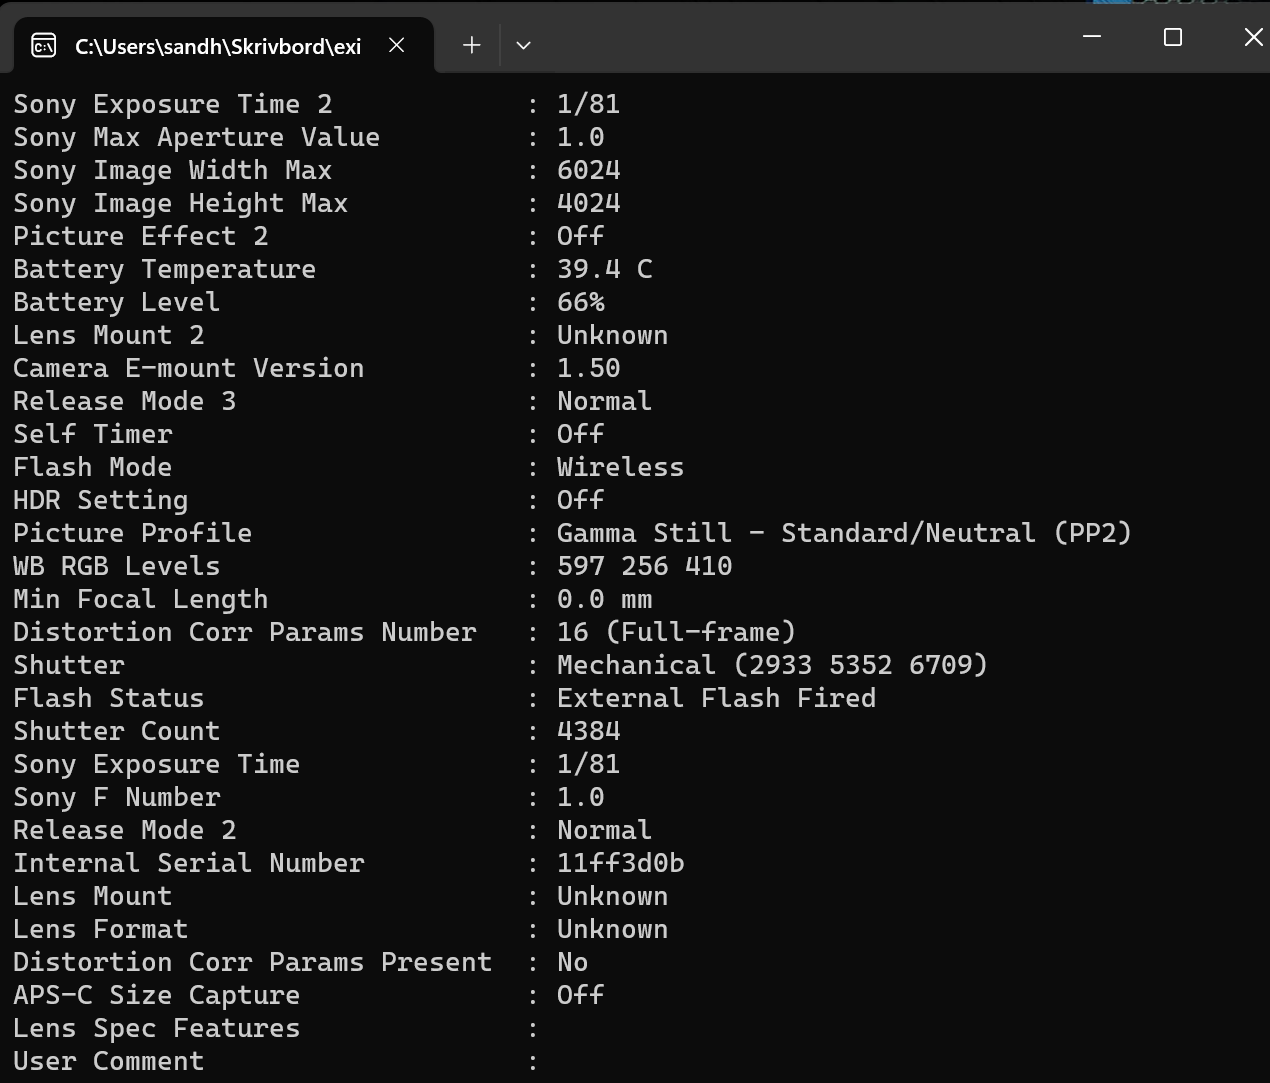
  1. The Sony A7iv has a setting called “Creative Looks”. I think that this setting tells the A7iv some things to do to the RAW images to produce the SOOC JPEGs. I have my A7iv set to Creative Style “VV2”. This is what Sony docs say about “VV2”:
Produces highly clear images with bright, vibrant colors. Makes colorful subjects and scenes even more impressive, and can also enhance pale or dull colors in "high-key shooting" or cloudy weather.

I chose VV2 because one of the things I am particularly interested in my JPEGs are (perceived) sharpness. In older A7xx cameras, there was a different style, but I don’t remember the name but in the A7iv, I think the VV2 is closest, but not the same. In particular, I think that the JPEGs that produces now have too much blue.

In any event, now what I am using PL7, I am wondering if anyone knows: Since I still have “VV2” set in the A7iv, is that affecting how the “camera/lens presets” in PL7 are working? The reason for my question is that I feel like when I apply the camera/lens setting in PL7, then try to use the WB picker to set the WB in PL7, I am not getting what I expect/.want (the images still, to me, at least, look overly blue. FYI, I’ve tried the different camera/lens settings but I keep getting bluish images when I use the WB ink dropper.

I am wondering: Is this because I have the VV2 set in the A7iv? Should I stop using “VV2” (i.e., no Creative Style setting)?

Thanks,
Jim

Welcome Jim

1- Yes, you can delete the dop sidecars. They’re insurance against database crashes.
2- Normally, raw photos are not affected by creative styles.
PhotoLab (+ FilmPack) gives you the tools to create your own.

Pascal

.dop files are just information for PhotoLab to read the information about what sliders to move when insdide the PhotoLab interface. If you export RAW or JPEG file .dop is no longer needed, unless you want to go back to PhotoLab and make changes to the original RAW file, and for that, unless you want to start from scratch you need that .dop which contains information about the changes you have already made. Its a substitute to using a catalog like database we see in other programs like in Adobe Lightroom. And its more similar to .xmp files found when working with Adobe Camera Raw. Just little side file with data bout what sliders and settings were used in application.

It is possible to export raw file in DNG format where these changes are already applied to the DNG format, but it still retains the editability of a raw file. The so called Linear DNG is used for that purpose, when you export files from PhotoLab and you want to continue working on them with raw data in another application like Capture One, or Lightroom or even in PhotoLab itself.

If I’m not mistaken I think Creative Looks are just presets for JEPG done in camera instead of in some other application. You can try to get something similar in other applications but I think the preset is made in the camera using their processing. Should be easy enough to match.

Here are two presets I use for all images on import in PhotoLab, automatically Its for Sonya6300 but should work with Sony A7IV and you can always tweak parts you don’t like and save it as your own preset. Try that and see how it goes. The white balance and color rendering might be something you want to tweak for your camera, the rest should be farily universal. It will give you your sharpness , especially when you look at exported images, since preview for DXODeepPrimeXD is not available for full image until you export.

Sony a6300 Fuji Provia Starting Settings.preset (8.7 KB)
Sony a6300 Calibrated Starting Settings.preset (8.8 KB)

If you are working with JEPG’s than this presets from camera would be backed into the image already with limited ability to change it later. If you shoot RAW you should have full control over look, especially white balance. I always use RAW with DXO PhotoLab, that is what it was designed to do.

Hi Pieloe and MSmithy,

I think I just figured out something re. the VV2 questions: I just noticed that if I change the dropdown to “As shot” instead of using the ink dropper, that it seems to set things “right”!!

Jim

In terms of workflow, DxO Smart Lighting works well for me and replaces a lot of the exposure tweaking.

1 Like

If

You are probably talking about white balance than. “As shot” simply means that white balance will be used that was recorded in the metadata of the image as it was captured. It should match the one you see on the LCD in camera. Whatever your settings for White Balance were when pressing the shutter button.

Eye or ink dropper is a way to tell PhotoLab what is neutral and so it uses that as refernce point to remap the color in the image. Usually you want to point with the eye dropper to something that is close to neutral RGB values. Maybe something you know should be white or neutral grey in the scene.

If the results are not what you want, you can always move temperature and tint sliders manually to tweak the white balance. Colder or warmer feel.

Welcome to the User Forum, Jim …

Yes, .dop (aka Sidecar) files contain details of all the corrections you have made to the associated RAW/ARW file … These details are also written to PL’s database.

If you delete the sidecar files then the next time you “Export to Disk” PL will look for those correction details in its database (assuming you have not also deleted the database), and it will both apply those details AND it will re-create the sidecar/.dop file (assuming you have this option switched ON in your preference settings … ON being the default).

On the question of whether or not you should delete your sidecar/.dop files;

  • If the database somehow becomes corrupted, or “scrambled”, then IF you have your sidecar/.dop files then none of your correction history is lost.
  • My personal recommendation is NOT to delete the sidecar/.dop files - they provide reliable and “cheap” ('cos .dop files are very small) protection against there being a database problem (in which case, without your sidecar files, you would lose all correction history).

No. In-camera settings for “Creative Look” (or Picture Mode, etc) affect ONLY the SooC JPGs … they do not impact your RAW files. Same for White Balance … Also note:

  • Each RAW file contains an embedded JPG version of the image (which does include settings applied by your camera).

  • Some image-viewers (such as Irfan) will display this embedded JPG when you view the RAW file … Others, such as Fast RAW Viewer, will give you the option to view either the embedded JPG OR a rendering of the RAW file data.

  • PL ignores all information in the embedded JPG and, instead, renders the image according to the preset that you have nominated to be used (via Preferences).

  • Just before PL completes rendering of the image (according to the preset being applied) you may see the embedded JPG momentarily displayed - then to be quickly replaced by the RAW file rendering.

  • With “RAW White Balance” set to “As Shot” (or deactivated altogether), PL will reference the WB setting applied by your camera, and will apply that setting … but, with a RAW file, you’re free to change the WB to anything else that you choose.

HtH - John M

This is not obligatory. You can use any other preset that you want, depending on the rendering you want.

This is not necessary unless you have a specific neutral point in your image that you want to use. As others have said, use the ‘as shot’ and only adjust the slider to suit what you want.

Only if necessary.

Once again, as others have said, start by using the Smart Lighting tool to place the black and white points. For this you will need to select the Spot Measure mode and place two rectangles over the brightest and darkest areas of the image…

This will work a bit of magic in “equalising” the exposure.

But whether you use this or not will depend on that nature of your image.

Don’t do this as a matter of routine. This tool is only really for extracting detail from heavily misty images. Its effect on ordinary images can be drastic and will tend to give you “crunchy” detail.

This is not a true sharpening tool so don’t use it as such. The preferred order for sharpening is to ensure that the four lens corrections for the lens module are applied (Lens Sharpening, Chromatic Aberration, Vignetting and Distortion). then look at the four fine contrast sliders (if you have FilmPack installed, or a gentle application of Micro-contrast if you don’t.

Above all, avoid over-sharpening as this will get accentuated when you export to small sizes.

Just set this to DeepPrime for every image regardless of ISO. Even low ISO images will benefit from reduction in deep shadows.

Only if you have an immediate need. Otherwise, you will just fill up your disk unnecessarily. Then delete the exported file after you have used it - you can regenerate it at any time.


Don’t set your camera to RAW plus JPEG. This is totally unnecessary and only fills up your memory cards faster. All RAW images contain a JPEG version, which can be extracted at a later date if really necessary.

A lot of camera settings, like for image appearance, only affect the screen on the back of the camera and the thumbnail you see in file explorers. Can I suggest that you do not use any of the fancy settings as the RAW file will look nothing like it when you open it in PL. I always use the flattest unaltered rendering in the camera, knowing that I can then edit it to suit in PL.

Your “Creative Looks” camera settings will not affect the RAW file, they are only for quick JPEGs to send, unprocessed. You need to learn how to create the look that you want in PL, from the RAW file.

5 Likes

Only if you use Sonys own converter Imaging Edge the “Creative Styles” will have any impact in the processing of RAW. These data are stored in special elements marked “Sony” in EXIF. In Photolab though the “Rendering” using the default camera profile for A7IV will do this job.

So, I think using “Standard” is better because I think that will be more in harmony with DXO:s default profile for your camera.

I always use RAW+JPEG because that is convenient when culling in PhotoMechanic. There are situations where this camera saving mode gives an advantage - depending on the software you are using and the workflow you have developed that suits yourselves.

Actually, only Fuji and Nikon Creative renderings are supported by DPL v7.

Then I wonder what will happen if Photolab will add the default profiles in the Rendering section top of that Fuji or Nikon EXIF-data written by the camera. Isn´t the DXO camera-profiles made to harmonise with the camera defaults like the “Standard” in “Creative Styles” for the respective camera? Usually you are asking for problems when there are several different systems affecting the results when these systems are unaware of each other.

dPreview made a test with Camera Raw and Imaging Edge that was kind of interesting:

Adobe Camera Raw vs. Sony Imaging Edge Desktop: Which is your best bet?: Digital Photography Review (dpreview.com)

nothing will happen

It depends on what Patrick ment by his post about that Photolab only supported “Fuji and Nikon Creative renderings” in DPL v7.

In my world it is a big difference when a software actually reads and uses the proprietary EXIF-metadata where “Creative styles” have been stored by the camera and the corrections the DXO Photolab camera profile does.

Of course both these attempts to create a better starting point for editing in Photolab will have their own effects on the images by themselves and together if they are added on top of each other BUT none of them will really set the limits for the final result.

The only way Creative Styles could override a camera profile would be if there where some logics that disabled the camera profile rendering automatically. Do you mean that is happening with Fuji and Nikon images in Photolab? That is absolutely doable but I have never heard of anything like that before.

The normal situation as described by the dPreview article on the Camera Raw example is that common RAW converters don´t handle proprietary “Creative settings” set by the Cameras in EXIF. Common converters are indifferent to these metadata since they are actually stored in elements these converters don´t read. When I look at a Sony ARW in Exif Tools I can see more than 10 Sony specifil dataelements in EXIF. Photolab doesn´t care at all about these. For my A7 IV-files it is Photolabs own camera specific profile that does the rendering impact and before I get into the picture even the “Standard preset” kicks in if that is activated.

some raw converters for some camera brands/camera models will read what was the film emulation used for a shot (or whatever it is called for a specific camera brand) and then based on settings selected by a user they can apply their own camera profile and/or other settings to imitate certain color rendering of OOC JPG - for example C1 vs Fuji cameras …

another option is for example when some raw converters can use camera profiles that might be embedded in a raw file - a typical example : DNG and ACR/LR - you have an option ( which you can make a default action ) to use DCP profile embedded in DNG raw file by camera’s firmware ( PS - one more , umptieth / I lost count / , note for DxO, full support of DNGs means that too )

Filmemulation?? Well, if you use Filmpack you can do that in Photolab. I wonder if you have mixed this up with the possibility in some cameras to render in camera JPEG-files with a certain for example Fuji Film emulation. That is a totally different thing from what I mean.

In Sony Imaging Edge these EXIF-metadata written by the camera to EXIF is actually used by Imaging Edge when opening these RAW-files in that software - something that IS NOT happening in either Camera RAW or Photolab. That is a fundamental difference! I think both Nikon and Canon´s proprietary converters can read their proprietary EXIF-camera-metadata too but common converters can´t and that is a clear “selling point” for the manufacturers converters.

It is exactly this dPreview noted in their comparison between ACR and Sony IE in my link above.

Here is an excerpt from EXIF with 6 of these Sony-specifik metadata elements.

C1 has an option to apply automatically their own ( might be some LUT data was licensed from Fuji ) relevant film emulation for a Fuji raw file when it will be opened in C1 - film emulation is naturally detected based on exif tags in .RAF raw file

DxO has something like “Automatically use camera rendering if supported” in settings, that works like in C1 for Fuji .RAF files ( and it overrides camera profile set in your default preset to be applied on open )

Joanna,

Thanks for the super detailed response!! I will try the things you suggested (esp. the Smart lighting info! ).

Jim

Stenis et al,

BTW, I got/bought Filmpack 7 along with PL7 as part of a bundle during their Christmas deal. I haven’t had time to try it yet though, but sounds like it was lucky choice getting it as part of the bundle :)!

Jim

If you have activated it from within PhotoLab, you may be using some FilmPack features already since all of them are also integrated into various locations of the PhotoLab interface in addition to the standalone version.

For instance, the four Fine Contrast sliders, circled in red below, are actually part of FilmPack

Mark

image