@Wolfgang thank you for the potential workaround for the normal customize view.
@sgospodarenko and @Musashi thank you for your response it is a “feature” which on the grand scale of things is not really important, just “untidy”. I do not know if anyone else has encountered the issue or bothered to report it but that may show how important the feature or having a split screen with ‘Repair’ or ‘Local Adjustments’ actually is!?
Because the ‘C’ still works and is easier to access than ‘Alt T’ if I want split screen when using ‘Local Adjustments’ or ‘Repair’ I can toggle split screen on and off easily enough.
Sadly PhotoLab offers no customisation options for keyword shortcuts given that FastRaw Viewer allows customisation of virtually every feature available, so please don’t remove the ‘C’ option for a split screen and consider some degree of user customisation!
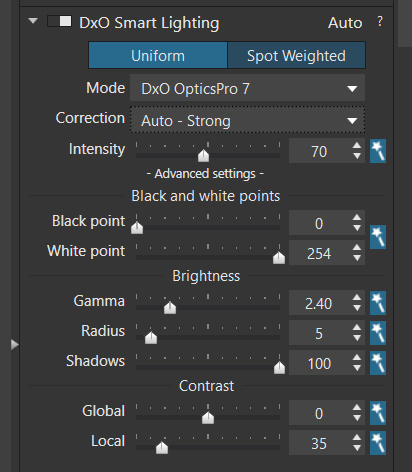
From my perspective the two reasons I bought DxO OpticsPro 11 were the \ (for ‘Quick Compare’) and DxO Smart Lighting OpticsPro 7 only to discover that \ had been removed (my previous version was a free copy of DxO OpticsPro 9) and DxO dropped that particular ‘Smart Lighting’ option when they released PhotoLab 1!
I still feel that for JPGs in particular none of the PhotoLab versions since really compete with the OpticsPro 7 Smart Lighting option without more work!
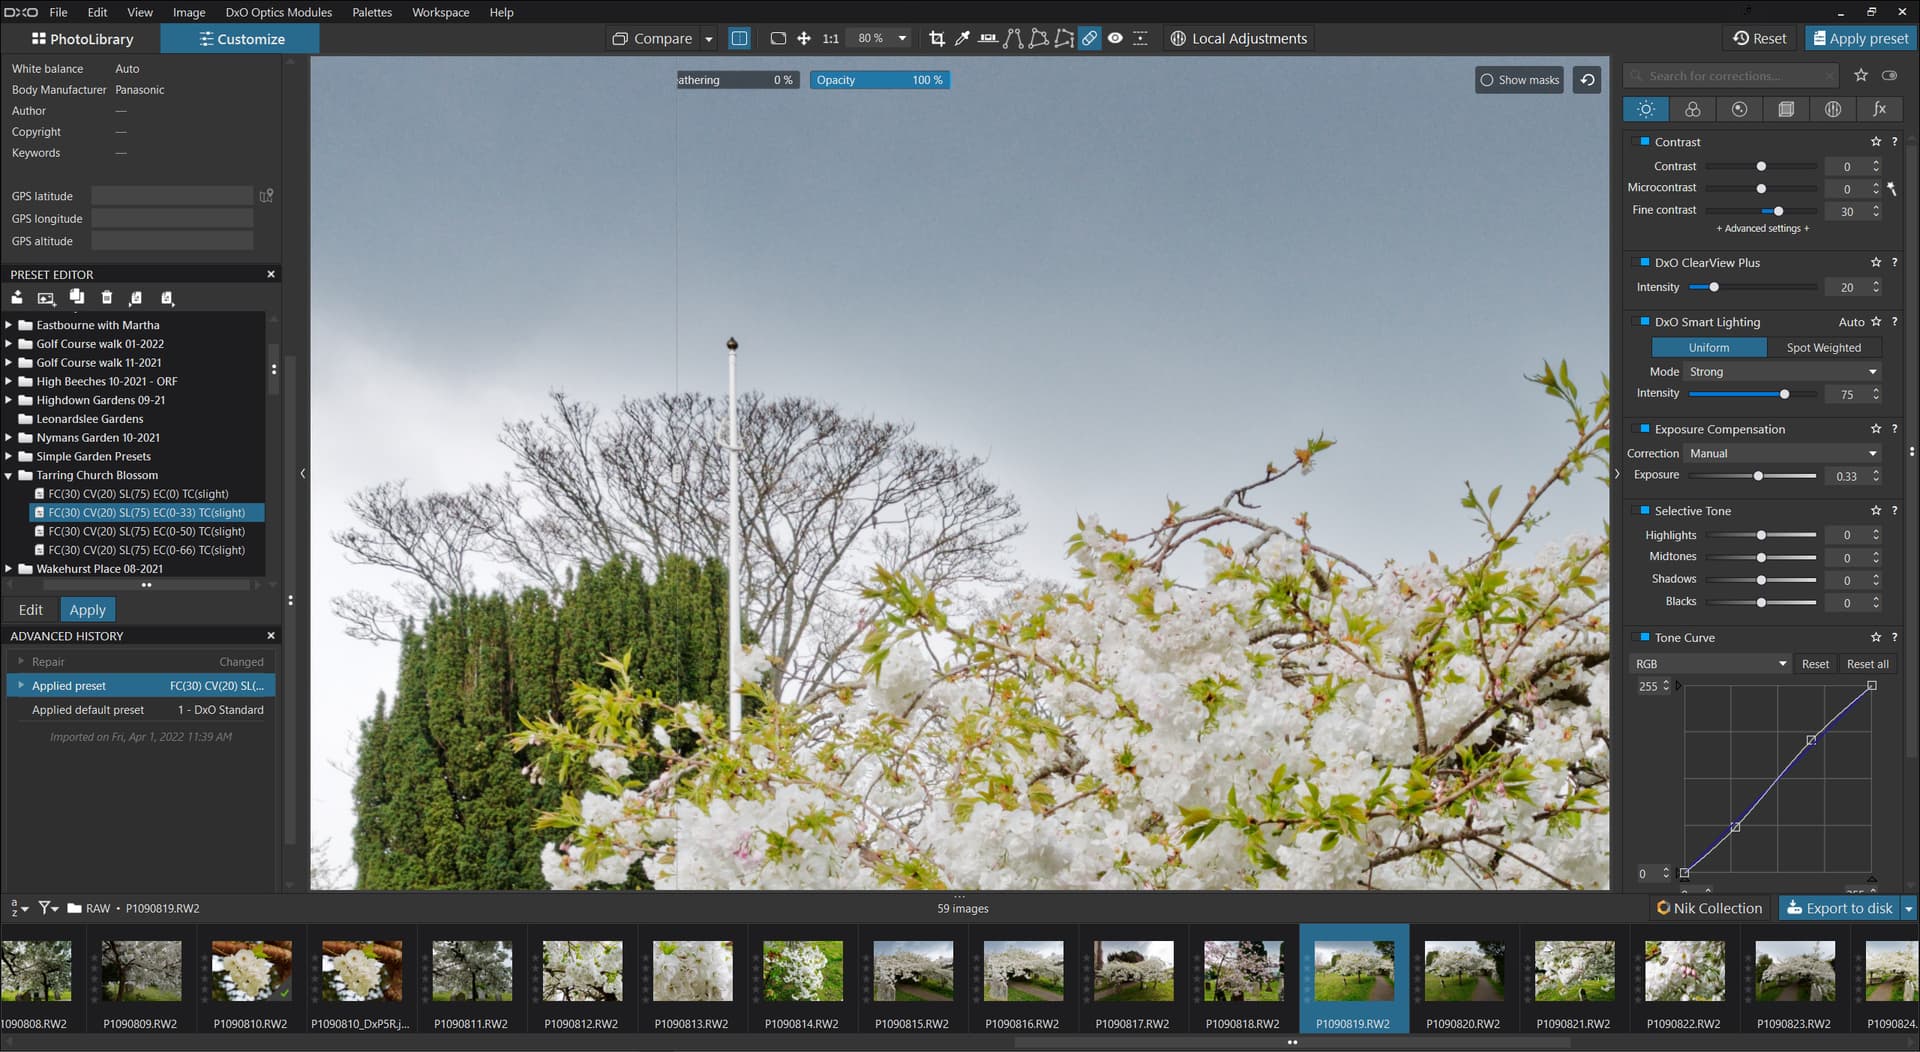
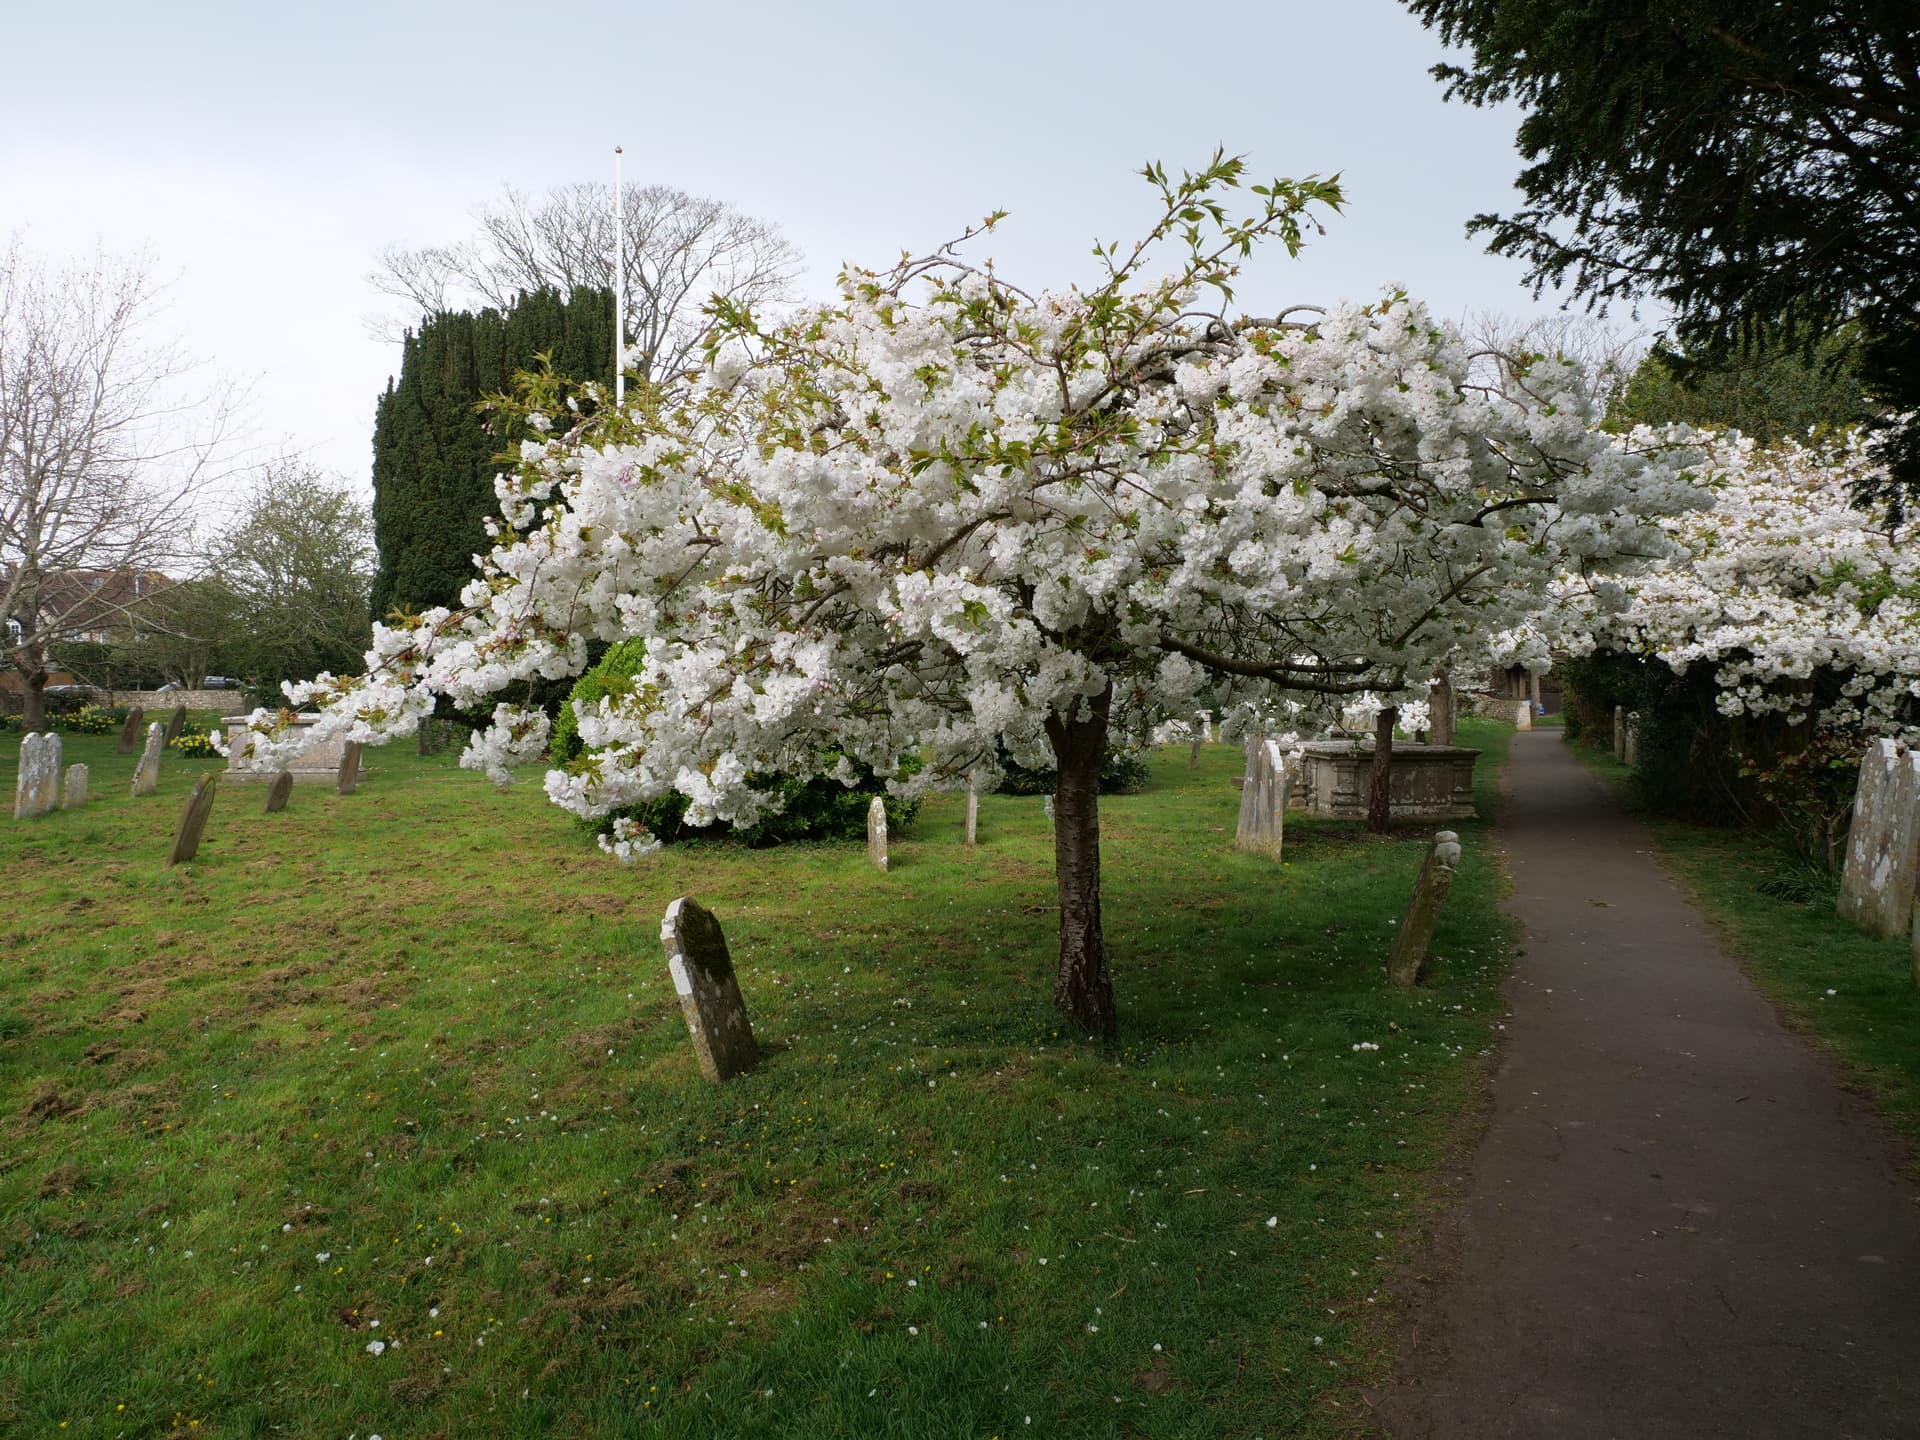
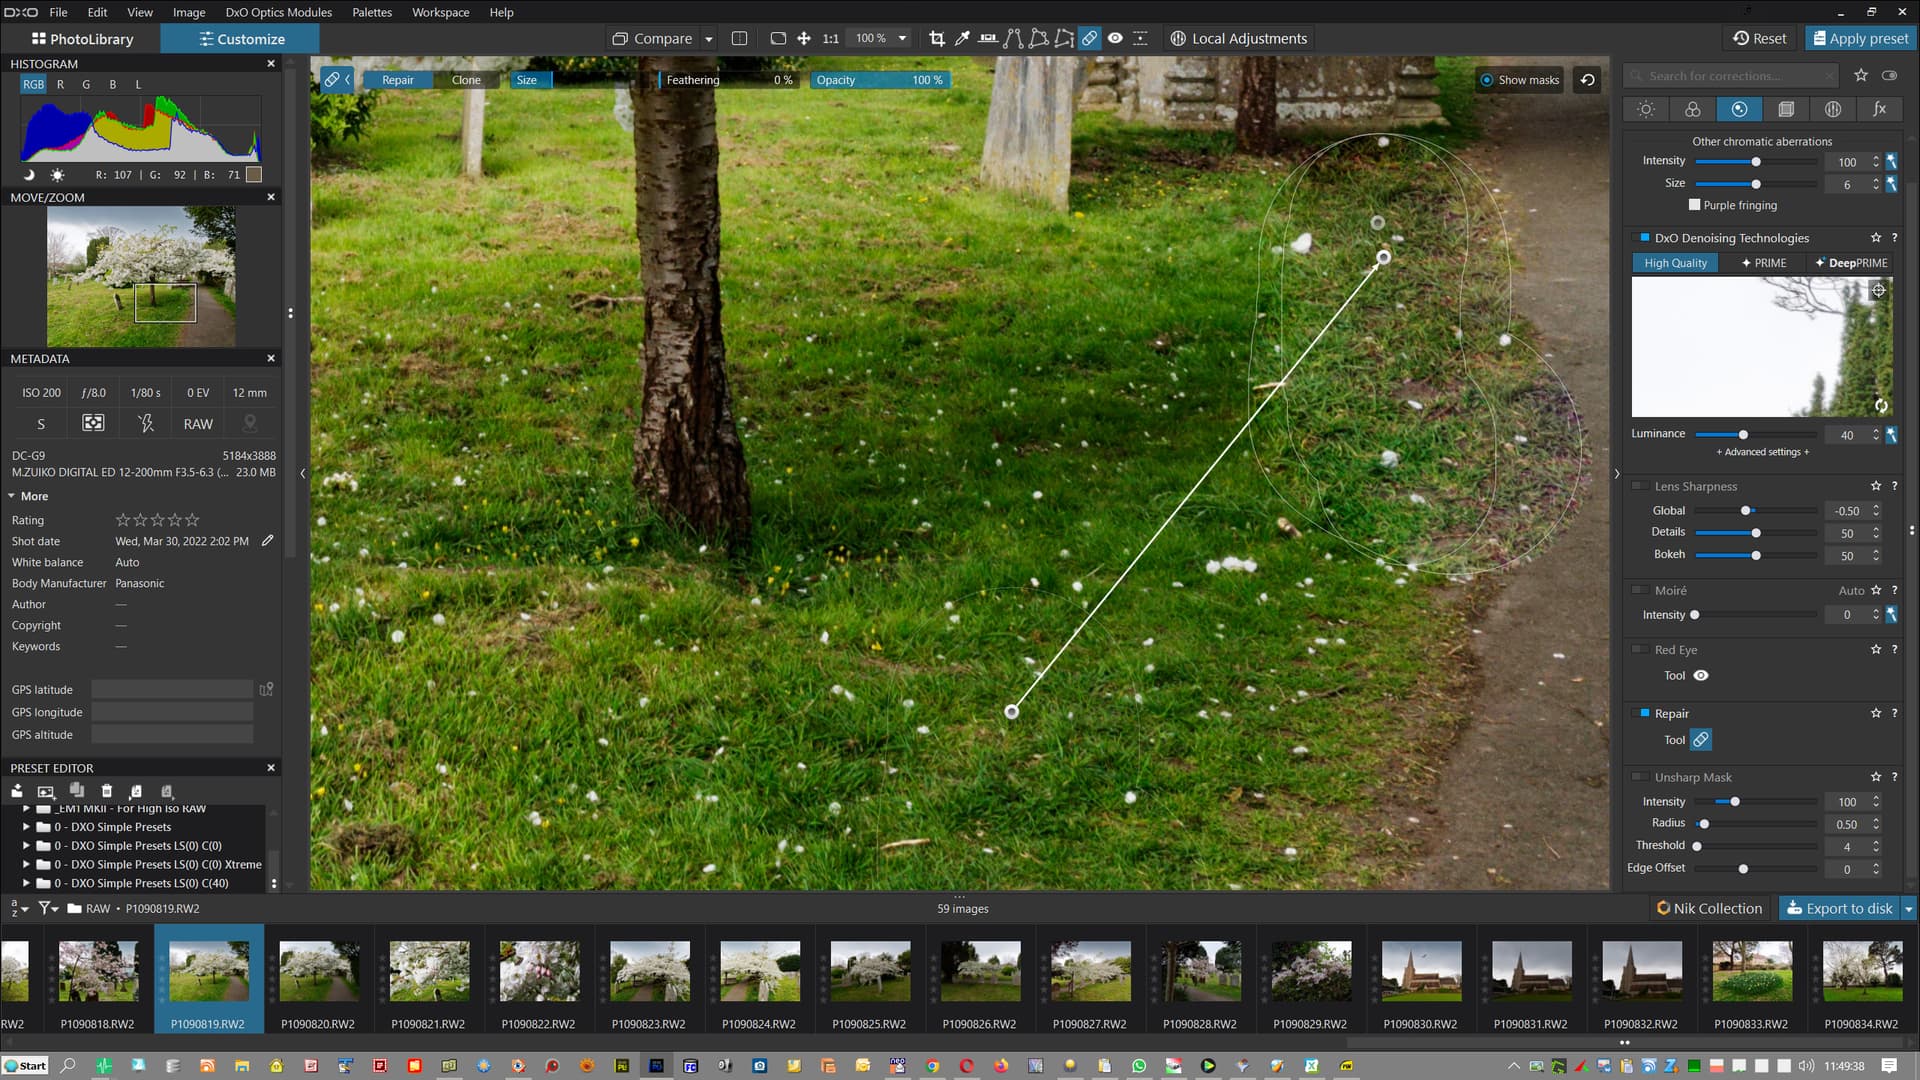
I discovered the current issue by accident when I set out to “improve” a photo in PL5 and noticed a rather unsightly flag pole poking out above the trees and tried to fix it using PL5 repair function which cannot cope with such obstacles without way more time than I care to expend (if ever).
I have used ‘Repair’ in PL5 with a reasonable degree of success with dust spots and also with lens flare but perhaps its biggest drawback is the lack of the ability to edit the mask when an attempt has failed. Setting ‘Show masks’ helps locate the mask and the selected area used for the fix (either allocated by DxPL or (re-)selected by the user) but on Win 10 the outline of the area to be used for the fix is way too faint.
If you then overlay one mask with another telling which control point is for which mask outline is not easy (on Win 10)!
Because the whole of the masking “vanishes” when the cursor leaves the image display then using the navigation window to re-align the image is rather difficult because nothing of interest (w.r.p. to ‘Repair’) is visible!
Plus it does not appear that the shape of the mask can be edited, i.e. to increase or decrease its size. The mask can certainly be moved as I did from one headstone to another, the alarming “red” tones which are actually tufts of grass cuttings, vanished when I zoomed in to 100%.