Hello all, I was just curious if theres any tutorials out there that helped you have a complete workflow for wildlife photography? Or a dxo tutorial that you could apply to wildlife shots?
I’ve had the software for a few years so my work flow is deep prime, cropping if needed and then clear view plus (which I think I rely on too much). I leave lens corrections and global sharpness on.
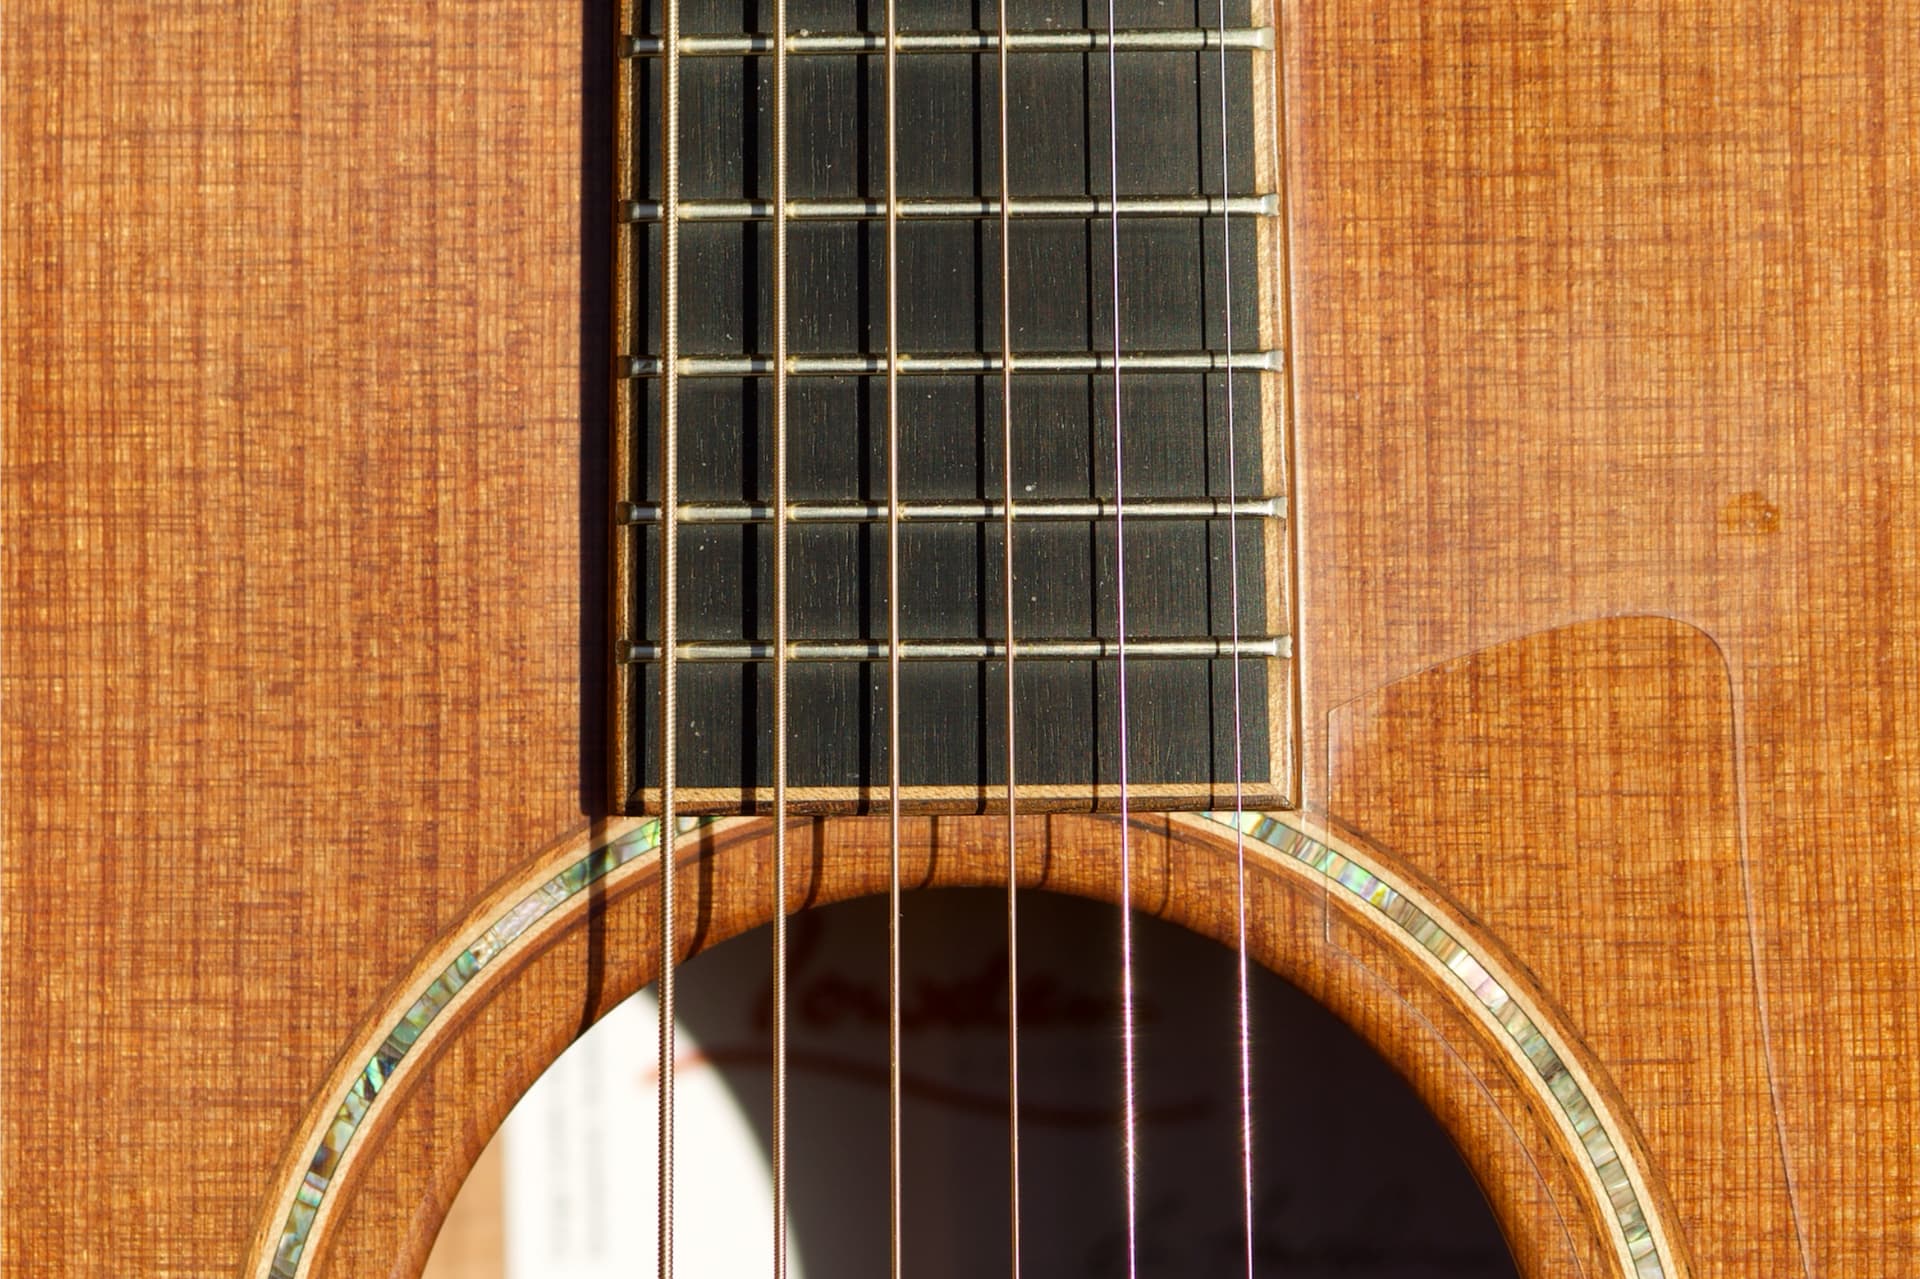
I want natural colors that are vibraint without a real hard edge of contrast (if that makes sense). I know theres a better way to do this. Also how to do better local adjustments for the subject and background. - like if i need a less noisy bokeh. Thanks! Here is one example, it wont let me post more.
Don’t look to software to improve sharpness and detail. If they are not there in the camera, you will be “attempting to make a silk purse out of a sow’s ear”.
What camera and lens do you use normally? This is far more important.
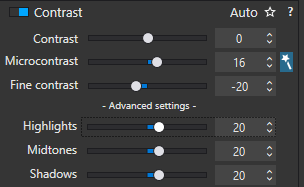
The one thing you should never do, if you want a soft bokeh, is to use ClearView Plus or even Micro-contrast. The four fine contrast sliders that come with FilmPack are better but, injudicious use of any sharpening will ruin any smooth textures.
Thank you Joanna. I have the Canon R5 and at the time was using the sigma 150-600 contemporary. Recently have upgraded to the RF 100-500 L lens, the autofocus is incredibly fast. So I will look in to filmpack. Thanks!
than be careful when shooting with harsh daylight, mid day sun does that… hard ugly contrast, unless you’re shooting in the shade, also check your background, even though this apply to any kind of shooting.
You also need to look into diffraction on the sensor when you close down the aperture too much.
I looked up your sensor and it has a pixel pitch of 4.38µm, which computes out to a minimum aperture, without diffraction, of f/5. But, since this is too limiting in a lot of cases, f/10 is an ideal compromise.
Just to be clear, Joanna (R) … You won’t need to use FP in stand-alone mode to get access to the “four fine contrast sliders that come with FilmPack” that Joanna (C) recommends … You simply need a FP license … and then those sliders are activated within PL (as part of the Contrast panel).
Also note that the Fine Contrast slider works to counter the 3 sliders listed below it … So that, in my screenshot example above, the net affect of these sliders is zero (no affect).
You can choose from a variety of local adjustment masks - some of which select parts of the image, others which erase parts of the mask or exclude parts of the image. For example, apply a graduated filter mask and erase parts that cover the foreground. Then add a small amount of blur to the masked area using the blur adjustment in the right column.