I have found one or two posts on this theme. But, for me, they don’t explain it. Nor does the documentation:
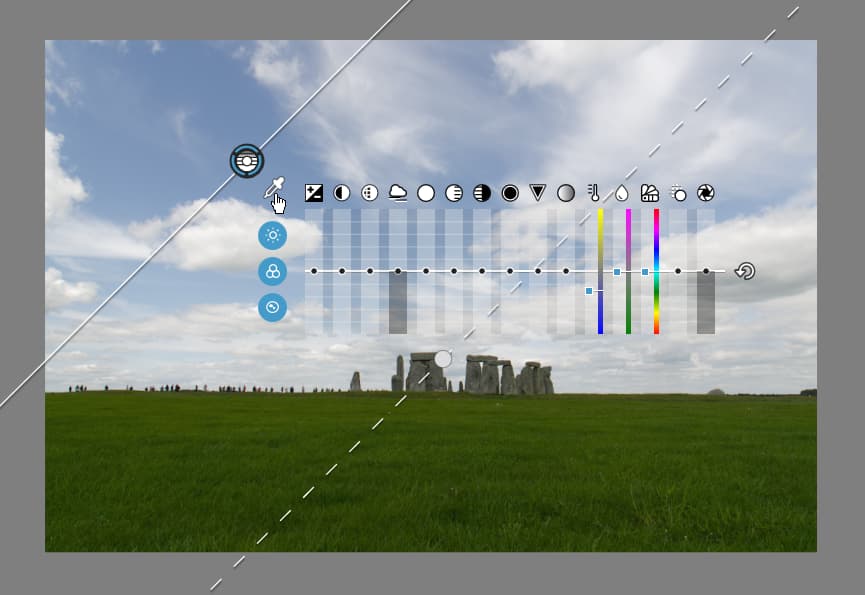
Select the reference area using the eyedropper near the disk: grab it with the mouse and drag it to wherever you want in the image. Then all you need do is make your corrections with the Equalizer.
The “Equalizer” doesn’t exist anymore so ignore it. Choose to place the “eyedropper” on a point with the roughly the same "Luminance and Chrominance values in which you wish to make changes.
A common example: You have an image with a blue sky that you want darker (with or without clouds). Set the control line at the bottom of the horizon, then use the eye dropper to pick a blue you want to intensify. Use the controls in the Local Adjustments right panel to modify the blue (e.g., reduce exposure, or other adjustments). The adjustments will just be applied to areas that match the eye dropper pixels. That’s just one of many applications of the control line eye dropper. Let us know if that helps.