I recently got a new lens I have long coveted. It’s a 150-450 mm zoom which on my APS-C gives me an effective 675 mm. Perfect for birding!
Of course it had arrived right as I started a 7 day period of on call duty for work, and it rained for a whole week, too, but I finally got out with it yesterday and began learning the ropes — including the basics of handling a camera system that weighs in at over 2.5 kg!
I took a walk on one of my favourite tracks around 15 minutes’ drive away. I had a chest strap to carry the camera and hand held the whole time.
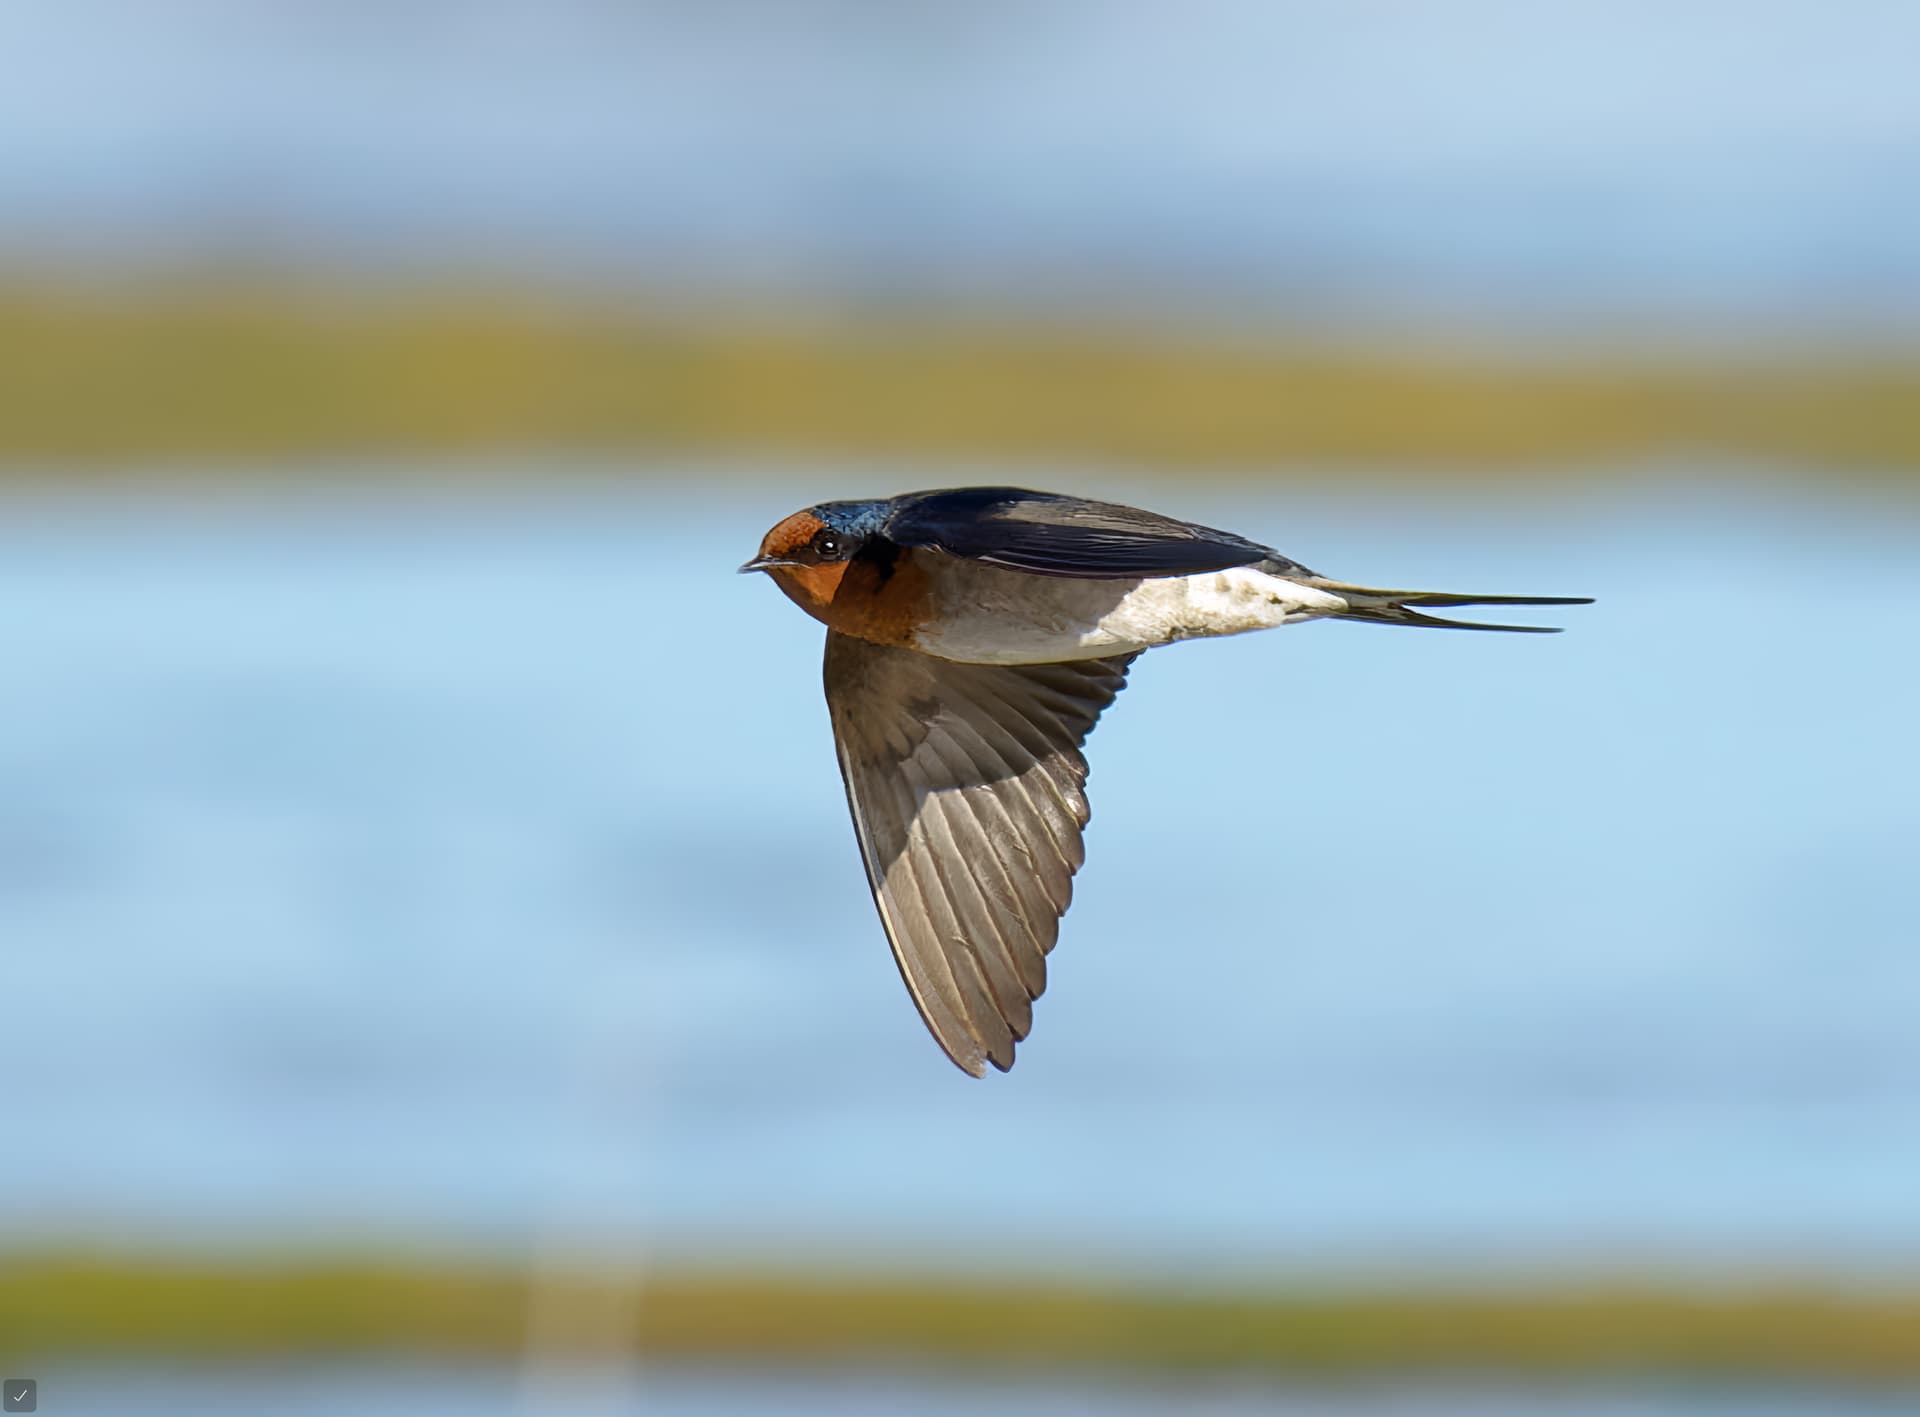
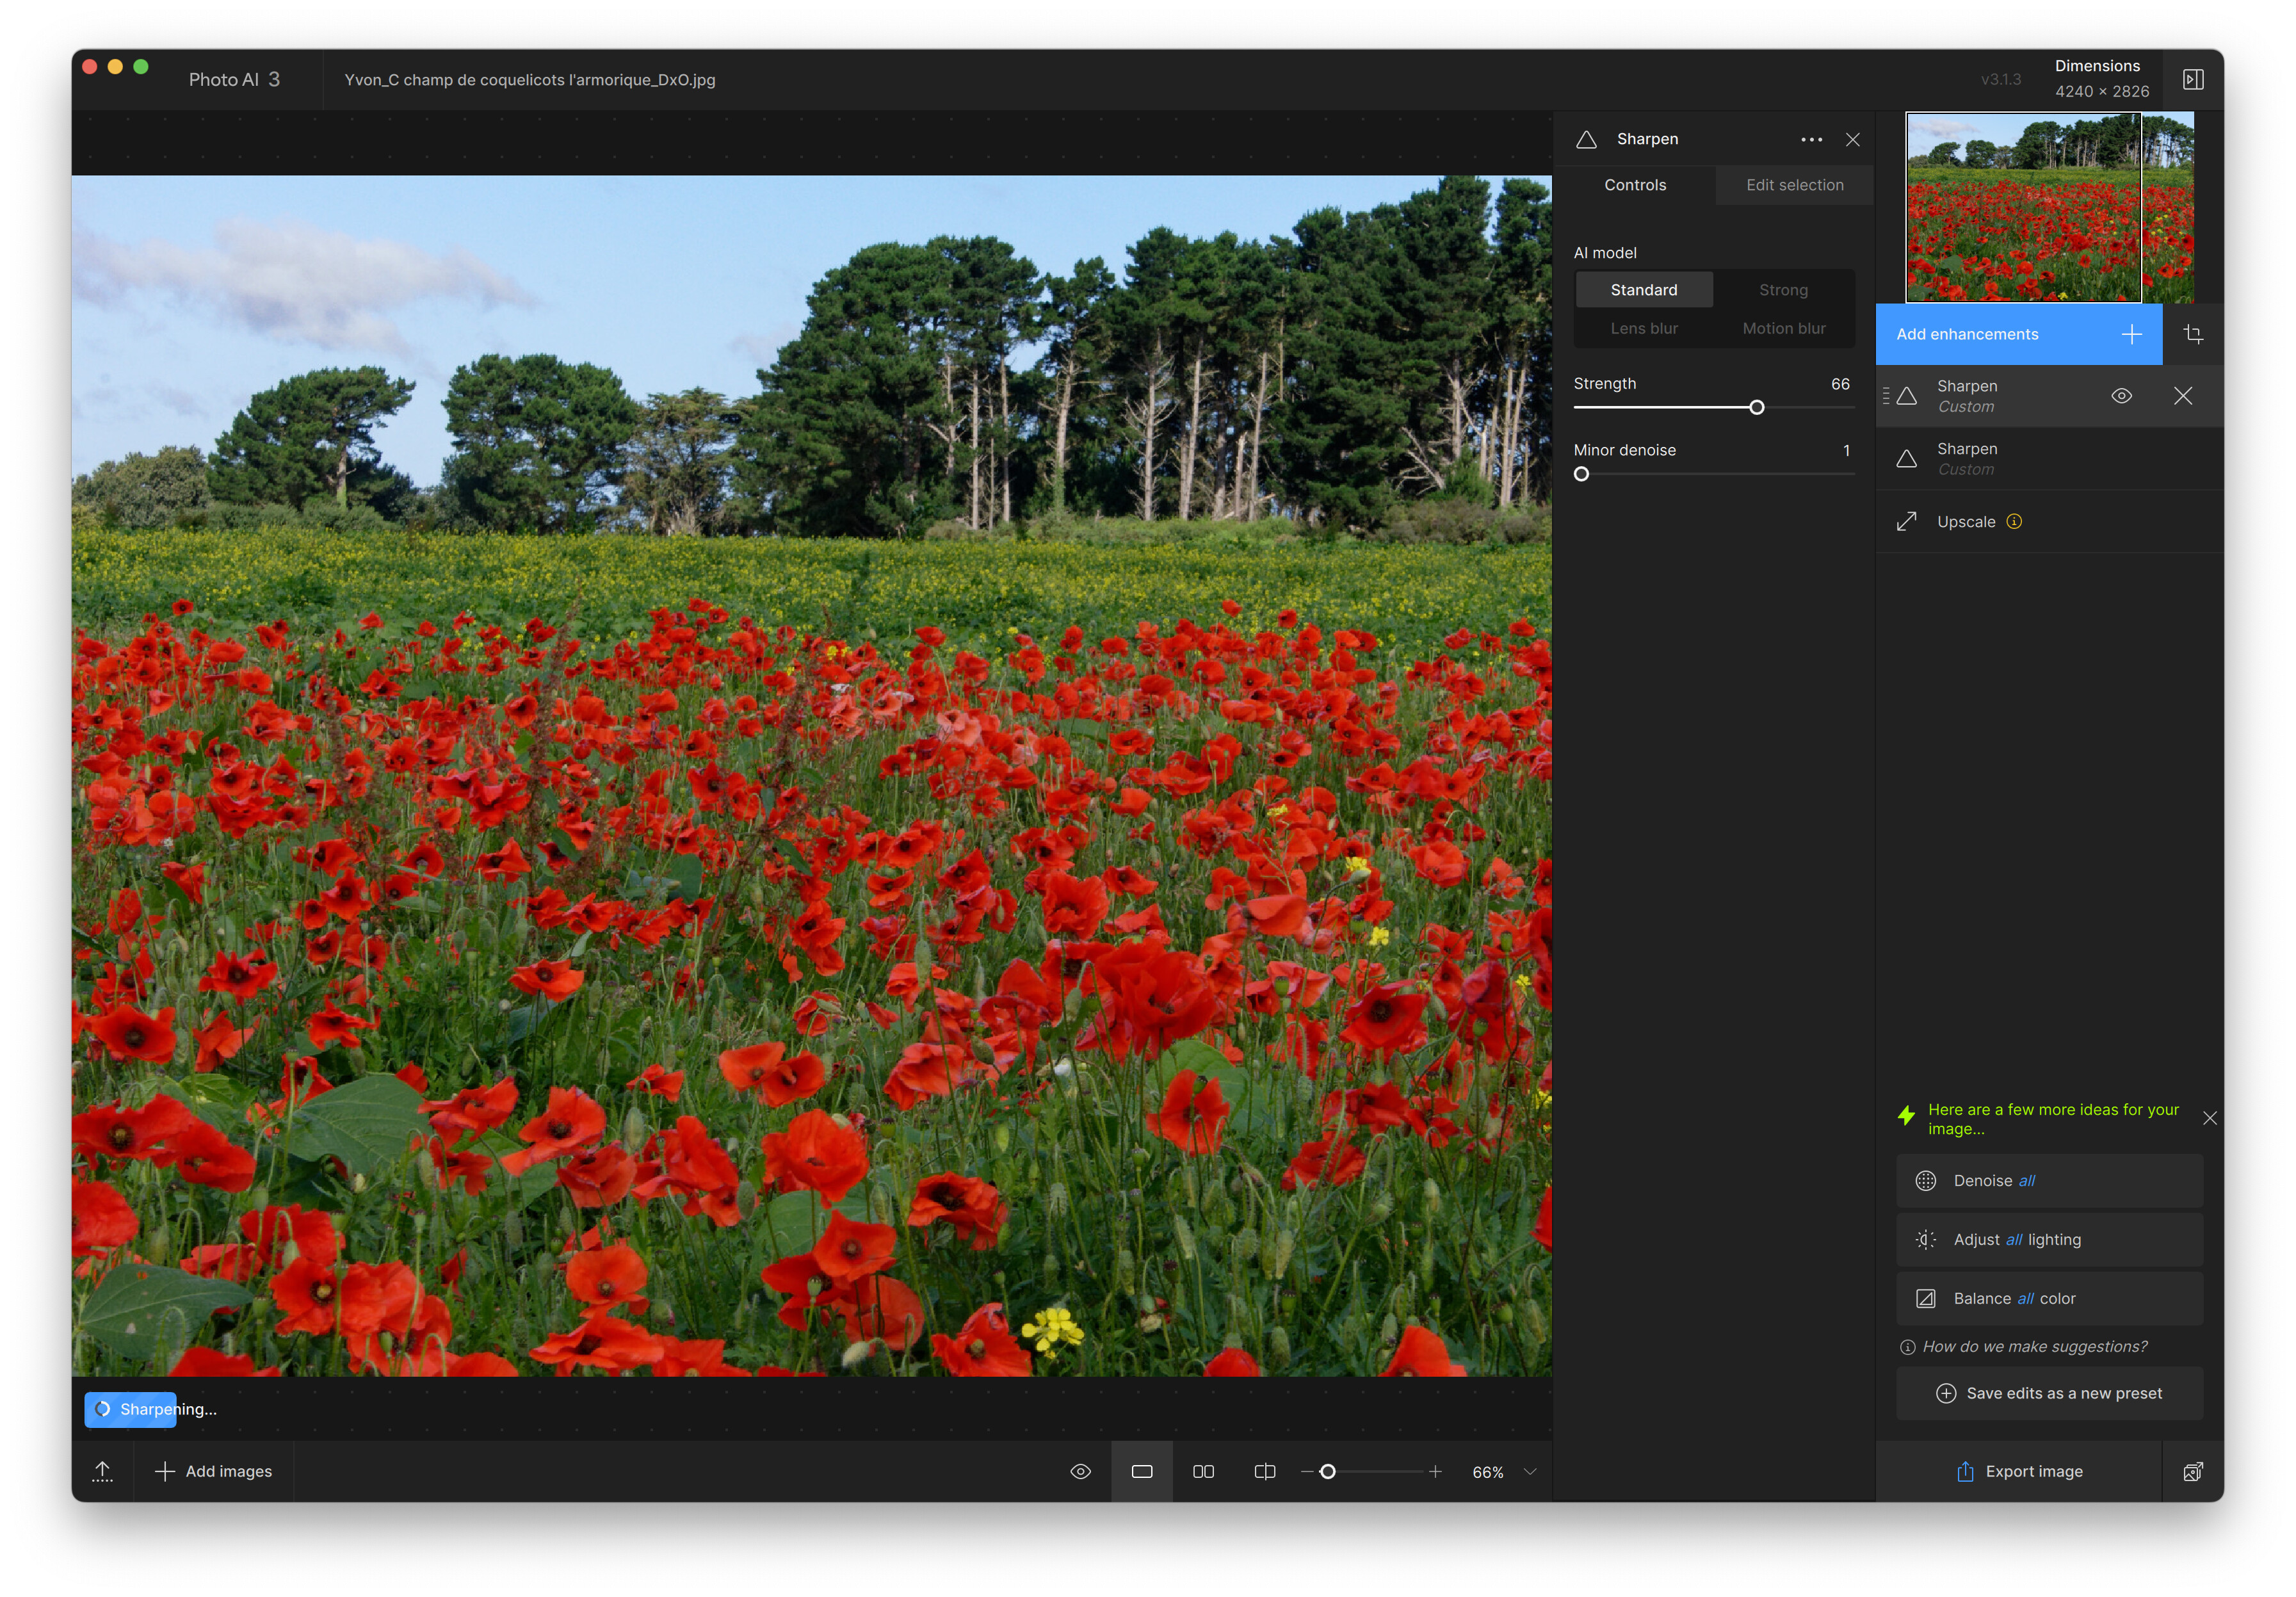
The hero shot of the day was this one. It is difficult enough with a light lens to track any species of fly-catcher, but with the long and heavy lens I was getting quite a workout! 24 megapixels quite heavily cropped to 6 (which is my publishing size).
It is a Welcome Swallow, native of southern Australia and New Zealand. There were a dozen or more flitting around and I spent around 5 minutes attempting to get shots. In that time I only managed to fire the shutter 7 times and only one came out both sharp and close enough.
Great shot but I’m guessing what you really wanted was a 900mm lens, which would then have revealed stuff in the distance that requires a 2000mm lens, which would then reveal stuff in the distance that requires a 4000mm lens, which… (ad infinitum)
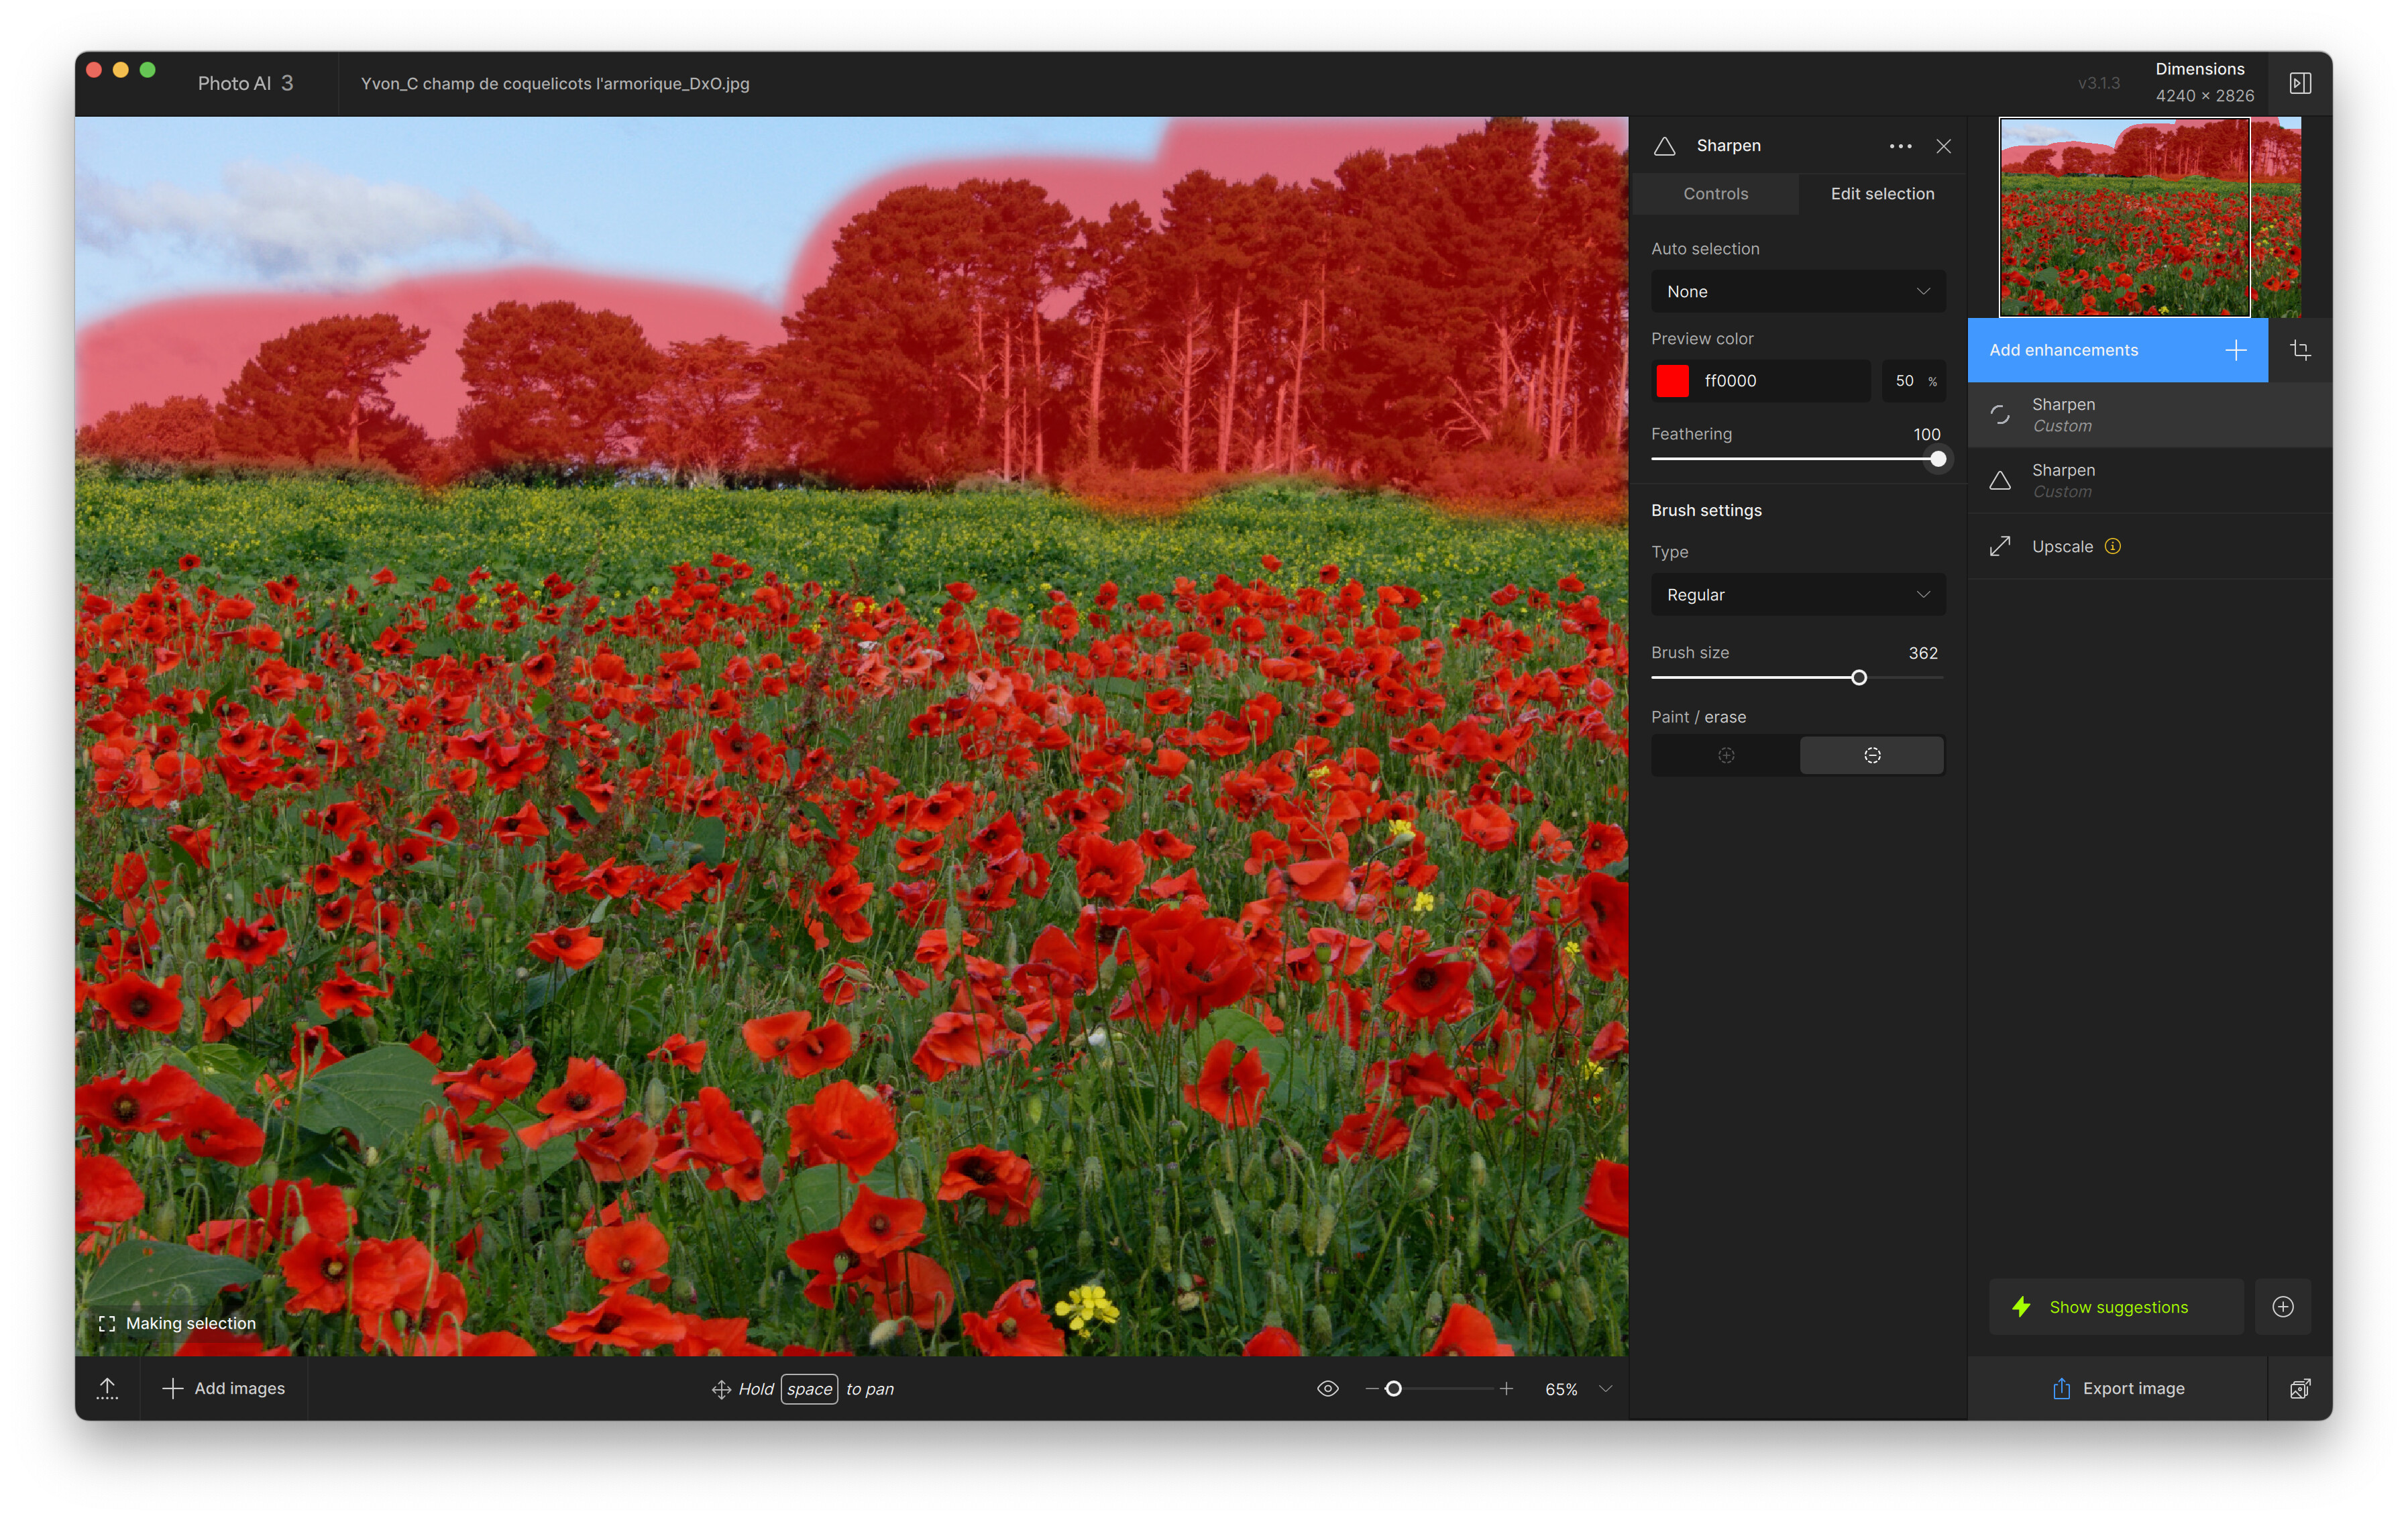
Or run it through Topaz Photo AI for a 2x enlargement. Here is a screenshot at 100% zoom from Topaz.
@Joanna , for upscaling, do you recommend to use Topaz? Typically I use to use 1 tool for all, well knowing for some requirements other tools are beating DxO. What do you think about a hard crop in DxO in the Swallow pic?
Crop from 46K JPG. Crop from 24M RAW would be much better.
Twenty years ago, I started with with Genuine Fractals, which then became On1 Resize. But, when I moved to DxO PhotoLab, I found I really didn’t need the rest of On1, so got Topaz Gigapixel. Then Topaz brought out Photo AI and I upgraded because it gave me both enlarging and sharpening to print size at the same time.
I regularly print to A2 size and have to prepare images for printing to 1 metre or more. I am very satisfied with the results from Photo AI and use it to prepare TIFF files for printing, not only my own work but also that of other photographers
Can you make available a TIFF export of a crop at its normal size from PL? If you prefer, send it just to me via a private message
Based on the price I paid for 450 mm I shudder to think what 4000 mm would cost!
But you are not wrong. I do have a 2x teleconverter, but it is not supported by DxO.
I’ve already run it through Gigapixel which is still a product in their line-up. It did a pretty good job at 2x but I’m just not sure how I feel yet doing this for published images. I did not run it through Photo AI as yet, but could give that a go.
Part of the problem with either of these tools is I tend to pixel-peep a little too much and find all the little problem areas.
I did use Sharpen AI (when Photo AI was still in nappies) on a few occasions where I hadn’t quite got the sharpness out of camera. In one case I had a shot I absolutely loved but had missed focus by a little and I used Sharpness AI plus some good old fashioned pixel editing to get rid of a partial halo it created.
The thing with upsizing is there really is a lot of invention going on and that’s what gives me pause. Maybe what I need to do is decide when a Topaz enlargement is potentially called for (like in this case) and just mention this fact in the description and tags.
I was considering that before I used the lens, but honestly, I think I’d have as much problem carrying around the monopod as wielding the camera. For this outing I was on a flat and (mostly) hard track (dirt/gravel/boardwalk) so could probably carry one, but any time I’m climbing hills and such I feel it would be more hindrance than help. I’m not the sort to set up a shot and I honestly don’t think I’d get the Swallow shot on any kind of mount.
I have long espoused the best tripod you can get — the human body. My hands are not as steady as they were, but when I’m moving, that’s far less of an issue. I dislike the idea of indirecting through any axis that is not wired into my brain.
(Anecdotally, I have seen “professional” video of aircraft that routinely loses the subject out of the frame. I’m convinced this is because they use a tripod.)
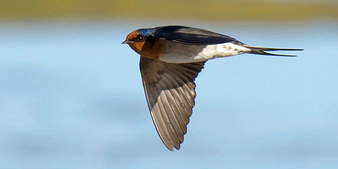
Here’s a version doubled with Photo AI. It wasn’t hard to make the head look great, but that lower wing and, to some extent, the lit underside tended to look somewhat fake. I think the wing in the original is actually not completely frozen and so shouldn’t be sharp.
I’ve tweaked it enough that I’m reasonably OK with the wing, which means the head is not quite as sharp. Ordinarily I would apply sharpness where needed, but there is no avoiding it when upscaling, short of using two different images and compositing them.
The original was cropped to 6 megapixels, which is my publication size. This version I cropped to half of those dimensions before doubling so it is once again 6 megapixels.
This is where you might consider trying different sharpening modes, like the Motion Blur mode, instead of Lens Blur, or even the two Standard and Strong modes, along with fine tuning the strength slider with each mode.
I can see your point but, would you mention it if you simply resized the export from PL?
I did try several and many different slider settings. In the end I settled for the head not being as sharp as possible to avoid the wing going “crunchy”.
I must admit I did not consider motion blur. Perhaps that would make the wing look frozen in which case it may not look so bad. Worth another play later.
No, because I only ever scale down. Scaling down is not inventing detail.
I have been trying to catch the swallows who (though less since a neighbour cut down their favourite perching tree) either bathe or drink or feed in our pool for some years. It’s very difficult, as you say, to get close enough to fill the frame; I generally end up using some combination of cropping & noise elimination in PL and sharpening/upscaling in Topaz AI. Over the years this has been fine for prints of 60x40cm - my house isn’t big enough for anything larger!
It’s not ideal, but I am still paying down my 200.-600 zoom, so any teleconverter is going to have to wait until next year or even 2026. Here is a result from
And this link should take you to the full size.Full size
I guess I shall find out over time how to use these blasted tags so the link is under the text!
Cheers
I do use selective sharpening when required, but this is upsizing. By definition, upsizing performs a version of sharpening (otherwise it’s “old school” upsizing). Hence my earlier comment I’d have to perform two different upscales and combine them in a pixel editor.
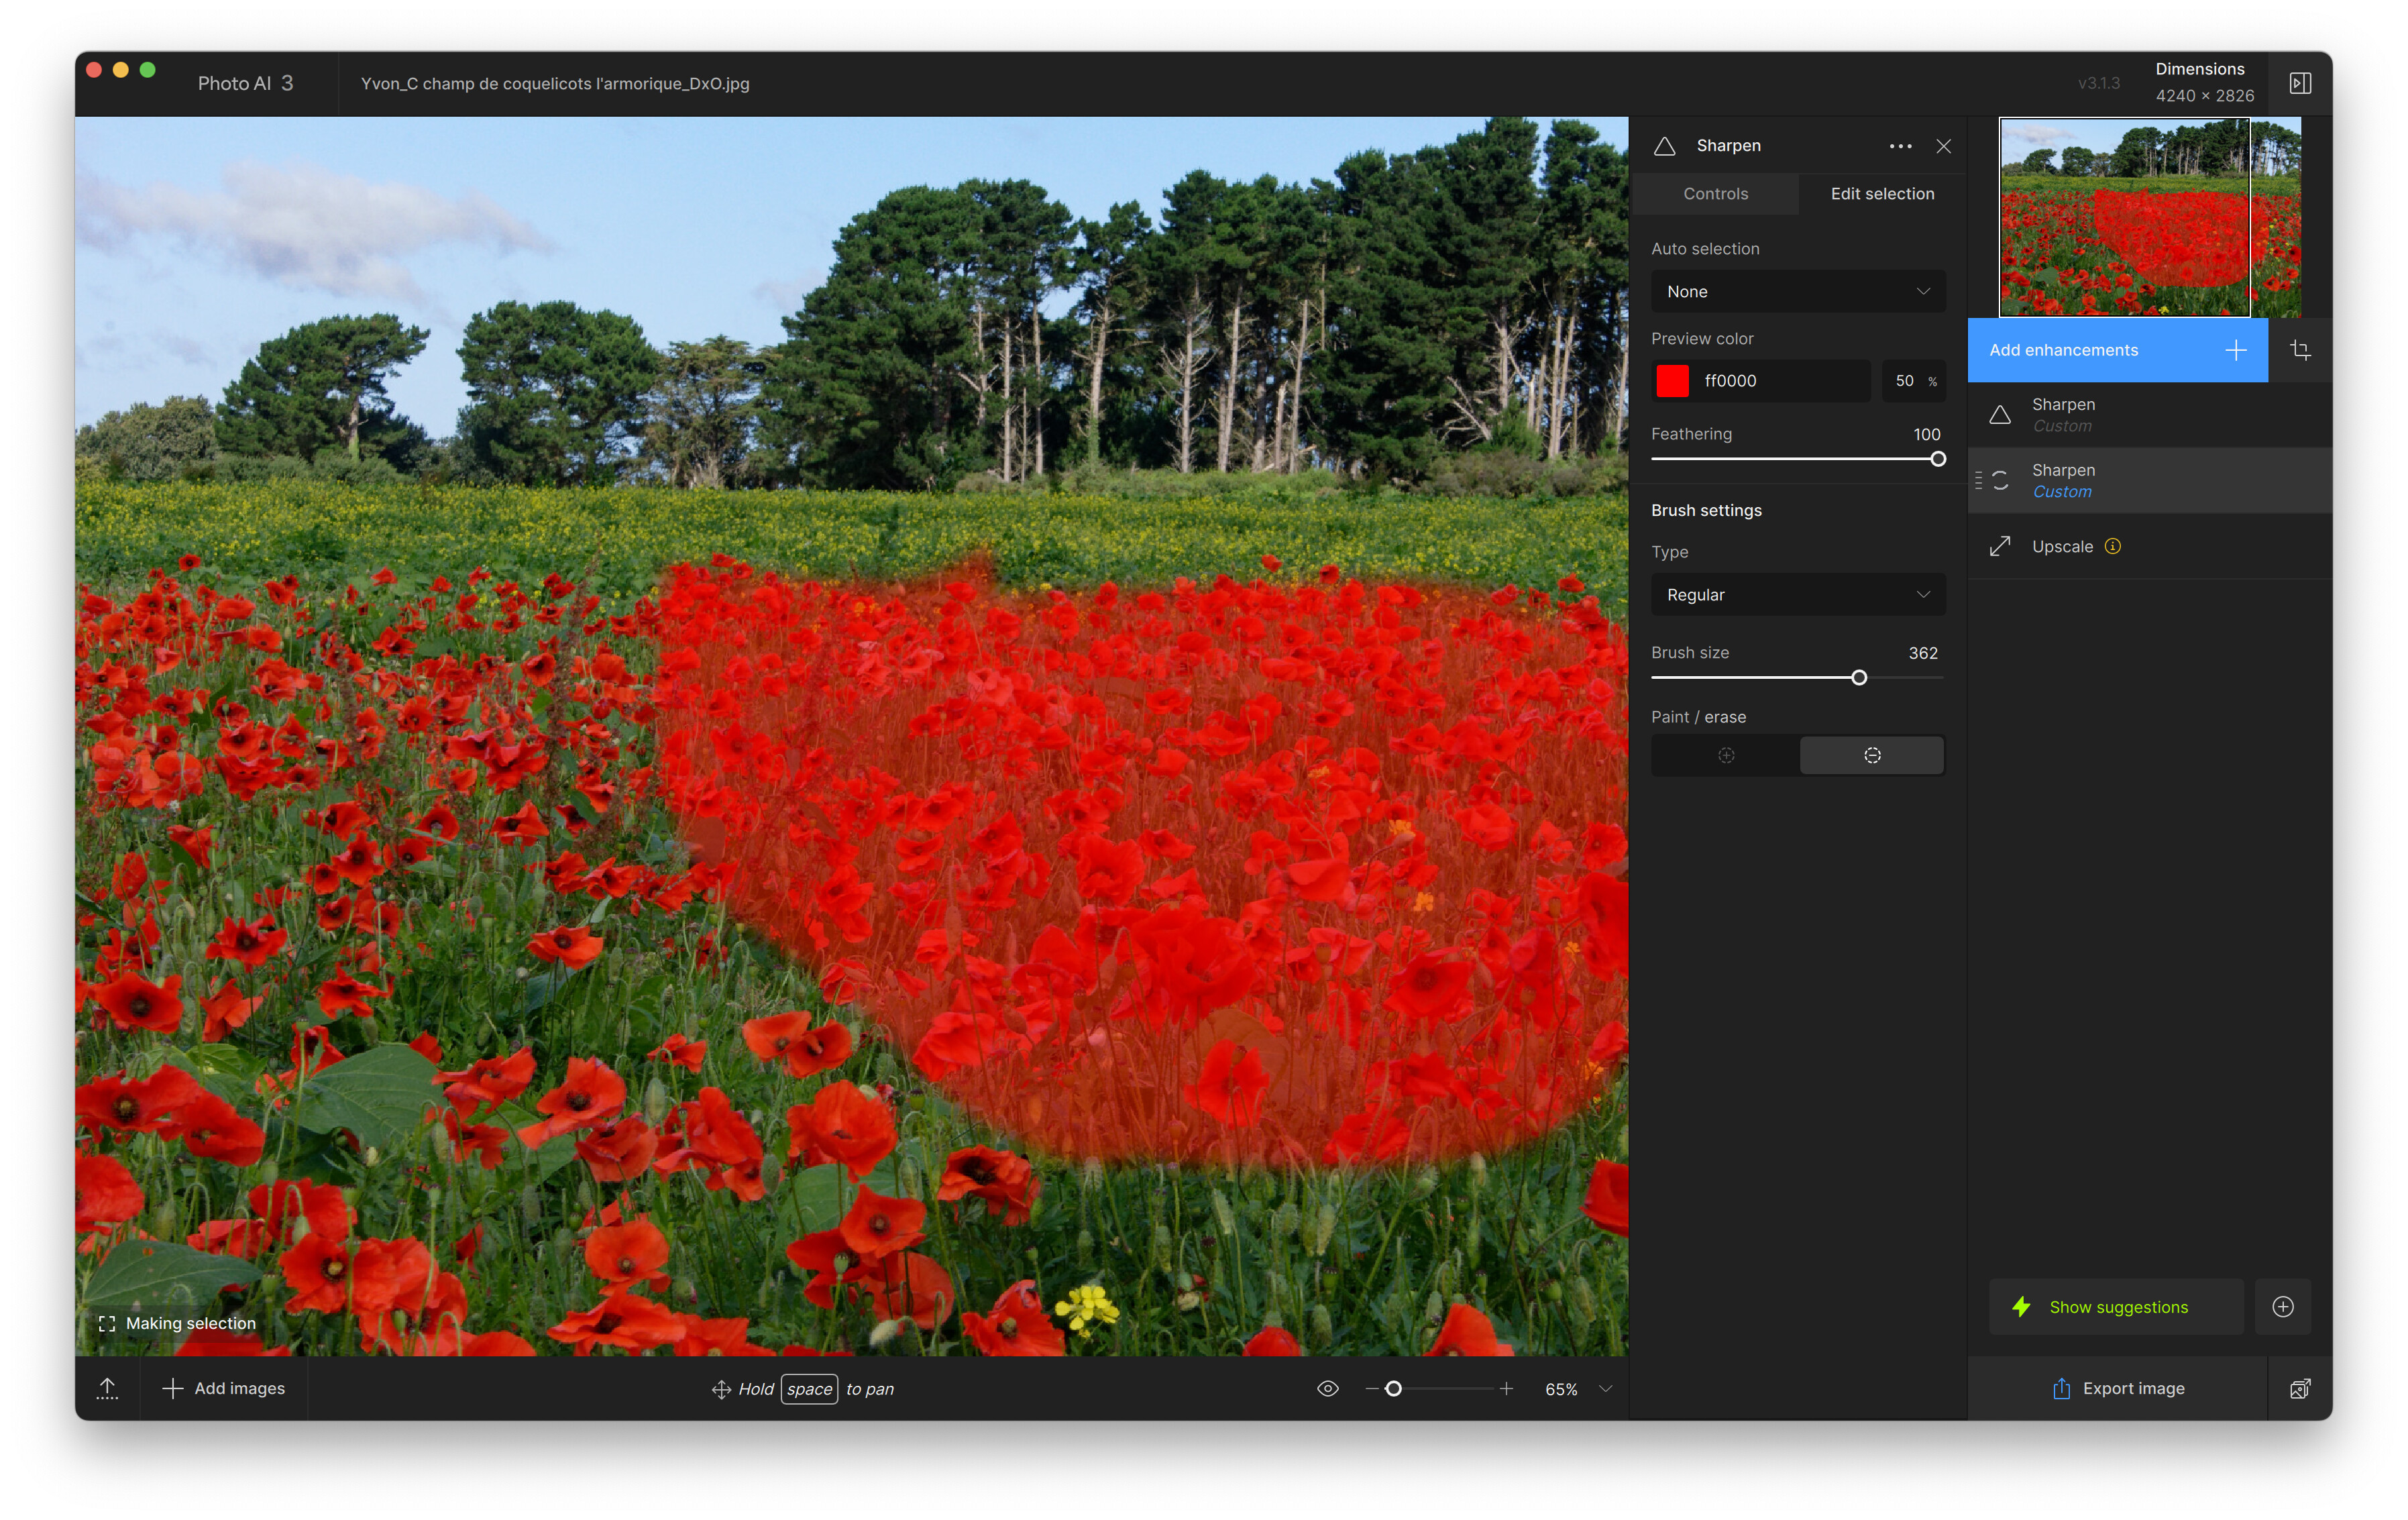
As far as I can see, there is one model choice when upscaling. I can’t paint in the upscale model where I want it.
Those features are often combined in one foot. The combination was invented decades ago.
From watching videos on YT I learned this - If you are using your mono- or tripod on muddy ground or in shallow water, put the spike through the center hole of a less appreciated CD, i.e. bring a stack of your most worn out music disks when you plan a soggy photo excursion.
I have two “feet” for my monopod, the old one, with a steel point that can be extended, and a rubber one with no means of using the steel pointer. I rarely go out into the “rough”, where I need the pointed “foot”. Once the temperature in Miami drops to acceptable levels, I’ll start doing bird photography again. A friend gave me my monopod - I had to buy a “head” and a “foot”.
I’m saying the sole act of upscaling causes a sharpening of the image without any additional sharpening and that is what is killing the look of the wing. If it didn’t inherently sharpen the image to achieve the scale, it would just be “nearest neighbour” or worse.
Put another way, it’s inventing detail and that which it invents for the head is excellent while that it invents for the wing is not. The best upscaling algorithm for the head is not the best one for the wing.


