Hi, I’m using PL6 and what I’m asking is, Is there a way of viewing the finished image after editing? I’m referring to the sharpening which can only be seen when zoomed in at 78% I’m finding this hard to work with tbh, so surely there must be a way of viewing the image completely. Is anyone else finding this annoying?
What a lot of people do is to apply just the four optical corrections and DeepPRIME to the original image, export it as a DNG to the original folder and then use that for the rest of the edits you want to make
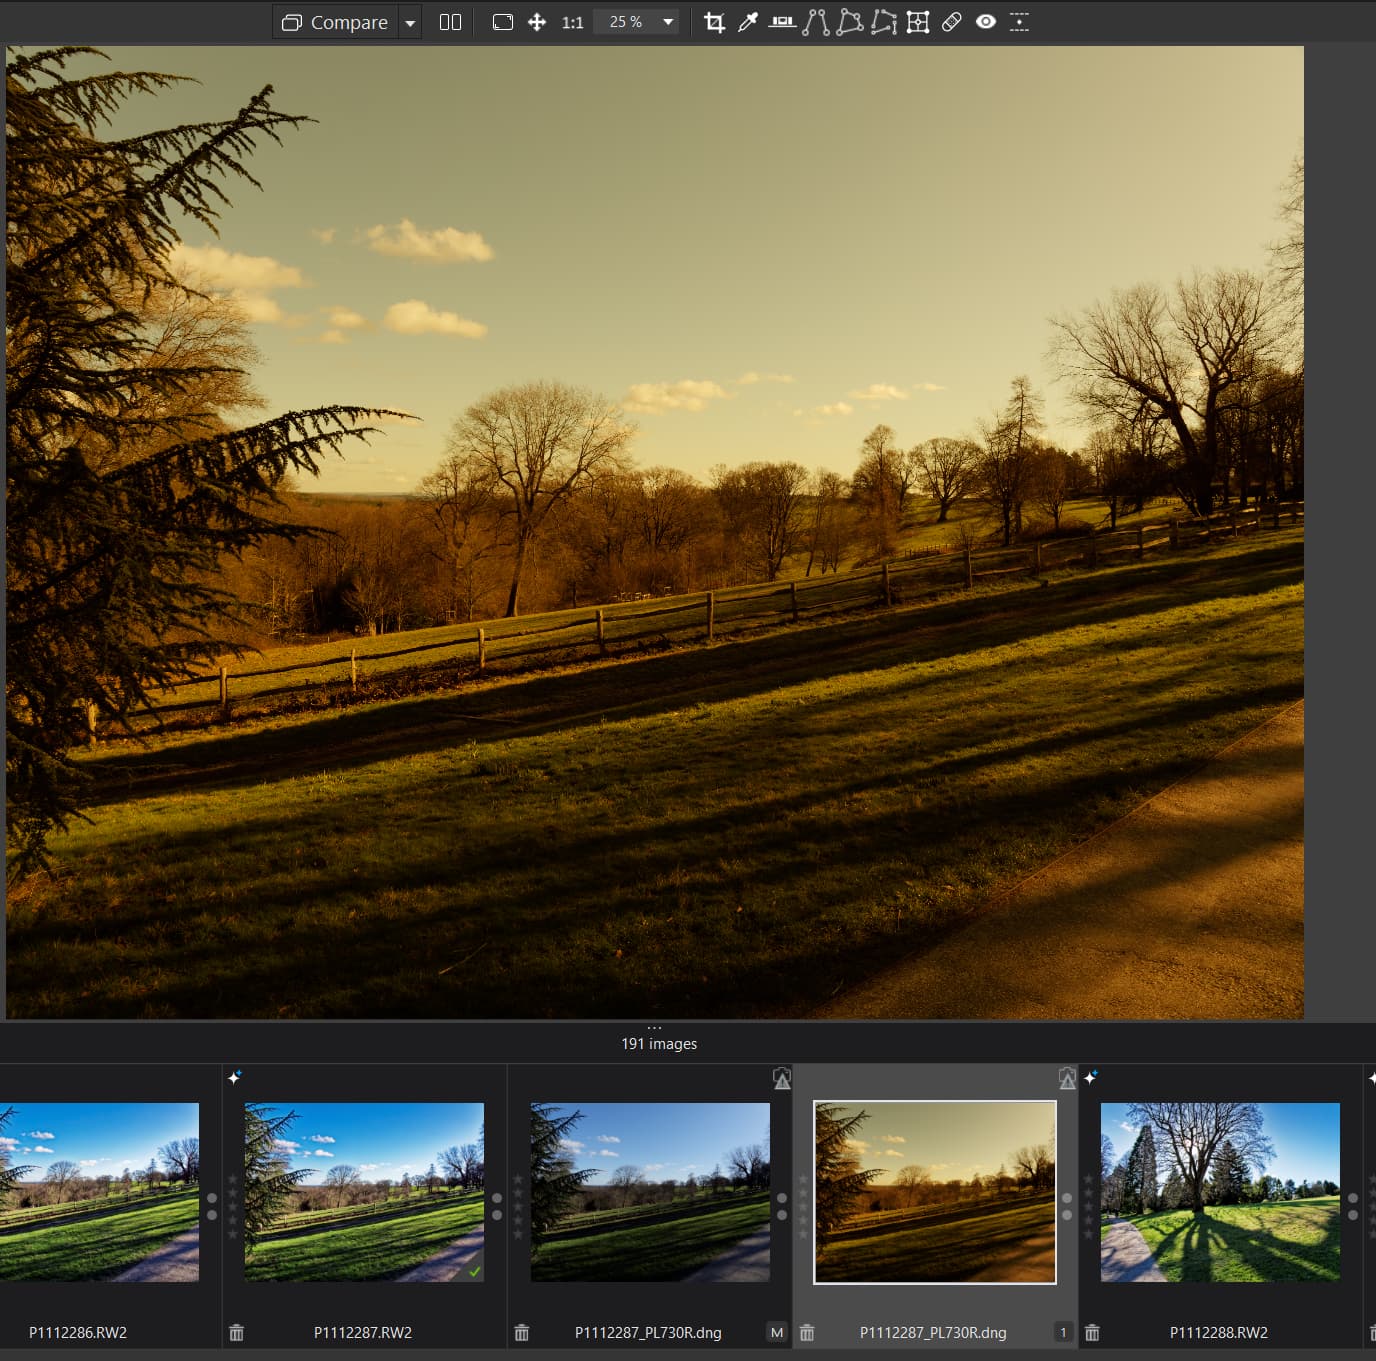
@KeithRJ It appears that you can still apply RAW White Balance to a DNG that has been exported with just Optical corrections and Noise reduction applied.
The following is a RAW (RW2) with corrections, the exported DNG and a VC with RAW WB applied to extreme, I actually quite like the look of VC1 but it was only done to make it stand out!
Personally I export to JPG (lighter on space than a TIFF), either 100% or 97% and use that to judge how effective the whole package of changes are with NR applied, i.e. DP XD helps reduce or eradicate the noise added to an image by my heavy handed editing!?
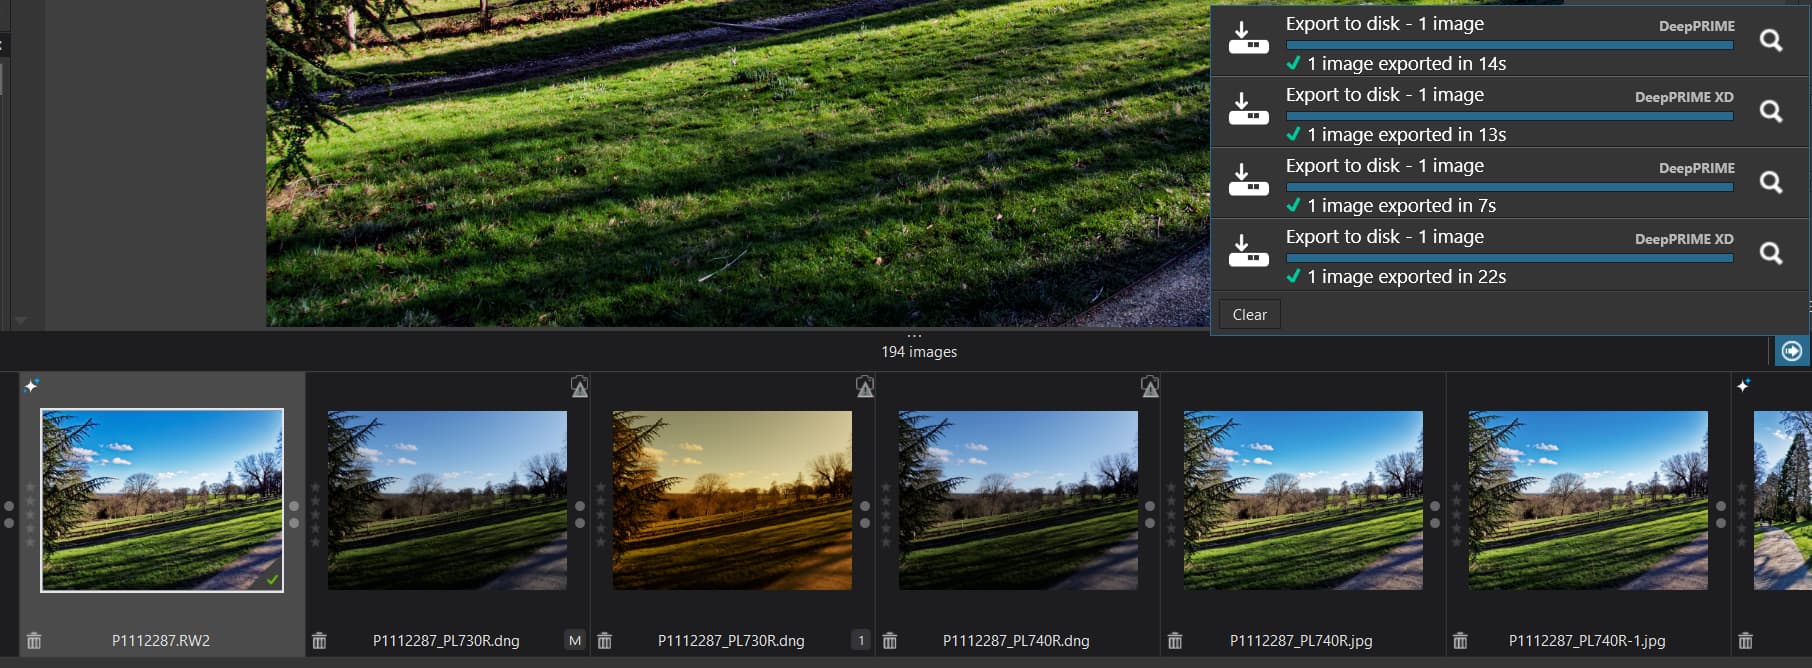
@Joanna Having made the previous post I realised that I had exported a DP image so I changed to DP XD and exported again (changing the from PL730R to PL740R at the same time) and the DP XD time was actually slightly faster than DP which I had not expected!?
The image was not particularly noisy but I expected DP XD to take longer than DP.
Please remember that my normal exports will contain more edits and be to JPGs!? So I changed back to DP and exported to a 100% JPG and then set to DP XD and exported to another 100% JPG.
I got the following times exporting from my (sick) i7 4790K with a single fan RTX2060 and dwindling memory (32GB with a memory leak).
Just to be clear for those who do not know., the four Optical corrections are Lens softness correction, Chromatic aberration, Distortion, and Vignetting. There is, of course, a fifth optical correction, Volume defamation, but only if the user has a license for FilmPack. Add the optical adjustments and DeepPRIME or DeepPRIME XD to a raw image and then use the “Export as DNG (Denoise & Optical Corrections only)” export option and continue your edits on the resulting DNG files.
@mwsilvers Is Volume Deformation FilmPack or Viewpoint?
I don’t have time to check I currently I have potentially one failed 8TB and a dying 6TB drive on my hands and need to start copying the 6TB before it fails completely and investigate the state of the 8TB!?