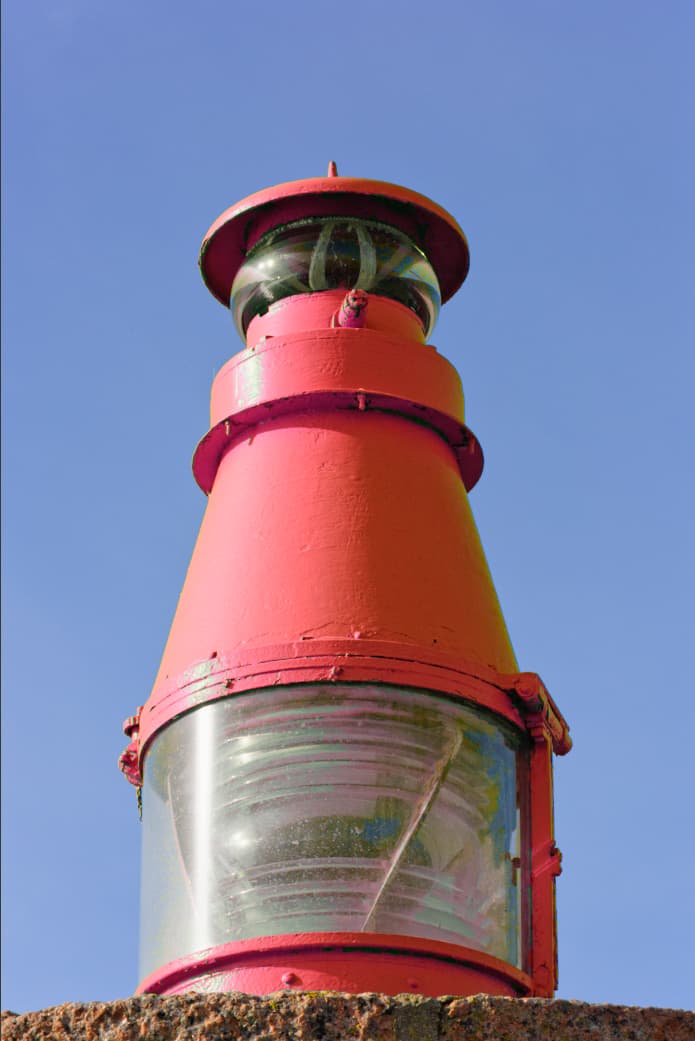
But why? You are using a great camera with some great glass. provided you get the focus right, as you did, it is inevitable
Let me correct that slightly - while your camera didn’t record the colours as well as you hoped.
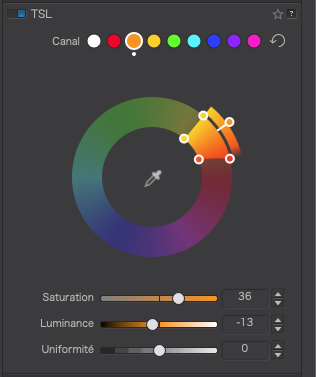
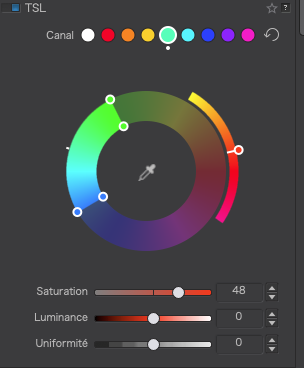
I notice you had already set the colour temperature to around 7800°K, so I left it there and just added the Velvia rendering for just that tad more intensity in the warm colours. Plus I also used the colour wheel for yet more (but subtle) boost to just that range of colours.
Note how I selected the coloured dot (preset) nearest to the range I wanted to affect, then widened the range but using the little circles around the “wedge”, before boosting the saturation, but also reducing the luminance so that it didn’t “blow” on the over-exposure indicator.
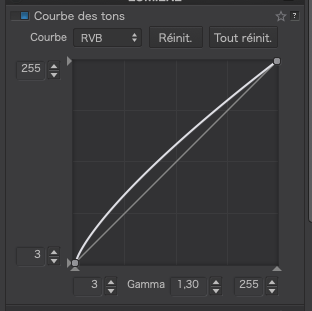
On the whole not bad at all. But, me being me, I had to fiddle, so I took the liberty of moving both zones to the darkest and brightest areas…
… and then subtly changed the tone curve by fixing the ends and just raising the gamma…
Here’s the result - not much different to yours but I thought you might like to know how to do selective colour adjustments using the colour wheel, so I used this as an example.
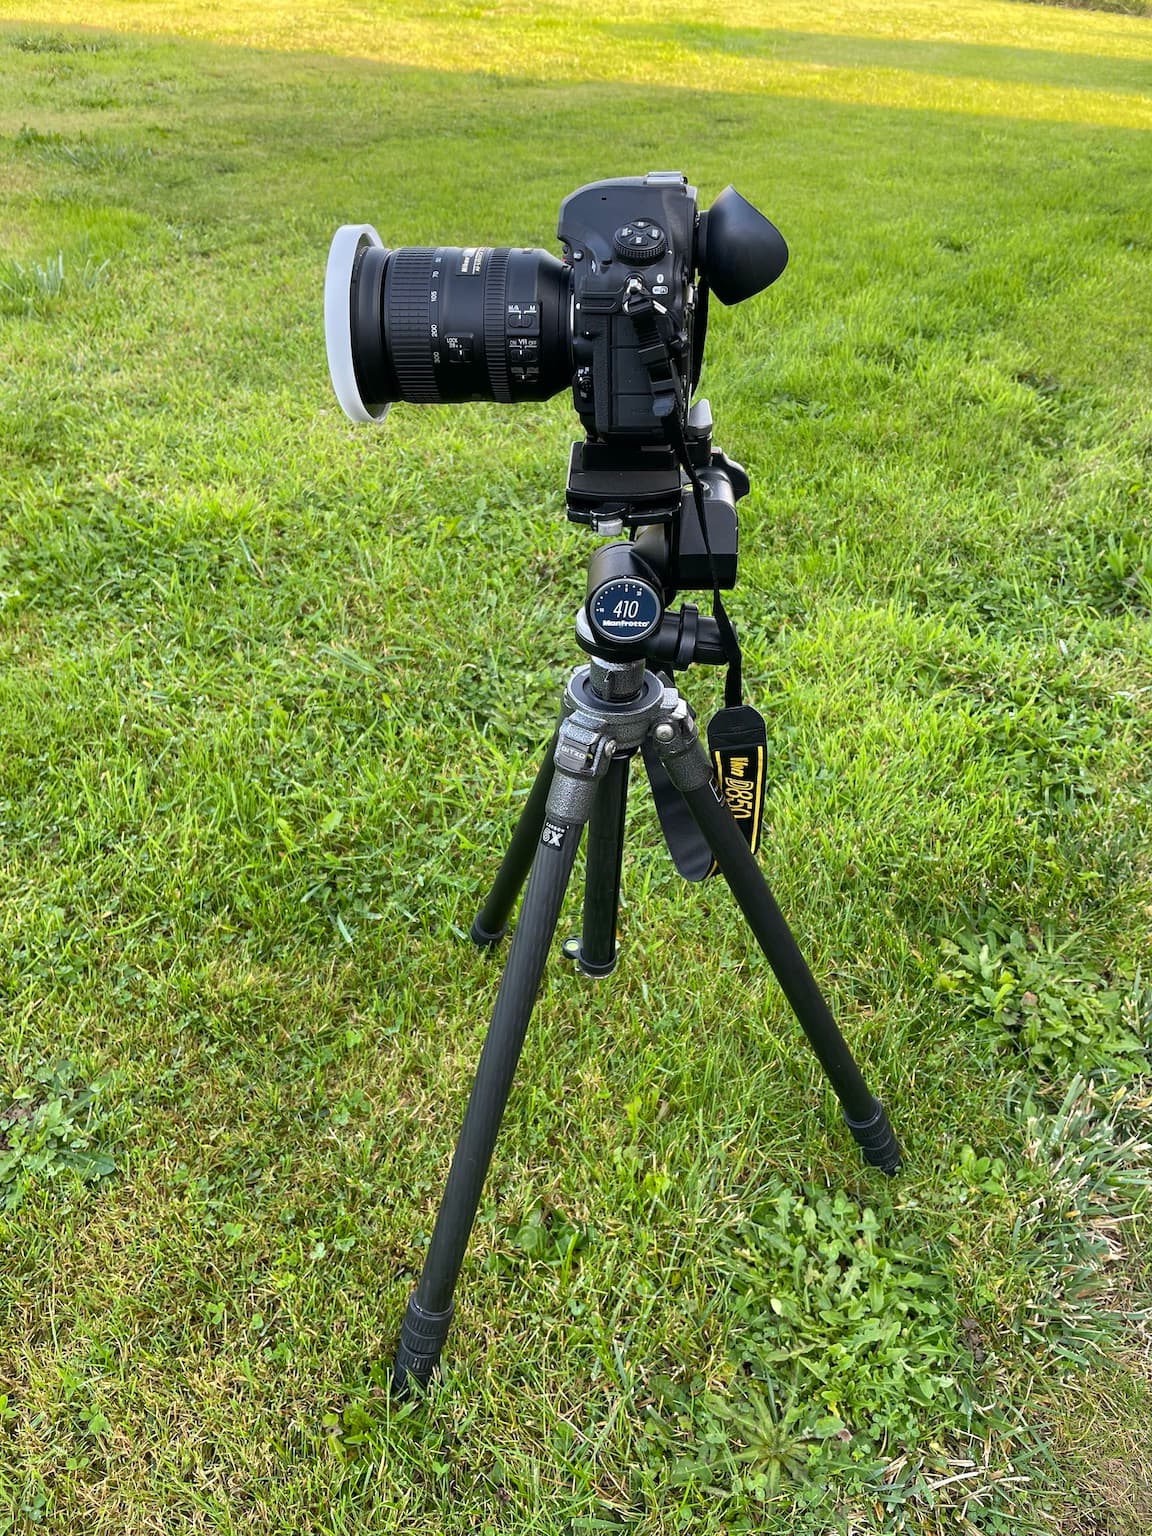
Just to add to your ideas @Guenterm, here is a photo of my Gitzo 2530LVL (collapsed) with a Manfrotto 410 head, with the D850 on top, to show that, although it is sturdy enough to support a field camera, it isn’t really that bulky. We have two of them and they fit into the boot (trunk) of the car, along with camera bags and other luggage, or even on the back seat.
This easily fit in my trunk, and is what I used for my long exposure shot of the Lucy launch. It’s small, light, plastic, and for my purposes, perhaps useless.
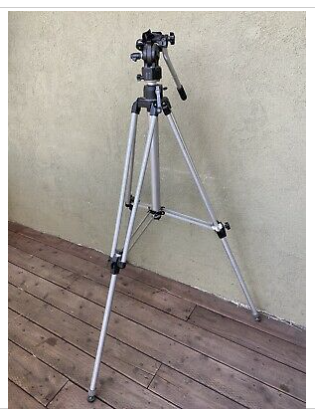
This is my better tripod, that I should have taken with me, and having learned this lesson, will use from now on. It’s old, quite heavy, too big for walk-around, but it feels very sturdy: Bogen Model 3040, from Italy.
With the heavy duty head, it sells (used) for a few hundred dollars.
Rather than say much more, I will do a test at night, attaching my 80-200 Nikon lens on my D750, and take a photo of some detailed scene in Miami, then see how sharp the image is.
I suppose it’s silly to compare a $30 “toy” tripod to a heavy-duty professional tripod, and in retrospect, I took the wrong tripod with me to my brother’s home, and while it did capture an “acceptable” image, I could have gotten something much better. I doubt the Bogen will fit in my trunk, but I can put it in the passenger seat, upside down with the heavy side resting on the floor of my car.
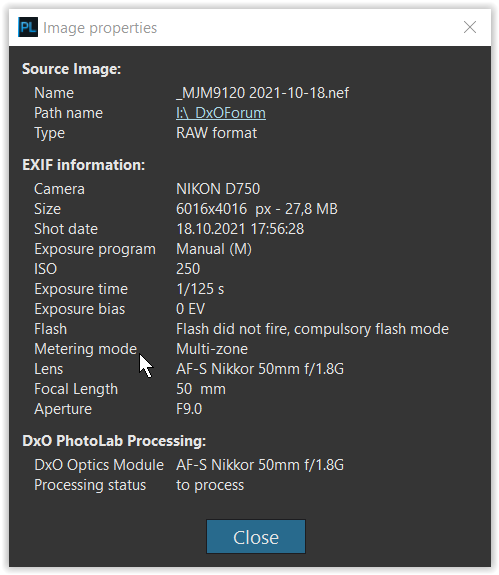
Yes, all that is true, but it was also hand-held, 1/125th shutter, f/9, and I don’t think I have very steady hands. Focus was “auto”, focusing on the skyline. The D750 is usually very good at this (undoubtedly better than what I can do manually with the Leica most of the time). I’m just not used to seeing this clarity at 100%.
I’m not familiar with “Velvia”, but I’ll look at this in PL4 later today. The 7800 was from my using the slider until I liked what I saw - but as usual, your version is much closer to what I wanted - but not at all what I actually saw. I have very minimal experience using the color controls. I will copy what you did later today, watching how things change. To be honest, I’ve never really used these color controls yet.
Yes, I do, now. Not sure if you sent me your “.dot” file, but regardless, I need to make the same adjustments you did, to my image, and will hopefully get the same results. Like I wrote earlier, what you created looks just like what I wanted, but I thought I was too late, and the sky was already fading. I took the photo around 6:50pm, regardless of what the EXIF shows. I don’t think I ever set my 750 to daylight savings time. Me bad.
Hmm, I thought I had the brightest area selected, but I selected the darkest area I cared about - should have selected what you did. I was very pleased at how the detail in the cityscape showed up again. Wonderful tool (now that I have a better idea how to use it!!).
I raised the bottom left corner from “0” to “3”, which got rid of the clipping. I will need to try what you did, to see why you modified the tone curve as you did. I never suspected that would be something good to do - I need to see what change it created, and then I’ll hopefully understand why you did it.
For better or worse, I want to understand everything. I’ll never catch up to you, but I’ll get closer, eventually, I hope.
Your end result is not what I saw, but it IS what I wanted. If I can, and if the weather is good, I will try again tonight, but I’ll get there earlier when the sun and sky look the best - and in a couple of weeks, Daylight Savings Time will end, making it easier for me to be there at the right time.
One question - do you have an immediate goal, and adjust the image to meet your goal, or do you (like I do) start moving things around trying to improve the image? Or, worded differently, did you envision making all those changes BEFORE you started to edit, or while doing so? …and I’ll add that I definitely do not do it the first way, because I’m not yet aware of the possibilities. Maybe in ten years or so, I’ll know all this ahead of time, and corrections will be as “obvious” as fixing a tilted horizon. That’s part of what I know I’ll be doing, before I even start to edit. Smart Lighting is beginning to feel that way, but I couldn’t (yet) visualize the effect it was going to have, until I was actually doing it.
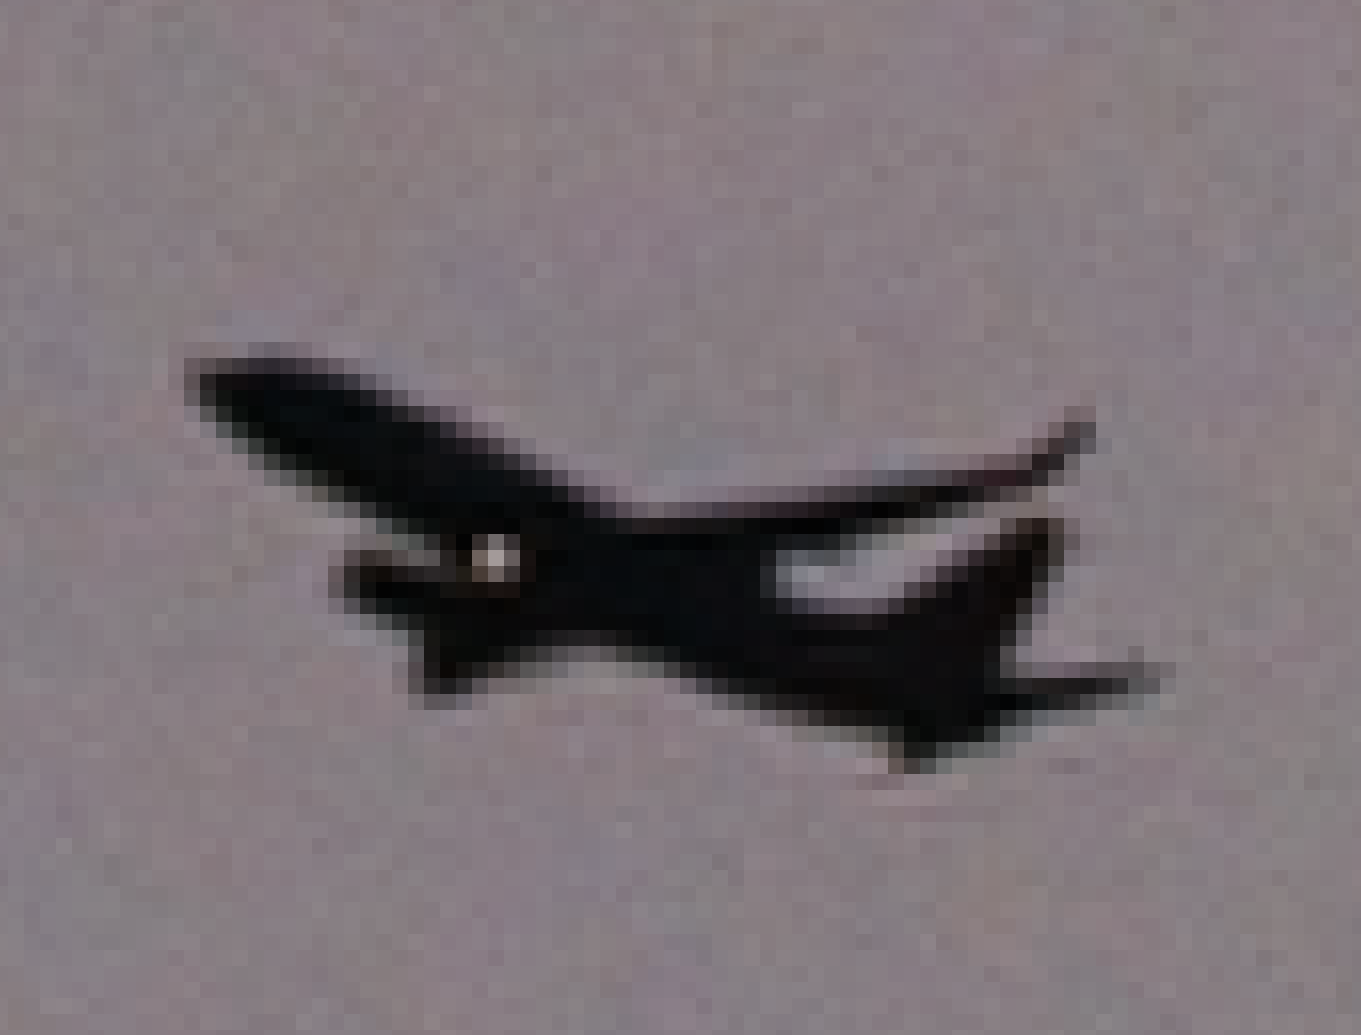
This has nothing to do with the editing of the image, but everything to do with this image of the airplane. I suppose if I ever get a D850 with double the resolution, these tiny parts of the image may look better? Or will diffraction prevent that?
The better the resolution, the smaller the “Lego blocks” should get, but when you factor in diffraction, will it make a useful difference?
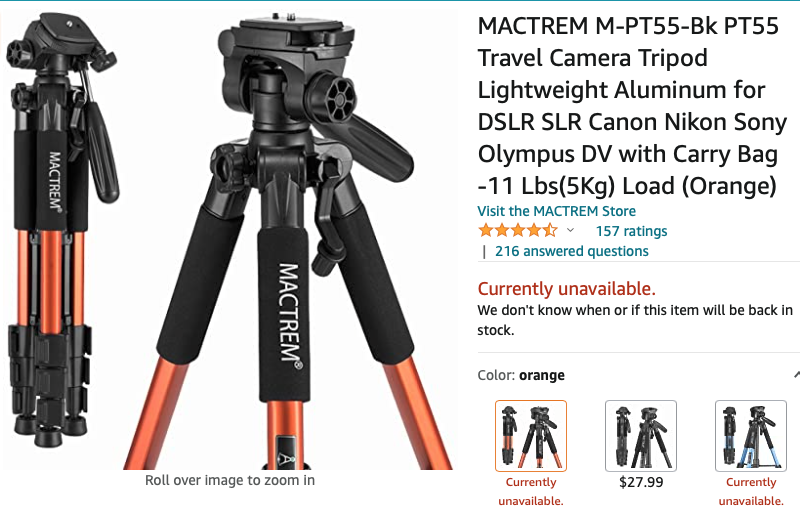
I’m sorry but - eeeeuuuggghhh!!! I’m betting it has a plastic head with plastic adapter plate and holder - guaranteed to lose its grip, and the handle is more suited to a video camera than a stills one. Personally, I wouldn’t trust a couple of thousand dollars worth of equipment on top of that. No wonder you held on to the camera
The Bogen that you have is simply a Manfrotto rebadged for the US and is also more suited for video. The handle can get in the way, contributing the its “large” size and the RC0 adapter plate is primarily intended for either large video or LF field cameras, not SLRs.
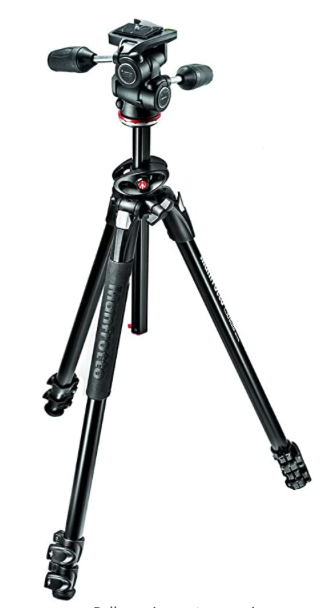
From both personal experience and having a few friends who have it, I would highly recommend the Manfrotto 290 3 section XTRA CF tripod with 3-way head. For the money, it is a cracking, compact, yet sturdy, beast and the 3-way head is much easier to use than a ball head.
I always rely on the rule of the slowest shutter speed to use handheld being the reciprocal of the focal length (x2 when you get to our age), x3 if the subject is moving, x4 if you are moving as well as the subject. So, with a 50mm lens, 1/125 second should be fine.
Velvia 100 is a saturated colour transparency film favoured by landscape photographers like myself to give warm, sumptuous (feel-good) colours. The DxO digital emulation is not perfect but perfectly acceptable when you can also use other colour controls to tweak it.
So now do you get what I mean by “pre-visualisation”? It’s not always exactly what you saw and measured but also the emotion the scene evoked for you and that you want to convey.
I haven’t posted the DOP file because you need to play with the colour wheel in order to get the effect you want, not what I say is right (for me).
To clarify, the two inner dots control the “width” of the affected colour range, whilst the two outer dots are like the ends of a gradient filter, controlling how sharply or softly the range transitions to adjacent colours. The dot on the outer ring allows you to “translate” one colour range to another. e.g. if the inner segment is on green and you move the outer dot to red, anything in the green colour range will become red.
Now, of course, you don’t have to use it for such extreme manipulations, but this shows how powerful the colour wheel is and why you need to play with it because it permits you to make subtle changes to one colour range without affecting the whole image.
The white dot is global and the eight coloured dots are just starting points that will change as you move the inner segment. You can also select a dot that is close to what you want to change and then use the pipette to select, from the image, more precisely the colour you want to affect.
As you can see in my version of your image, I chose the orange dot as a starting point and spread it out a bit to “capture” more tones before raising the saturation and lowering the luminance.
I tend to switch on the over/under-exposure warnings and then temporarily push the tone curve to show me where the darkest/brightest zones are for marking purposes, then turn off the warnings and properly normalise the curve from scratch.
Placing the" curvy bits" is something you can only really learn by trial and error. Just remember that the steeper the curve, the more contrast. Making it dive into the bottom corner like I did is a great way of increasing the shadow contrast with raising the black level, which is the bottom of the curve.
Sort of
Yes, definitely either or both, depending on whether I envisioned it before I shot it, or after I saw the possibilities whilst manipulating it.
I’ve said this before elsewhere - I am famous in our club photo for answering questions with “ça depend” (it depends)
In that case, you’ll have beaten me. After more than fifty years, I still don’t always get it right before I take the shot but then, neither did Ansel Adams. It’s just that both he and I don’t show the failed shots unless it’s for teaching purposes.
Naughty, naughty Mike. What happened to spot metering for the brightest zone and over-exposing by 1⅔ stops? I thought you were the one who didn’t want their camera to get in the way
Well, I’m shocked! Even the Manfrotto direct site doesn’t have stock of the CF version - must be something to do with the curt worldwide shortages of all sorts of stuff.
The model you link to is aluminium and weighs about ½lb more, which isn’t much. My only reservation is that the CF is reckoned to be more stable for its weight.
Hang on a day or so and see if you can buy the legs and head separately.
I have still a Gitzo Gh2750 in my personal stock and an old ArcaSwiss MOnoball, but I think the delivery coast will be too high, and the Arca I have to check because it’s some years old and not used the last 10 years
TRY that one – before you buy new. For your balcony shots you don’t need something for ‘travel’,
but in a convenient height while still not shaky (w/o center column or center column down …).
And if it’s the head, that is in your way like @Joanna mentioned, check if you can replace it (and reuse with a ‘travel’ tripod in case you are in need of). In general, 3D heads are better suited for landscape and stuff where you have time to adjust.
If I may add – your 2,8/80-200 mm Nikon is a heavy lens!
I had a more modern version (AF-S 2,8/70-200 mm G ED VRII), which came with a lens foot. So, if your version has one – use it! The camera is much better balanced (easier for the tripod head to hold steady) and all the weight is not hanging from the camera’s bayonett.
It has been a very long time since I last dug through all my D750 menus and settings. I will obviously need to go through them again, so I understand what my camera is now trying to do. I guess it’s good that I use these settings to my advantage.
Long ago, I found this video - watched it once, then watched it again. As I recall, just about everything they suggested I went along with, even when I didn’t understand. Joanna may or may not find some things useful, and will probably find things she disagrees with: https://www.youtube.com/watch?v=KmYJuCZiJWE
Speaking of matrix metering, isn’t that a good starting point for general use, unless I have a good reason to change it?
Since I know nothing of Velvia, unless you feel it’s a better starting point than no starting point at all, wouldn’t I be better off not selecting anything yet for this purpose?
Yes, I guess I do, but obviously not as much so as you do. My “visualization” keeps changing as I work on an image, and see how it is “developing”. I get ideas all the time, and I try to not get locked into a specific path, keeping my mind open for better ideas.
Color range - will work on/with that later today. PhotoJoseph did great videos on this a year or two ago, when it was first introduced, and before I knew anything much about PhotoLab. It’s time for me to dig in and learn how to use it. Will probably start by watching his Webinar again.
Sneaky!!! What a cool trick. I will never forget this. Brilliant! (literally)
My only reservation about the 055 series is that I think that they are seriously over specified for a DSLR but, if you want to support an 8" x 10" view camera…
And ball heads are nowhere near as easy or precise to operate as three-way heads.
For everyday use, I find I get better exposures from centre-wighted. Matrix can often be fooled by stuff on the edge of the frame. But have a go at spot mode (over-exposing by 1⅔ stops) tonight to see what a difference it makes.
Velvia is only any good when you want to emulate that look and feel, otherwise, take your pick and play.
That is fine. Pre-visualisation comes in useful when you have a definite idea but, doesn’t preclude changing your mind.
Either that or just start playing, starting with the basics I just showed you and then play a bit more. Start by simply boosting/muting saturation on one coloured dot, then see what happens when you spread the segment.
Well, I checked the video link – he is talking how to use the cam for wedding AND with camera off flash – hence using (M)anual mode, but no word about camera metering.
To change from Matrix metering to Center weigthed (custom menu → b5 preset) or Spot metering, just hold down the equivalent Metering button (top right of your cam, next to the display) and toggle / skip through them with a right / left flick of the custom dial (top right on the back).
I suggest to try out, what @Joanna explained in full length and compare to what you are used too.
It’s important to get a feeling for what you (your cam) can do.
[Personally, I use the center weigthed metering (12mm circle) and adjust exposure with the aforesaid custom button, but different to the fellow’s (tiring) video explanations “d8 → EASY ISO OFF” and some more …]
And from my memory, matrix metering tends to expose a little incorrectly if there are very bright or very dark areas somewhere in the frame.
With Nikon and now with Olympus, I always use centre and only occasionally choose spot with exposure lock when there are extreme light situations.