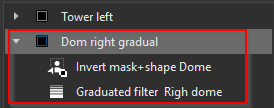
I’m still trying to understand “invert shape” when making submasks.
As near as I can tell, they (DxO) implemented something similar to Lightroom’s “Subtract Mask” function but with a name that doesn’t convey the function as well.
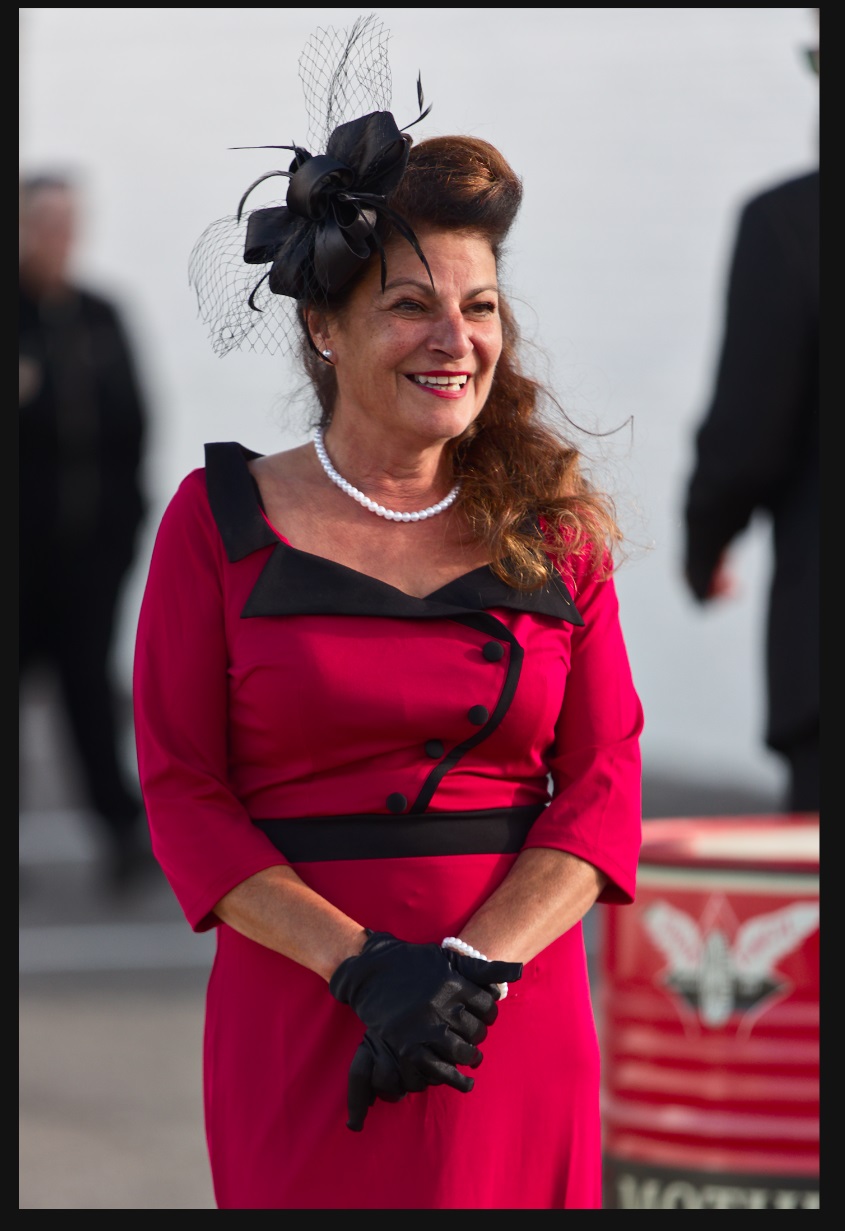
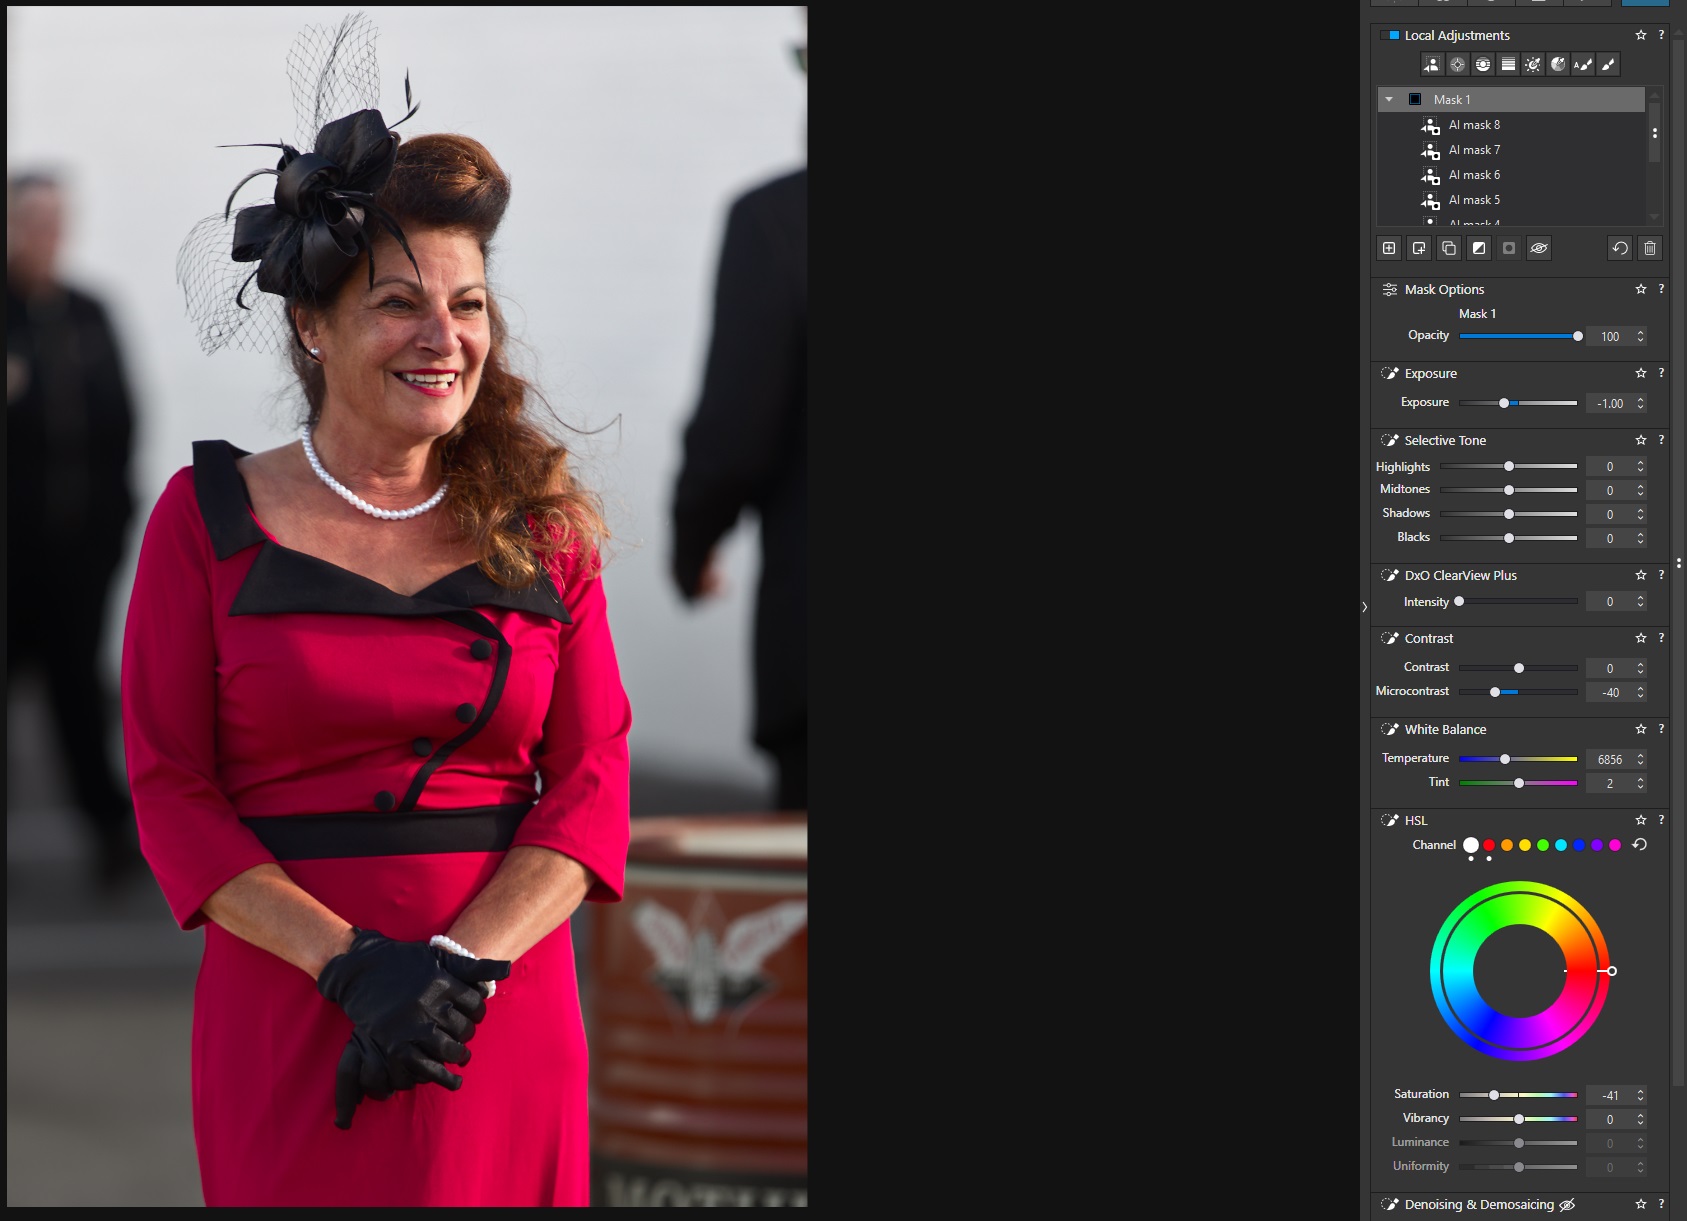
Let’s say you want to mask some of your background in order to make your subject pop, but have your subject not impacted by the background mask’s changes. In this case I want the barrel behind this woman to be a little less intrusive:
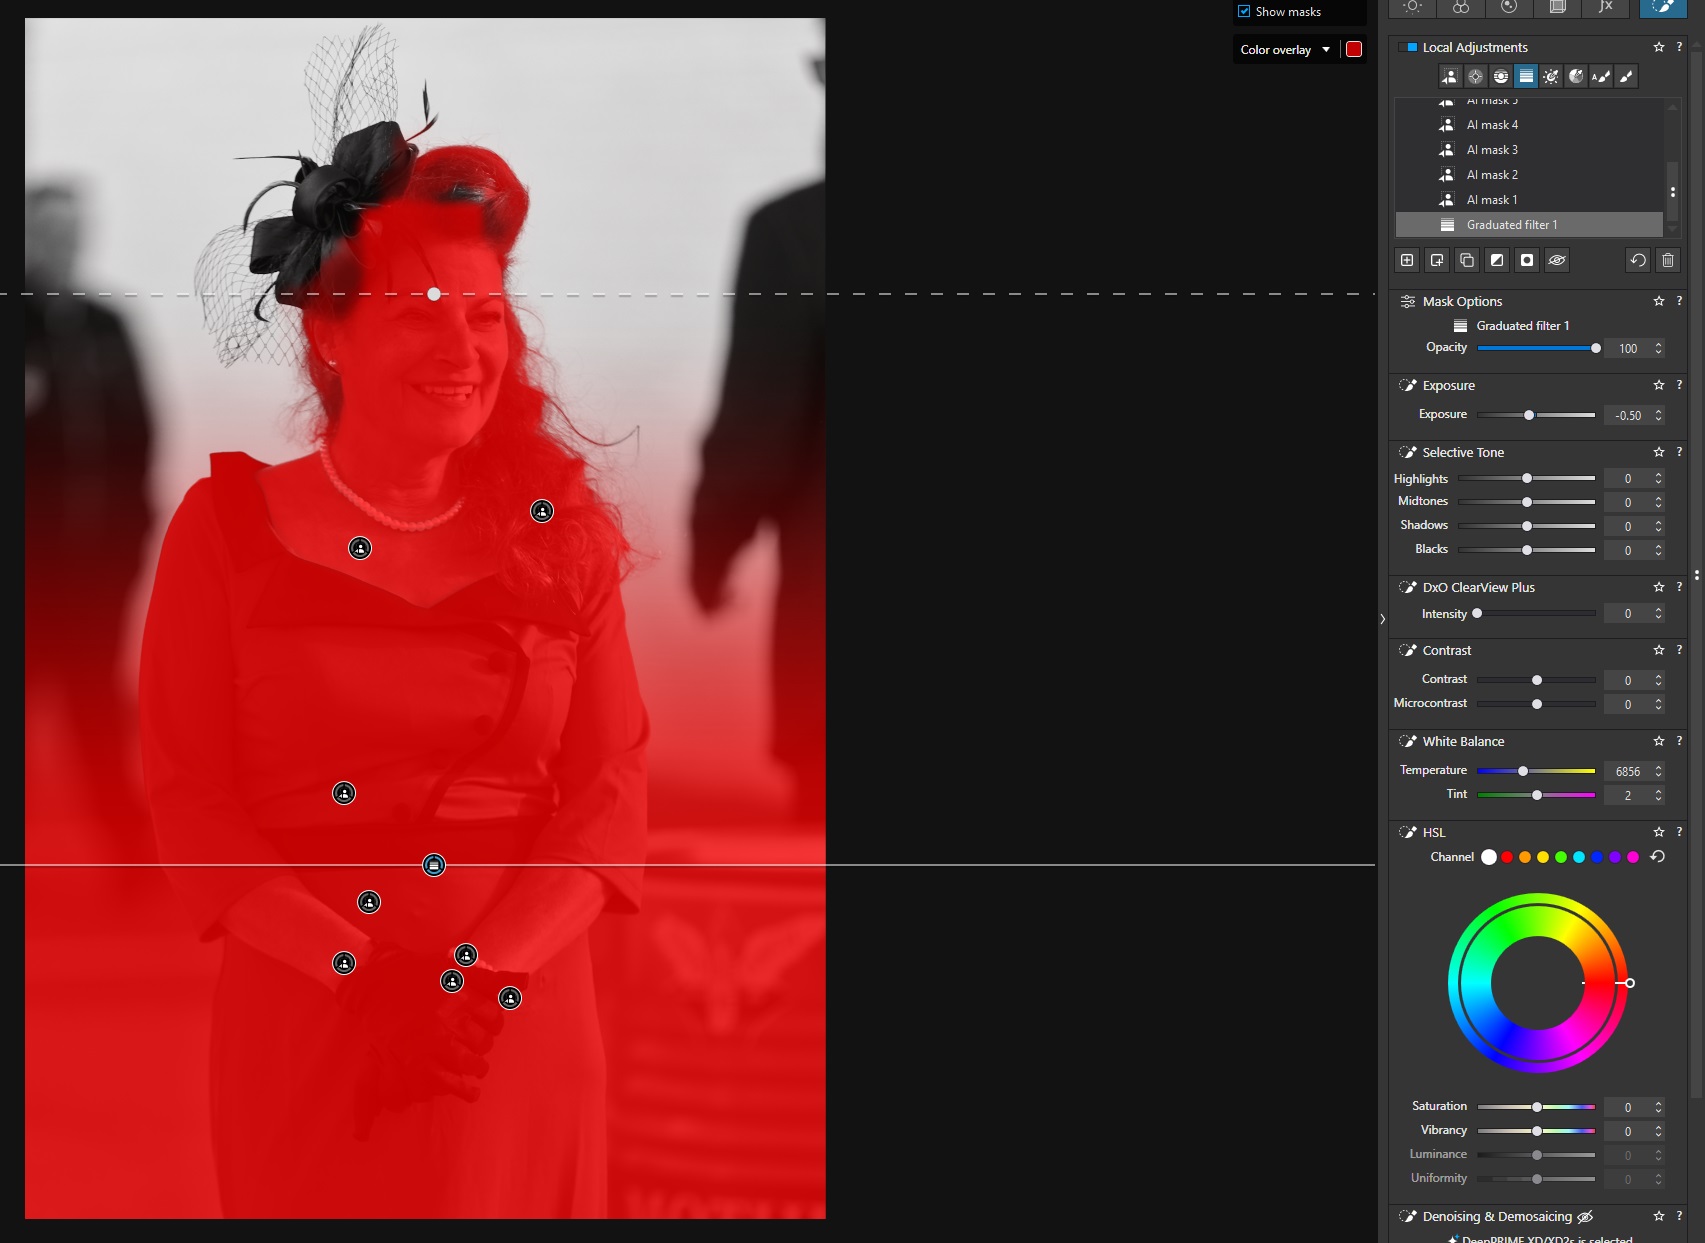
First I’d create a gradient where I’m going to work on my background:
But I’ve selected the woman as well, and I don’t want that. I’m using AI mask(s) to select her too (masks, plural, because different bits of her clothing, face and hair weren’t detected each time). You could use the autobrush to paint her in too, but that would take longer and YMMV.
Now she’s selected, let’s unselect her. To do that I’m picking “Invert Shape” for every single one of those AI masks, but not the gradient mask I started with.
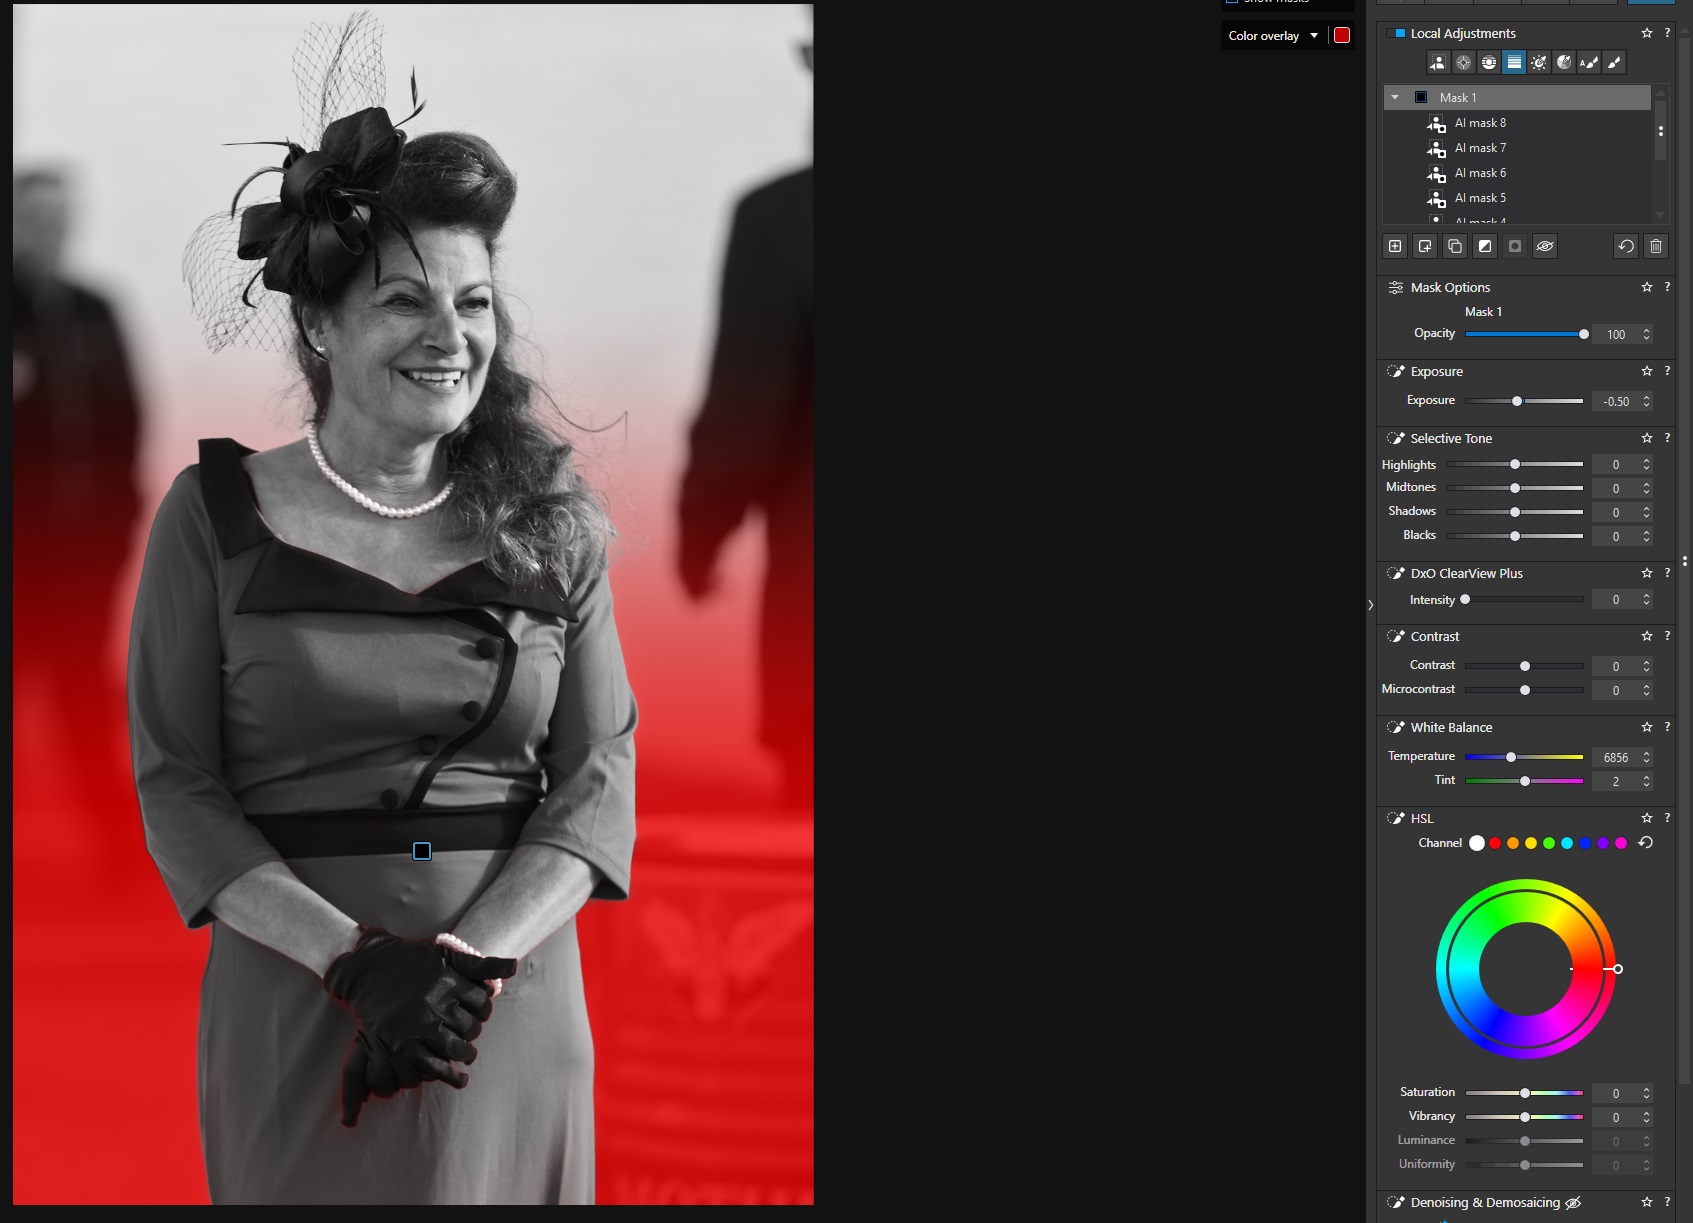
Besides a few little artifacts I’m not cleaning up for this demo, there we go!
I can now select the mask as a whole (clicking “Mask 1”) and make my changes to exposure, colour, contrast etc. and it’ll apply those to the active gradient mask but not to the AI masks, giving me this:
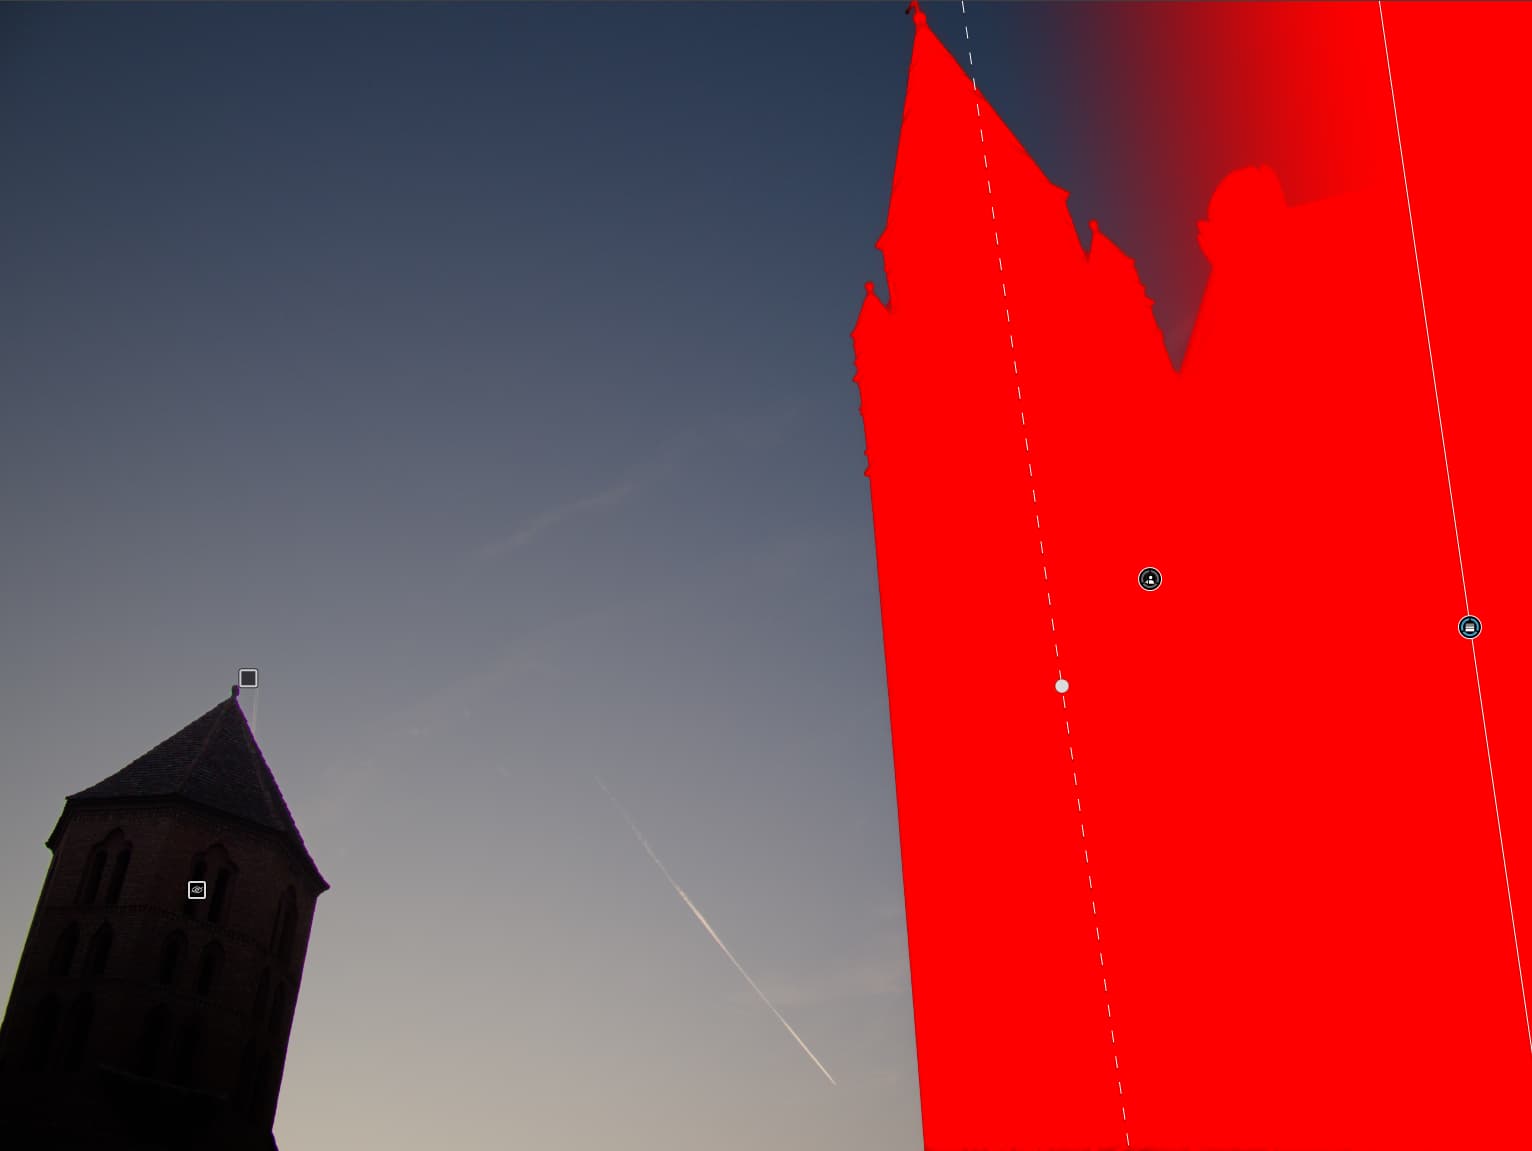
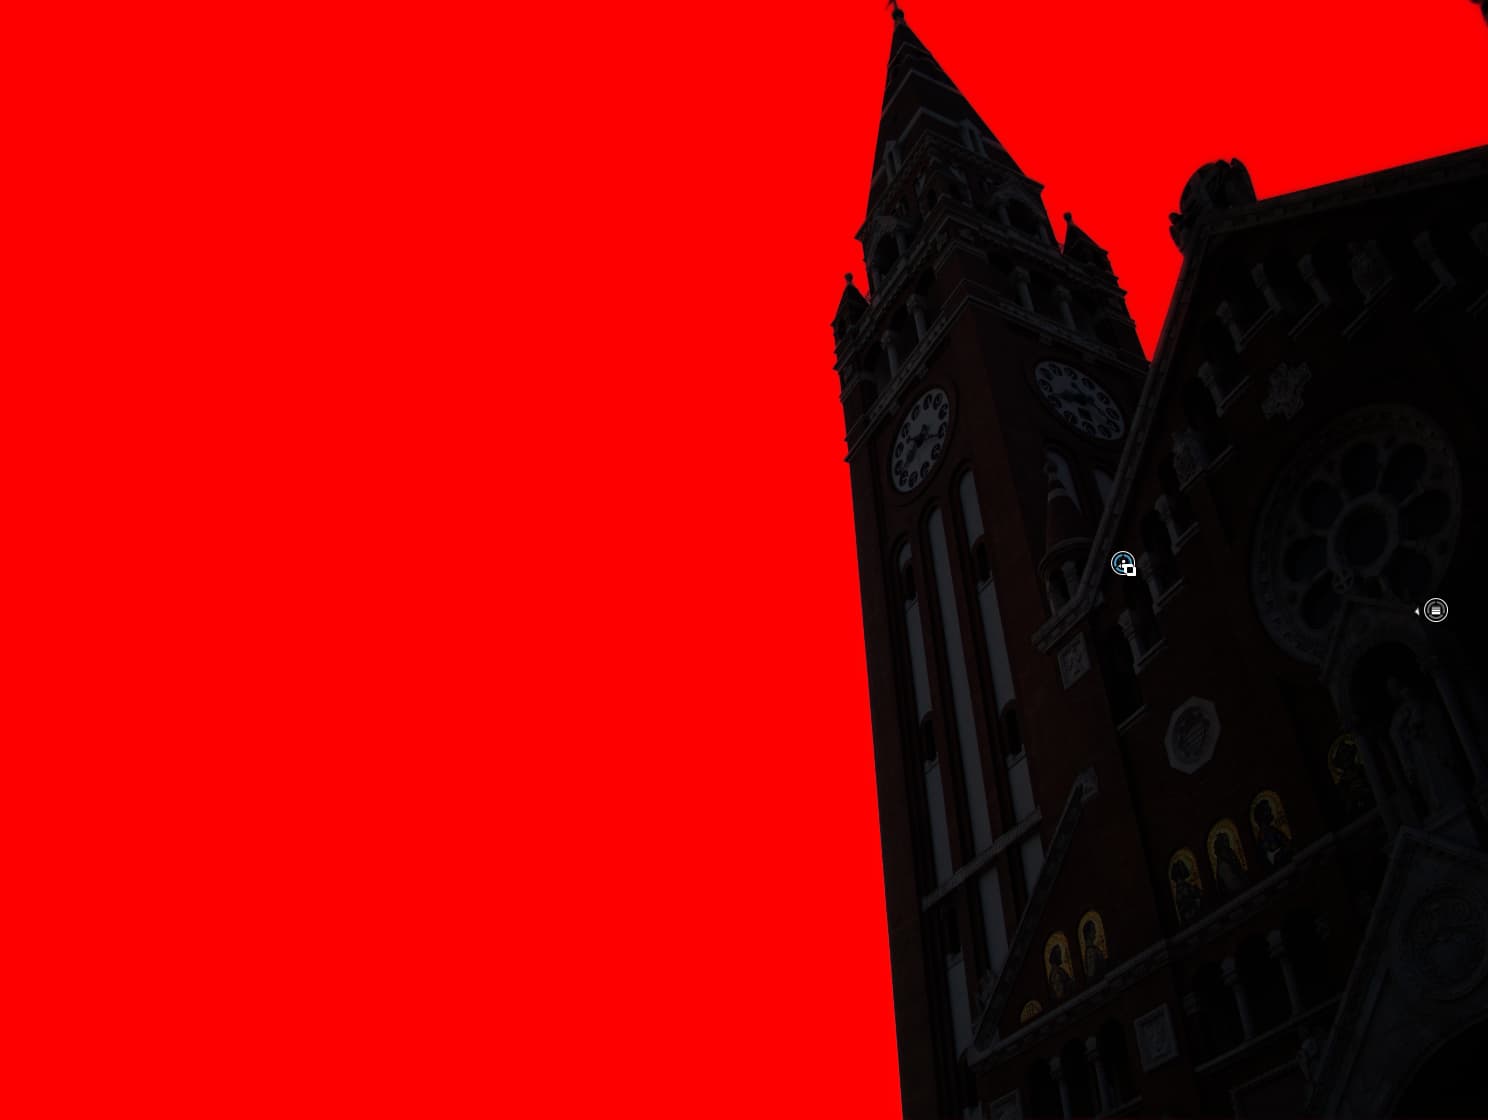
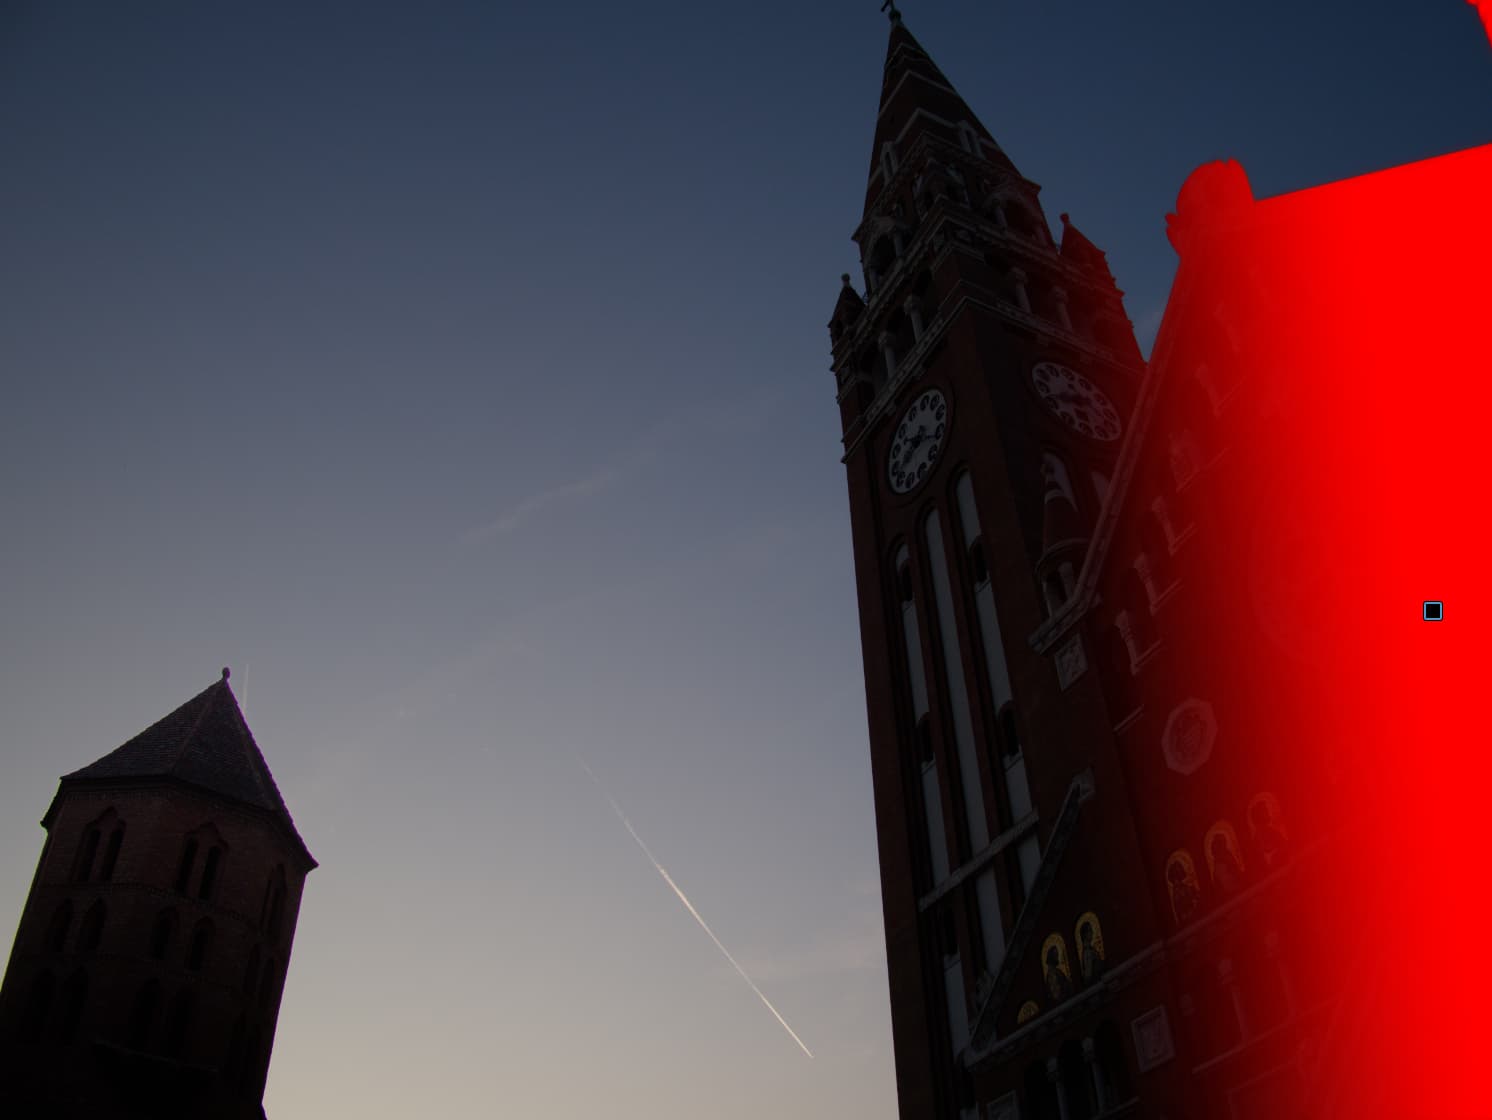
Then there’s the Invert Mask function, which inverts that mask’s selection. Depending on how your masks are set up, this can lead to different impacts to your masks. Rather than try and illustrate that, it’s best to “click and see what happens”. Often I’ve found that if a mask isn’t functioning how I think it ought to, I’ve just selected the wrong button (Invert Mask vs. Invert Shape).