Using Selective Tone / Highlights (with a negative number) to darken too-light highlight areas (like white plates) also darkens skin tones, which I don’t want. Is there any way to prevent this? PhotoLab4
PhotoLab’s selective tone sliders are not as selective as other’s tools. Compared to what Lr’s sliders do, DPL’s are more difficult to use, which is why I almost never use them and use the tone curve instead.
2 Likes
This is a well known issue. Use the Tone Curve or Local Adjustments.
Mark
1 Like
They slow down a lot the process of rebuilding displayable preview. Hard to work fast with them with a 50mpixel raw. Don’t use a lot of them, or bang …
Its window should be larger (I would hope resizable … but …) for more precise use. And a color piper should be added too for faster workflow.
I have photolabs 4 and yes the highlight recovery is much harder than It needs to be. With any other software if want to darken a sky It takes a couple of seconds to slide the highlights slider and job is done. In Photolabs if I do the same the whole image darkens slightly plus mid range contrast is lost and the resulting image ends up looking very flat. I can fix this somewhat using various other sliders but really it’s not acceptable for such a expensive peice of software. I really hope DXO fixes this issue as I really like photolabs in every other way but I won’t be upgrading to version 6 unless they can solve this issue.
1 Like
Don’t hope too much.
However I could recover some highlight with photolab I couldn’t with other softwares.
Some bright specular highlights on characters in theatre photography - which were not burned in the raw file but in very high limit - and some other software (I tried several) let them flat , as burned, when trying to recover them, but not photolab.
Go figure …
1 Like
Yes highlight recovery in Photolabs is excellent but the problem is it leaves the rest of the image looking extremely flat and destroys midtone contrast. So far the best way I’ve found is to choose a color rendering profile that automatically starts with darker highlights or use local adjustments. For photos that need more Highlight adjustment I use Rawtherapee.
I wonder why those sliders are there if no one is using them.
There were lots of posts on this forum about strange behavior of those sliders but I can’t remember if one of DxO programmers tried to explain why they made them like that.
You are radical @platypus and @mwsilvers.
Personally, I’ve always found that these tools do the job well.
We’re talking about global adjustments, and this overlap keeps my photos balanced. Indeed, it can also vary according to the style of your images.
Pascal
3 Likes
For “white plates” I propose to use Local settings.
Depending on my style of images (once again) I sometimes observe an overlap between shadow and black.
I’m setting the blacks to half the value in the opposite direction.
I propose here several methods of using PL.
Pascal
Selective tone on it’s own is realy global and overlapping each other.
If you use a test slide bloks from white to black you will notice that.
You get more control if you have filmpack.
Advanged contrast tool.
DxO has not a pure white slider.
Local adjustments and one of the control point/line is a better tool.
- Eyedrop the luminance and color you want to adres.
- hit “m” and modify selection levels until your happy.
- slide highlights in that menu down.
It looks like more work but you also have more control over the feathering of effecting colorrange and luminancerange.
Here’s a vote for the current sliders. I much prefer them to the Lightroom sliders. In PhotoLab one can use the Selective Tone boldly as it’s not on too narrow a band, requiring four other adjustments for every touch on Highlights, Midtones, Shadows, Blacks.
As others have suggested, local adjustments are there for a reason. To work faster and target tighter, there’s always the Tone Curve which I used a lot in Photoshop to process RAW images pre-Aperture/Lightroom and continue to use now.
Complaints about the Selective Tone mainly come from Lightroom users who expect everything to work like Lightroom, just because that’s what they are used to. Again I find the Selective Tone in PhotoLab 5 far more useful than the Lightroom model as adjustments have an organic feel and usually look more natural than narrow bands.
For those who are into audio, the difference is between a parabolic equaliser and a graphic equaliser. The parabolic equaliser (PhotoLab 5 model) is considered a huge leap forward from the 5-band or 12-band graphic equaliser in terms of retaining the integrity of the sound, while allowing wide scope for adjustment.
4 Likes
When used in small amounts the selective tone controls can be an effective tool, however, the more you increase them it quickly becomes evident that there is too much overlap between them. For example, using more than small adjustments to the shadows slider has far too great an impact on mid-tones.
Mark
Kudos to @Pieloe @OXiDant and @uncoy and I agree completely. I was afraid that I was the only one that still liked the Selective Tone adjustments the way they are. Glad that I have some fellows.
The ST adjustments have been the way they are at least since OP8 which was my introduction to the world of DXO. In fact I learned how to adjust selected tones with OP8 and have continued to enjoy this process ever since.
It is not a quick process and it is an absolute necessity to have Filmpack 5 or 6 and access to the Advanced Contrast and Fine Contrast sliders for my process to work properly. I understand that if you have 100s or 1000s of photos that must be delivered under a deadline then you would not want use this process for each individual photo. However, if I want to create a “work of art”(in my mind at least) with an individual photo, this slow process is the only way to go IMO.
I have described my process in other threads on this same subject so will not repeat it here, but I will say again that using this slow process, I have never run into a properly exposed(no blown highlights) photo that I couldn’t recover highlights and shadows while keeping the midtones balanced using only the DXO software.
As has been mentioned already there is a way to adjust highlights or shadows without affecting midtones and that is to use Local Adjustments Control Lines(or Control Points) in conjunction with the Luma/Chroma selective sliders. Again this is a slow process, but very effective.
In conclusion, IMO there is no need to change the implementation of the ST sliders(just to please LR adherents) when they work so well as they are.
5 Likes
There are many comments on selective tone sliders in this forum. Searching for “selective tone” reveals a lot of mentions, comments, workarounds etc.
Use a step wedge image to see what the sliders do. Check these posts and others for details:
No need to repeat, simply add a link or two ![]()
2 Likes
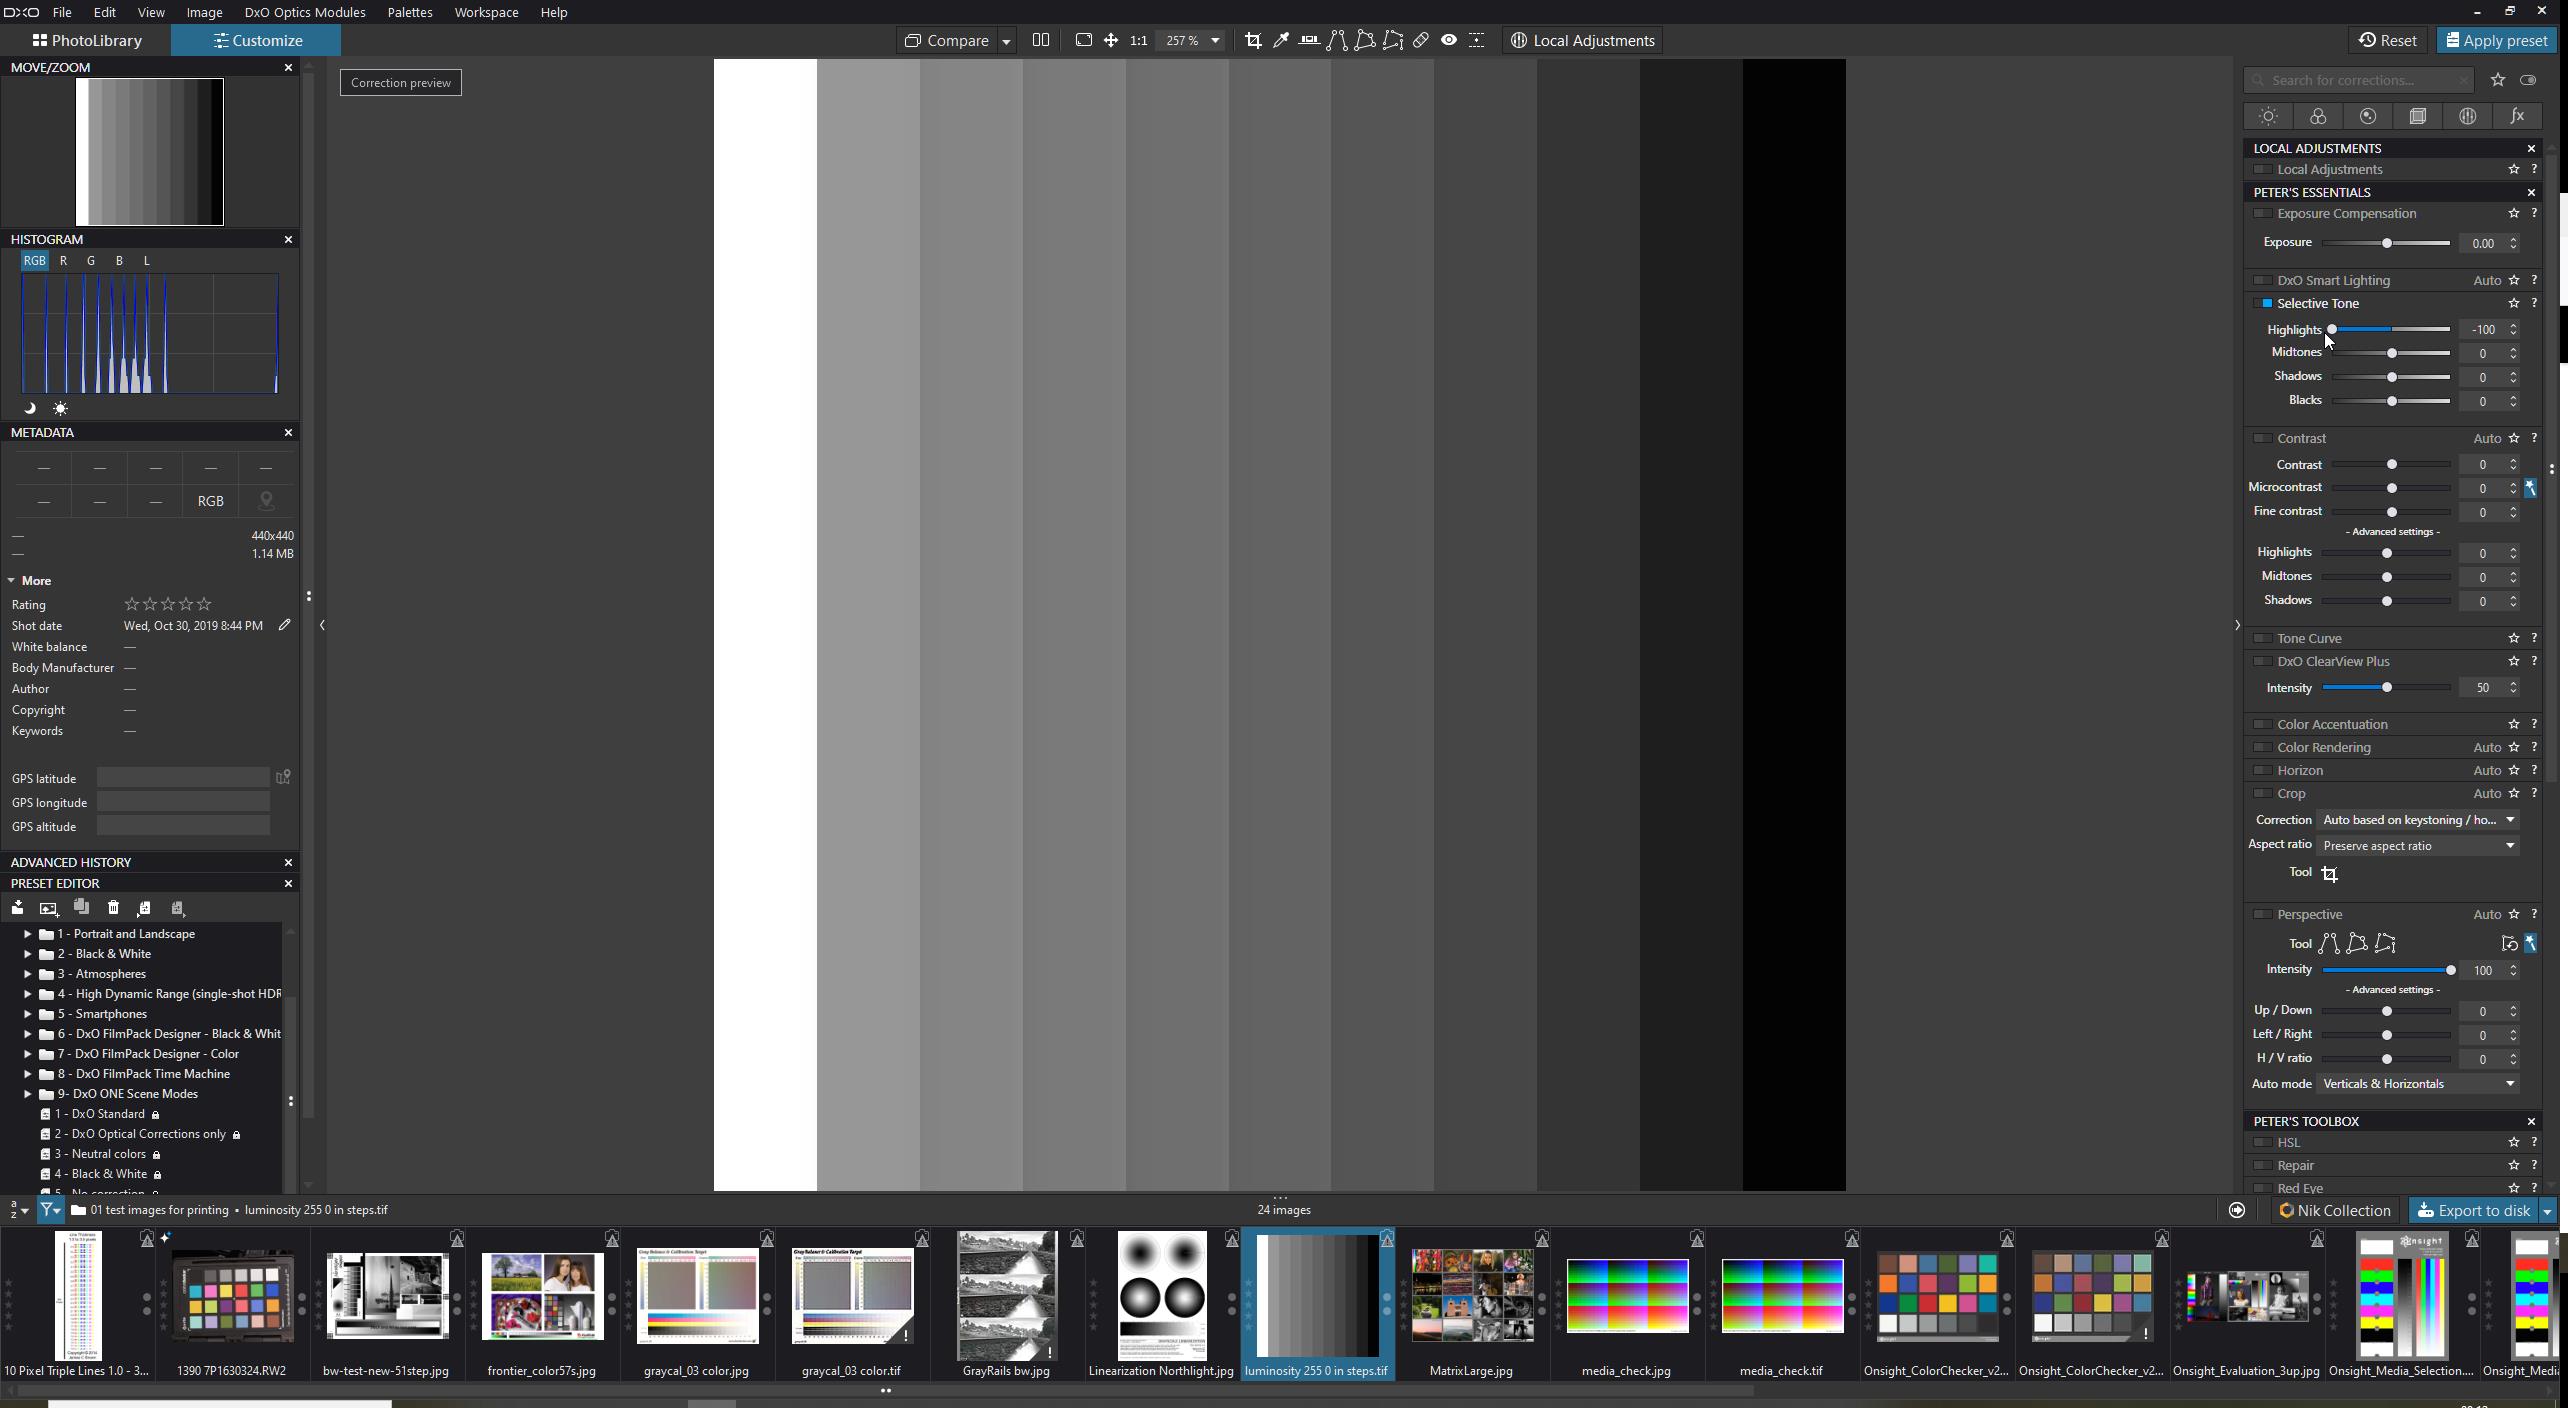
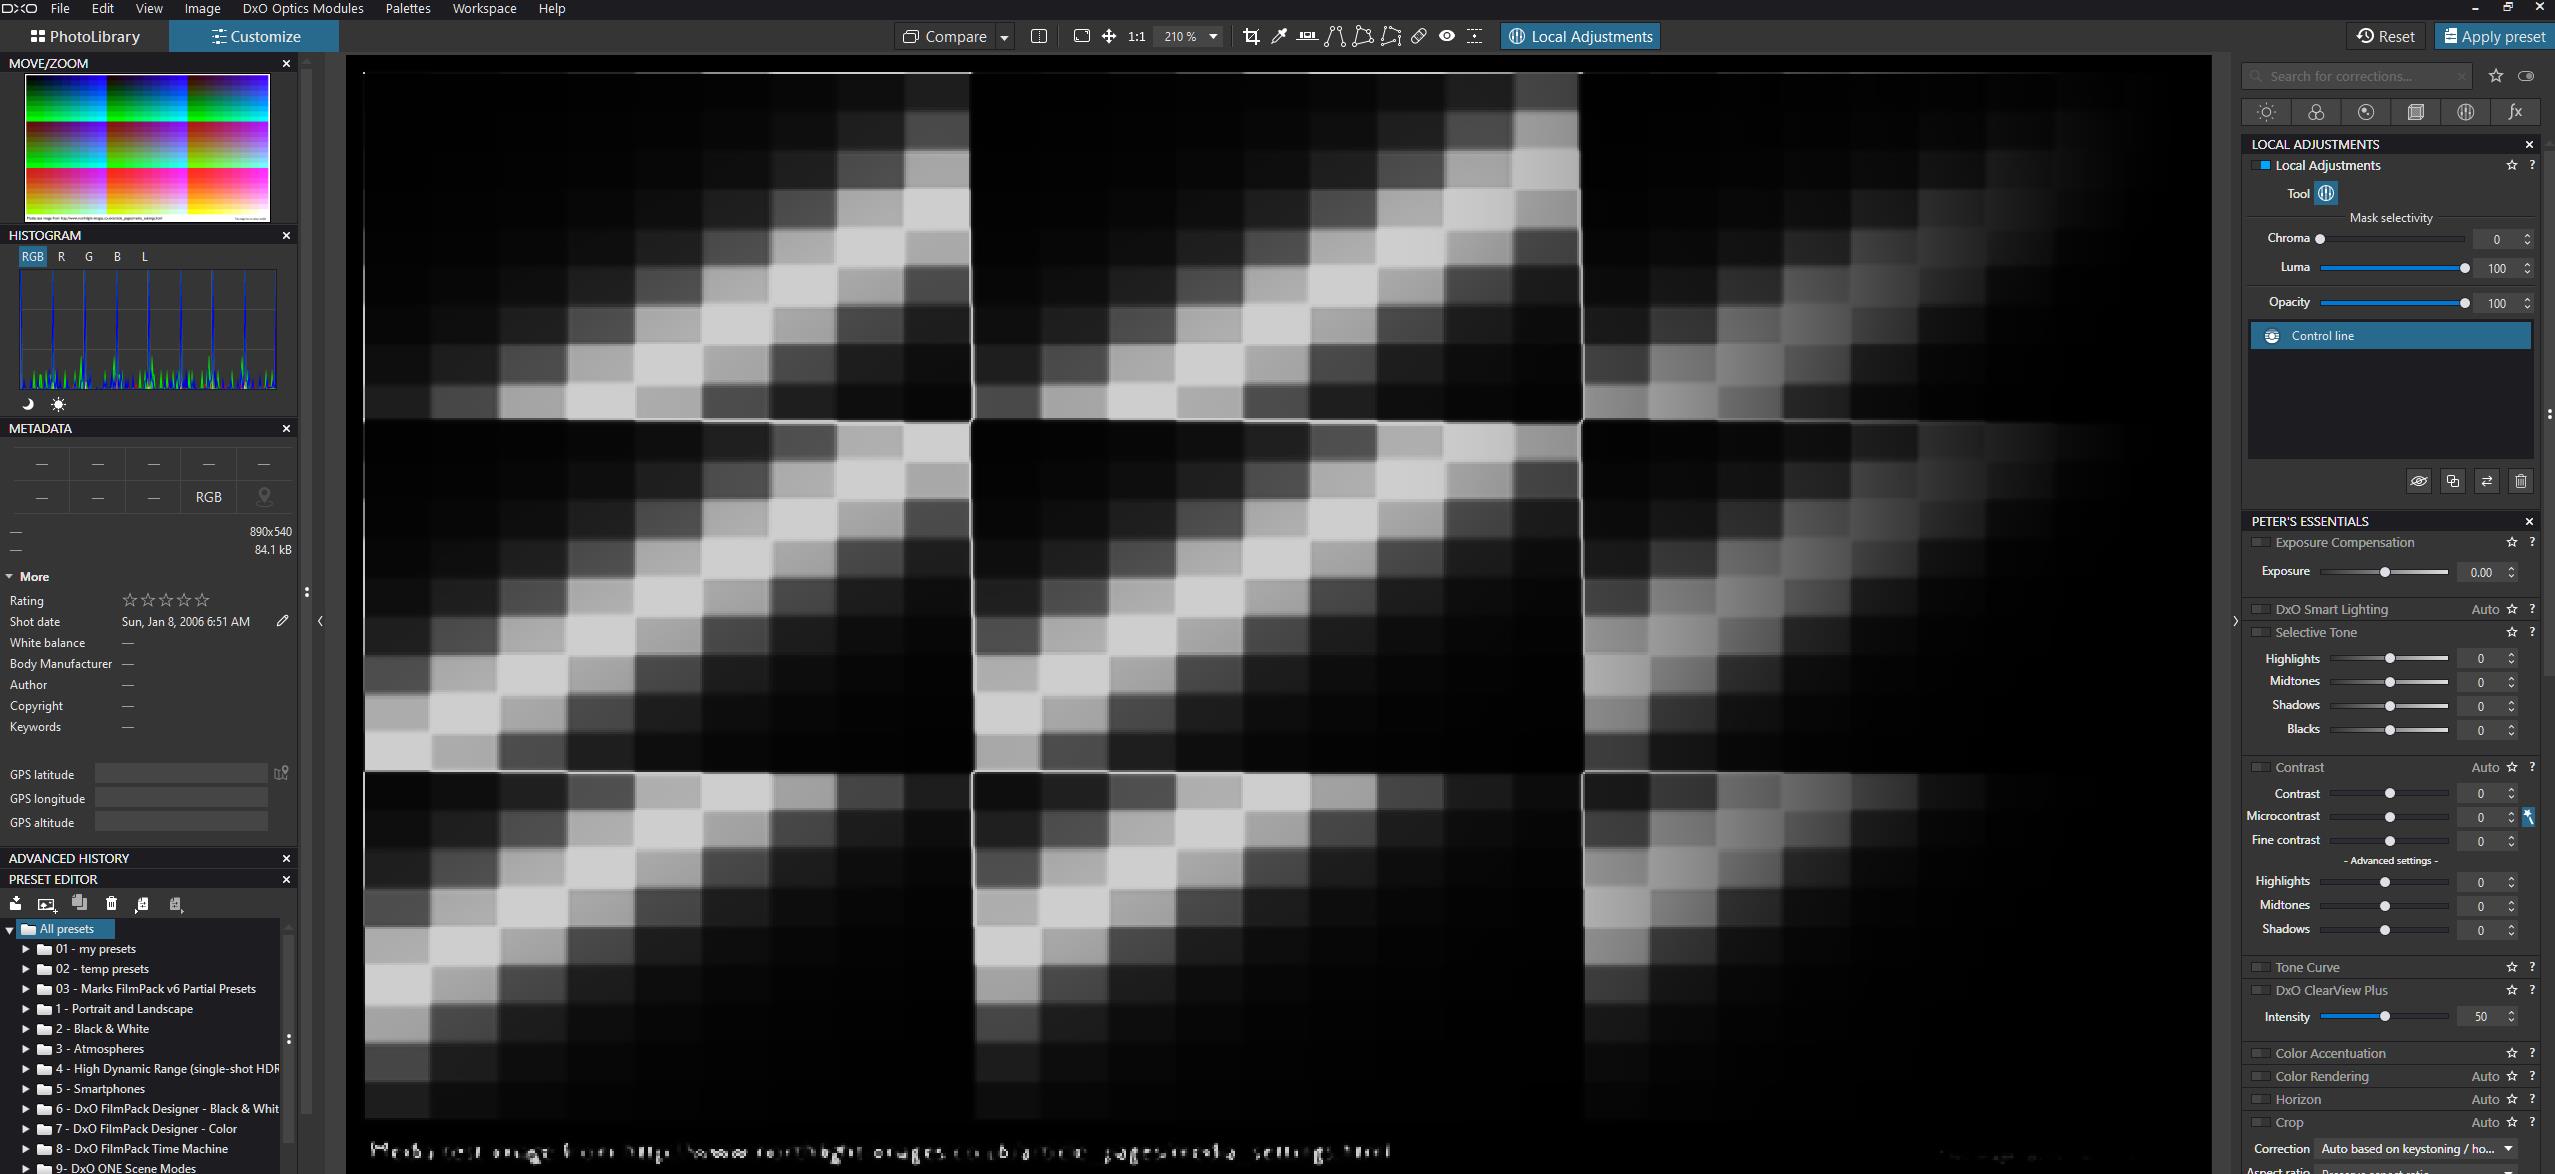
With this image you can test the effectiveness of each slider in selective tone:
Luminosity 255-0 in steps.tif (1,1 MB)
pure b&w.
and if you go to Free you will find lots of test images to see what and how the dxo tools work on images.
see the effects of selective tone the effect of advanged contrast and how luminance and chroma selectiveness works in an image.
Would DxOPL benefit from pure white slider/a set white point eyedropper? and a blacklevel slider/set blacklevel slider? Yes ánd no.
Yes because then you can stop using curvetone to set some low and high-key markers. just drop eyedropper and exposure adjust to that drop both and you set dynamic range/tonality.
No because it make you stop looking for relevant alternatives. Often small different adjustments creates a more natural look then one blunt one.
example:
highlight slider:
complete suppression of hightlight
complete enhanching of highlight:
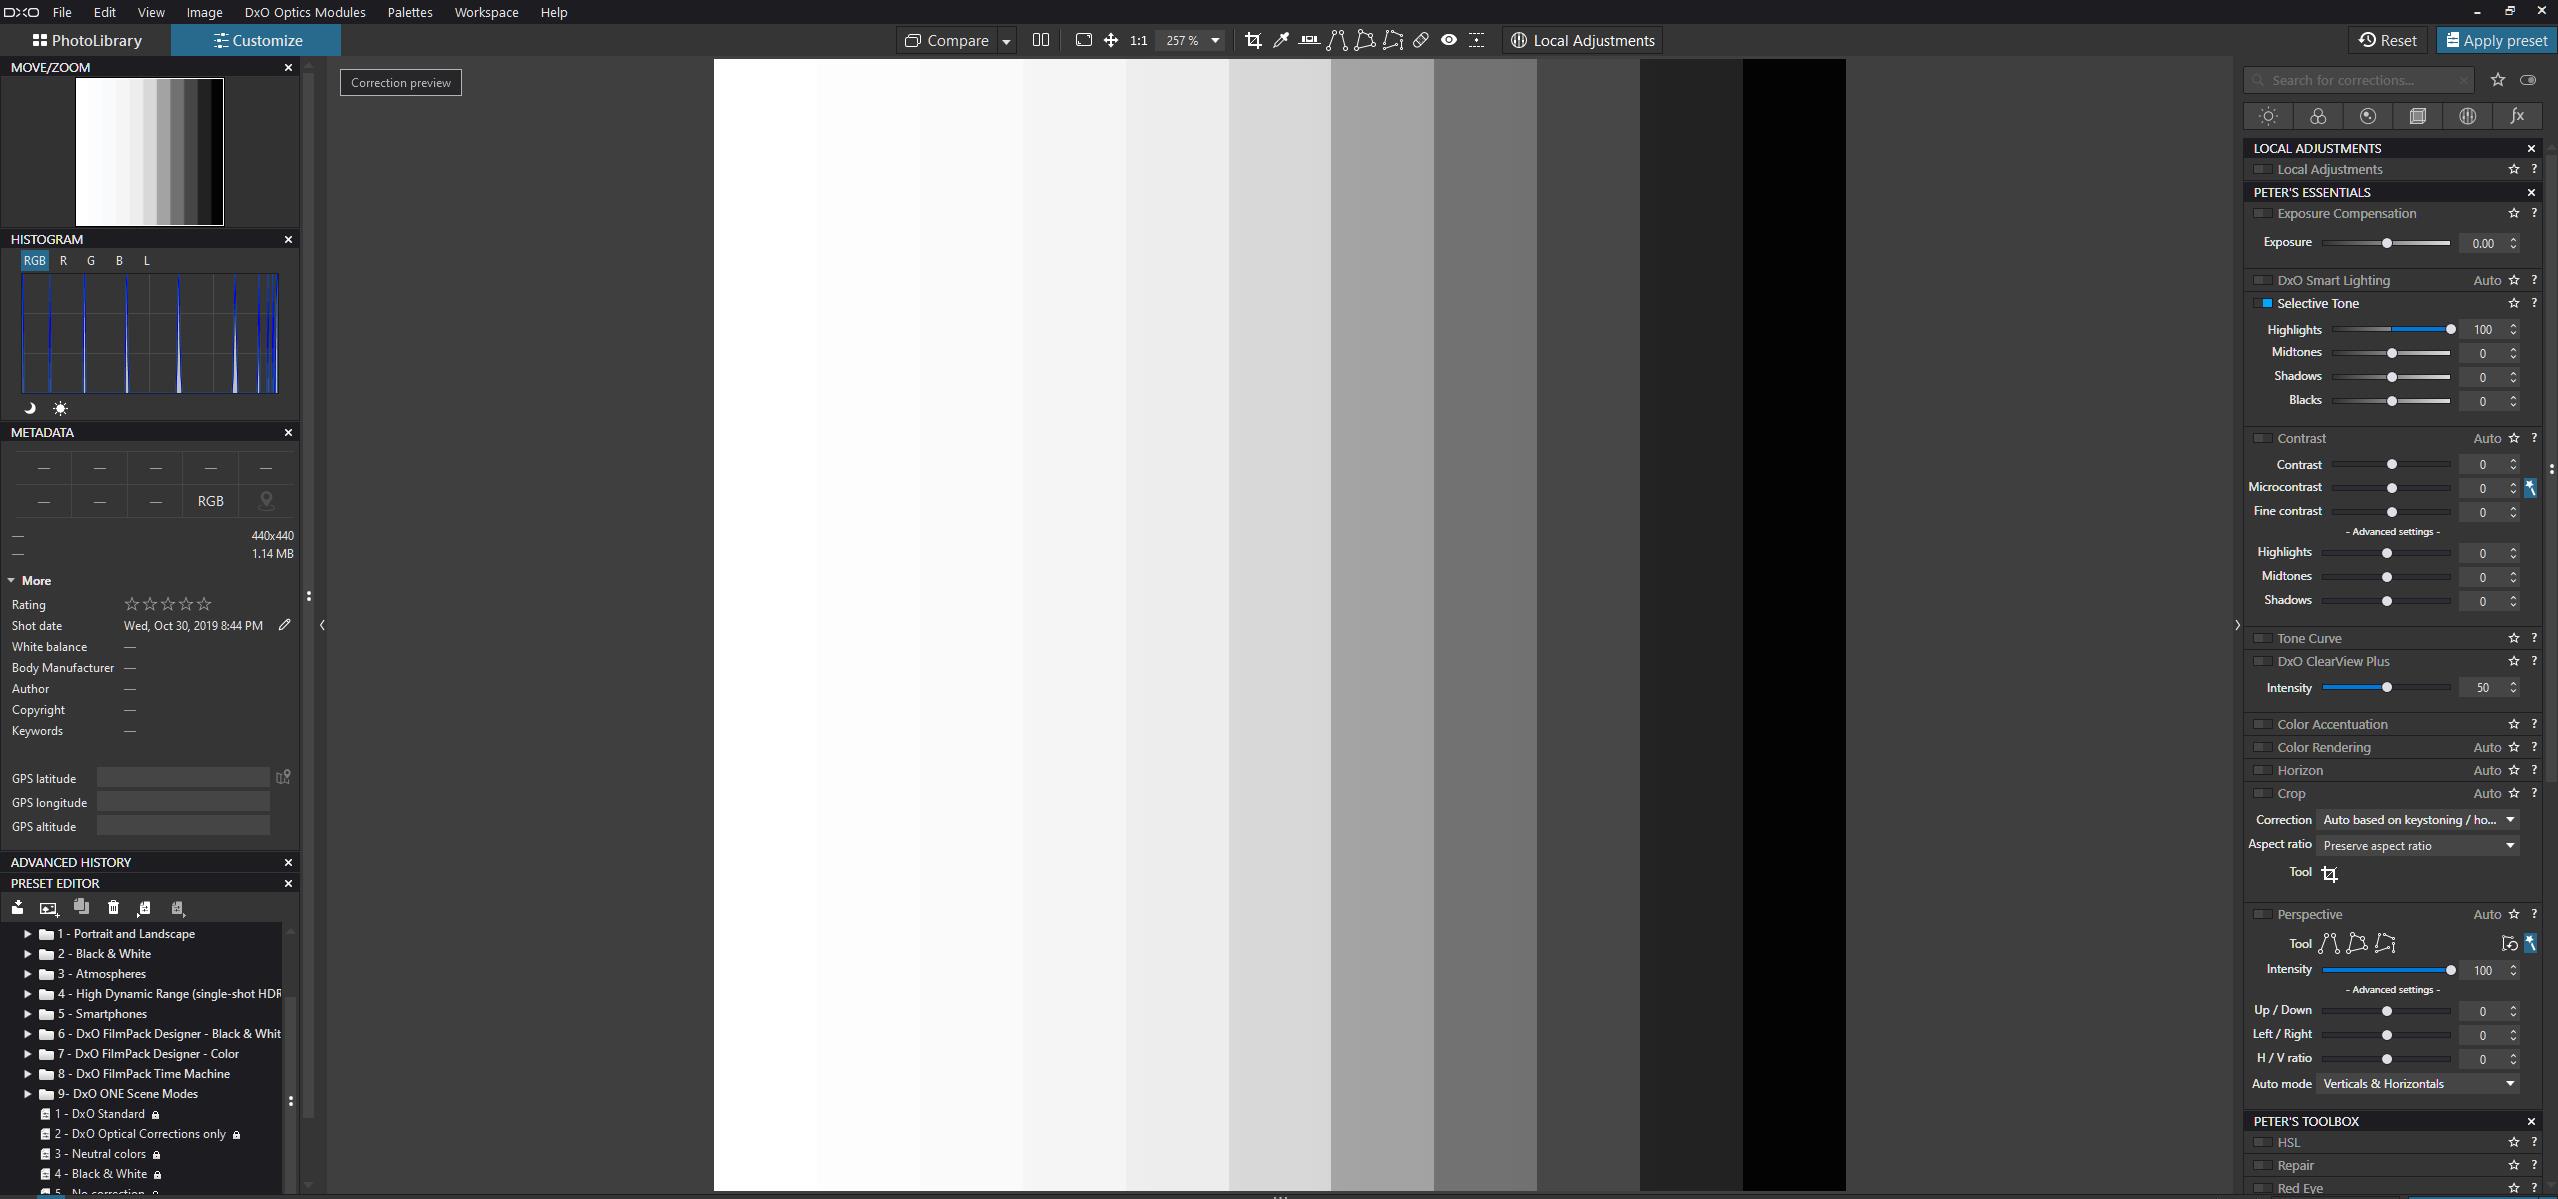
What you see is the “pure white” is stil white isch. Thus it lowers the glow-off of the pure white. say the reflection not it’s source.
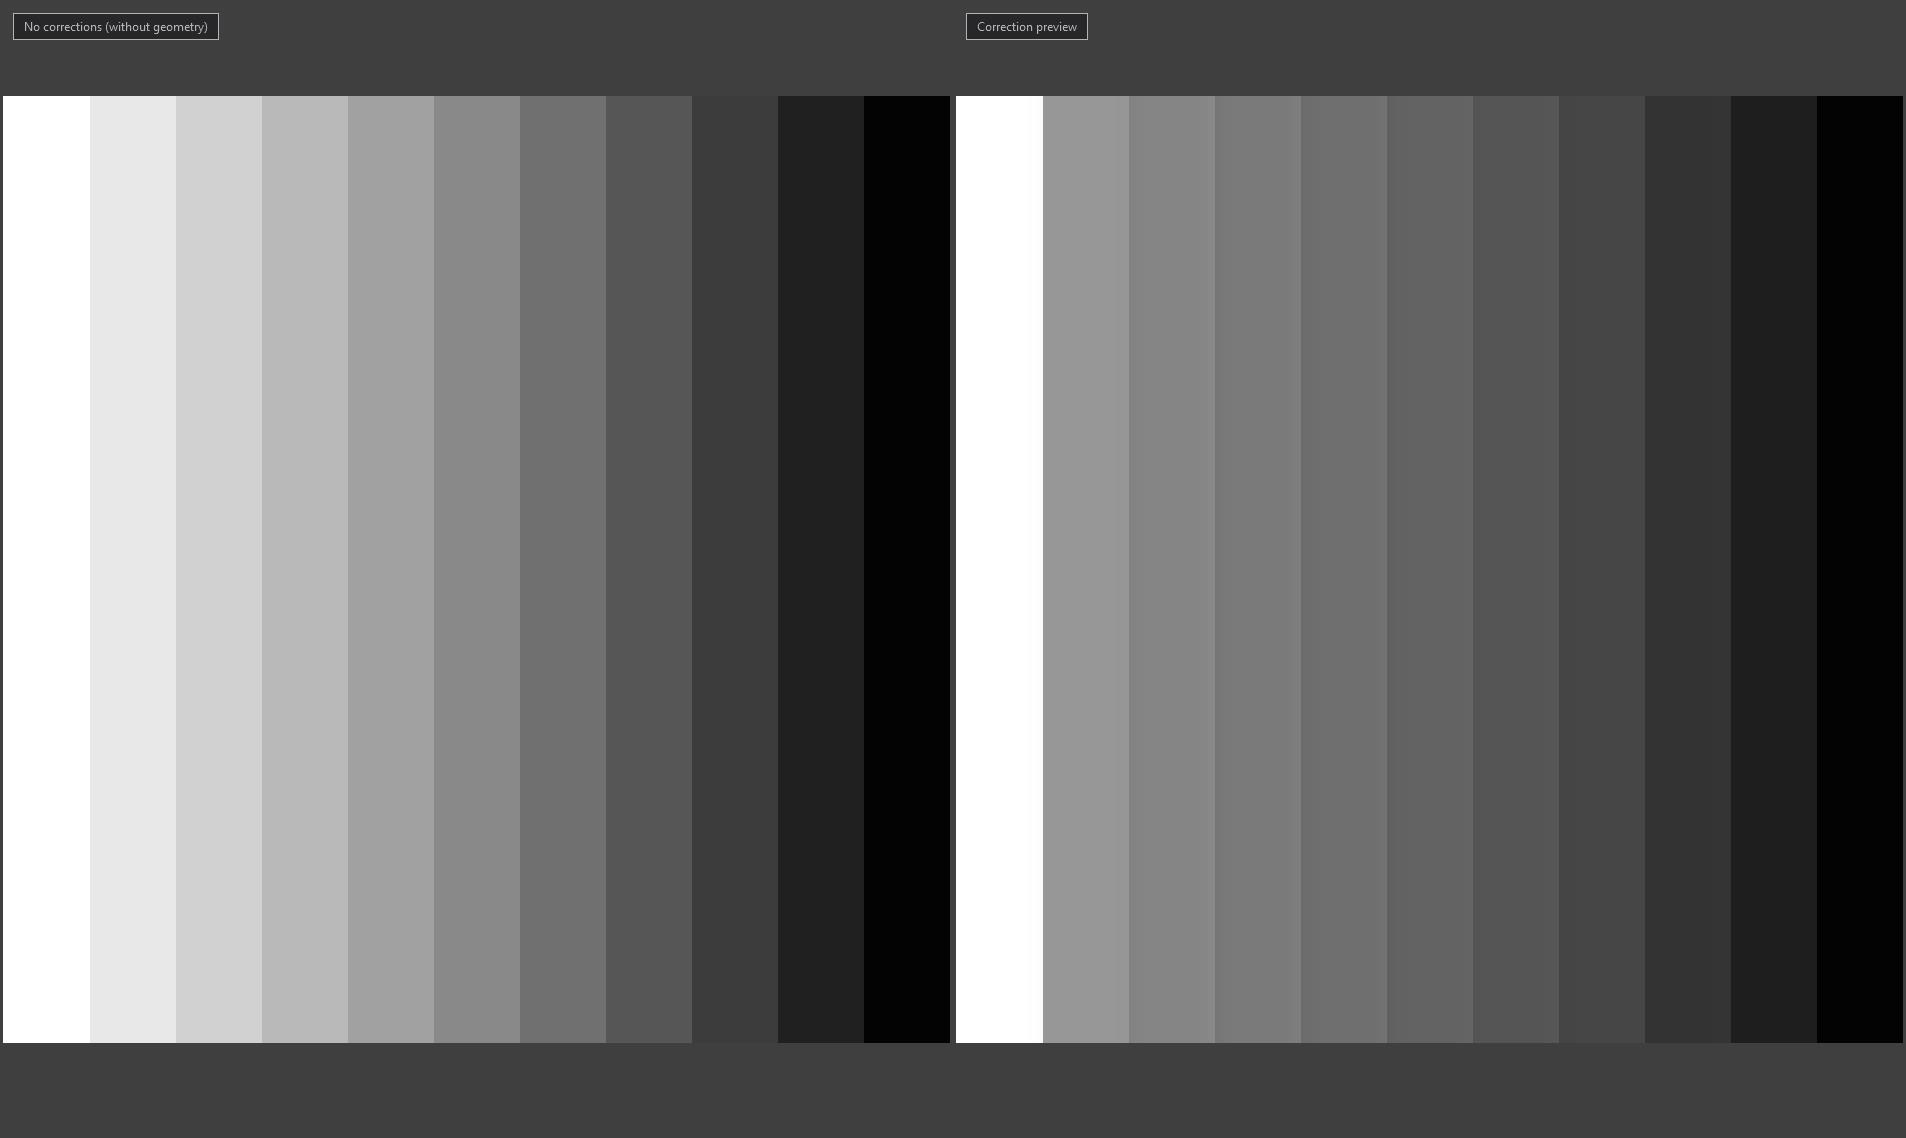
say i like to protect the midtones more:
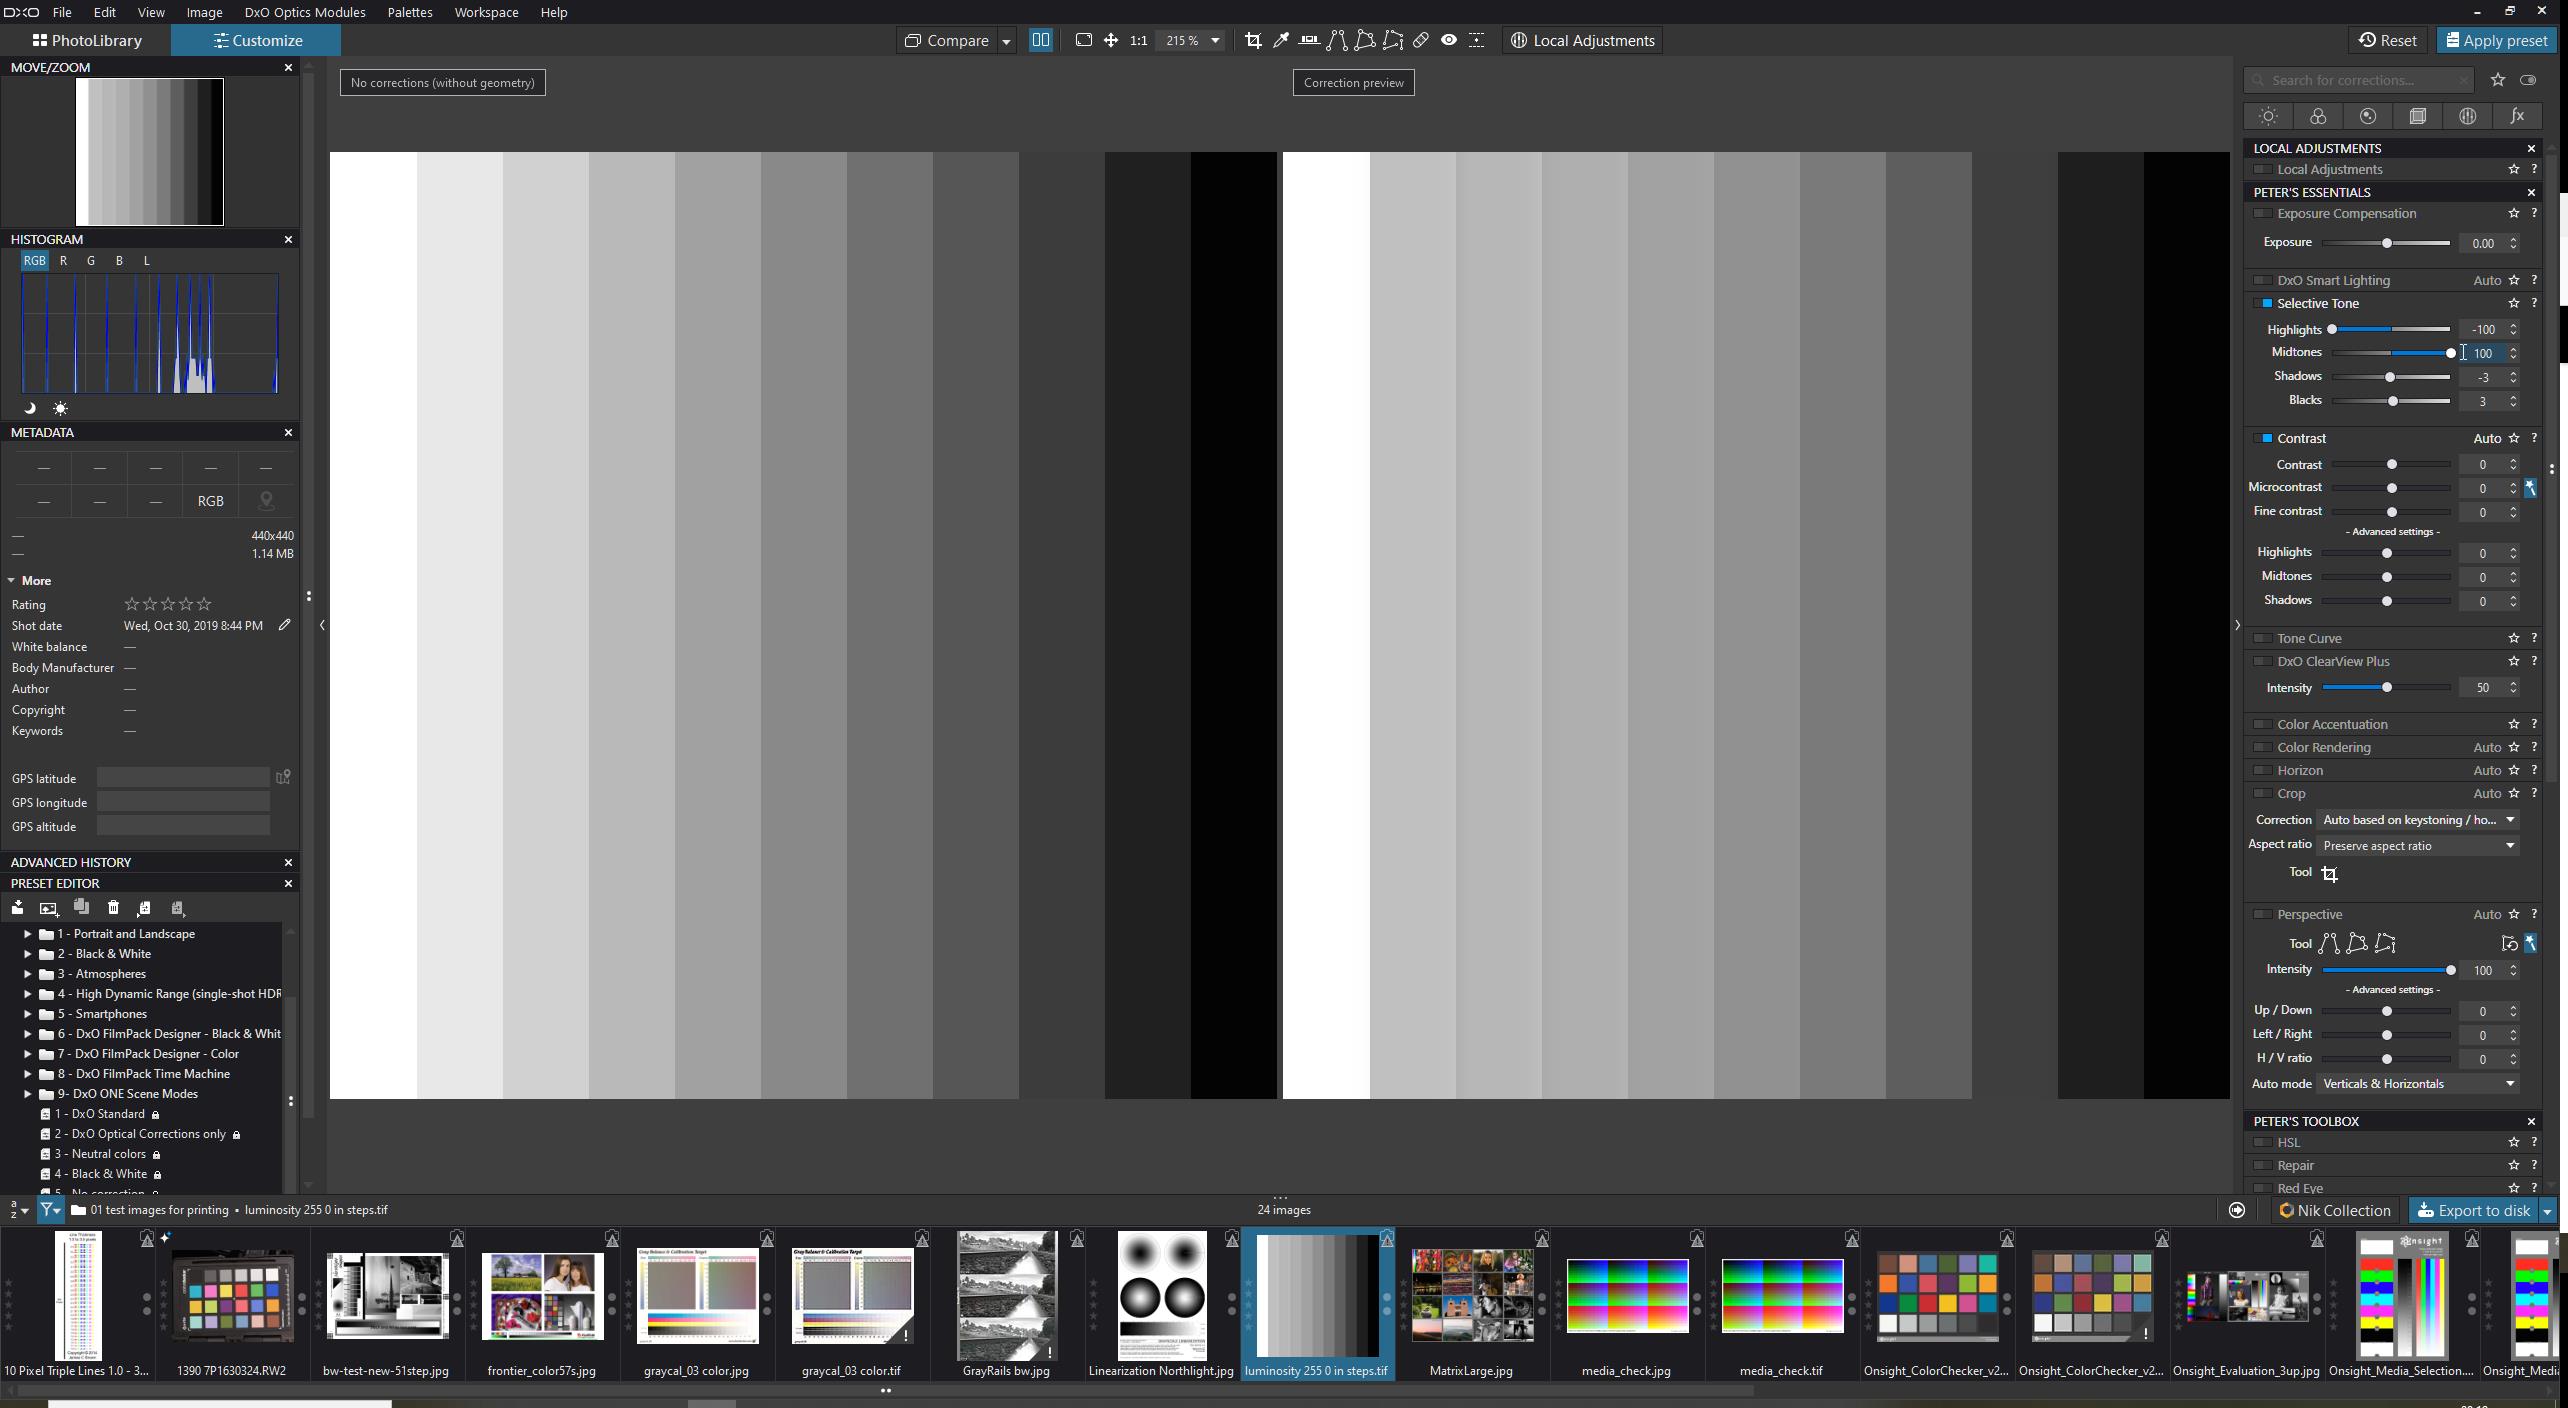
See right is effect of the two sliders one -100 other +100.
Still no contrast control added.
i can create detail in this test image or soften it: of each section of luminance:
note it’s an jpg no tiff or raw. so breaks up fasters.
(you can find this image for non profesional use on www. normankoren.com)
small video of effects
And now your beloved whiteslider.
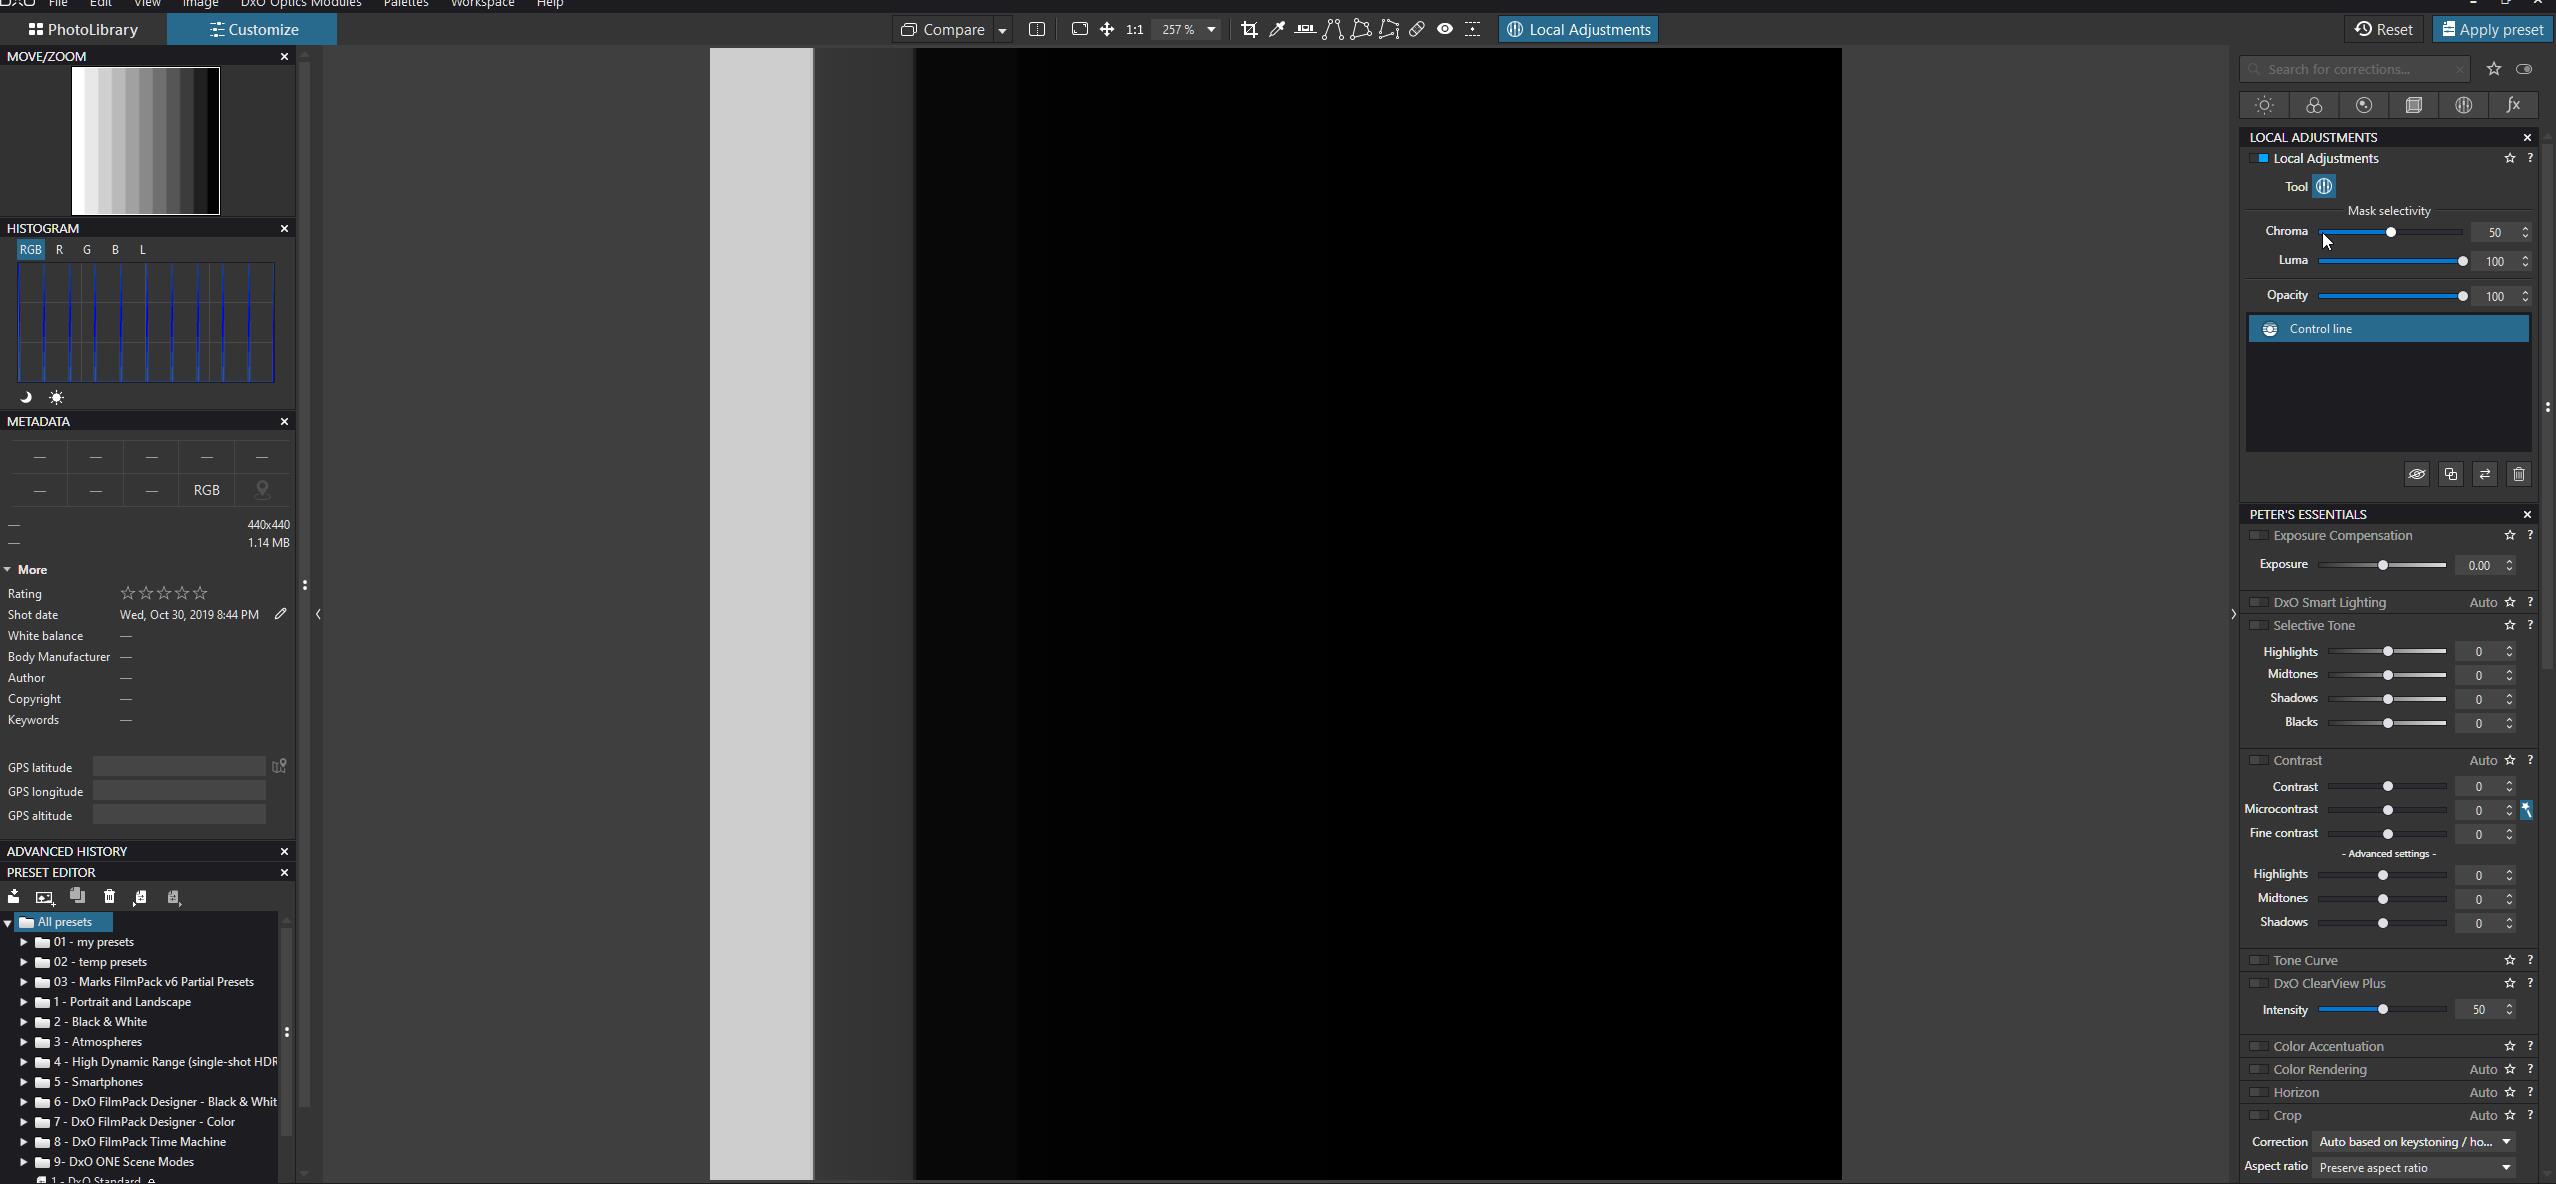
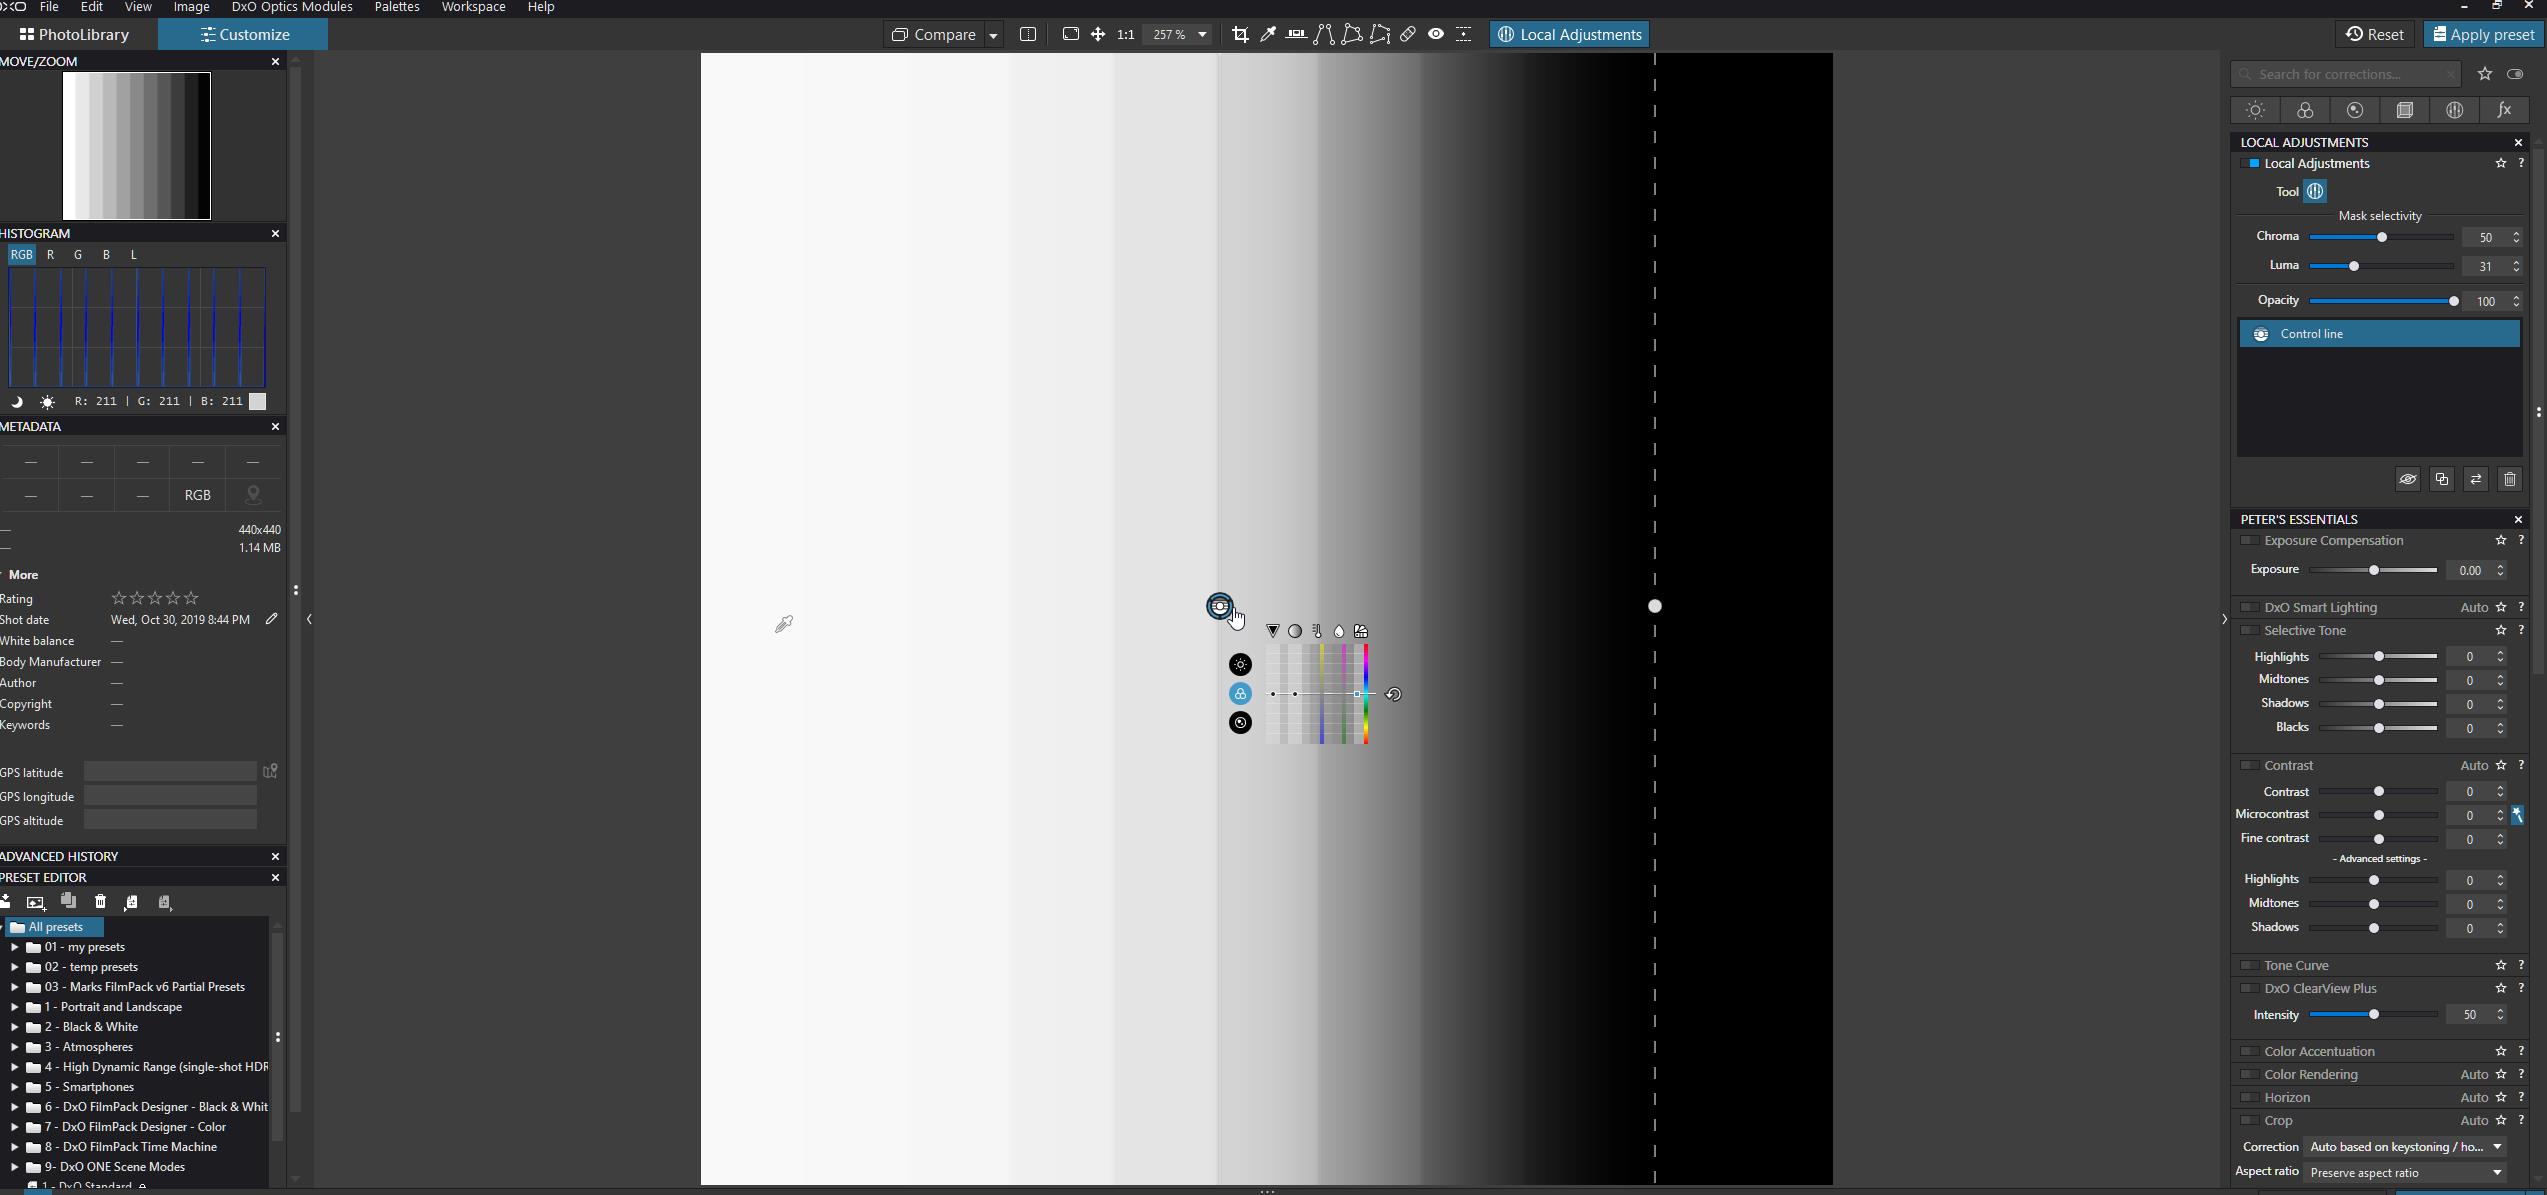
take a control line:
set up:

pure white effecting? (hit “m” to see effected area)
done:
or a bit more?
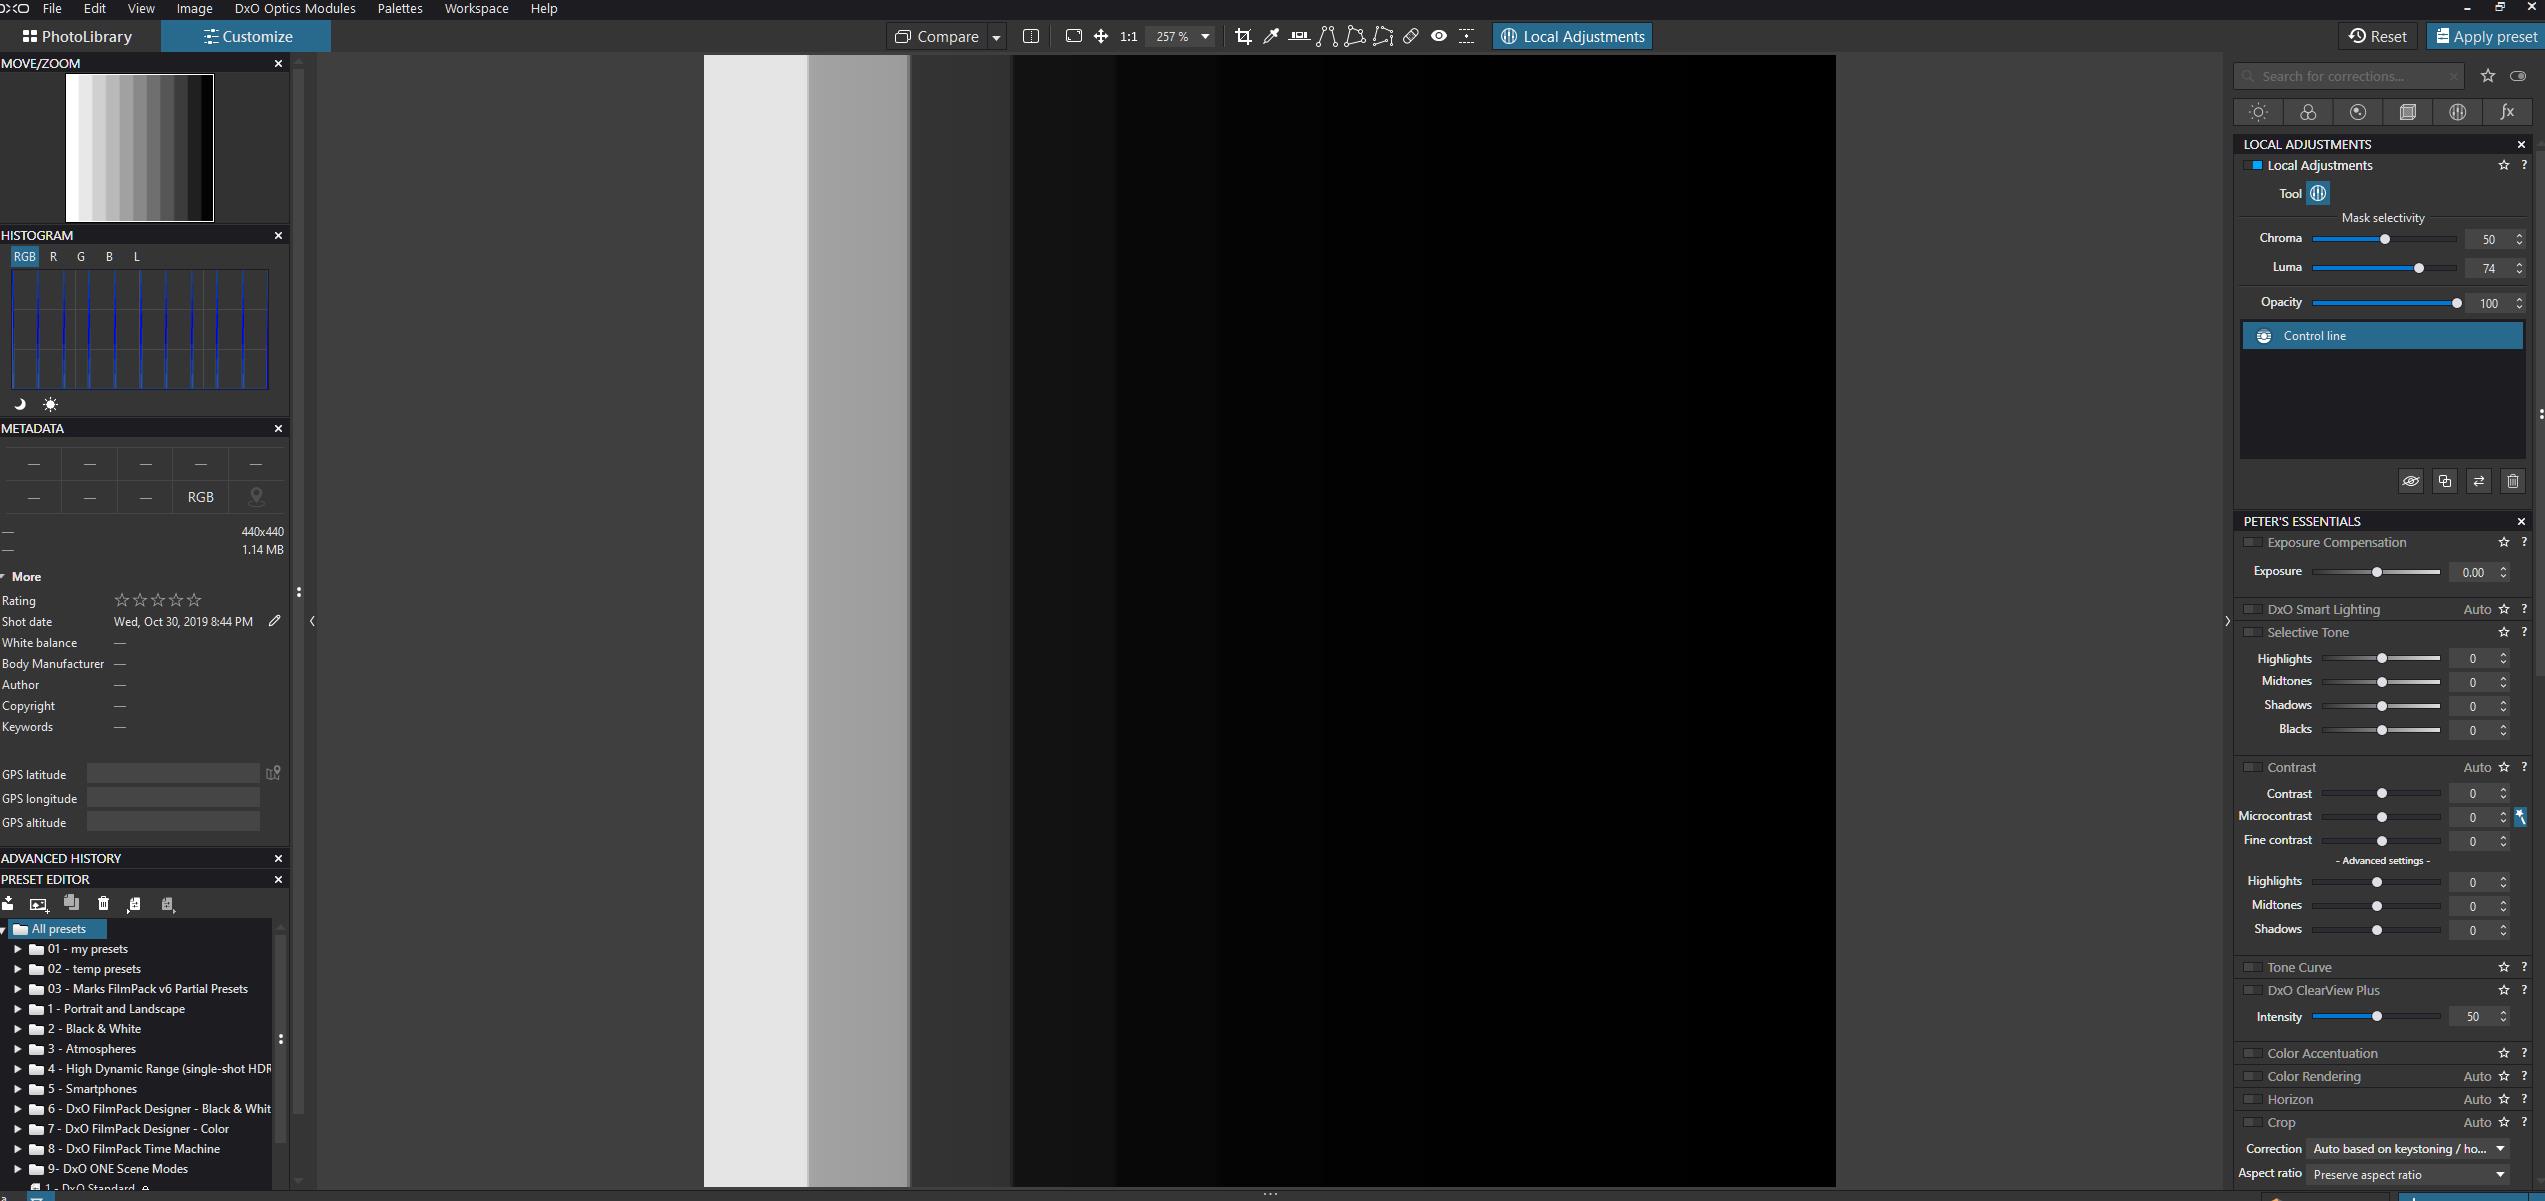
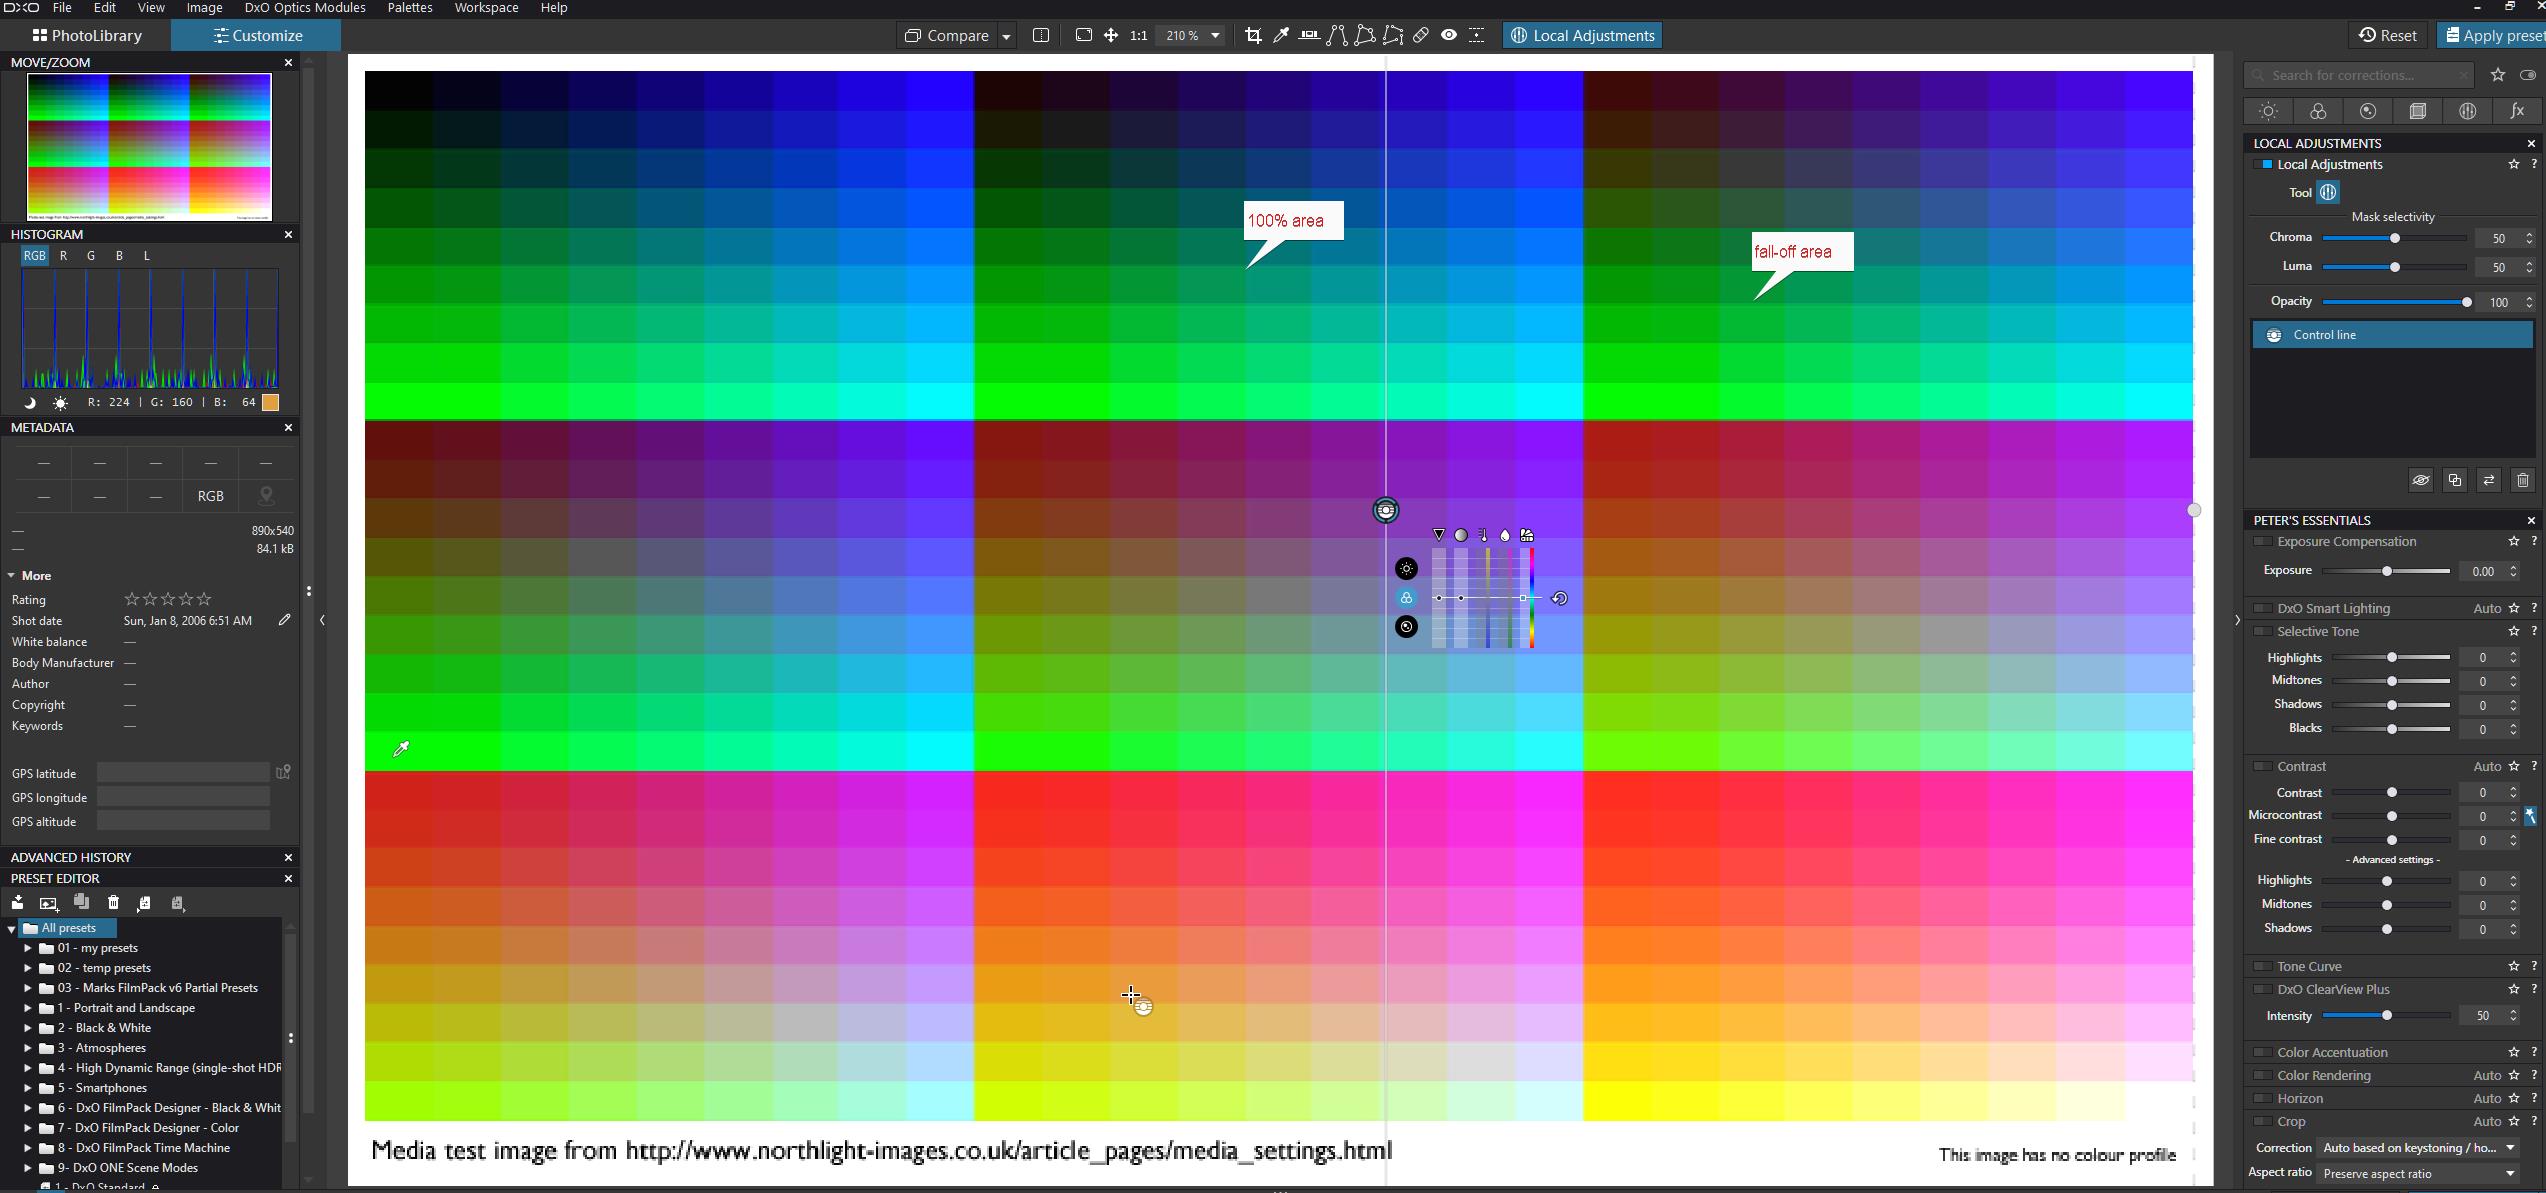
say i want to control the bleed:
set luma to less selective and narrow 100% effective widen feathering (fall-off area)
(remember i only show the mask changing i didn’t adjust anything)
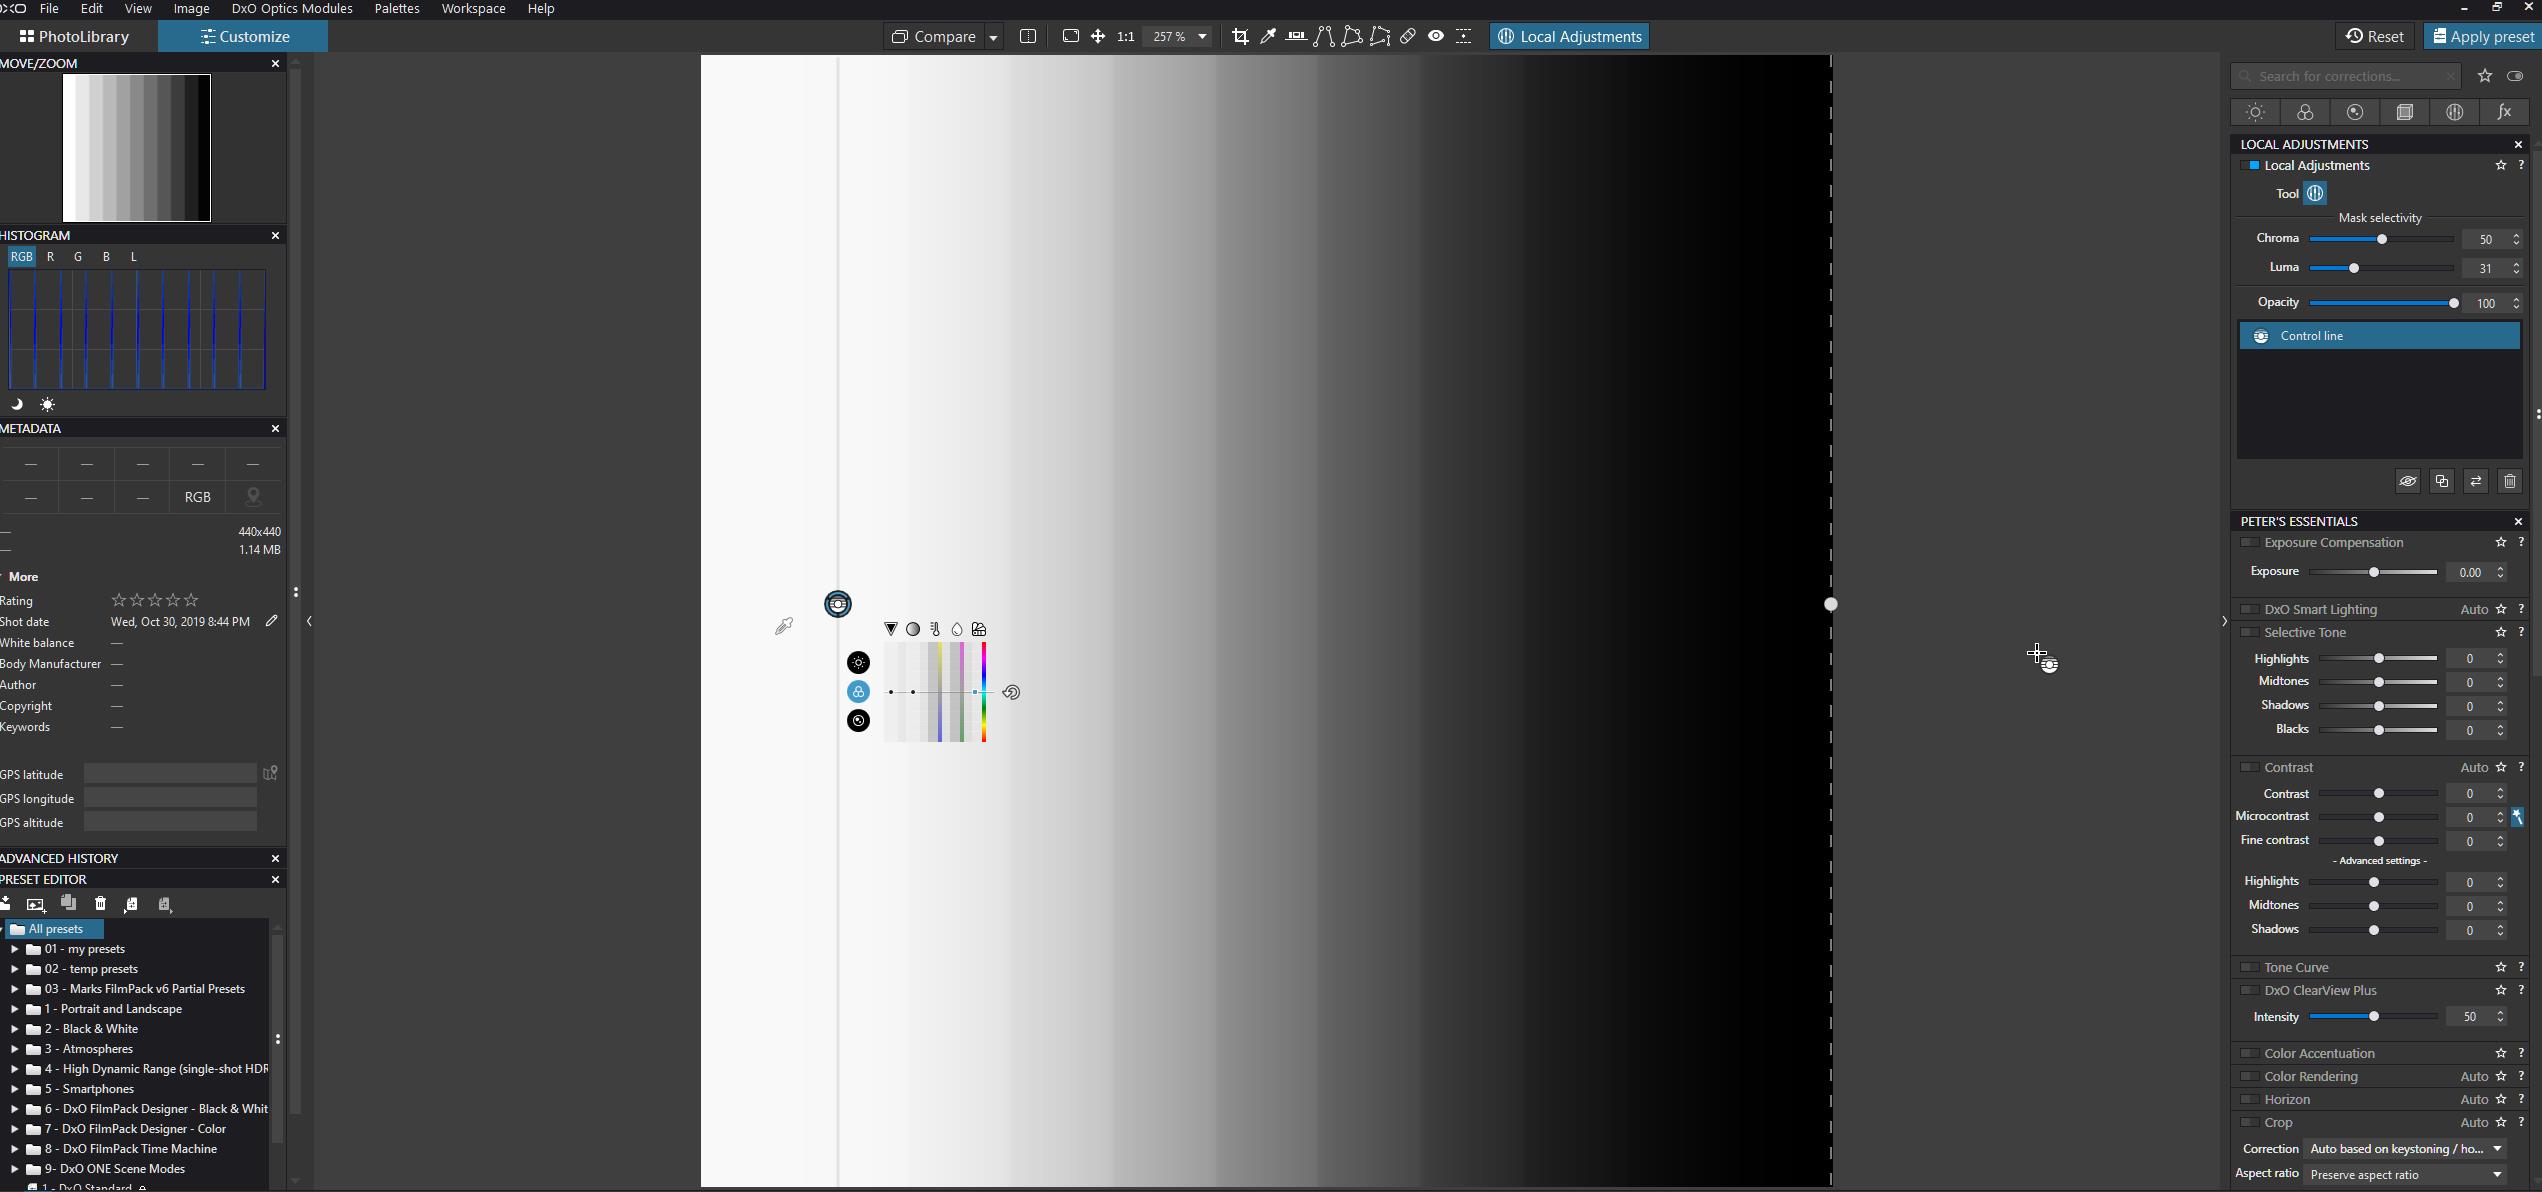
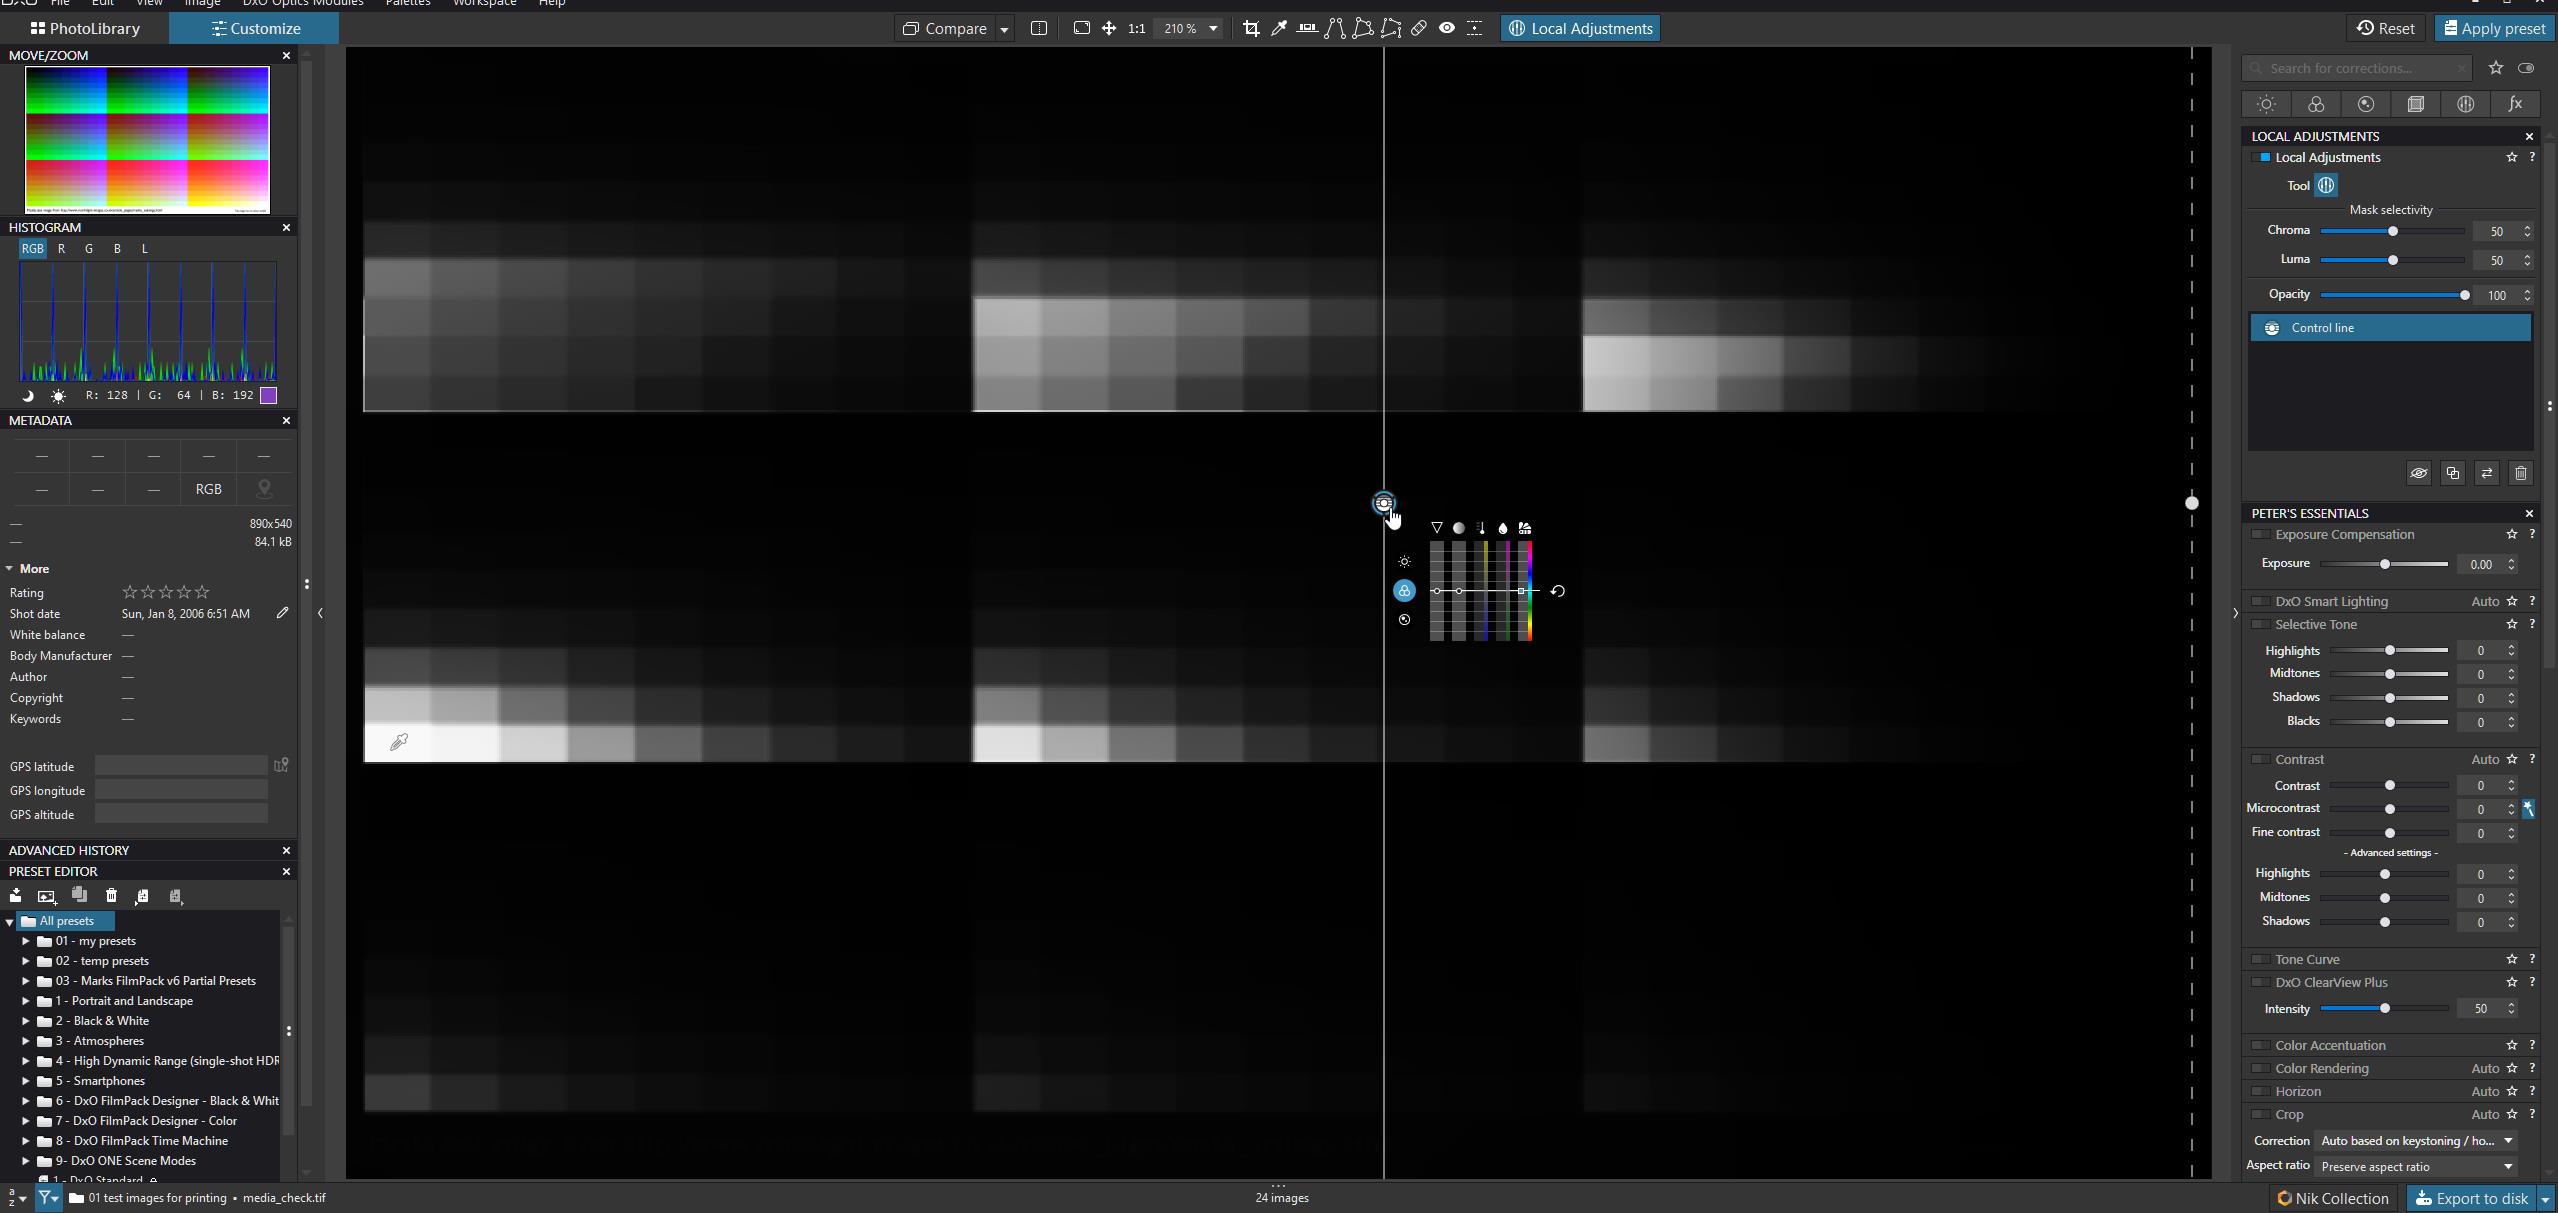
steaper fall off?
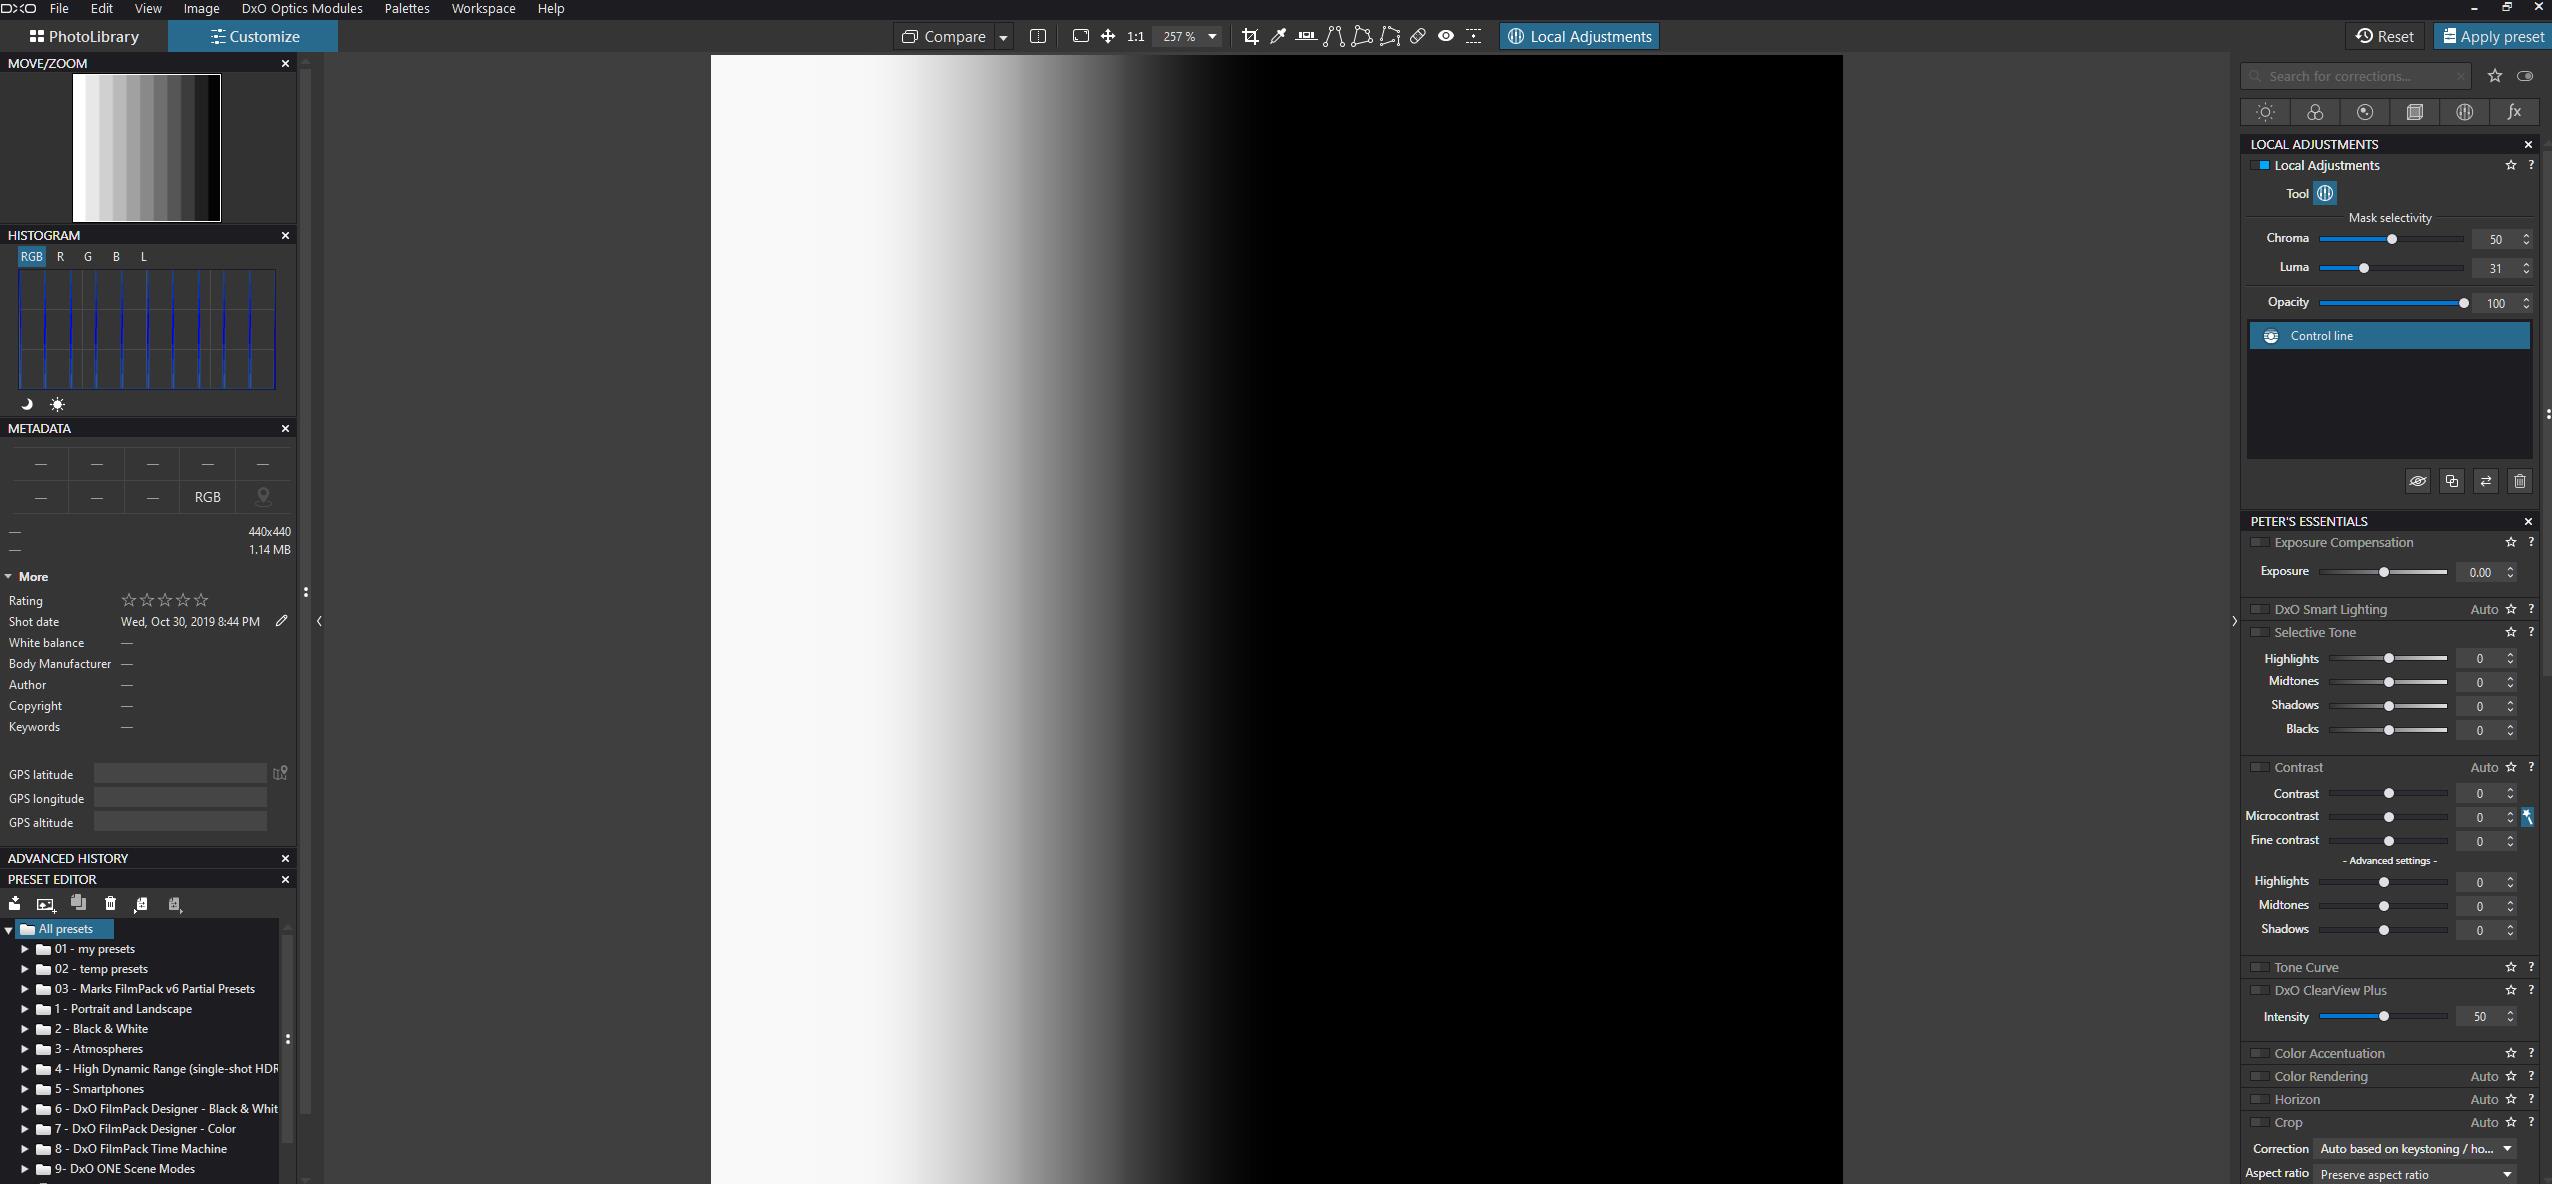
and more spread effect?
and now i am not even use chroma because b&W has no chroma.
With chroma you control hue parts: which part of hue is effected.

hit “m” and
open area up?
all colors in range:
(note no luminance change only chroma:)
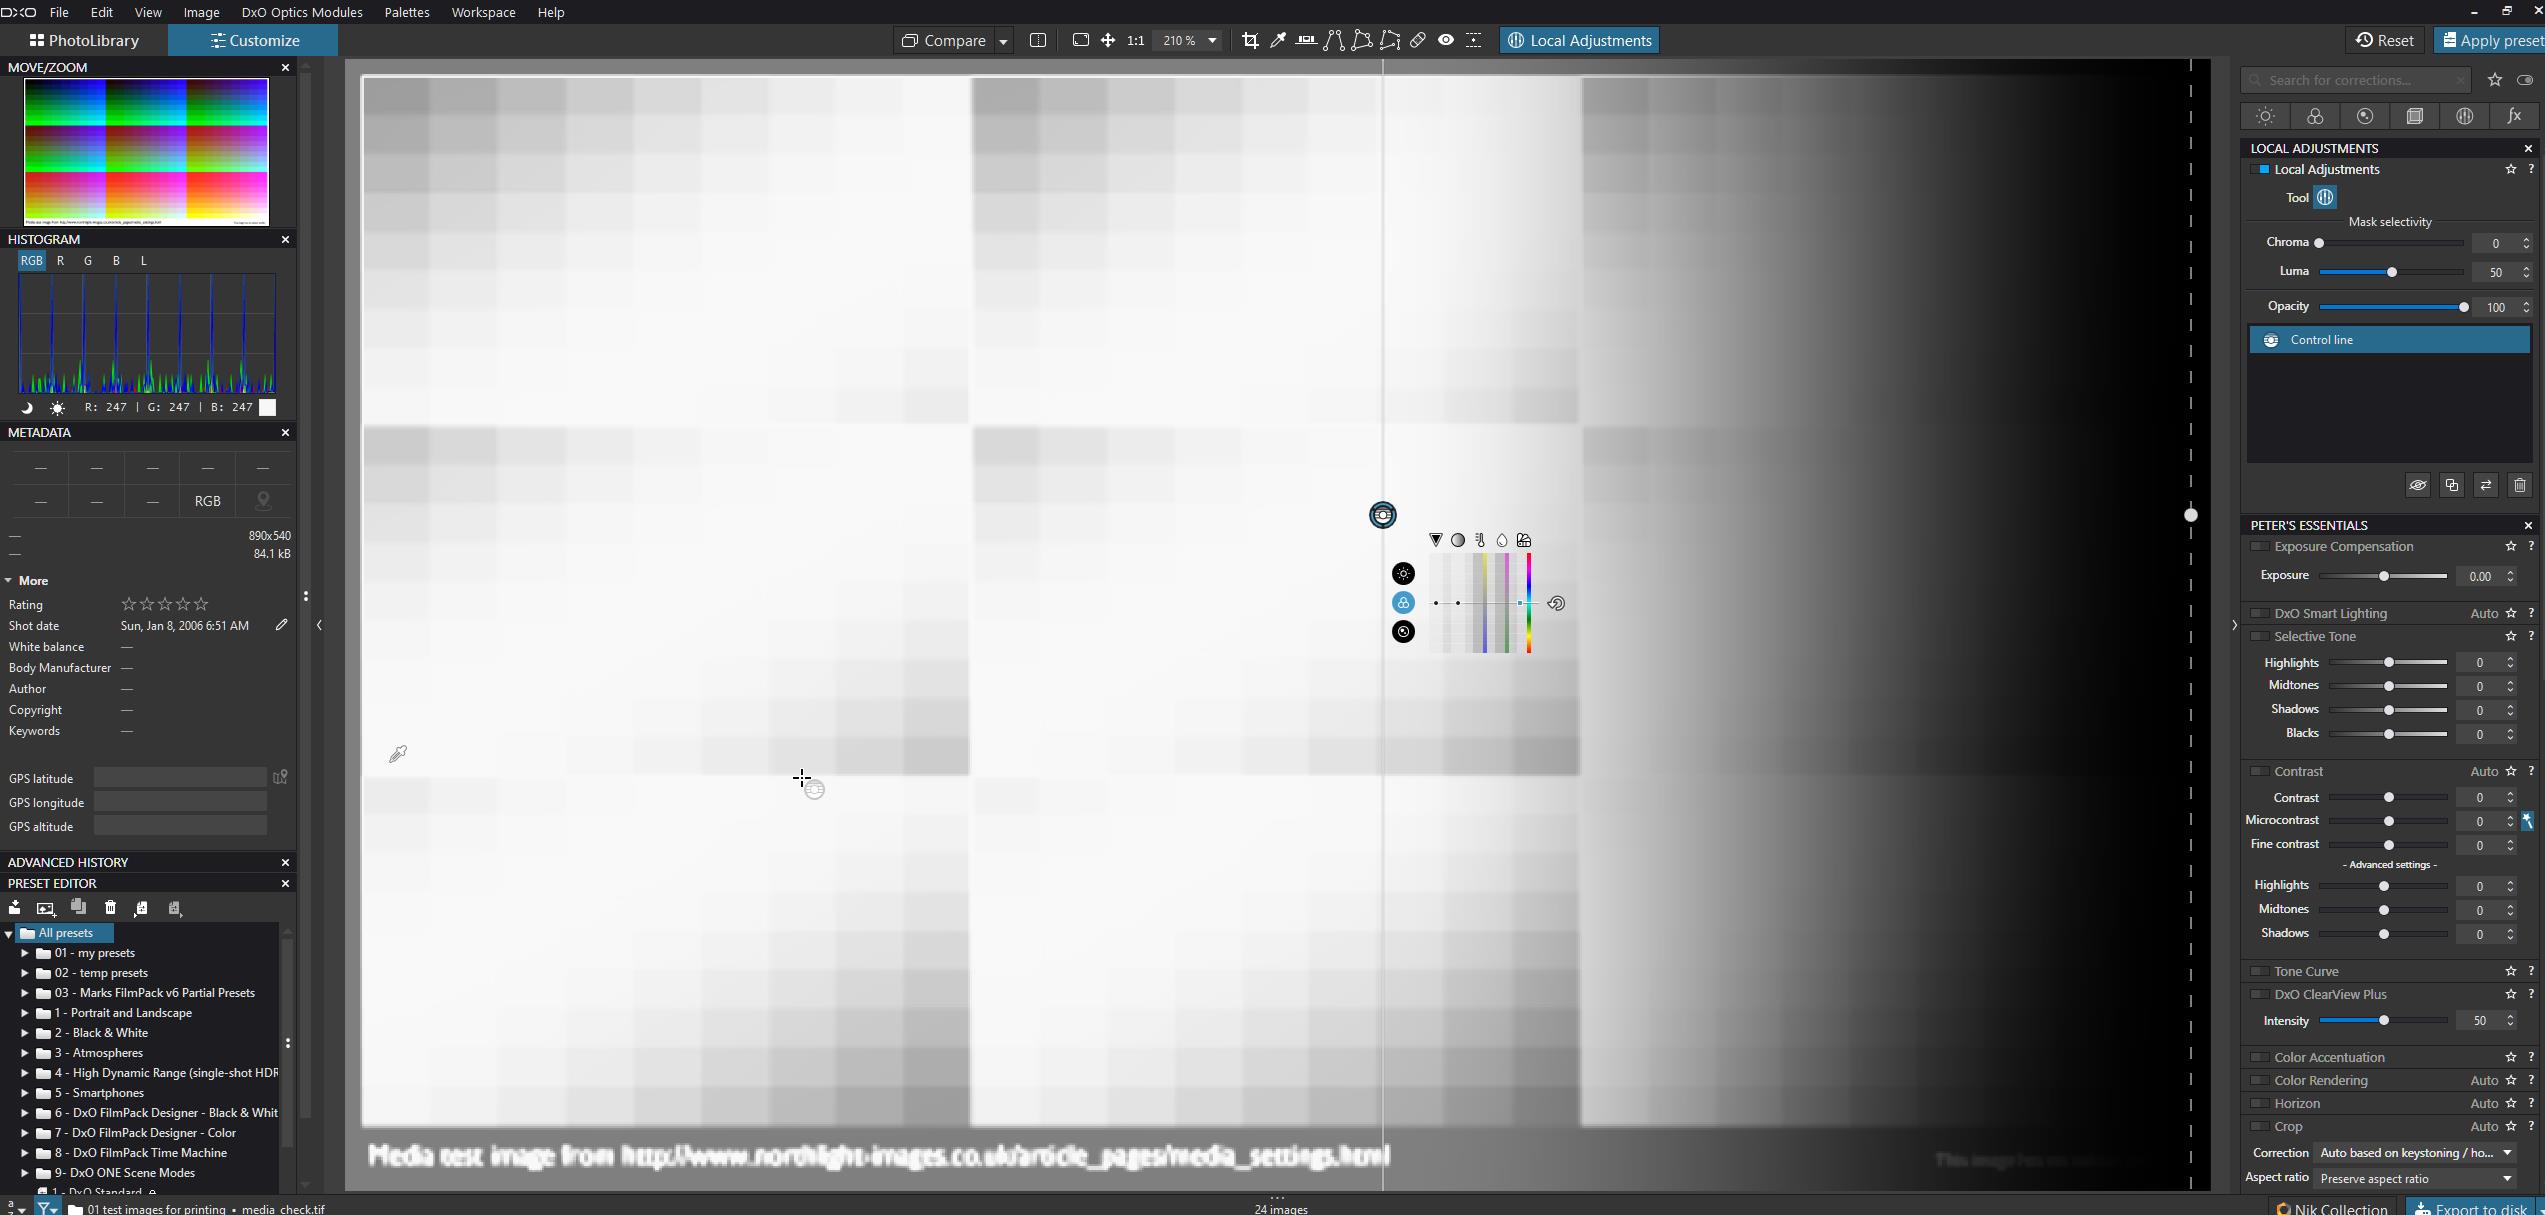
so now i have all colors ad the same luminance level:
looks difficult but once you understand how to select it’s total freedom and control.
make your own mask of whiteslider copy invert and or spread soften or narrow and make it harser. include or exclude colorselectivenes… endles.
it’s like driving a 4wheeldrive unless you know how to use the throttle, gears and such you still get stuck in the mudd same as a two wheel drive. learn to drive and the world is yours

1 Like
And in general.
we need to be careful to ask for more tools and adding more drawers in the cabinet.
the more drawers there are the less change you remember where you put the key in!
What we need is fine tune and extent a existing tool (drawer). cut off flaws and misbehave and build better controls.
our control is good:
selective tone and contrast : Global set up tonality/contrast/details in parts but fluid.
Tone curve: same but more hars and more edgy.
local adjustment: the paintbrushes to touch up area’s or protect area’s (you can use it to counter effect global adjustments.)
What we need is better view of what’s effecting what. connection of knobs and view of effect .
stacking contrast and such effects a image. So a histogram which holds a tonecurve line inside which shows the combined contrast changes would help a lot.
2 Likes
could you provide links ?
Thanx.
Why working existing way should be replaced by a new one ?
Why couldn’t be a second way added (maybe with a toggle if they are not compatible).
It is really true that for some images it is too much long to do some kind of recovery which works really well in other softwares (and not LR alone).
Better to add features than to loose features.