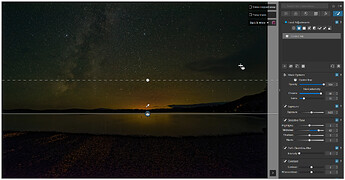
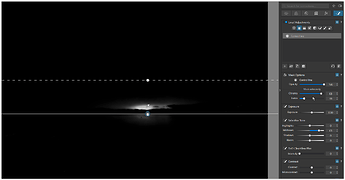
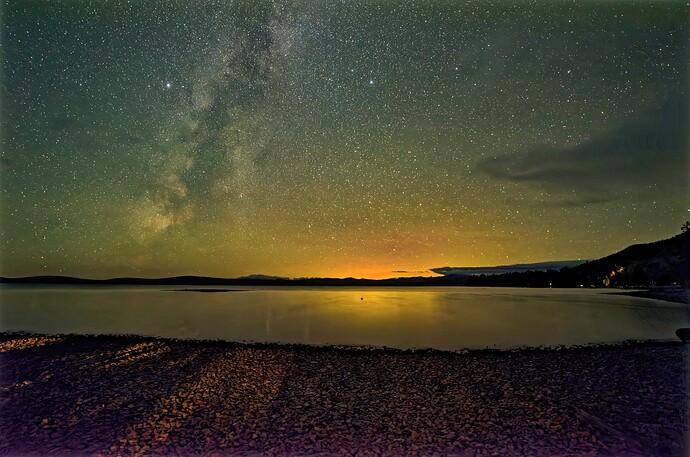
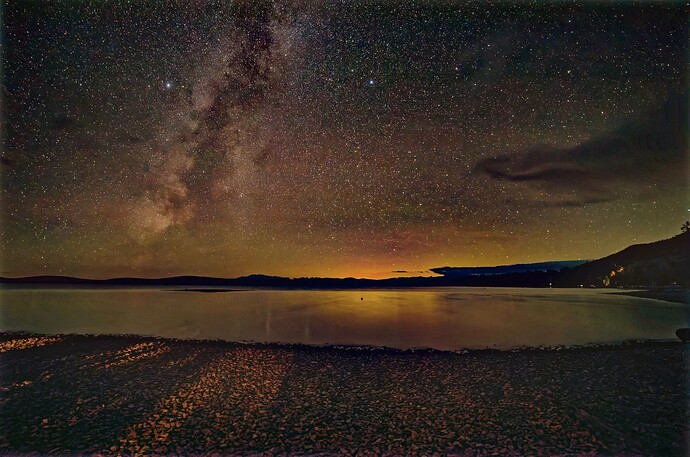
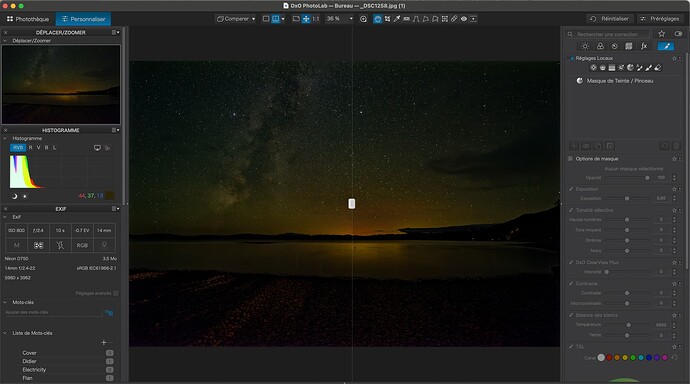
I sometimes do night sky photography at our lake place. There’s often a glow coming over the horizon. I’d like to select from the horizon up a few degrees - and not select the area below. I’ve been trying to figure out how to use a control line to select that area only. No luck with a negative control line - about all that seems to work is another control line in nearly the same place (but end-gradation line as close as possible) with changes undoing what the first one does. I have had no luck at all ‘protecting’ the below-the-horizon area with a negative (using alt button so minus appears next to cursor) control line. But I’m probably missing obvious (D’oh!)
Anyone know of a tutorial that might cover this (admittedly quite ‘niche’) use for the control line?
Could you share a picture to try?
You need to set the control line to select the whole sky and just below the horizon. Then move the pipette to the area you want to select then adjust the Luma and Chroma sliders to refine the selection, then make your adjustments.
A sample RAW file would help us help you ![]()
My bad. NEF is there now.
I was actually looking to drop that sky glow just above the horizon by maybe half a stop. make the photo approximate what it looks like ‘in person’. Horizon light not bright at all; milky way there but not super prominent.
No idea what that glow is coming from. That far shore is all preservation land (no camps, not even a logging road. The green in the sky is clearly ‘earthlight’, maybe this is part of that as well(?)
Looks like it’s time for me to learn more about B&W masks. I’ve been leaving them the default red…
I think a control point would be better for this photo. I am not on my PC at the moment so cannot try.
I assume you want to darken the glow to match the rest of the sky.
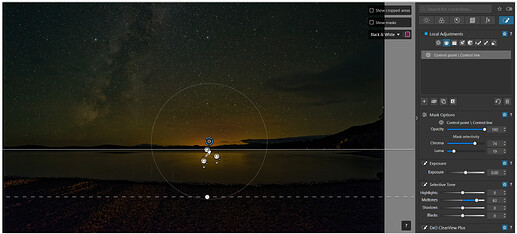
I used 1x control line and placed the picker directly on the sun
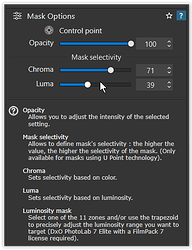
to then control the Mask selectivity with the → Chroma and Luma slider.
Setting the mask view to B&W will help you to see the “spread”.
Since I don’t know what you want to do, I just boosted the midtones.
_DSC1258.jpg.dop (19,1 KB)
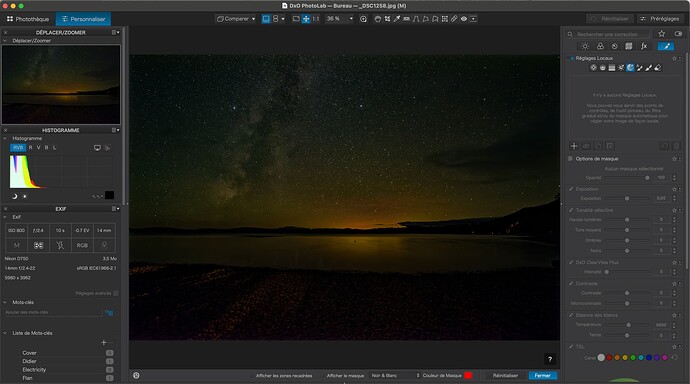
Unfortunately, you didn’t copy the NEF file, just a JPG.
Nonetheless, @KeithRJ has given you the right advice about using the B&W mask and the selectivity sliders.
Whilst playing, I came up with this version…
Removal of light pollution gradient with GraXpert. Then 2 curve stretches with Affinity Photo and 1 curve adjustment to set the sky black point right.
But also provide the NEF, as there are weird artifacts in the jpg. See for example the clouds on the right. This may have been caused by certain settings in Photolab (known issues).
regards,
Lex
BTW, there’s no sun in this photo. I took it around 11PM - but I see what you mean.
I’ve tried that. My problem with CPs is feathering. Either they don’t do that - or I haven’t figured out how to get them to do that.
BTW, I think I’ve figured out how to get a CL to do what I want. What I wanted was a gradual change up from the horizon into the sky without affecting the lake. A CL gives me the gradation I want, but it also solid-selects anything on the side opposite the gradation. It seemed to me that a negative CL (part of the primary one) directly below with a tiny gradation should cancel the mask - but it wasn’t working. My issue turned out to be where the eyedroppers were. I had both positive and negative in the same spot (brightest yellow above the horizon). I moved the negative eyedropper to the reflections on the lake - and the mask I was trying to get rid of went dim.
I’ve put the .DOP file up in case my words make no sense at all.
On to the rest of the edit. ![]()
Oh, I tried B&W masks but leaving it as a color overlay made it a easier to see what color I was putting each eye dropper on.
Ok, here are 2 more versions using Control points
_DSC1258.jpg.dop (58,9 KB)
-
Control point and 3 negative Control lines → VC 2
-
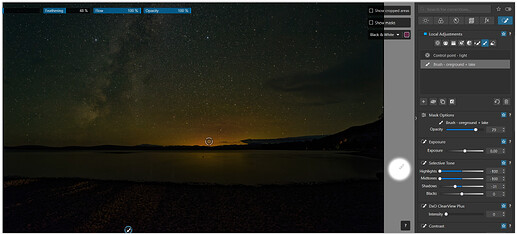
Control point and brush → VC 3
Just experiment and play with these examples too to get more ideas.
But personally I wouldn’t darken the foreground, even though it’s a night shot.
In any case – have fun!
‘Not darkening the foreground’ is exactly what I was trying to do. ![]()
Question: Will VC 1 or 2 work for you?
I still don’t understand what your goal is. ![]()
I was just trying to knock down that yellow-ish light coming over the horizon by maybe half a stop - without being obvious about it. This was taken in a dark-skies (Bortle 2) area so no idea what that light is coming from. It’s not ‘earthlight’ which is a kind-of greenish tinge that I often correct out (because it looks black to the naked eye). But that’s a discussion I’d ought to have with an astronomer.
FWIW I did (eventually) figure it out. It was a matter of making the CL more chroma-sensitive, plus different placement on plus and minus (holding the alt key) line eyedroppers. I thought I’d posted that to this thread, but maybe I messed up…
[edit] I did post that - but it’s before your post [/edit]
Ah ok… for your selection play with → Mask selectivity
and then increase/decrease brightness, color, contrast… as needed.
For final adjustment, try the opacity.
Can I suggest that you forget Control Lines for this problem and look at the new Tint Mask tool?
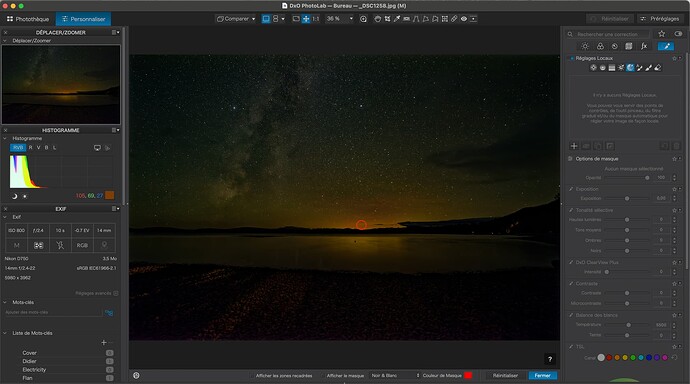
Here is your original image…
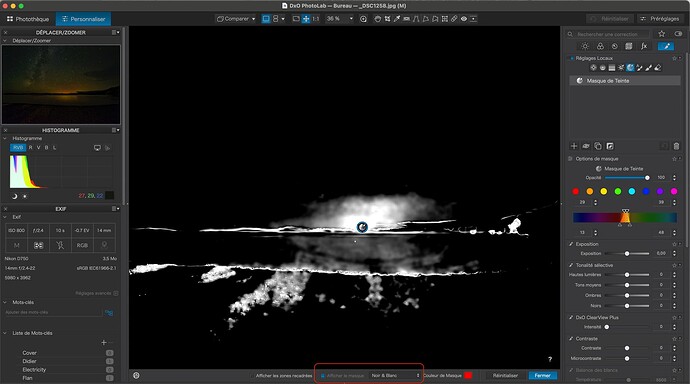
Now, select the Tint Mask tool and place the pipette in the middle of the brightest area…
… and make sure the B&W mask is selected…
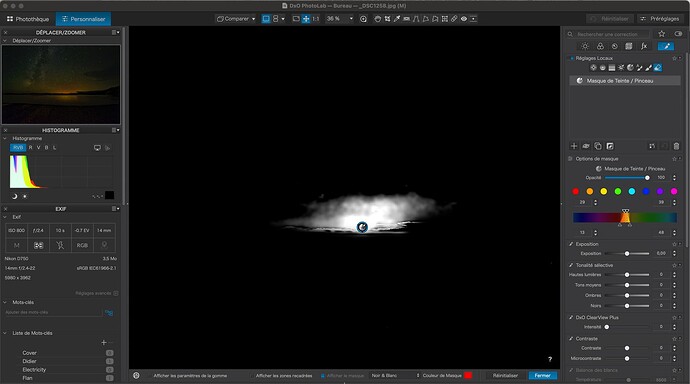
In this particular case, I didn’t’t need to adjust the Selectivity sliders, but I used the Eraser tool to remove all of the mask except the area I was interested in…
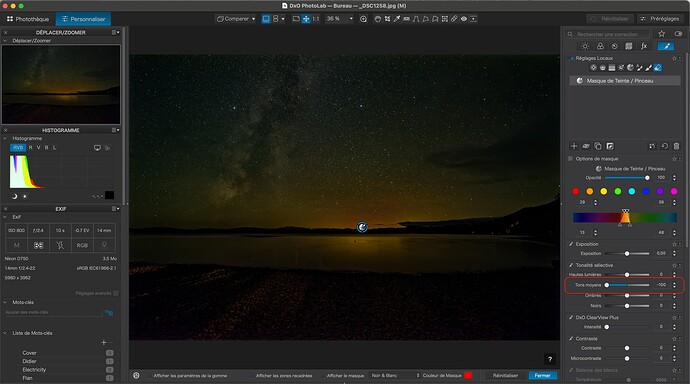
Then apply the change you want. I chose to lower the Midtones in the Selective Tonality sliders…
Since the introduction of the Luminosity and Tint Masks, I am finding I am using them more than the Control Lines, due to the accuracy of trimming the masked area with the Eraser
Here’s the finished result, with just that slight reduction of brightness, compared to the original…
I tried that (hue selection the #2 reason I upgraded to v8, #1 being the new curves tool). I needed the adjustment to be gradual, most at the horizon, fading as you go upwards. That shouted ‘control line’ at me.
FWIW, that’s a fairly typical night there, so I have a lot of these shots. Once I figured out how to make a CL do what I wanted, without having to erase any selection… But I’ll go play with hue selection a bit more - thanks!
