I’ve thought about doing my photography colour correction in DaVinci Resolve, as the colour tools are far more powerful. The workflow is pretty heavy. It’s a pleasure to edit one’s photos in PhotoLab. Resolve remains a heavy slog for me, even if the results are excellent. I haven’t ever really found myself limited by PhotoLab, except when the repair tools were introduced and they were 1. very poor quality (magic repairs were nothing like as reliable as Photoshop or Affinity Photo) 2. slowed PhotoLab previews down horribly after twenty or so repairs.
I like your suggestion of creating my own presets, because that might save me editing time and give my photos a branded look.
Full speed ahead. It will save you editing time and help you create a signature look.
Here’s a couple of screenshots to show you what a difference a single Color Rendering makes. Here’s a before and after (split) with full correction on Nikon Z9 file (shared default colour profile with Z6, Z7, D850, D780), Color Rendering is Velvia 50. This includes many other corrections of course, it’s not just slapping on a Color Rendering. Exposure and tone corrections are done after choosing the Rendering
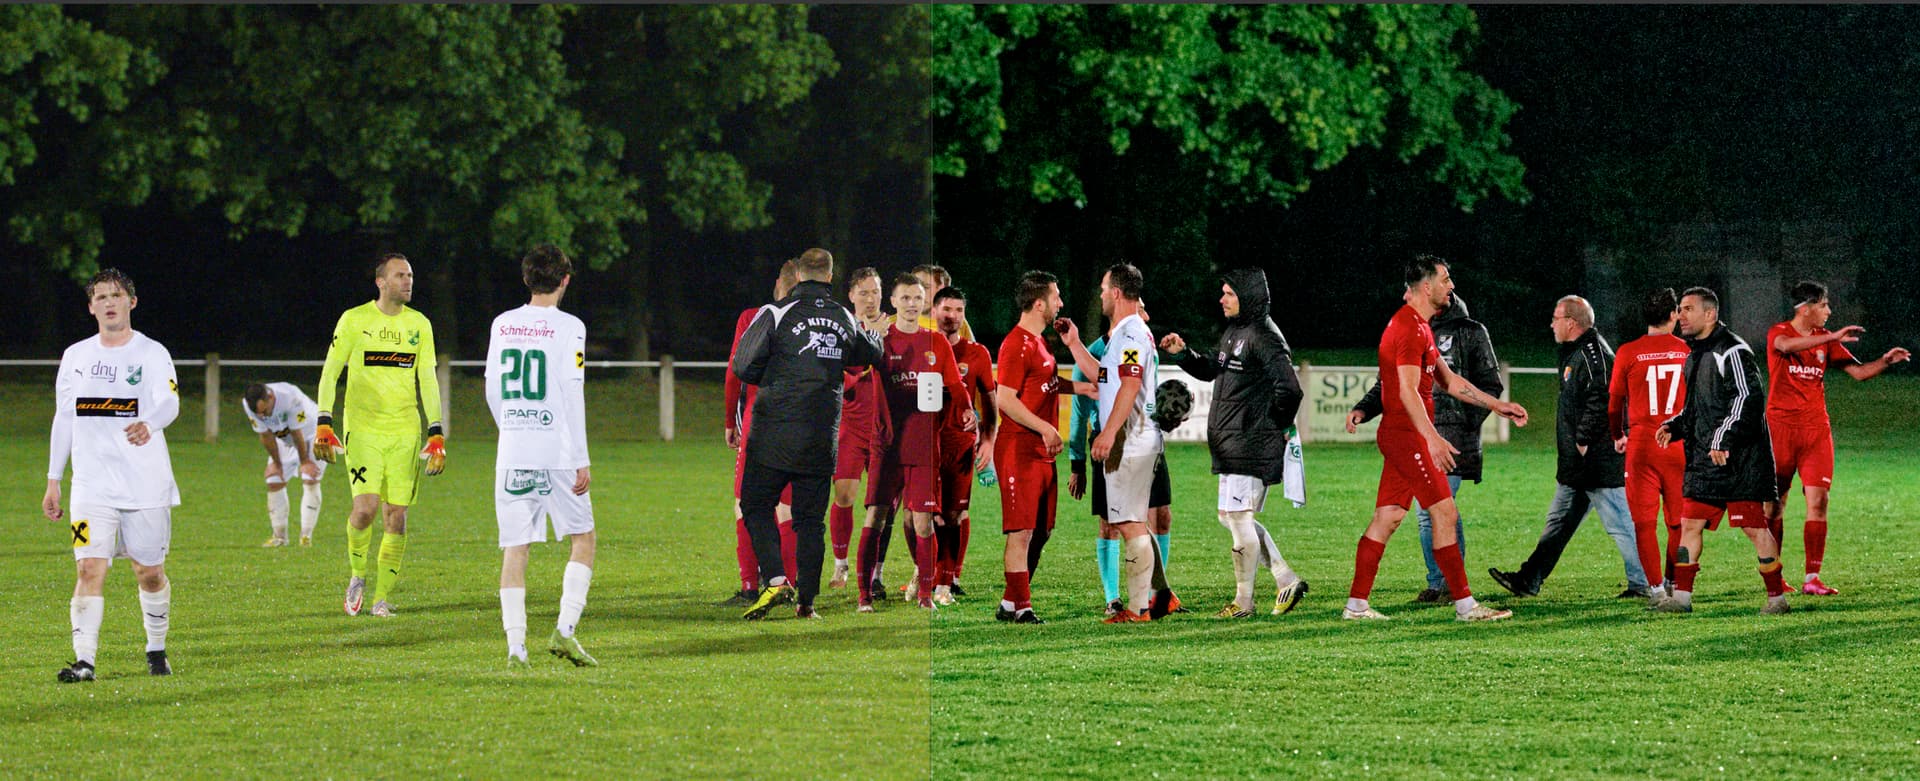
The interest of this image was it was a very tense game, and the usual post-game handshake was not proceeding well, threatening to break out into a fist fight instead.
If I disable just Color Rendering, here’s what the same before and after looks like:
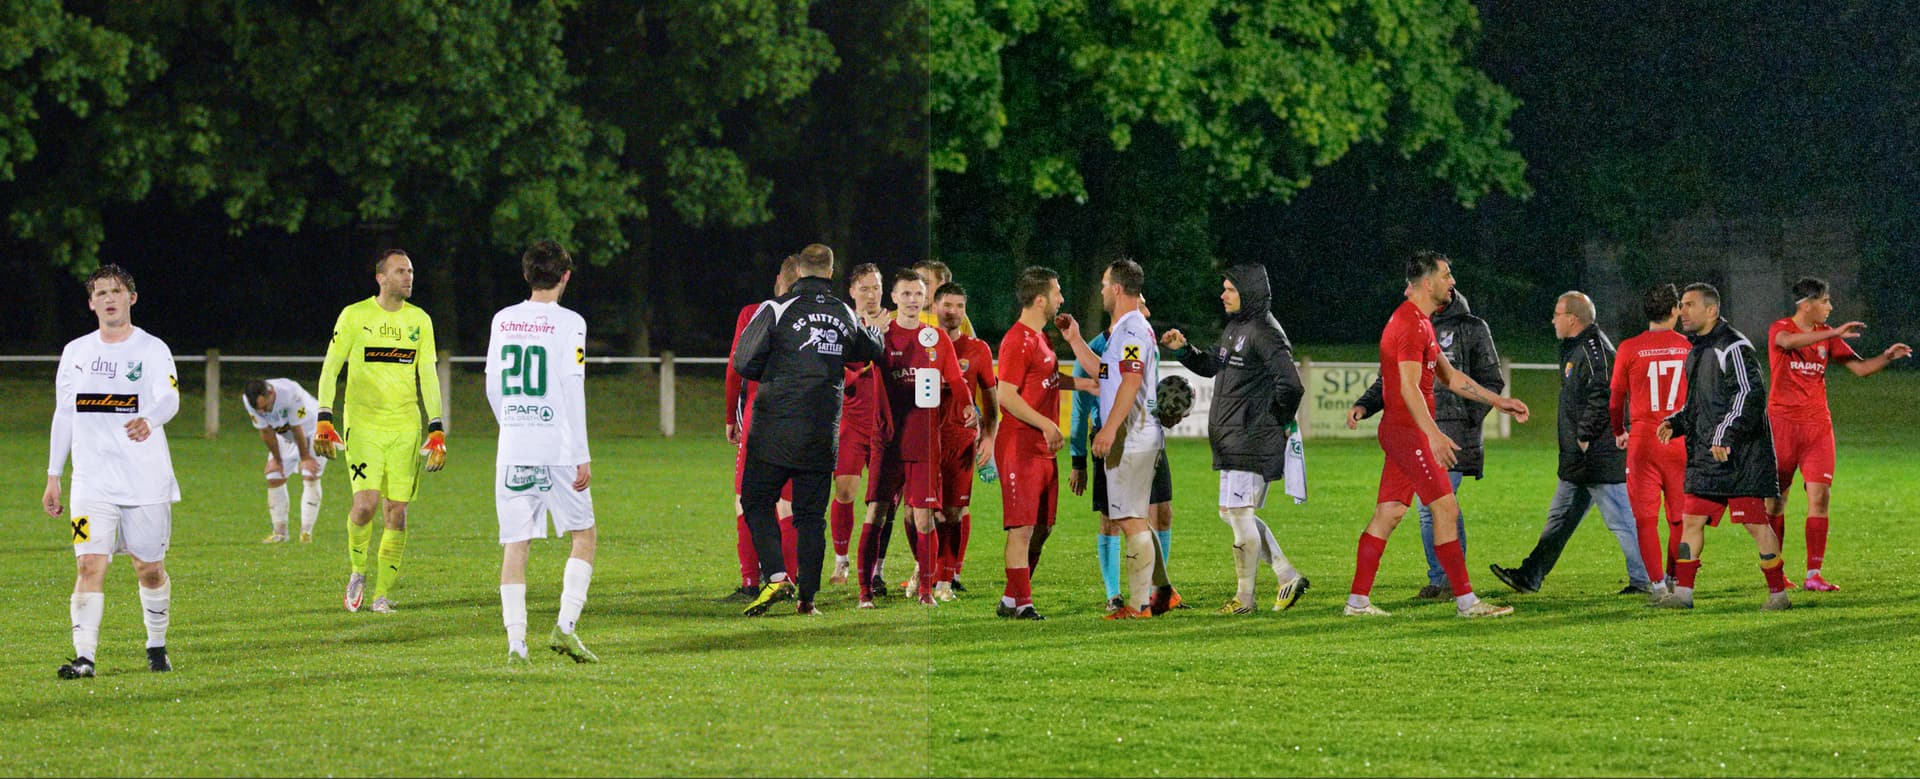
Nothing else has been changed. The image still looks good, but very different. Not nearly as intense nor as three dimensional. Of course if Color Rendering was removed, I’d find a way to replicate this look with manipulation of tone and curves, just as I did before with Photoshop ACR and with Aperture. It’s a lot slower process though and in the case of Photoshop involves creating macros. The PhotoLab way with Color Rendering and User Presets is a more efficient and intuitive way to build starting Photoshop macros.
Here’s the finished image in full size (bad luck, DxO resizes images down to 1920 width, with terrible compression: original is 7860px wide and looks nothing like this: the forum software used to take much better care of our images).
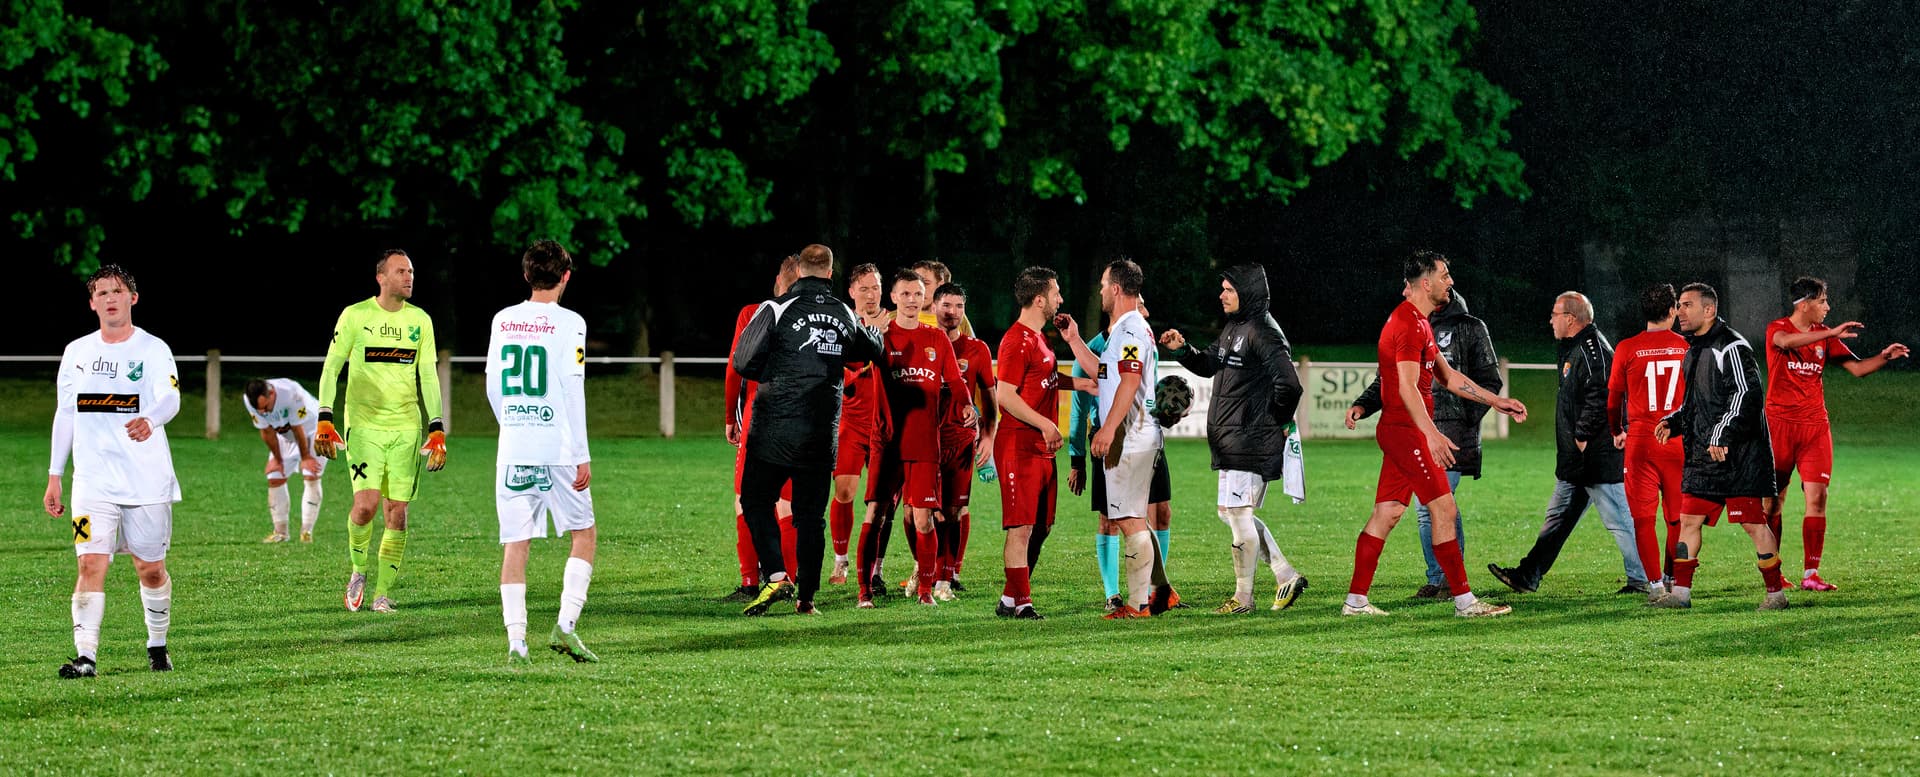
Learn the tool you have, take full advantage of the tools which we are given. Complaints that PhotoLab does not work like Lightroom for instance mostly indicate that the photographer has not taken the time to learn to use PhotoLab well.
Finally here’s another image from the same set. Joseph Machovec is here to tell PhotoLab users to work harder:
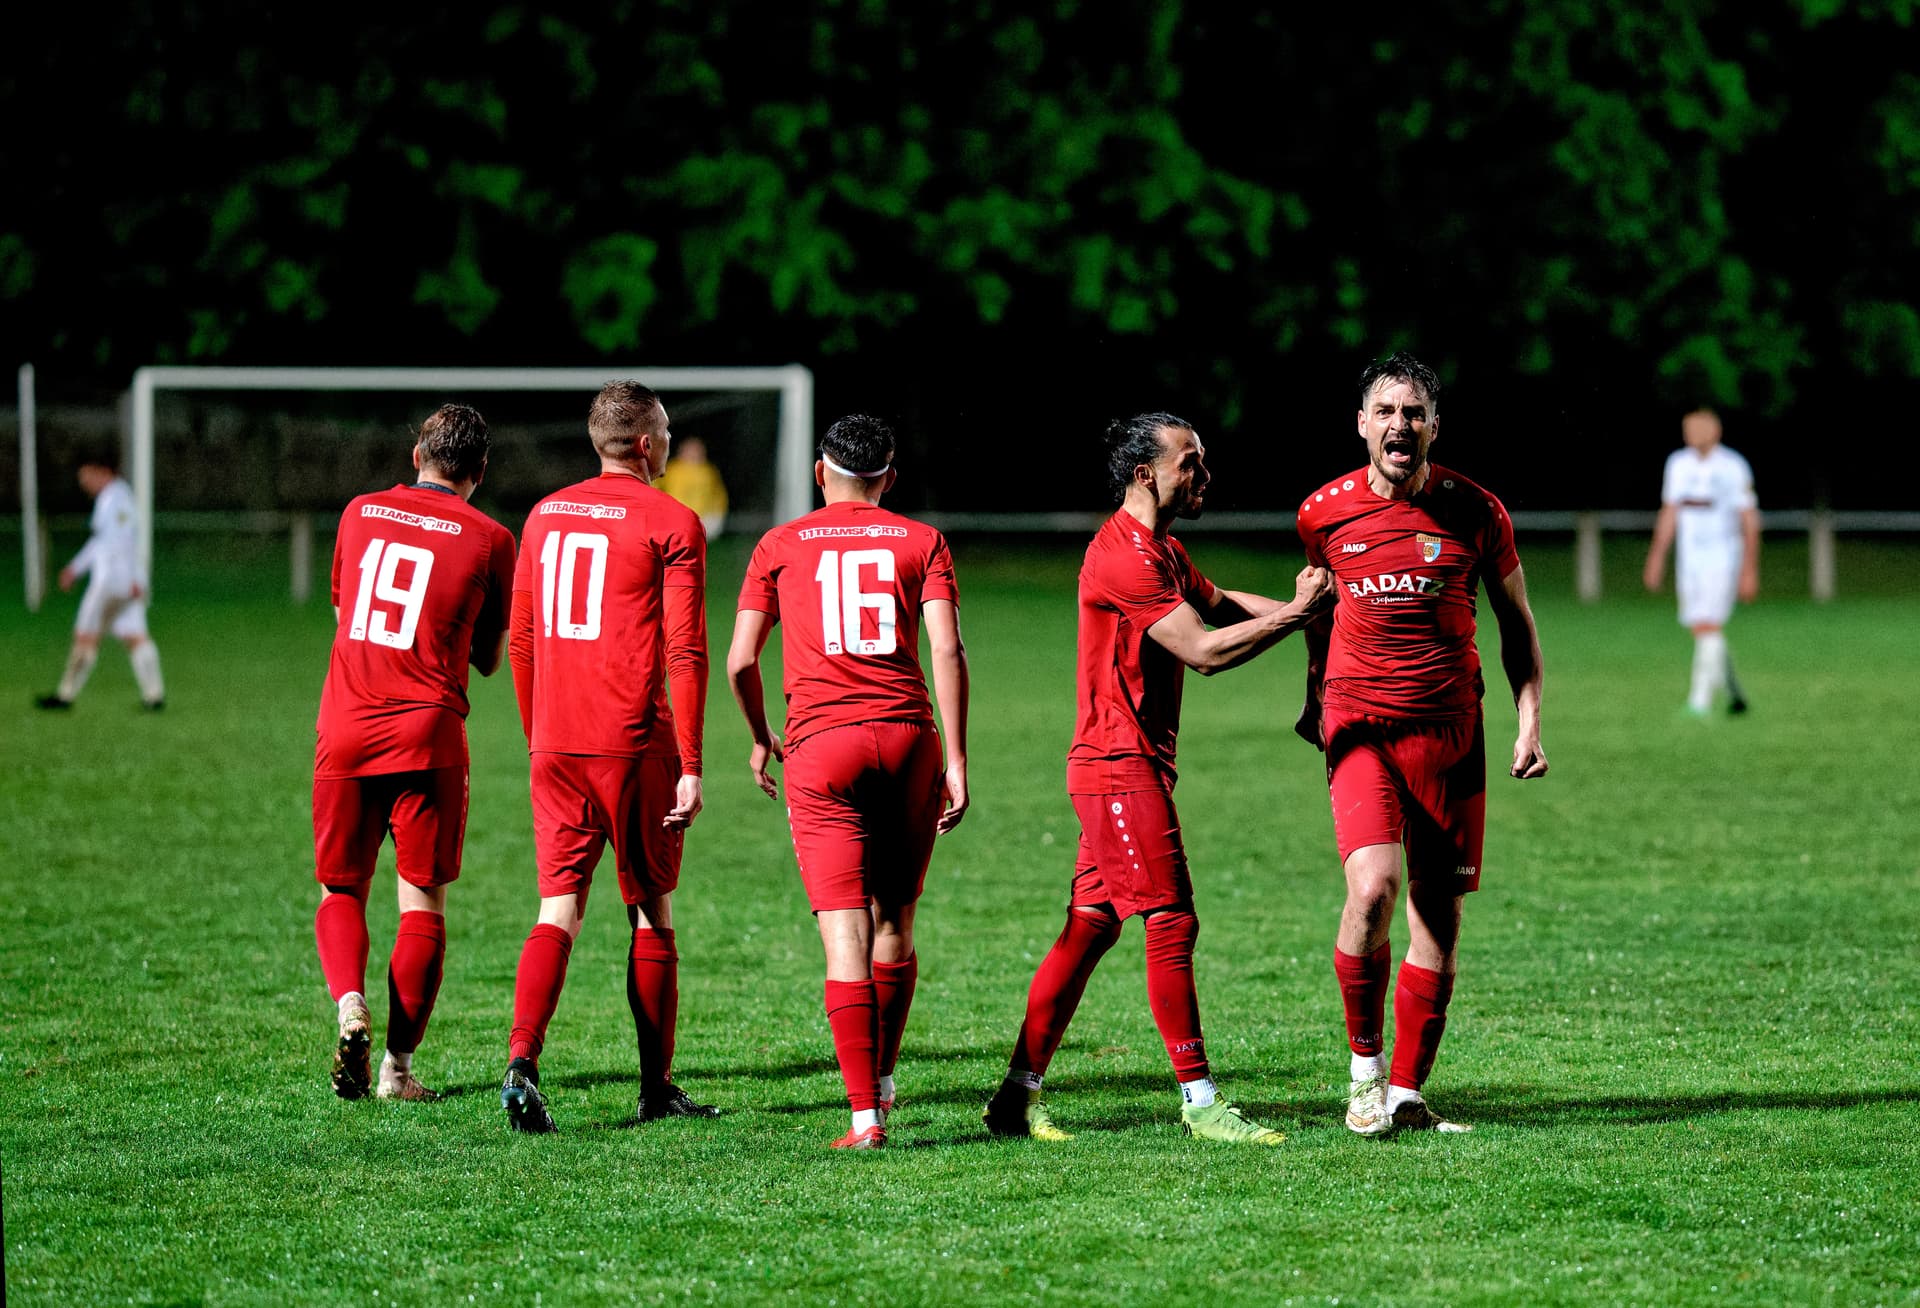
Bad luck, DxO resizes images down to 1920 width, with terrible compression: original is 6044px wide and looks much better, although the damage isn’t as bad as on the previous image: the forum software used to be set to take much better care of our images.
This is also created with Fuji Velvia 50 Rendering, this time cranked up to 167. Generally it’s best to use a single Rendering for a set, unless the light changes radically. In my case with football outdoors, it often does, with a game starting with daylight and finishing under the night lights as here. In this case, a game is really two or three sets, and one of the challenges is to make the day set match the night set. It often involves choosing a similar alternative Rendering.
If you’d like to have a look at the images in their original quality, download them from Proton Drive. In terms of copyright, anyone is welcome to use these images as examples in an article about PhotoLab, license is CC BY-NC-ND 4.0 .