What is your experience with LA Denoising settings, e.g for bokeh?
I found it quite useful for “taming” busy background and healing face pores and some other “skin problems” when used for Local Adjustments (LA). Tested only for high ISO photos, like 12k on Nikon Z8 (FF,45mpx) using Control Point or Selection AI masks. Depending on the input, reducing ‘Force details’ to -20, -50, or -100 sometimes produced good results.
Looks like we have another tool for local smoothing, in combination of Microcontrast, Contrast, Exposure, Sharpness, LSO, and (God forbid) Blur. However, choosing the right balance between these tools looks like a per photo challenge. After some 20 tries it was difficult for me to find any rule. Perhaps it’s too early to ask, but I would be interested in your experience. The goal would be to create a rule of thumb, which combination to use in specific cases for getting bokeh/wrinkles less distractive.
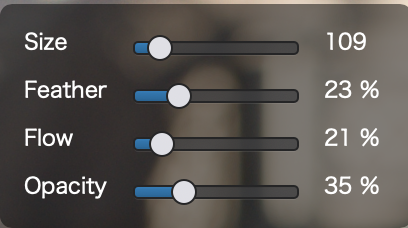
I tried using the Manual Brush tool, I used the following settings for the brush (size will be dependent on the image size) and set the mask to a minimal Blur (about 3). With a low opacity on the brush, making several passes over the same area will make the blur more pronounced.
Almost like applying a fine layer of concealer (makeup) to the face.
OK, re-read your post, hopefully with more understanding – I just lack basic LA knowledge, never being fan of. I’ll try it tomorrow, sorry for misunderstanding.
Thanks for your suggestion. Tried Manual Brush with Blur and Selective Tones settings (plus other) to remove some bad side-effect of scenic light on not photography friendly makeup. I had a deja vu, when years ago I tried to do the same thing in Photoshop. SABENA. While effective, I think the method requires several months of training, few hours a day, to get natural results in reasonable time. The main problem is that there’s no turning back if you overdo with Manual Brush, and you have to start from scratch. Had similar experience with Affinity Photo. I have too few cases to justify spending a lot of time to master this method and prefer to handle the job to professional graphic editors. I’m just a photographer trying to reproduce what I’ve seen, and these damned cameras tend to amplify all image faults . Hence I’ll stay with using Control Points to get partial results quickly, at least for now.
With societies getting older and many women being very picky about their images, the problem just cries for an easy to use solution. For example, Capture One ‘Blemish Removal’ is just the first step in this direction. Not sure, if it’s in PhotoLab “genre”. Maybe photo editing industry expects users to switch to things like Nano Banana?
Do you have forehead horizontal wrinkles in mind and using LA positive Selective Tones for Blacks and perhaps the shadows?
If you use a new mask layer each time you make a change then reversing a bad alteration will be easier, just remove the last layer.
I haven’t tried this on heavy forehead lines.
I had some success in the past with wrinkles using Pixelmator Pro (Mac) they have a hi-low pass filter that seemed to be very effective, but it was very sensitive to adjustments, and took a lot of time to get decent results.
I’ve always worked with brushstrokes of low opacity and soft edges, for example, to enhance the 3D effect by (gently) drawing in exposure corrections (around -0,3 / +0,3). A few passes quickly show when it’s sufficient. I did this with a Wacom tablet in old PS and now also in PL.
.
Finally, PL has improved the layer system, and as @LVS mentioned, a correction (undo) can be easily performed by deleting the correction layer. – When possible (not too complicated), I often adjust the layer’s opacity to achieve the desired effect.
Using different settings for foreground and background (as well as smaller areas like faces → @Wlodek) should work the same way. I’ve already tried applying reduced lens sharpness etc. to the background in a few examples, but no other corrections (blurring or else), e.g. on faces.
Just coming in on this to say that in some cases it can work well reversed, too.
That is to say it’s handy to apply stronger denoising to the background and non-subjects then use a local mask to tone it down on your subject, retaining more detail.
This does depend on what you’re shooting: If it’s people and you want to try and smooth out skin then this “reversed” approach might not be great.
I’ve found it turns out good results for cars, however…
Try Reblum on finished images. It works wonderfully and can be made to look entirely natural. I bought on Black Friday with a steep discount. This video shows Reblum in action on serious photos . There’s a discount code in the description.
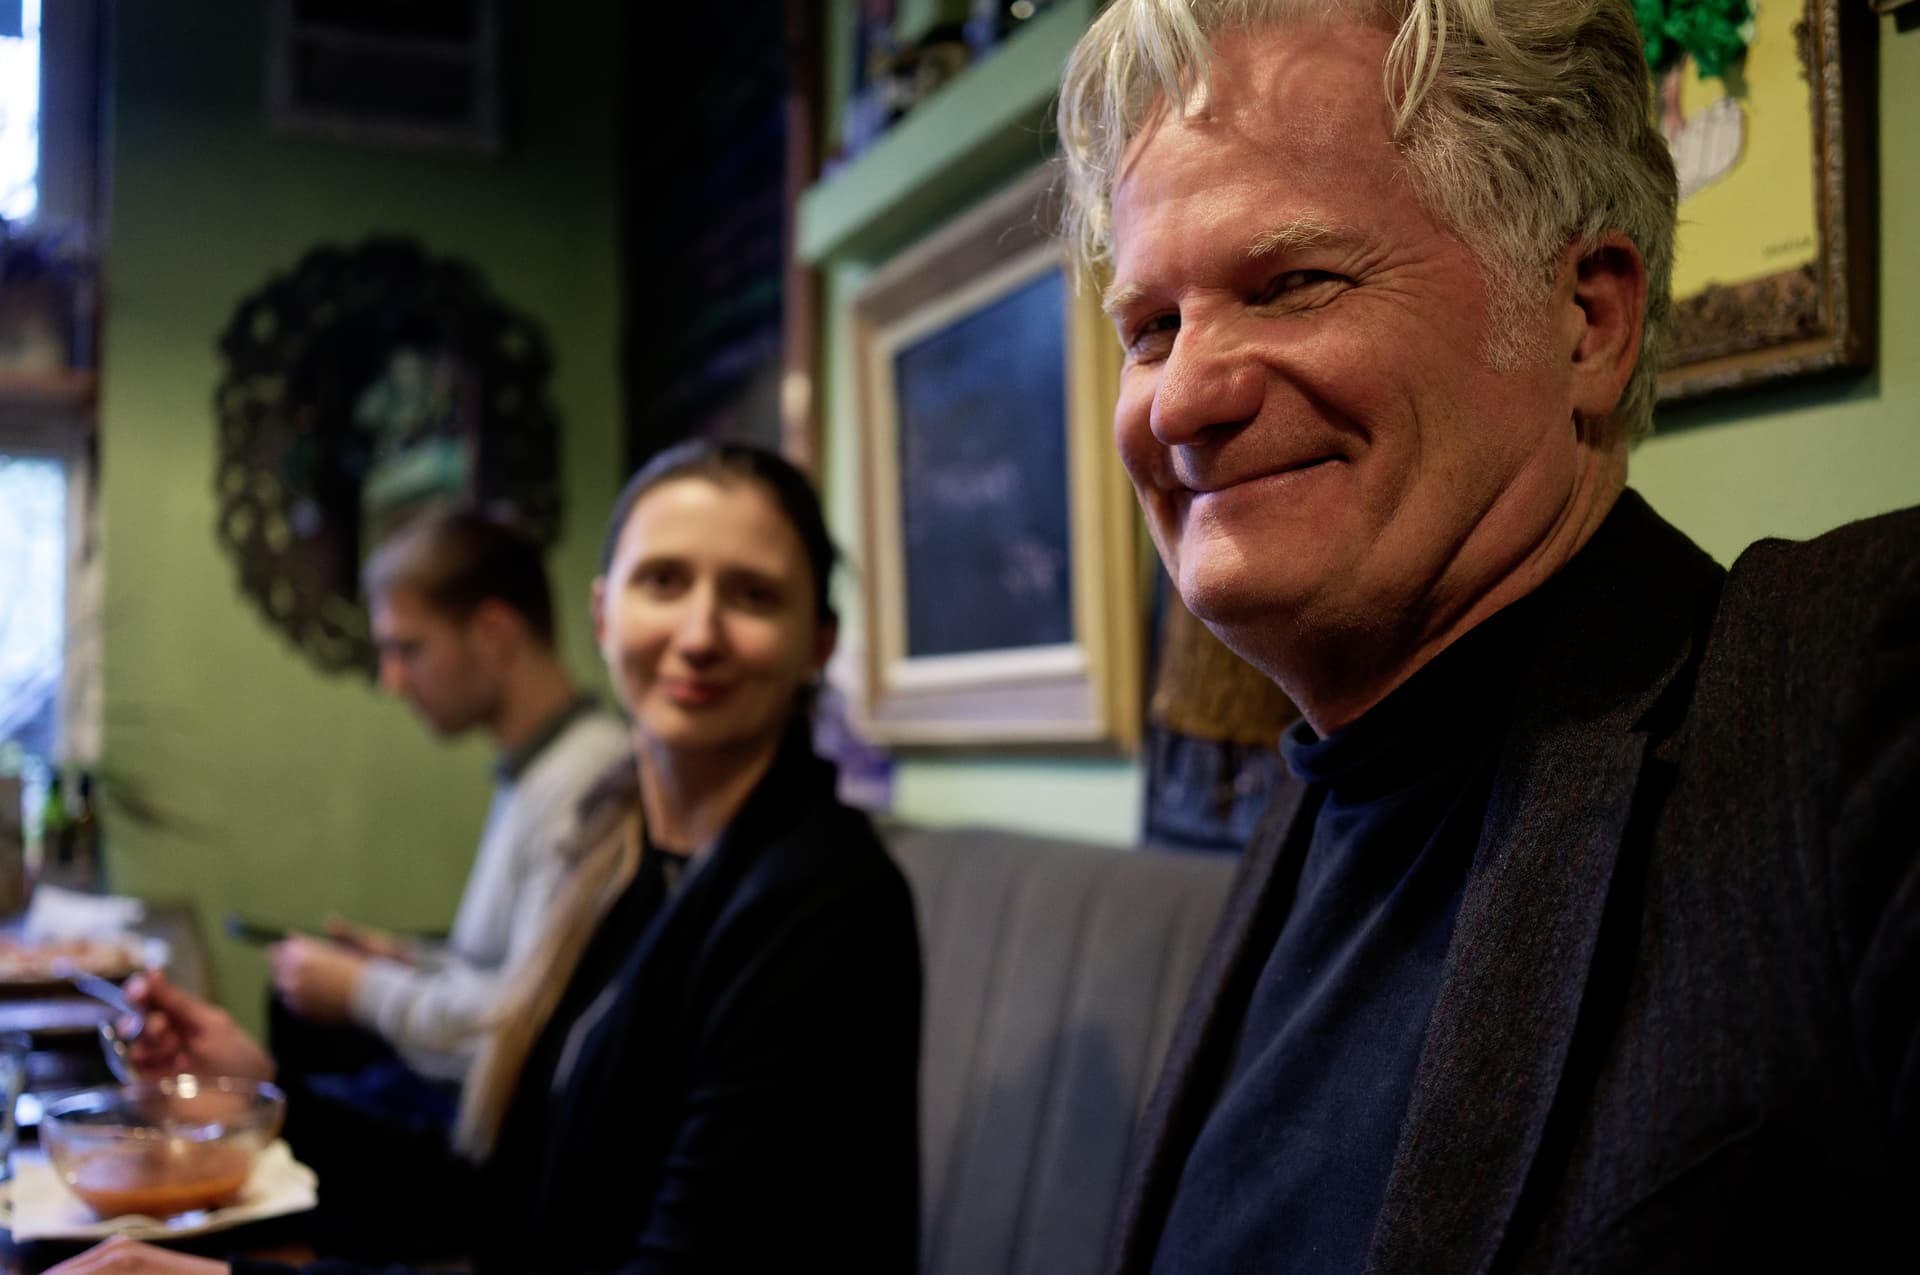
I’m not allowed to show you the before and after of the beautiful women I know but I can share a snapshot of myself. The initial processing was in PhotoLab 9 and then I just dropped the finished photo on Reblum.
As you can see, my skin looks very even with no dry flakes and no red patches. What’s cool about Reblum is how quick and easy it is to use. The app does not require an additional multilayer masking stage.
I do like your tips on how to use fine contrast and or local contrast to repair skin in PhotoLab. I use this method also and, until recently, exclusively. It’s doable but a lot of work.
First, let me explain what problems I had in mind – it’s about “fixing” what theatrical hard light together with camera/lens can amplify beyond what we would actually (like to) see, especially for wrinkles, blemishes, heavy makeup, perhaps suitable for stage performance but not for half-body or closer photography.
Sounds like Affinity Photo ‘Frequency Separation’, with similar type of work to do. A bit too difficult for me. Moreover, Pixelmator is for Mac only, and while for many years I’ve considered switching to Mac (all my friends use them, so I’m an original one), I always ended up buying a new lens instead . Anyway, no place on my desk for a second machine, but thanks for your input.
Sure, but I’m too lazy for that . The problem I have with this is that I loose the overall impression of my edits. More on that in the blah-blah section below. I think the only good solution would use some kind of (more or less) global image recognition and control sliders. Frequency Separation is a partial answer, as it still requires micro-local work. Hopefully we will soon forget all that brushing/feathering stuff, provided the solution takes our personal taste into account.
I’ve seen some demos with two examples that match my use case. The results look very good indeed. It is simple, what I like, but perhaps too simple – e.g. no way to “protect” some areas (?). The price is quite high. It seems there’s no manual publicly available to check editing, importing, and exporting options. No details of licensing/support, and their history is unknown to me. Moreover, I’m a bit reluctant installing executables from a less known source, so I’ll have to make some research before installing their 7-day trial (ouch, a bit short, like with C1). Anyway, thanks for starting me doing a systematic research.
Side remarks:
Maybe I’ll wait for C1 to introduce wrinkles and heavy makeup healing tools, like recently introduced and still evolving Blemishes Removal tool (quite good, btw). Their Face Retouching is mostly inline with my taste (Blemishes, Dark Circles), except for Contouring and sometimes Even Skin. They should adapt to aging photographers and their subjects. I have little hope that DxO will make any effort in this direction, but who knows? I would really like DxO and C1 to combine their expertise, but imho it would take a miracle to happen successfully. Current AI developments will surely bring quickly a lot of beautiful things together with ugly ones, with bad market possibly eliminating good solutions in many cases. Kind of “wait and see” time.
Blah, blah:
The problem for me with most retouching demos found in the Internet (or in some of my friends edits) is that corrections look good “micro-locally” but overall impression of end result is average, often destroying the subject “character”, photo climate, or introducing artificial look. It’s hard to get the right “local/global balance”, if you forgive my vagueness. The difficulty to get this balance “right” made me reluctant to use local adjustments (LA), except for some obvious local exposure or color casts problems. But with PL9 LA, I got interested in the subject, since I can get more “semi-global” “micro-control”.
That’s the point of Reblum. One just drags and drops a finished PhotoLab image on Reblum and it takes care of skin.
In an ideal world, one would fix the skin and then do all the colour correction but that would mean working in Photoshop with all the layers. Even in Photoshop ACR runs before any layer corrections. The main colour correction should be done at the ACR stage. So one doesn’t lose much unless one does extreme processing in PhotoLab.
Those doing extreme processing are probably doing it in Photoshop or Affinity Photo. In this case one would add a layer in Photoshop or Affinity Photo using the plugin. I was not able to get the Affinity Photo plugin to work correctly as of yet on macOS but am in touch with support.
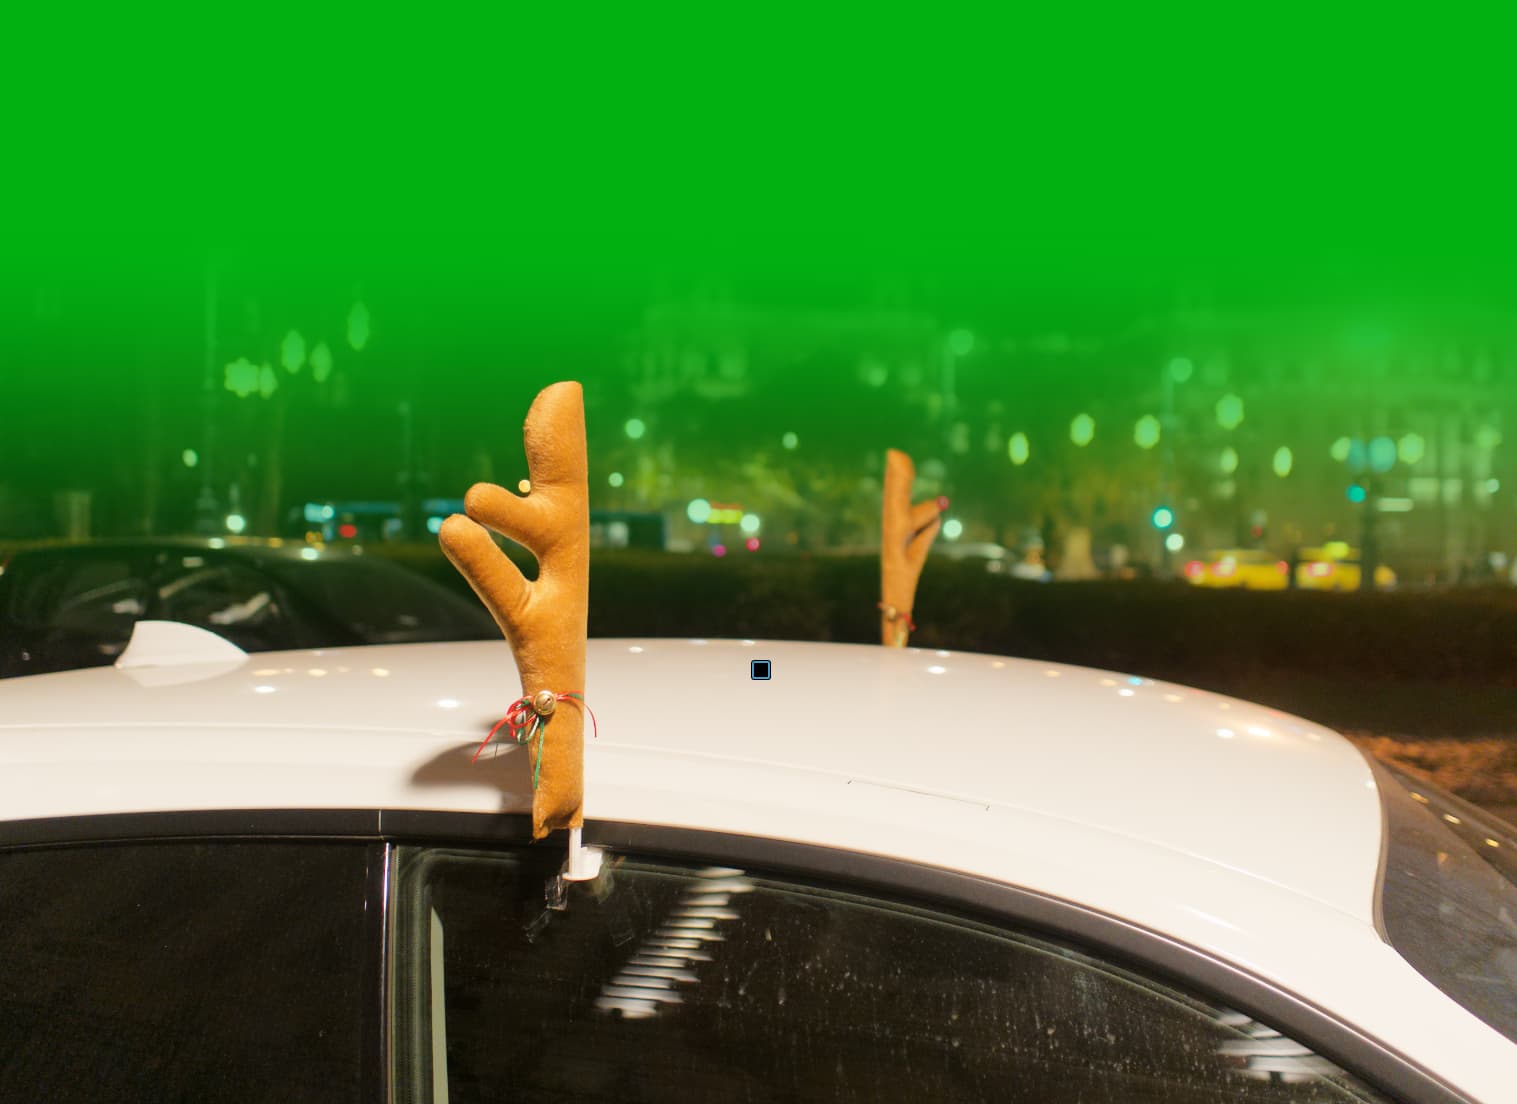
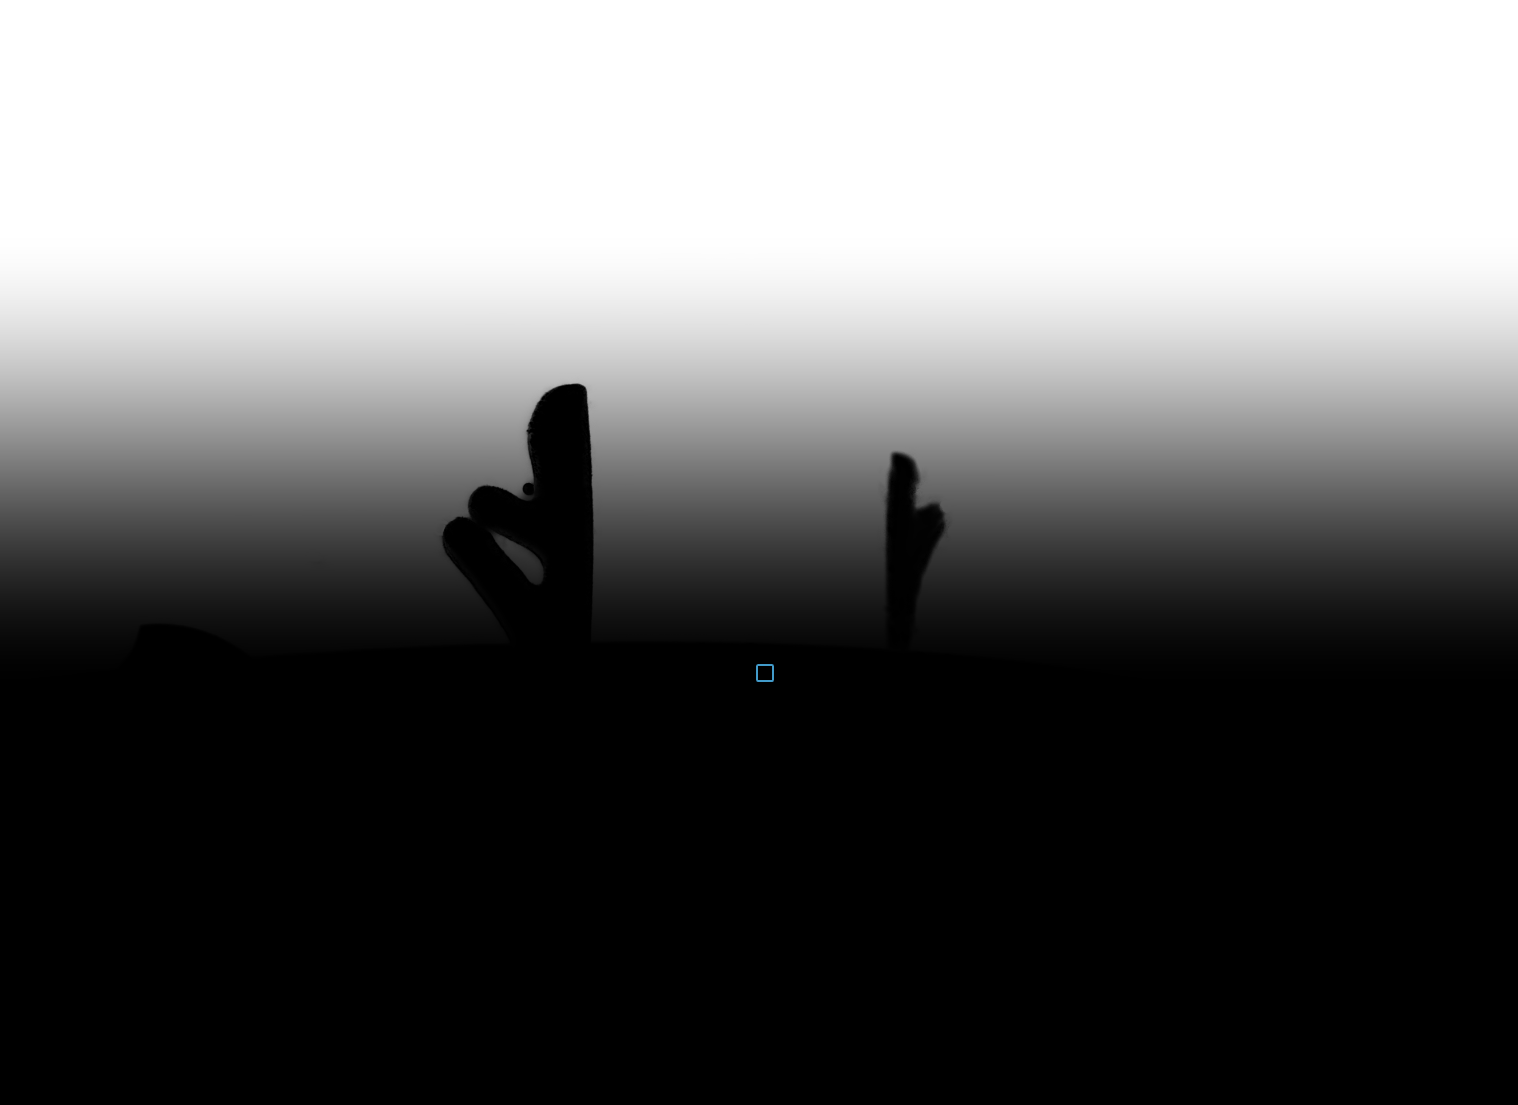
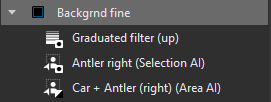
Car + Antler (right) selected with ‘Area AI’ (invert mask), The right side Antler ‘Selection AI’ (invert shape), Graduated filter (Invert shape).
Its give some nicer ‘linear bluring’ a bit, and not touch the foreground. I don’t like when the whole background is ‘uniformly blured’.
For portraits sometimes I add a little blur, just a bit, like 1-2.
I really miss (for portraits) some ‘radial graduated mask’ (with CP not easy to archive, if any).
Yes, the infrastructure around the plugin is a bit sparse. It’s partly because Reblum is so easy to use. Drop your image on Reblum, change two sliders (you have the opportunity to set different levels for each face, or just use a global for all faces, the global is usually enough for natural, but there could be cases where one would put a Fashion look on women and a natural look on the men).
What I like about Reblum is that it does its work and gets out of the way and doesn’t make a production or a complex workflow out of itself. I had no issues applying Reblum to already corrected and finished shots. So the workflow is to do all the work in PhotoLab and just add Reblum to improve skin and remove blemishes.
There’s been no hint of any kind of funny business with the software, I watched lots of demo videos from real photographers before investing. No one had any issues with their computer.
I did contact support about Affinity Photo integration (not working well). Support answered quickly and with reasonable answers. I would not recommend something dubious or of which I was not certain.
Cyber Monday saw a 50% off offer which brought the price back down to reasonable (Reblum is not subscription).
CaptureOne’s portrait retouch module does exactly this as well. I’d say they are on par with each other. It’s one of the reasons that makes me not want to abandon CO!
If only I could have a single app that has the image quality of PhotoLab, the AI masking and DAM features of Lightroom, and the layered masks and portrait retouch features of CO, I’d pay a pretty penny!