Hi all, I’m brand new to DXO. I’m looking at it because like many others am a bit tired of Adobe subs. So far the trial has been decent, but coming from Lightroom I’ve found my Canon 5D images to be quite dark in comparison. Fuji files seem fine, but trying to get the exposure up on portraits has the skin tones washing out badly. Has anyone else seen this, and found a solid workflow to keep the skintones intact? I think I’ve somewhat handled it, but just wondering.
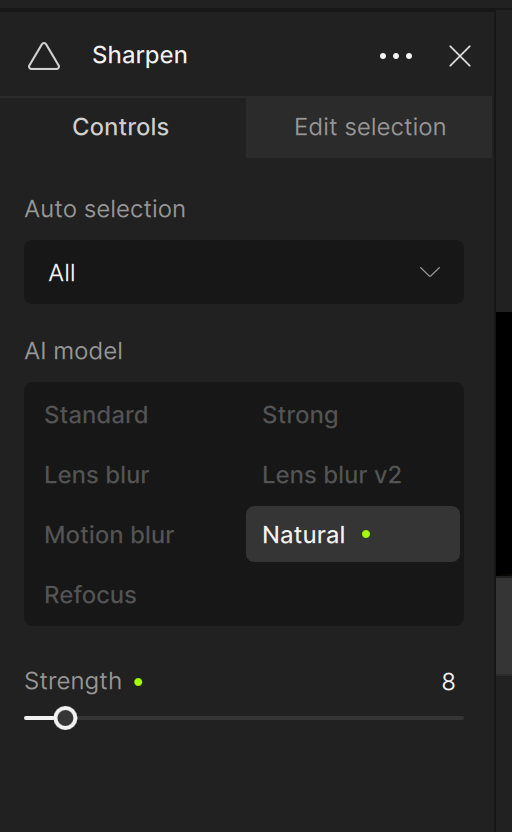
Also, sharpening on output is terrible. Things are either far too soft or far too sharp. Lightroom kills Photolab in this respect. It doesn’t matter what I do - if I export an image out at something like 1024 for the longest edge, Lightroom runs rings around Photolab. Anything I’m missing?
In this forum, there’s a fairly long history of reported problems with Canon color rendering in PhotoLab. See here, for example:
It might help you to try different options for the Color Rendering adjustment palette, to see what produces the best results for portraits made with a Canon 5D. The default renderings you’re using are, as you say, too dark and not protecting the flesh tones properly. Fortunately or unfortunately, the options you have for color rendering are vast.
If you’re not already doing so, try experimenting with Smart Lighting adjustments, too.
Output sharpening complaints also go back a long way. You might want to look at the following feature request from 2020, which to date has accumulated 71 votes and many comments which might be helpful to you:
Hi Mark… (no The Room reference here ) I’m not using a sharpening tool. It’s just the default screen sharpening in Lightroom. Are extra tools what people use in the DXO world?
Thanks for the link, Egregius. It took a while but using the colour profile for the camera I have, and using curves instead of the exposure slider or tone controls got me a better result than the result I quickly whipped up in Lightroom. So, that’s good! It’ll just be a longer process than a few clicks in Lightroom.
I tend to shoot Fuji these days so most of the time I shouldn’t have a problem.
Now if they can get a proper output sharpening algorithm, I’d be all set.
You can speed things up by creating a preset that can then be applied automatically on PL’s discovery of the image file. Read more about presets in the user guide that you can access through support.dxo.com.
Note that it’s a new-PL-user misunderstanding to assume that you need to select the colour profile for the camera used to capture the image (referring here to the Type & Rendering options within the Color/B&W Rendering palette) …
PL will do this for you automatically when you select “Type” = Generic Rendering and “Rendering” = DxO Camera Profile
The purpose of the ability to select a specific Camera body is to allow you to override the “natural” rendering for the camera used to capture the image with the rendering typical for a different camera … such as when you have 2 different camera bodies and you wish to render all images the same way, regardless of the camera used.
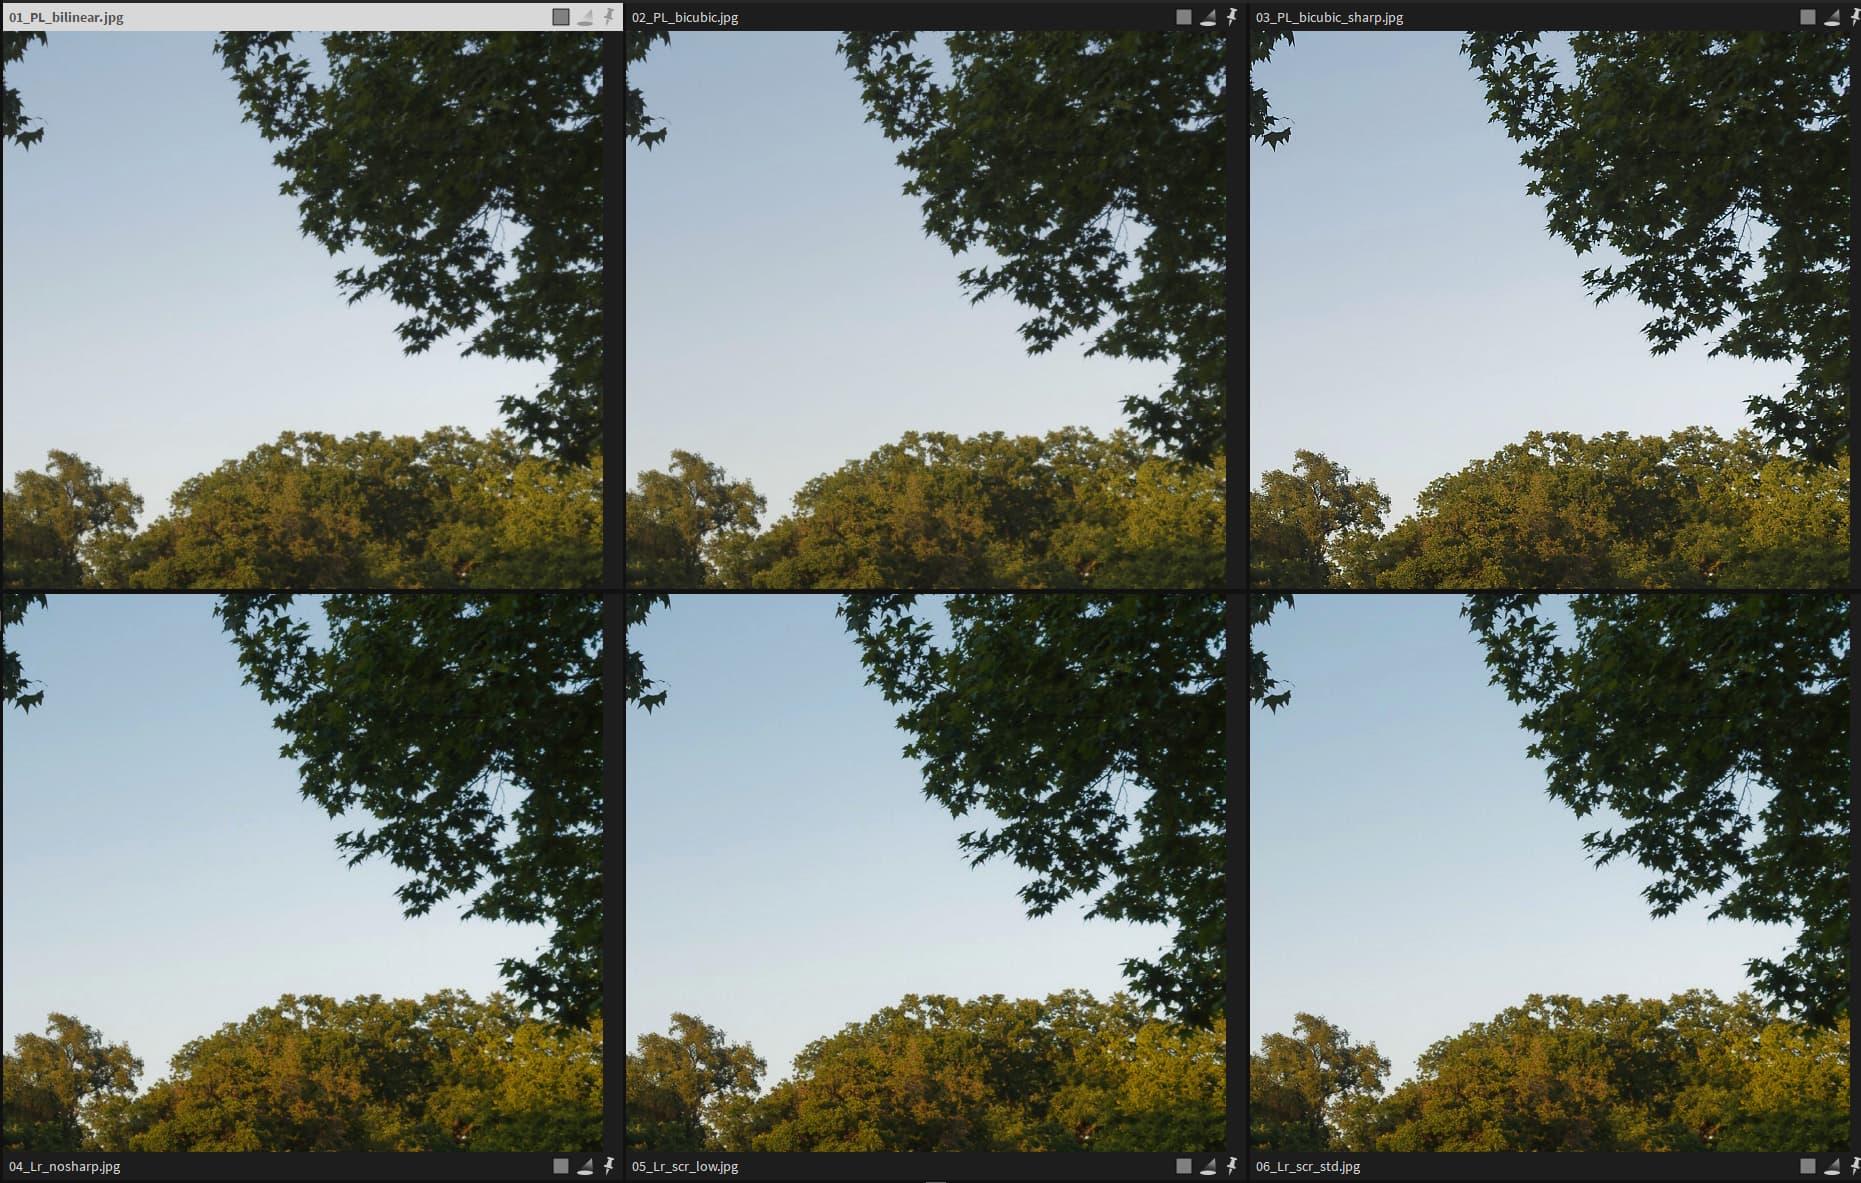
Left to right: PL bilinear, PL cubic, PL cubic sharp, Lr nosharp, Lr low screen sharp, Lr standard screen sharp.
For me, seems the main difference not really in Lr screen sharpening, but the resize itself. Note: Lr don’t have a control over that, but use bilinear, with auto settings - and not standard bilinear (but some tweaked)
Anyhow, a bit control over PL Bicubic sharp (sharp amount) can be nice. And Lanczos method, yep, its just do a balanced nice.
Thanks, yes… I should’ve mentioned I was aware you could do that. What I meant was more that LR has a number of automatic exposure options, and those speed up my workflow a lot. Tweaking from there is very fast, while I suspect in PL things will be slower going, even after applying a preset.
Ah, thankyou for confirming that! I had my suspicions, but good to know
As for sharpening, whatever option you choose in PL just can’t compare to LR. For now I’ll just use Affinity to batch resize using Lanczos.
Yep, I only use Fuji now so I didn’t realize it was only specific to Fuji.
But attempting it on some old photos I have from Nikon / Canon, I can see it doesn’t apply.
1 Like
Stenis
(Sten-Åke Sändh (Sony, Win 11, PL 6, CO 16, PM Plus 6, XnView))
18
Is that really necessary using Topaz for sharpening with digitally born Canon images??
Is the problem lack of lens profiles for those images?? Wouldn´t that be the first to secure? Without them no access to Lens correction sharpening.
On top of that we can even sharpen selectively on masked items.
I just can´t understand why sharpening normally ought to be a problem if those conditions are met.
I saw a strange thing 5 minutes ago:
I had a around ten JPEG-pictures in a subfolder. A window opened and asked me to download a profile for Sony A7 II + Samyang 35mm but I have never taken one single picture with that lens. I have only used Sony Zeiss 35mm/2.8. Well after confirming that combination the “yellow warning symbol” got activating flagging a conflict and when I then opened that form I of some reason saw both the 35mm Samyang and the Sony Zeiss 35mm and that way managed to solve that conflict which opened the possibility to use Lens Correction Sharpening for all these images.
I write this because we also have to consider cases like that that might leave a new user with the lousy old Unsharp Mask. The the tread owner is new to Photolab and might not be aware of that the best sharpening tools comes with restrains and conditions that not everyone might be familiar with.
Forget Topaz if you use Photolab 9 for digitally born images. You are just risking getting a lot of really ugly artefacts that you’l never get in Photolab.