I find myself learning towards a love of really crisp, sharp details and PhotoLab provides many ways to lean into this (lens sharpening, multiple contrast controls, ClearView, Unsharp masks) and some of these can be applied via area specific masks too.
I’ve used them all here to a lesser or greater extent.
But have I gone too far? In fact in each case I’ve not dialled the controls up to “100” or whatever the maximum would be, but cumulatively there’s a number of tools working towards a sharper image.
I see no problem with the image you have posted, even though it is quite low resolution. You have definitely not gone too far.
I always use
lens sharpening at default
never ClearView (far too aggressive)
never unsharp masks as they are the non-RAW equivalent of lens sharpening
rarely micro-contrast (not as aggressive as ClearView but can still be too much, especially on things where blank skies are involved or hard light-to-dark transitions
But what I do use extensively are the four fine contrast tools that come with FilmPack.
It would be interesting if you could share your original image and DOP file to see what you have done.
I agree 100% with all your points. Following that approach always works perfectly for the raws from my Nikon Zf. I rarely ever use Clearview Plus and only occasionally use Micro contrast, and when I do, I use them very carefully and in moderation.
I’m a bit different – for this type of photos I start with CVP=25, keeping an eye on possible halos and oversaturation. Otherwise I agree with previous responses. However, I’ve seen too few photos of this type to make a strong opinion.
Since migrating from LR to PL7, I forgot completely about the ‘Unsharp Mask’, but maybe it can still be useful for certain types of photos (raws)?
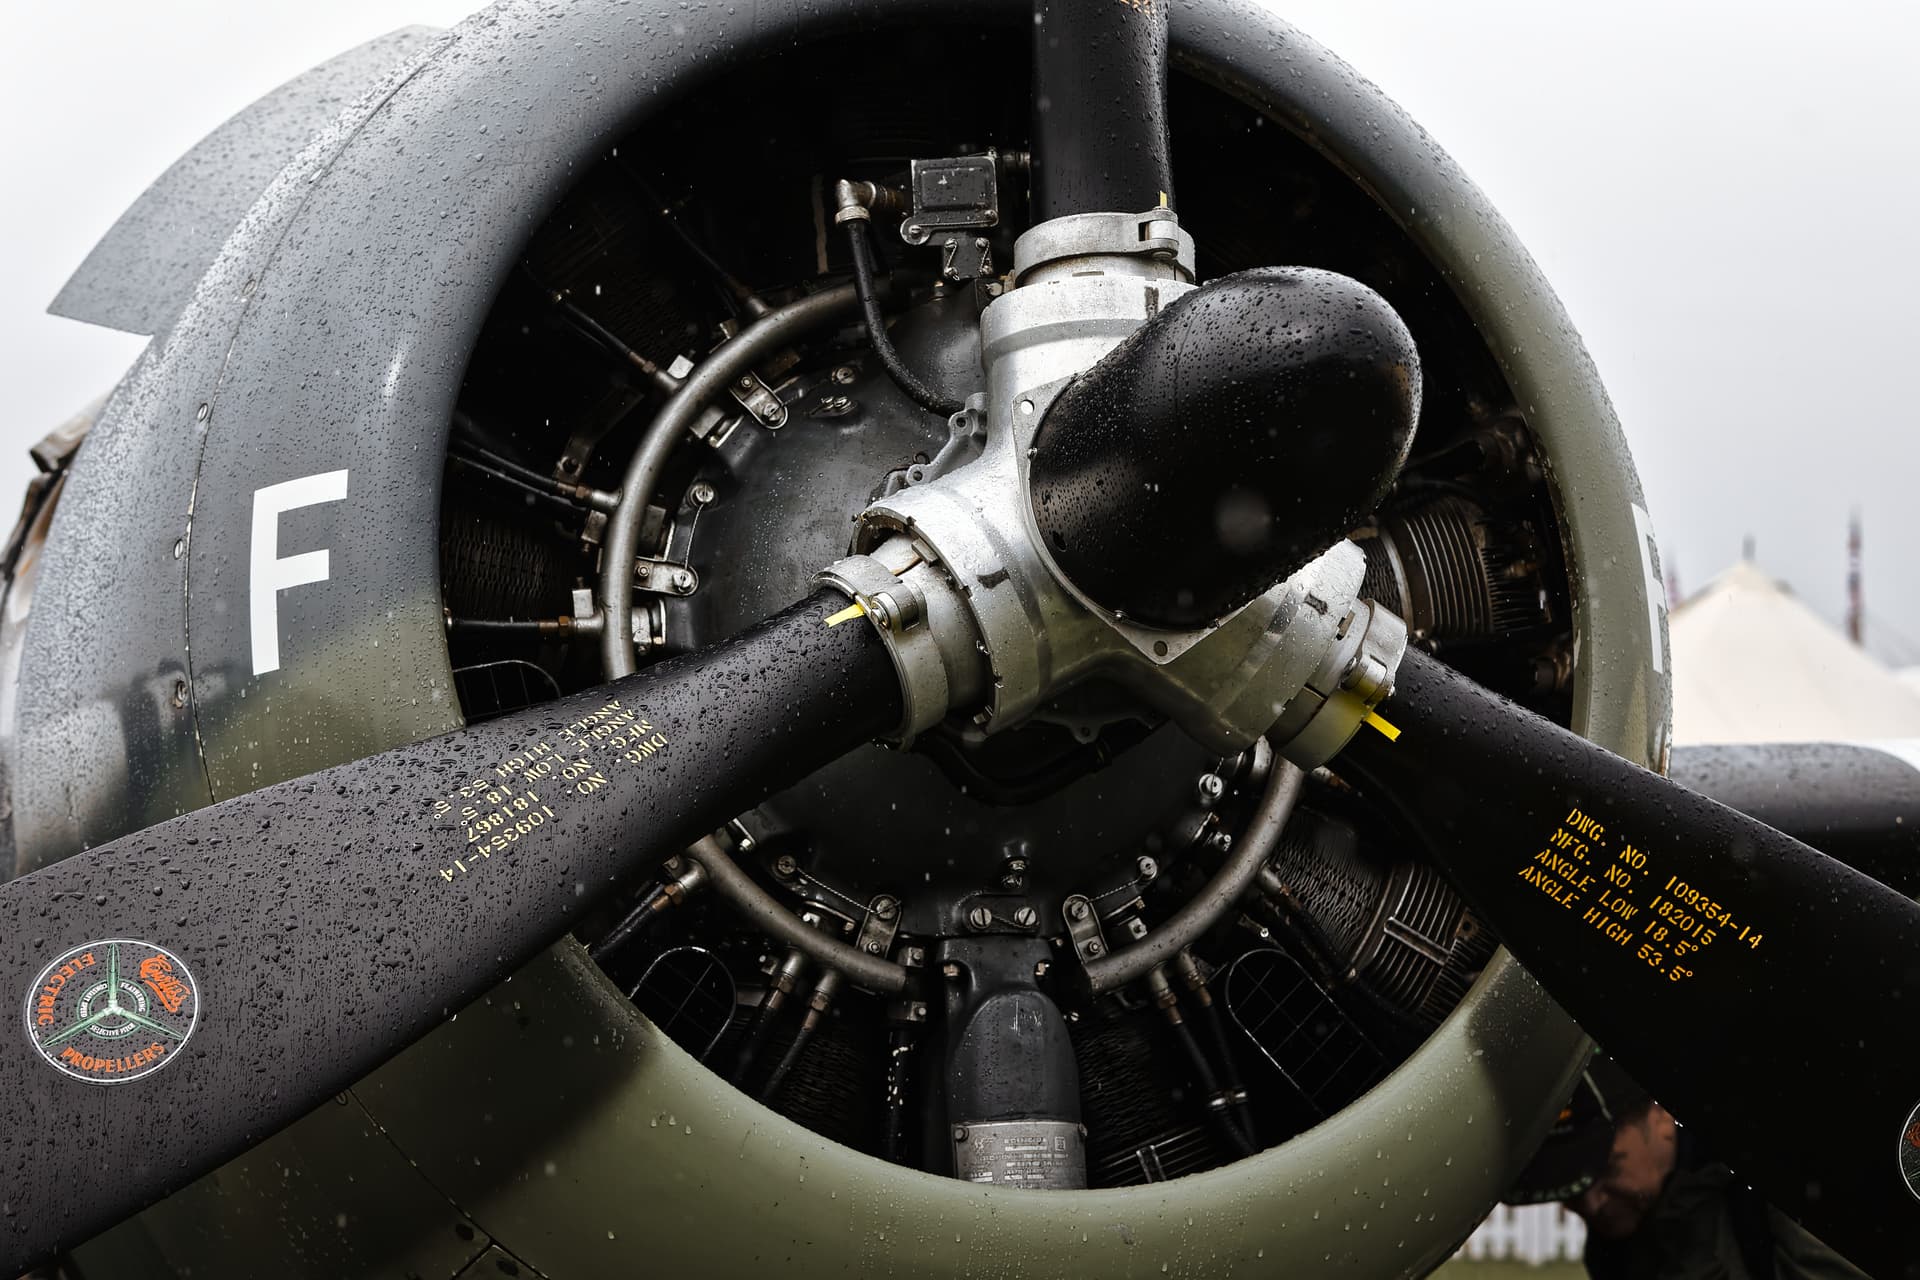
I can see at least two goals for processing:
recall the mood of flying old plane in difficult weather conditions (WWII?), maybe trying the propeller to become the main subject by hiding a bit in shadows other details (plus maybe fine-contrast +40 in shadows and -40 in highlights to tame the tent or whatever on the right?)
target military equipment passionates, by recovering deep shadows slightly, exposing mechanical details (fine-contrast, maybe unsharp mask could be useful here??)
Thanks’ for good advice. It sure is valuable to learn from each other.
I usually use following work flow to sharpening.
While editing in PL, no auto sharpening as default.
Auto contrast as default (affecting micro contrast).
For persons, locally add micro contrast to eyes, glasses and some items that are increasing the interest.
Final rendering to desired size using NIK Sharpener Output. Carefully define the usage of the image and choose parameters accordingly.
Zoom to 100 %.
Apply sharpness up and down to find the point where the change hardly can be seen. Now you are close.
Further check for halos and correct if necessary.
Local adjustment may improve the result, but needs more time.
This is a simple method that anyhow takes into account the final use, size and compression of the image. It is also easy later to render image copies for different use.
Anyhow, I am interested to learn more about sharpening. Is NIk a respectable tool to use or do you use other?
I do use Clearview Plus,but usually in single digits. Mostly I apply it via a local adjustment to a distant landscape to give it a little more pop. Not so much for sharpening.
As for sharpness, it looks pretty good for the given output size (which means the size must always be set to 100% when controlling sharpness for web presentation).
However, there are a few things that could be improved in this shot, such as removing the structure (tent/building) on the right, making the man in the bottom right disappear, cropping from the right side to hide the bright part of the plane’s left wing, and removing the remains of the round propeller “sticker” …
Generally, I use what works to guide the viewer’s eye (with some ‘creative sharpening’ perhaps), but then use the Nik Output Sharpener to sharpen the output for the intended purpose (mostly print, rarely web presentation).
Nice shot, the water drops definitely add to it. It does not look over-sharpened to me, there is lot of detail in the subject of the image, and it is good to expose that.
Micro-contrast is a great tool to sharpen and emphasize details. Or, with the slider to the left, to smoothen things, like human skin.
As with all tools, you can take it too far. Many times I got carried away in the editing window with the amount of detail squeezed from an image only to conclude after rendering and looking at the final image I went way over the top.
Clearview Plus is a de-hazing tool and great as such. I have used it de-haze landscapes and buildings taken from 20 miles away with 1,344mm and also used micro contrast to bring out as much detail as possible. I know no other way to get the same results as with Clearview Plus.
Don’t go over the top and sometimes it can be useful in some other situation. There’s a preview window in your editor to show if it helps you or not. If not, switch it off.
With lens sharpness and detail I keep it around the 0,50 to 1,00. I find lens sharpness over 1 and up to 2 or 3 appears exaggerated. But there always might be a case where an increase might do just that what you want.
Yes she is referring to the four Fine contrast sliders in FilmPack. They include the overall Fine Contrast slider and the advanced settings which adds the Highlights, Midtones, and Shadows fine contrast sliders. There is hardly an image I edit that I doesn’t use one or more of them. Fine contrast is one of the most useful tools available in PhotoLab.
I know that many people are not interested in most of the tools in FilmPack, however, without it and Viewpoint I firmly believe that users will miss out on the total PhotoLab experience. I do understand that for some the whole suite costs more than they are willing or able to spend.
As Mark indicates, don’t waste any more time. Get FilmPack. There isn’t an image I don’t use those sliders on. And we are talking A0 sized prints that look good from less than a metre viewing distance
When I purchased Dxo Photolab I wasn’t aware of the optional sliders from Filmpack, and I had zero interest in Filmpack.
Priced at over 50% of Photolab it’s an expensive option. It’s actually pretty weird to hide and sell key settings in a different option pack.
In PaintShopPro I have the Mesh Warp functionality which basically allows for the same transformations as from Viewpoint, but admitted by far not as powerful as the Viewpoint tool.