Need to correct color cast (mimic Classic Chrome film simulation)

Hi. I photograph dance events in shutter-priority mode under heavy stage lighting (mostly colored flood lights). Many times, the subject is overexposed due to camera’s metering for the dark background where subject may be a small part of the stage. All white objects/dresses and faces are washed out.

I usually reduce exposure in PL by 0.5 to 1.5 stops, or even reduce highlights anywhere from 50 to 100%. When I do this, the overall color of the image changes. The skin tones have a weird red coloration.

I noticed during a trial that Classic Chrome film simulation cleans this up well and the skin tones come back to a natural look. I am not interested in buying the FilmPack for one use case.

Is there a way to achieve what Classic Chrome does, with PL adjustments? I am not familiar with all the color channels, tint, tone curves, etc. So, please explain in simple terms for me.

I would have posted a photo as an example, but the subjects are children from dance school, and I cannot post without permission.

Thanks.

Hard tp find the necessary corrections without an example. You could still post a dng export if you blur the faces with local adjustments before exporting. Don’t include any other changes in order to stay as clise to the original.

Coloured floodlights are there to create those effects, but our brain corrects some of the cast automatically. In PhotoLab, I’d try with the white balance sliders and the tone curve tool, The HSL tool can help too, but its almost impossible to exactly say what one should do without source image. “all ways kead to Rome” might be true, but depending on where you start, you’ll go north or south to get there.
:wink:

Some cameras (like the Nikons) have a highlight-weighted metering mode, which tends to lower the exposure to cope with bright highlights.

The most important aspect of digital photography is to never over-expose highlights.

Try not using automatic exposure but start with a spot meter reading from something white in the image and placing that at between +1 and +2 EV, then leave it there for the majority of the shoot. Then you can recover shadow detail from the RAW file. If the RAW file contains blown highlights, there is no way you can recover any detail.

Colour temperature should be manually fixed at 5600°K on the camera.

Example from a concert, with no adjustments apart from minor tweaks (+/-3) to top and bottom of Tone Curve.…

1 Like

I can try to blur a face but that defeats the whole purpose of fixing the skin tones :slight_smile:

I will find an example I can share when I find time after work. Thanks

You have some good points. Thank you. I will experiment with those settings next time.

Was it intended by the “light master”? Scenic colored light is to create certain mood using “false colors” but there are very few operators who are able to do it well, at least that’s my experience. As said above, RAW examples would maybe trigger a response here from people dealing with scenic light, to see where the problem might be. Maybe it’s in DPL RAW processing for your camera, maybe it’s in the camera, maybe it’s in the “source”.

Why? Even good scenic colored light is often “tuned” for much lower temp. In any case, setting WB in camera has no effect on the RAW data itself, as far as I know (but maybe I’m wrong and some cameras tune amplification independently for raw R/G/B/G channels based on the manual WB setting, to get less noise ??). Dealing with scenic WB and colors in general is a separate topic, outside PhotoLab.

Of course there are many exceptions to this rule. Like never say never. :wink:
If you overexpose (too much, whatever that means) in some RAW channel, typically G, only speculation can recover it. Concentrate on the subject and ignore the blown highlights anywhere else (another rule vaild for < 99%). Use spot metering on a heavily lit face as a starting point.

There’s one fundamental difference between Jazz concerts and lively dance shows - the shutter speed. In the latter case, you must be more careful about the ISO and don’t let noise prevail after shadow recovery.

This has been the case in film time : when colors are out of white range on stage best result were most often get with daylight films.
This is still the case if light is very “colorfull” and when no white really there.
Better to try to get the mood intended by the lighting designer than to distort all the colors.

The problem is maybe that photographers think that stage light should satisfy their needs.
Many stage lighting designers make lights for the stage; not necessarily lights for photographers. Human brain can accept more than sensors, I think.
Even if front lights made up of 2 white values (one warm and one cold) in order to be able to mix different white moods is a widespread school of thought, it’s not an absolute rule (why would there be such rules in creation ?).
There is not one way to create scenic (theatre, concert) lighting.
And the evolution of the equipment plays a big part too.
With leds now, it is often hard to get good colors (let say good for those who really mastered hallogen lamps and filters ) : flat lighting, bad white spectrum, unable to get some colors and so are real problem.
Some good led spotlight have very recently appeared, mainly to get a good light spectrum in whites and subtle colors. But they are rare, and they are expensive.
My girlfriend is lighting designer and works mainly on creative projects. She tells me about the evolution of what she considers to be the disaster of LEDs for theater lighting.
Concerts (not classical concerts, of course) are more tolerant of “very varied” colors.

So when white (from warm to cold) is not there or not enough, daylight white balance is still often the best solution. If everything goes wrong, go black and white.

And when a (good) lighting designer choose a warm white, he wants warm colors. Not white compensated by white balance.

@Satyaa
But, hey, we even do not have seen what the picture in question here is.
Maybe this should be a good starting point.

I am inclined to stay with the stage lighting colours as much as possible as this was the show as presented to the audience, though a lot depends on the purpose of the photos.

This can result in some horrible lighting on faces but that was the show.

Take a look at the LUTs and see if one of those will help you

These are from a Jann Arden concert where I was in the audience.

Note: taken with my 1972 vintage Nikkor 105 f2.5 on my Olympus camera.


Thank you for the examples.
When taking concert photos, it helps to take advantage of the “wandering” stage lighting.

Hi all. First, thanks to all for your ideas and suggestions. It helped me understand the problem further.

I asked the dance teacher if I could share a couple photos with other photographers online to discuss editing tips and am waiting for a response. I suspect she has to ask the students (if adults) or their parents (if minors).

@Platypus, your suggestion about saturation helped directly with the color problem I was asking about. It is a mix of things, and I am probably trying to solve a problem that doesn’t exist. The real problem is over-exposure (see more below). The over-exposure is washing out the red, green or whatever color the floodlight is throwing on the subject. When I reduce the exposure/highlight, it is now revealing the color of the floodlight. I was thinking of this color as a problem but perhaps it is not, as others have pointed out.

@Joanna, your response addresses the over-exposure problem. I am working on how to better expose with center-weighted metering. The challenge is that I need to point the AF area on the subject to meter. This moves the framing. Instead of moving the camera, I could also move AF point using joystick but usually there is not enough time. The highlight metering in Panasonic cameras is proving not helpful because it is picking the brightest spot in the frame (often not the dancer’s face) and rest of the frame is dark. Some details like the dancer’s costume are lost. If it was “highlight weighted” then it would have helped.

Your suggestion about fixing the WB at 5600K is worth trying. I will give it a shot next time. I understand the resulting colors will be whatever the lights do but as others pointed out that’s what the stage producer intended.

@Wlodek and @JoPoV, your questions made me think about the stage lighting. Maybe, I am trying to solve what is not a problem. After addressing the over-exposure issue, I will try to leave the color effects from lighting as is and see how it goes. You do have a point about camera amplification of R/G/B channels. I feel Panasonic is saturating reds more, while my Nikon DSLRs in the past saturated greens more.

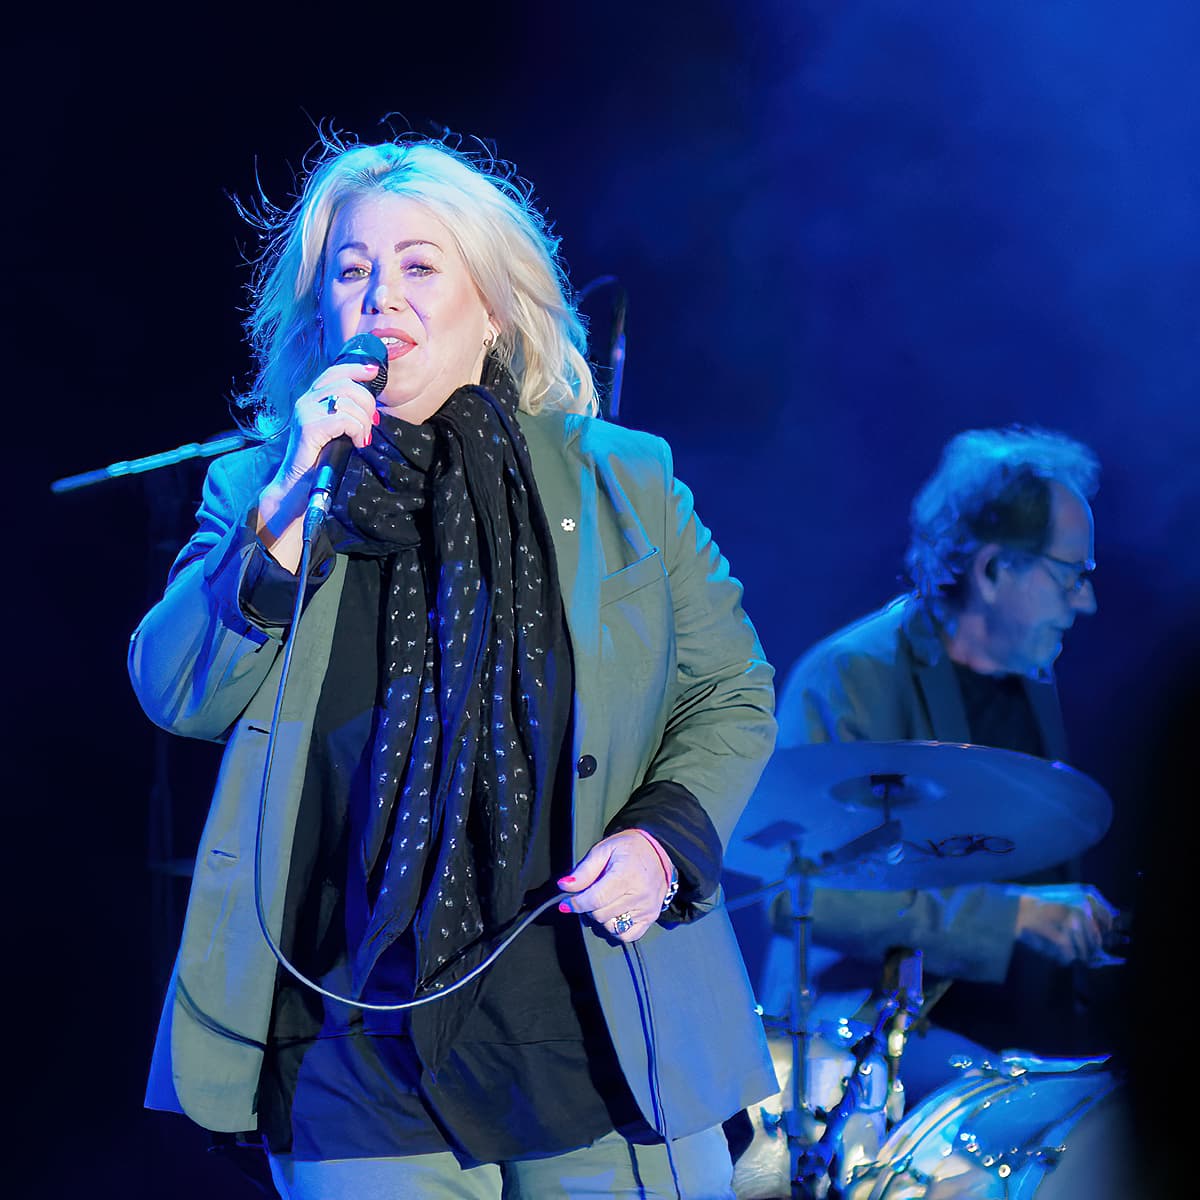
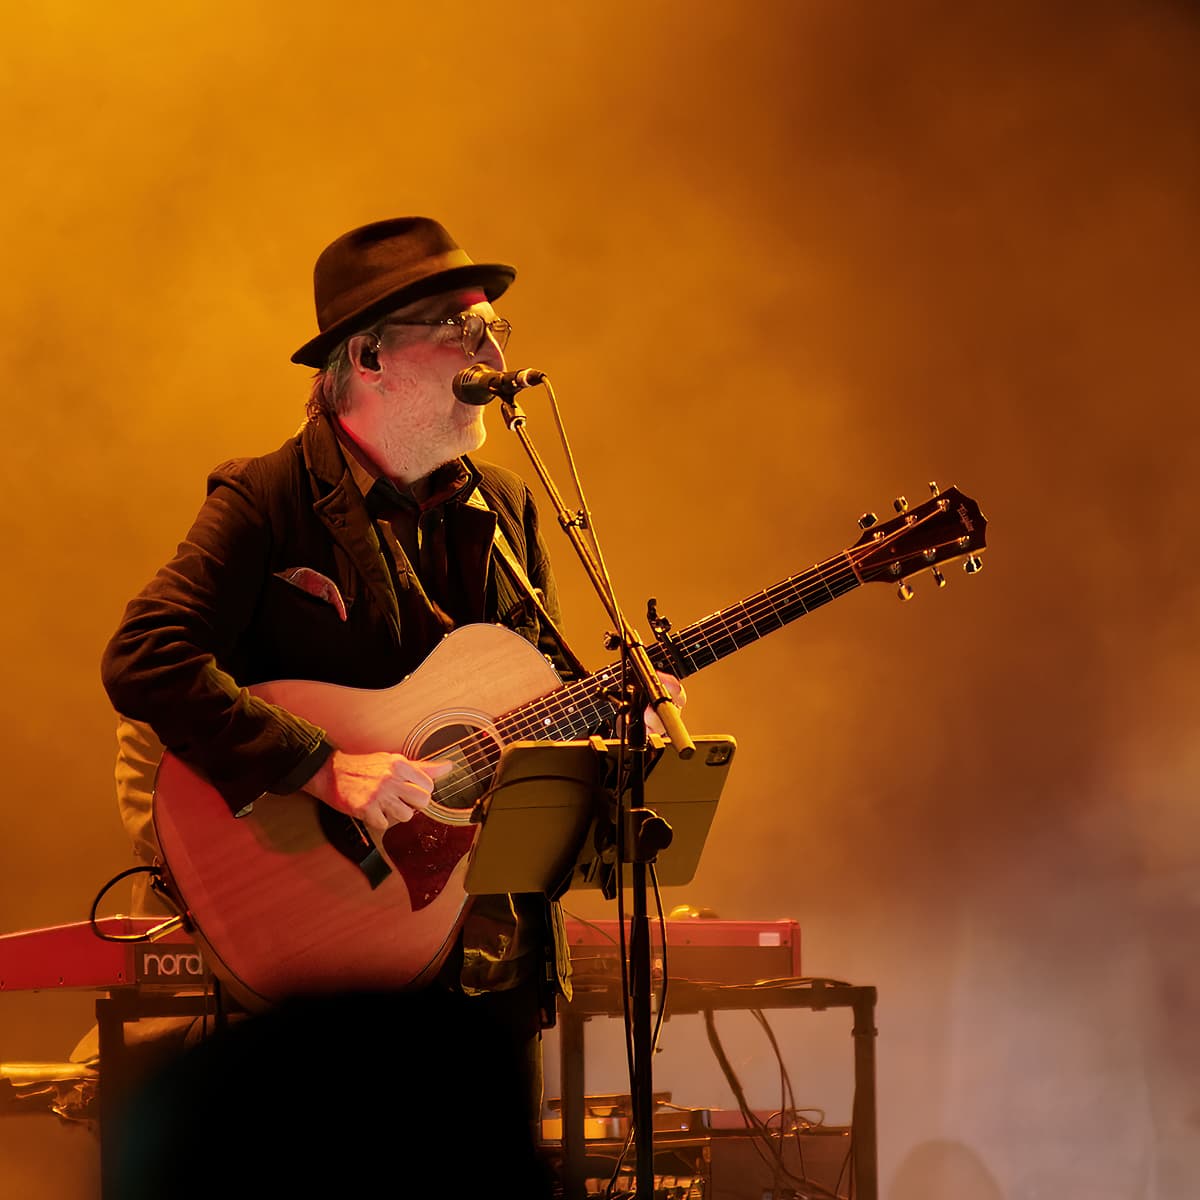
@Allan, your first two photos demonstrate to some extent my original question but in my case, they are over-exposed. In your first shot, I believe the brightest area is by blue light. In the second one it is the red light. Overall, I am thinking that correct exposure while shooting, and may be reducing red saturation just a bit will help.

Thank you all for sharing different thoughts/ideas because it helped me understand the problem and not just fix what may not be a problem.

1 Like

Hello,

Check carefully your camera manual about this : some can only do the light measurement on the center point. This is the case for the EOS 80D and R7 for example.

Extract from the R7 manual :

Spot metering
Effective when metering a specific part of the subject. The spot metering area is indicated on the screen.

https://cam.start.canon/en/C005/manual/html/UG-04_Shooting-1_0160.html

The “spot metering area” is a little circle at the center of the screen.

To workaround this personnaly I use a lot light measurement saving (the “*” button for Canon) : doing the measurement once on a light object when lights are at their max, then use it for multiple shots, and measure again when lights condition changes drastically.
Also on Canon I use measure lock when having the shot button half pressed.