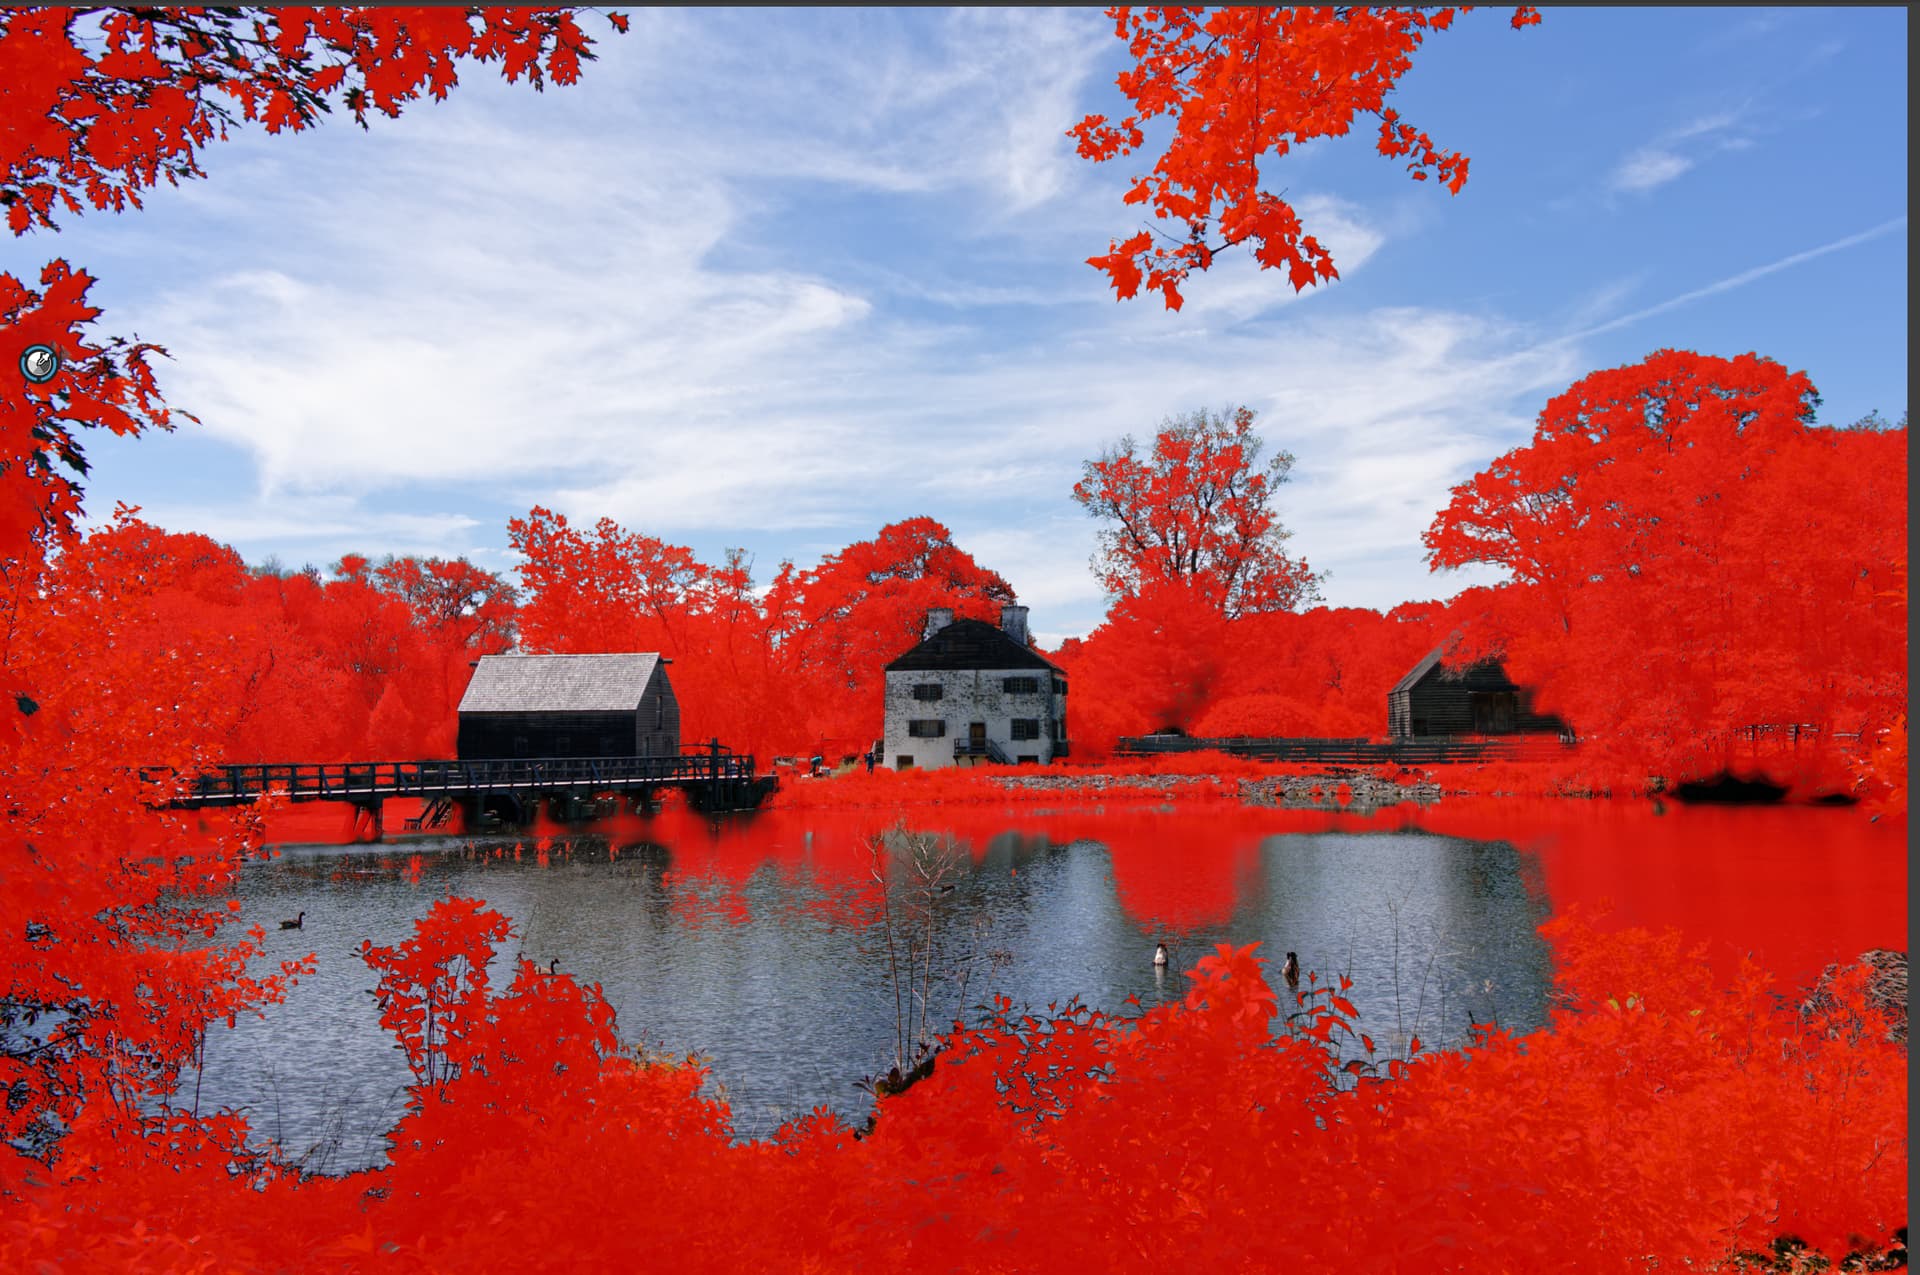
Below is a picture that I have been attempting to edit with zero success. Basically I would like to bring the levels up in the dark shadow in the foliage. BTW I have Micrographx Picture Publisher running on a Win XP Virtual machine and used that software to draw the white outline of the area I would like to lighten. Unfortunately my attempts at masking do nothing but draw a large white blob over the area in question and it has zero effect when I adjust the levels. Obviously I am doing something wrong but unfortunately for all of us Picture Publisher was the very last image editor designed specifically to use a completely Intuitive User Interface. They actually had a Magic Wand to select an area by tone and it was adjustable for sensitivity with a simple slider with a secondary numeric input available. Imagine that, you would grab the Magic Wand, Pick in the area in question and you could tune the resulting mask by inputting a variable sensitivity. They also had a colored mask transparent overlay that you could turn on and off with a simple button push so you could set the feathering and sensitivity while watching that transparent colored overlay. Down side it predates RAW files so no way can I utilize to adjust the levels in a Raw file.
.
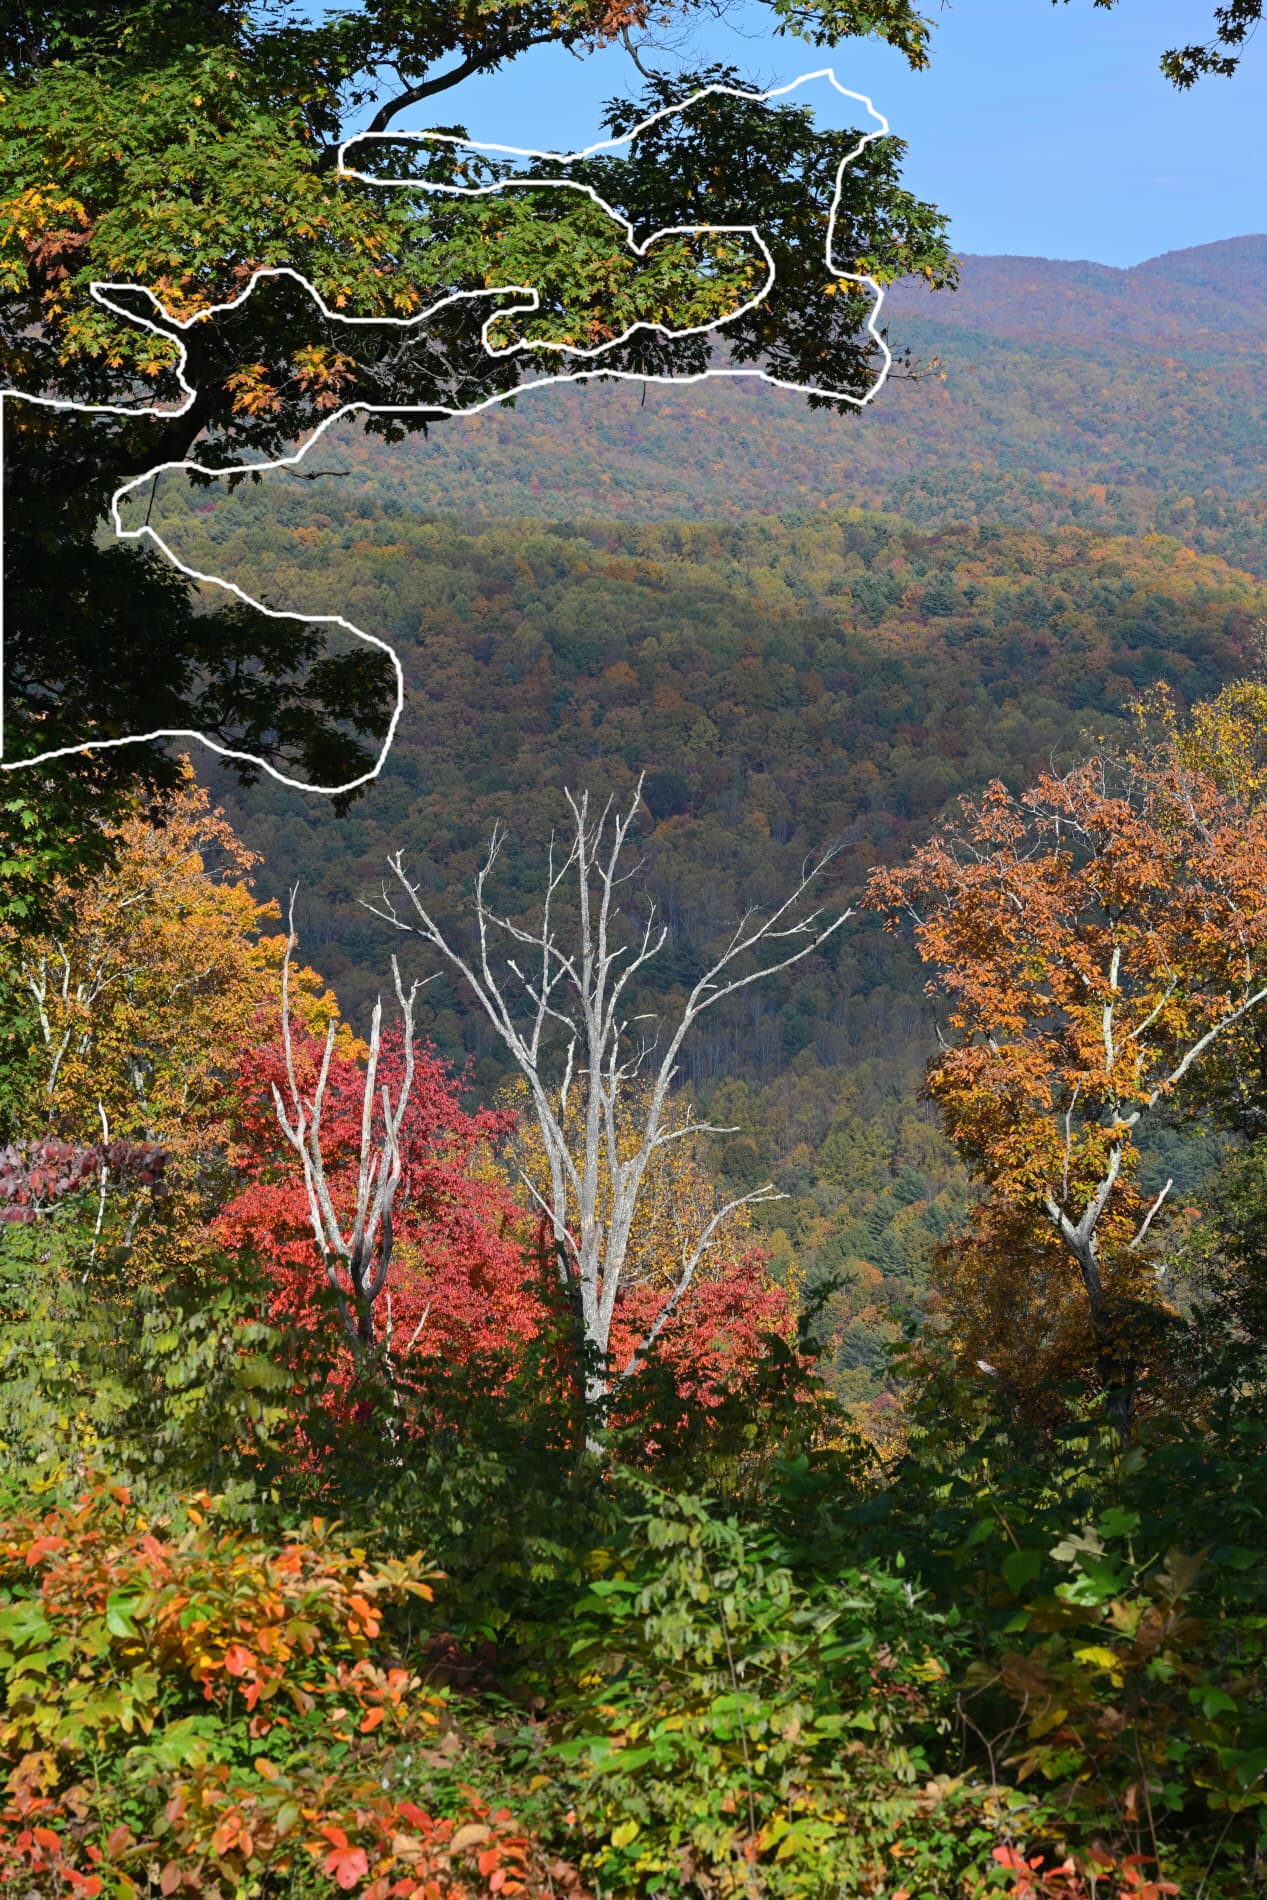
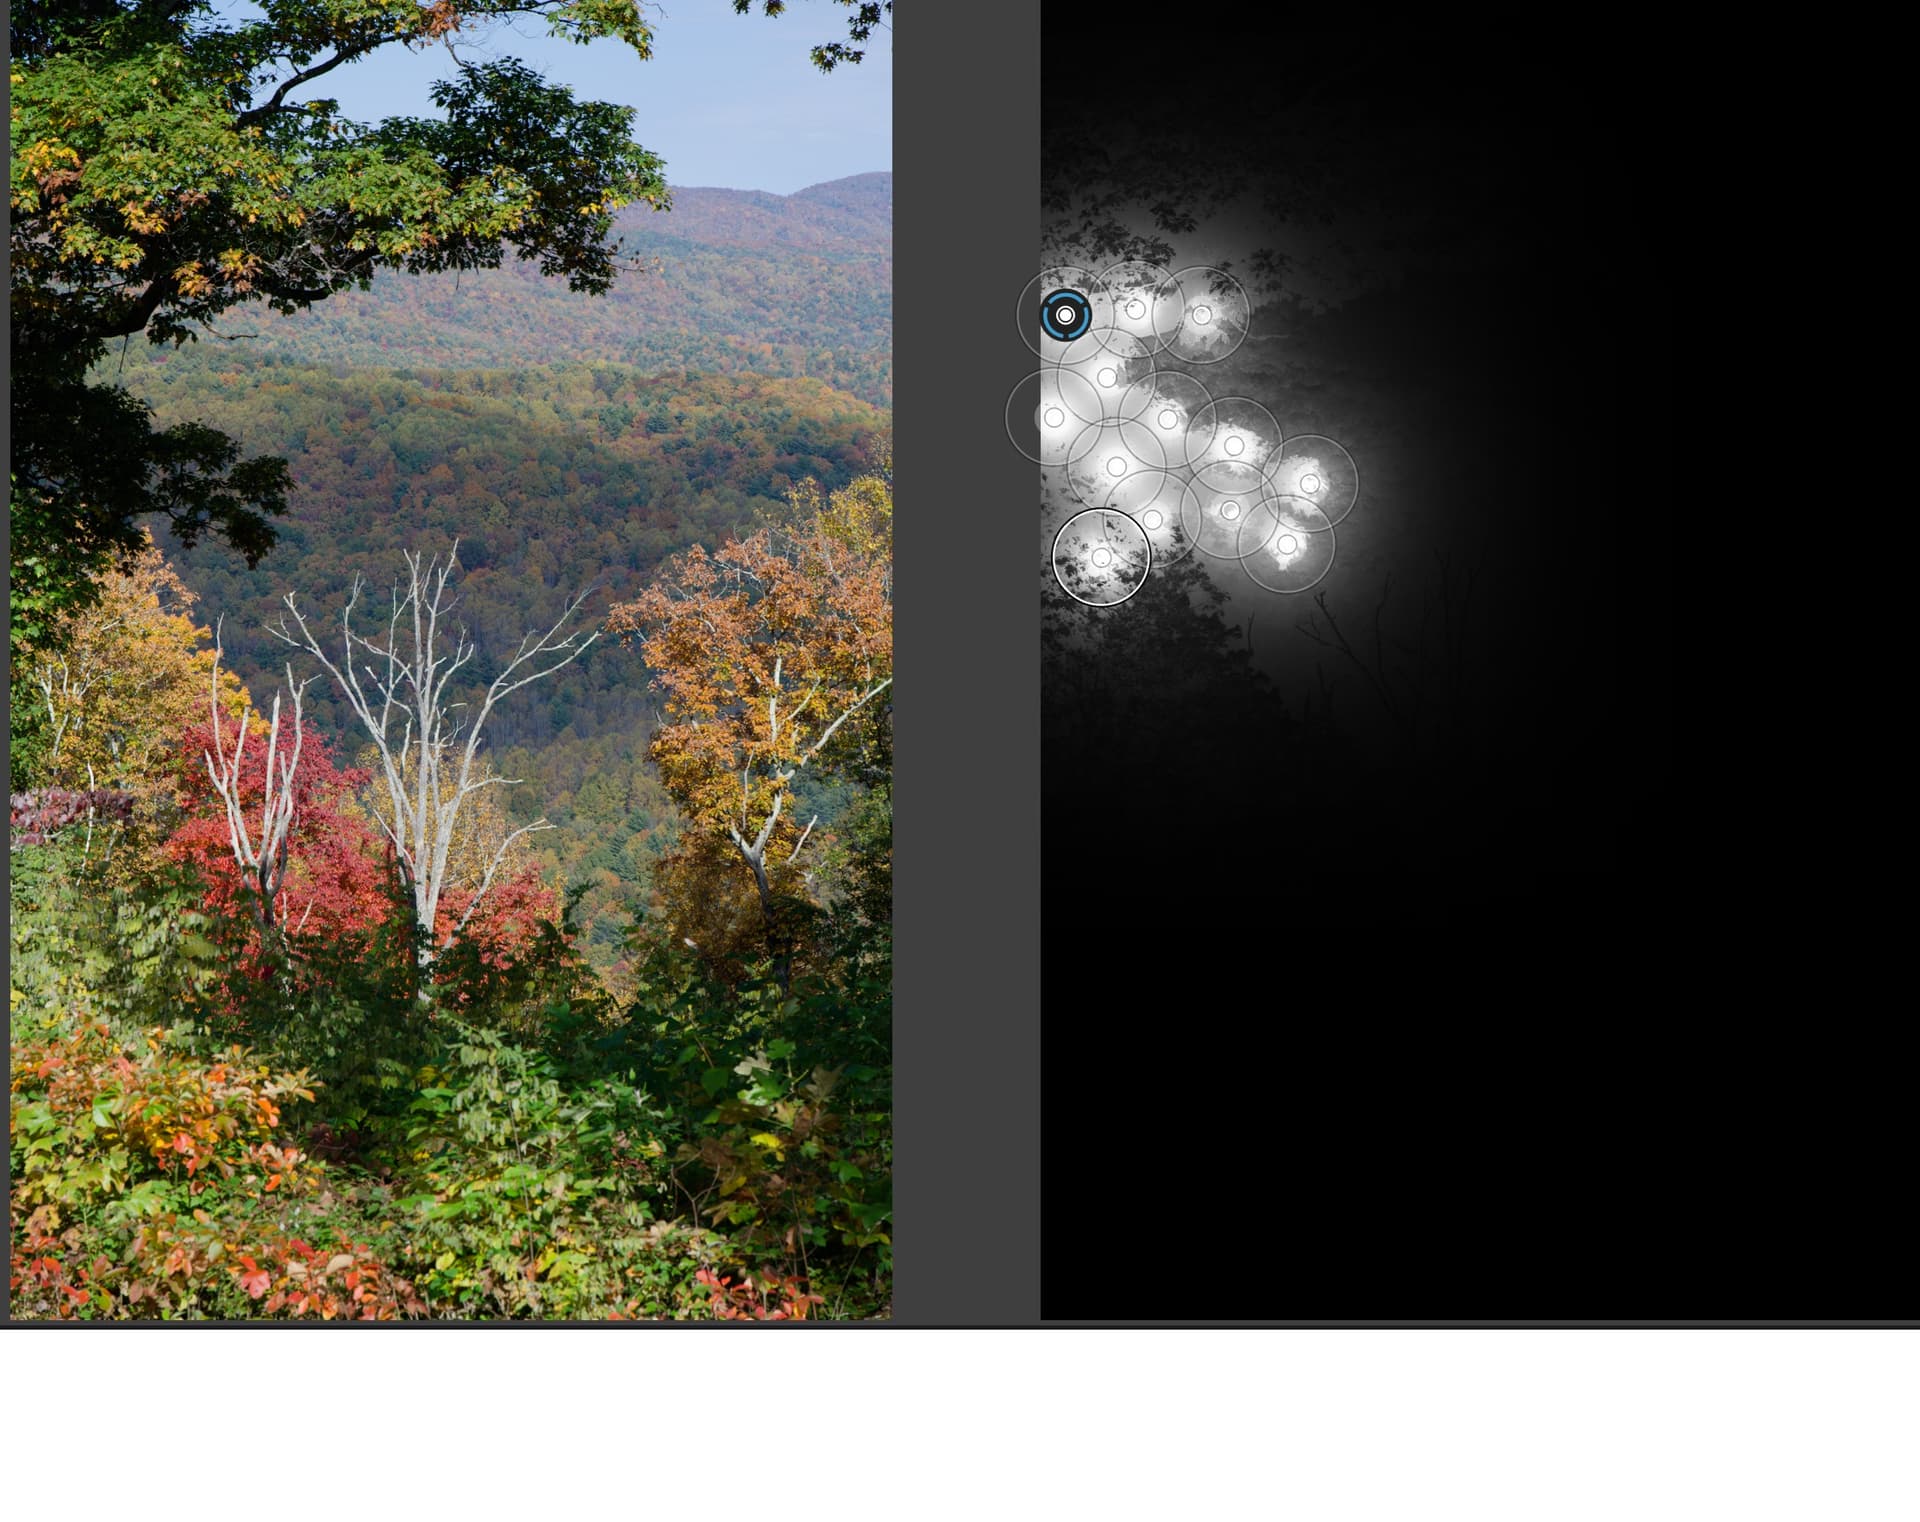
Here are a couple of screen shot of what I am seeing. First is the nearly useless image of the masked area. Second is a screen grab of the image showing the detail in these areas that can be recovered and how the mask is completely ignored when I lighten the image. I sure would like to have the Magic Wand and colored transparent overlay that Picture Publisher featured when that nightmare called Photoshop was introduced. I am also having problems with the Hide Mask function, pushing the M key on the keyboard does nothing at all. So obviously there is some secret handshake required to get that to work and I have had no luck at all at finding that secret handshake.
Welcome to the DxO User forum,
Here are a couple of things to try;
- Quick and simple;
- Go to the Smart Lighting sub-panel and select the “Spot Weighted” option
- Now click on the “Tool” button to activate it … That is, this one:

- Next, draw a rectangle over part of the dark area in your image … and PL will adjust the lighting accordingly;
– You may need to adjust the size of the rectangle to moderate the degree of lighting adjustment that PL applies
– You may need to draw another rectangle over a brighter part of the image (say, the blue sky) to get the right balance of lighting adjustment
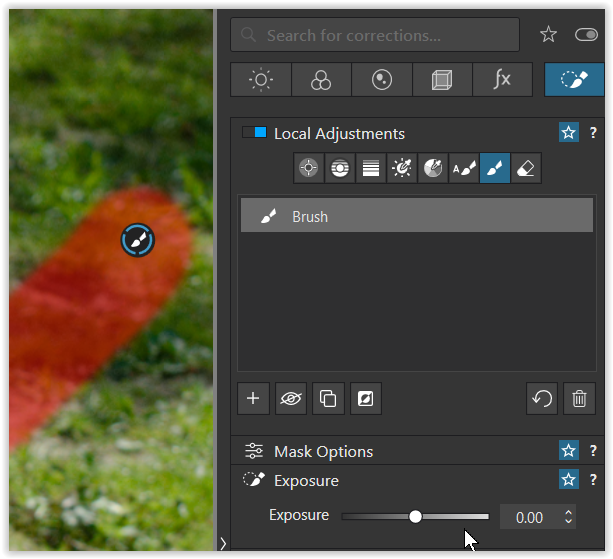
- Switch to the Local Adjustments tab … and apply one of the masks;
-
If you have a FilmPack license you could try the Luminosity Mask, for ultimate control over the selection of tones that you’d like to adjust
-
Otherwise, try a Control Point - and place 2 or 3 of them on that dark areas that you like to “lighten”.
-
Either way, now use the LA Selective Tone sliders to adjust the lighting.
Regards, John M
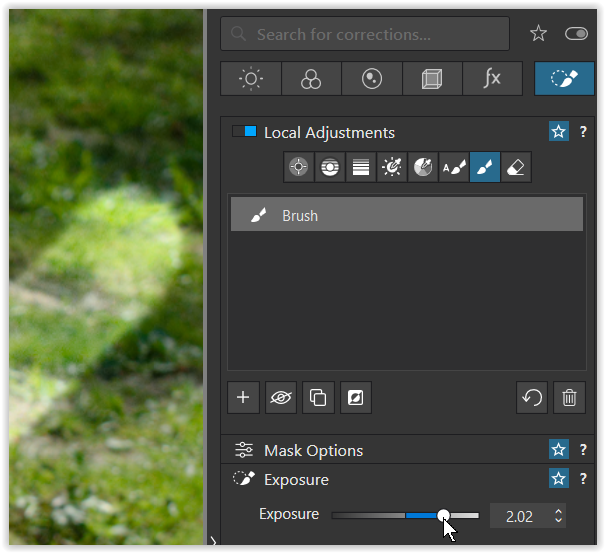
The Hide Mask (M-key) toggle does not work until you have made some adjustment to the mask … until then, the mask itself is displayed (so that you can confirm its coverage).
Make any small slider adjustment (say, for Exposure) and the mask will disappear, to reveal the result of your slider adjustment(s).
There are a number of ways to accomplish that in PhotoLab using local adjustments after @John-M’s suggested initial use of Smart Lighting . One way is to use the Local adjustment Hue mask and to raise the LA shadows slider and perhaps add a bit of contrast You can also adjust the masked area using the eraser.
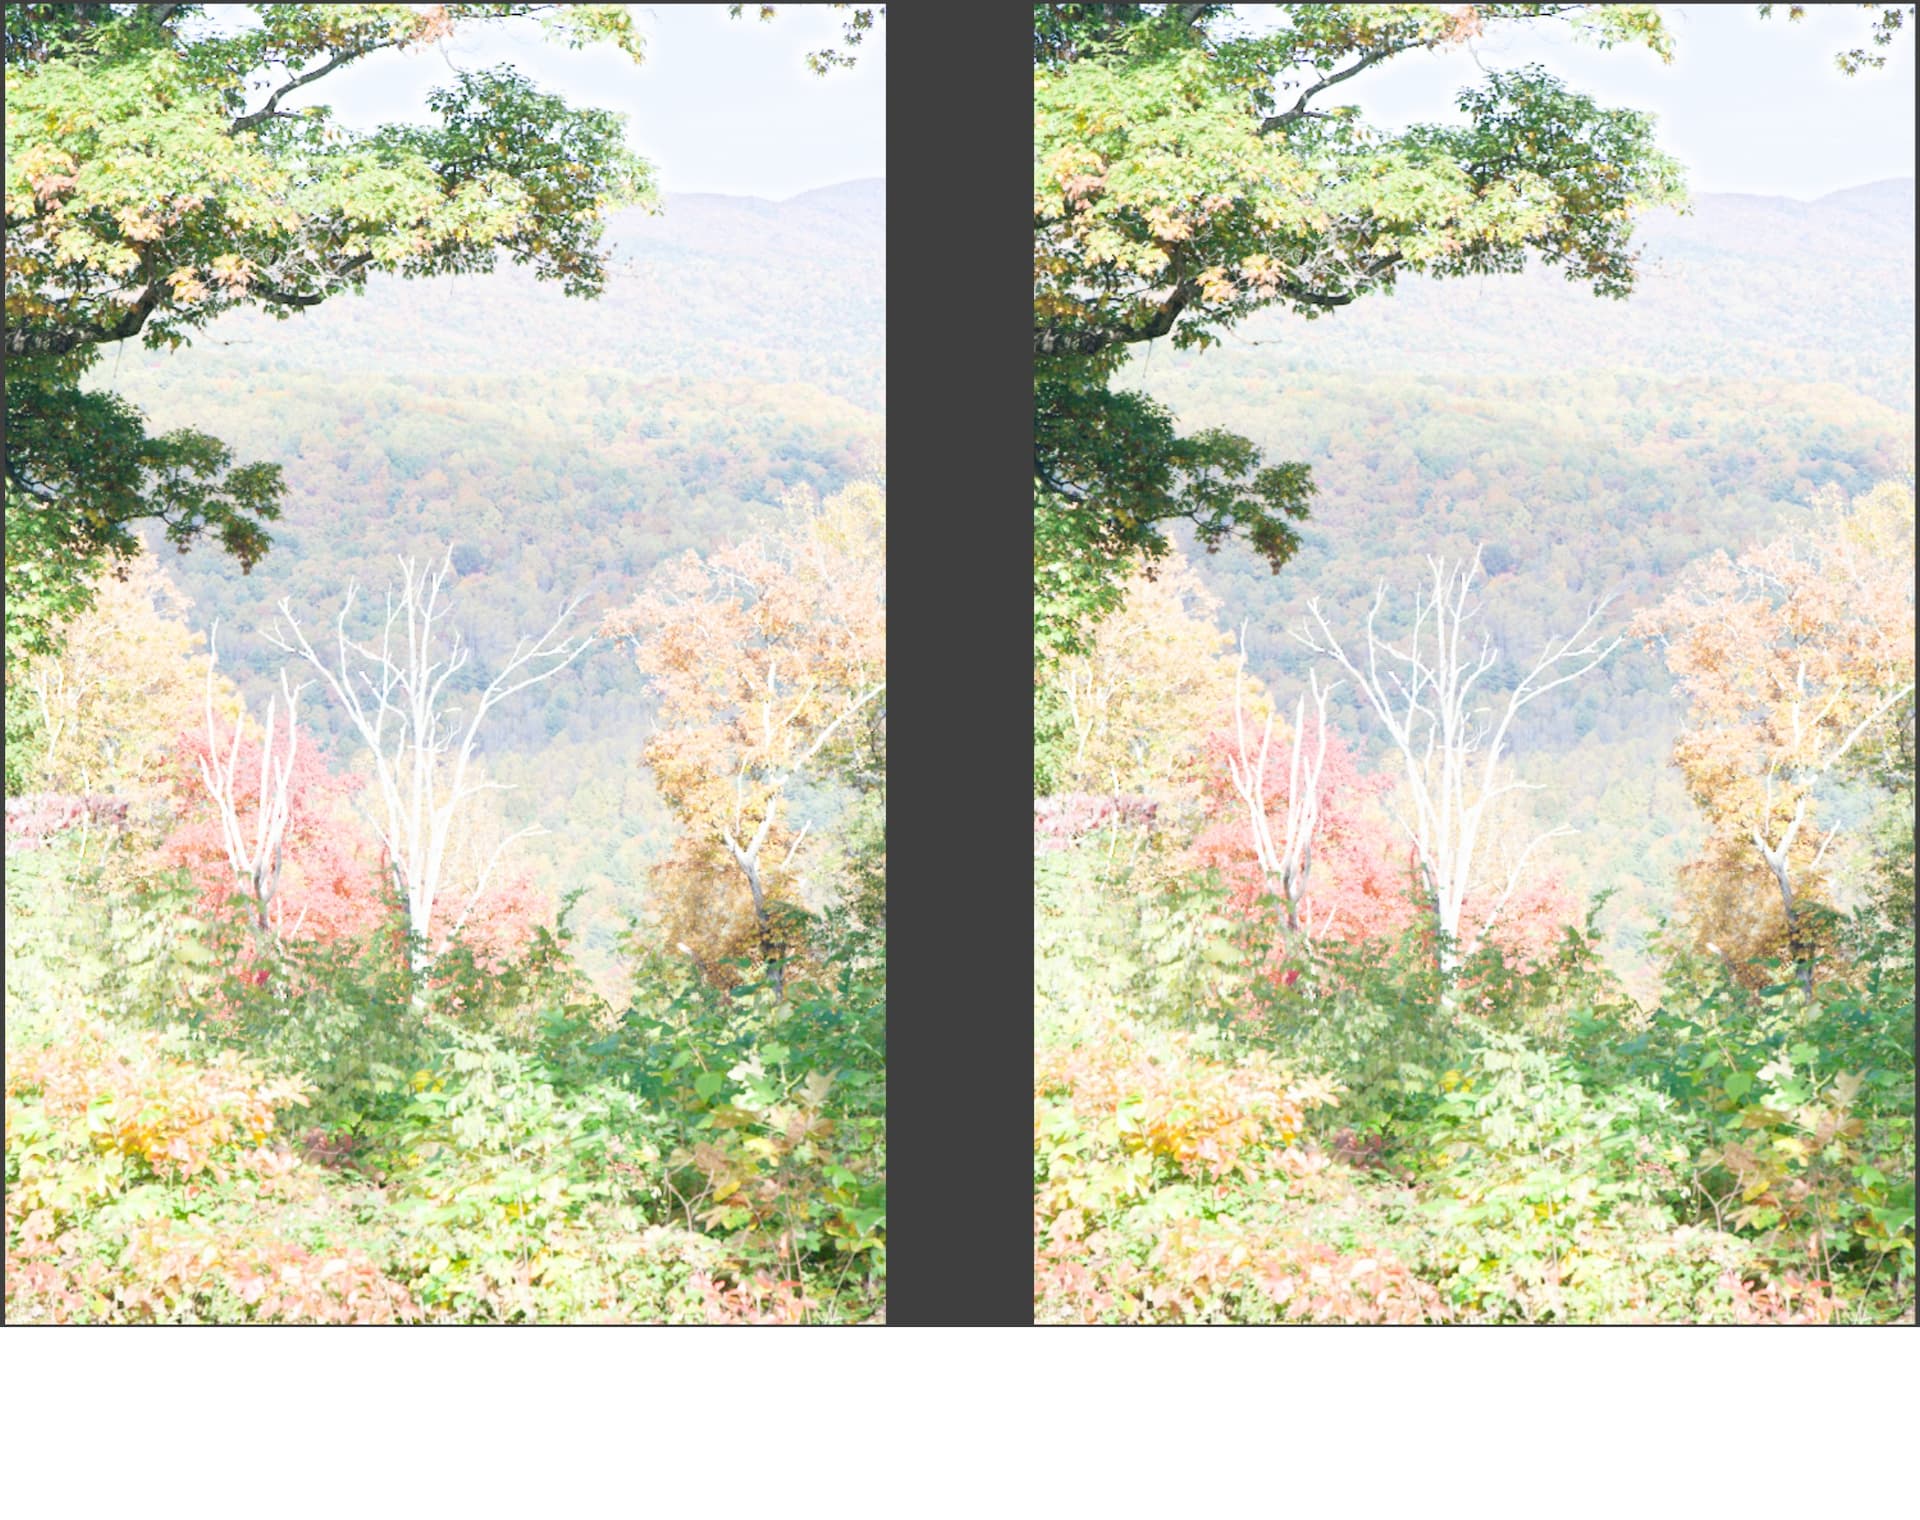
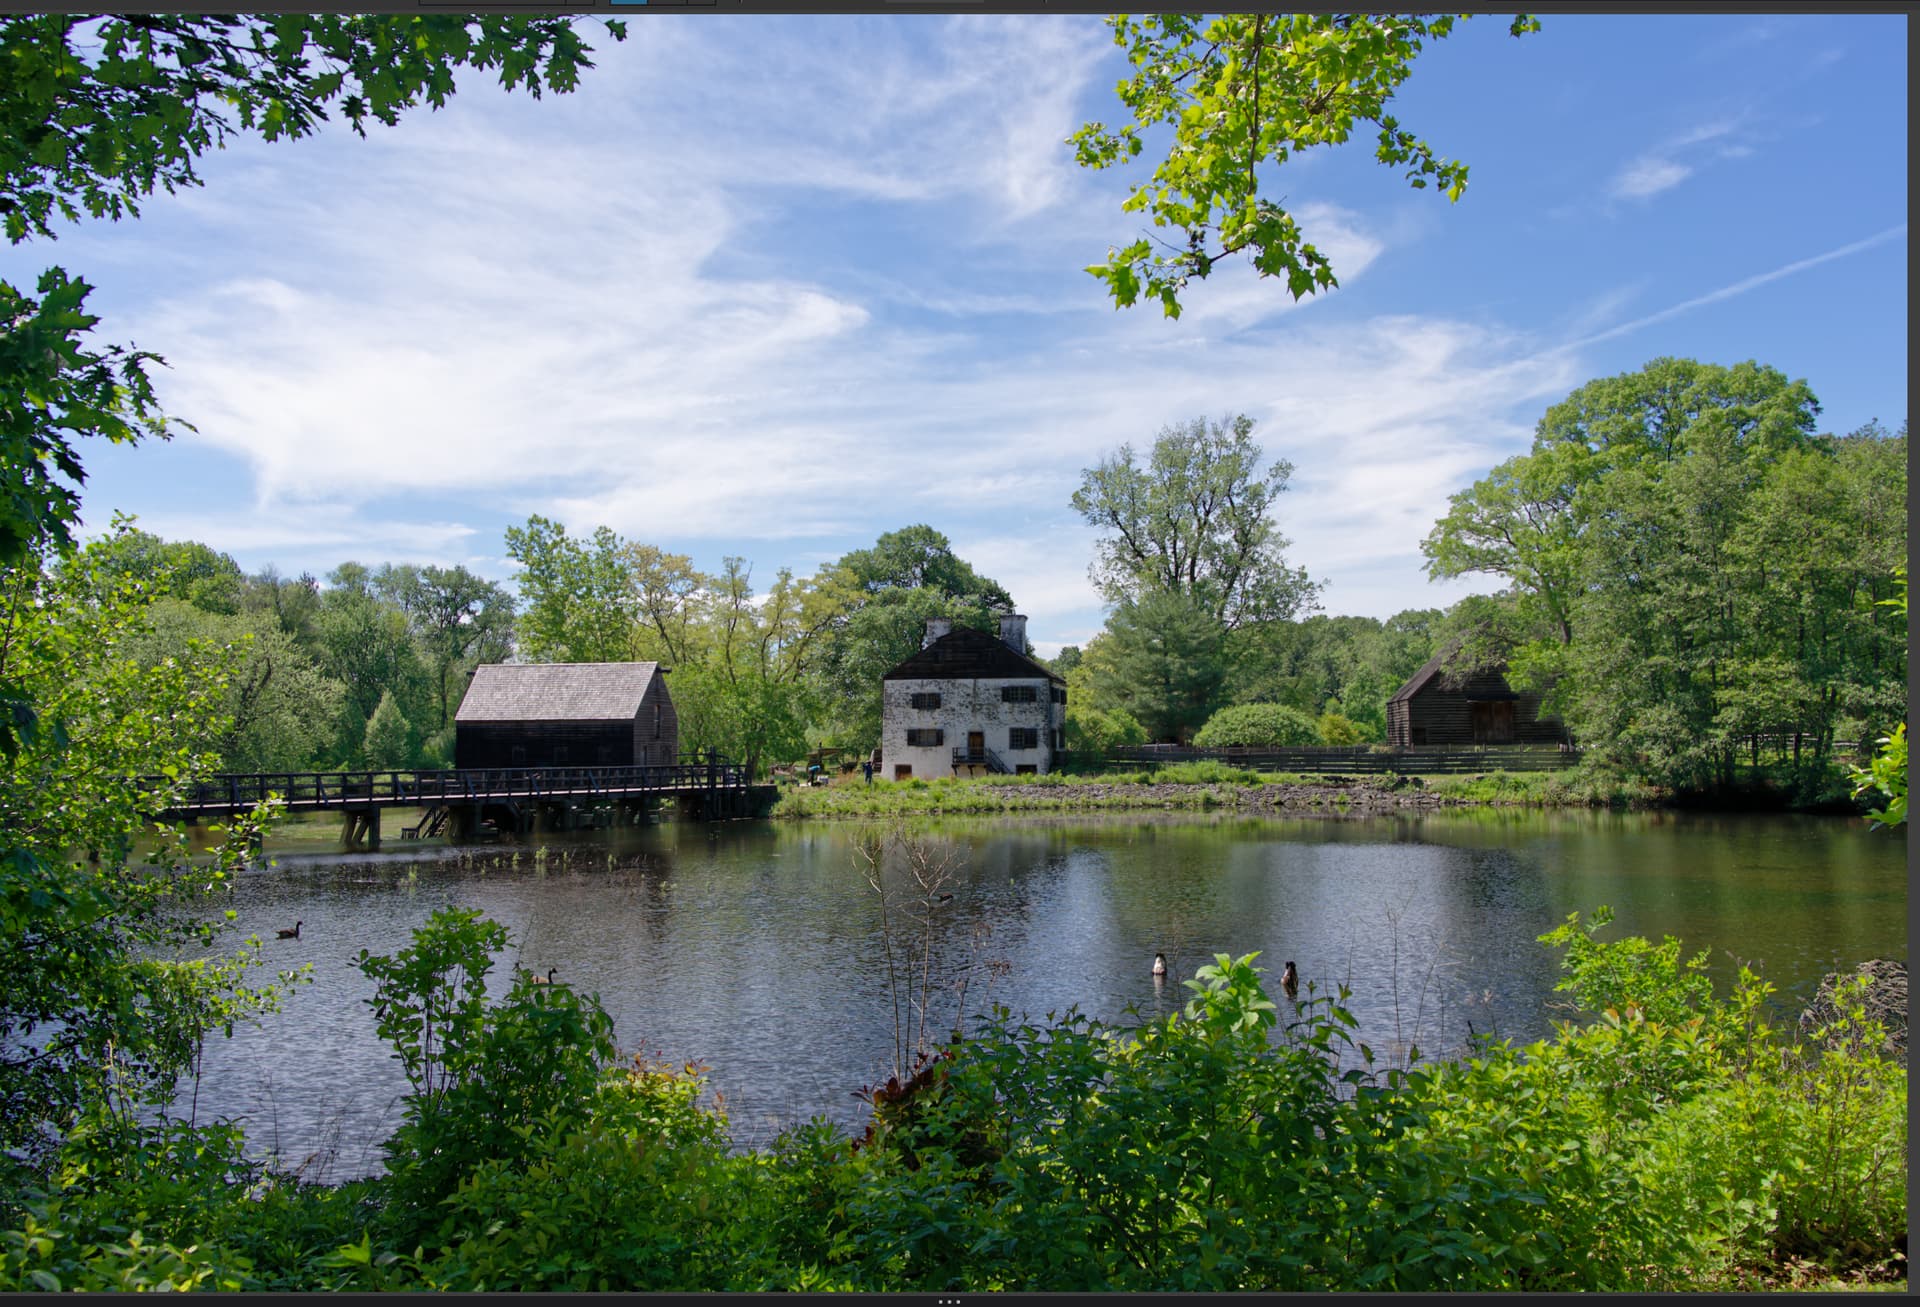
Before raising shadow areas.
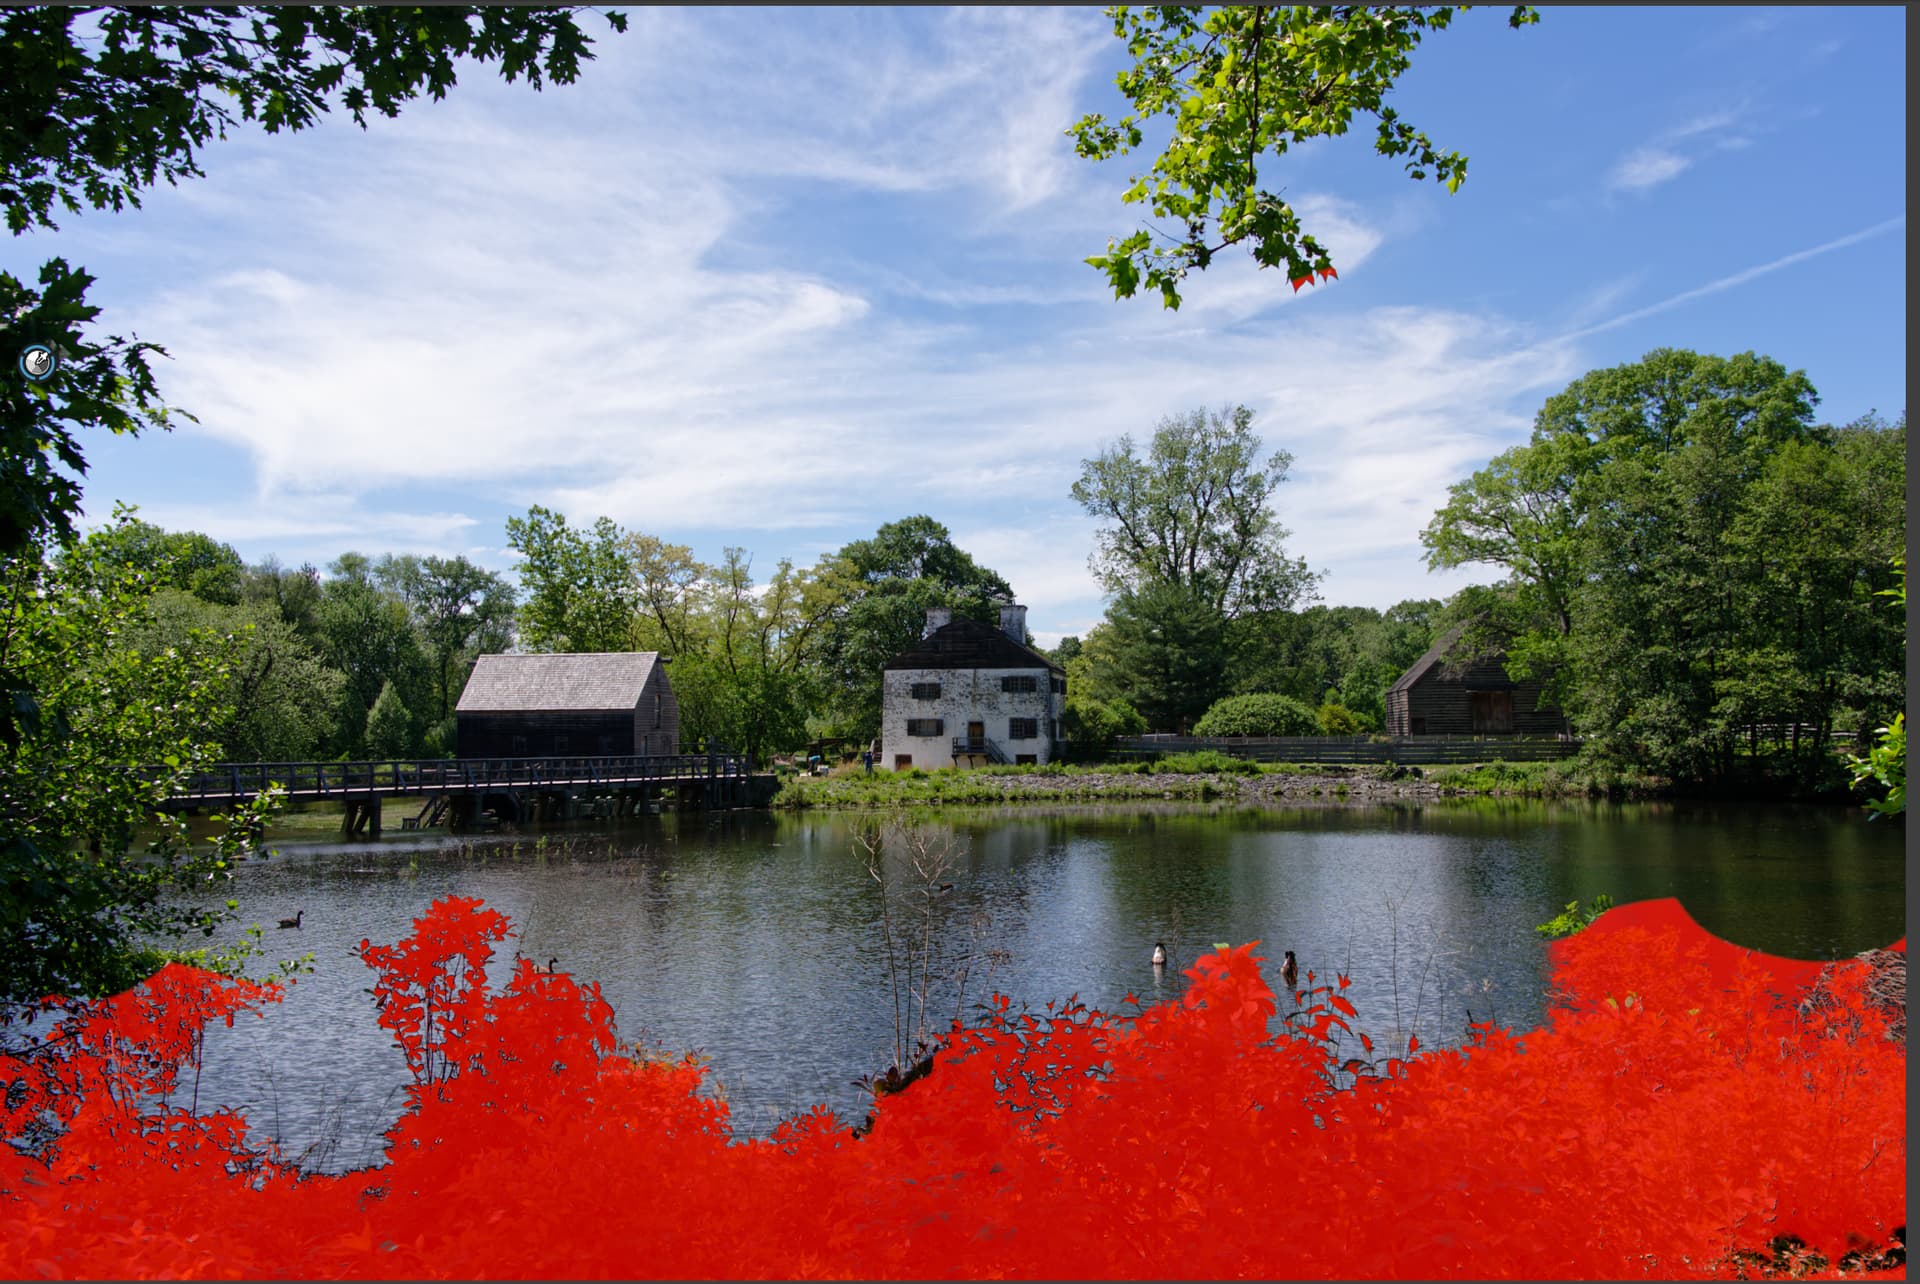
Masking using the Hue mask after selecting a point in the foliage
After raising the LA shadows slider, probably more than desirable, to make the results more visible in this example
This is a modification to the mask using the eraser tool to remove parts of it…
Results using the modified mask area.

Note that as I said earlier this is only one of a number of ways to extract shadow detail. You can actually accomplish it with all of the Local Adjustment mask types. Which one you should use, and how you will use it, will depend on the image and the specifics of what you want to accomplish.
Mark
Hi @Scooter321
I think you just need to experiment a bit more to get the hang of it. ![]()
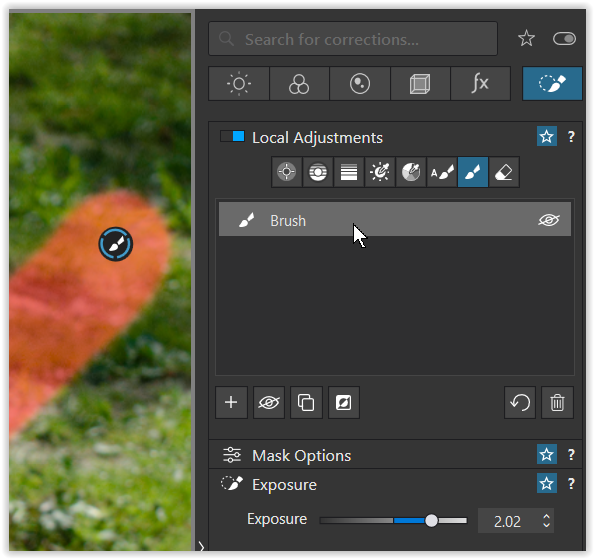
About the visibility of the local adjustments mask …
-
As already explained, the mask is visible → as long as you have not set anything
-
and → then gets hidden.
-
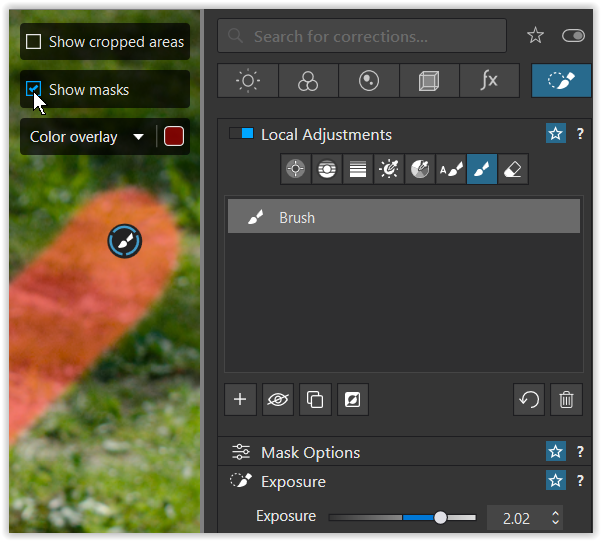
To display the mask again → move the mouse over it
-
or → click the checkbox.
( all shown here in the Windows version ) -
Alternatively, press < M >.
.
If it doesn’t work immediately, hover the mouse pointer over the preview.
Anyway, have fun
I’d not call it wrong (or right) at all. It’s just a matter of getting to know the tools.
The adjustment you want begs for the control line tool in the local adjustment palette, and this is what I tried:
- draw a mask that covers the complete image (lines are outside of the image)
- move the pickup/pipette and observe the mask
- adjust mask selectivity using the chroma and luma sliders
- repeat as necessary until you get a mask that fits your intentions
. - adjust the image using the other tools in the LA palette
- repeat until satisfied with the result


When you’re done, make sure that all the adjustments you might make afterwards are done in the intended context, i.e. locally or globally.