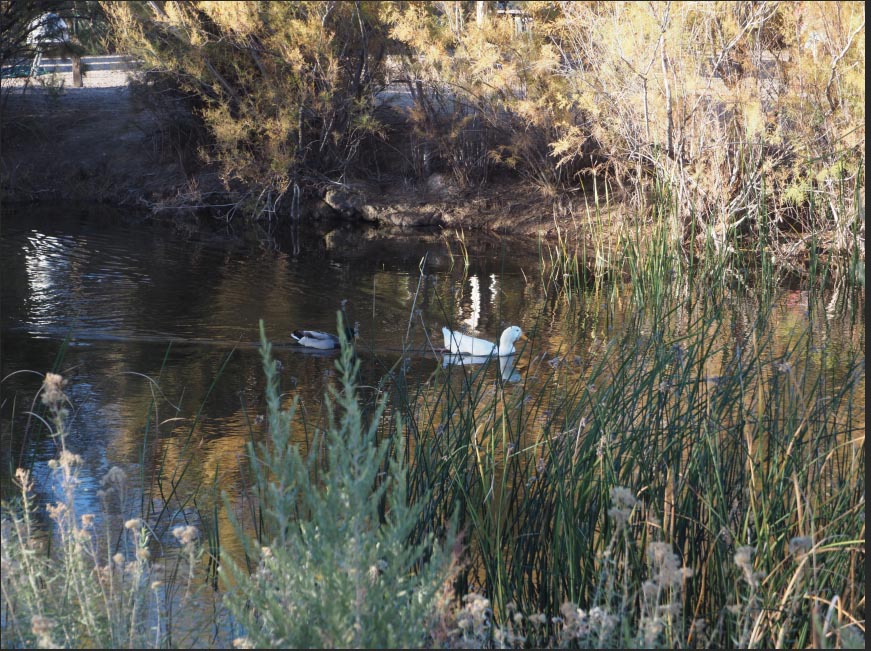
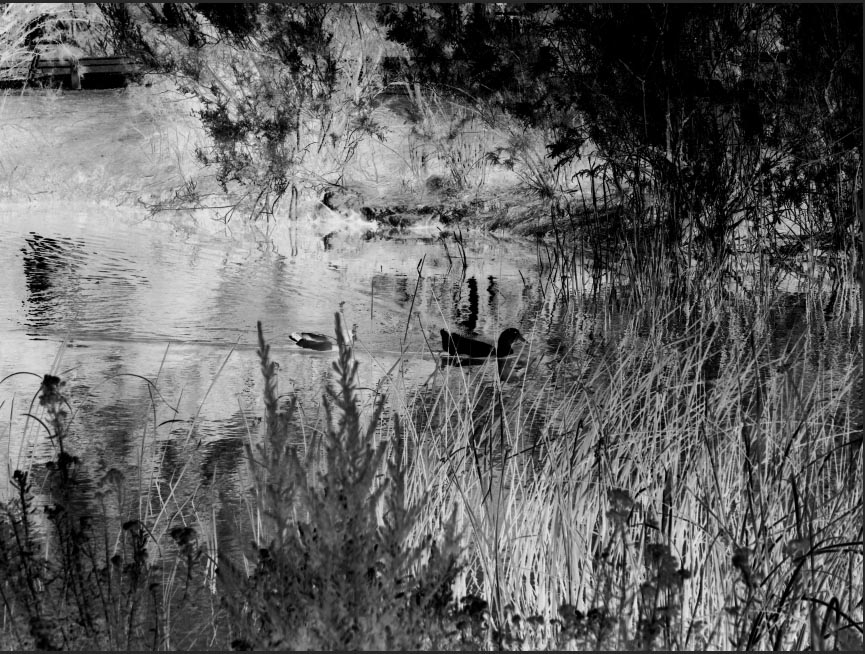
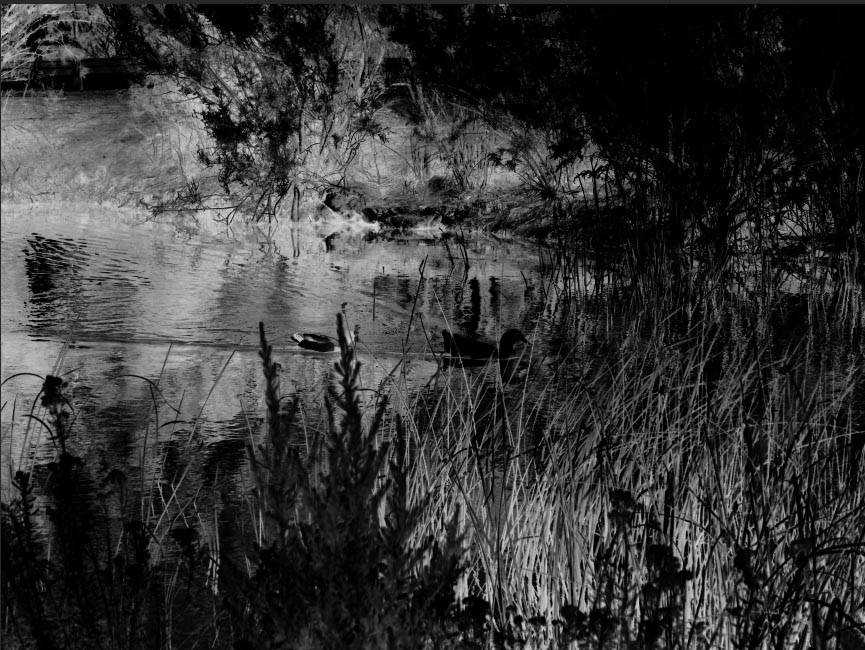
Here are some examples of luminosity masks. I have selected a photo taken at one of the local parks. It does not need luminosity masking, but it has a selection of bright and dark areas and I thought it might help you to see what I was writing about. The upper right part of the photo is a bit over exposed, and this is a good way to target that.
Original photo.
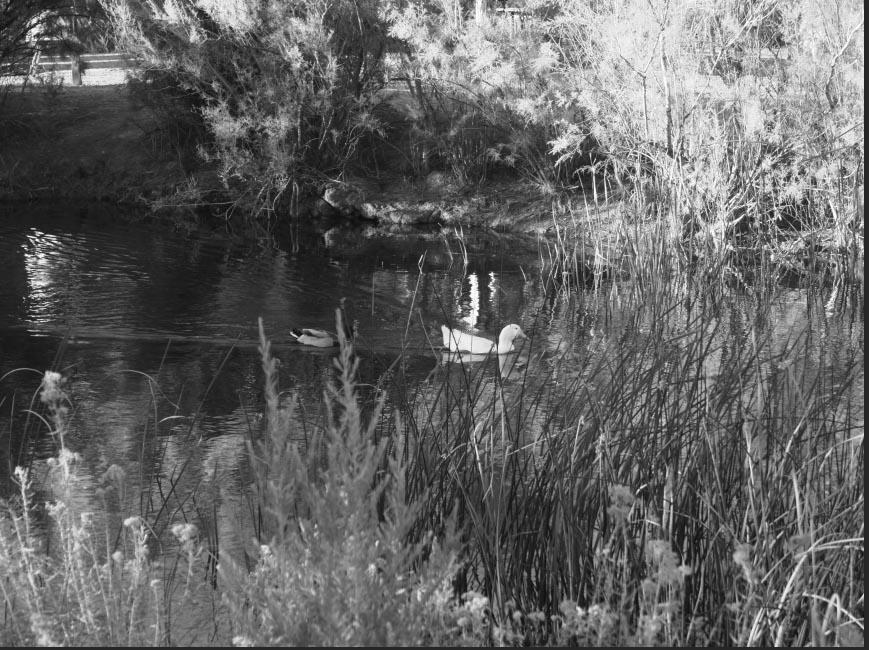
Here is one luminosity mask for this photo. It is probably a bit too broad for the adjustments someone might want to make.
The lighter areas allow for more adjustment while the darker ones prevent adjustment. Pure while allows for all adjustments to show, pure black prevents any adjustments from showing.
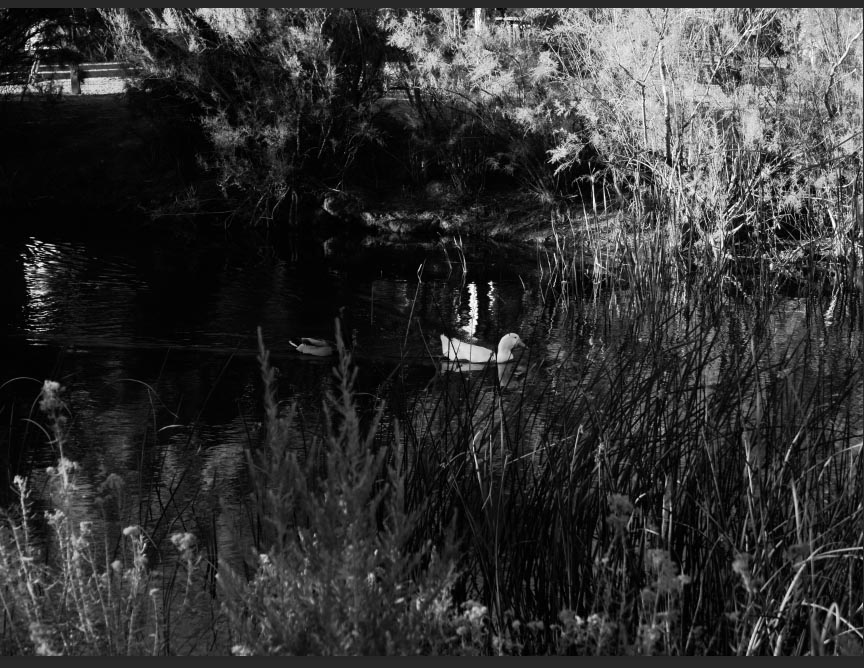
Here is a luminosity mask intended to narrow the areas for adjustment. This might be a good mask to address the over exposure.
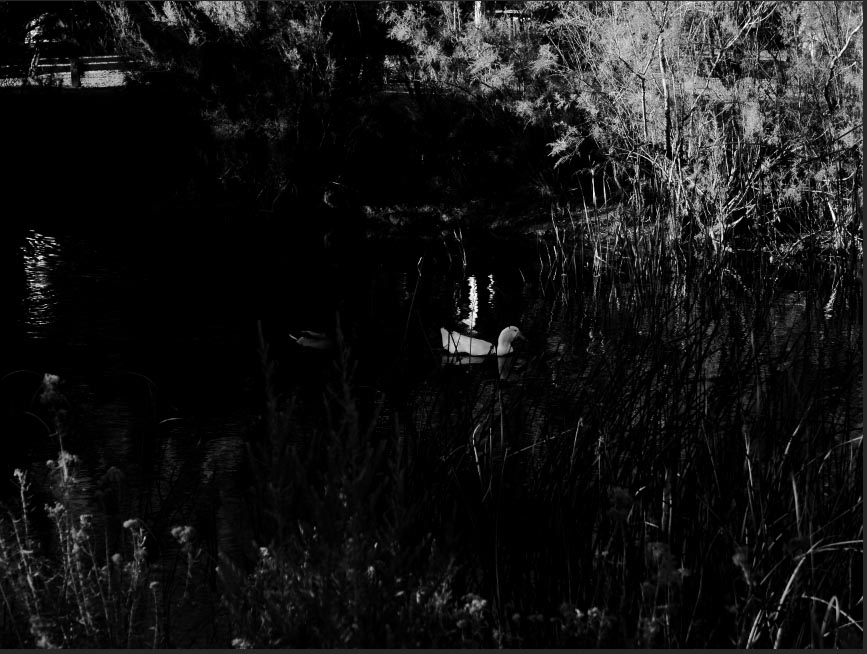
And another, even more restrictive, might be a bit better.
The nice thing about luminosity masks is that they are only digital B&W photos and can be further adjusted as needed. Here you could easily fill in the duck with some black color and then only adjust some of the background plants.
And here you can see inverting the masks to allow adjustments to the darks:
And even more.
As I mentioned, this photo did not really need luminosity masking but the top right area is a bit over exposed and using a mask like LM2 or LM3 would help to adjust almost only that area. I hope this helps some.
