I’m new to Photolab and its masking tools, and I can’t determine if my issue is a bug with Invert Shape or a noob error.
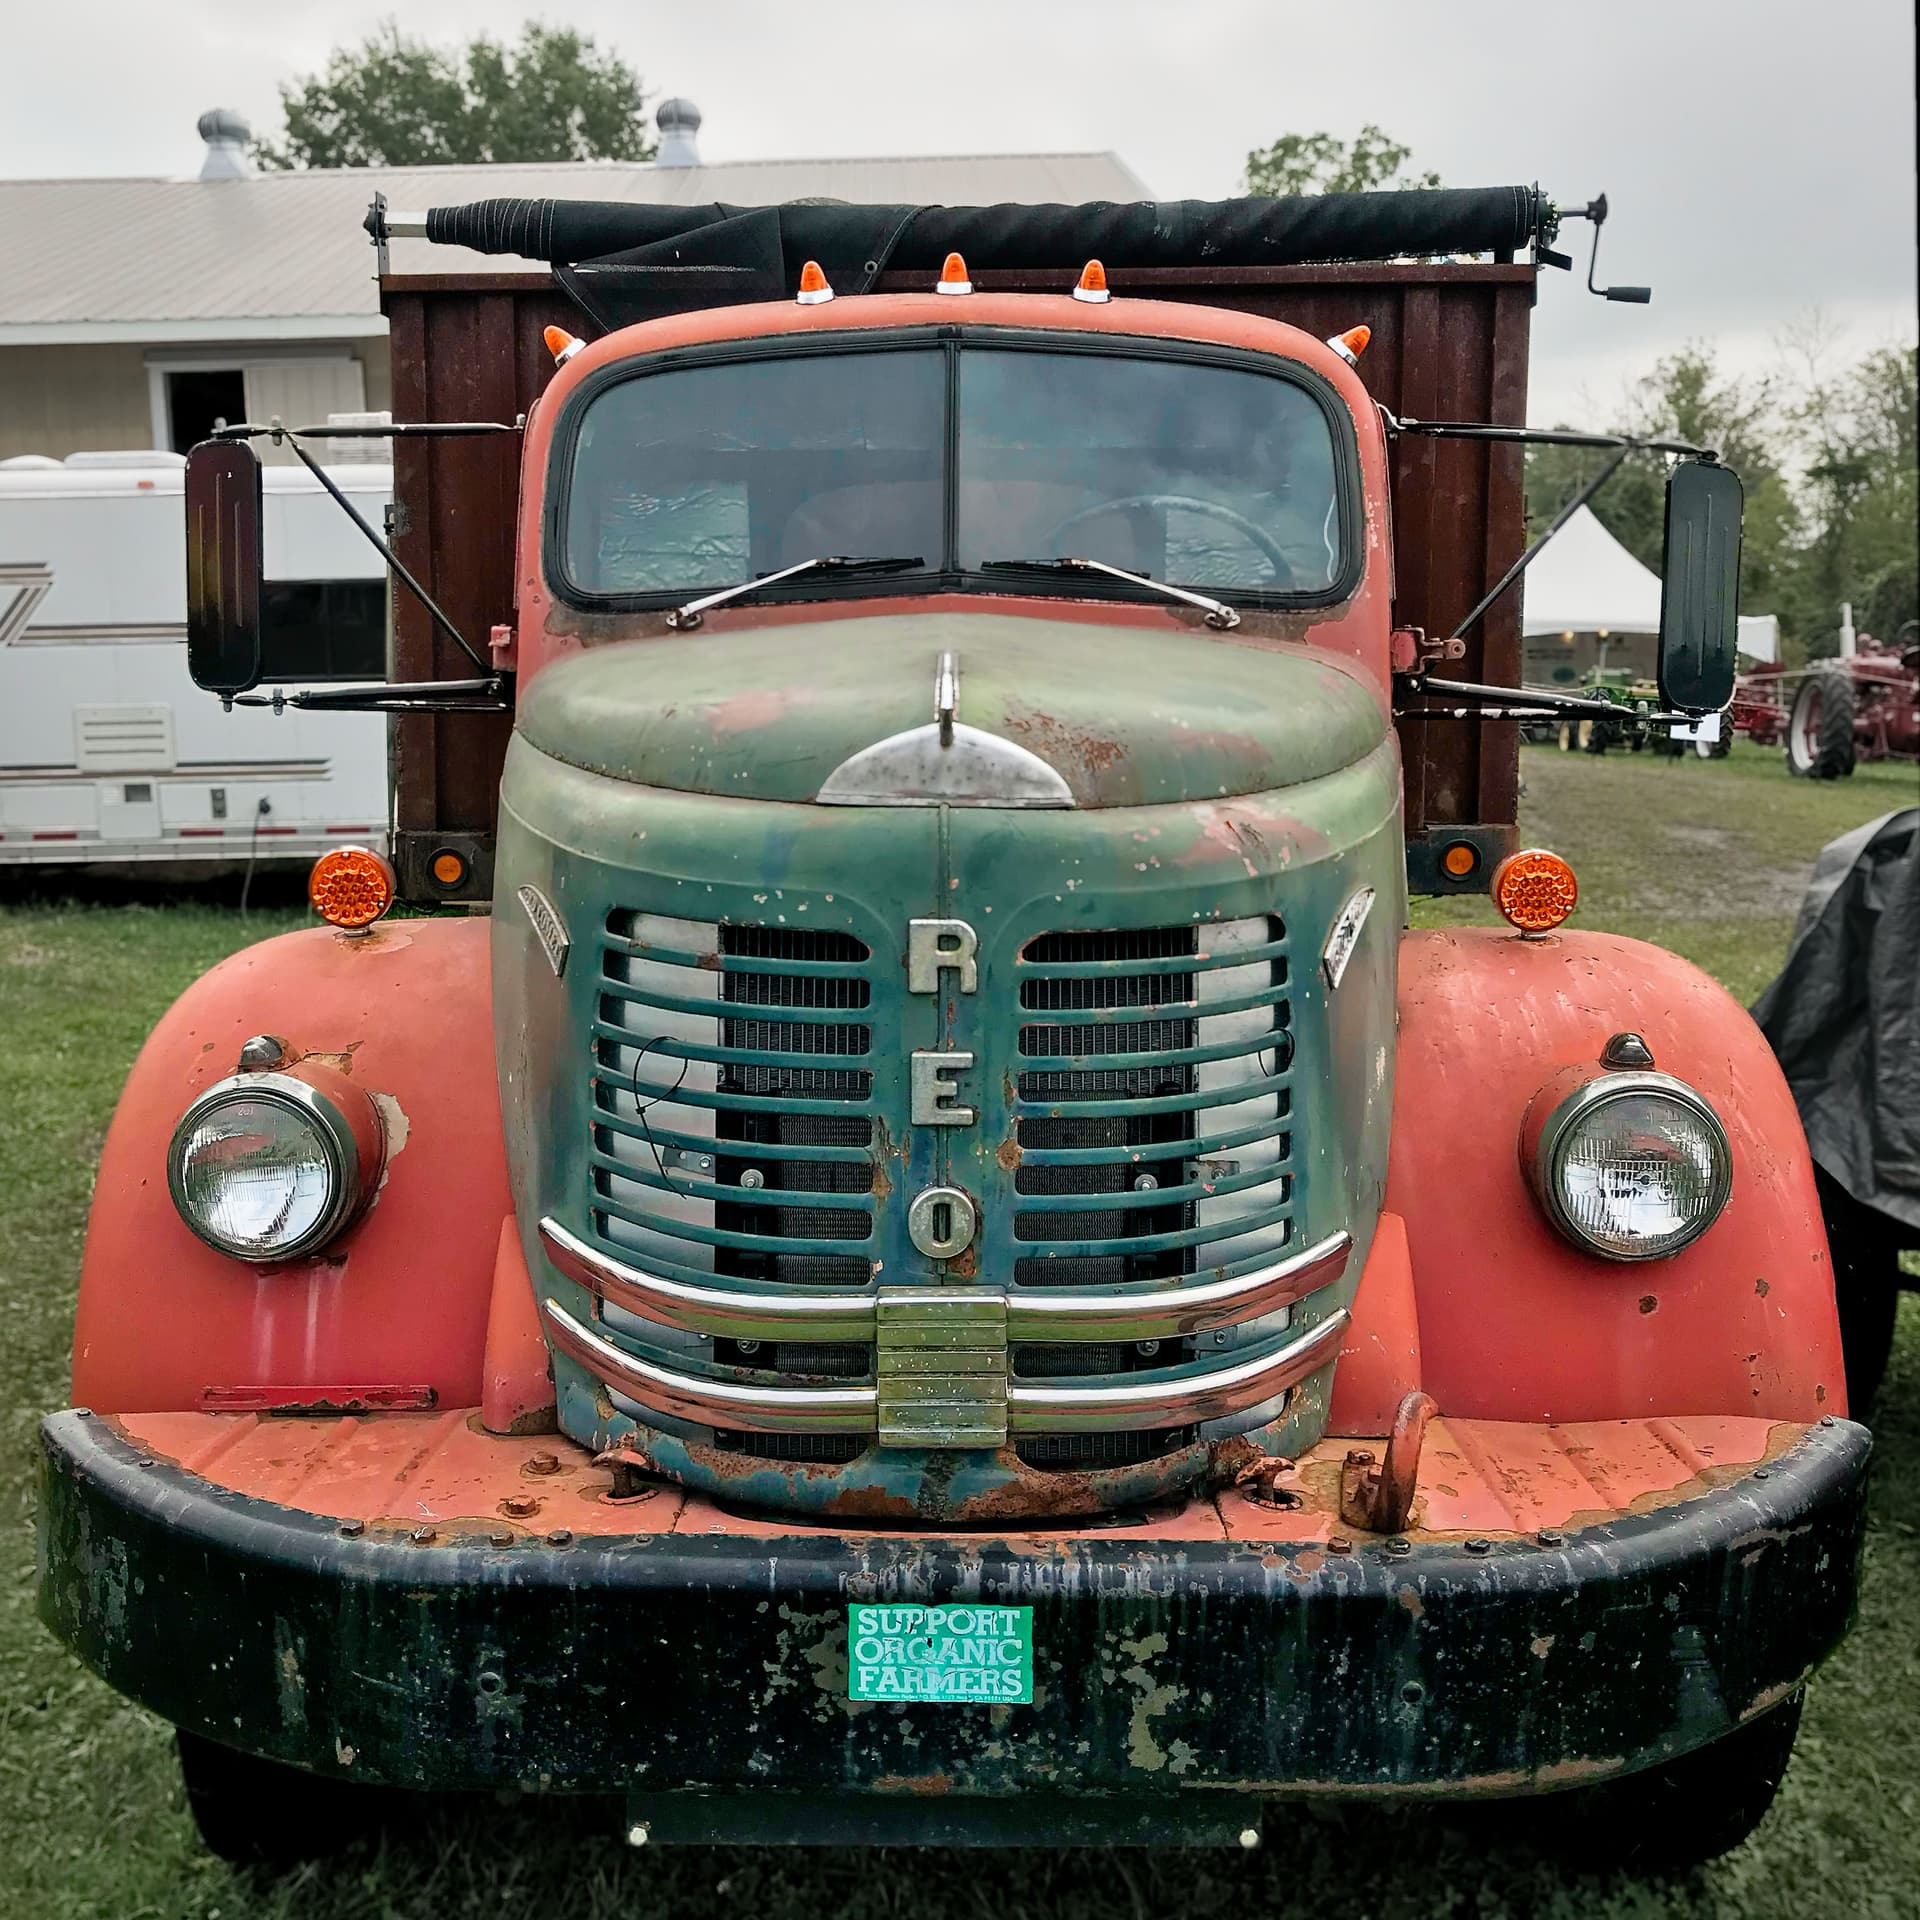
I have an old iPhone image of a truck, and I want to apply a graduated blur to the background to mimic proper depth of field blur.
AI subject mask creates an amazing selection of the truck, then I add additional submasks to the subject mask (it missed a few bits), add a new mask (not a subtask) Graduated mask w/blur over the entire image, then select the Subject mask and click Invert Shape, it doesn’t work, the grad blur is still applied over the subject. I’ve tried more than a few times but can’t nail it.
The final image I produced looks OK, but a graduated blur would vastly improve it IMHO.
Can anyone point me to the proper procedure to perform this? I’ve seen it performed on Youtube but I just can’t make it so.
Mac mini M4
macOS Sequoia 15.6.1
32gb RAM
2Tb SSD
Photolab 9.2.0 build 31
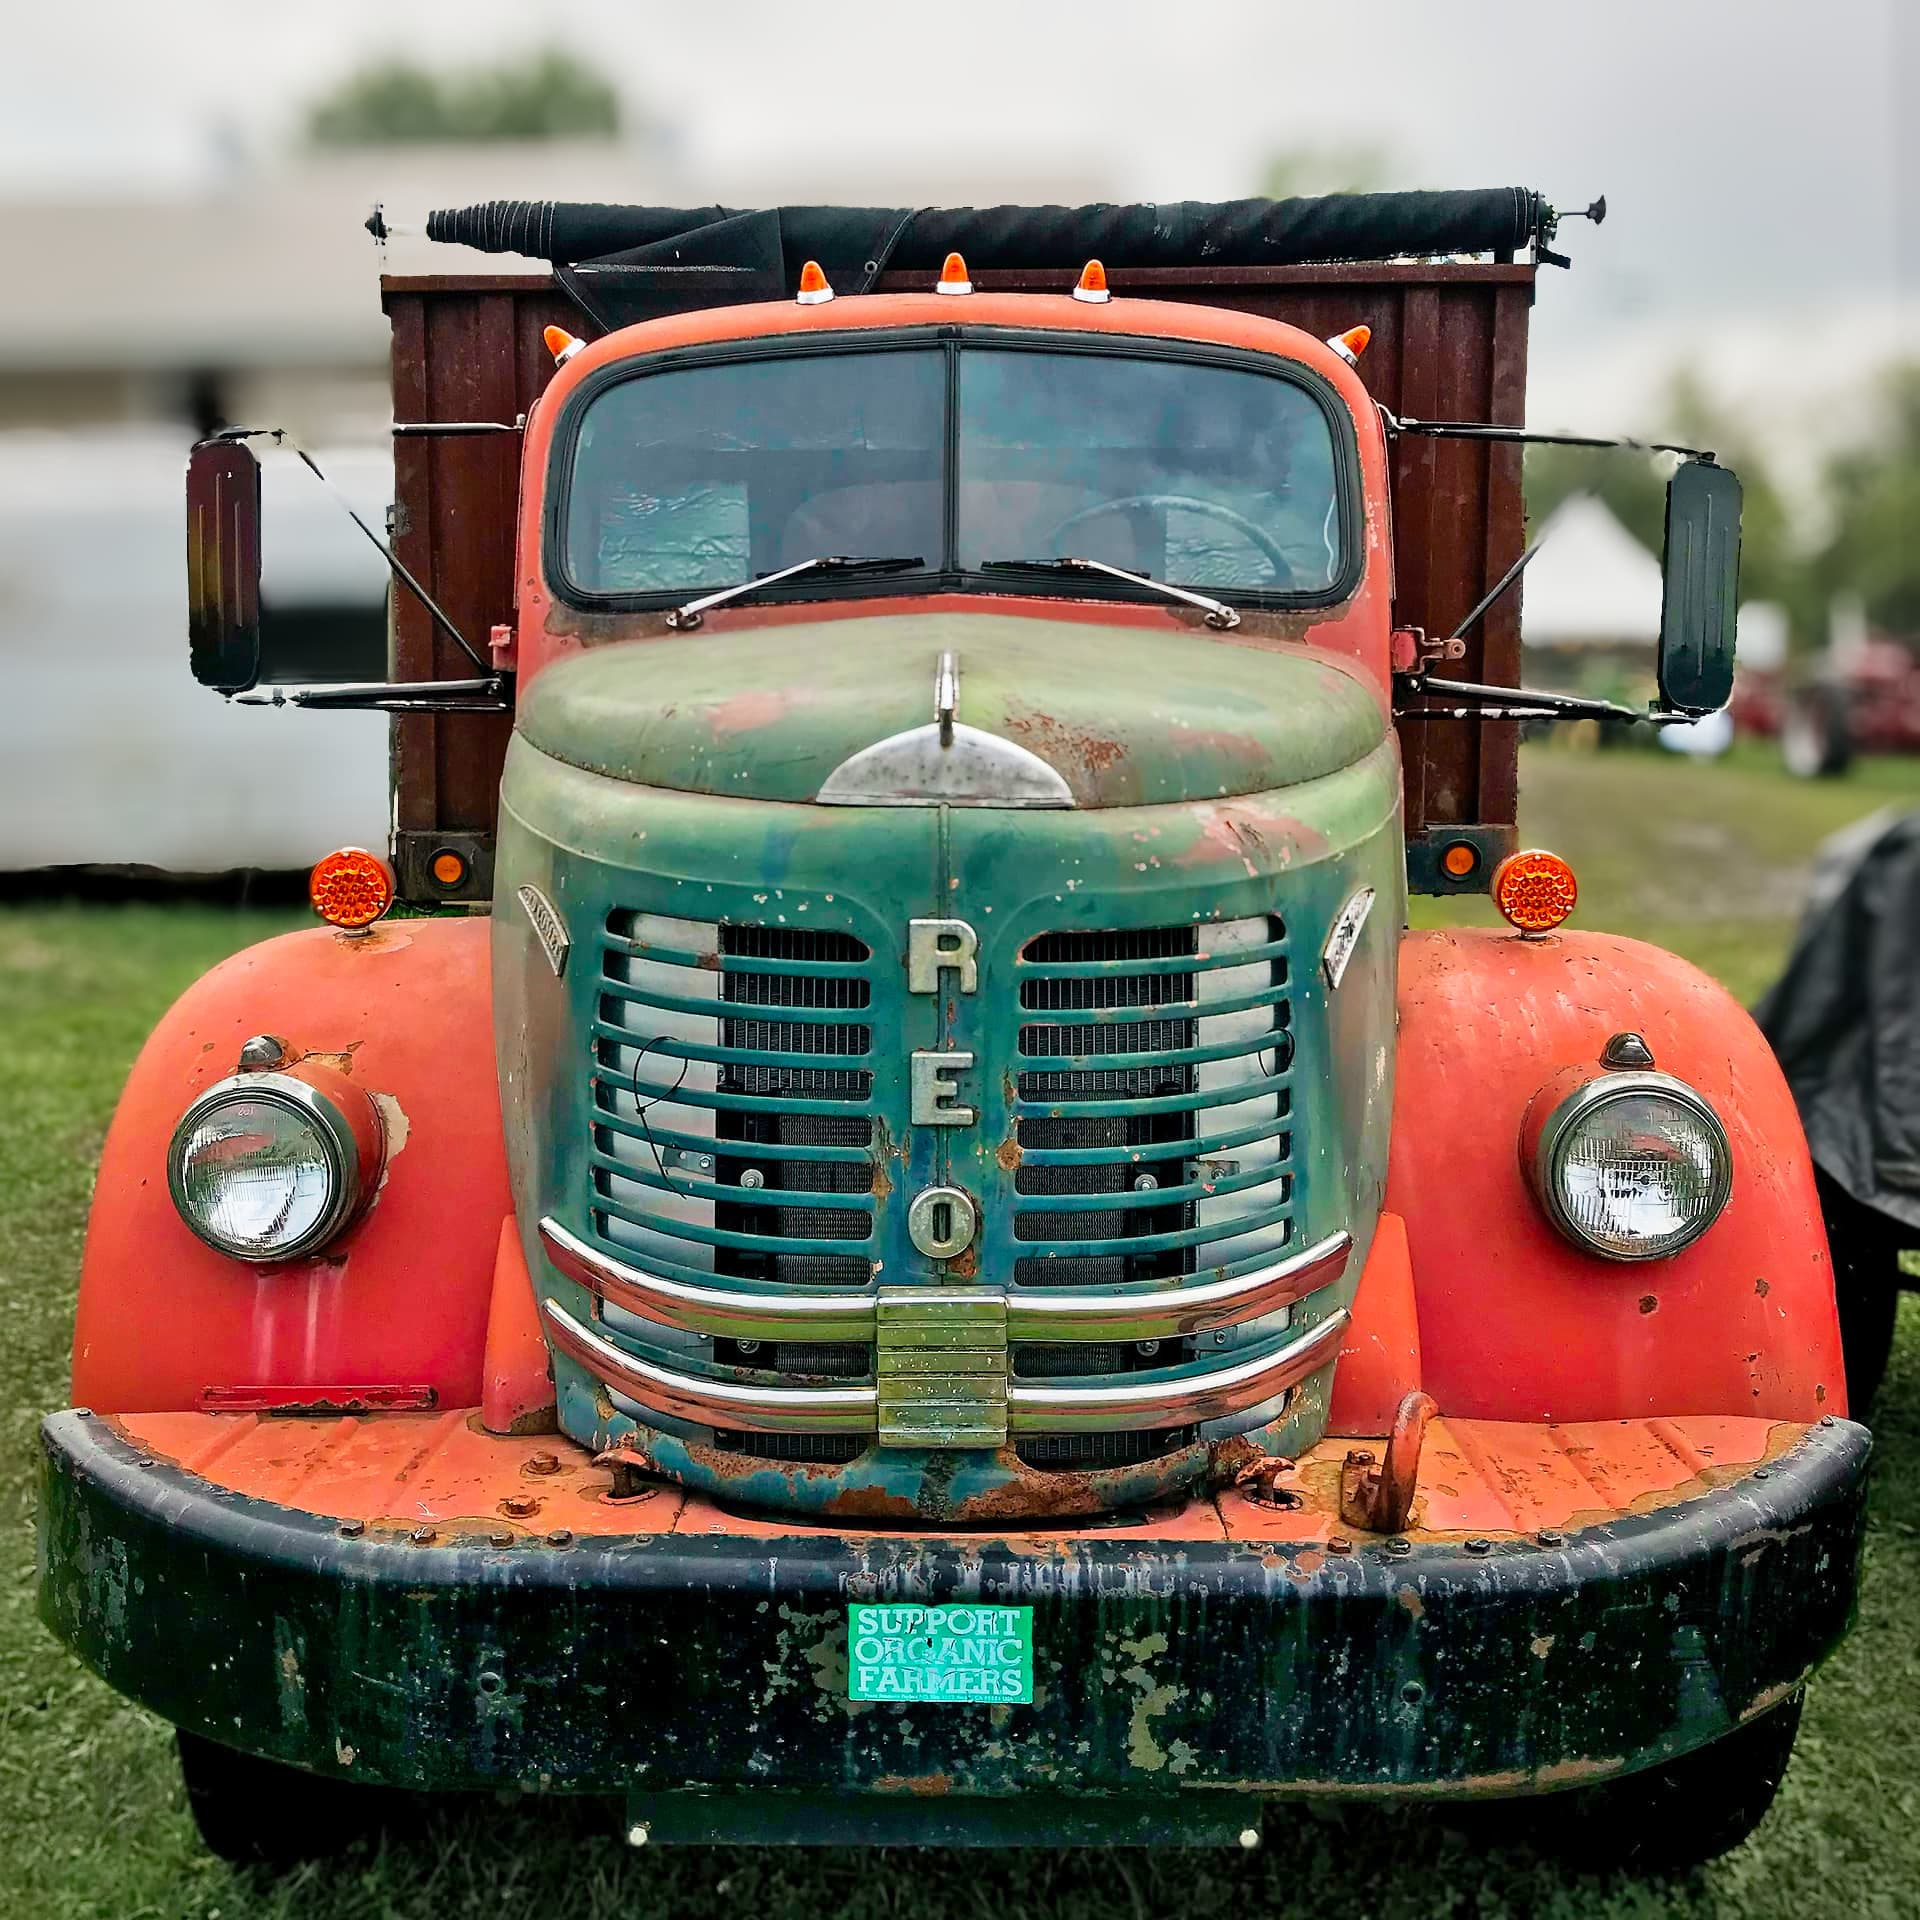
This is the image with an *ungraduated* background blur, created by Invert Mask (which always works fine). I’d like the blur to fade around the focal plane of the truck.
Create a mask that includes what you do want to adjust.
Create a mask to subtract from that, and shape invert it.
Without actually trying your example, I can’t quite get my head around if that was your problem. The fact I can’t get my head around it speaks volumes about this scheme of masks.
I figured it out by uploading the PL user guide into ChatGPT, which produced great instructions. Turns out using a Brush to fix the AI Mask is a no-no. I suspected as much but couldn’t understand why.
“DxO PhotoLab, Invert Shape cannot be used in situations where there is no geometric “inside vs. outside” boundary to invert.
You
cannot
use
Invert Shape
when:
Using the Brush tool
Brush strokes don’t create a closed shape with an “inside” and “outside”
Therefore, there’s nothing to invert as a shape
Using Auto Mask or Object/Luminance masks
These are pixel-based selections, not geometric shapes
They use Invert Mask, not Invert Shape
Working only with Sub-masks
Sub-masks modify an existing mask
Invert Shape applies only to the main geometric shape, not to sub-masks
When no shape is selected
The option only appears after selecting a Graduated Filter, Ellipse, Rectangle, or Polygon
On control lines (Graduated Filter edge only)
You can’t invert just part of a gradient—only the entire graduated filter
Quick rule of thumb
Geometric shape drawn? → Invert Shape may be available
Painted or AI-selected area? → Use Invert Mask instead
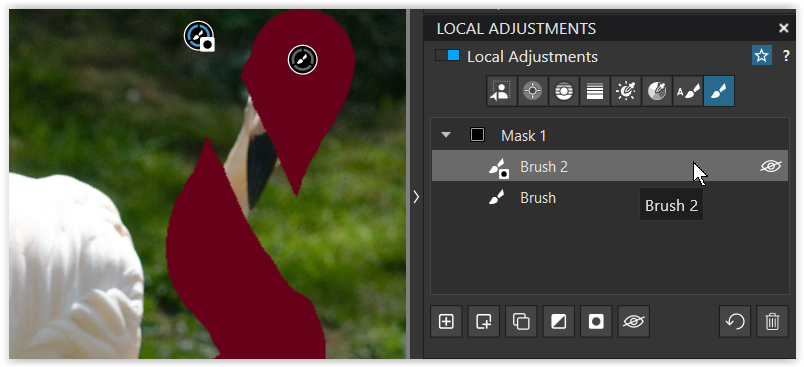
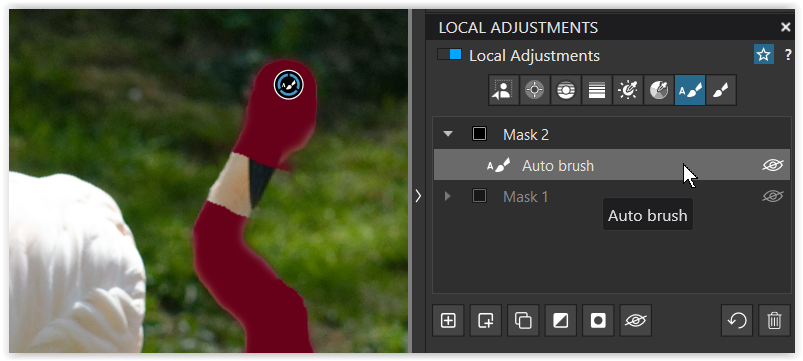
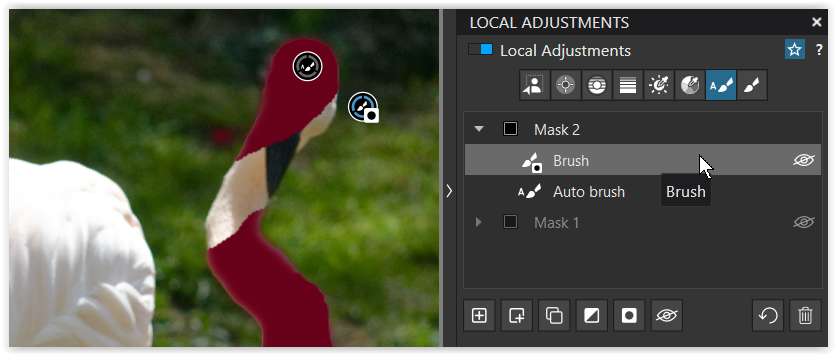
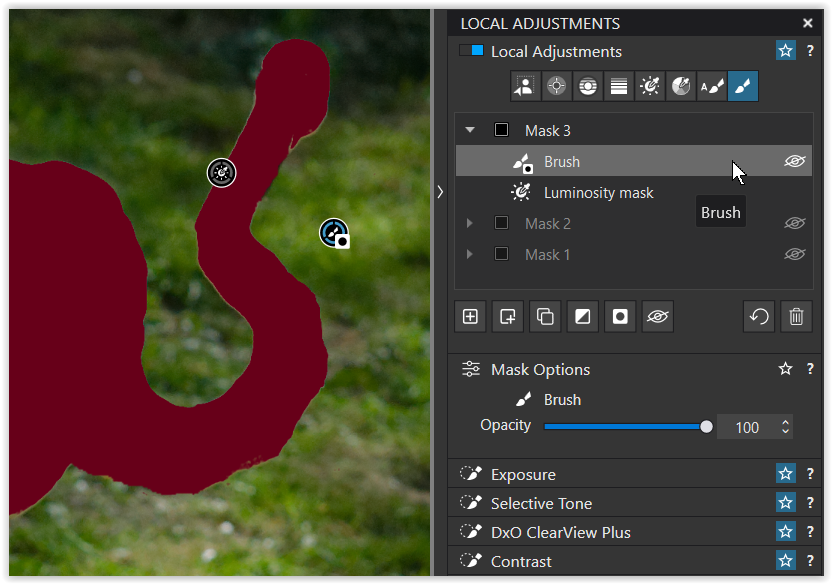
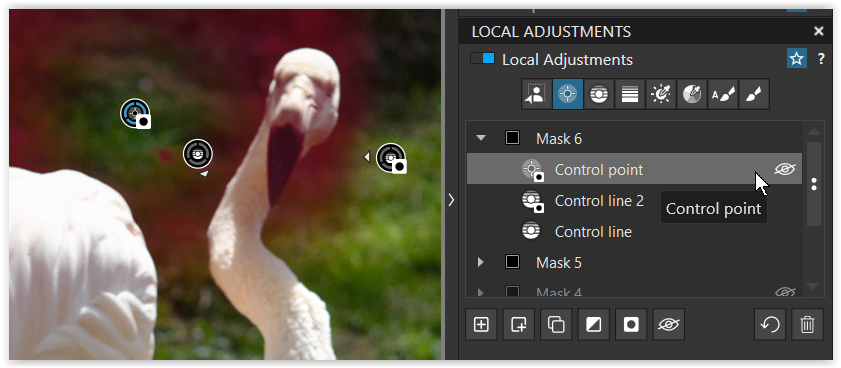
Now, to clean up you add a Sub mask, choose e.g. the Brush to fill up missing parts and continue by holding/pressing ALT to remove from the LM selection → you get a separate mask / easy to correct.
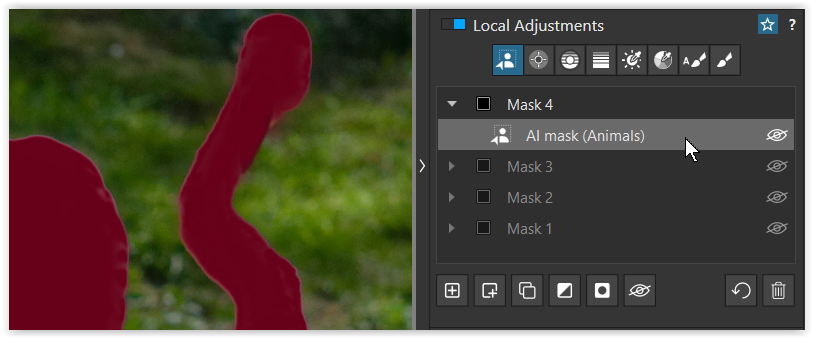
then manipulated by adding a Sub mask, choosing the Brush and holding/pressing ALT to remove from the AI selection → you get a separate mask / easy to correct.
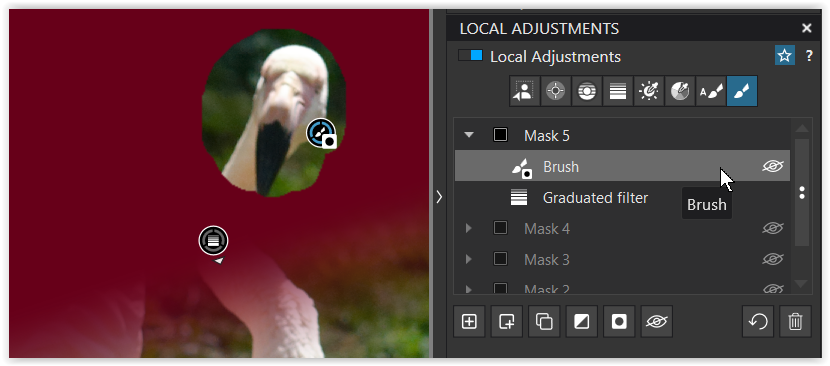
Now with a Gradient, then manipulated by adding a Sub mask, using the Brush and holding/pressing ALT to remove from the Gradient selection → you get a separate mask / easy to correct.
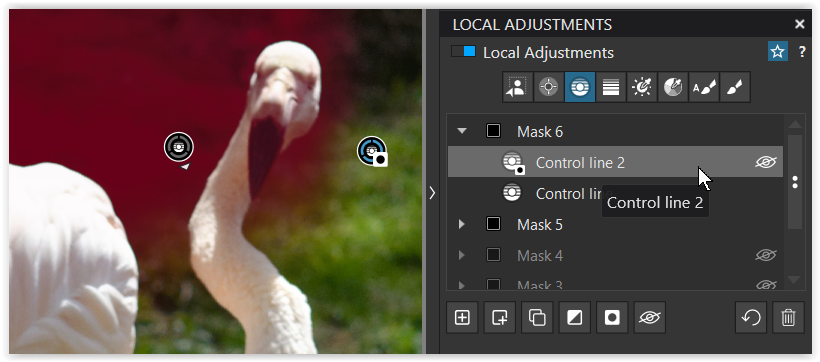
then manipulated by adding a Sub mask, using another Control line while holding/pressing ALT to remove from the first CL selection → you get a separate mask / easy to correct.
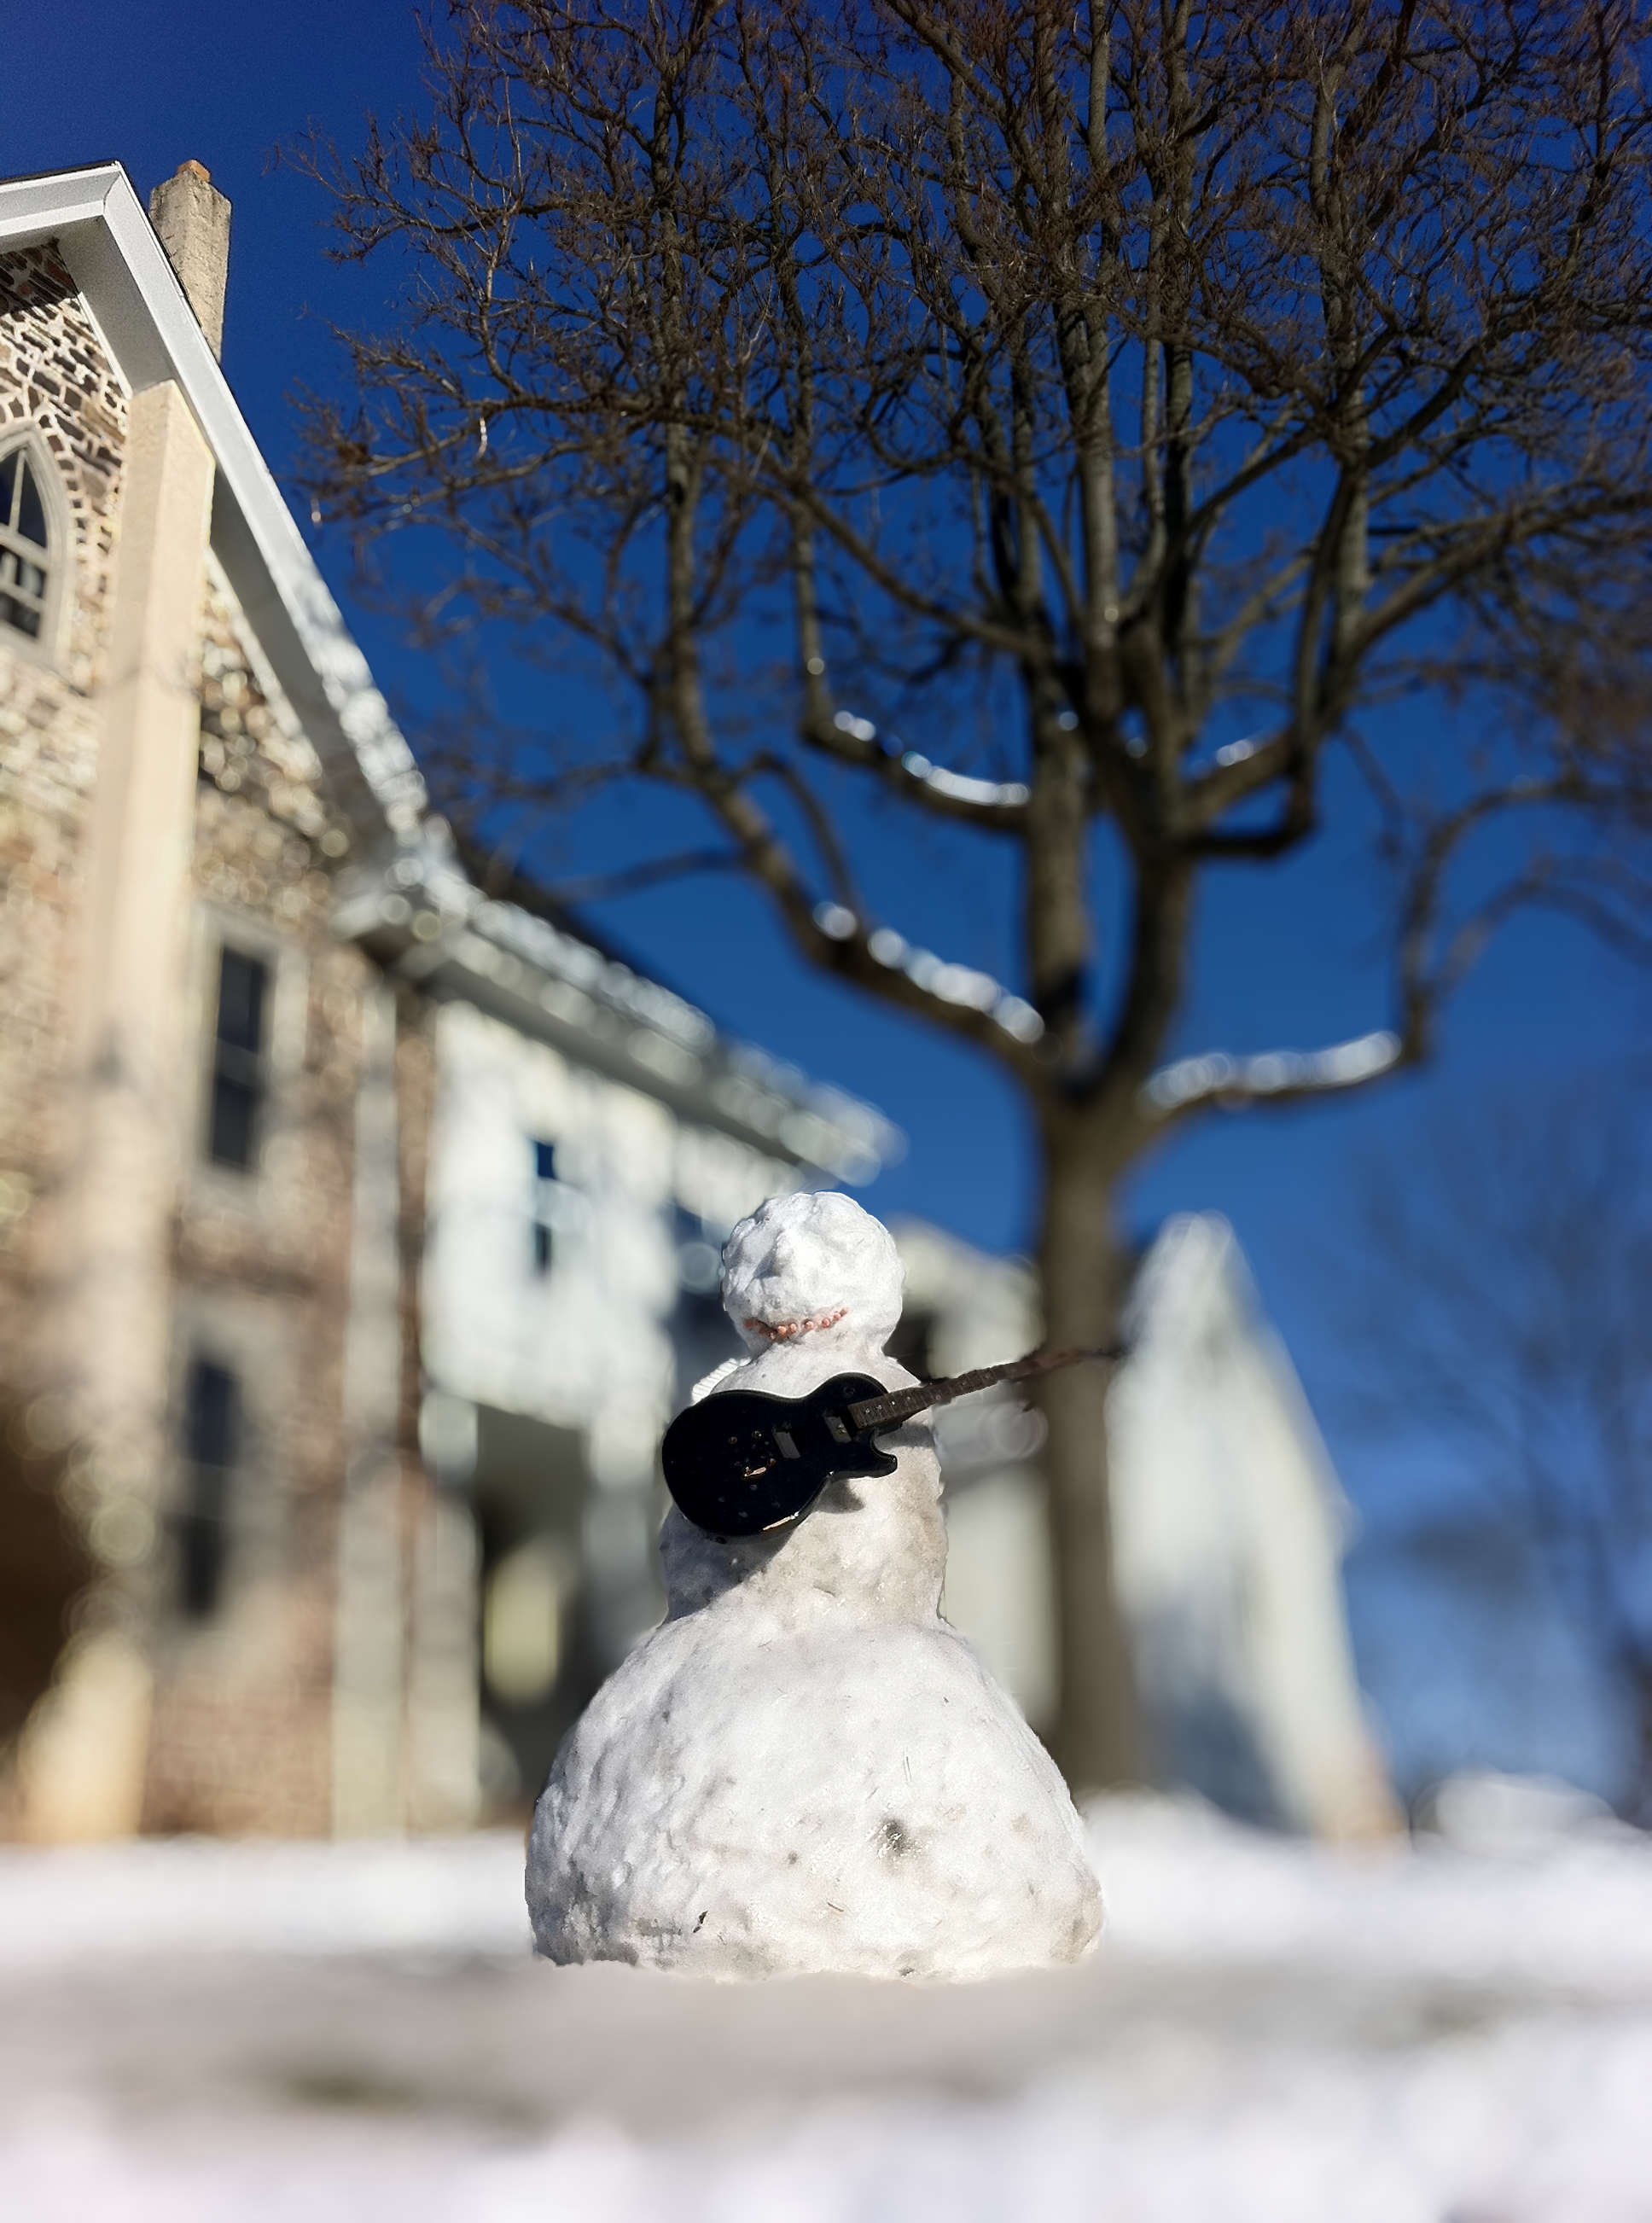
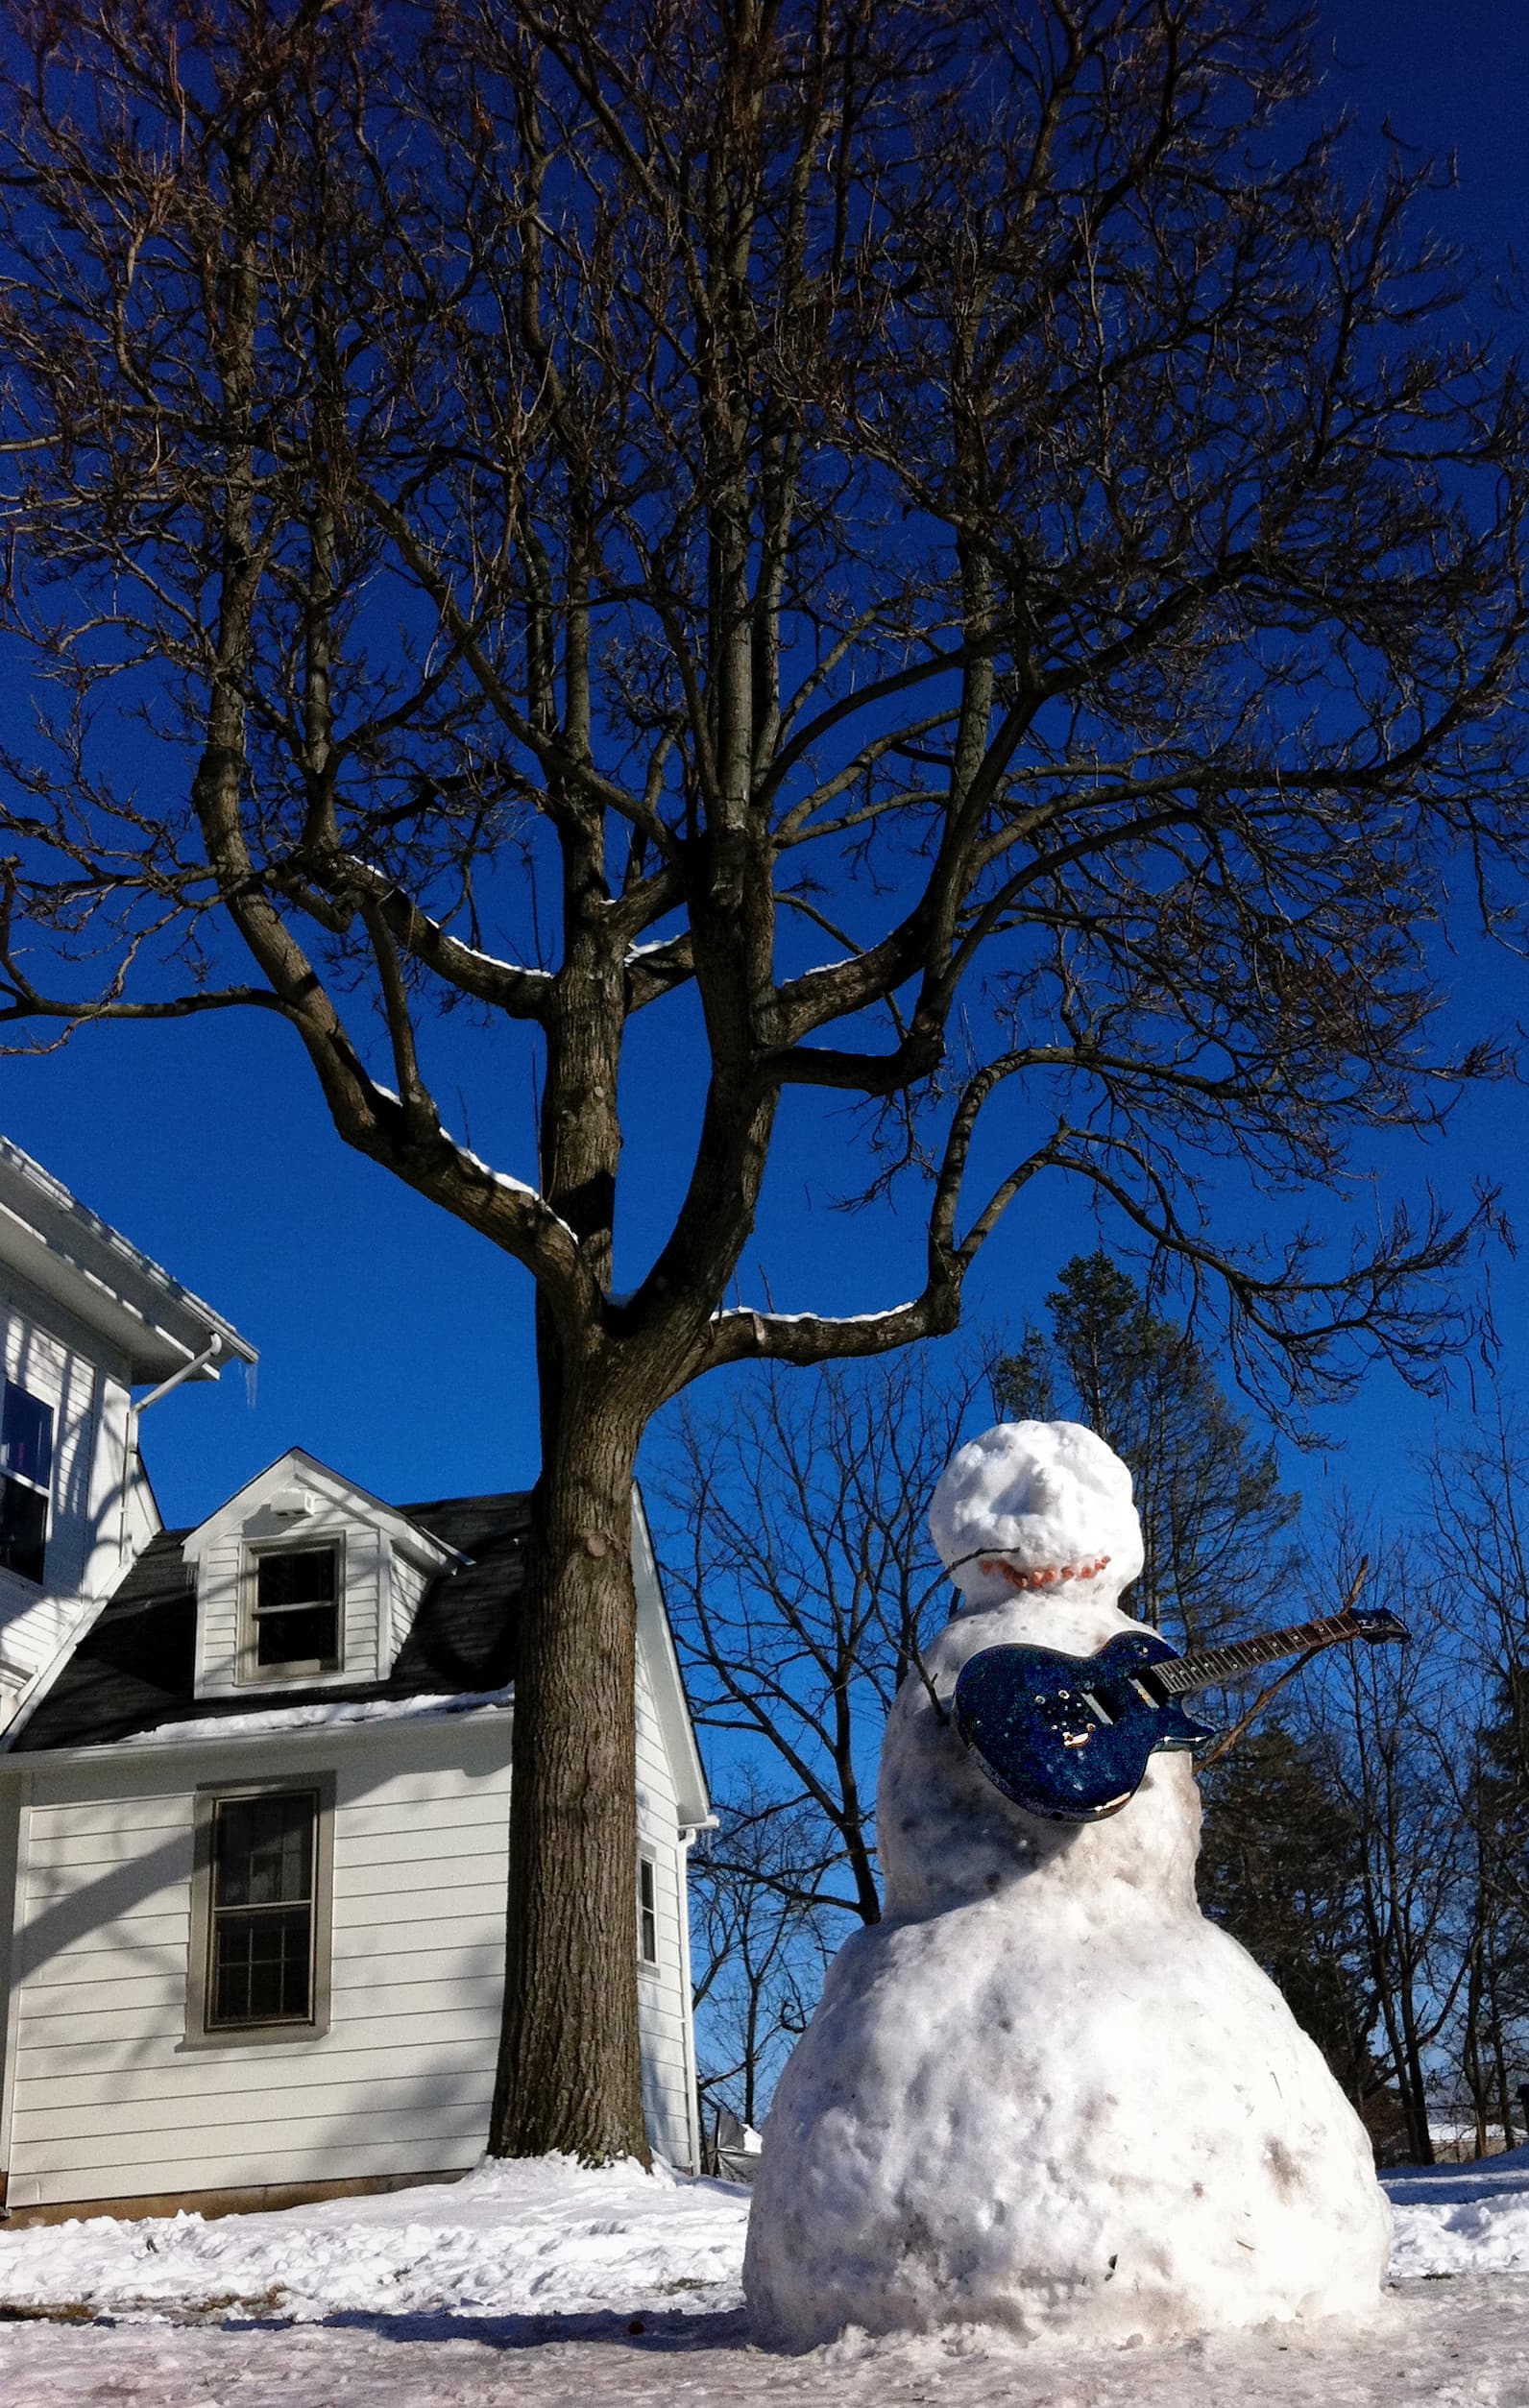
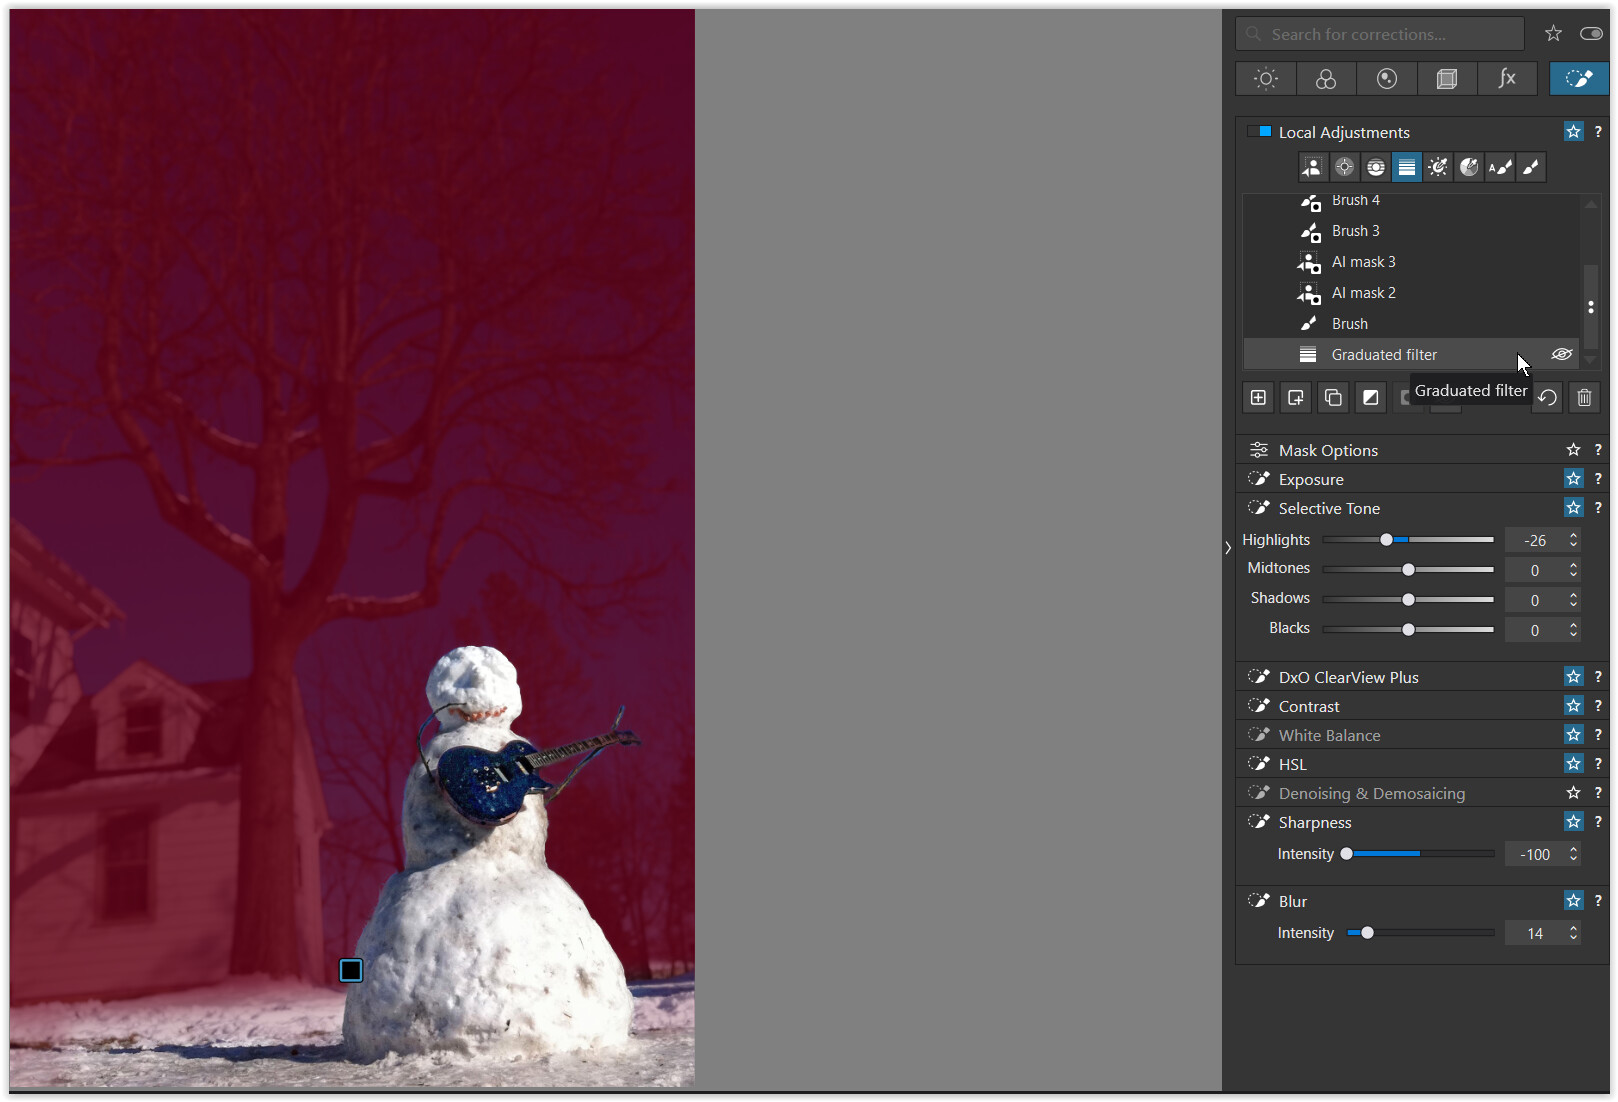
Umm, I regularly invert a bird out of a gradient. I.e. apply a gradient across an image, then add a sub-mask for my subject bird and invert shape on that, so the gradient’s adjustments do not affect the bird. In fact I used it just a few hours ago.
Well, that’s ChadGPT’s summary from the PL 9 User Guide, which to my noob reading seemed to apply to my issue, but wise folks here disagree so now I am further mystified.
If I do as you suggest the “punch out” works. But if the AI subject mask needs any refinement at all (such as my truck image where it missed some of the mirror supports and included parts of the background) it’s the refined submasks of the subject mask that won’t behave.
I need to use Brush and Auto Brush to do the cleanup, perhaps those are invalid tools for Invert Shape. If one of your birds needs to add to the mask because it missed a leg, what tool is used?
I’m going to try the truck image again and document each step precisely and follow up here. Thx!
If you had to fix the mask because it missed for example one of the bird’s legs, which tool would you use?
I saw a youtuber need to fix a bird leg in just such a scenario, and he ran into issues like mine where the fix didn’t punch out of the gradient properly, he fumbled with it awhile then just skipped it, saying he would later post a procedure but he never did (he was doing a live edit). I thought “oh boy he’s going to show me where I’m going wrong” but it went south for him too.
For cleaning up AI masks, Autobrush or brush seems to work best for me.
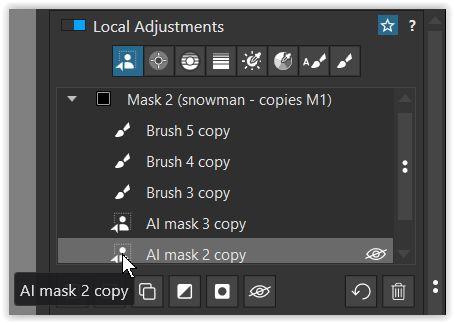
Just be sure to keep the “add” strokes and “invert shape” strokes in separate submasks, especially if you plan to invert the entire mask.
This works for me when separating bird feet from the branches.
Mac 26 (Tahoe) running PL 9.3.1 build 36.
Generally speaking, I will apply adjustments to the whole of the bird and that mask is one I will carefully ‘fix’ if required. I usually just use a regular brush for this — sometimes positive, sometimes negative, sometimes both.
I will often then copy and invert this mask to use as a “rest of image’“ mask.
Further to that, if I need a lighting effect such as my example above, I will sometimes copy the “rest of image” mask, then subtract a gradient. Which is to say, the gradient I create is not the one I want to apply changes to but the inverse of it.
In the above case, the AI mask on the bird was close enough (it missed a bit of the bird’s right foot) and the gradient subtle enough at that point that I simply created the postitive gradient and subtracted the bird.
Note that reasonably often, the rectangular area AI select does a better job of particularly bad point-and-click masks.
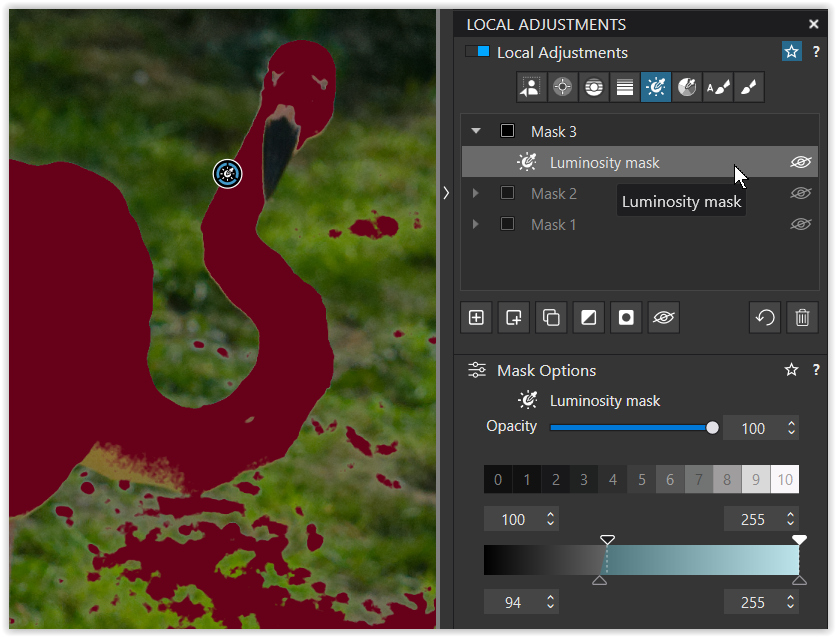
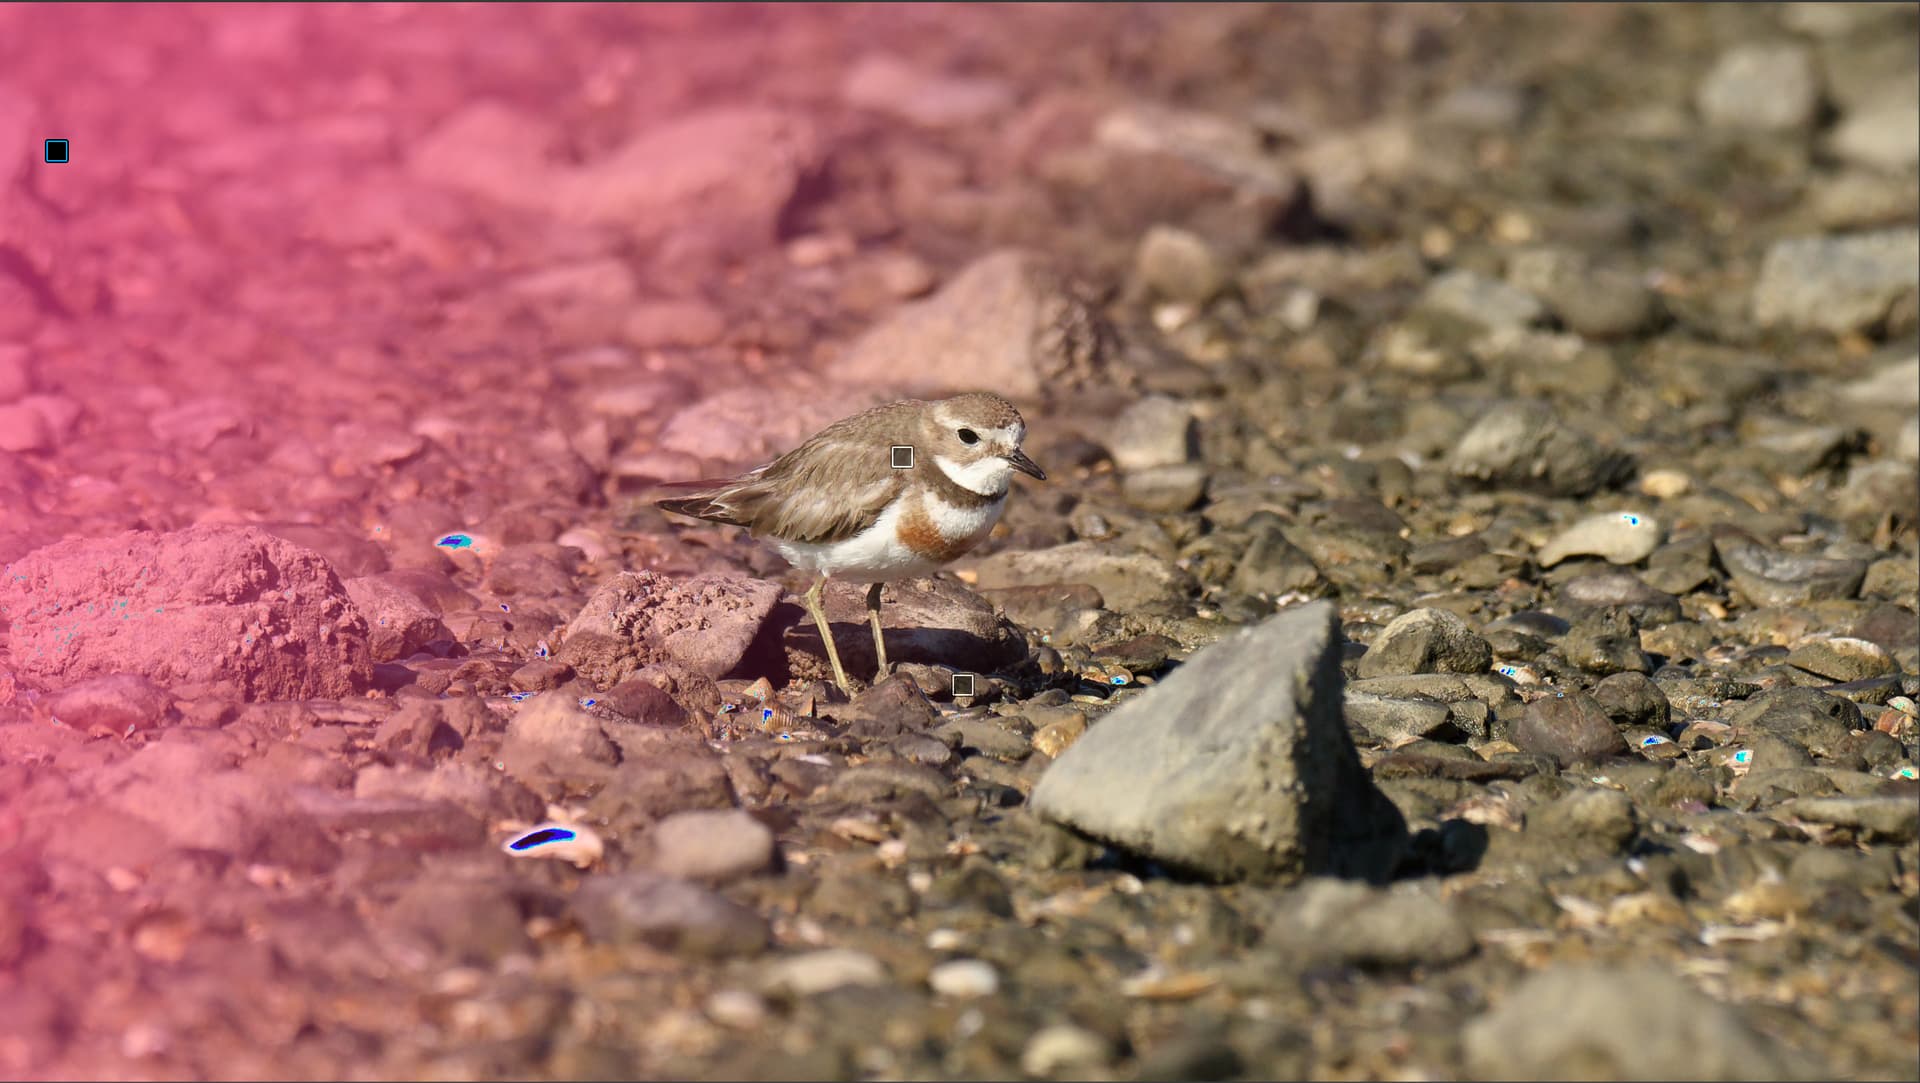
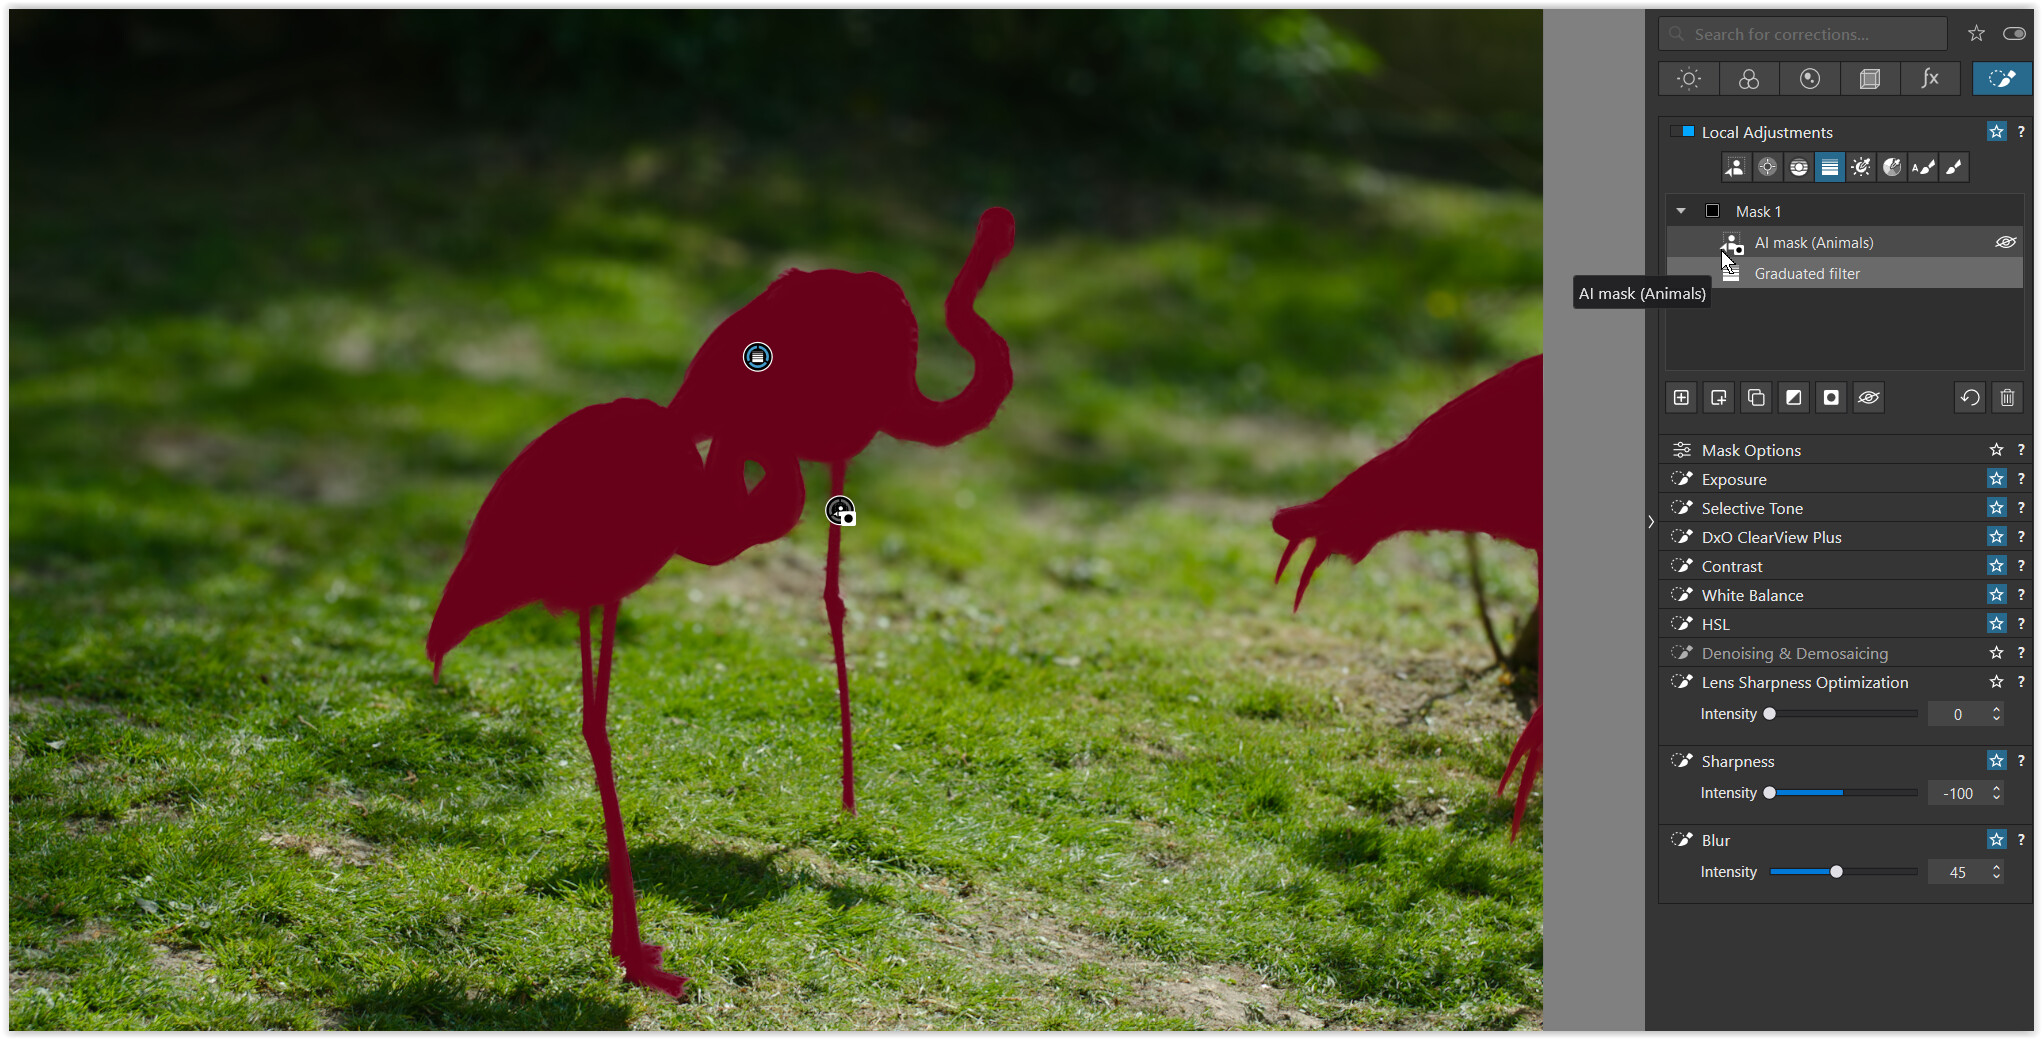
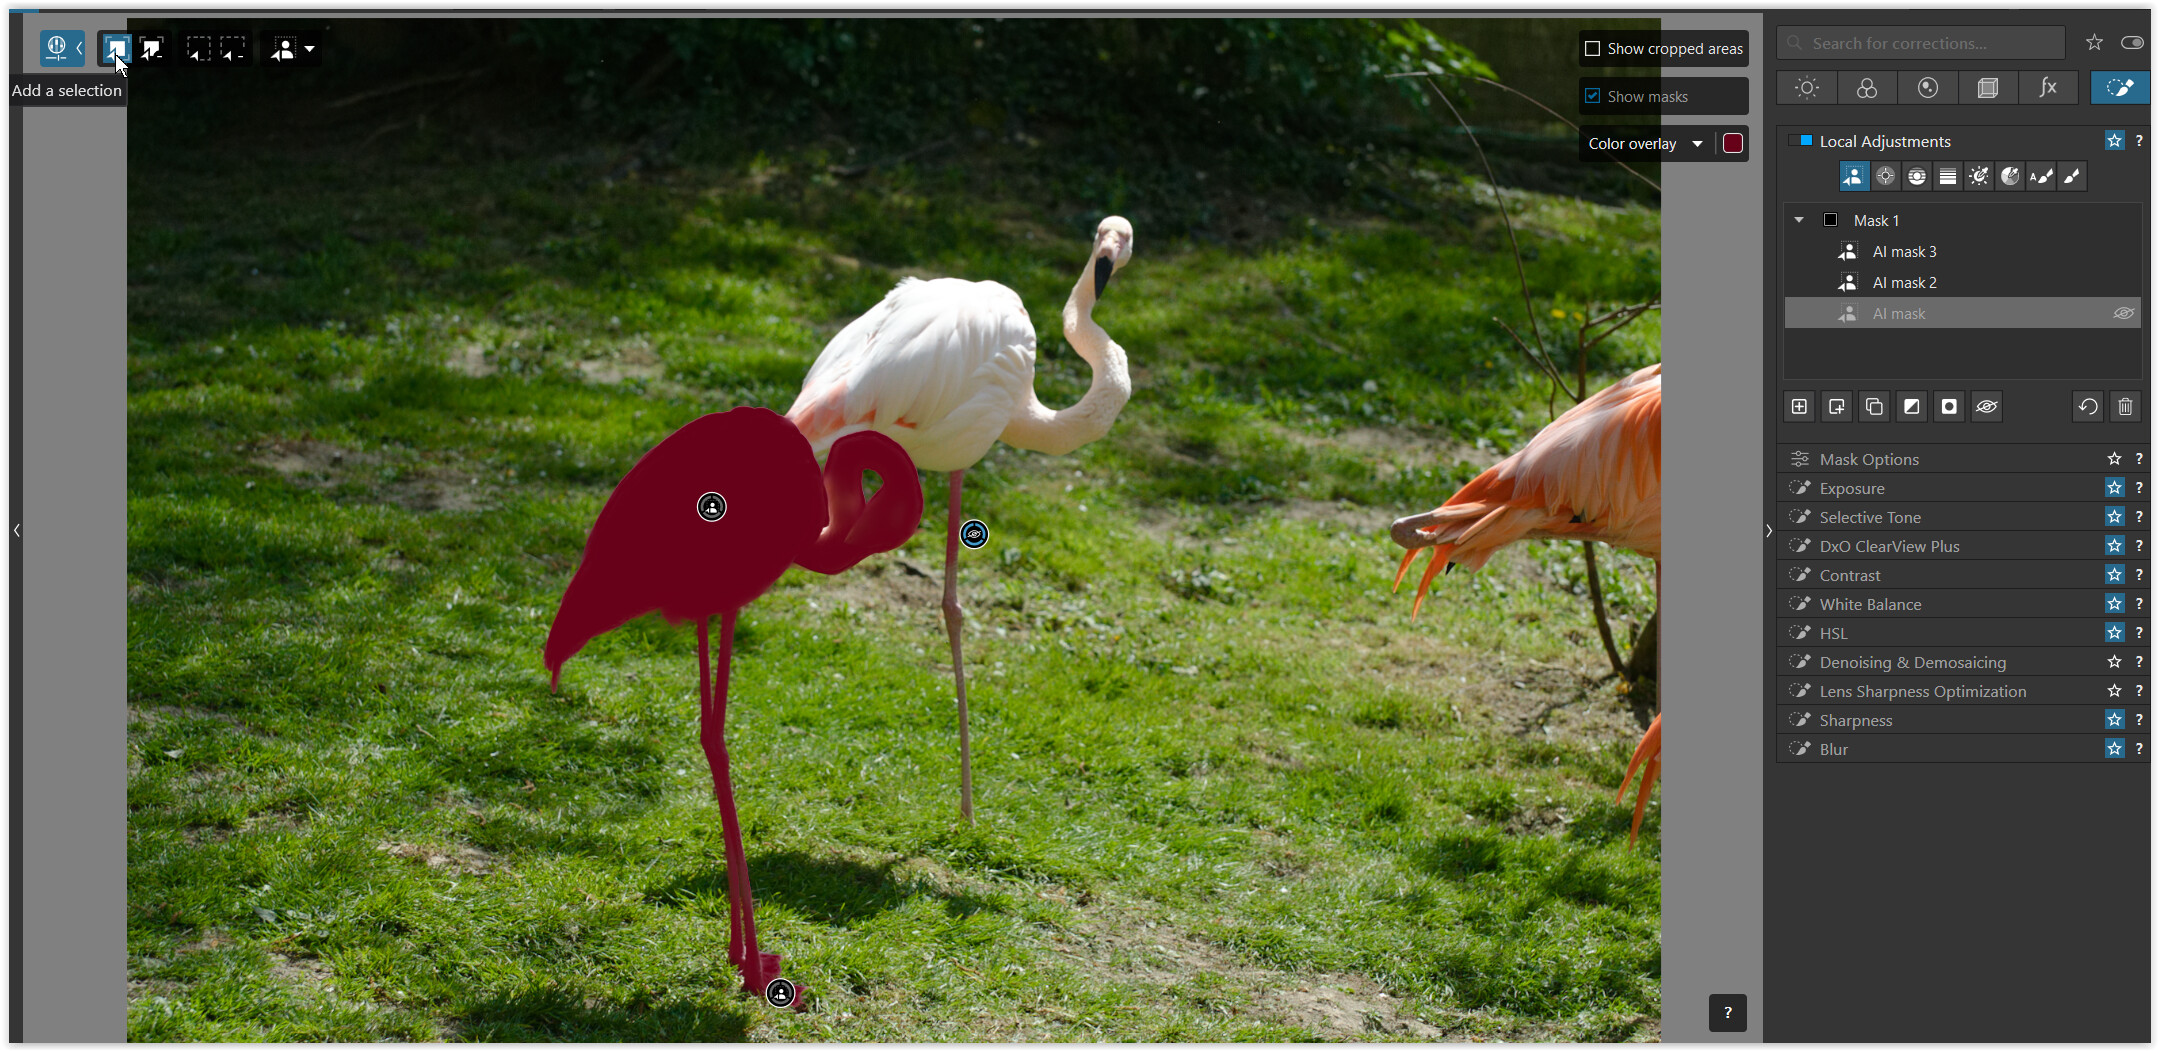
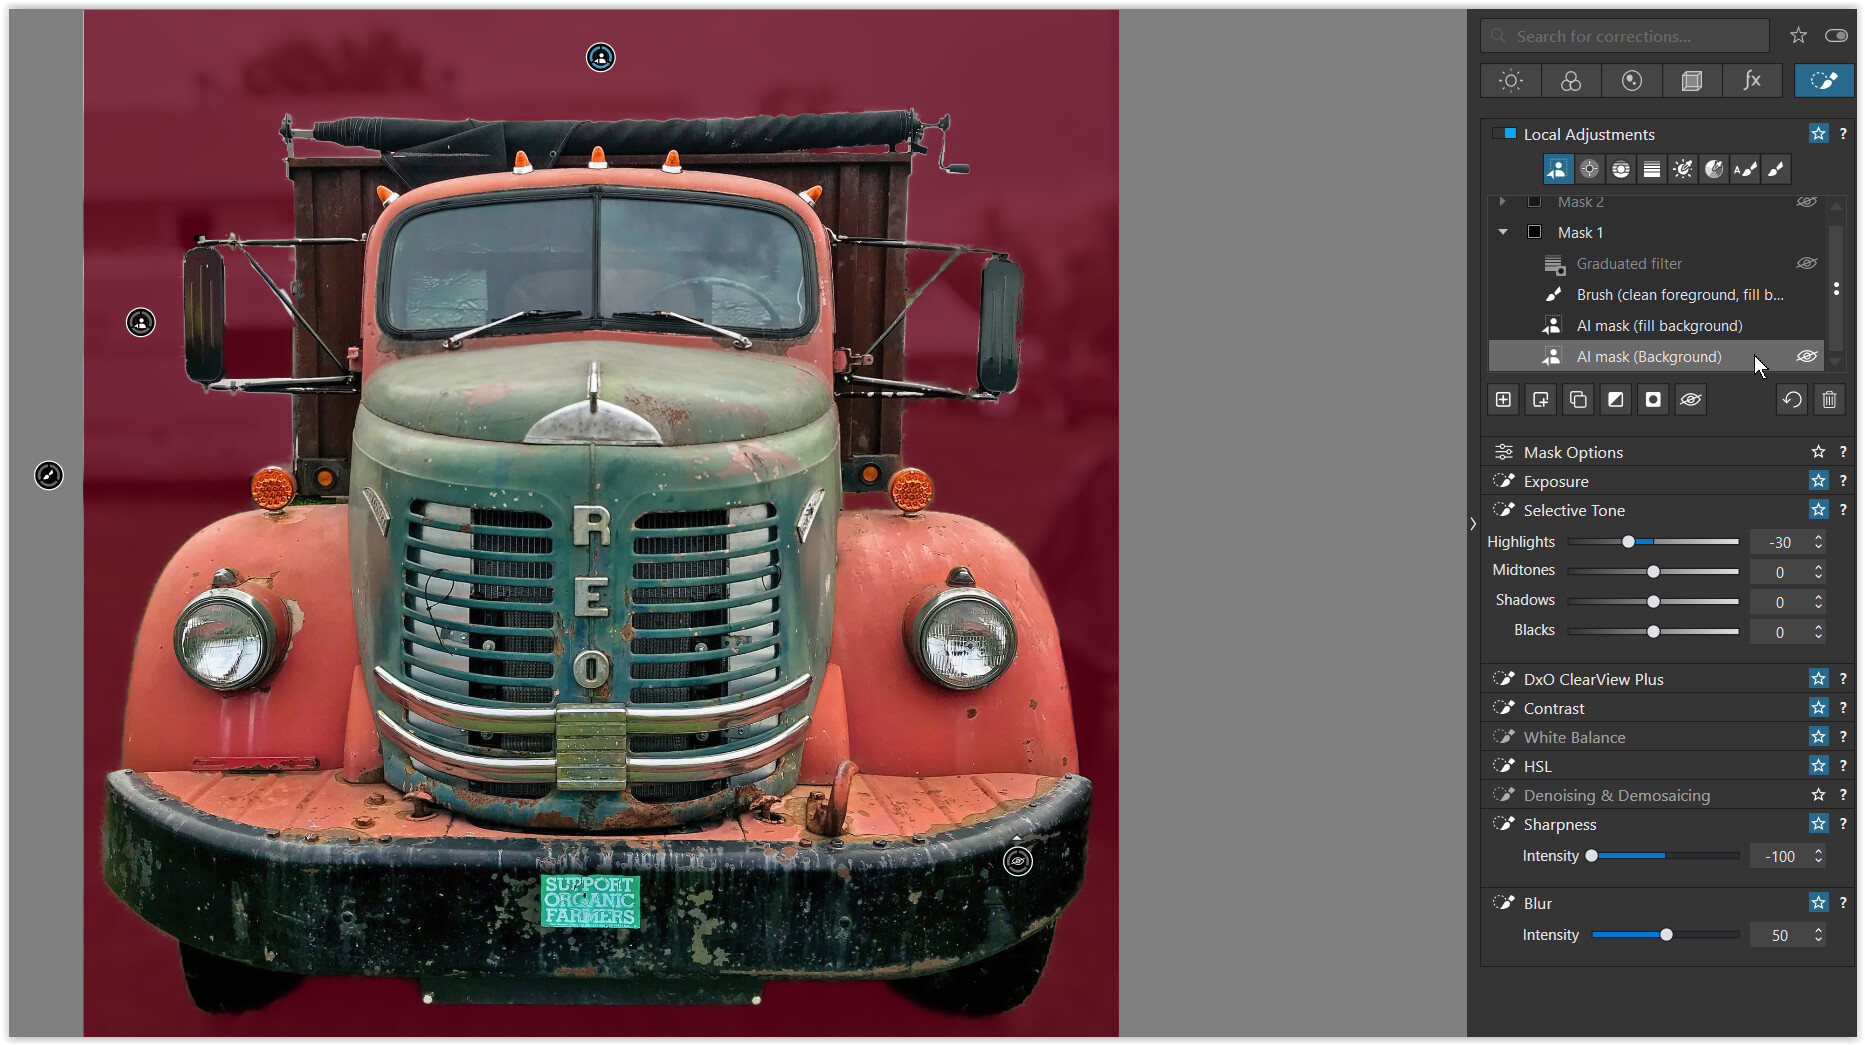
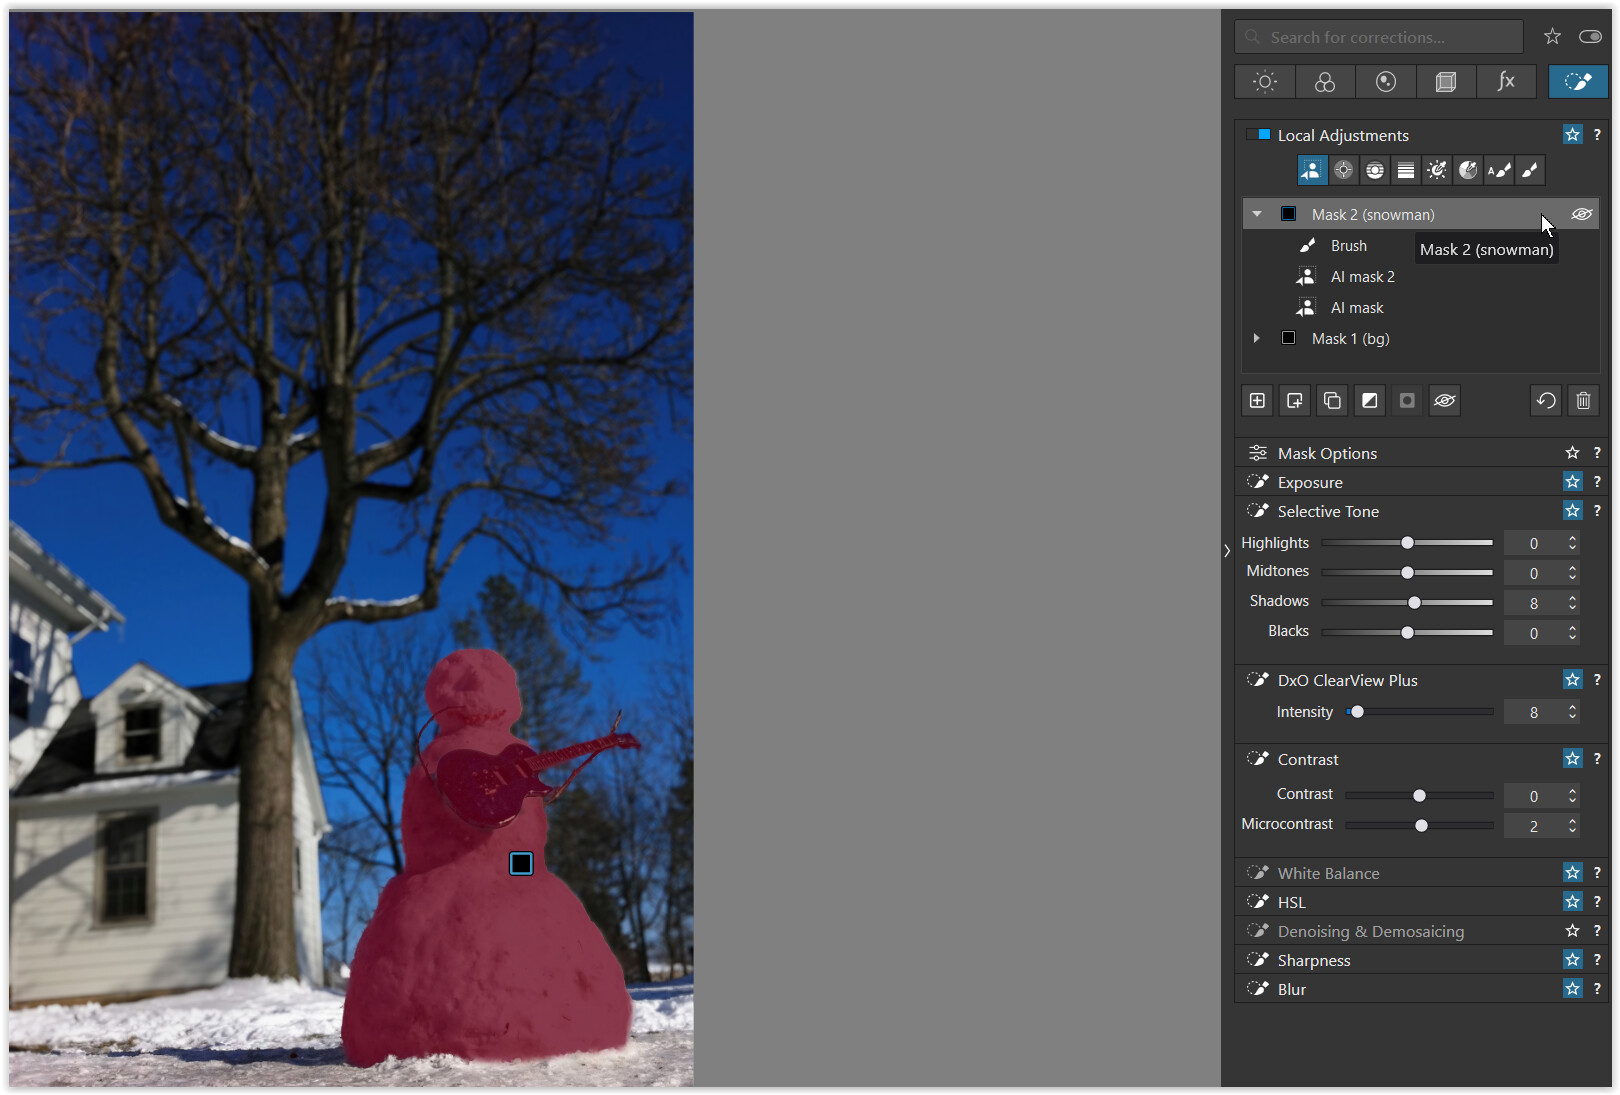
Hoping that it has become somewhat clearer to you by now, I have used your published photo to illustrate one of the possibilities.
→ VC 1 IMG_0036_2embrace the friendly sky.jpg.dop (105,1 KB)
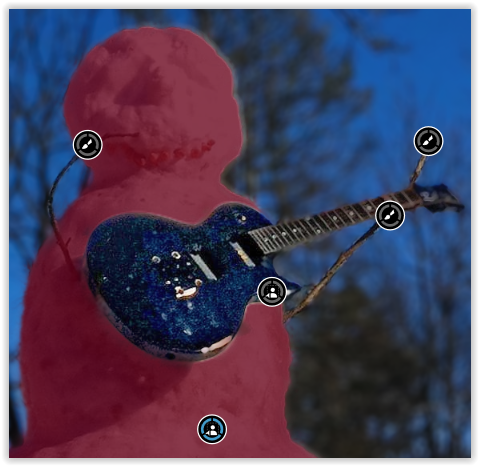
the reddish overlay shows the selected background
(together with an additional AI mask to fill the bg selection on the left
and an additional Brush to subtract [ALT+…] foreground details / fill the bg),
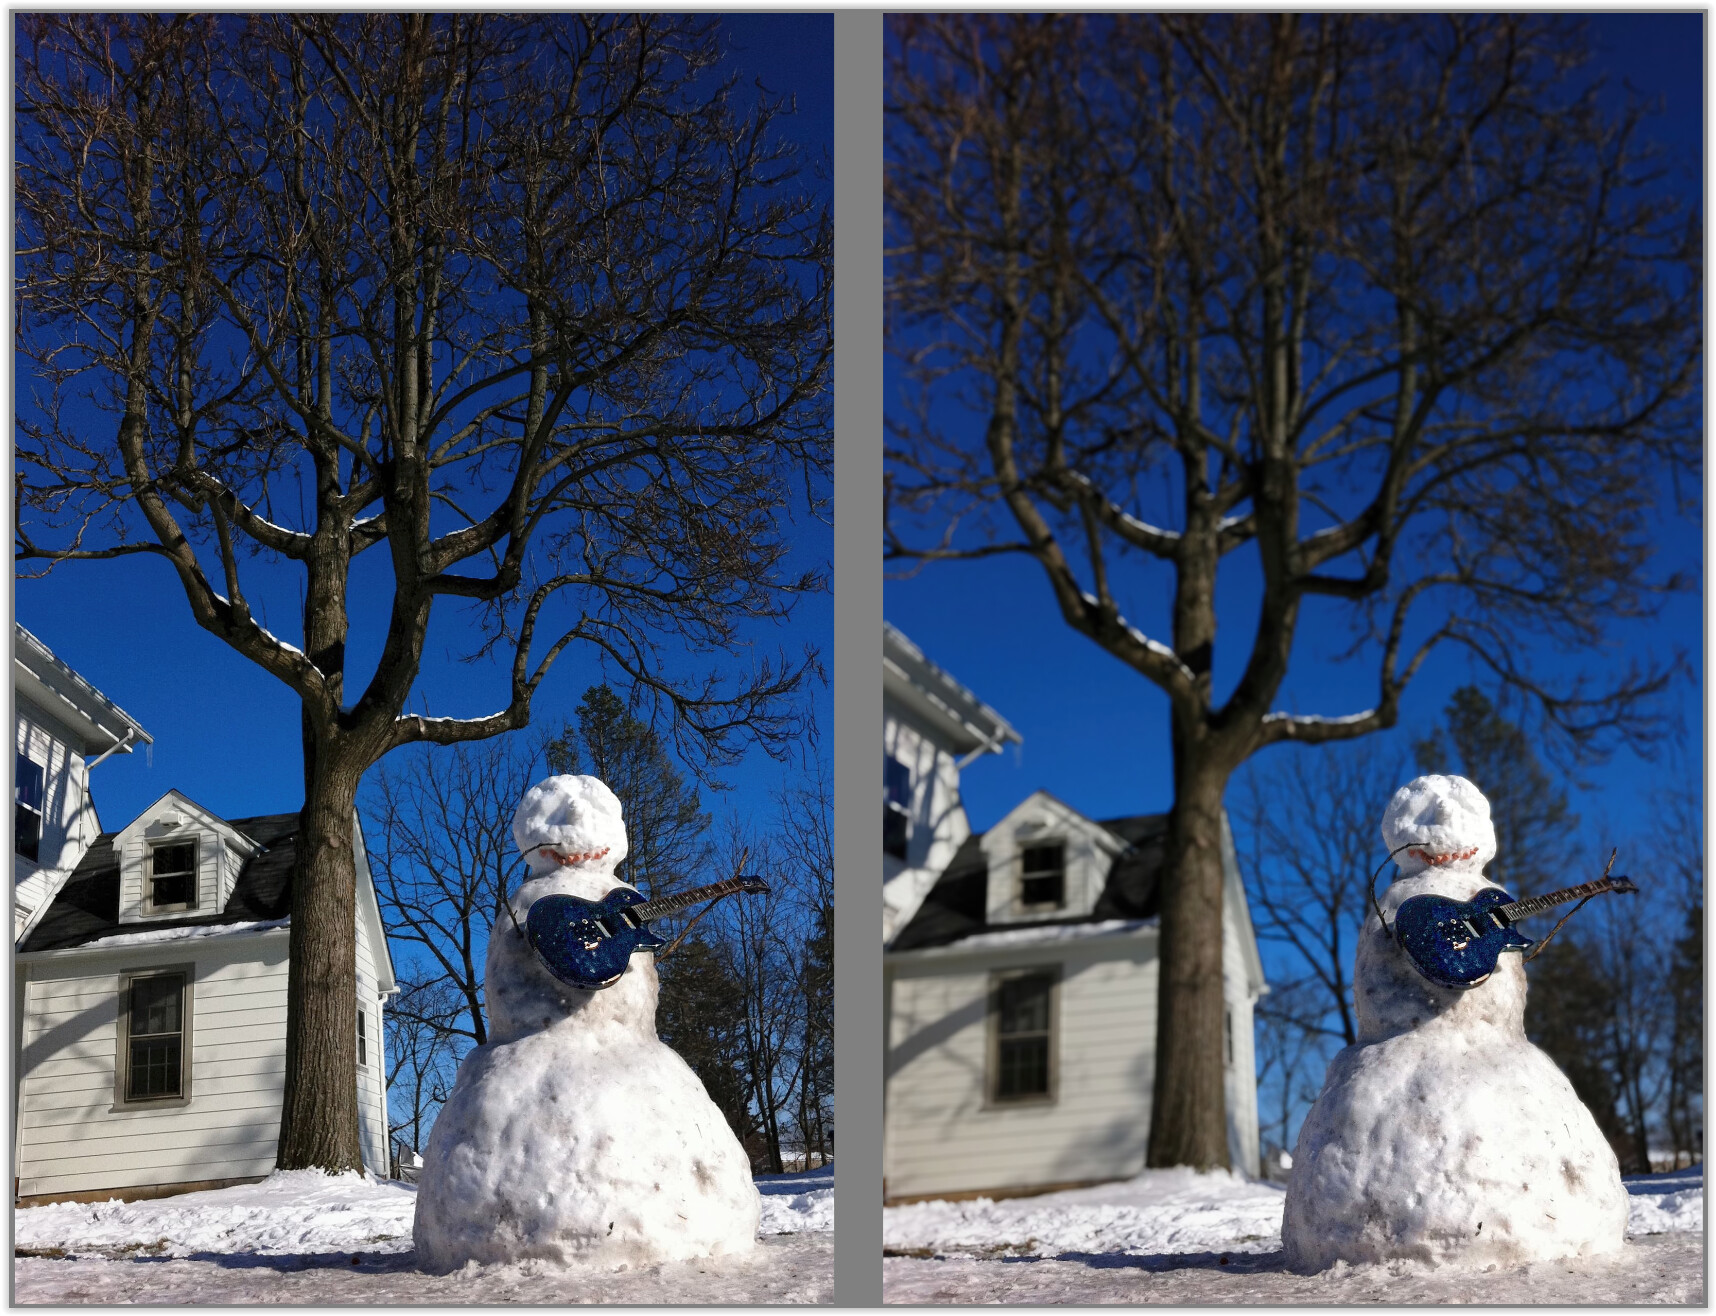
which then gets → blurred
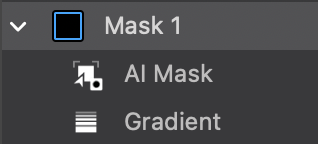
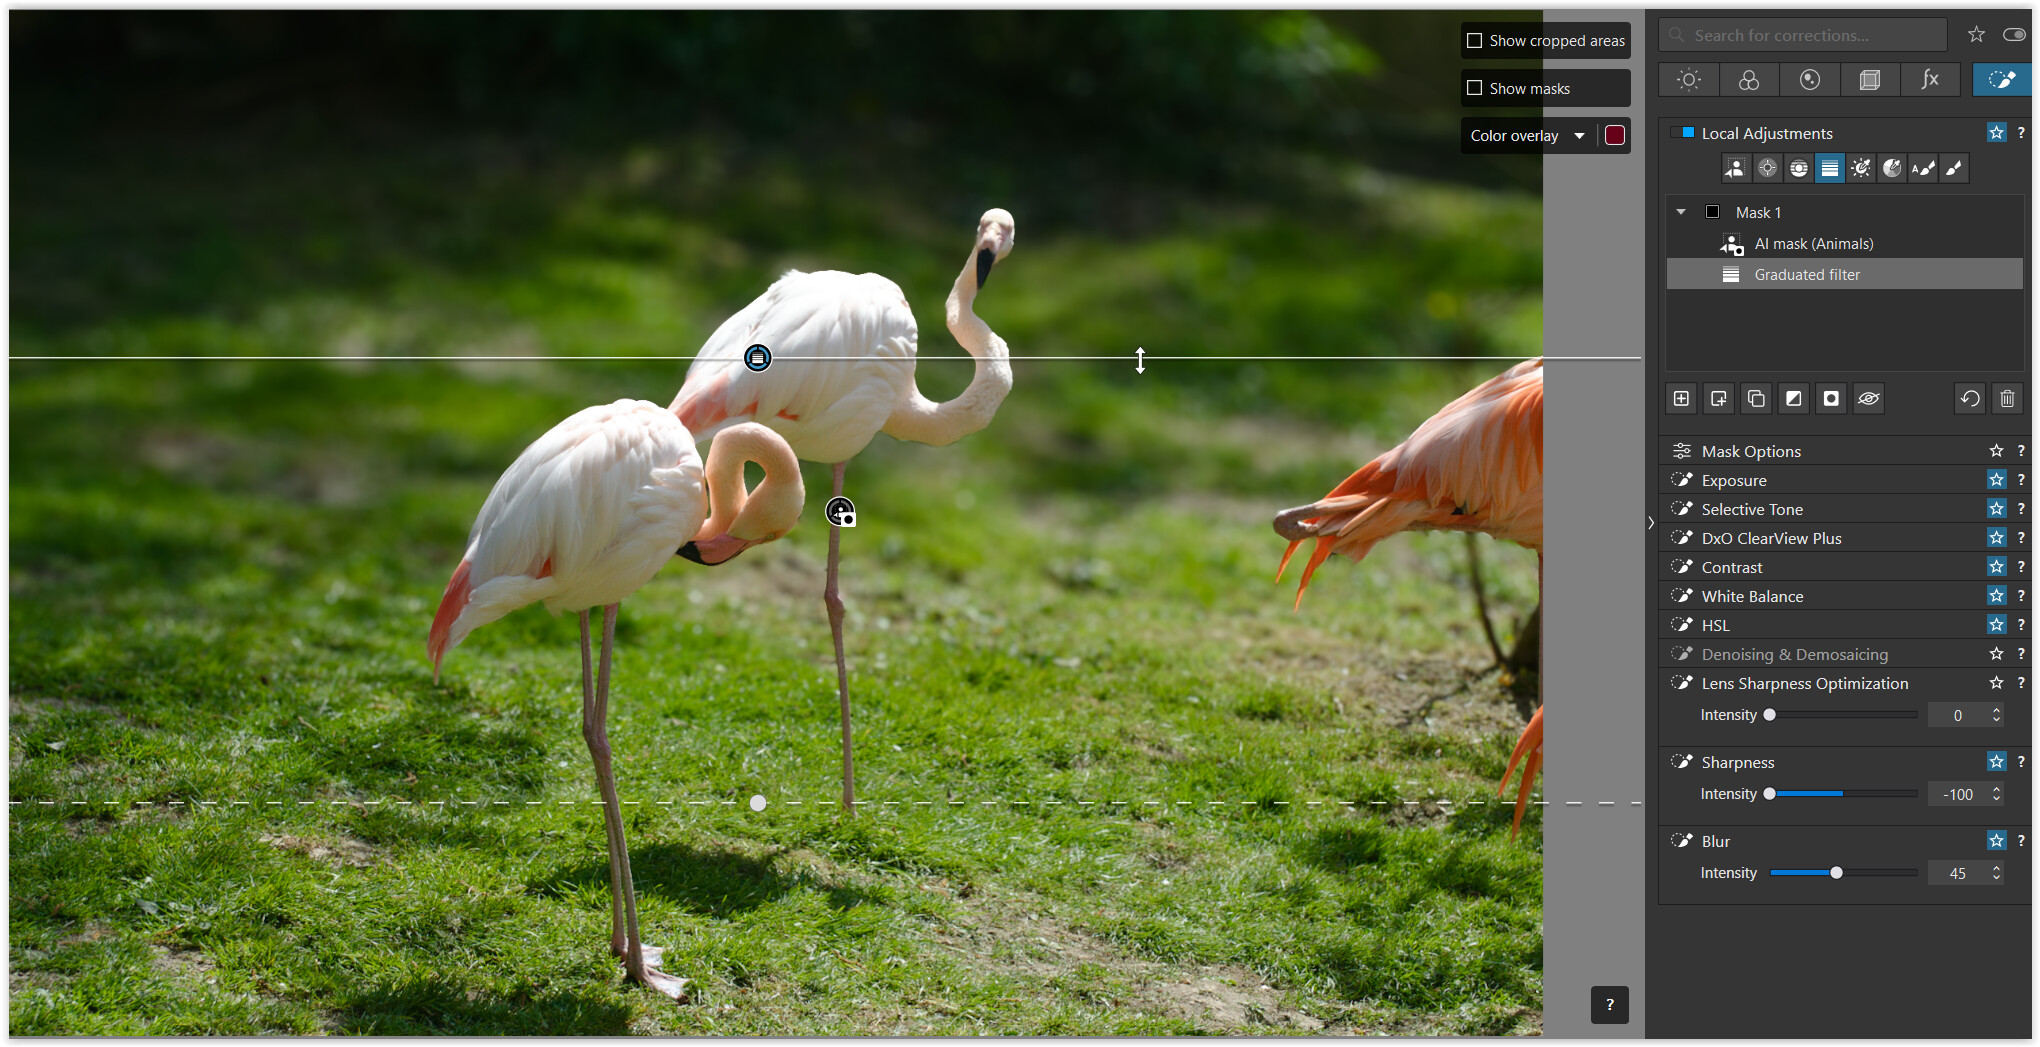
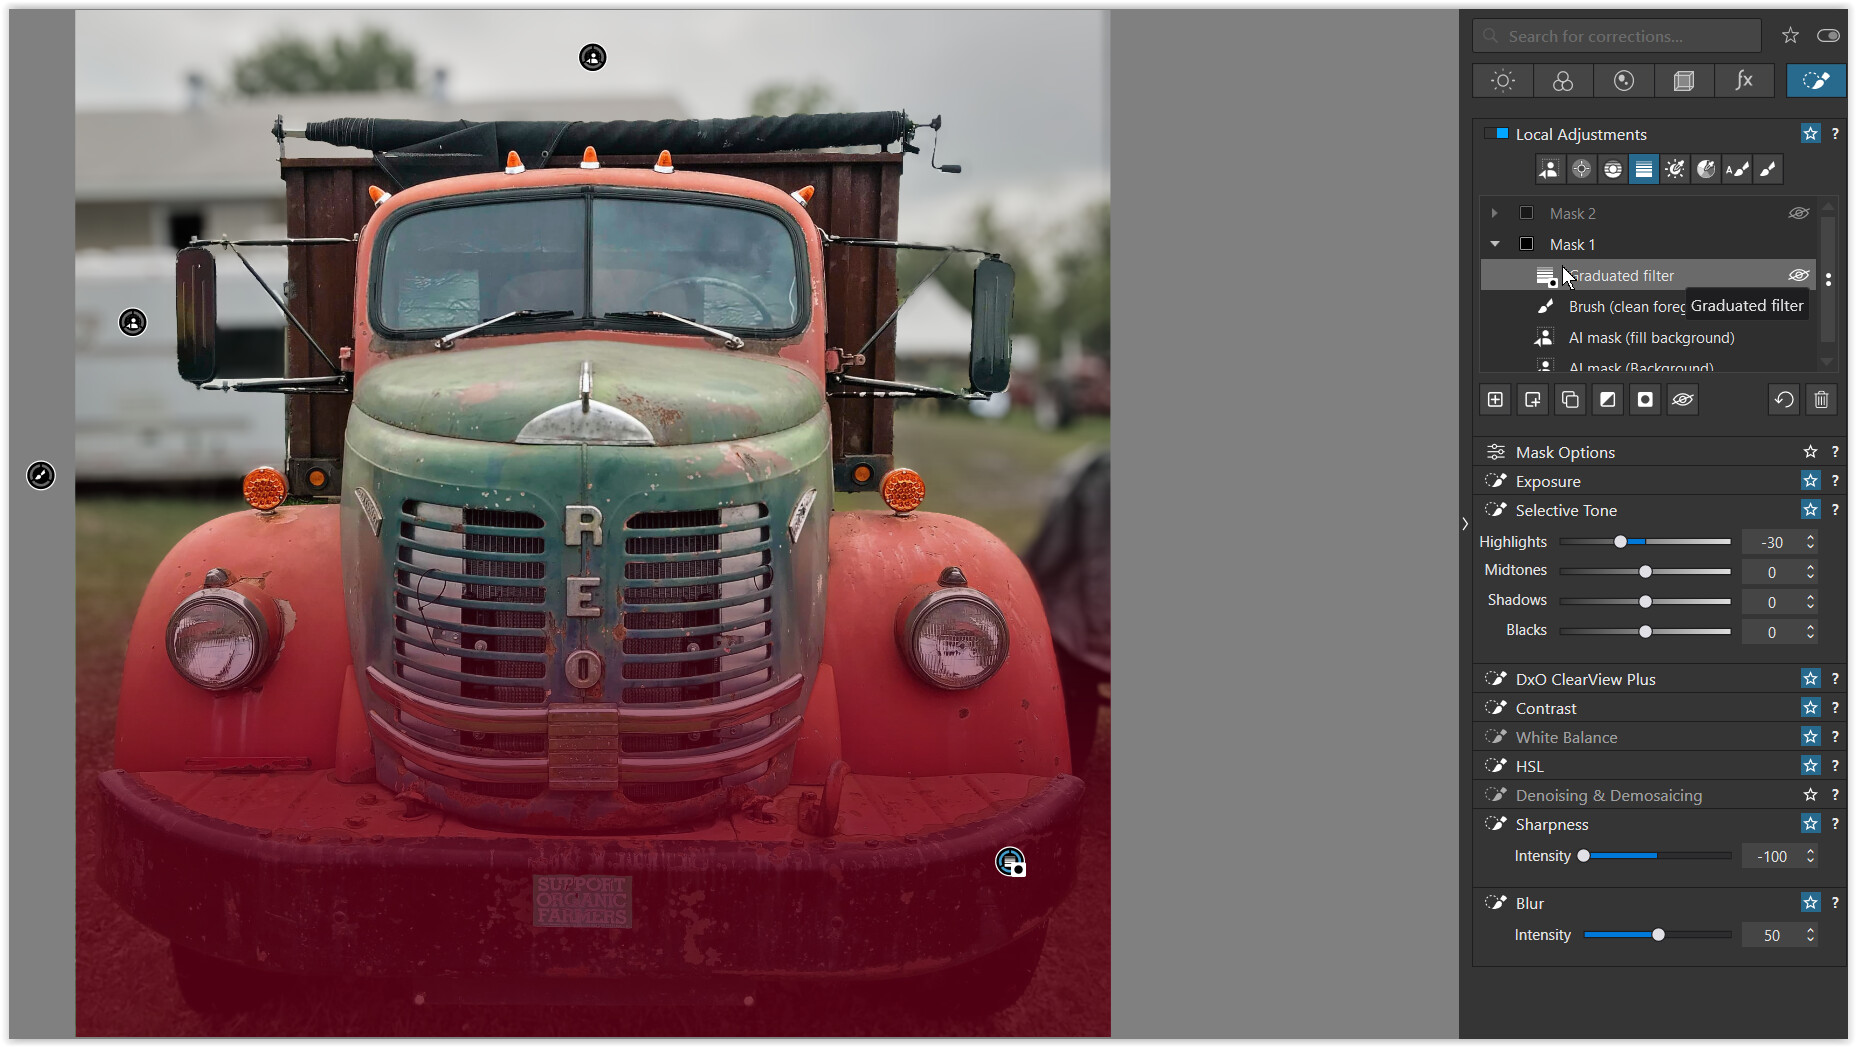
I added a Sub mask → Graduated Filter → Invert shape
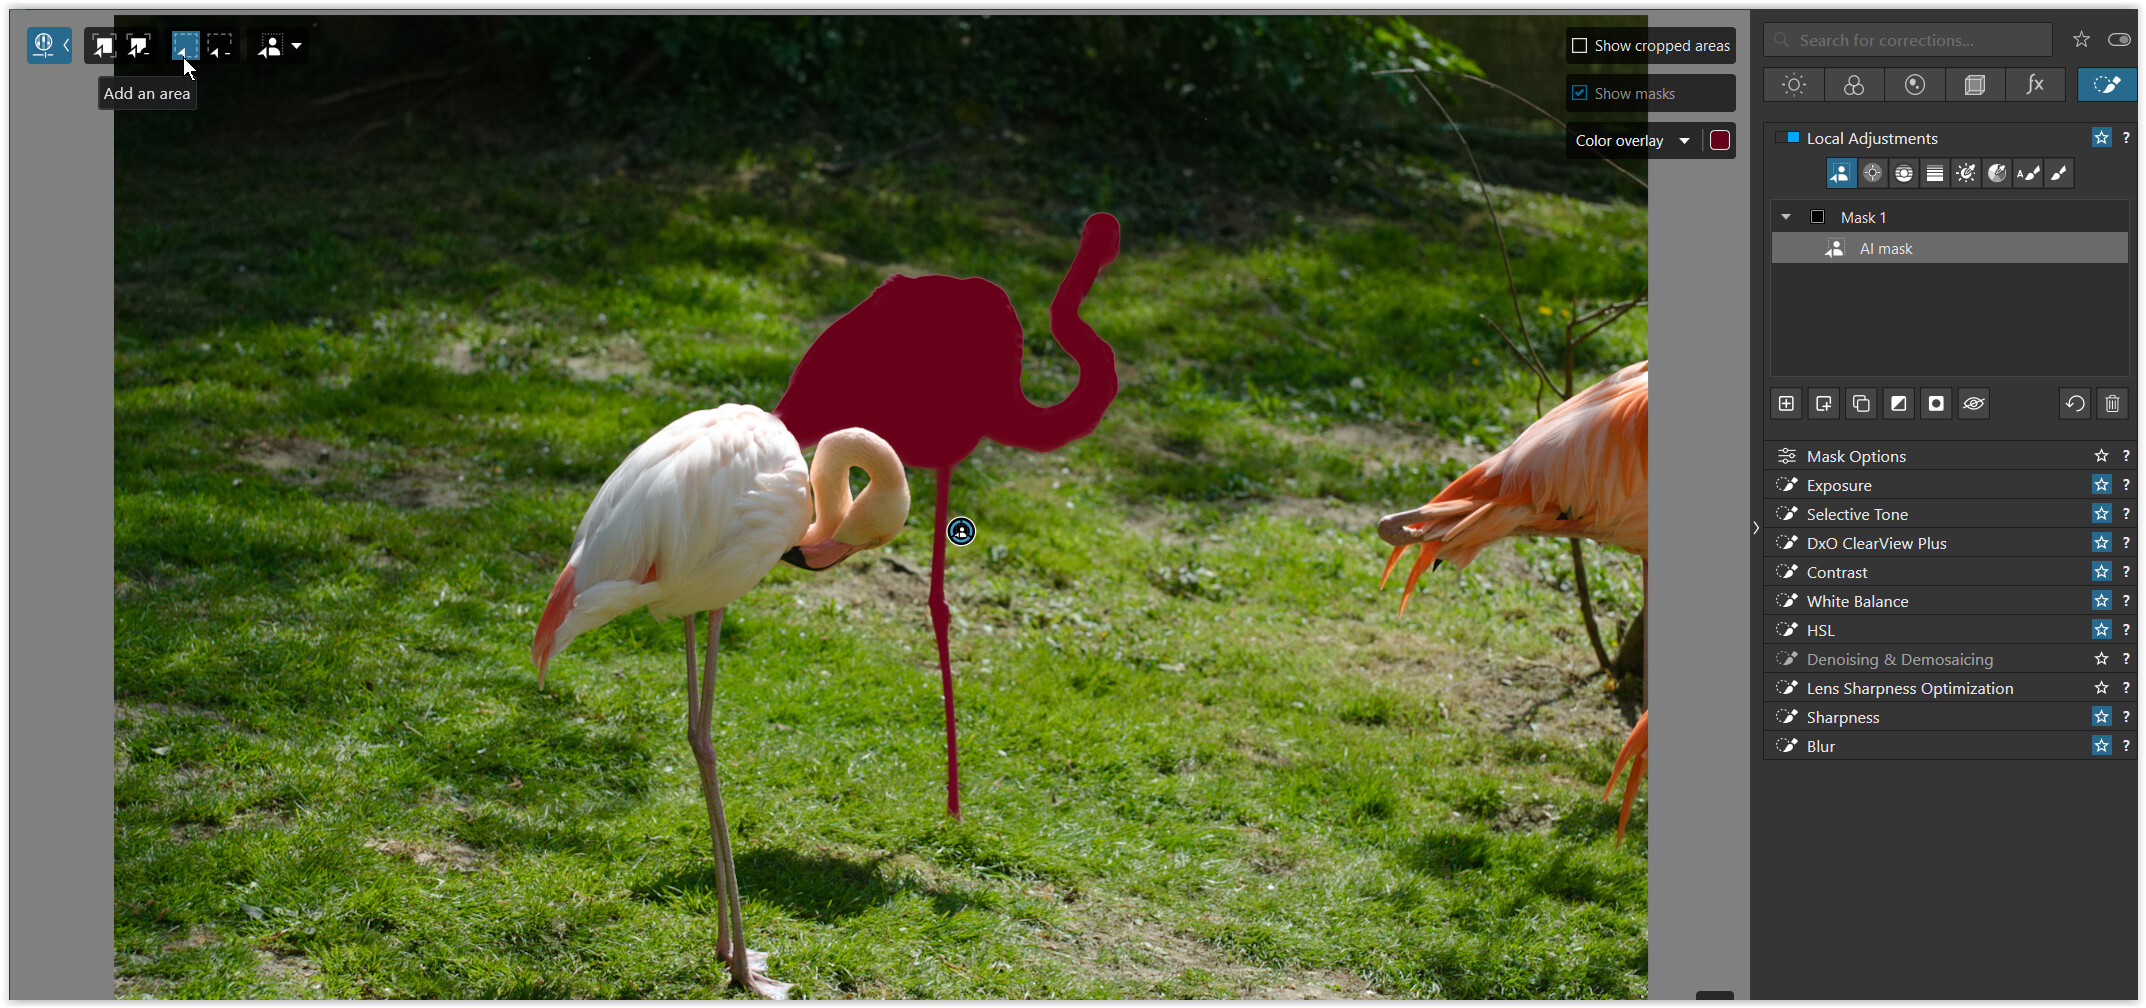
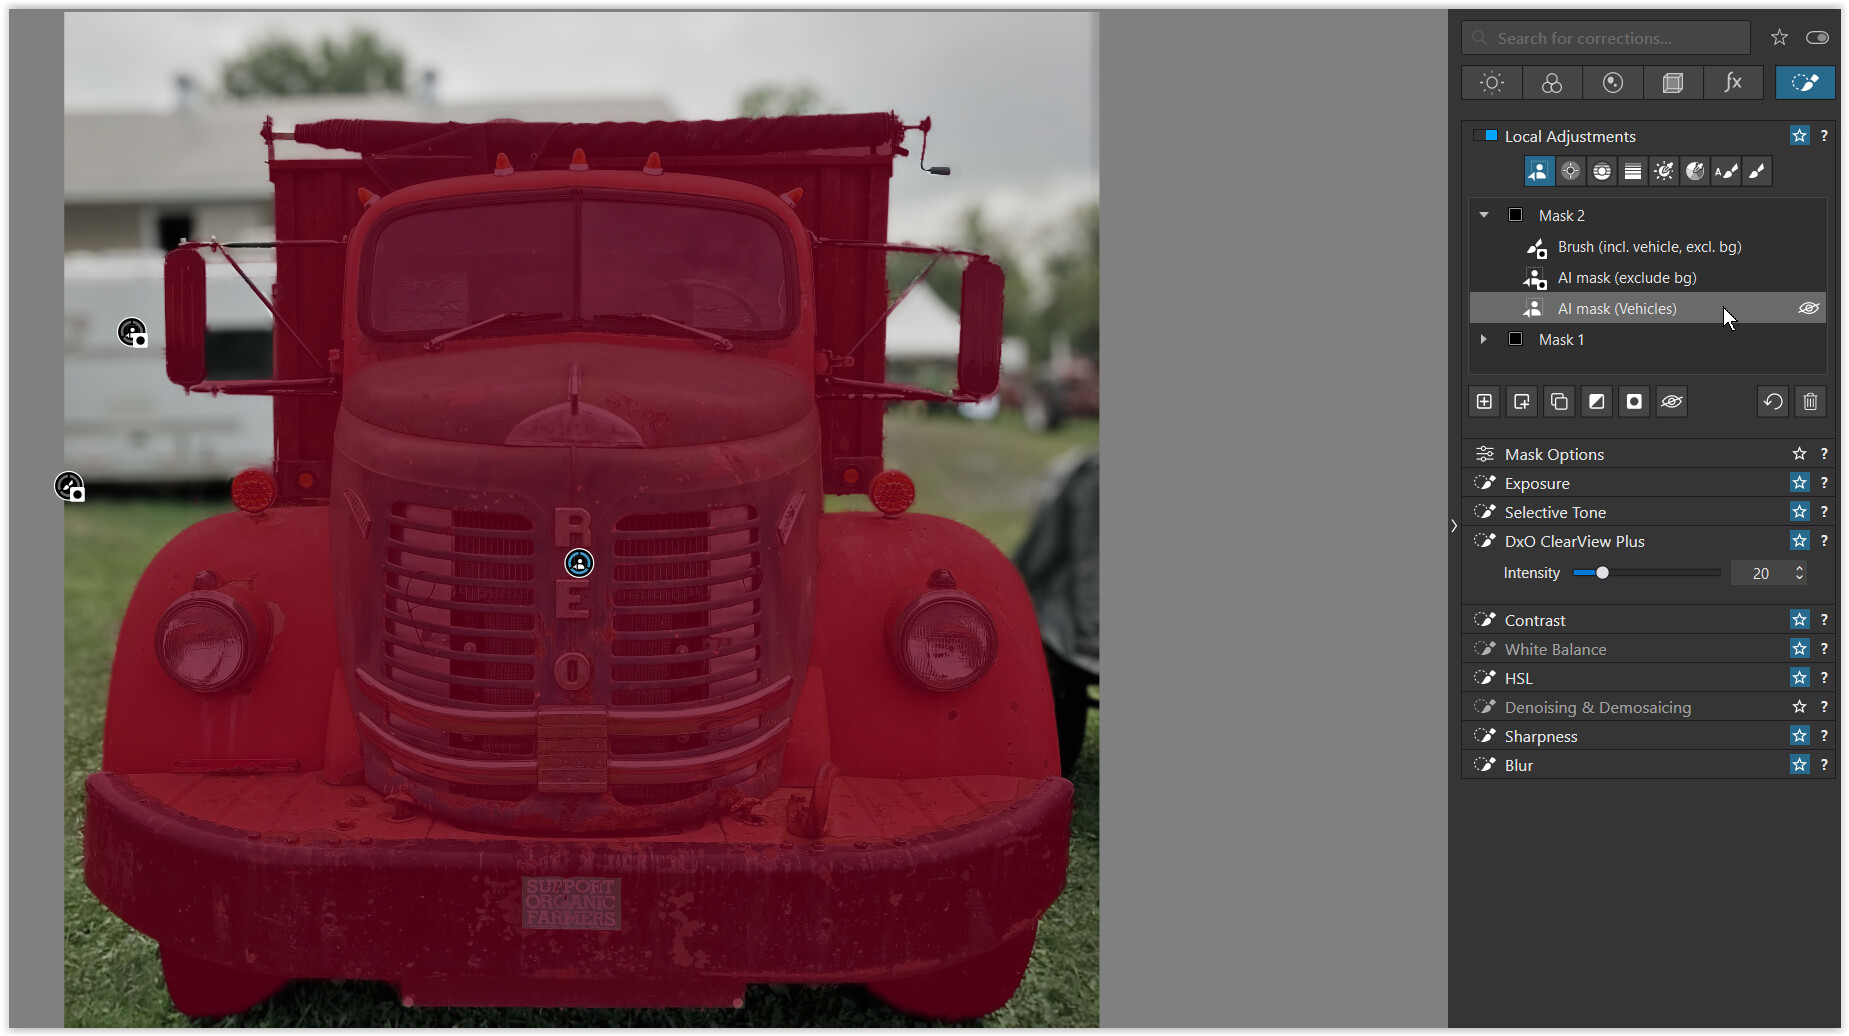
used the AI mask (Vehicles)
(together with an additional AI mask to exclude the bg selection on the left
and an additional Brush to include subject details / subtract [ALT+…] the bg)
to then increase clarity → DxO ClearView Plus