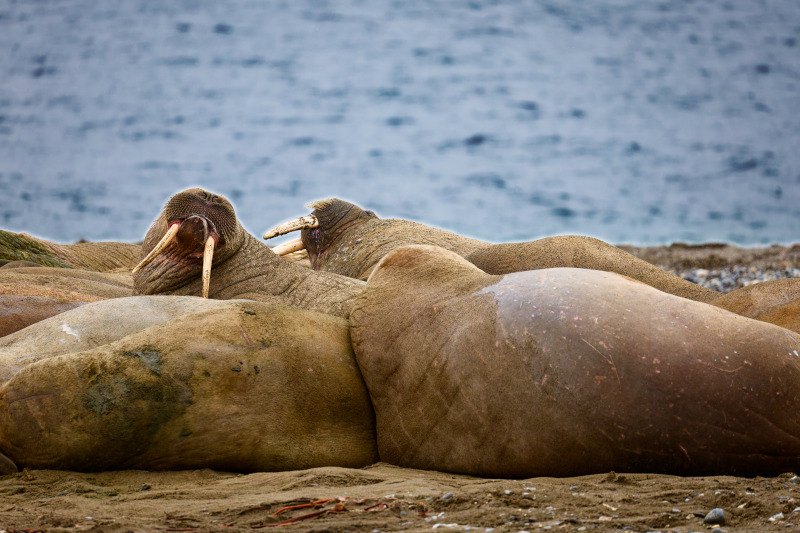
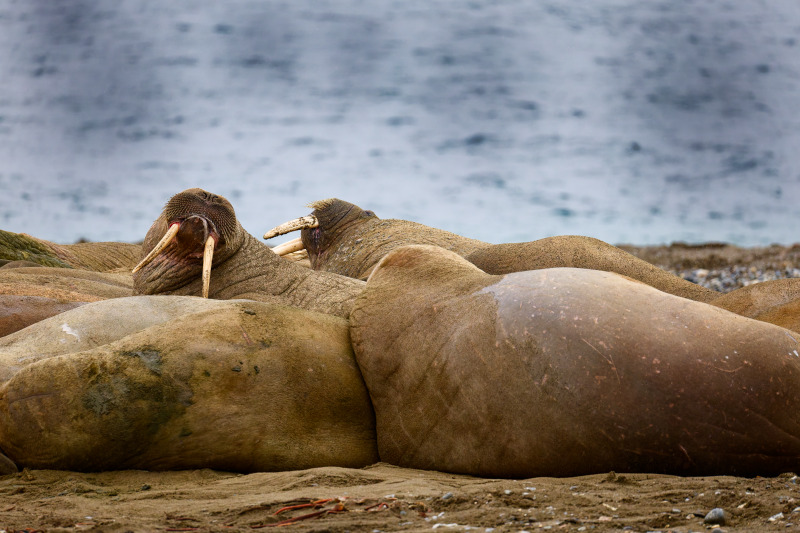
I thought I had a simple situation where I could use a hue mask to reduce the exposure of the image background. Unfortunately the transition from the hue mask to the rest of the image is very obvious with a thin white line. I tried using control points instead and they did a nice job reducing the exposure but introduced “spots” where the control points were added. I tried tweaking the opacity of the control point but once it reaches 60 percent the “spots” are clearly visible. If I use a lower opacity and try increasing the exposure compensation, I once again start to see the location of the control points.
What else can I do to create a uniform exposure reduction with hue masks or control points?
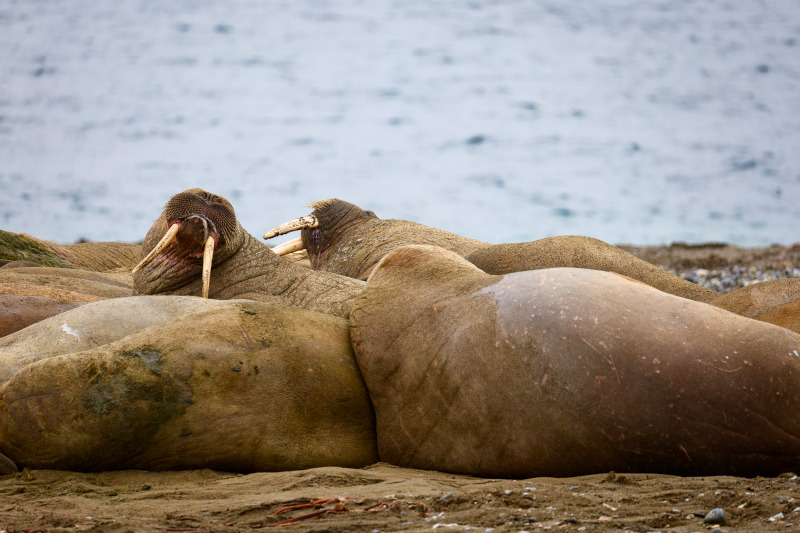
Photo 1 is the original. Photo 2 is the hue mask and Photo 3 is the control points.
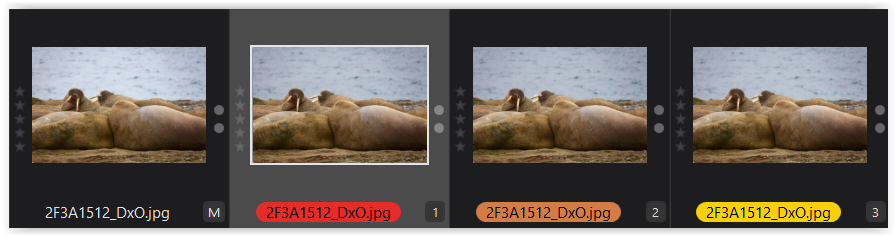
The control line is working pretty well. I don’t seem to have the same control over the exposure because I see the line affecting the noses of the walruses too, when I try and include the water closest to the shoreline. I need to leave a small region of the overexposed water to avoid the walruses. Perhaps I just need to get more experience with fine tuning control lines.