How do I protect or erase an area when using a control line?

Yes. Exactly. I wasn’t darkening it this much but this will give you an idea.

Ok… Try zooming in on your image, and apply a negative control line by placing the color picker in the darker area on as solid looking an area of the darkened pin feathers as you can find. It is easier to control the pickers exact location when zoomed in. If you are actually applying a negative control line you should see a negative sign next to the control origin… You can also play with the Chroma and Luma sliders in the Local Adjustments palette which affects mask selectivity. It takes some time and effort to master the technique.

Mark

1 Like

Thanks. I’ve got the idea now. It is pretty difficult. I’ll mess with it. We need something like a negative brush - like LR.

1 Like

It is difficult because it is a new skill to learn and it has a sizable learning curve. Once mastered I believe you will find it a very powerful tool.

Mark.

1 Like

Another option is to go to the Local Adjustments palette on the right and select your control line then you can adjust the Luminance and Chrominance sliders to change the selectivity of the control line. Best to enable the Mask option so you can see what is being affected when you adjust these sliders.

You can also move the pipette to see if that helps too. The pipette indicates the location where color and lightness is sampled for the control line.

3 Likes

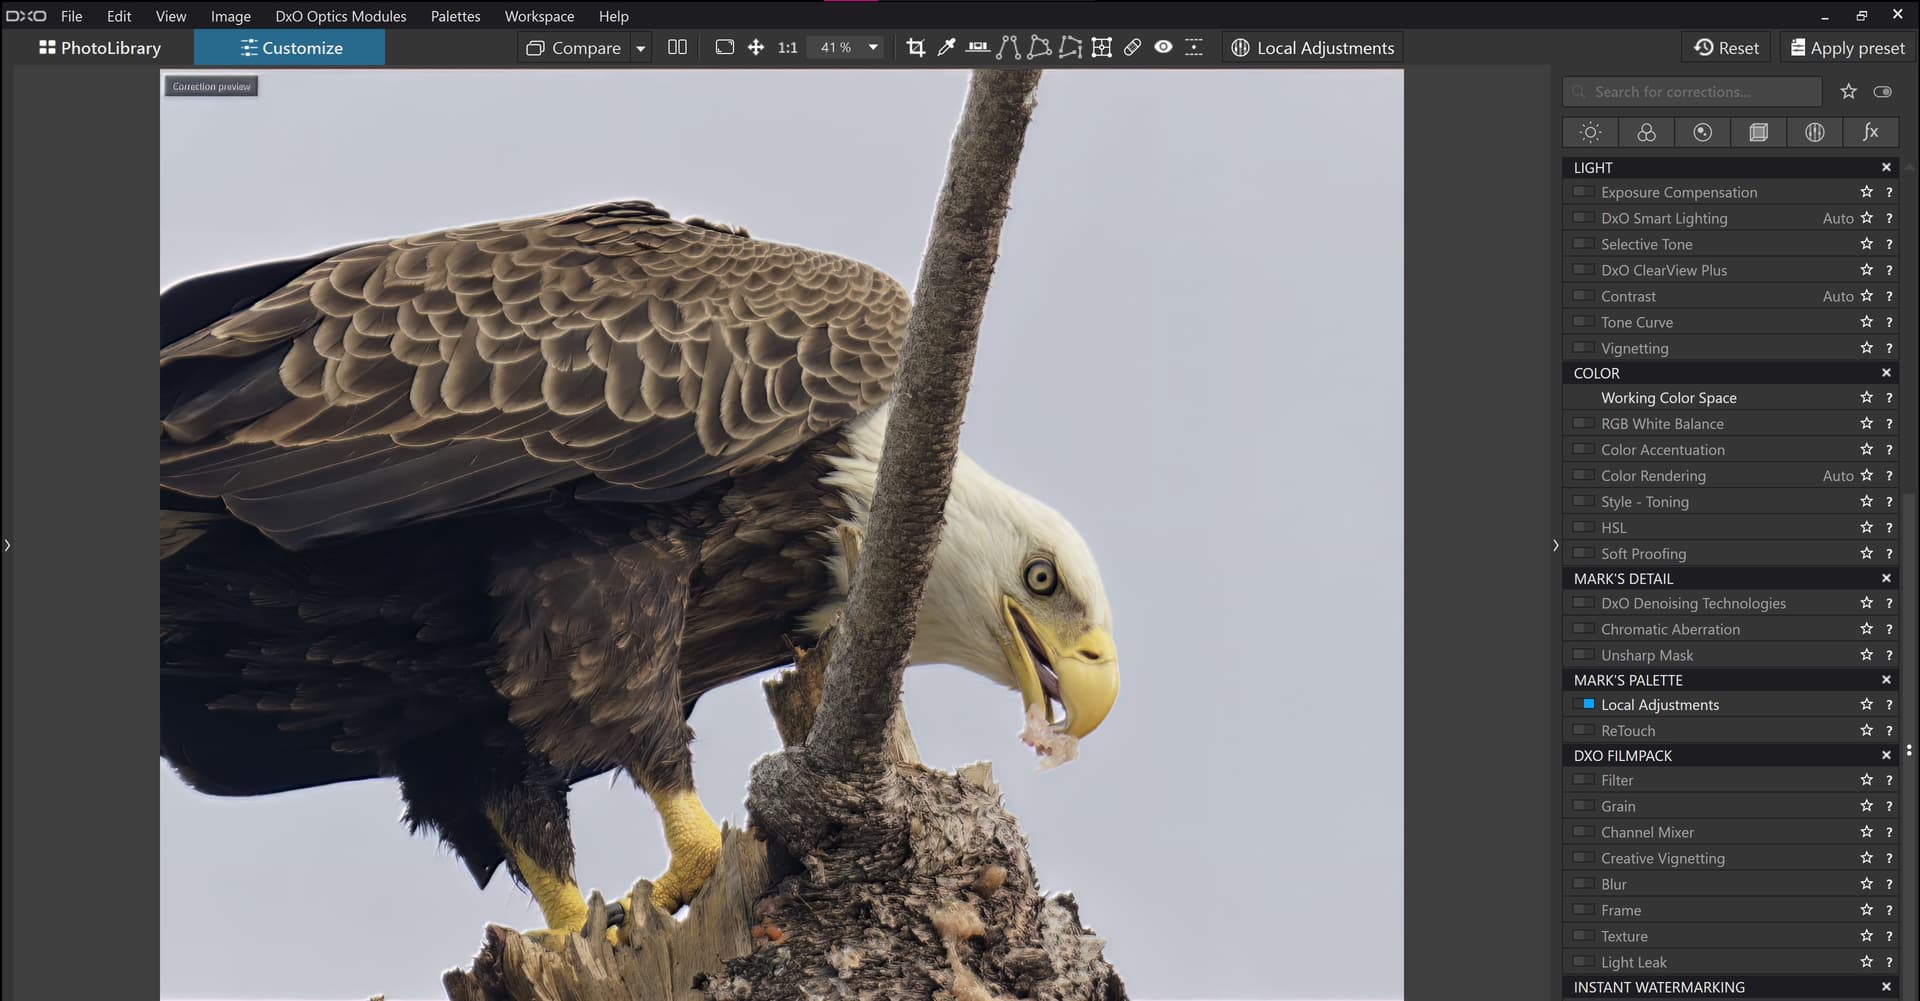
It looks like you are using the Auto-masking brush instead of a Control Line.

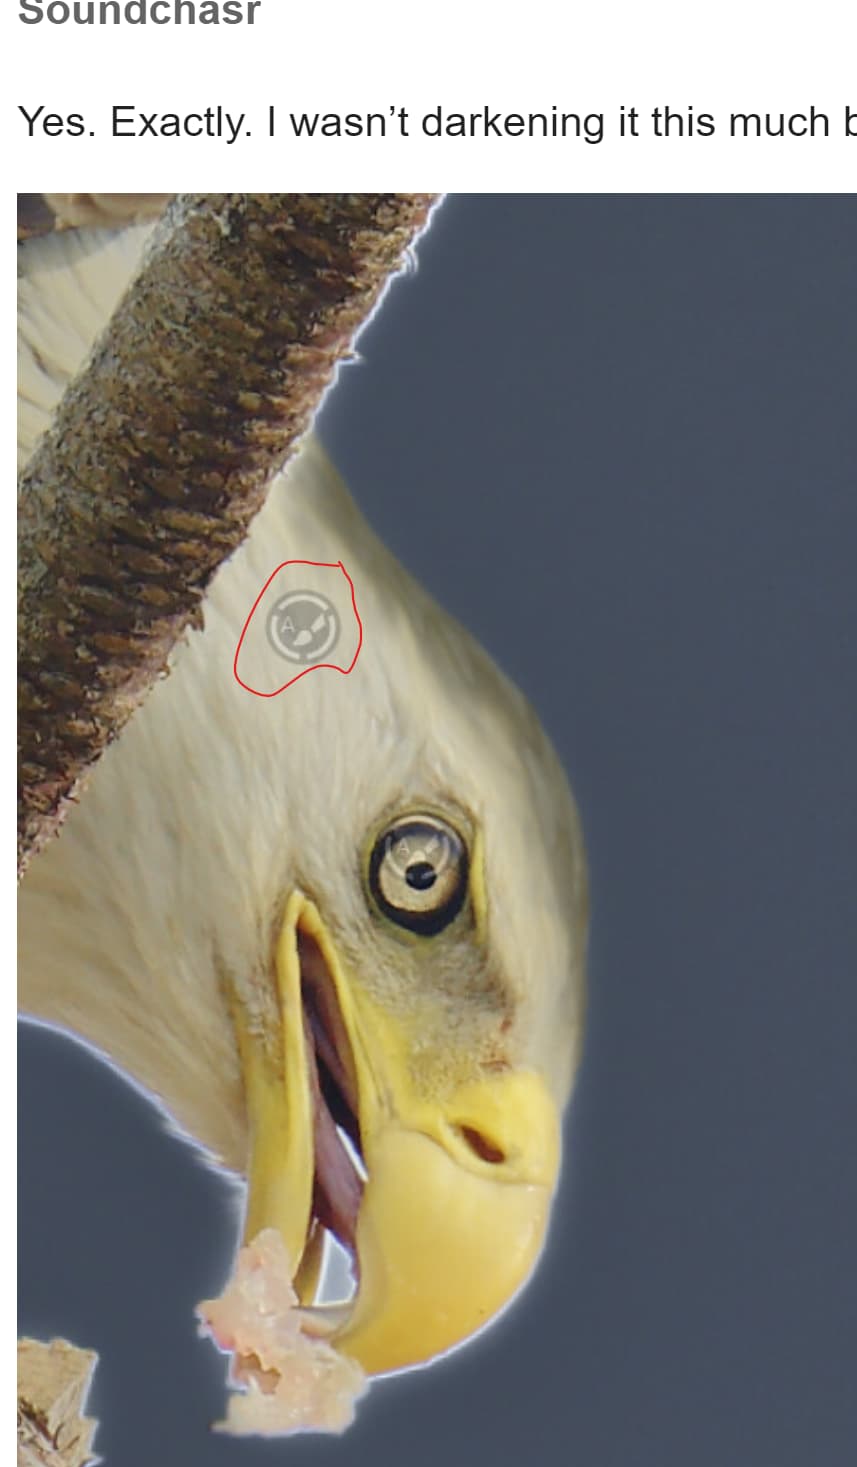
Now with the proper tool I set the pipette in the upper right of the sky and positioned the control line at the bottom of the photo. Then I set both chroma and luma sliders near 100. Next I zoomed way in and positioned the negative control points at the top of the bird’s head.

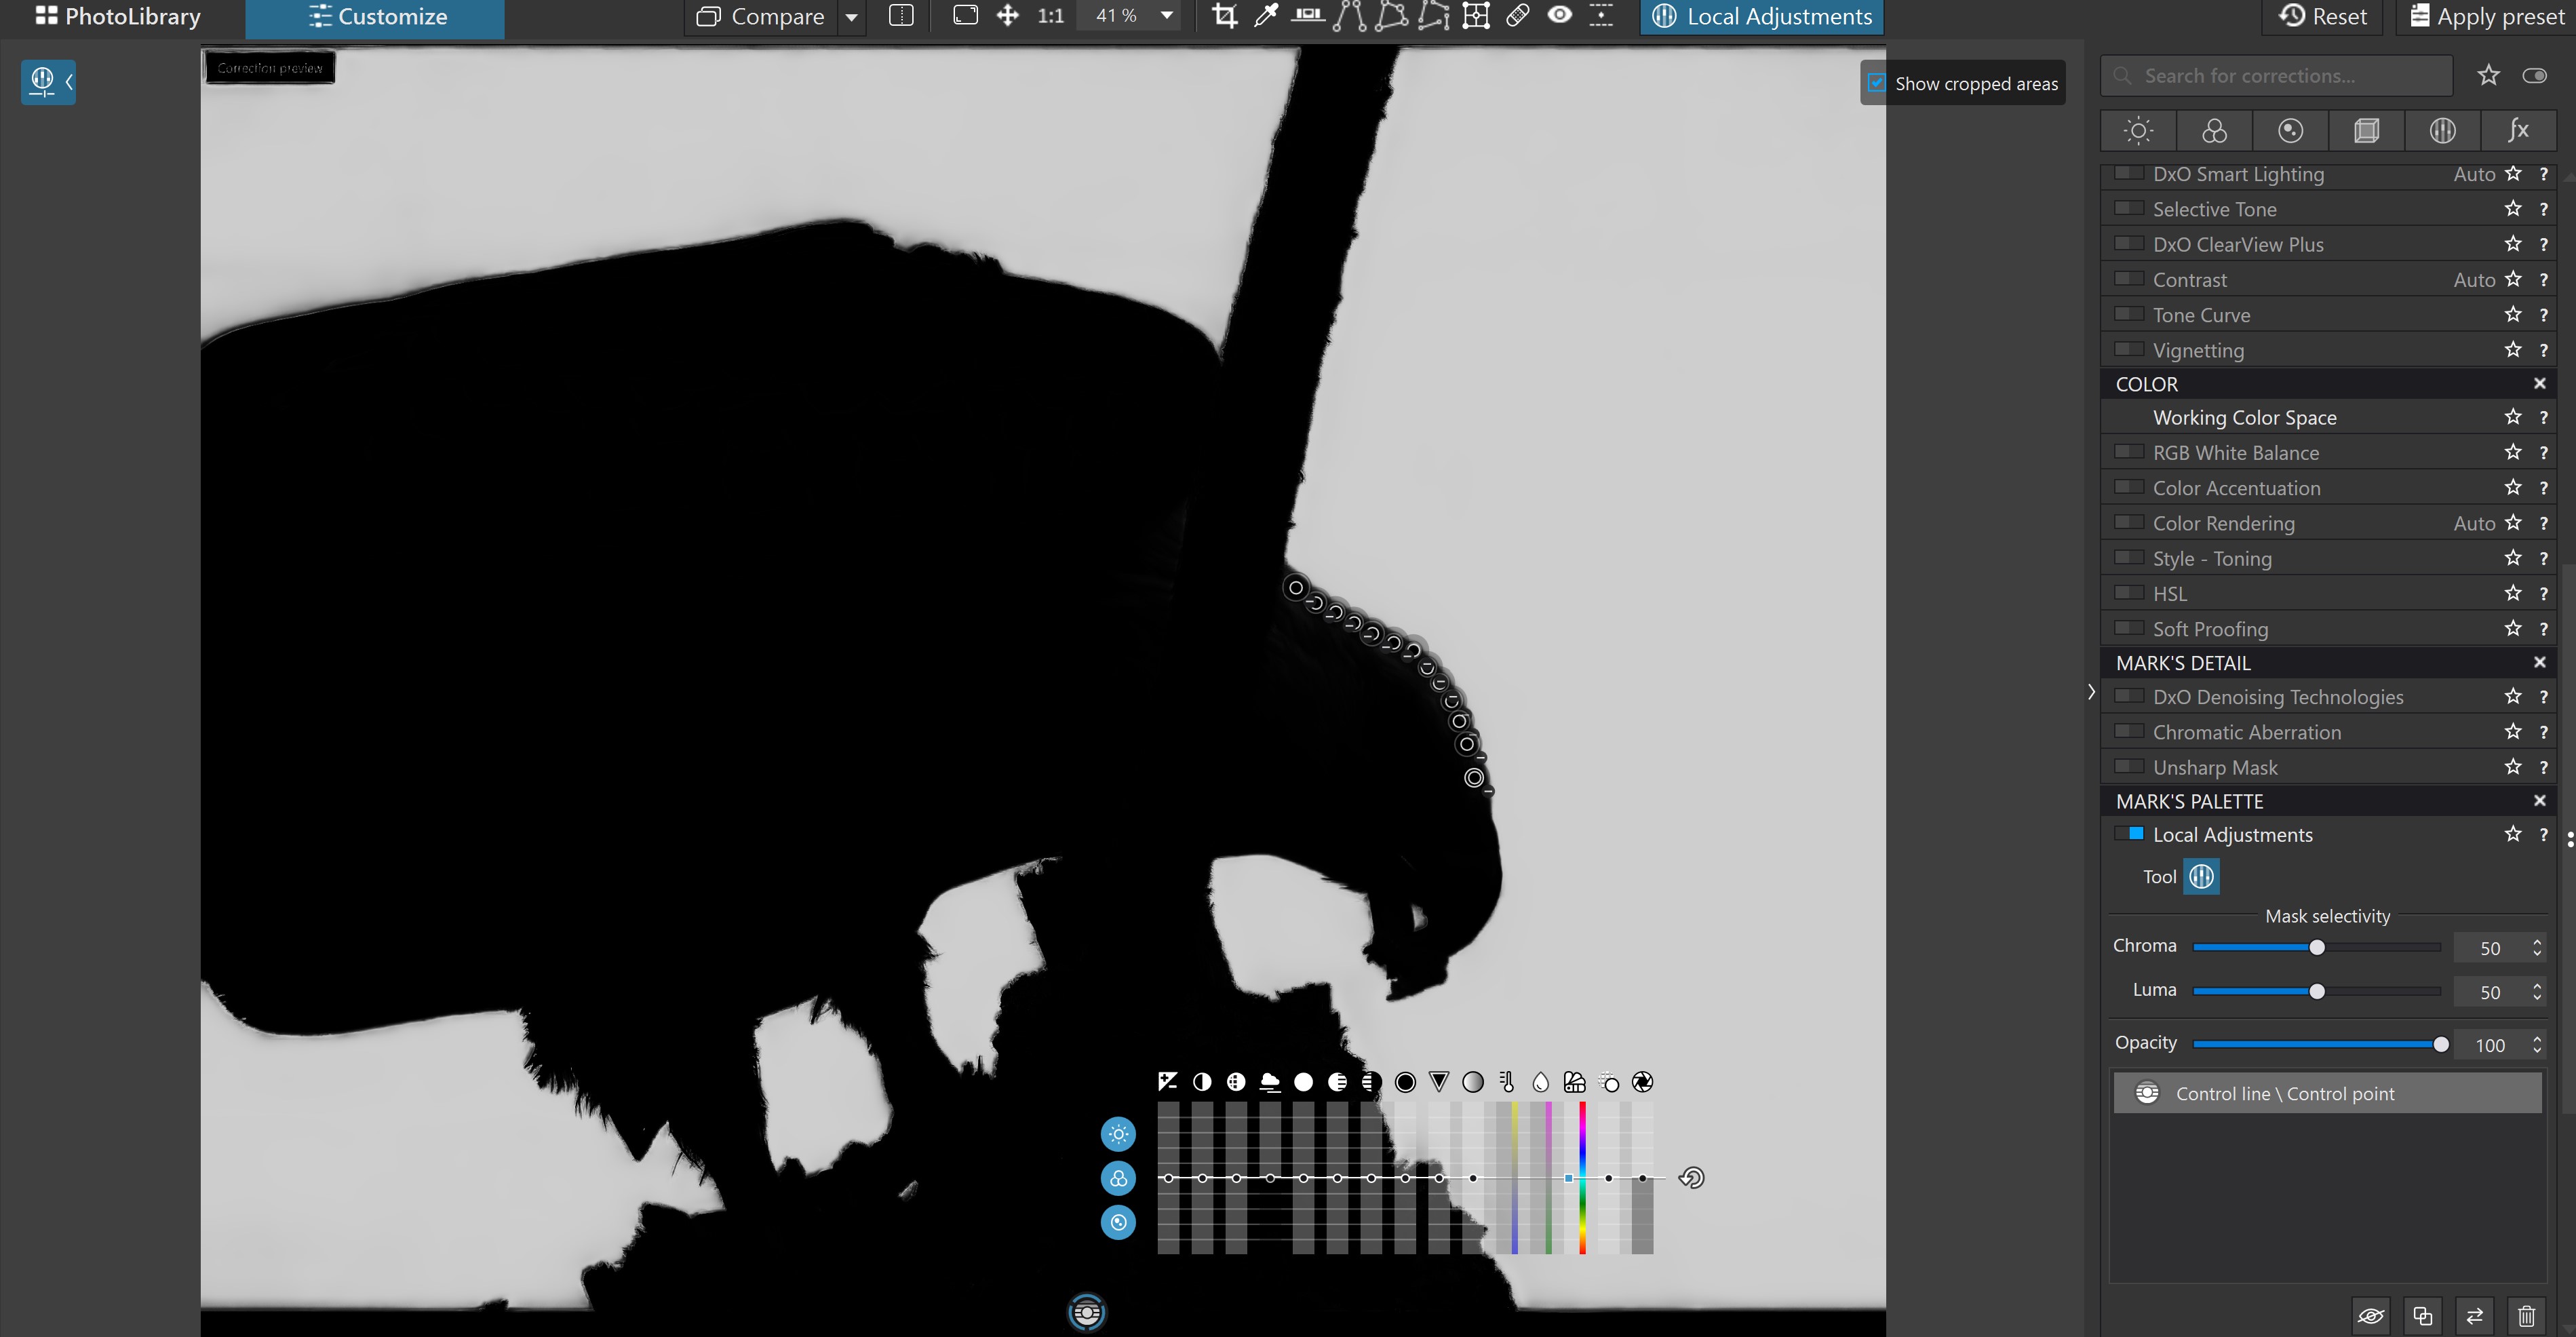
This produced the following masked view.

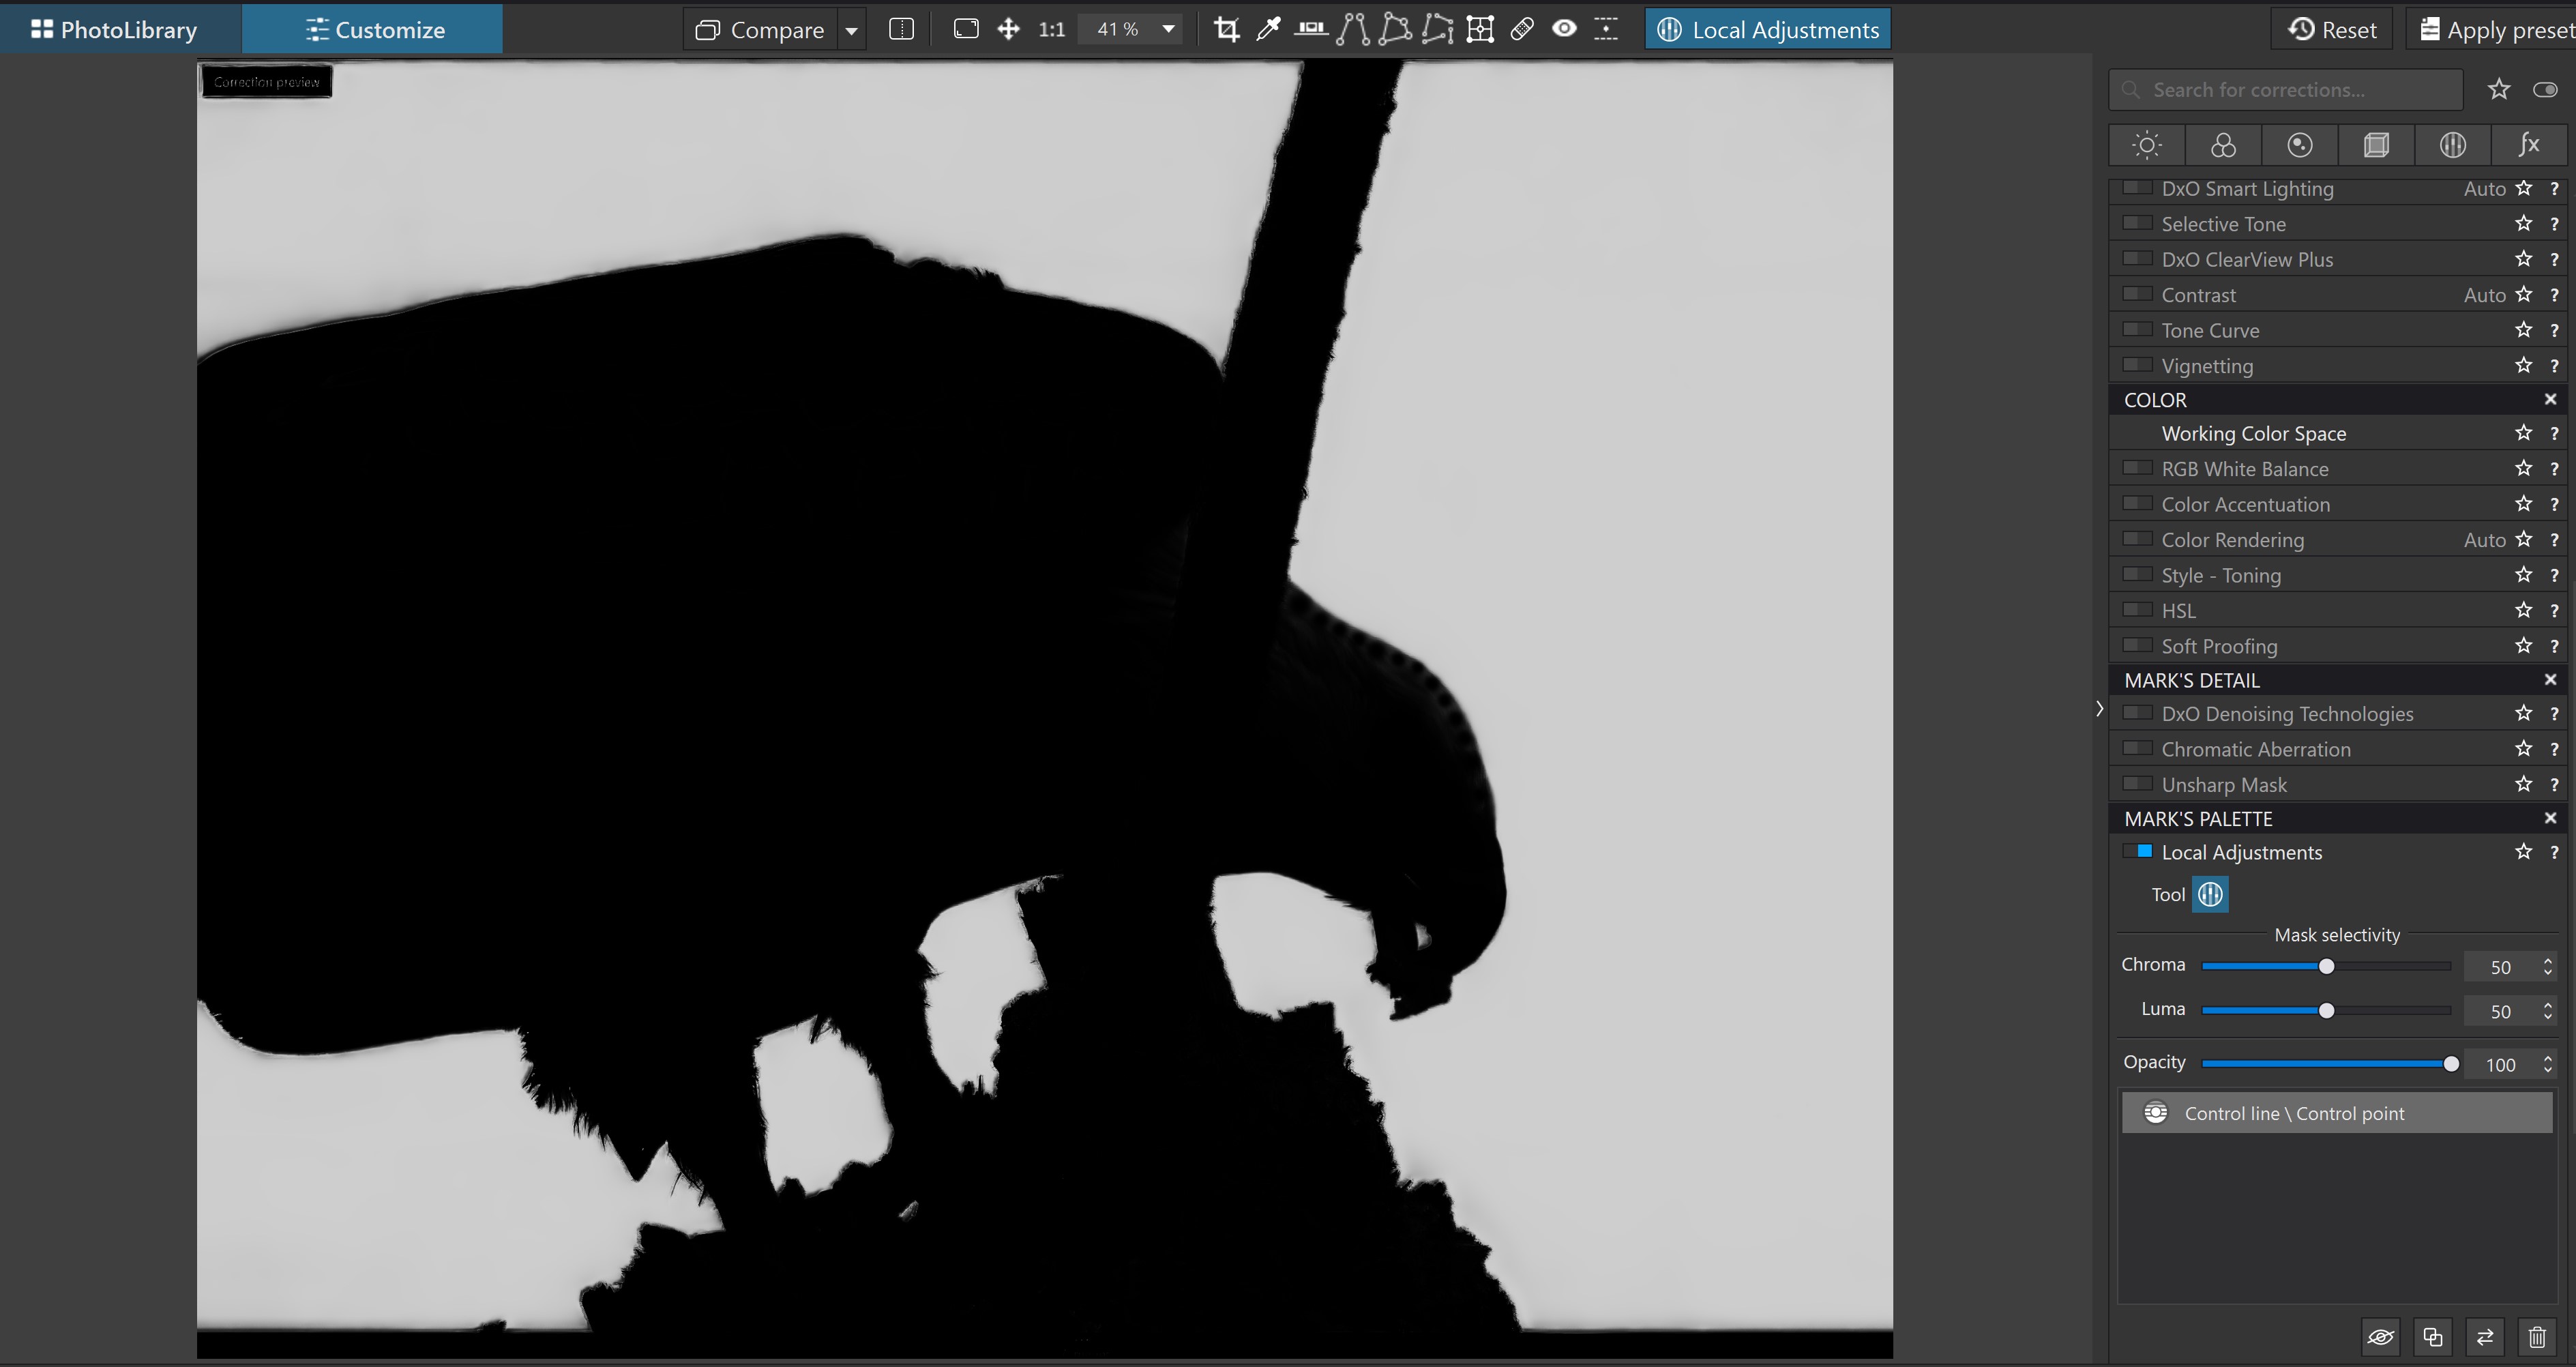
Now add the adjustment lowering the highlights.
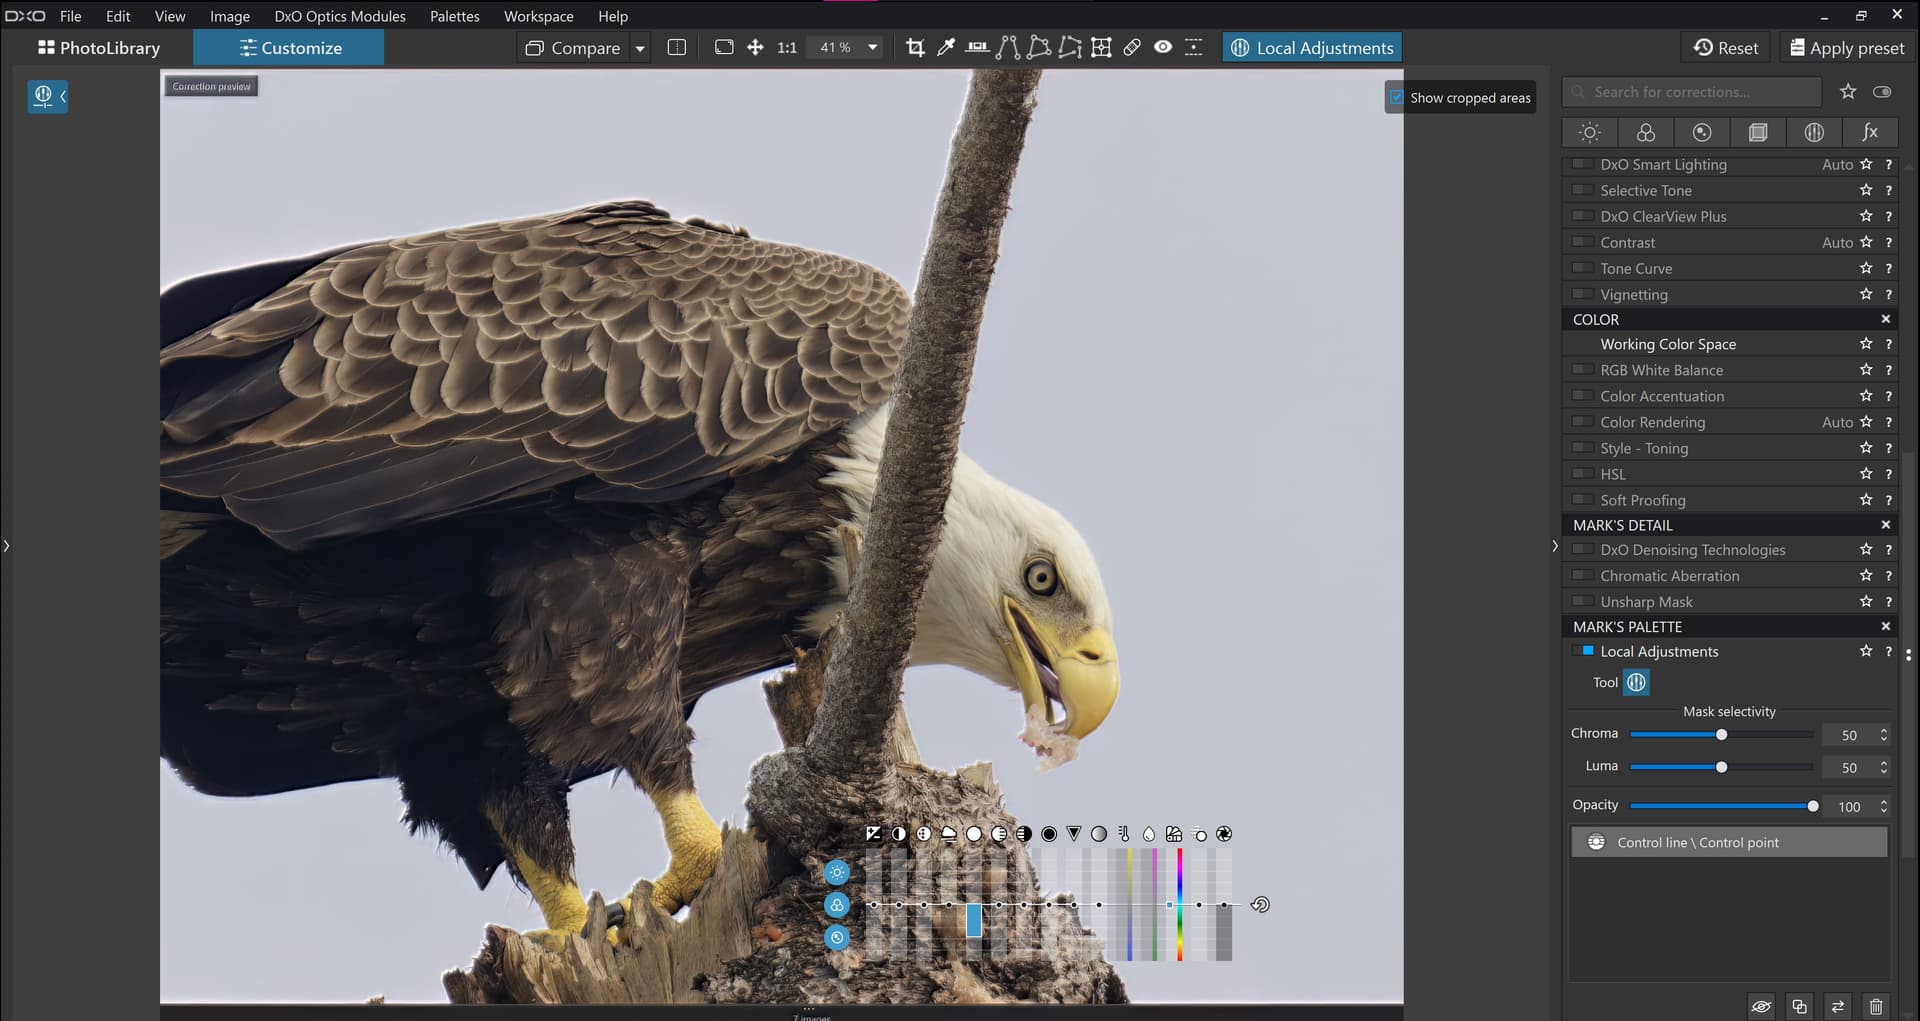
Final image.

Note that this only took me about 5 minutes. Also ignore the chroma/luma settings that you see in the screenshots as they are for the negative CPs.

1 Like

@rrblint Thank you for taking the time to show me your process. I was using the Control Line and had C & L up to 100 but as you noticed the top of the head still needed to be masked. That trick with the little control points works well but looks a bit tedious. However, I’m glad there’s a way to do it!

Not really but I guess it depends on your definition of “tedious”. Anyway it just took me about 5 minutes including making the screenshots. Without those it might have taken about 2 minutes. Not very “tedious” IMO. Glad I could help you out. :smiley:

1 Like

Is it possible to use different chrominance and luminance settings for the negative control points than for the positive ones? I did not know that.

Also, is it possible to mix positive control lines and negative control points?

I’m really not sure but I don’t think so. The sliders just revert back to 50/50 when you change to CP from CL, but the actual Chroma/Luma values don’t change. That’s probably a bug that needs to be fixed.

Yes, that is exactly what I did.

This thread is about exactly what I’m trying to do. I have the control line set, but there is a small area at the right that I do not want to be darkened by the control line. So far, everything I have tried has not worked.

This is as far as I got in the other thread, but this thread is more appropriate to as in. There is a building at the right, the top part of it having been darkened by the control line. I want to “mask” the building so the control line makes the sky dark, but not the building.

Lots more editing to do, but I’m trying to learn all this, one step at a time.
Lots more adjustments to make, I’m just starting, but I don’t know how to add something to this adjustment that will protect the building - which I think means “painting the building” with a negative control line, or masking it, or ???

You need to show the masks whilst creating and editing them.

1 Like

I have constantly been clicking on “show masks” during this procedure. I guess instead of posting images, I should capture a short video. In the meantime, I’m stuck, until I learn how to add an additional (negative) correction to go along with my control line correction. I suspect there is some tiny thing I’m missing, to get this to work. Later today, I just woke up.

Have you tried the “Protect an Area” option of the Control Line?

Hmm, here is what I see:

For whatever reason, the “Protect an Area” is missing on my screen??

I think there are demons inside my computer, deliberately trying to make me more confusabobbled than usual…

Just hover the mouse cursor over the icons to the left of the Show Marks / Show Cropped Areas boxes on the bottom of the Control Line window and you will be surprised…

Aha!!!

“Hover”

Well, that explains why I don’t see the words for about two seconds.

Since I wanted to “paint out” the building with a mask, which I now accept is not possible, I will do what @Joanna did, lots of “negative control points” to not only cover the building, and also the skyline, the buildings off in the distance. Being much smarter than I am, @Joanna added the graduated filter to lighten up the water - which I guess was a good time to do that. I was going to deal with the water as another step, much later.

In retrospect, I wasted a lot of time in trying to use a mask to protect the building at the right.

So, I will go back to the original image, and do all this on my own, using what I have learned here.

One last question - is there any way to leave a ‘note’ about each virtual copy, that I can read as I hover my mouse over the VC images at the bottom of my screen? I know what all five of them are right now, but a year from now I won’t unless I can leave some kind of note.

No you cannot. But on the Mac version you can give your virtual copies a unique name which may help. This feature is not available on the Windows version.

Mark

I usually create a textile in the same folder as the ‘master’ image to jot down notes.

In my workflow these text files have the same name as the master file, just the extension is different, so it would be something like DSCF4930 | 2023-04-09.txt

A simple text file created with TextEdit suffices for me, although you can make it as fancy as you like.

These files are not visible from within DPL but they are visible from my DAM which is good enough for me.

Well, I’m closer, but not quite.
I made a new VC, did some of my basic revisions (horizon, crop, exposure), then went to add the control line.

After creating my control line, I now knew how to create a “-” control point and how to bring up the message “protect area”. But when I went to the control point, wanting to change the (negative) strength of the control point, there was no way to do so. The settings in the box in the middle were for the original control line. Here’s a full image at this point:

The negative control points don’t seem to be doing anything yet??

I think I’m a lot closer, but it’s not obvious how to make the control points “stronger”.