After applying a graduation filter to the image, how do you save it to the image?
After creating the filter in Local Adjustments, when I go back to the PhotoLibrary the graduation filter does not stick, so-to-speak, it just disappears. The same if I export the image from the Customize panel it just disappears.
When I exit the Local Adjustments tab, the graduation filter is still their, but disappears when I go to the PhotoLibrary section.
The user guide doesn’t have anything for Graduation Filter and
when searching Masks nothing in the results on how to save a graduation filter to the image. I’m using PhotoLab v7.11.1 Build 322.
Any advice most welcome
That shouldn’t happen - but let’s see if we can figure out why it is happening. Since you’re using PhotoLab 7: after you create the graduated filter in Local Adjustments be sure to click on the Graduated Filter icon to turn off Local Adjustment mode before attempting any other edits or actions.
Hi Greg,
I haven’t made any further adjustments, I just tried to add a Graduation Filter to the over exposed sky.
See here
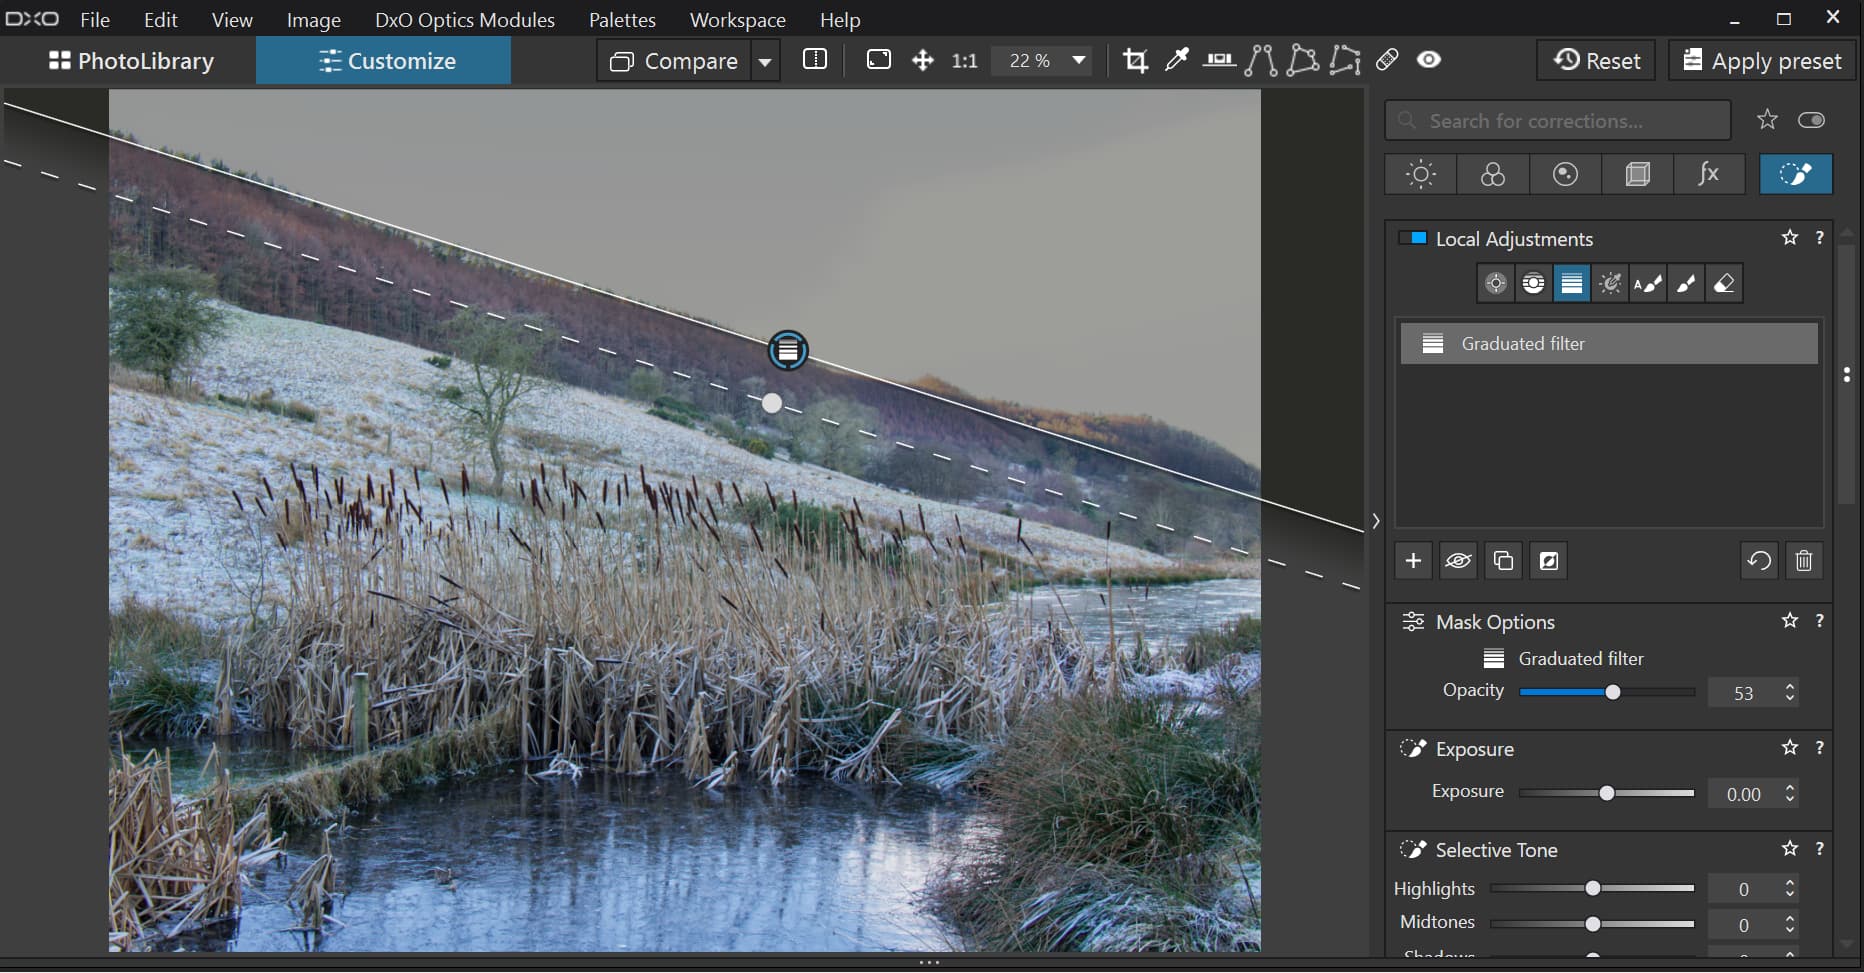
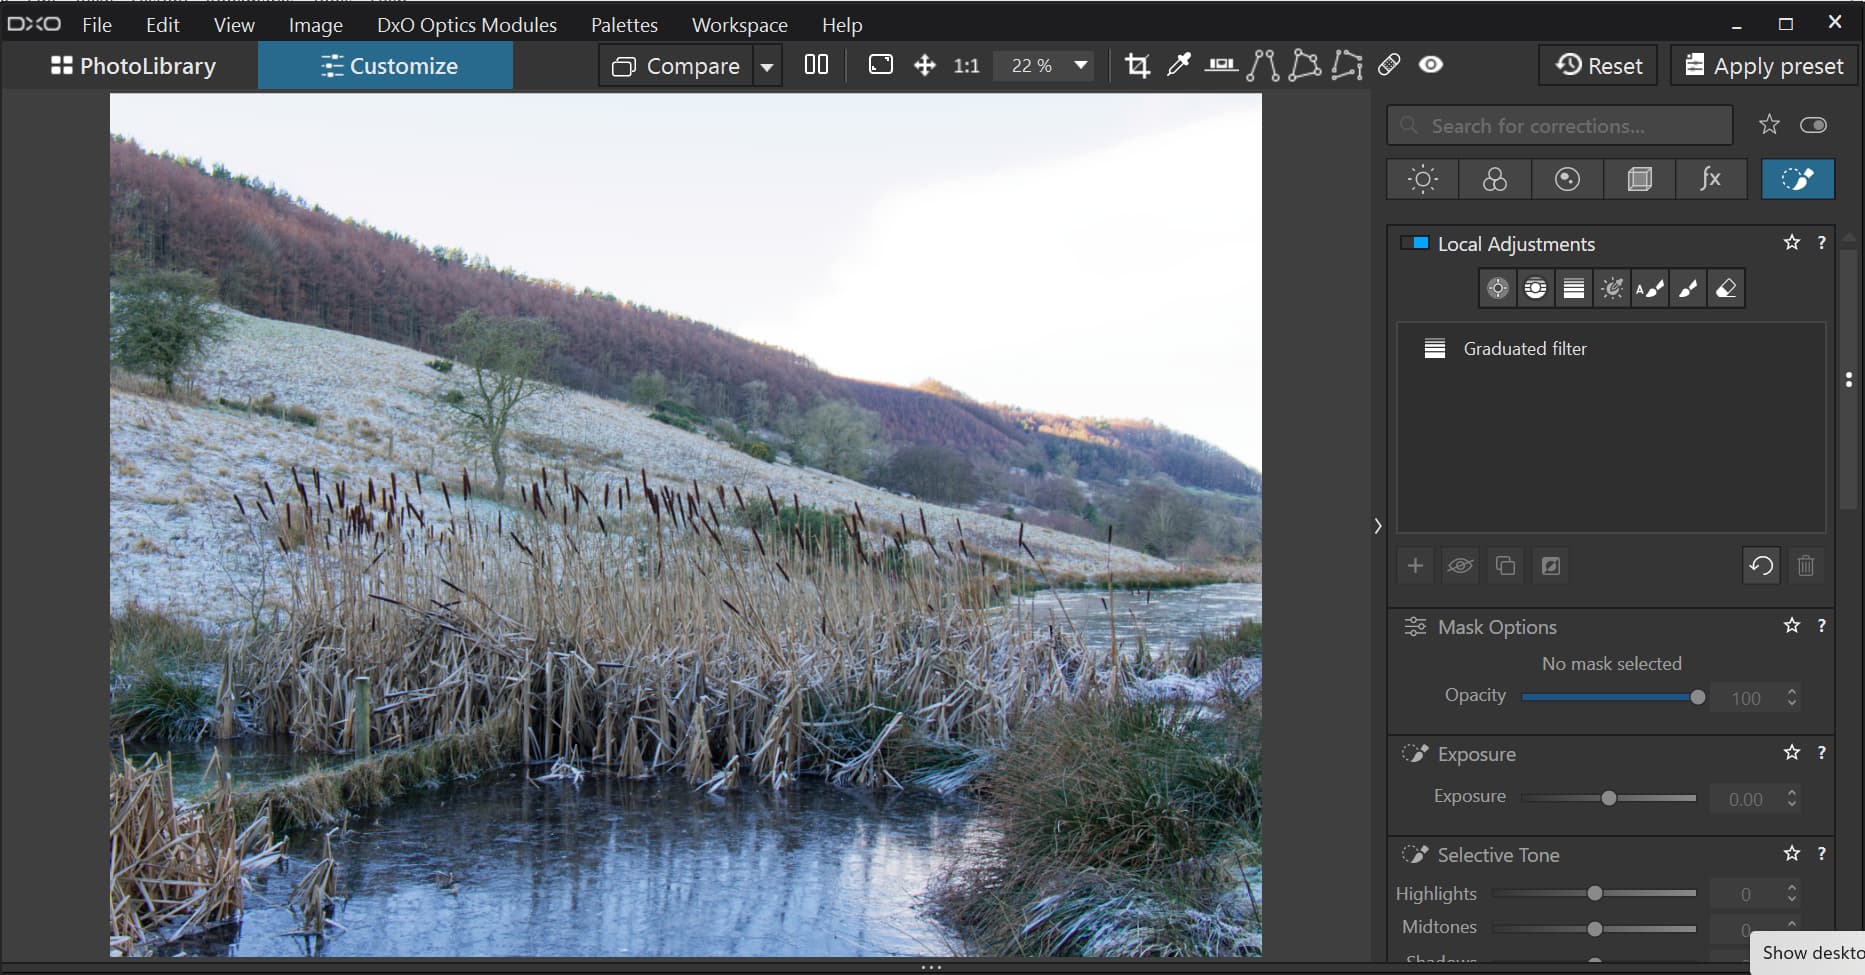
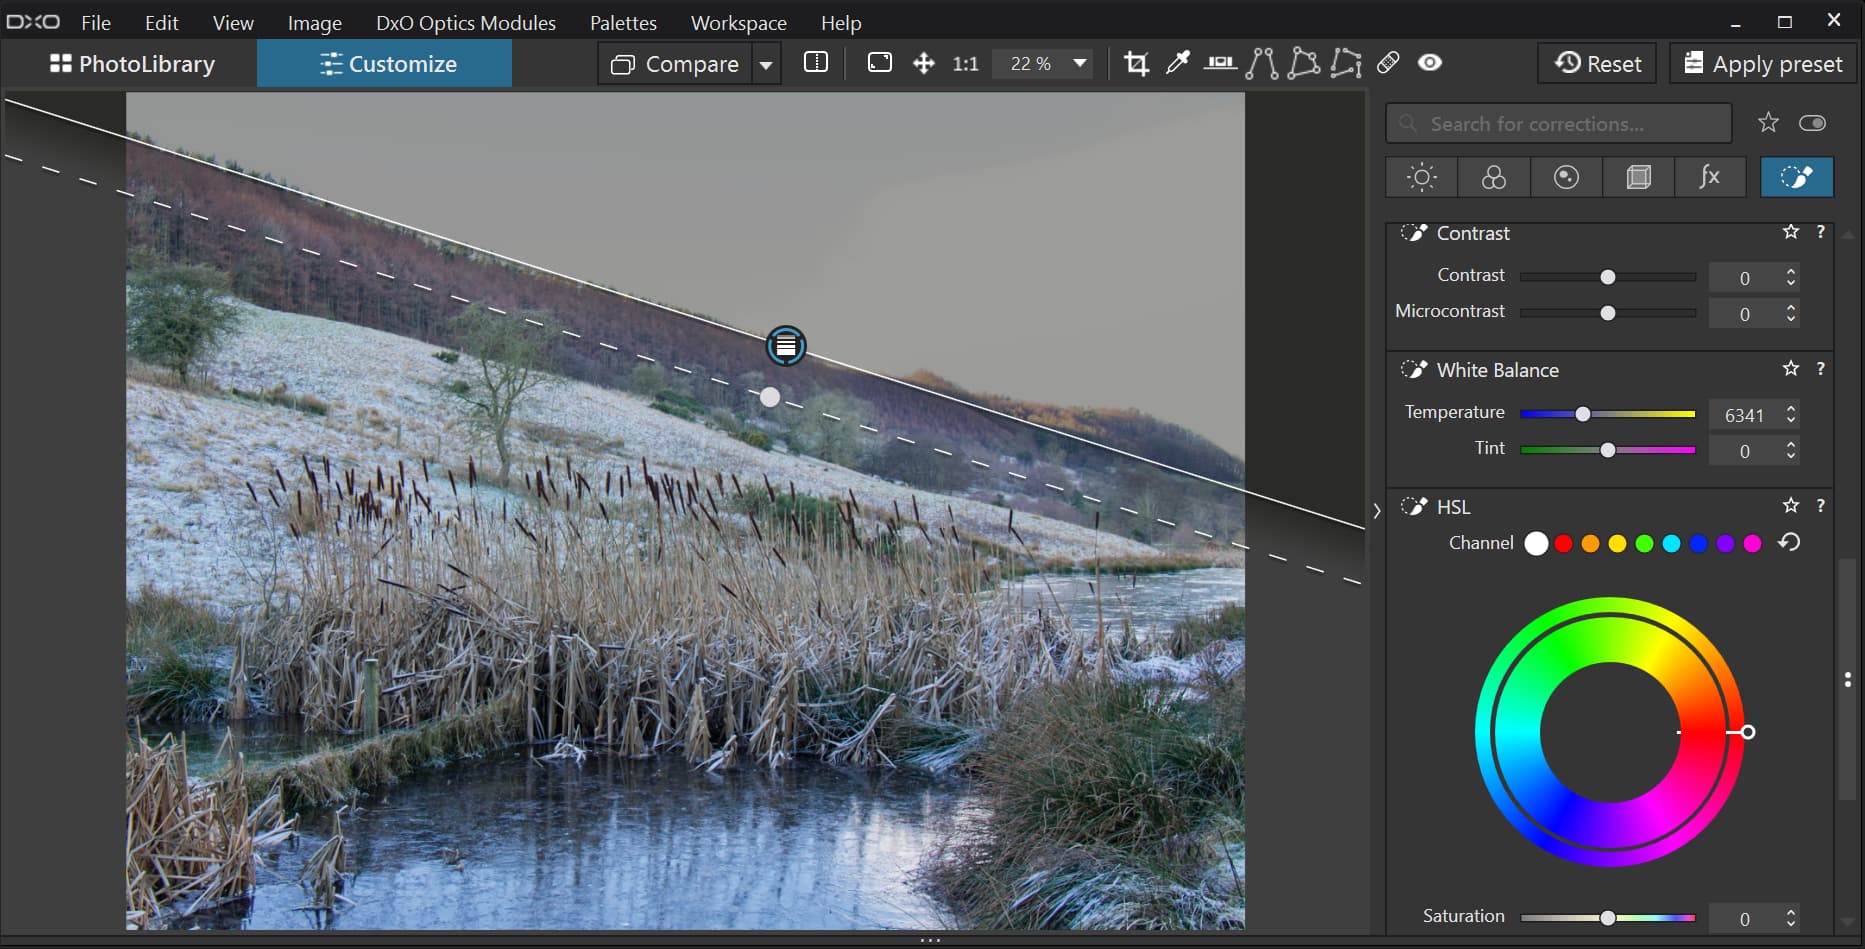
This is what happens when I deselect the Graduation Filter, the filter disappears when I turn off the Graduation Filter icon.
When I reselect the Graduation Filter icon, and now turn off Local Adjustments, the filter remains in place.
Then when I return to PhotoLibrary the Graduation Filter disappears.
At a quick glance, it looks like you might have changed the mask colour to grey, but you certainly haven’t changed the exposure slider.
Could you take a screenshot that includes the bottom toolbar?
Please forgive my lack of knowledge of DxO and its various utilities. I am not that technically minded when it comes to understanding some of the enhancements/features. I don’t know how to change the colour of the mask, only the opacity. But just out of curiosity how would changing the mask colour affect whether it sticks or not when exporting the image.
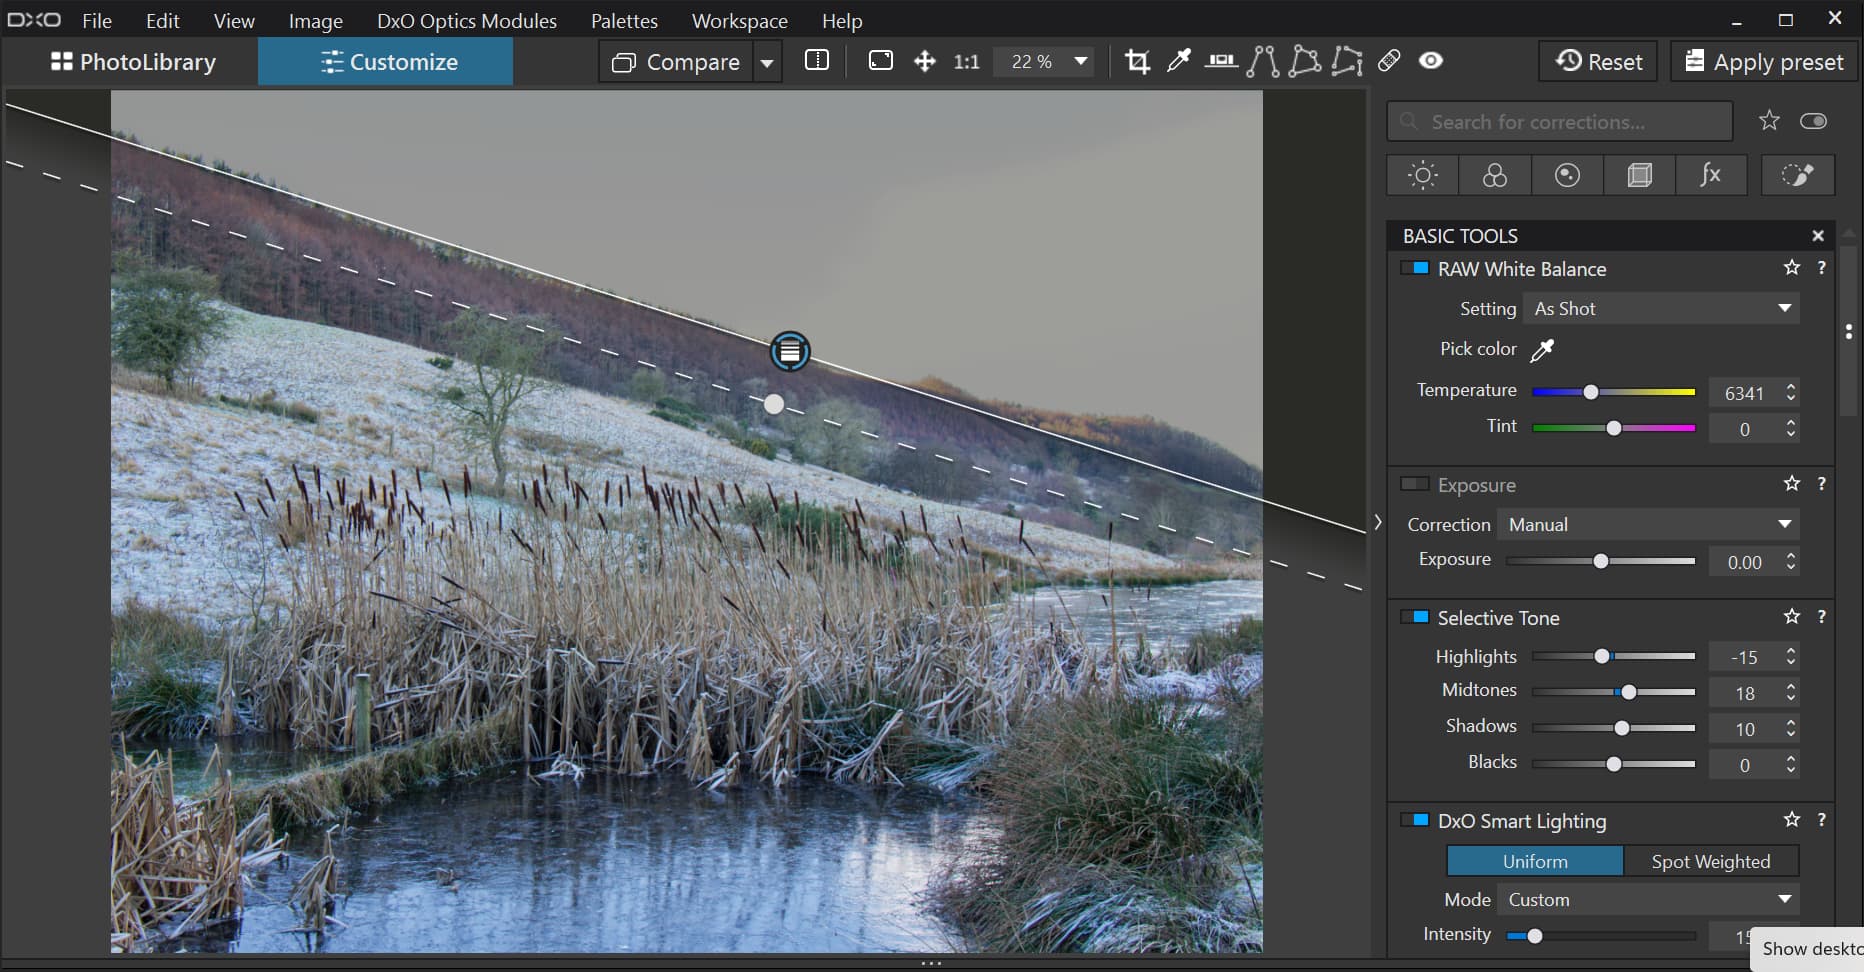
Here are some screenshots of the tool bar on the right. Hope they help.

When you apply a graduated filter, you’re applying a mask to your image. Do you understand that the mask by itself won’t change your image? And that the mask is still there even if its adjustable parts aren’t visible in the image viewer? After applying the graduated filter, make some adjustments using the sliders below the Local Adjustments mask list. For example, Exposure, Selective Tone, ClearView Plus, Color Temperature… You will see the effect of those adjustments right away. If you then click on Compare and hold down your mouse select button, you will see what the image looks like without those adjustments. But the adjustments are now applied to your image and will be visible in the exported image file.
1 Like
Can I start by saying that you are not using the PhotoLibrary and Customize tabs in the best way.
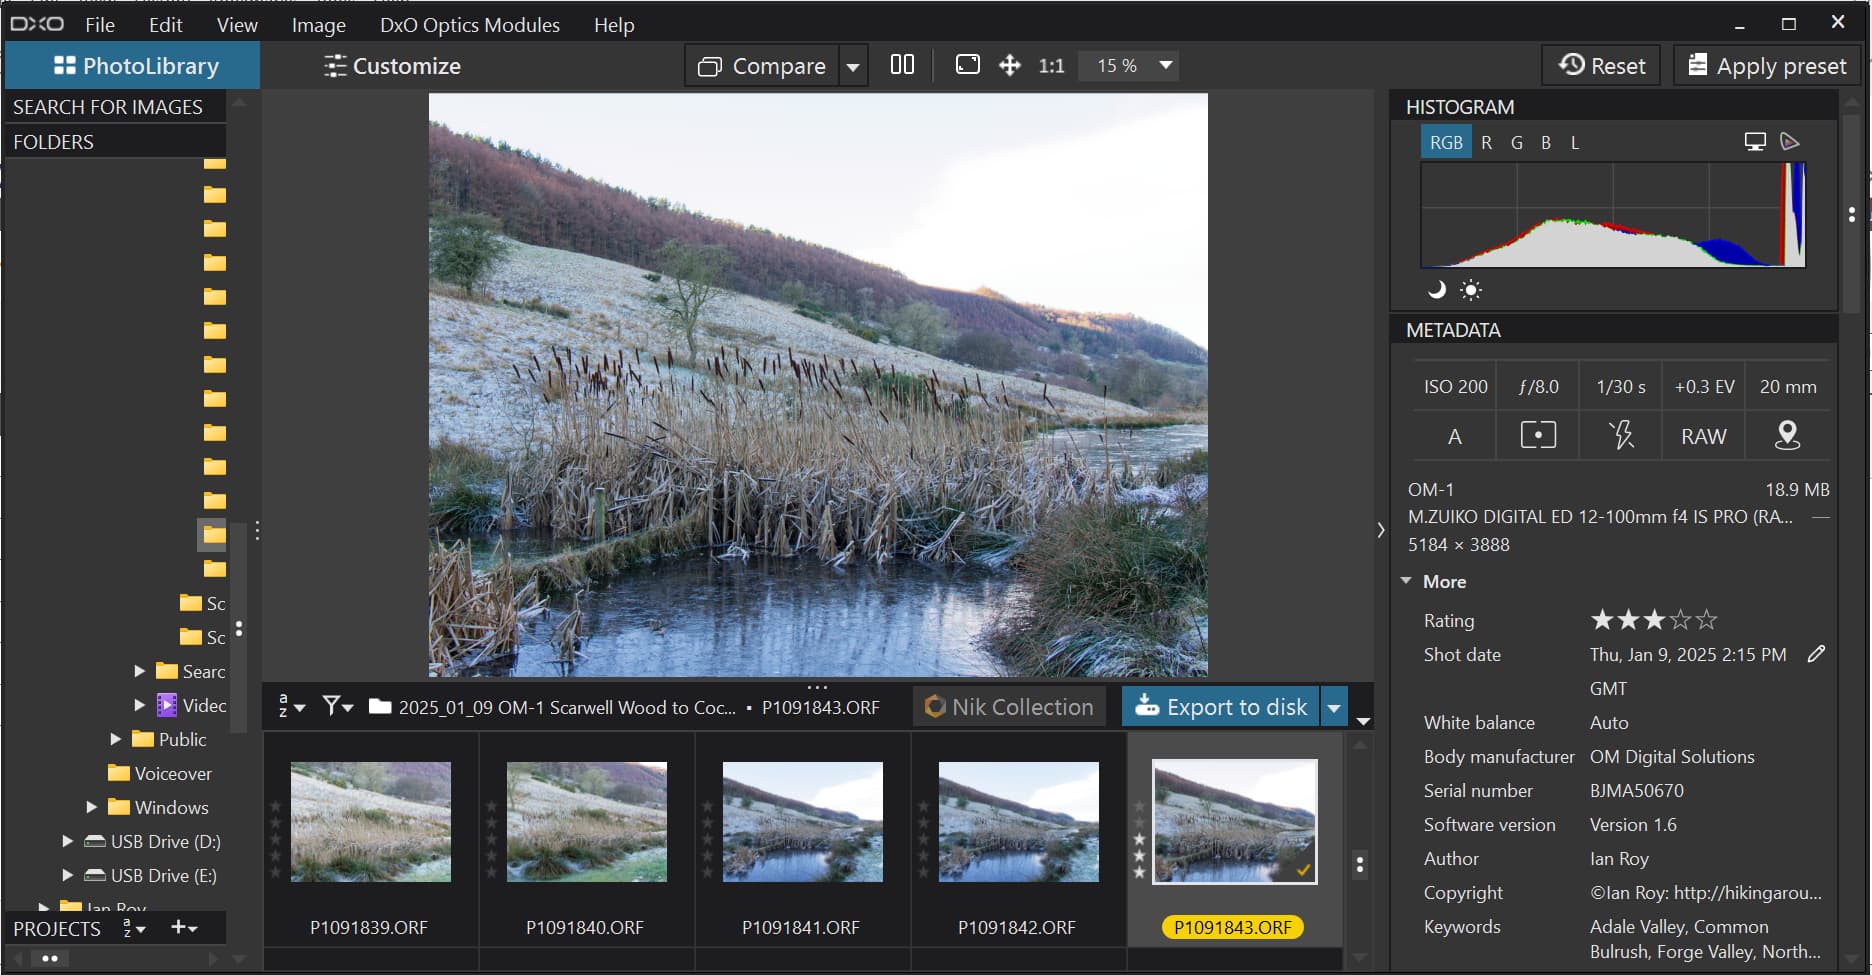
For the PhotoLibrary tab, you are best sliding the divider, that you will find between the viewing panel and the thumbnail strip, to the very top. This will then allow you to browse more images in the currently selected folder…
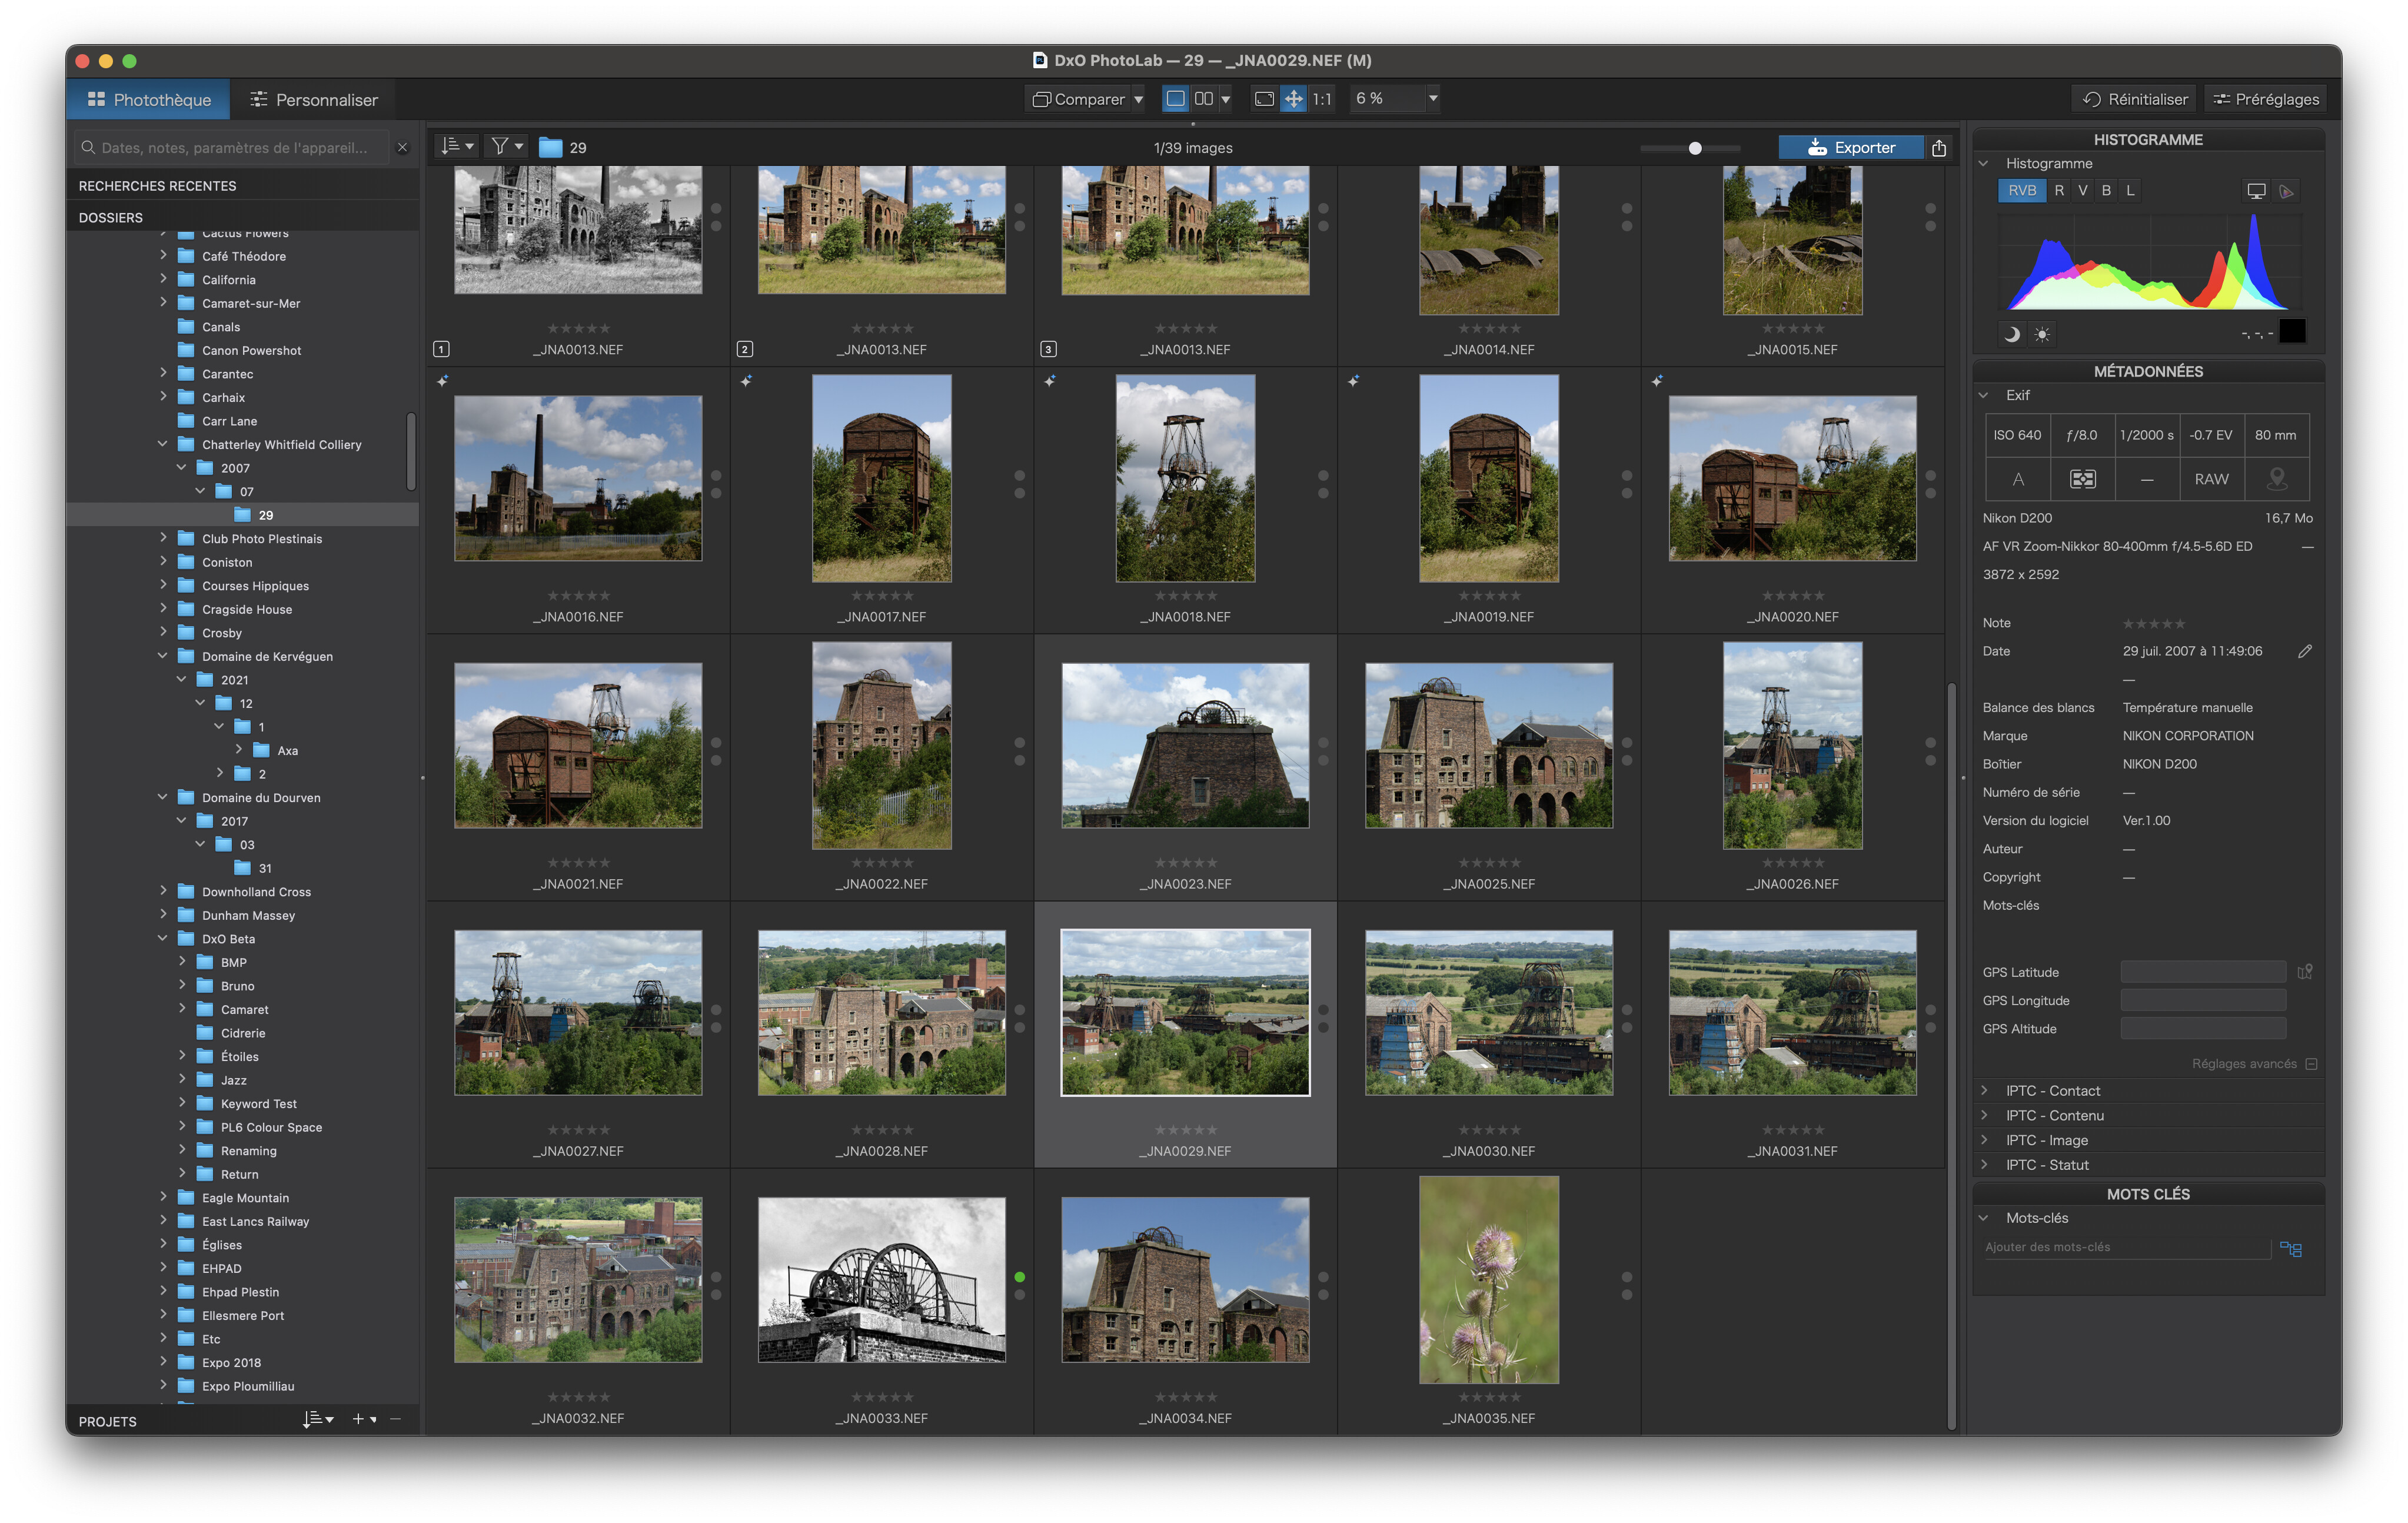
Then, when you double-click on a thumbnail, it will change to the Customize panel with your image in the editing panel…
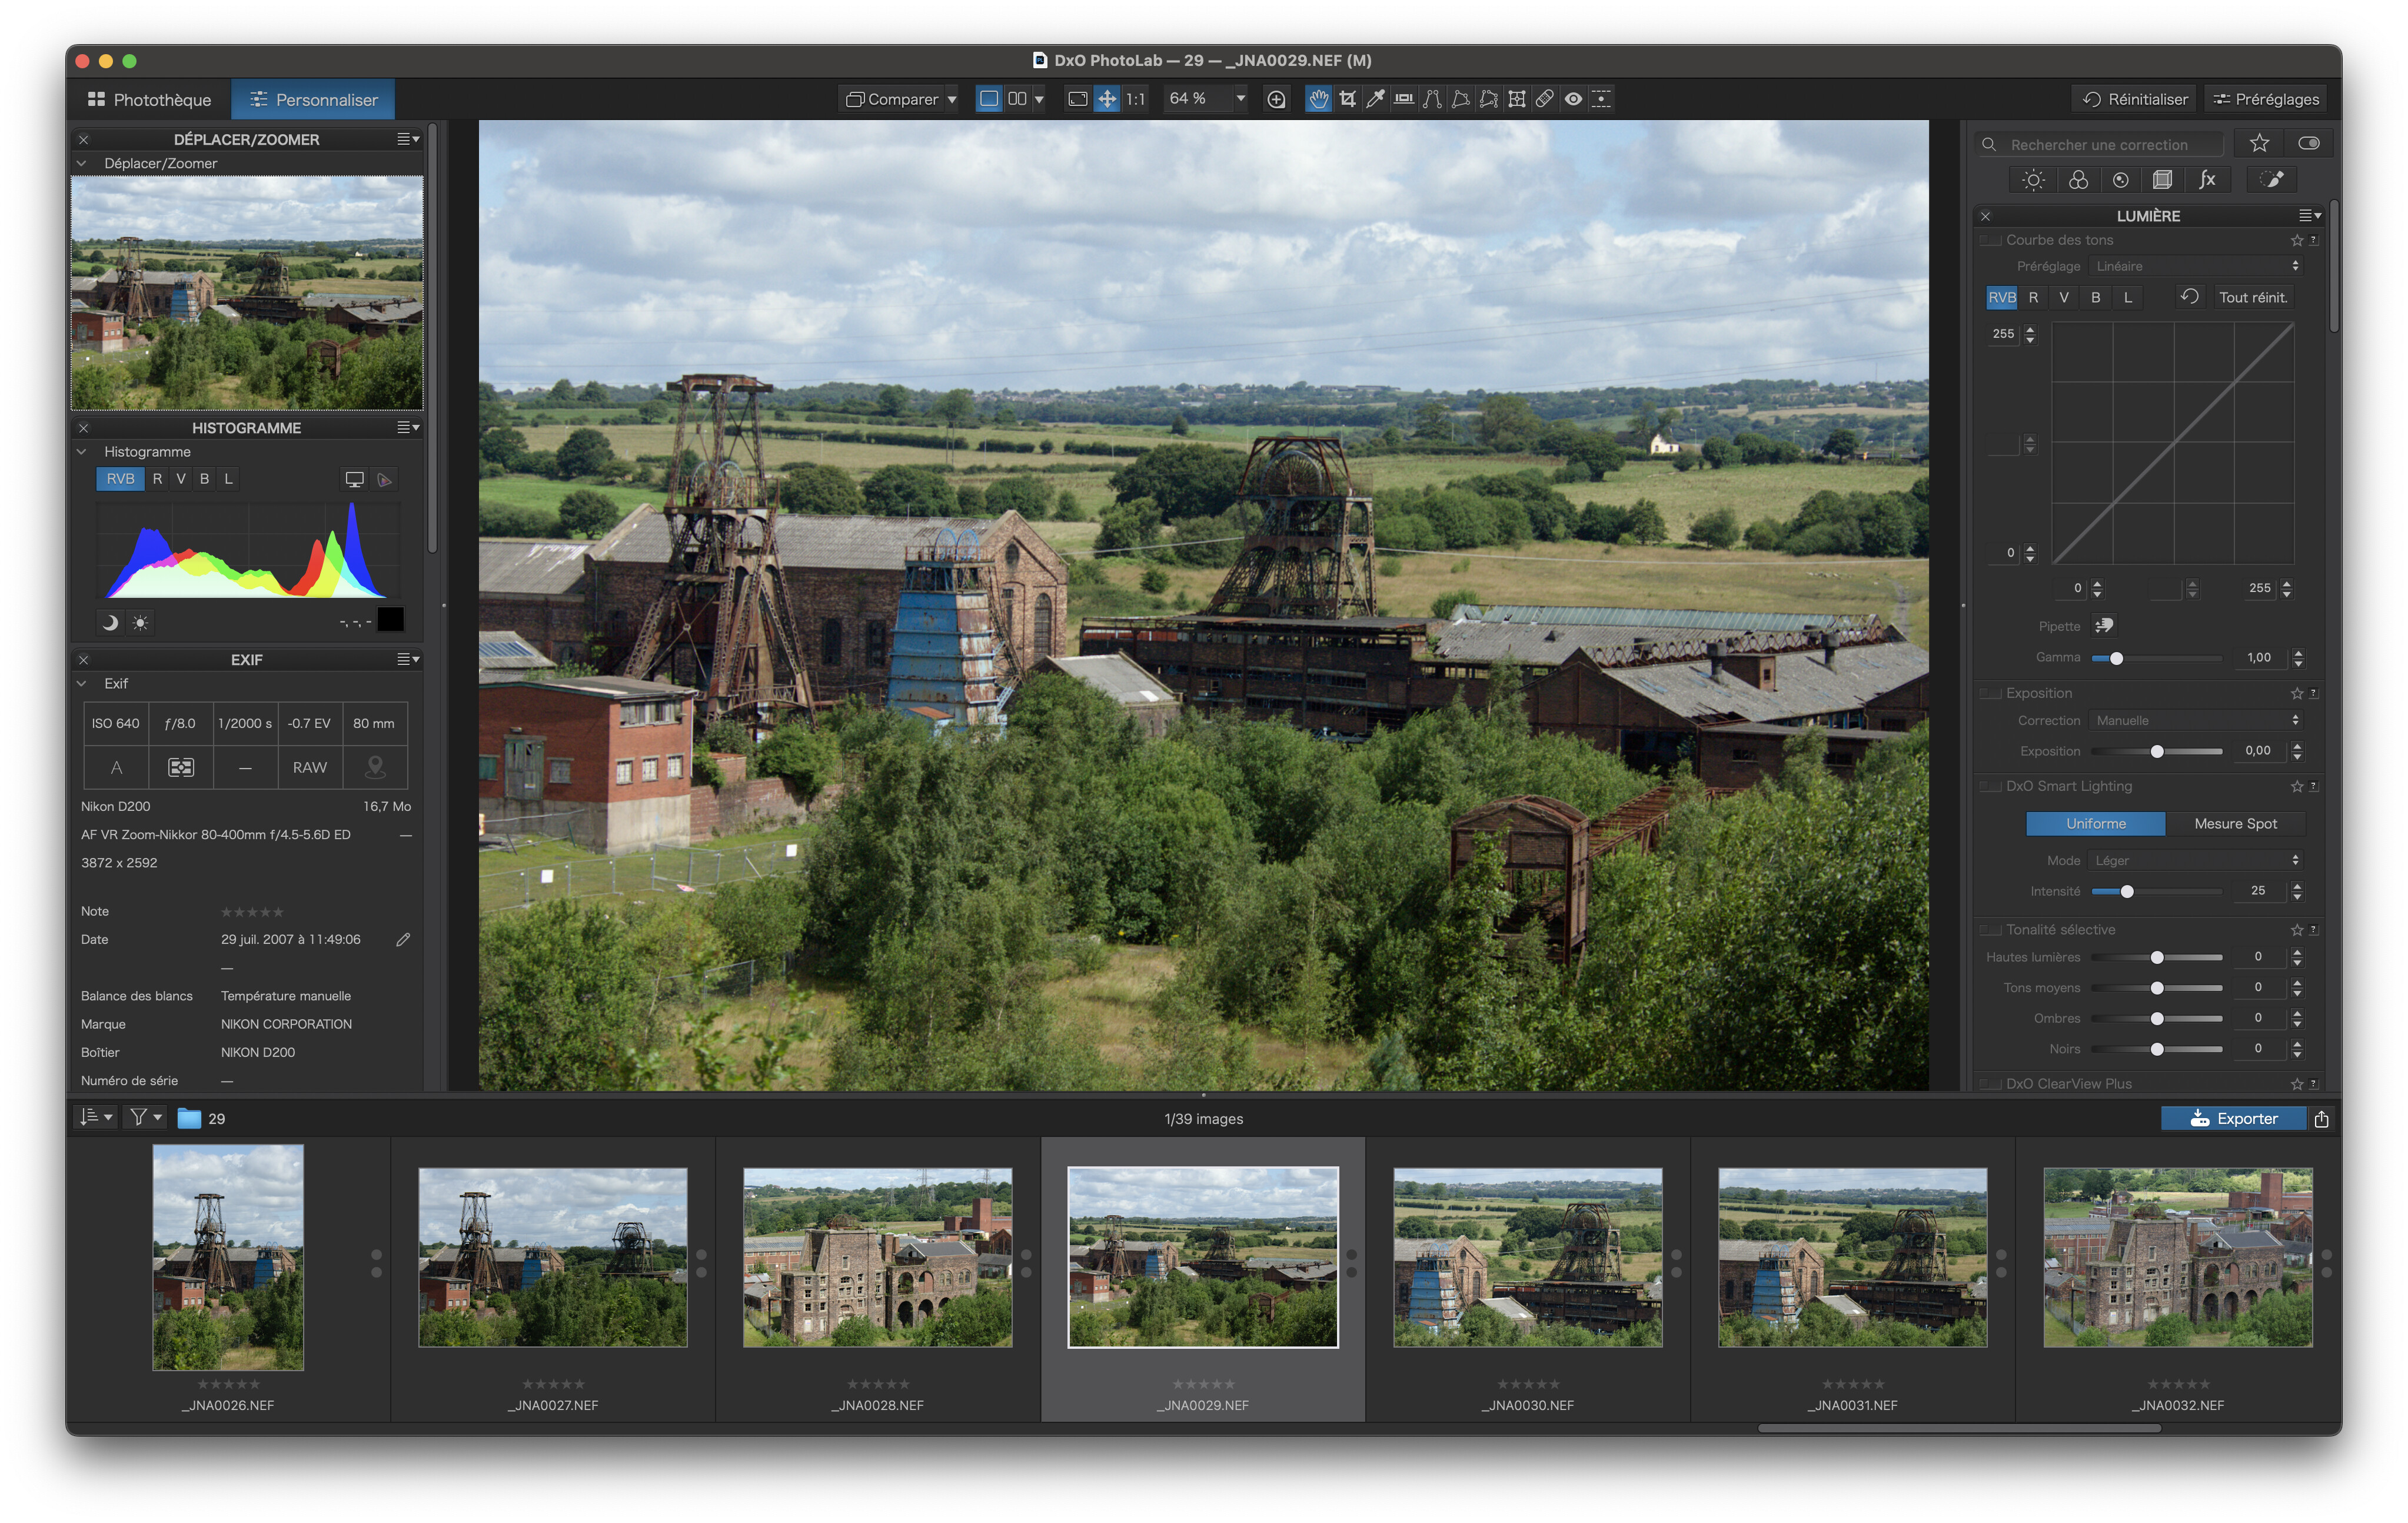
And you might like to slide up the separator from the bottom of the editing panel to enable you to see the thumbnail strip underneath.
Now, how to create a graduated filter.
In fact, all the LA tools should be applied in two stages. The first is to determine the position, shape and selectivity of the mask; the second is to make whatever adjustments you want to the masked area.
So, let’s start by selecting the LA (blue brush) palette applying a graduated mask…

I use a translucent red mask colour as it makes it easier to see masks that will be used for altering brightness, but you can choose whatever you want.
On Windows, you should see a small panel in the top-right of the editing panel, which you can use to change the mask appearance…

Please note, this is the appearance of the mask and nothing to do with any adjustments you will make.
Now to make an adjustment…
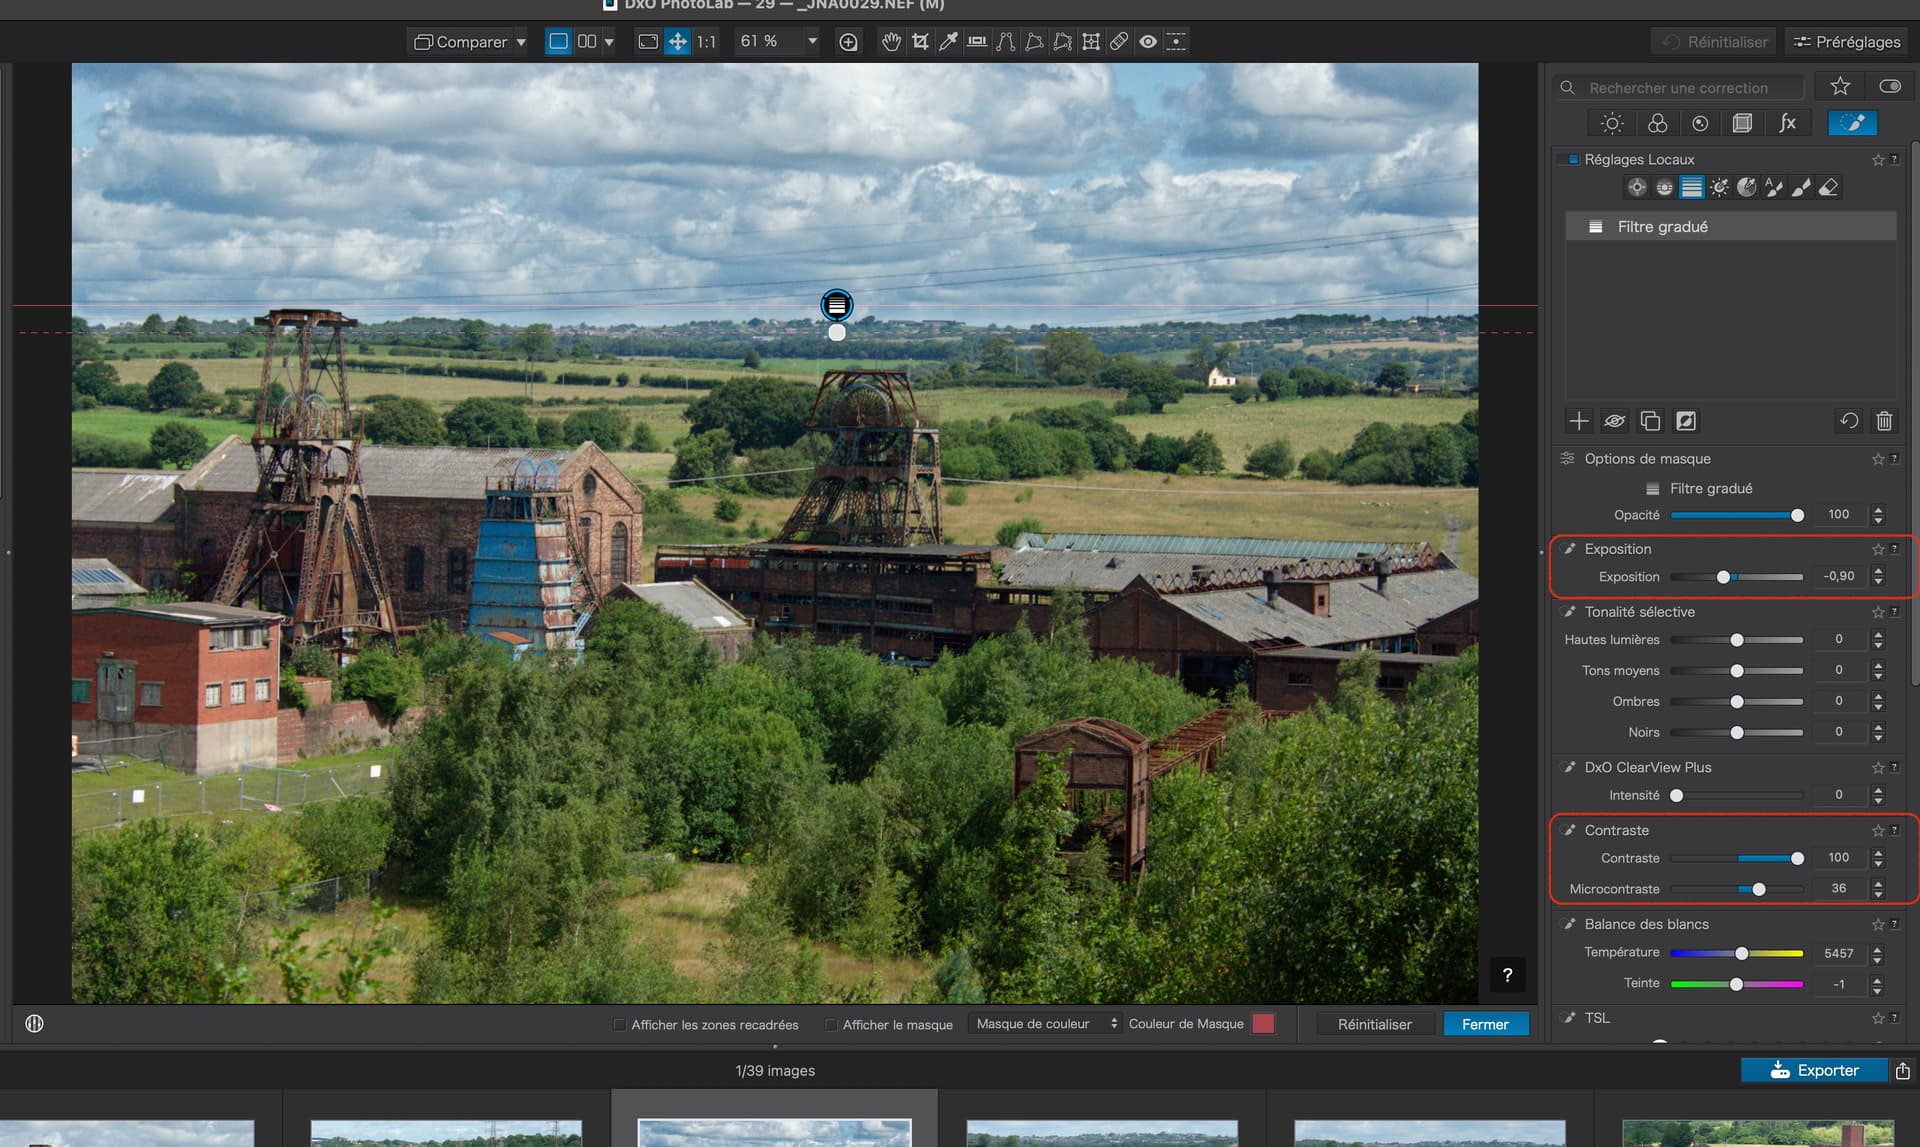
Here you can see that I have reduced the Exposure slider and increased the Contrast and Micro-contrast sliders.
But, I could use any of the other tools in the palette if I so desired. What I did was just an example, assuming you wanted to darken the sky.
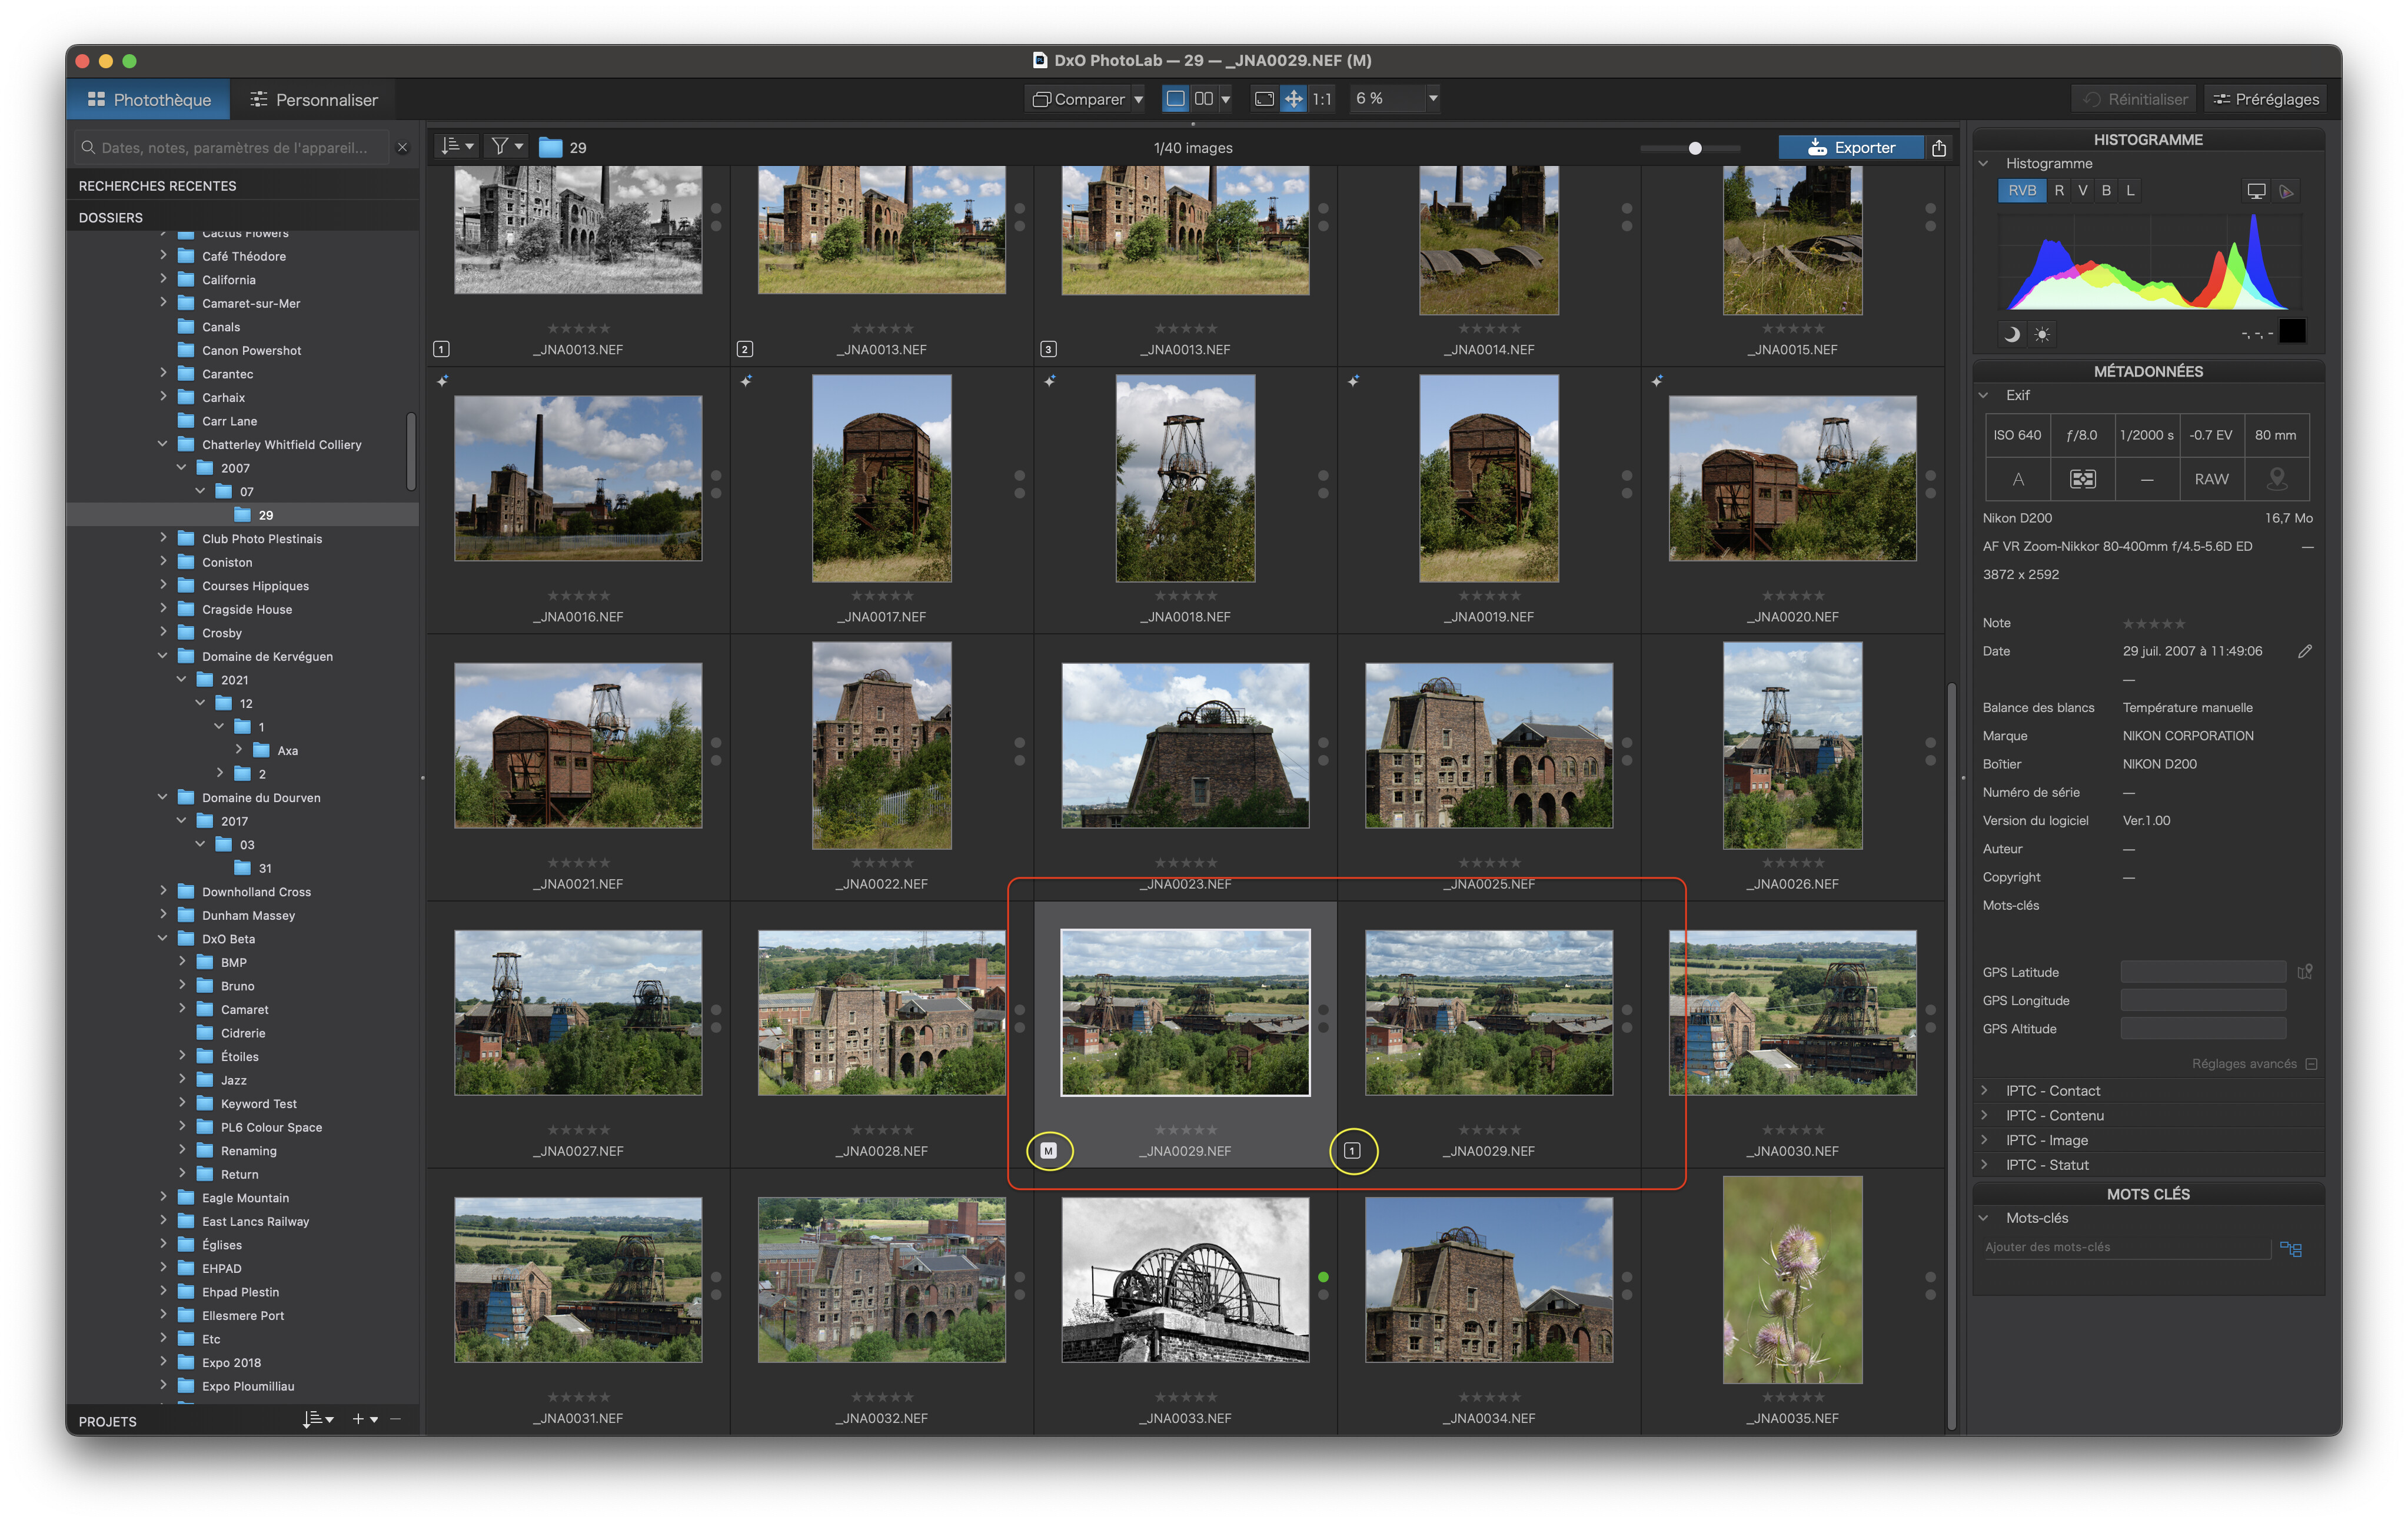
Now, if I return to the PhotoLibrary tab and create a virtual copy of the image I have just edited, I can select the “master” copy and reset all edits with the Reinitialize button at the top right of the PL window, which will then allow me to see before and after versions of the image…
Let me know if this clarifies things.
@Egregius Oops! I took too long to prepare my reply ![]()
2 Likes
Well, yours was a very well-prepared reply, Joanna! ![]() You give very good tutorials, and that takes work and caring.
You give very good tutorials, and that takes work and caring.
Depending of where you are and if you’re in Local adjustments palette, you can or can’t see the filter (or any other LA), and they don’t have to be saved, it’s automatically done in PL database and .dop file.
You can change image or close PL, when you come back to your image, in LA palette you will see your filter.
Greg and Patrick thank you for all your help, and Joanna thank you very much for your reply, for someone who has a limited working knowledge of DxO, you explained this task very well. The Control Line works very well, thank you for the tip.