Note that, with the selection, I had to make additional shift-clicks to select the whole rock whereas, with the zone, I could do it in one drag to enclose the entire rock.
I’m not sure how well this works with more complex subjects.
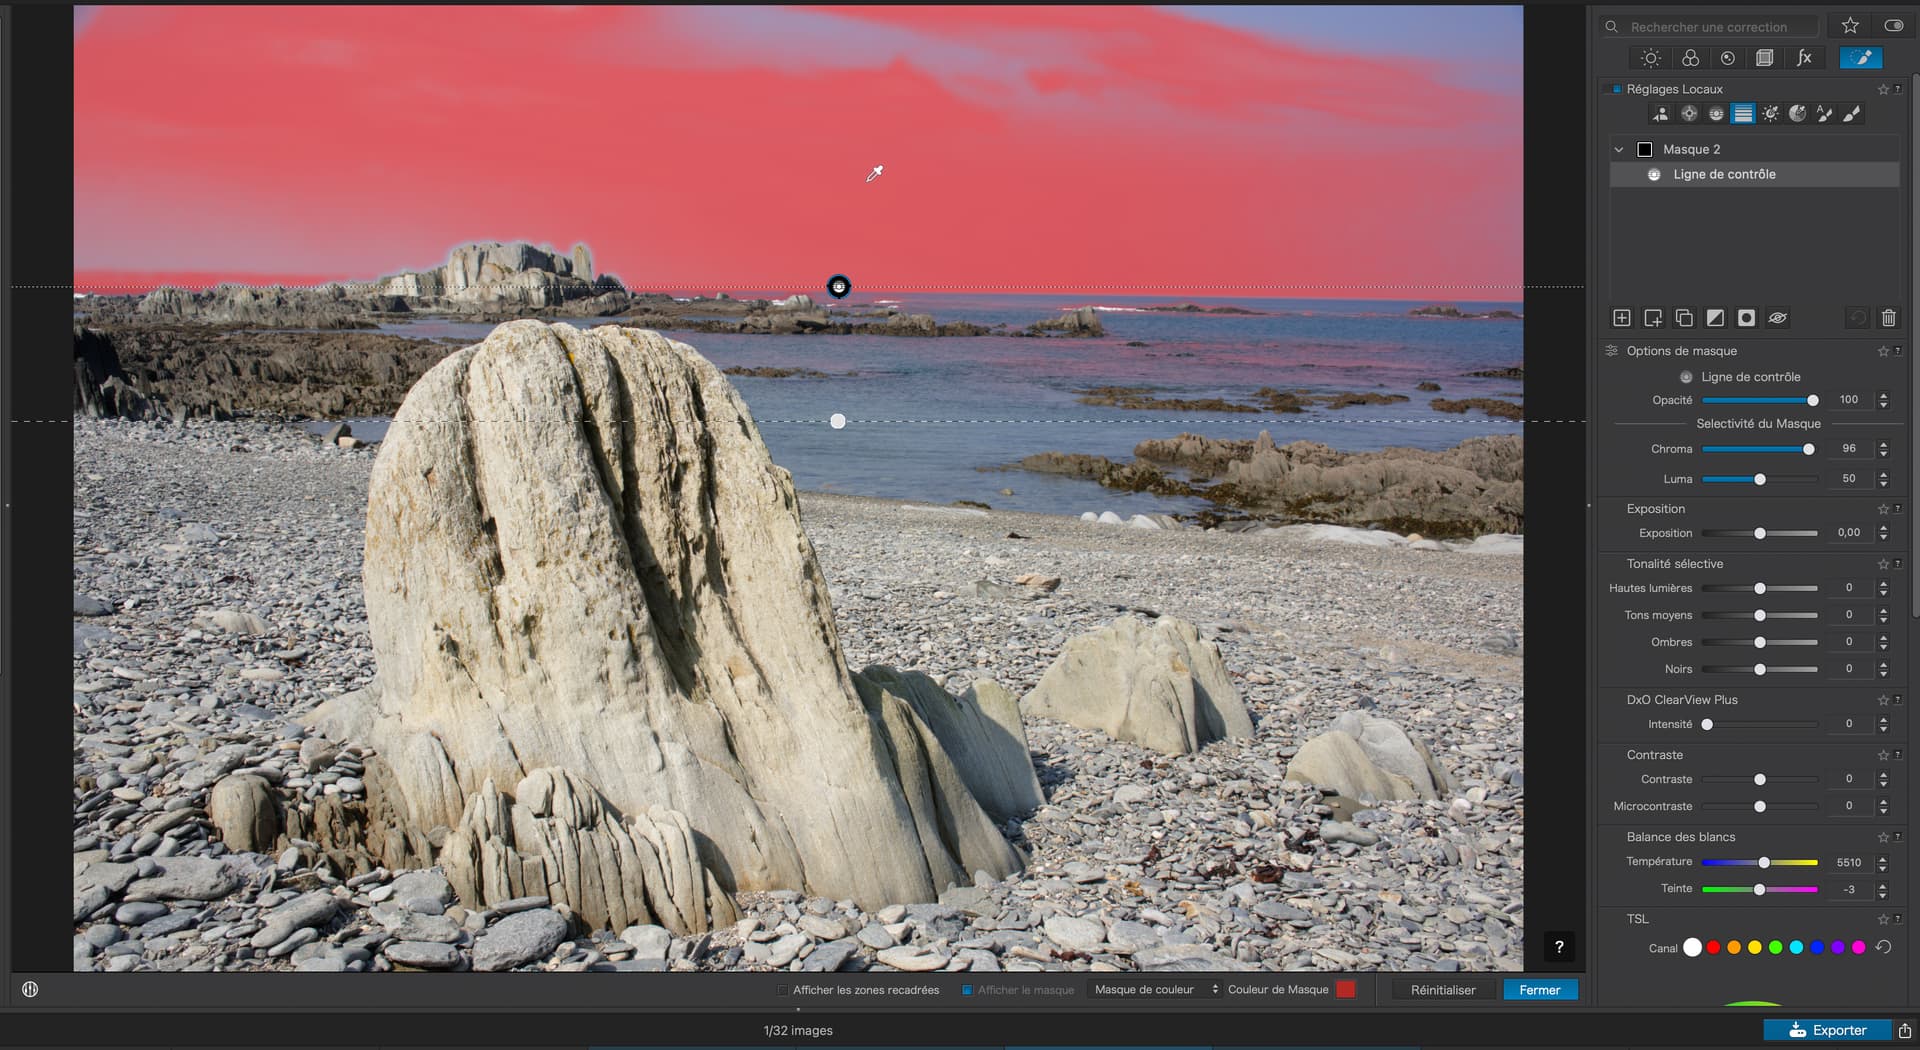
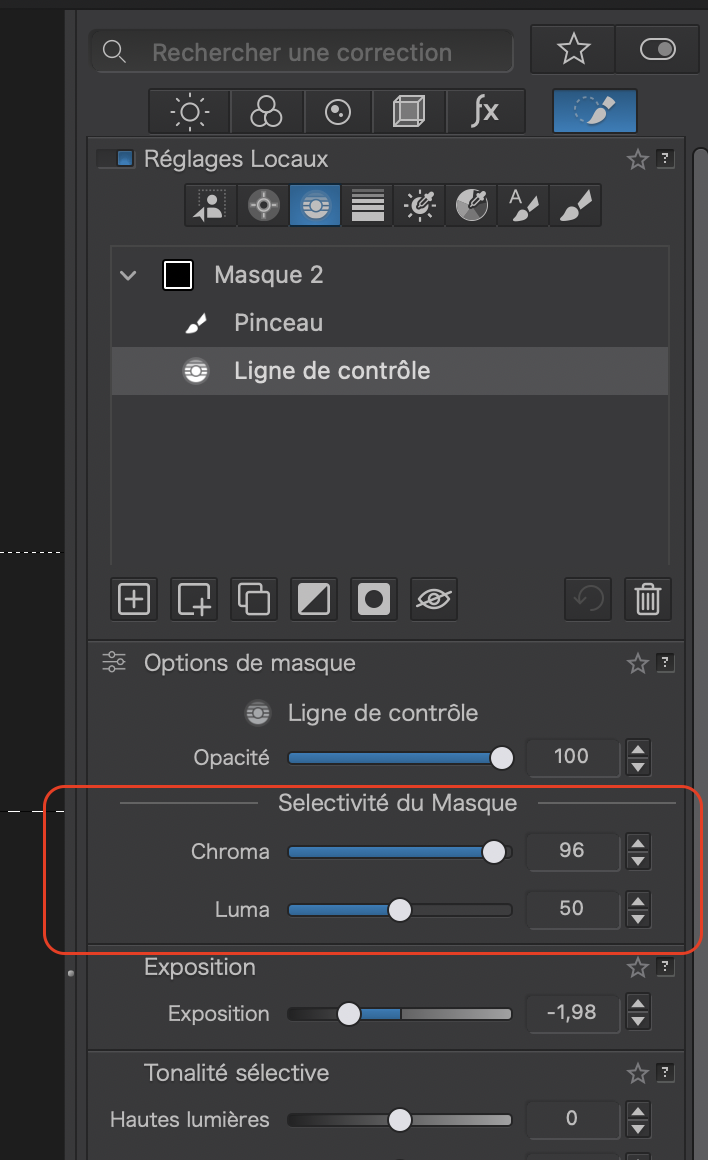
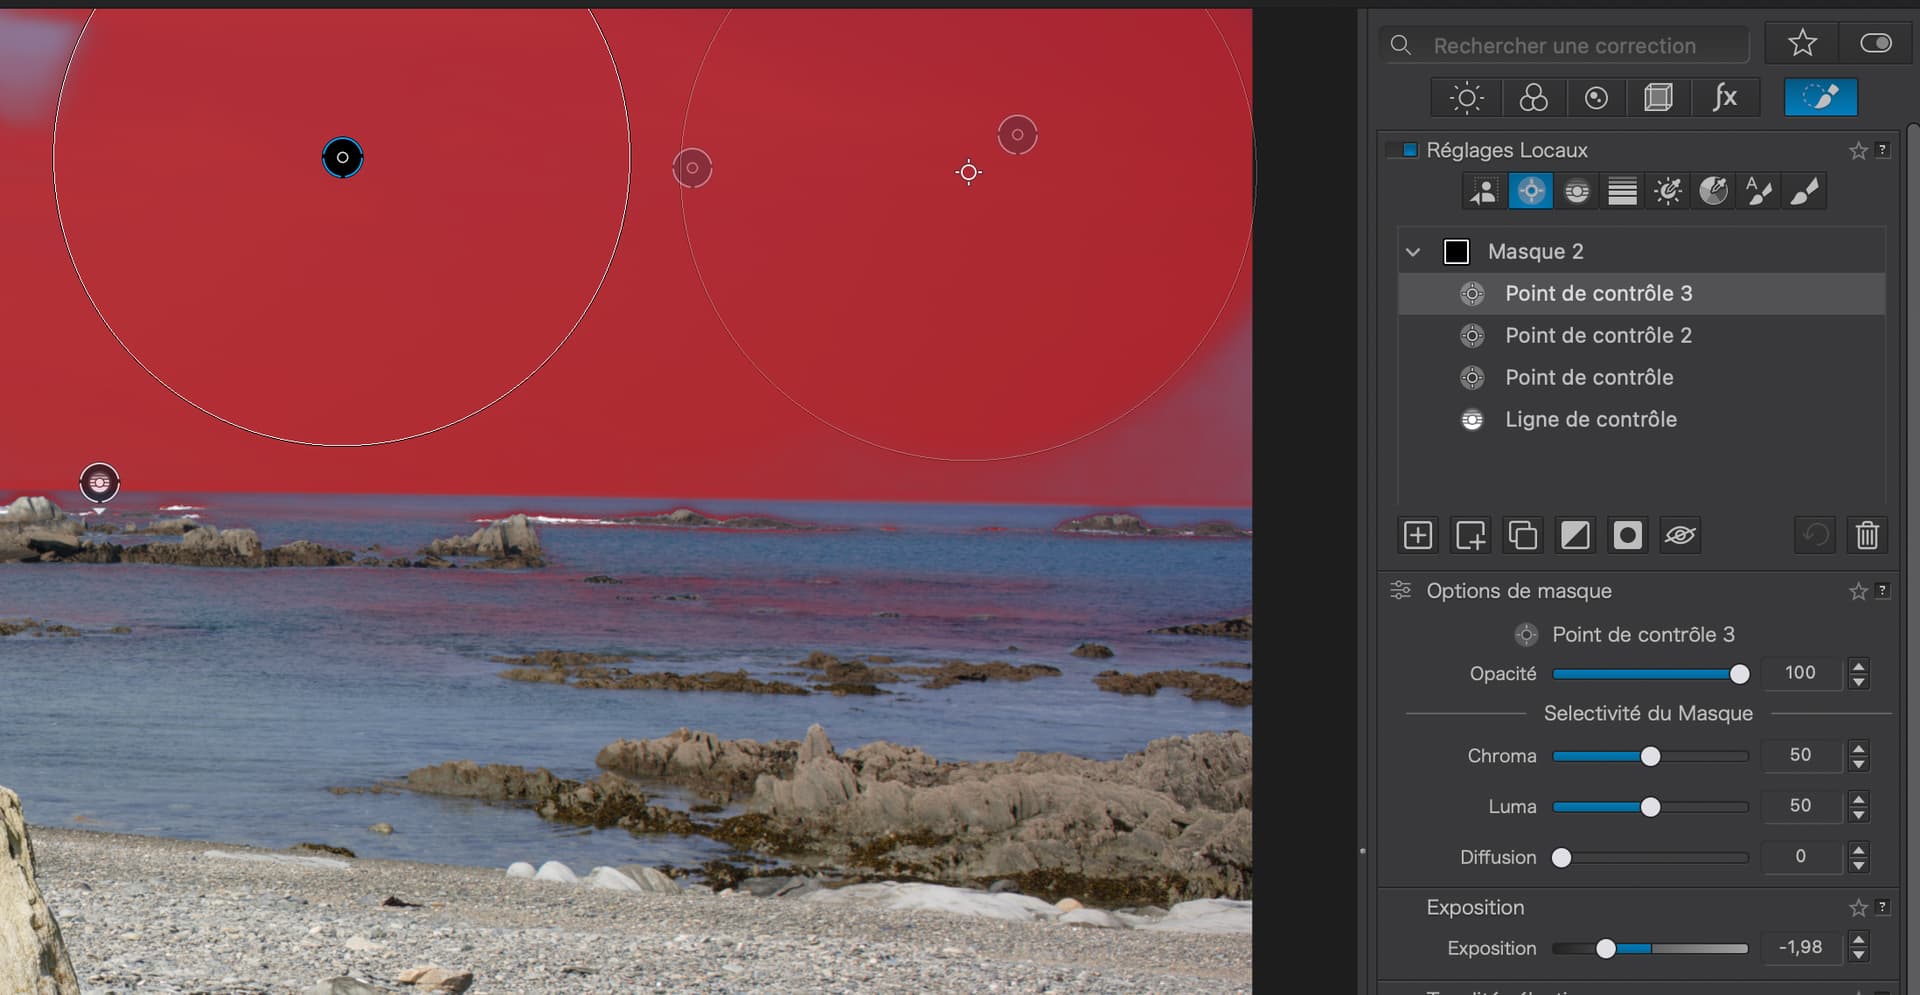
So, I thought I would try Control Points instead of Brushes but that leads to another, slightly weird, side effect, where the Selectivity of the Control Line is set to Chroma+96, but the Selectivity of the Control Points remains at +50…
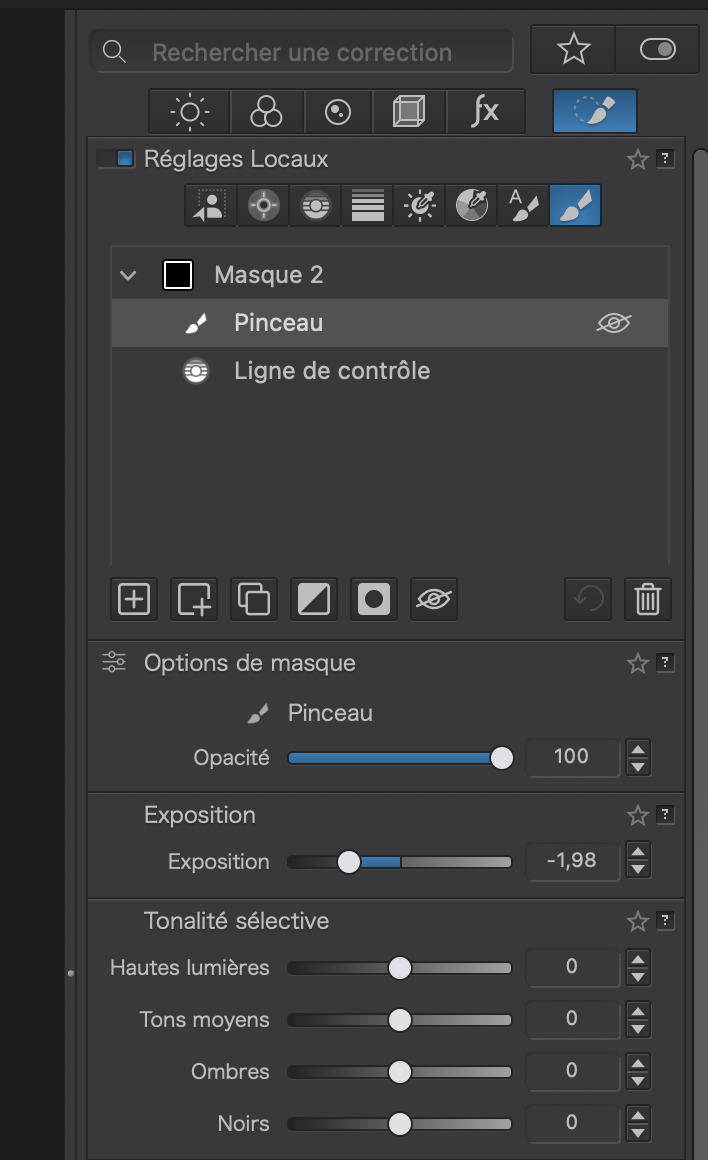
Selecting the owning “group” shows that there is no way to change the selectivity of the group in one move. Instead, I have to each component mask and change it on each one separately
The way I did similar in CO (and now PL9) is add wide area filter followed by a (-) AI selection(s) of the items to be exempt from the blur. BTW, I like the mask drag and drop for the times I forget to hold the shift key. Regardless, the effect you achieved looks good.
Mask selectivity is part of the individually available mask options – these vary depending on the LA tool.
The good thing about this is that you can vary the opacity of each single mask to balance / fine-tune its effect, just like with the mask group … helpful in complex situations.
To display a single (sub)mask move the mouse pointer over the corresponding symbol instead of over the text / description.
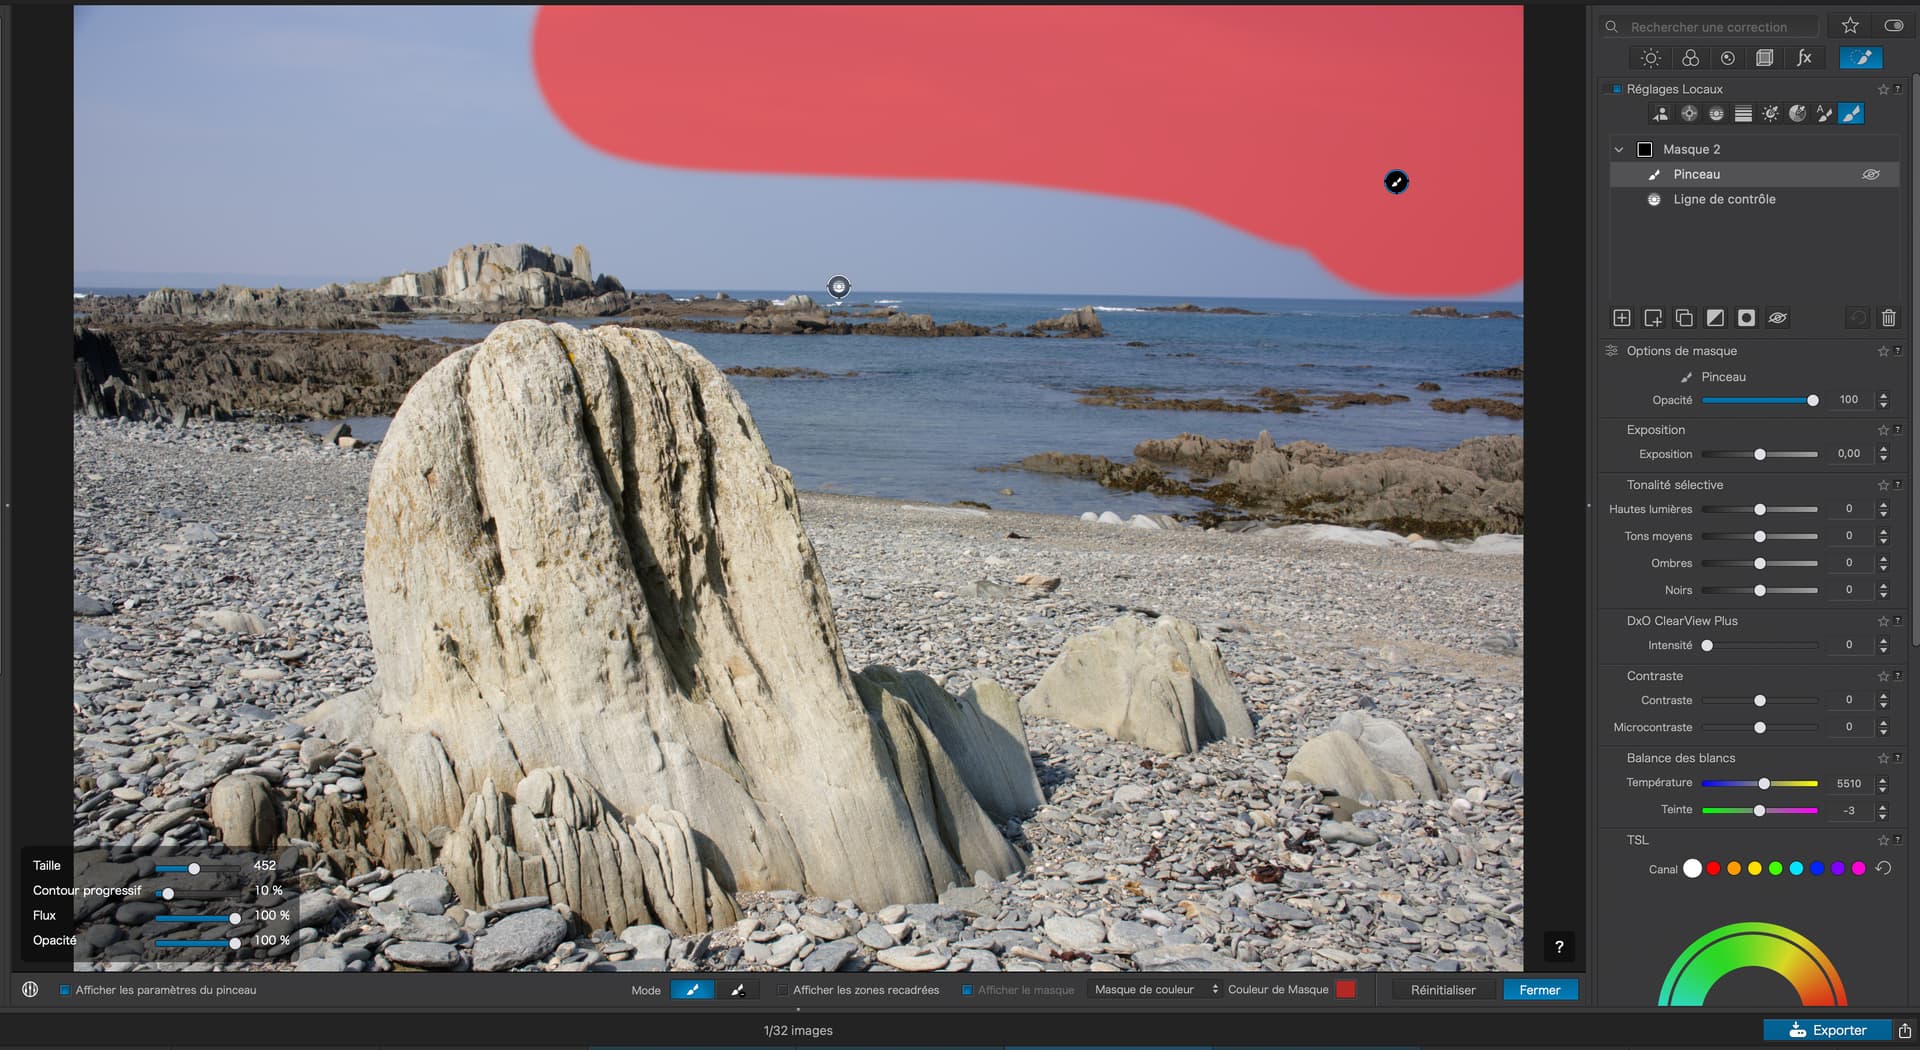
What about selecting the whole sky with a control line and ignore the fact that some of the sea is selected, then add a negative mask for the sea (freehand or gradient should do). The result should just be the sky selected.
2 Likes
Stenis
(Sten-Åke Sändh (Sony, Win 11, PL 6, CO 16, PM Plus 6, XnView))
26
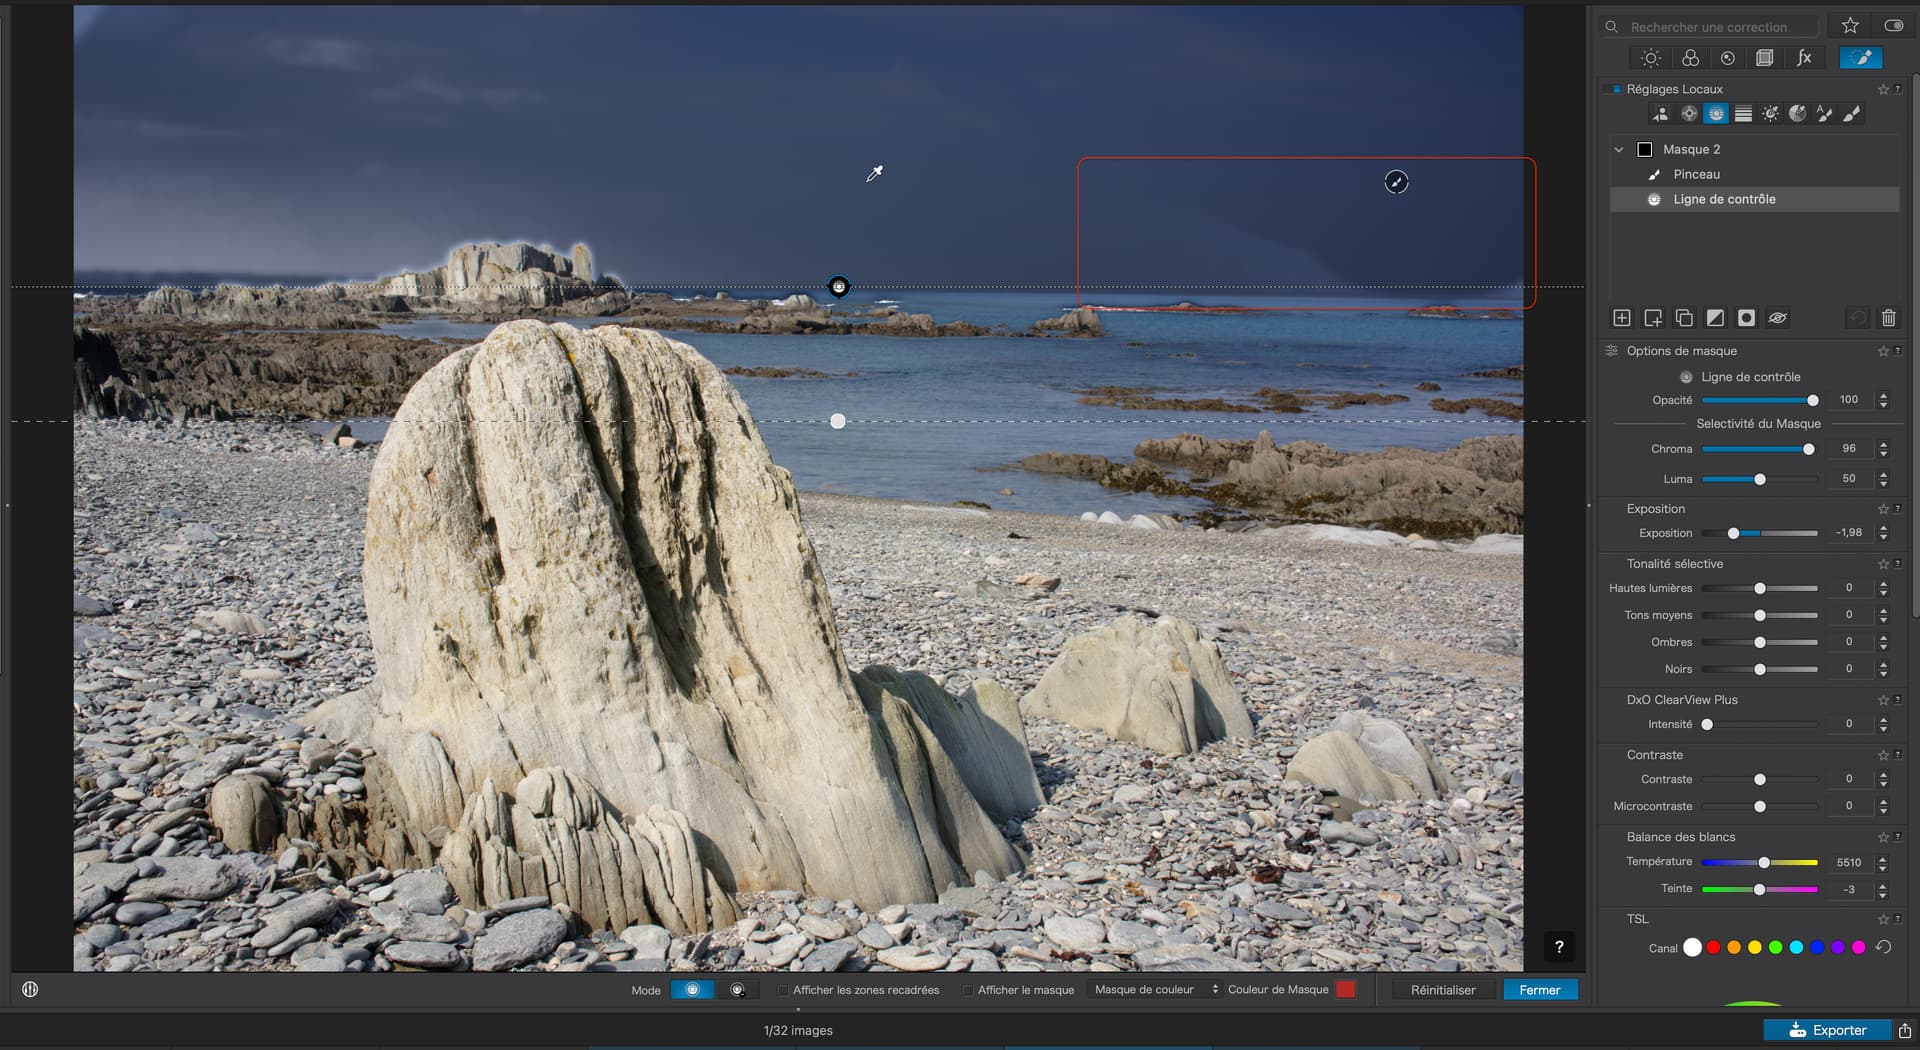
The Invert Mask is also very useful if one wants to exclude some objects that have been masked say a Control Line. Then it is just to add that area and Invert it. So there are many ways to achive these effects.
Another is to exclude say a person that has happened to get included in a Control Line Mask. In that case I saw that example where you first hold down your Alt-key and then select the premade AI-Mask for people. The result will even there be that the persons gets excluded from the first mask - in this example a Control Line.
Personally I prefer the solutions in Photolab before the new masking features in Capture One and the reason for that is that these are menu-driven (at least what I have seen). That Lihtroom and even C1 might be more entry level friedly is one thing but I really like the way I can work now in Photolab. It is actuella more effective when it comes to these basic functions. Menues are for novises and most people I see in these discussions are to my knowledge seasoned users that maybe ought to appreciate the Photolab basic features. I really do think they are more handy than at least the ones in Capture One.
That said Capture One have long struggled with a reputation of having a steep and high learning curve, that historically have made people go for Lightroom and more simple alternatives instead. The last two or three years they have done a lot to help new and more unfamiliar users to feel more welcome.
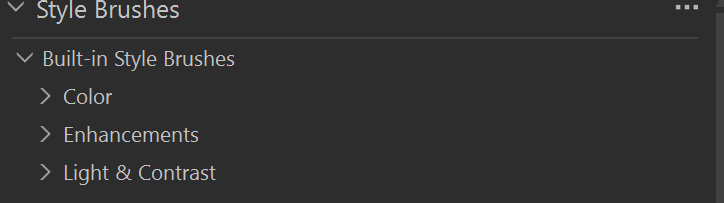
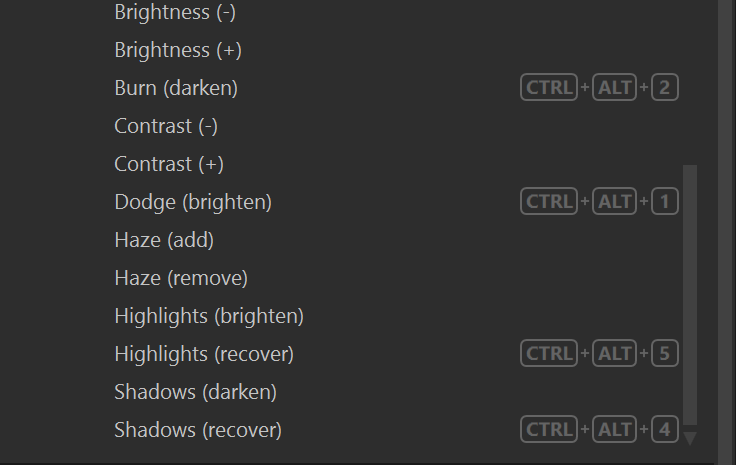
I saw I think Joanna stress the needs to affect the effects of the brushes and that was one of the big things C1 targeted a couple of years ago when implementing around 20 diffrent new so called Style Brush-variants. They are just soo lovely, well designed and user friendly. You just pick one in a meny and and adjust it with the mouse if necessary and start to paint - then in the back a new mask-layer is created automatically. Style Brushes almost let you forget totally about mask and layer management. Using them really applies to me and many others because it is very natural how they work - it is like drawing and I have used it a lot earlier with a drawing pad.
I would very much like to have something similar in Photolab. If I get that I will be for ever happy with DXO and Photolab
Photolab 9 has come a long way in one giant leap even compared to the competition and in fact some AI-related functions Photolab 9 got before C1 got them but Style Brush functionality is not one of them. Who would have expected anything like that a couple of months ago?
Stenis
(Sten-Åke Sändh (Sony, Win 11, PL 6, CO 16, PM Plus 6, XnView))
27