Hi. I’ve searched the forum and explored wider searches online, but can’t find a direct answer, so forgive me if this has been covered but I can’t seem to find the answer for my issue.
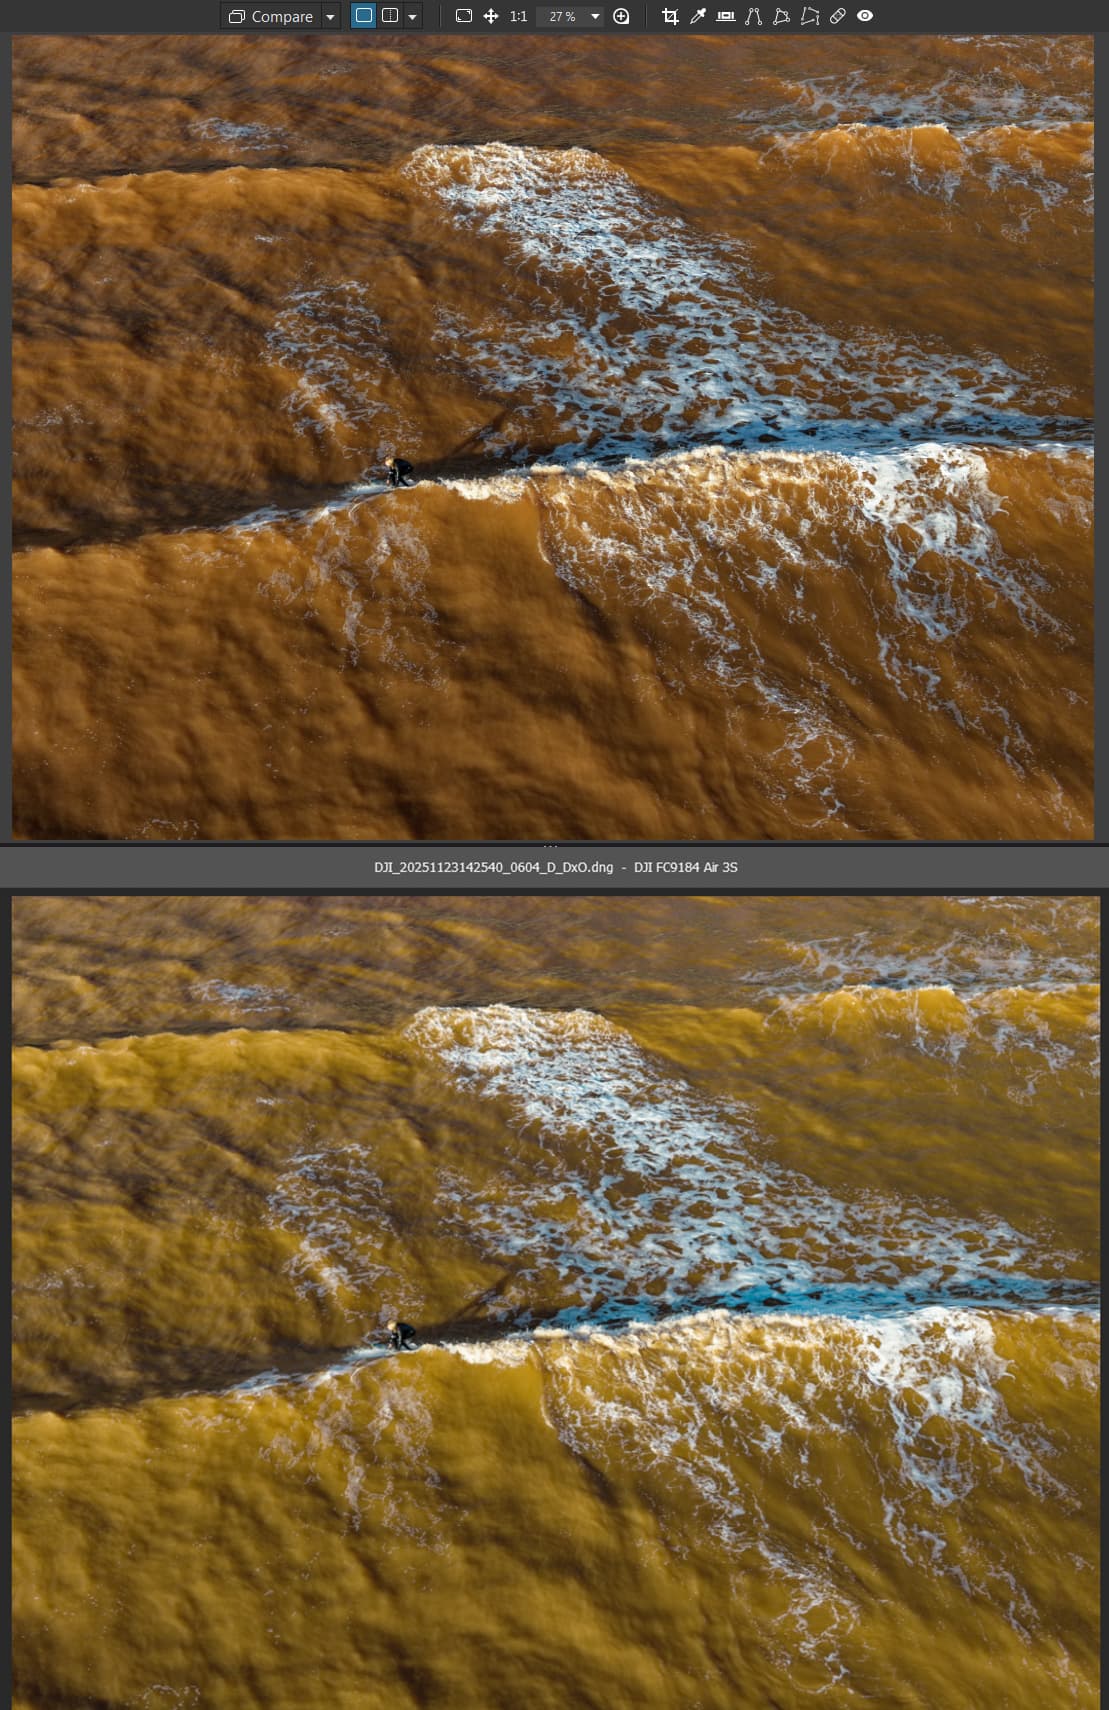
Using the DJI Air 3S DNG files, Photolab is applying the correct rendering for the drone lens in question (FC9184), and once happy with the edits, I’m exporting with All Corrections selected. When I then open the file in Photoshop via Camera RAW, the file looks radically different - see screenshot with Photolab top, Camera RAW bottom.
I’ve read that Photolab uses the JPG preview, but with the correct rendering applied the shift in Camera RAW seems excessive. Is the only way to export what you actually see on screen in Photolab to do so via TIFF? I much prefer the look in Photolab, but ideally I’d be able to keep the file as a DNG.
Again, sorry if this has been covered, but I did do a lot of searching before posting
Just noticed that the original DNG file (not processed in Photolab) is actually a lot closer to the result I’m looking for. It’s as if the Photolab export isn’t exporting the corrections successfully.
I’ve been using Photolab for my drone DNG exports for a while, but never noticed such a shift in the image. Maybe I should just run these through Camera RAW only and see if the next images I take have the same problem.
Raw converters don’t ‘automatically’ work the same way and the color output may look different. Or – most probably misunderstood – do you try send your developed file through ACR? I even don’t know if it’s possible recently.
I’ve read that Photolab uses the JPG preview, but with the correct rendering applied the shift in Camera RAW seems excessive.
During the development of the raw file in PL, you may have briefly seen the embedded JPG – until the camera lens profile was applied. What you now see in the preview is therefore the result from PL.
Is the only way to export what you actually see on screen in Photolab to do so via TIFF?
Did you try to export via TIFF to compare it with your DNG export? For differencies, how do they look like … exposure, color …?
I’m opening the exported Photolab DNG in Photoshop, which triggers ACR prior to being able to open in PS.
The preview in Photolab is always consistent once I’ve applied edits, it’s when I export the resulting DNG that it looks very different in ACR (and Luminar Neo if I try that too).
The exported TIFF from Photolab looks exactly like the preview there when opened in any of my editing software - it’s the exported DNG’s that shift considerably.
It’s been a while (several versions now) since I noticed any differences in DNG export. Please spare me the trouble of searching for the relevant post. As far as I remember, it was about exposure, but not such a significant color shift.
I had tried to get to the bottom of the matter through systematic investigation, but eventually gave up ( don’t need it ).
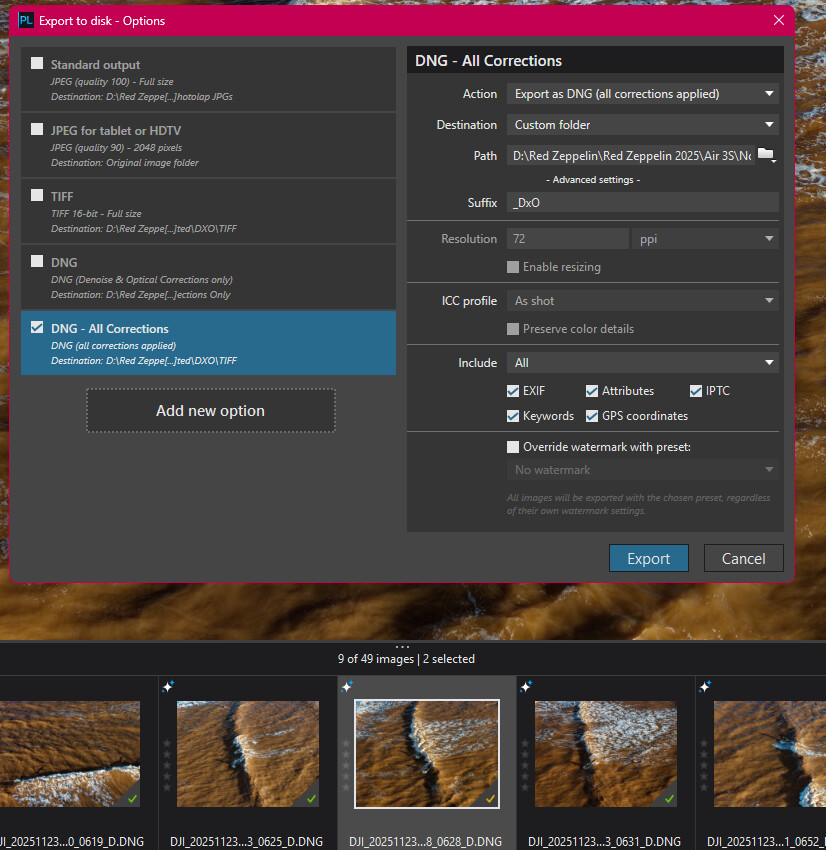
Thank you. I can only edit the ICC profile option at export if selecting TIFF - both DNG options (Optical only and All Corrections) are greyed out / locked.
Possibly because having been edited in PL using DxO’s Wide Gamut colour space the colours you see on screen are not being appropriately mapped back to the ‘as shot’ ICC profile.
This is a bit of a faff but it might be ‘interesting’.
Take a picture with your camera set to Adobe RGB. Doing that means the ‘as shot’ profile is recorded as Adobe RGB.
Import the RAW into PL. The ‘as shot’ profile will not be used but it will be in the data.
Edit the RAW using PL’s classic/legacy colour space, which is Adobe RGB.
Export to DNG, which will inherit the ‘as shot’ Adobe RGB profile.
There has been another recent thread with essentially the same problem.
It seems that some software treats linear DNGs as if they are something different than they are. Photoshop shouldn’t really be using Camera RAW to open them as they are already RGB images, not RAW.
There is very little difference between an RGB DNG file and equivalent TIFF file. Seemingly, most software knows what to do with a TIFF, so I’d say exporting from PhotoLab as a DNG is generally not a good idea.
Typically, DNG files store unprocessed RAW data. By contrast, Linear DNG files store some intermediate results of RAW conversion. Some initial processing steps have been applied — but only linear ones. This means that none of the data is lost to one-way, non-linear processes. As a result, Linear DNGs have exactly the same flexibility as RAW files when it comes to editing aspects such as brightness, color, and contrast.
Linear DNG files become useful when you want more flexibility in your workflow. If your preferred photo-editing software does a poor job of performing those initial processing steps, you might want to have another piece of software do it for you instead as a means of ensuring better image quality. With Linear DNG files, you can combine the strengths of different tools, squeezing more from your RAW files in terms of quality before switching to different software that gives your preferred mode of creativity.
From
When processing in PL you see the end result, everything included. Well maybe except denoising. The program doesn’t know yet how you want to export it. So when exporting the image as DNG the non-linear edits are dismissed.
Thanks for the information. I guess I thought All Corrections meant just that when exporting the DNG’s from PL. I’ve always noticed a slight difference when opening them in PS, just never such a dramatic shift as the ones featured here.
Maybe I’ll review my complete workflow and decide what’s required and what’s not.