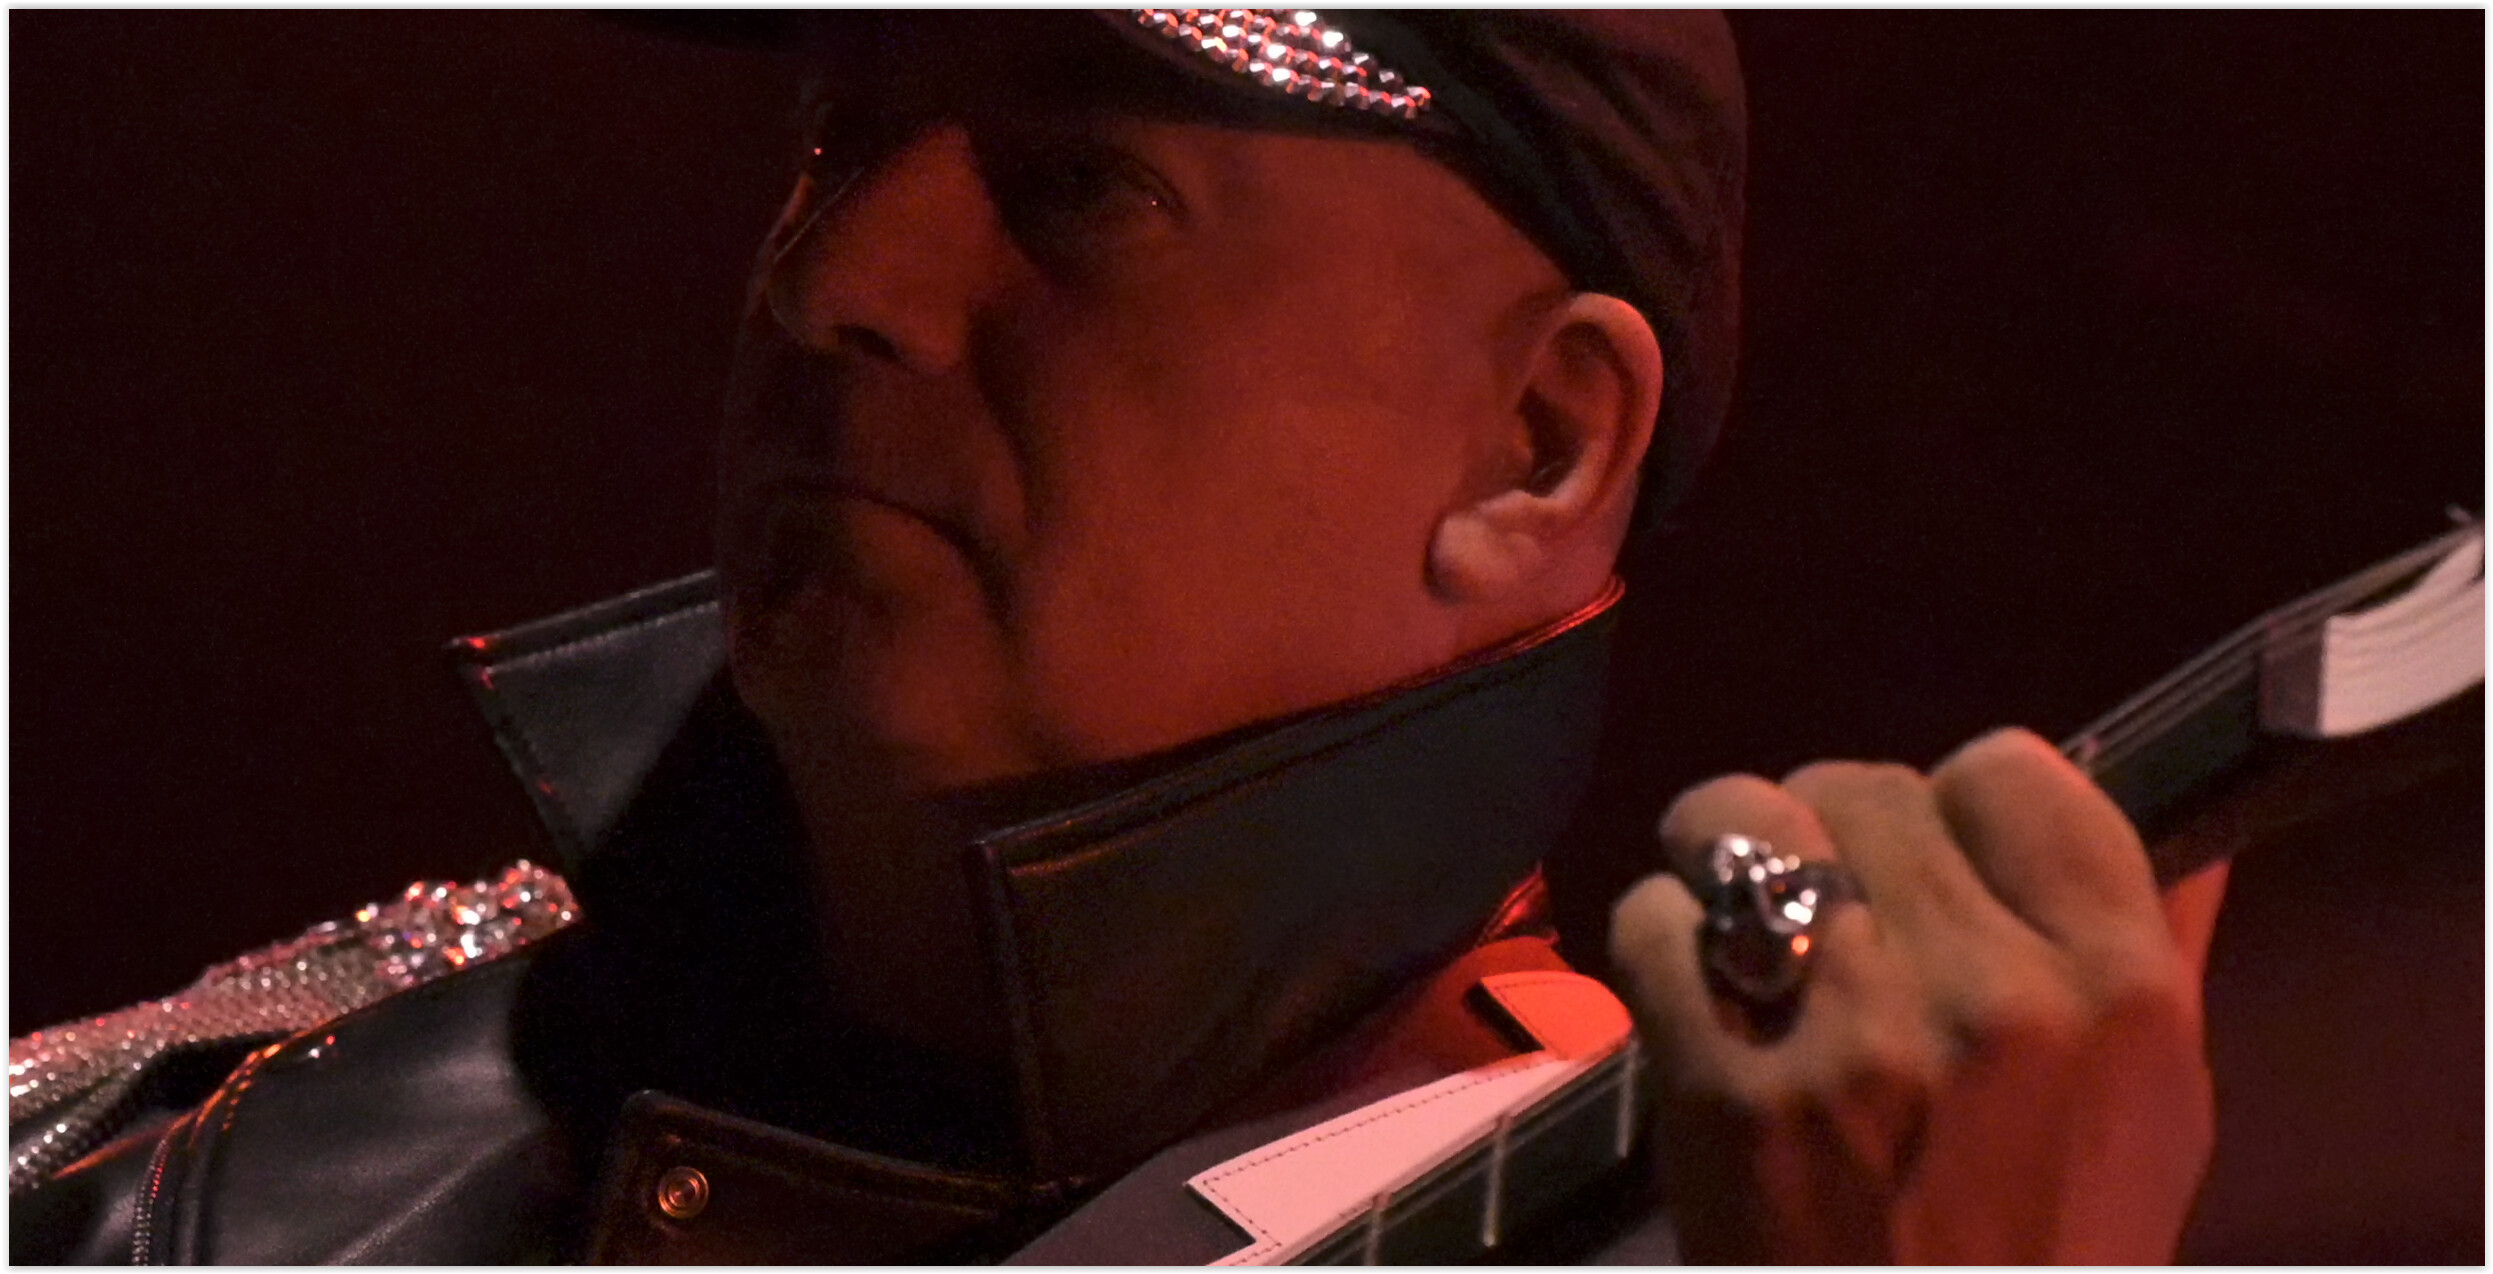
I’d just come home from photographing a concert, uploaded the RAW photos to my laptop and started PhotoLab 8 to start processing the photos.
After starting up the application I was notified of an update. I accepted the option to update my installation of PhotoLab 8 to version 8.7.2 build 48 and after restarting the application I wanted to go ahead and process the photos.
To my astonishment and dismay all denoise options are disabled for all photos that I’ve taken with my Nikon Z6III (Z6_3). For the photos taken with the Z6II (Z6_2) the denoise options are all enabled.
What do I need to do to have the denoise options available for the photos taken with my Nikon Z6III?
I did download PL8 again using my account.
I installed it and even manually added all camera+lens modules of lenses and teleconverters that I own (all Z mount).
But unfortunately this didn’t solve the problem.
WhatI neglected to mention in the bug report is the fact that the software runs on a MacBook Pro M1 with 16GB memory and 1TB SSD that is updated to the latest macOS version…
Having recently purchased the Nikon Z6III I have been fiddling with some settings.
While fiddling with the frames per second setting and the mevhanical vs electronic shutter I also must have changed the image recording format from RAW (NEF) to JPEG and forgotten to set it back to RAW again.
The photos I took this evening were in JPEG, not in RAW.
Now i must find a way to convert those photos to DNG or some other ‘raw’ format so I might be able to reduce the noise a little. The photos as they are now are way too noisy (ISO 6400+).
I’m very sorry to have bothered you about what turned out to be a user error.
What I meant was, that I added DxO modules manually for all the camera and lenses that I own. My Z6III with Nikkor Z 24-120 f/4 S was not installed, so I added it manually.
But, as I said, this did not solve the issue.
The issue was caused by the fact that the photos from the Z6II were JPEG instead of RAW.
I’m currently looking into possible options to do some noise reduction on the JPEG’s…
The reason I had to add the module for the Z6III with Nikkor Z24-120mm f.4 S manually had probably to do with the fact that all images from that camera were in JPEG instead of RAW/NEF.
Thanks for the pointers.
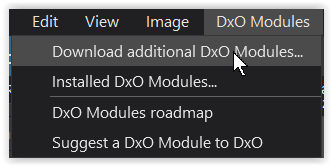
I’ve been contemplating adding Nik Collection to my set of imaging tools.
I think I’ll try NIK Collection to see if DFine works for the JPEG’s.
Let me know when you’re “ready” and give me a candidate so I can explain in a little more detail.
Just note that it’s an old technical program that works with blurring and best is to use it selectively (or even in combination with a pixel editor like AP2). But it’s nothing compared to what you can nowadays do with raw files.
As mentioned, I don’t know the Topaz stuff, which people also use for sharpening (in a different tool ?).
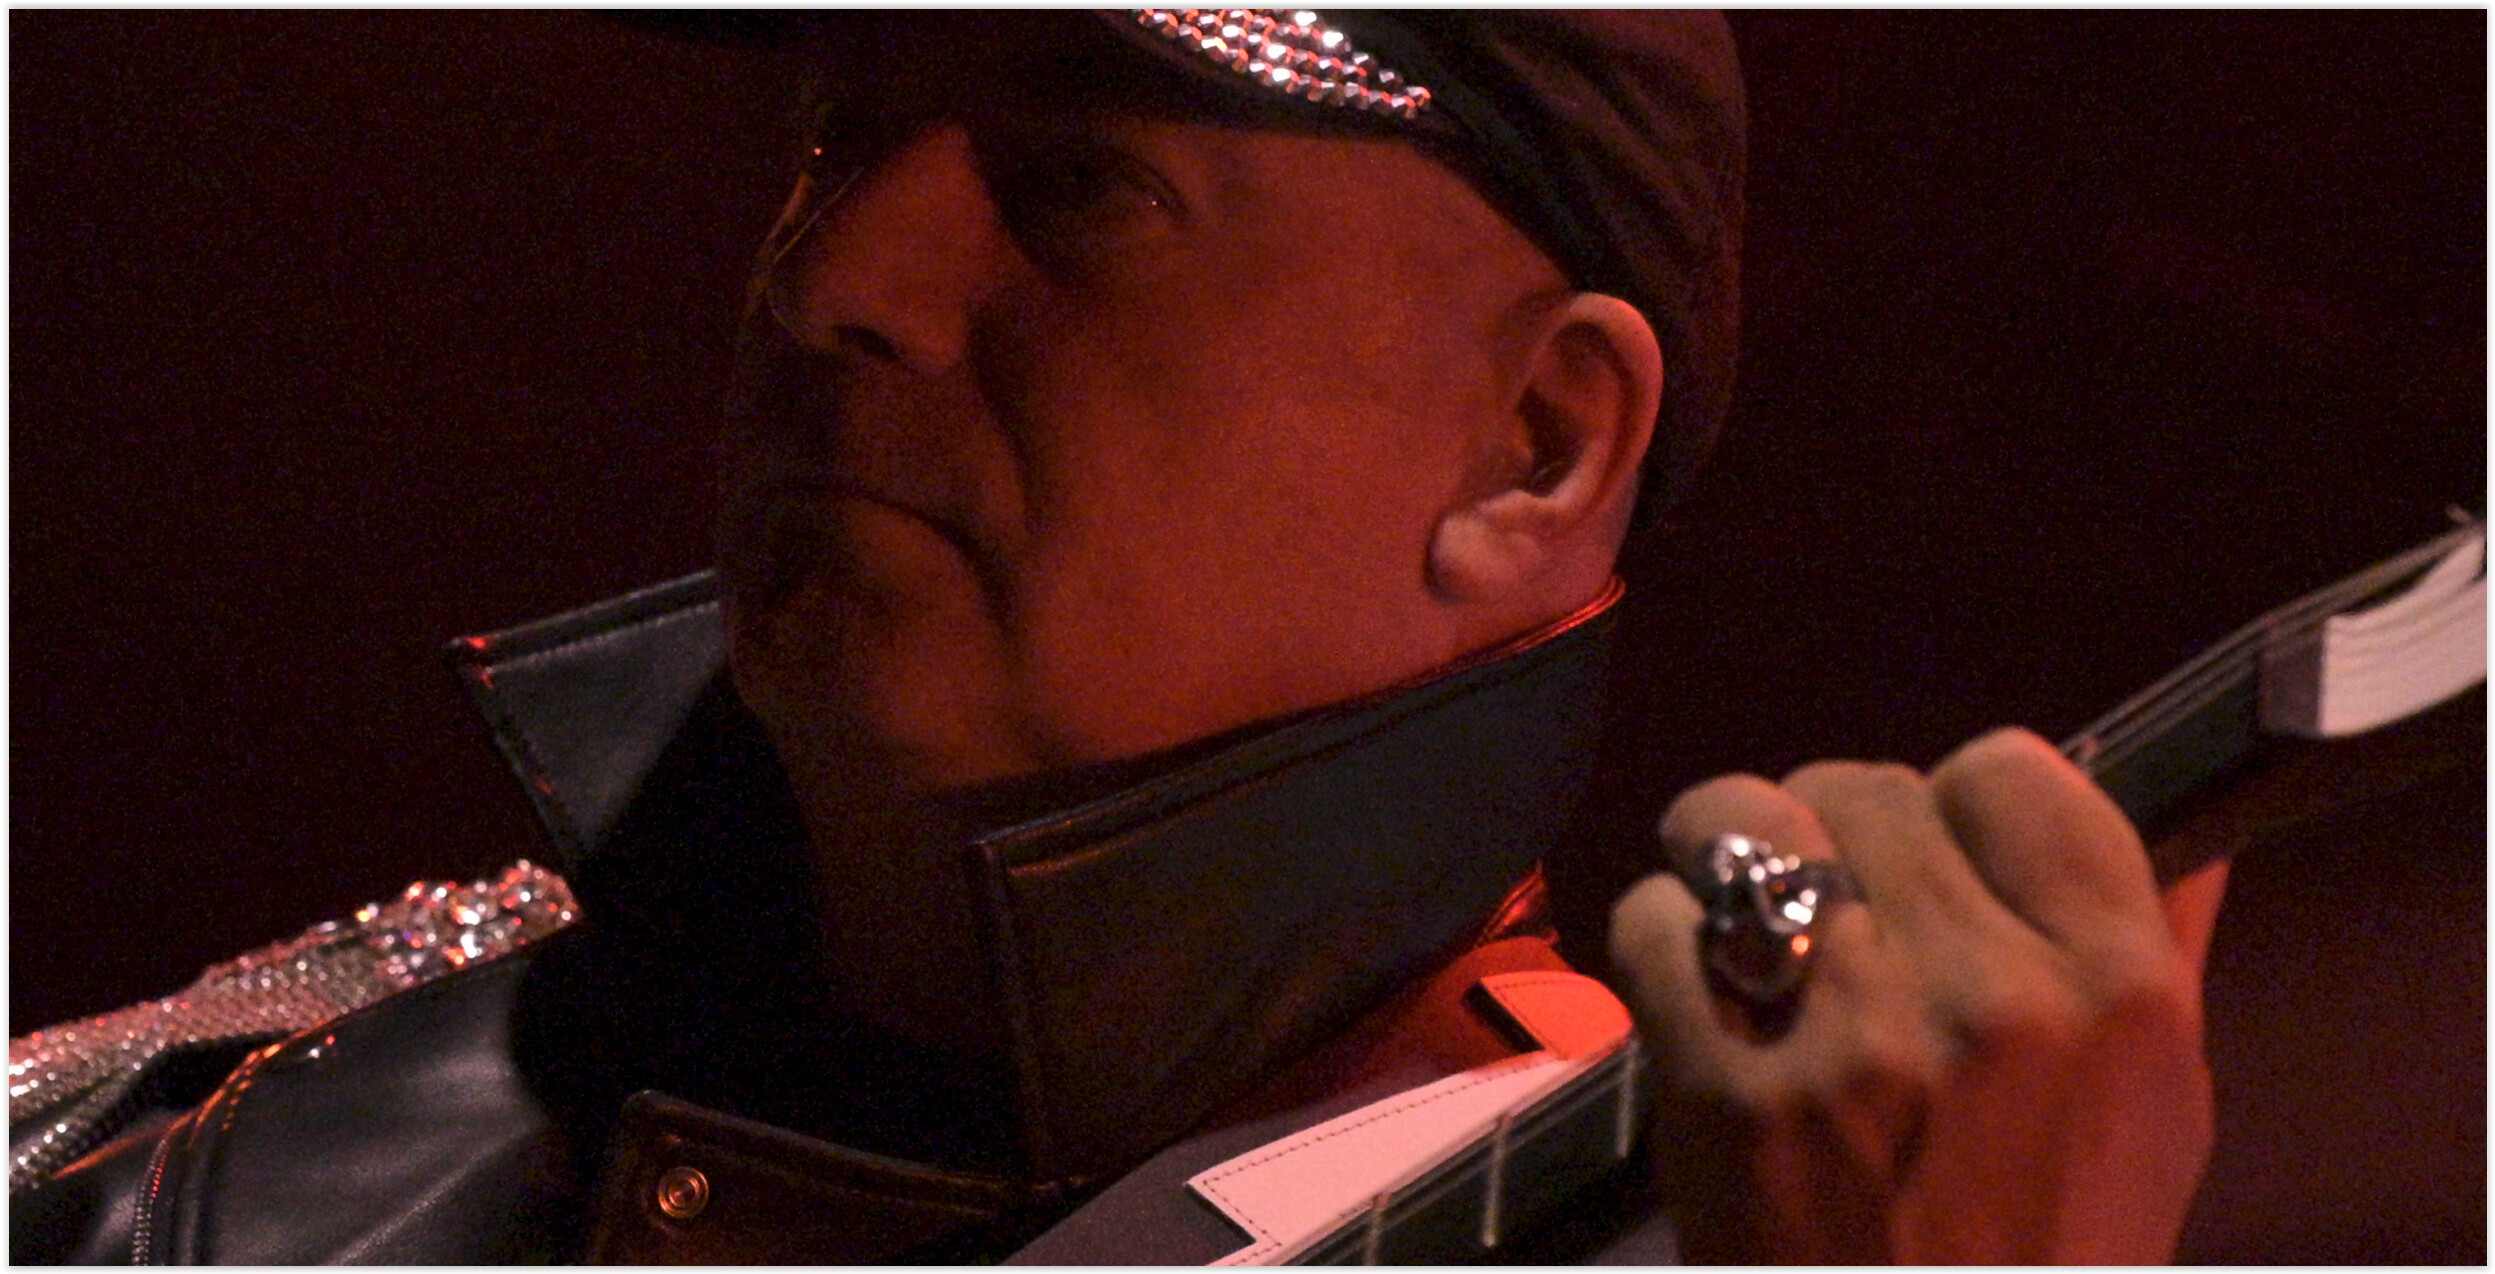
I hereby uploaded a ‘candidate’. But looking at the inserted text after uploading the photo it seems that the photo was downsized to 640x460. The original is 6048x4032.
I have a MacBook Pro M1 and have the photos opened in PL8 (latest version).
From there I know how to open it in Dfine. Bit the UI of Dfine puzzles me somewhat.
Thanks in advance for any tips or pointers.
[EDIT]
After uploading the photo I noticed that it’s darker than when I open the photo in PL8. I added 0.5 exposure, applied Light Contrast (Luma), Smart Lighting of 25 (Light) and a Clear View of 10.
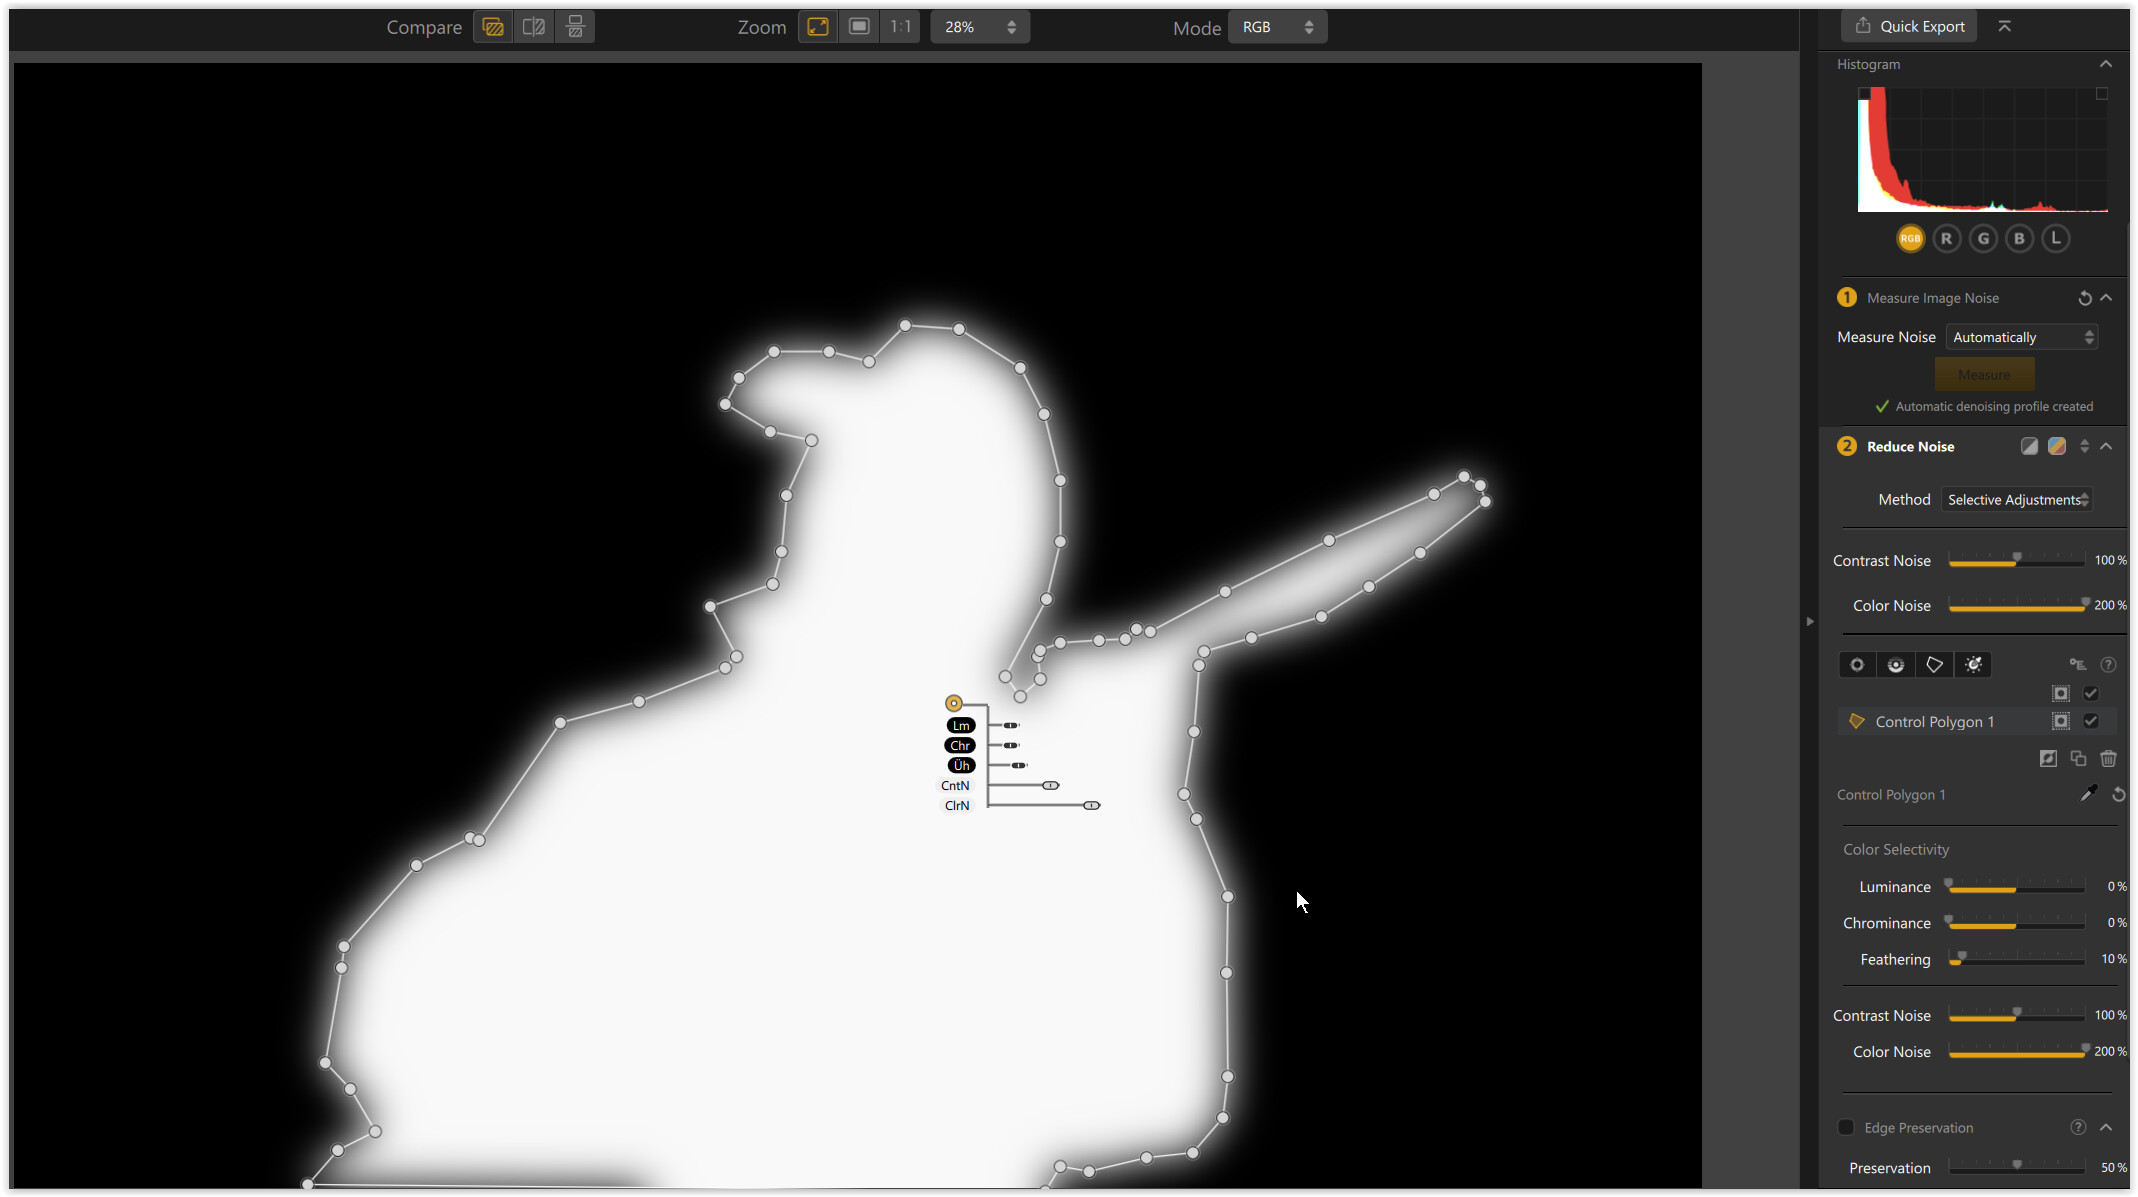
In Nik 7 / DFine (don’t have the latest NC) I chose Automatic Measurement and dediced for Selective Adjustment. The subject colors are too close to use DFine’s color selection, which could have made it somewhat easier …
While a rough selection with the Polygon tool was sufficient, it went confusing.
The Polygon tool settings appear in the Color Settings section. I flipped the mask and reversed it and tried setting up the sliders. Despite many attempts, I was unable to adjust the foreground and background as intended. If it’s a bug or I’m too stupid to cope …
.
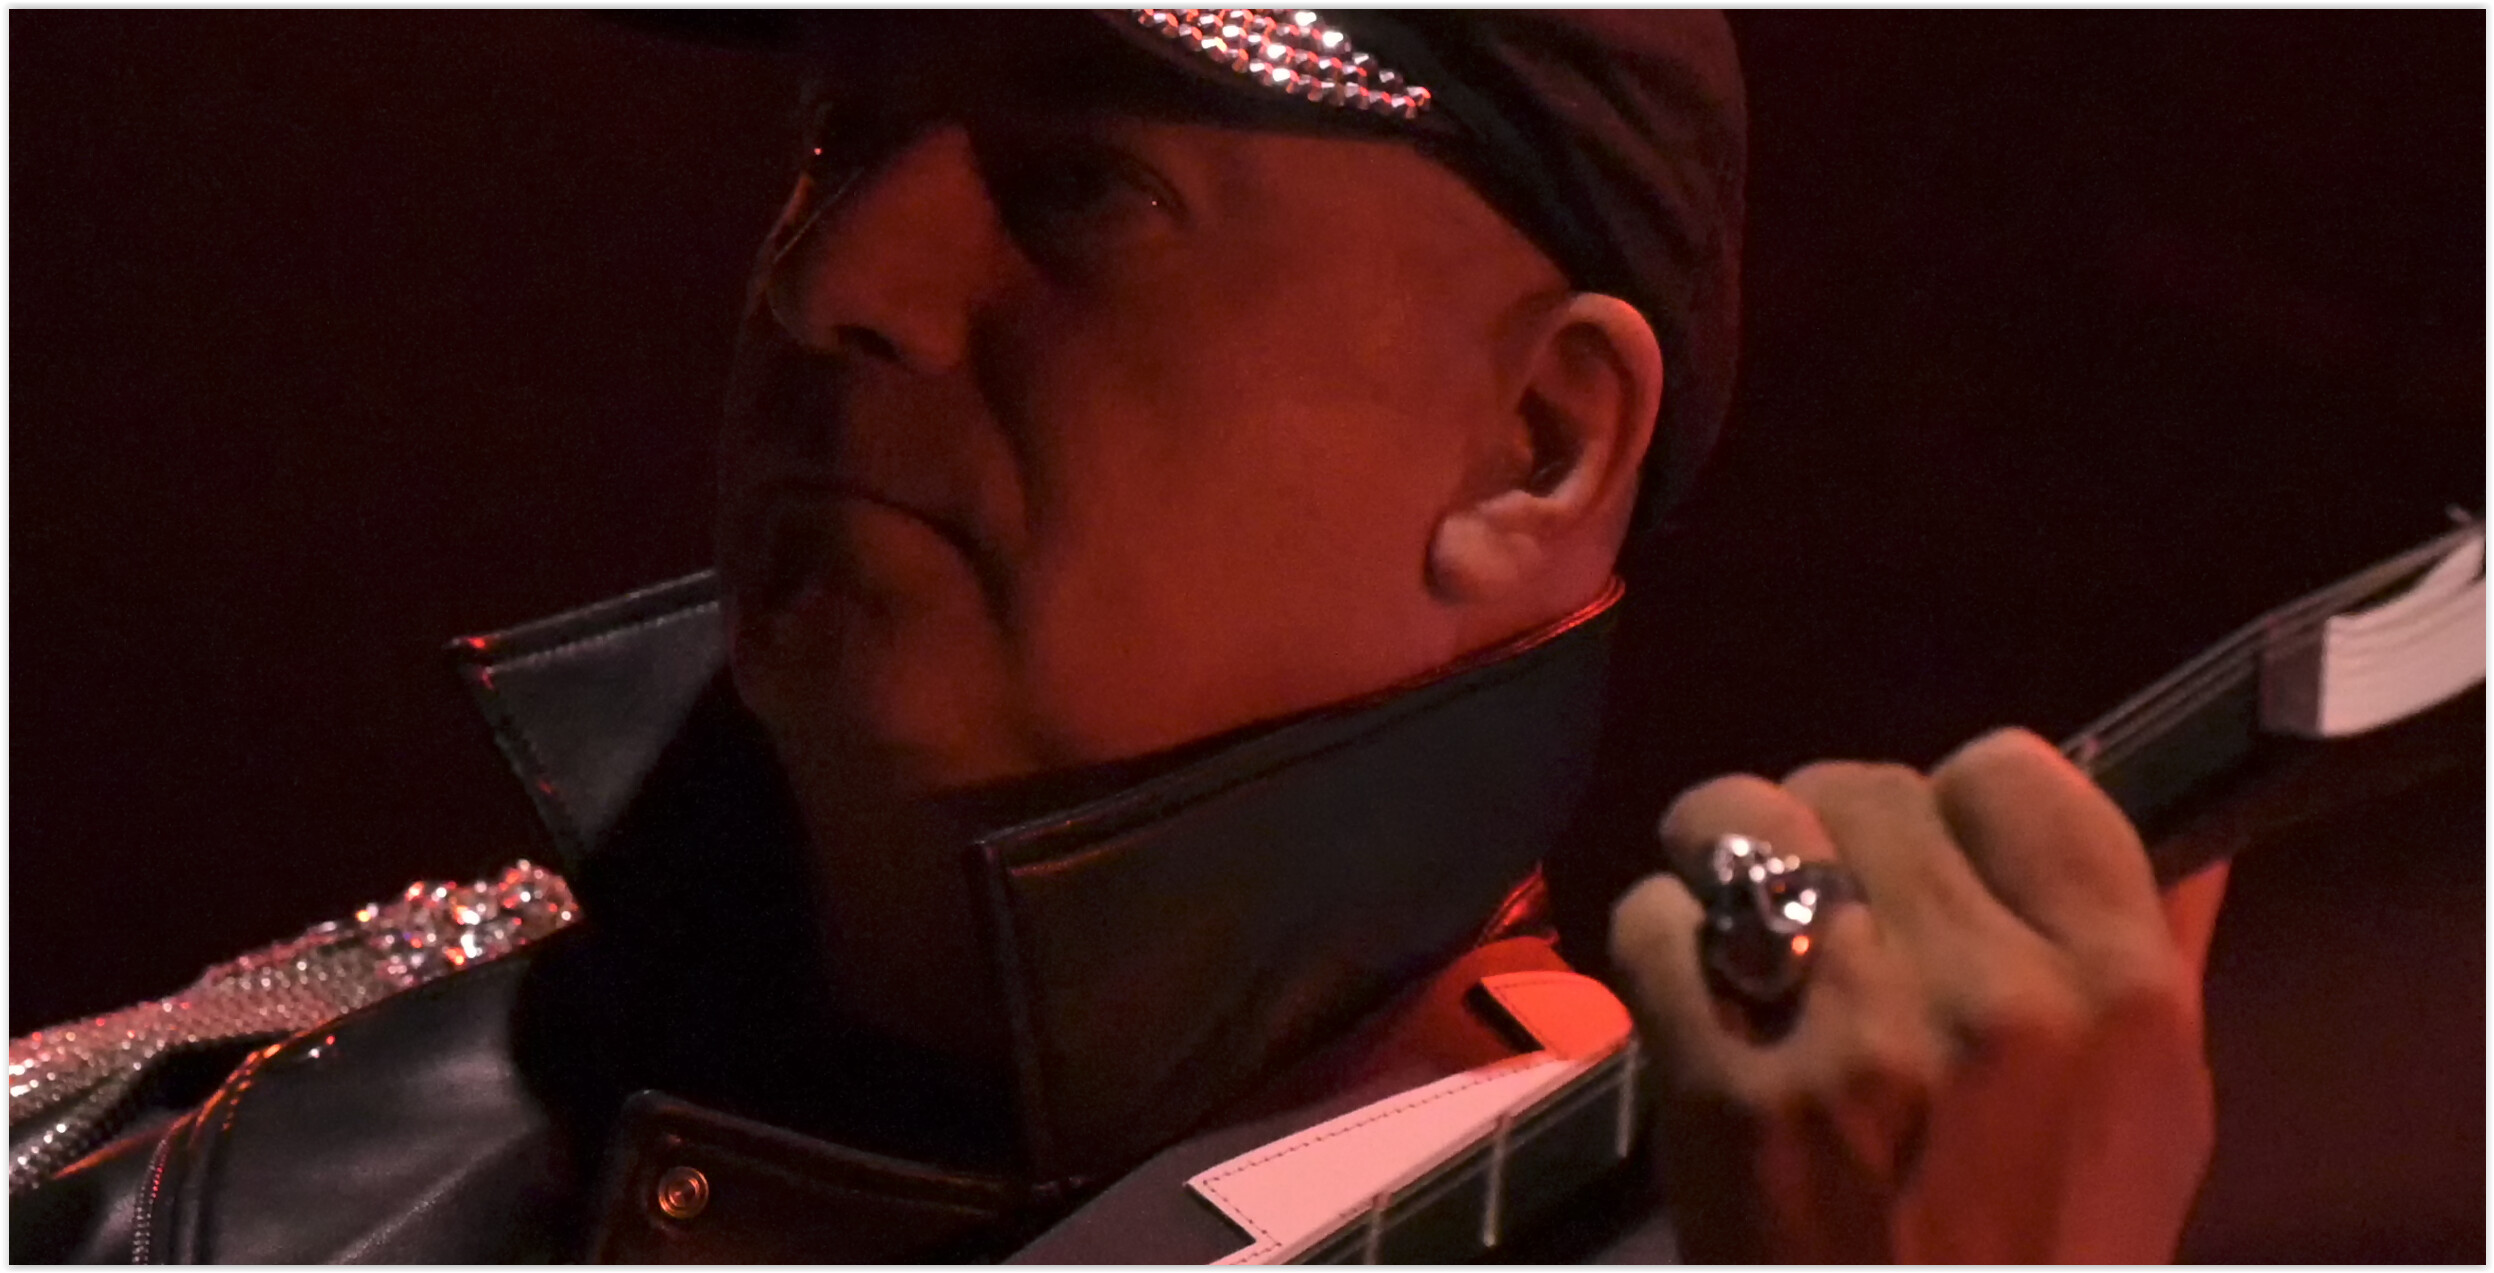
Went back to how I used to work with DFine …
I exported your JPEG as TIFF to not to get trapped by repeated compression.
used my old pixel editor
duplicated the layer
applied the old DFine 2 to soften the whole image
(a mask restricts the softened version to the background)
duplicated the layer and mask
(modified the mask, changed series + opacity)
I’m away for two day, so I’ll look into it by the end of this weekend.
The photos are used in a concert review. For the review they need to be downsized quite a bit (about 800 pixels on the long side). At that size the noise, without any noise reduction, is hardly visible.
If I understand you correctly the masking and applying of Dfine was done in what you call ‘pixel editor’. I assume you mean Photoshop or likewise (Infinity Photo, etc.).
It turned out the the pixelation of the photos was much less of an issue than I thought.
The photos were taken for a website’s concert or photo report. The max. resolution of photos for that website is 800 pixels wide for photos in landscape orientation and 560 pixels wide for photos in portrait orientation.
After downsizing/downsampling the photos to that sizes the noise was less obvious, to a level where additional editing with Dfine or otherwise was not necessary.