Regarding Metadata presets, one possible work around that may accomplish your objective is to use a program that allows for Metadata and keyword creation at the time you download your images from a card with a card reader. I use Downloader Pro (Windows only) to download my images. It creates unique file folder names and image file names (chosen by you) and allows for IPTC/XMP data chosen by you at the time of download. Another program that can do the same thing is Photo Mechanic from Camera Bits. Downloader Pro is from Breeze Systems. Since PL can read XMP data these two programs may resolve some or all of your needs.
I am not that familiar with options in Adobe programs.
I also suggest that you can copy needed data from a “master file” into one of your new images. Then copy it to all of the other images in that folder as needed.
PhotoLab Elite - $220
FilmPack Elite - $140
Photo Mechanic - $170
Qimage One - $80
Total - $610
That makes Capture One look very inexpensive.
Of course, it can be easily argued that those applications together provide the best-in-class performance for a photographer. And some of those programs can be had on sale. But they each have an annual upgrade fee to keep them on their toes.
No, photography is not an inexpensive endeavor, and camera gear costs far more than $610. But, still …
Photo Mechanic should work for a good while. But there are bound to be OS updates, new RAW image formats, and so on that will necessitate an upgrade at some point.
Other than Lightroom/Photoshop and Qimage, no other Mac software can handle output sharpening based on image size and media type. Sharpening is different for large vs. small images and different for matte vs. glossy papers. And different printers require different resolutions (Epson likes 360ppi or 720ppi, for example, while Canon likes 300ppi). It would be a shame to create a great image in PhotoLab and then print it with generic output settings.
Now that you have PhotoLab, you can try figuring out something. Maybe that option-drag will work:
option drag image from folder A to folder B (this should copy the file as with option-dragging in Finder)
delete copied file from A
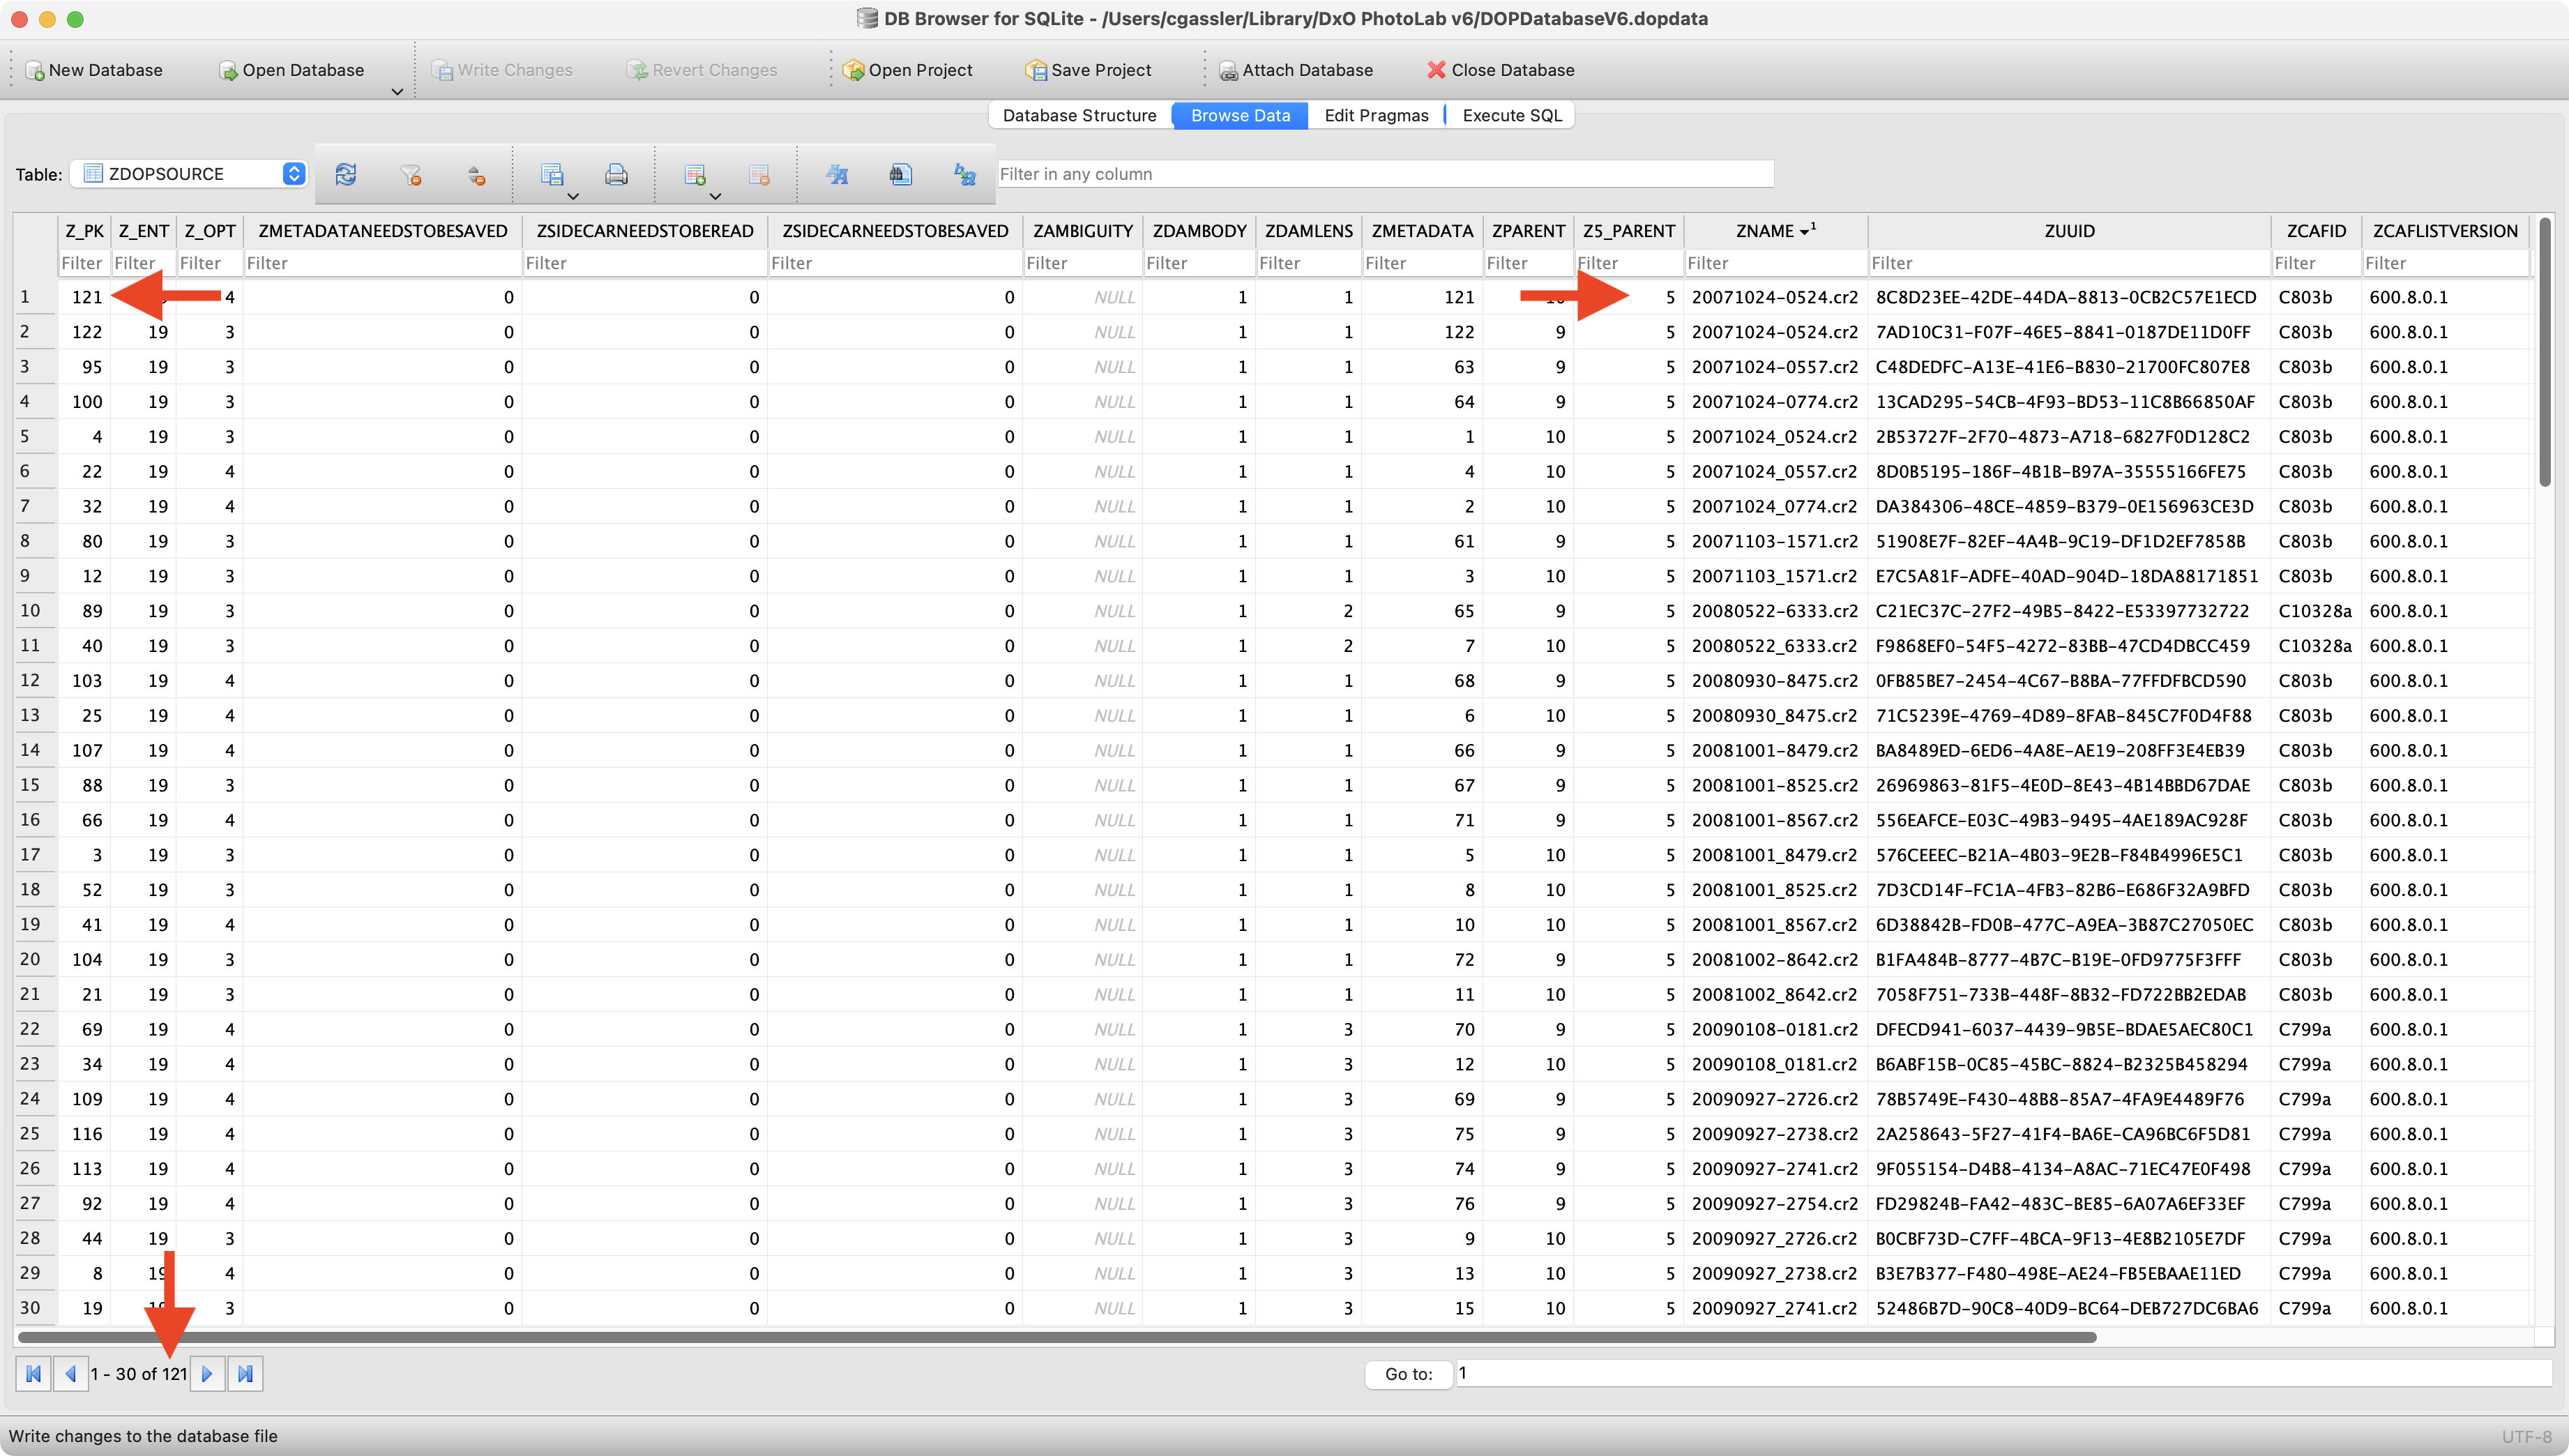
When I tested renaming and moving, moving a file from A to B and back to A lrft me with an orphaned entry in the DB. Copy-Delete might be able to circumvent that issue. Please try and report your finding.
(Look for orphaned entries with search. The moved file should come up more than once - or use a DB browser)
As is common with all software. After all, us software developers have to find the wherewithal to put food on the table.
My routine is to process everything in PL, than export as a TIFF at 240ppi and use Topaz Photo AI to take care of resizing and final sharpening, although it usually doesn’t need much sharpening after PL’s excellent lens sharpening. Finally, I use the Canon print utility to apply the appropriate paper profile and send to the printer.
This is a false assumption that comes from confusing ppi with dpi.
A printer has a resolution in dpi, which usually should be set to a multiple of the base resolution…
Epson - 360 dpi - print at 1440dpi for high quality
My Canon Pro-1000 simply states 2400dpi × 1200dpi
These are both describing the number of ink dots per inch, which has nothing to do with the image resolution, which is measured in ppi. Minimum pixel resolution for a print to be held at arm’s length need only be 240ppi. This allows for anything from 5x5 dots to 10x10 dots of ink for each pixel, which is plenty to blend the various coloured inks necessary for a single pixel.
Due to the confusion of dot and pixel resolutions, this used to be stated as 300ppi because most printers were sold as 300dpi and folks who didn’t know better ended up creating unnecessarily massive files to supposedly suit high dot resolution on the printer.
I regularly print for other photographers’ exhibitions and can assure you that there is absolutely no reason to create output files at any more than 240ppi.
I can assure you, as long as the viewing distance is further than arm’s length, you will never see any lack of sharpness or any pixelation.
Well, I tested if things work as described: They don’t necessarily under all conditions:
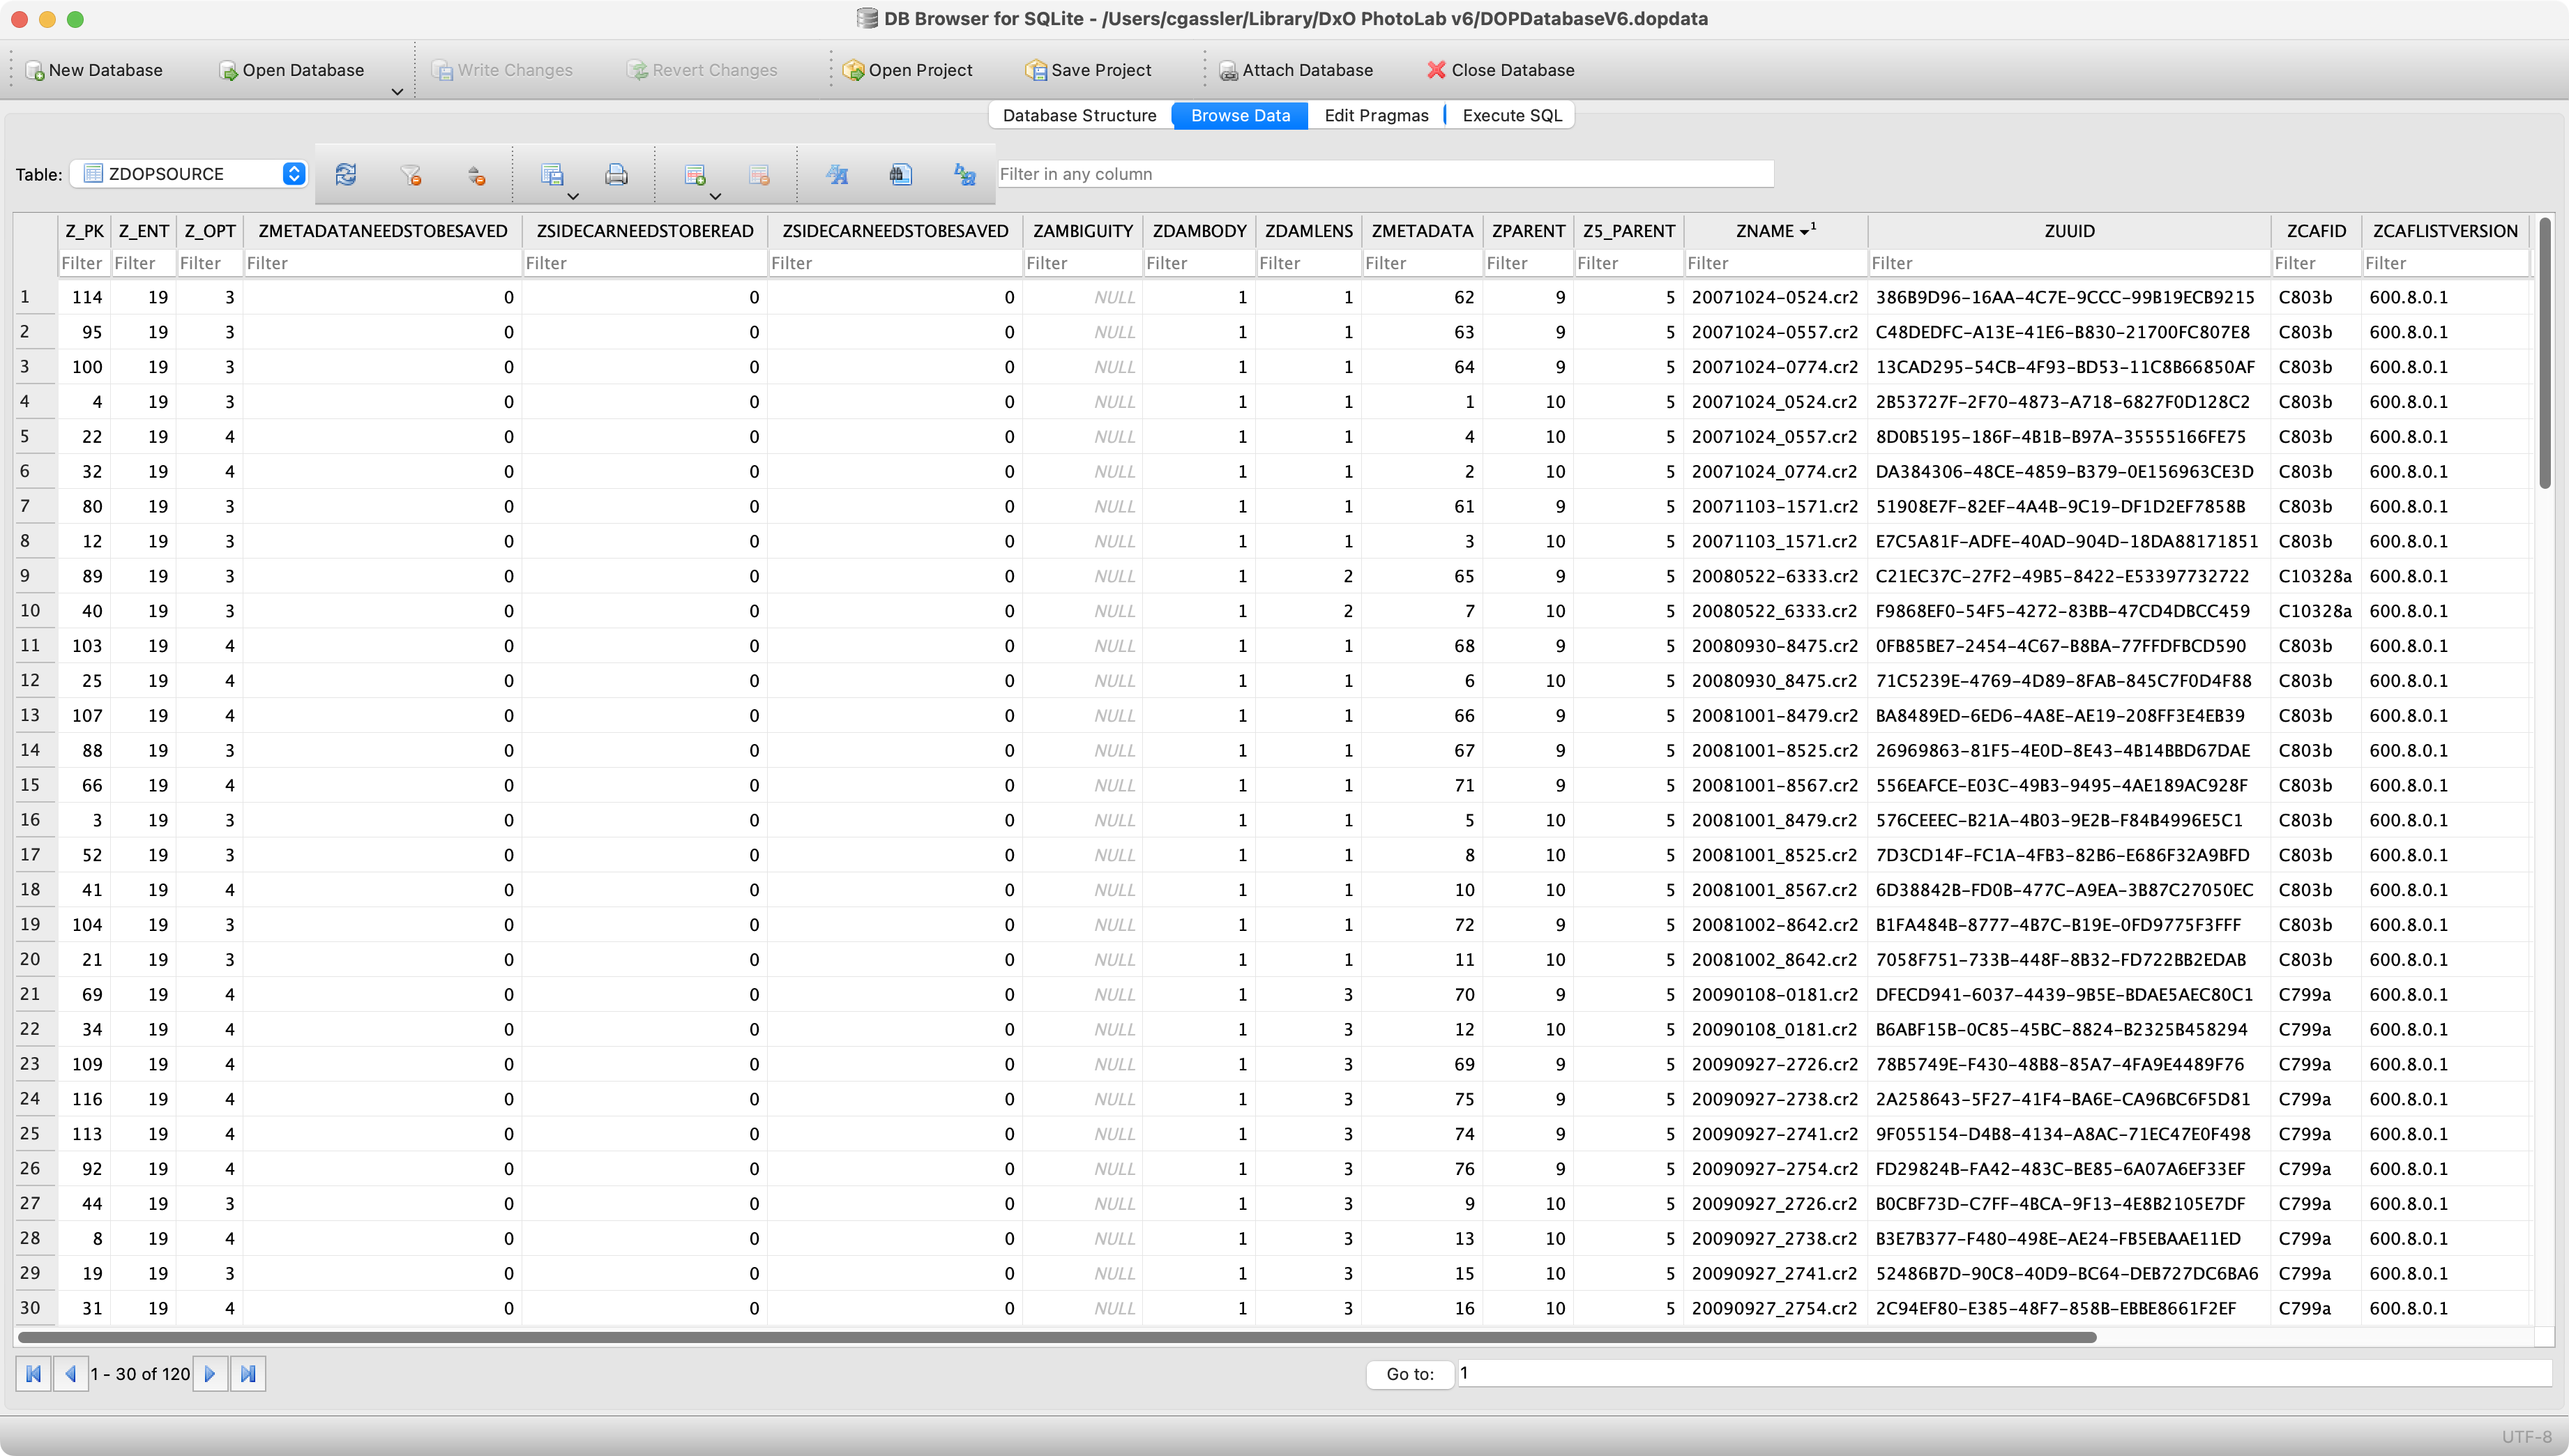
Here’s an extract of items listed in the new database after two folders were indexed:
After another DPL restart, search only showed one result and the DB entry marked above had been eliminated. Looks like DPL is cleaning up the DB, but it takes “a while”…
Comment
I never move or rename files in DPL, because it s not my main editor, but an add-on to Lightroom Classic. The few times I tested moving files always gave me strange results, but as these tests were done long ago, they were not done in DPL6.
It now looks like DPL is doing moves as written in the manual, but one needs to be patient, because DPL does not seem to correct DB entries synchronously.
I advise to be specially careful when moving files in/with DPL
If i read it correct it says “drag and hold shift” to move and drag for copy.
Right?
I remember it was different then in windows explorer’s drag and drop which is a default move action and not a default copy action like it’s in dxo.
Anyway i am not as much as i like on my pc, my free time is more hardwarehandling. at this time painting floorboards for the balcony… So i forget those smal inconsistent behaviour items fast.
Like you i mostly organise folders in windows explorer and if the Database can’t follow i just delete it and re-index. All metadata is inside xmp, or file properties and the dopfiles. So the database is just a sidekick a redundant cache file. To speed up the search party.
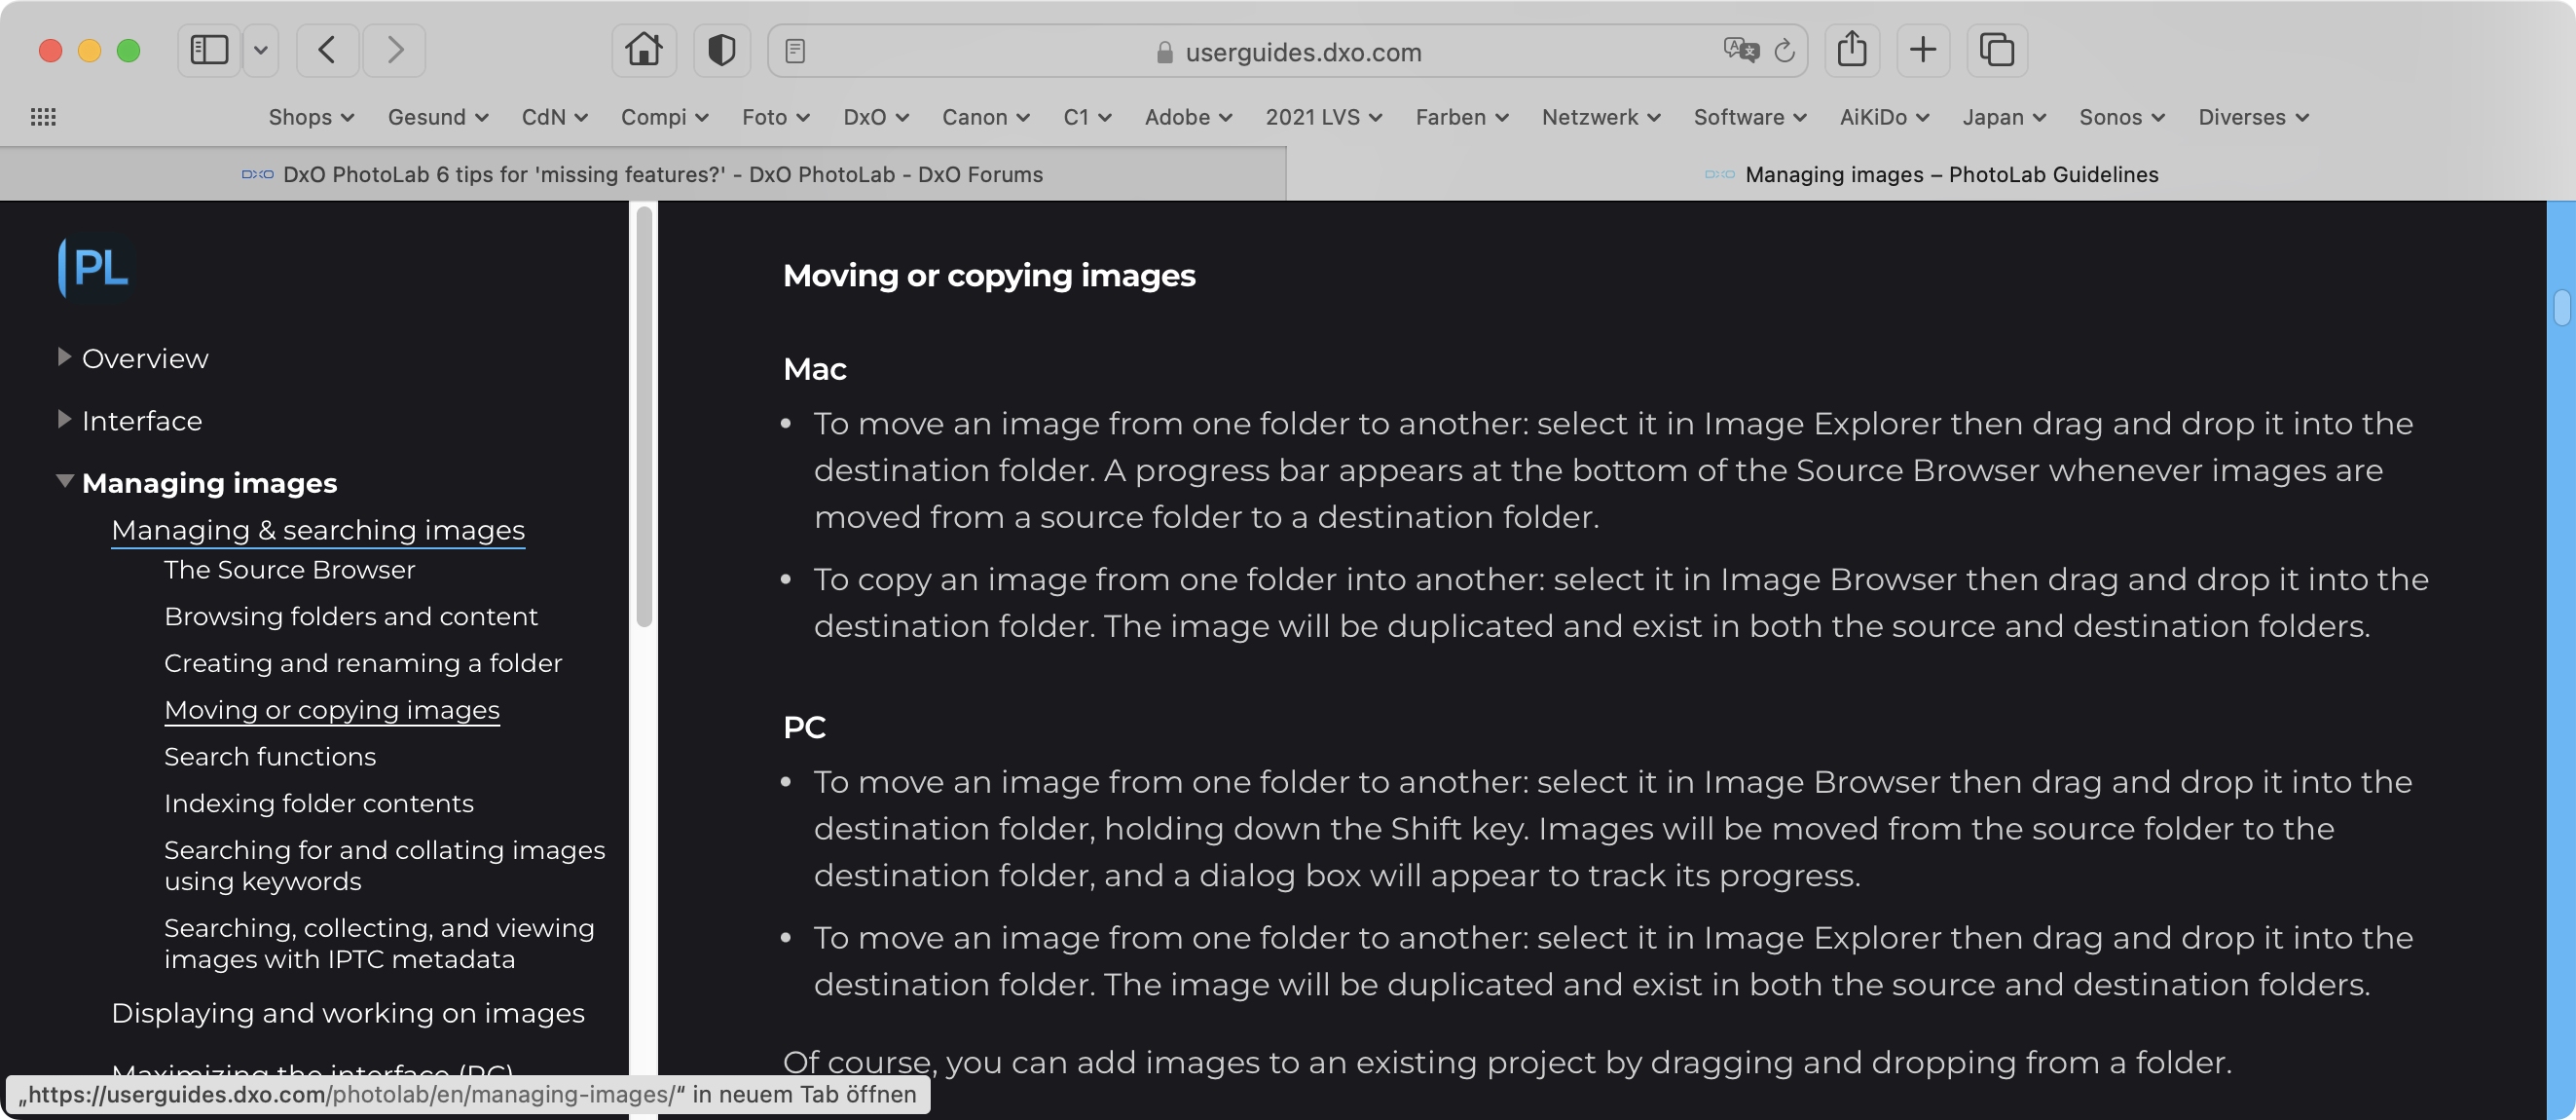
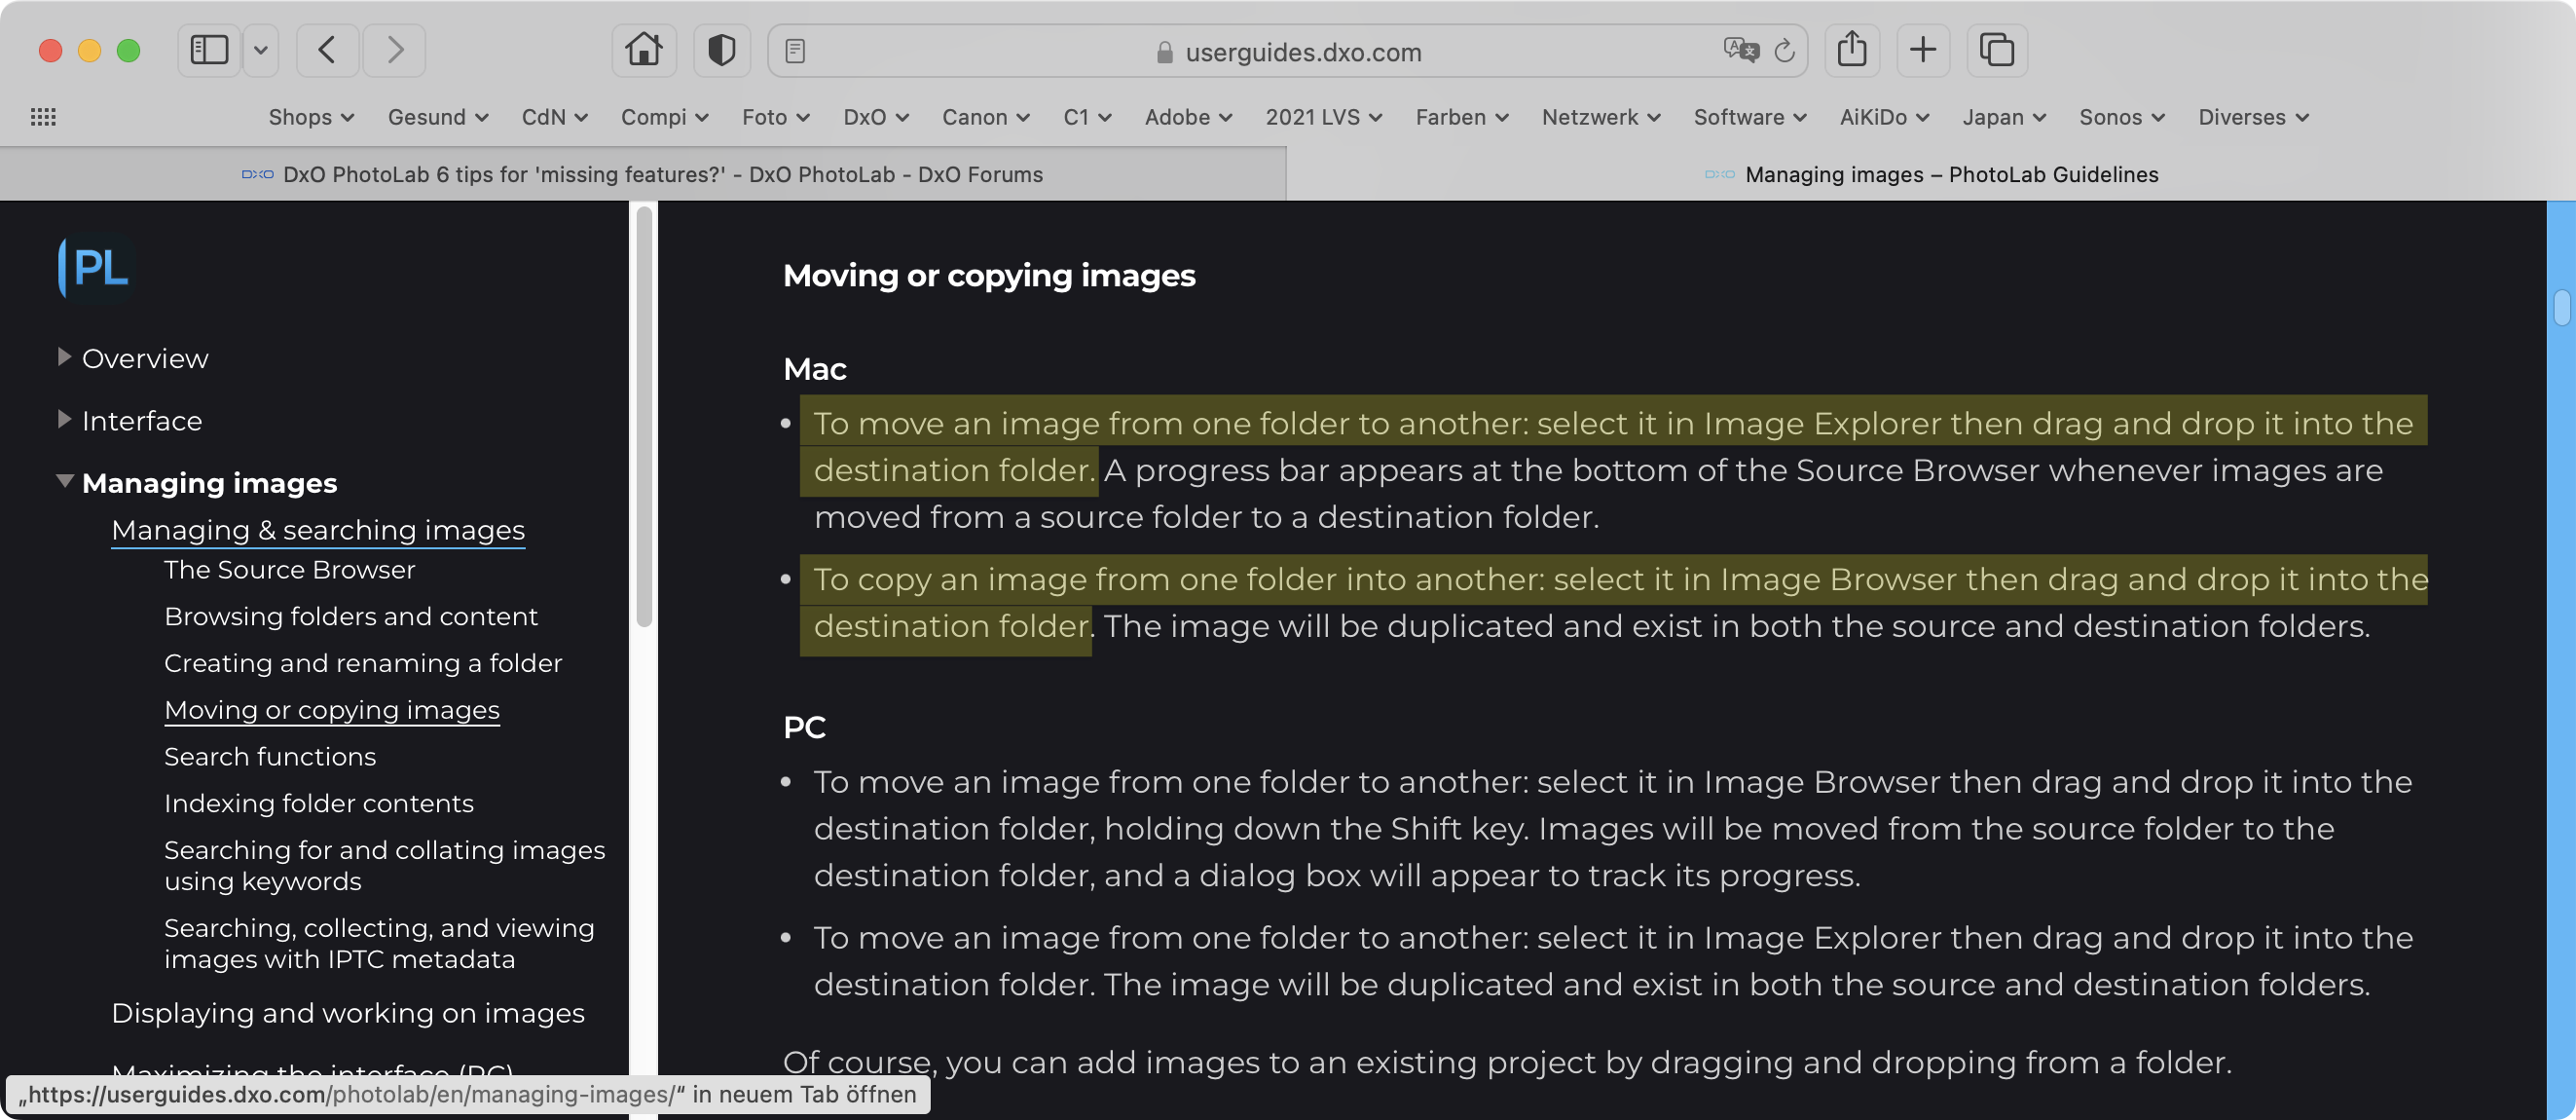
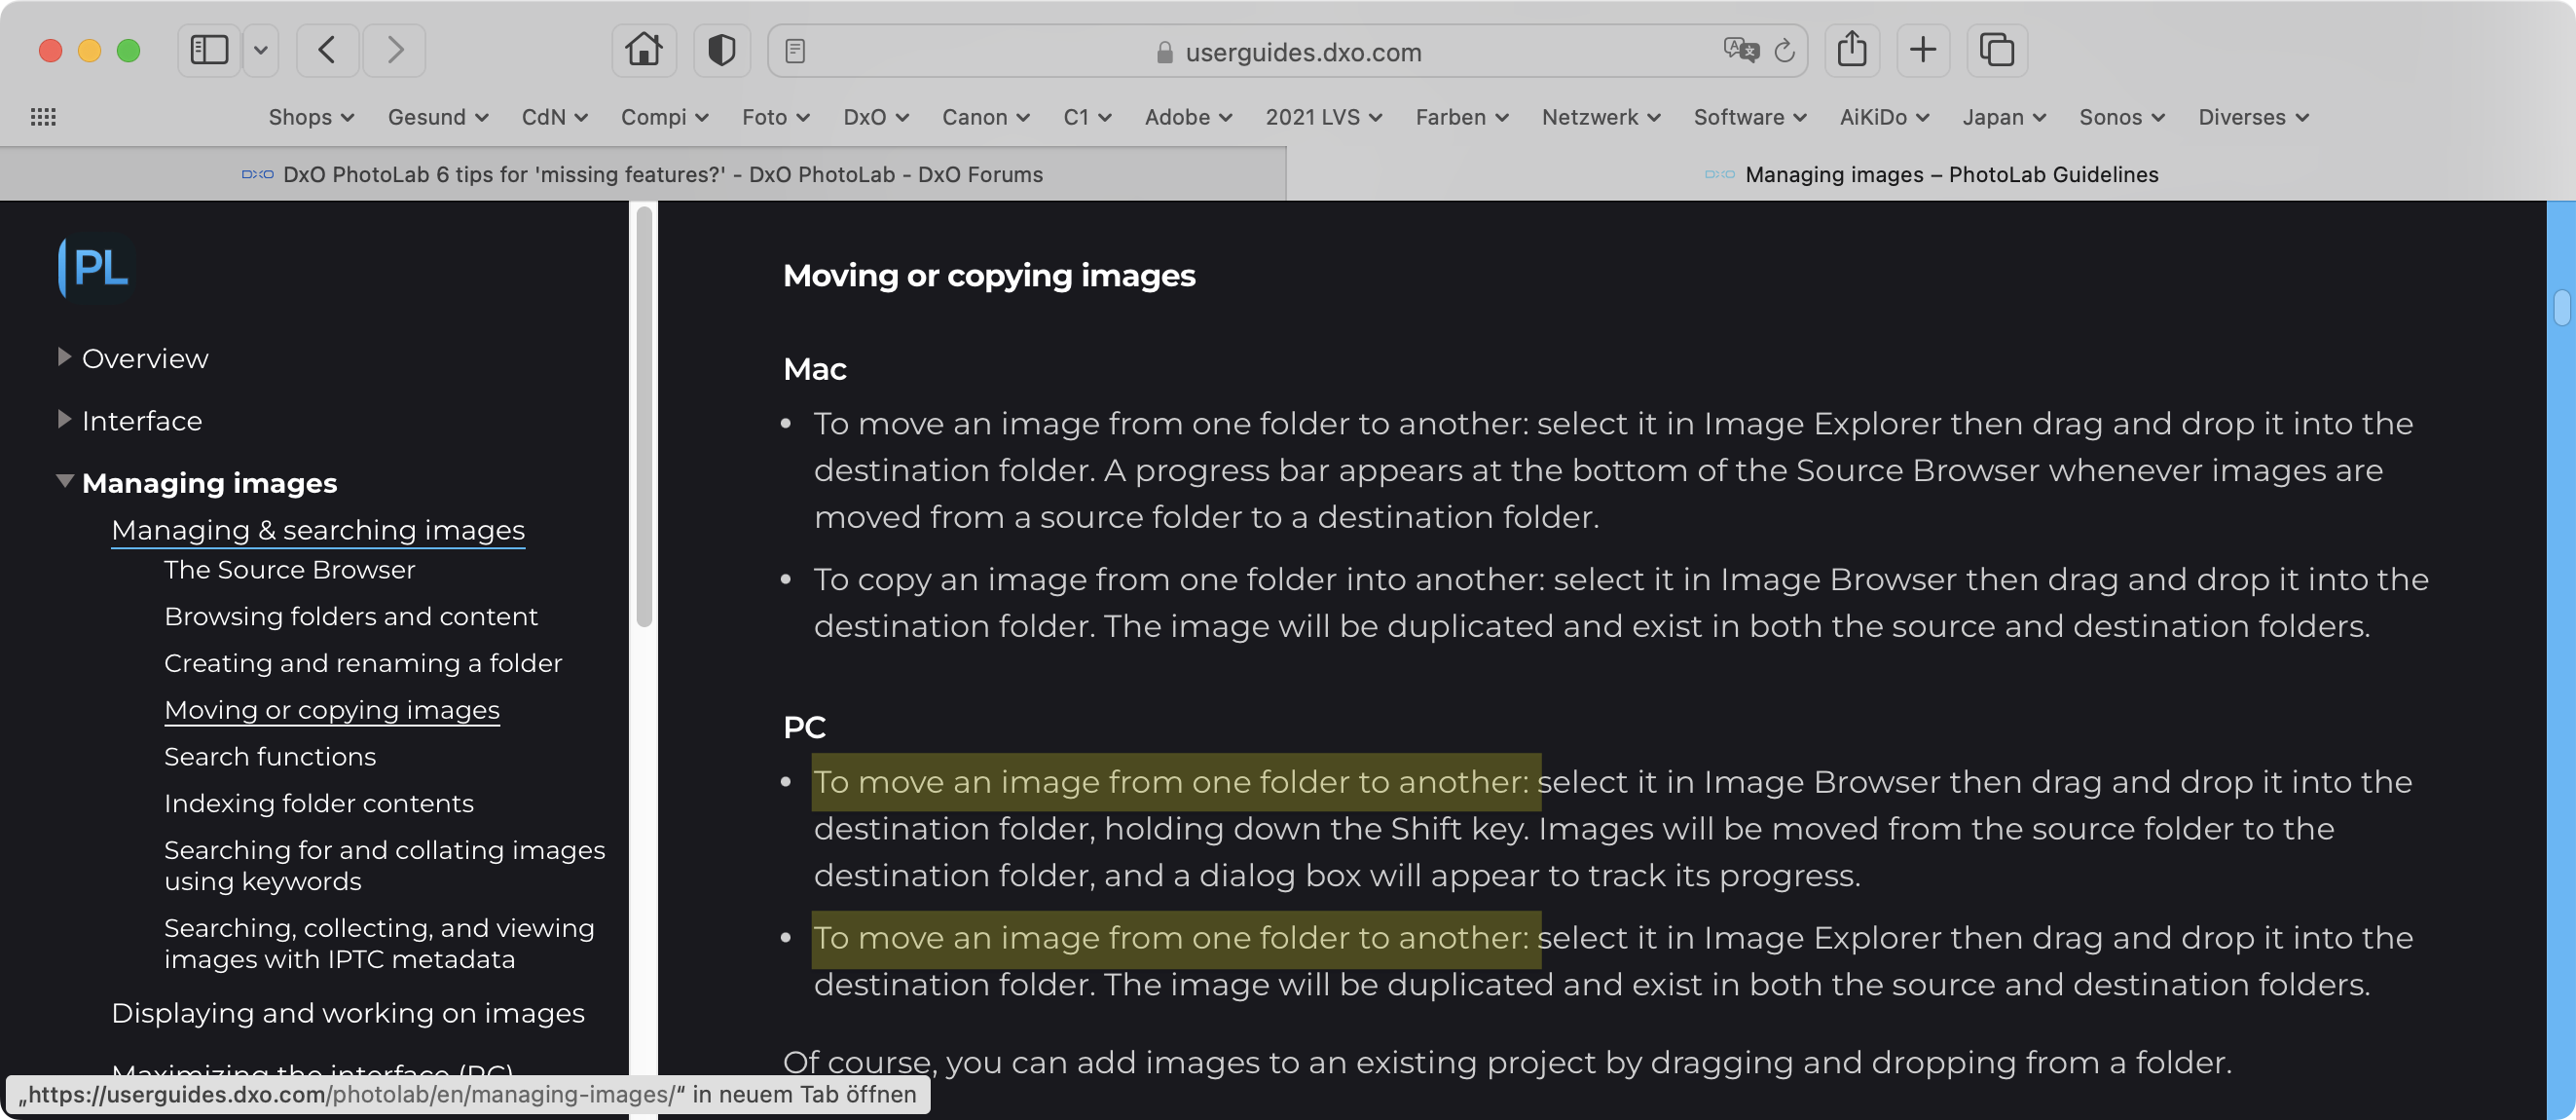
Apart from using Image Explorer in one paragraph and Image Browser in the second, It appears that there is no difference in what is required to both move and copy
Come to that, the help for Windows could also do with some revising…
It suppose to be drag and drop WILE holding the shift key… To move a file…
The second move is “to copy a file just drag and drop.”
Atleast that’s what i get out of this .
Bear in mind that standard macOS functionality (and I think it’s similar on Windows?) is that the default drag action is a move only if dragged within the same disk volume, but copy if dragged from one volume to another.