This is an important point. If you add, say, DeepPRIME noise reduction to the image, you will get the equivalent amount of the High Quality noise reduction shown in the viewer while editing. I find this is useful in at least masking the worst of the effects of strong noise.
When it comes to “creative sharpening” I am not sure what you’re trying to achieve, but for my purposes, I love a tack sharp image and in all the many thousands I have processed with PhotoLab, I have never once used the Unsharp Mask. The lens sharpness can already way over sharpen things if you push it up beyond the default. I do almost always use a setting >0 on lens sharpness, to really pick out panel lines or feather detail, but if I have a very fine and dense detail, such as grasses, I usually have to back it off or it looks really obvious that it has been applied.
My favourite subject matters are aircraft and birds. I find +0.25 works well on most of these shots and have this baked into my starting presets. I usually only discover I forgot to back it off when I look at a final exported shot, and this is another important point — the effect of any sharpness tool will differ with output scaling, too. What looks fine at 100% may end up looking terrible when scaled down.
I think Unsharp Mask feature was added as backup tool when lens correction is not available for some images. It offers basic functionality of sharpening found in unsharp mask feature in other applications, but DXO added another slider to control how closer or further way from the edge the sharpening is applied, manually adjusted. It is supposed to give a rough replacement for lens sharpening feature when they are not available for an image. This could be because that metadata is missing and DXO team could not measure it, or when working on images that are already JPEG and processed with no matadata.
But off course the creative use is there as well. But I think primary ideas behind it is to be backup tool for lens sharpness.
I also forgot to mention that simulation of sharpening by adding contrast can be done with “contrast sliders” as well…
So I’m experimenting with opening an image, applying lens corrections and denoise, and exporting the resulting DNG into the original folder for more work.
This is akin to what Lightroom does; it creates a DNG and adds it to the library. It’s nice that Lightroom then allows you to stack that image ‘on top of’ the original. I wish PhotoLab would allow that.
Yes, the only “stacking” PhotoLab does is with virtual copies, which an exported DNG cannot be.
There are others here who like the exported DNG approach because they can see what the final result will look like while making the other adjustments. Personally, I just move the preview rectangle around a bit — to look at critical detail areas and some heavy noise areas — and when I’m happy with that, I trust the result and carry on. Very occasionally, I will find a final output needs re-doing, and that is usually when I have used DeepPRIME XD, as it has a habit of providing excellent detail where needed and also making a mess of smooth areas with lots of noise. In this case, the Model slider can do great things. I generally move it negative in steps of 15. So -15, -30, -45, -60, and occasionally -75. It does rob a bit of the sharpness, but usually fixes the noise messes. Which I again check with the previewer.
Remember when Unsharp Mask was the only (or maybe “best”) photo editing sharpening tool available?? Yeah, so why not add it into the party, since we used it in Photoshop 3, huh? Well here’s why…
I learned the hard way that one should NOT apply Unsharp Mask on top of using DxO’s far more precise camera-specific Raw models. I’d edited several hundred images, going from Lightroom Classic in Windows: File > Plug-in Extras > Transfer to DxO PhotoLab, applying PhotoLab’s camera body and lens module corrections there, exporting back to Lightroom.
And looking at one image back in LR of a dark bird against a mid-tone background… wait, what the heck is that white border around the dark bird?? Turns out: that’s a sign of serious over-sharpening. And then I realized white borders around subjects were visible in every single image I’d edited in PhotoLab. It stood out most visibly with a dark subject against a mid-tone background, but if I looked closely, I saw it in every image.
Trial-and-error found the issue. It was (most significantly) the use of PhotoLab’s Unsharp Mask on top of PhotoLab’s camera body and lens module settings. It was also due in a smaller part to exporting from LR with default sharpening and noise reduction applied. I learned the hard way: create a preset in LR that removes all sharpening, noise reduction, texture/clarity/dehaze, as well as lens corrections, if any are applied. Hit that preset before sending an image into PhotoLab, and then let PL handle all of that, when you can, without any other software and without Unsharp Mask piling on. Unless you missed focus, the sharpening will be correct.
This is all about processing demand.
Because a few things are done before demosiacing it has to demosiac every time again, recalculate, if you change a setting/slider which influences such a pre demosiac done part of developing it needs to process this preview rendering completely again. No cache temp file to speed up the view. So they don’t do some things in order to speedup renderingtime of the preview on screen.
They have no contrast sharpening(microcontrast), no CA correction and other which i forgot at this moment under 75% visible because of this rendering time reduction.
Only HQ reduction is applied on preview.
In order to see your present quality of your rawfile development with noisereduction you need to export a jpeg. Or use the movable box at 100% preview of denoisetool.
Me personally do an export of one most probably problem image and see if slider needs to be higher or lower.
Because prime is an intelligent denoise application it has not 1 strenght on the hole image but more the set strenght on the most troubled section and it applies less denoisestrenght on less troubled sections.
(edit: You can test this behaviour on a high dynamic detailed image.)
The lens module is that good that i am seldom use the sliders in the tool.
Unsharp mask tool is fun to have but some local microcontrast or (profided by Filmpack) global finecontrast does a better job in detailing.
And deepprime xd for detail, does very well on heavily cropped images.
Edit 2: The sliders in the lensmodule are indeed also a good place to fine tune your image. At 100% those are applied, (recoqnisable by the plop in the image) and other is vignetting precropping which you can see by opening croptool and click on cropframe.
You see then the hole image of the sensor, the part outside the frame is the cut off by the lensmodule.
My understanding is that Unsharp Mask will sharpen the remaining noise after denoising, provided you’re using Unsharp Mask settings (like the radius maybe) that result in noise pixels being picked up as edges to add contrast to.
One reason that’s not very noticeable in the image at 100% zoom is probably that if you use DeepPrime(XD), while PhotoLab does not show the result on DeepPrime(XD) on the full size image, it will apply High Quality denoising to the full image. So you do get some denoising before Unsharp Mask gets applied. There are probably no other tricks going on.
Here’s a way to test these assumptions:
Open a noisy image in PhotoLab.
Go to Customize and zoom the image to 100%, focusing on a dark area.
Turn all corrections off → you should see all the noise, including a lot of color noise.
Add an Unsharp Mask correction, with stronger values than the default (e.g. Intensity=200, Radius=1.0) → the noise should become more contrasted/visible.
Turn on noise correction, picking High Quality and the default value for luminance noise (40, I believe) → a lot of the noise should be removed (perhaps at the cost of a bit of blur), but there should still be some luminance noice remaining.
You can disable then re-enable the Unsharp Mask correction to check that it’s making the remaining noise more contrasted/visible.
Go back to noise correction and switch to the DeepPRIME XD mode → in the full-size image, you shouldn’t see a difference compared to High Quality, which shows that it’s indeed using High Quality for the full-size rendering of the image.
You can export the image at different stages in this test and compare the exported images, if you want to double-check the results. But it should only differ from what you’re seeing in the main window at 100% zoom for the last step (using DeepPRIME XD).
@bobrocke and learned image editors, while I am quite good at “breaking” DxPL(Win) I make no claims about my image editing capabilities so here are some observations from testing.
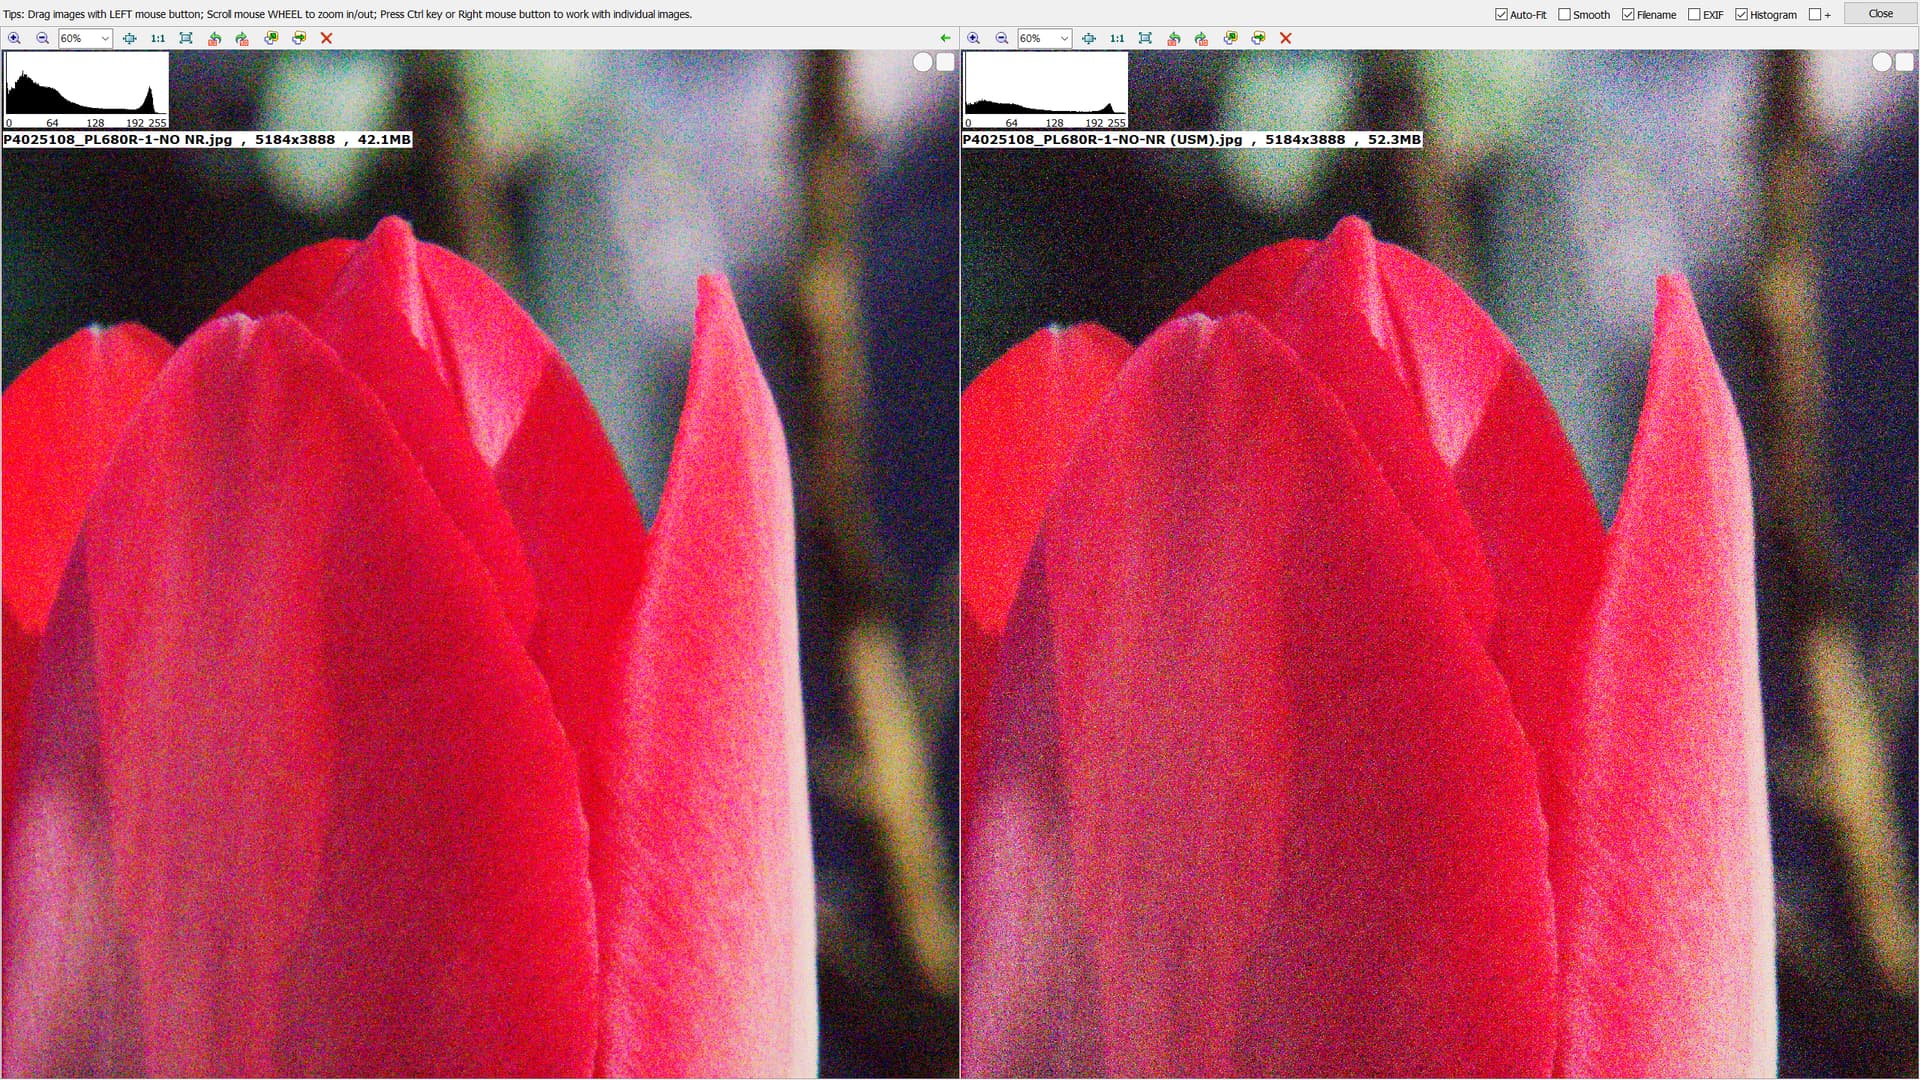
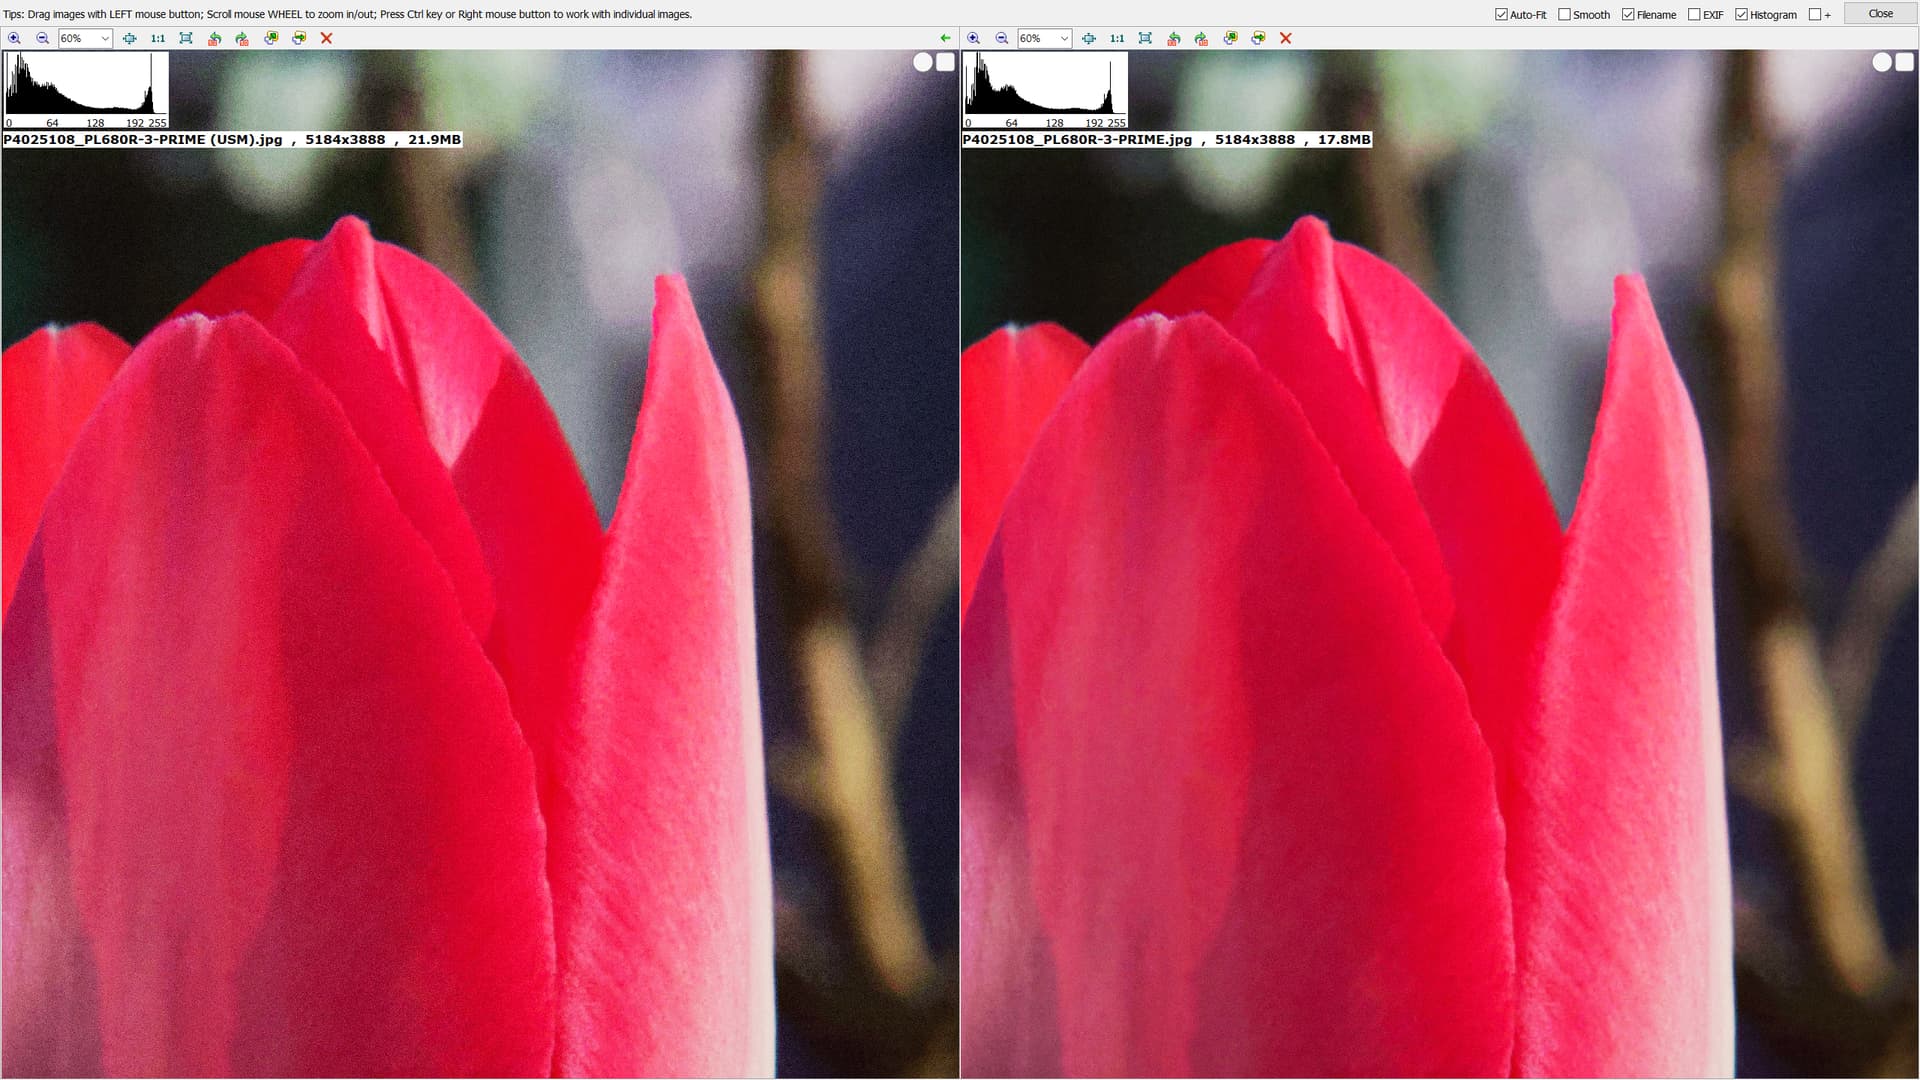
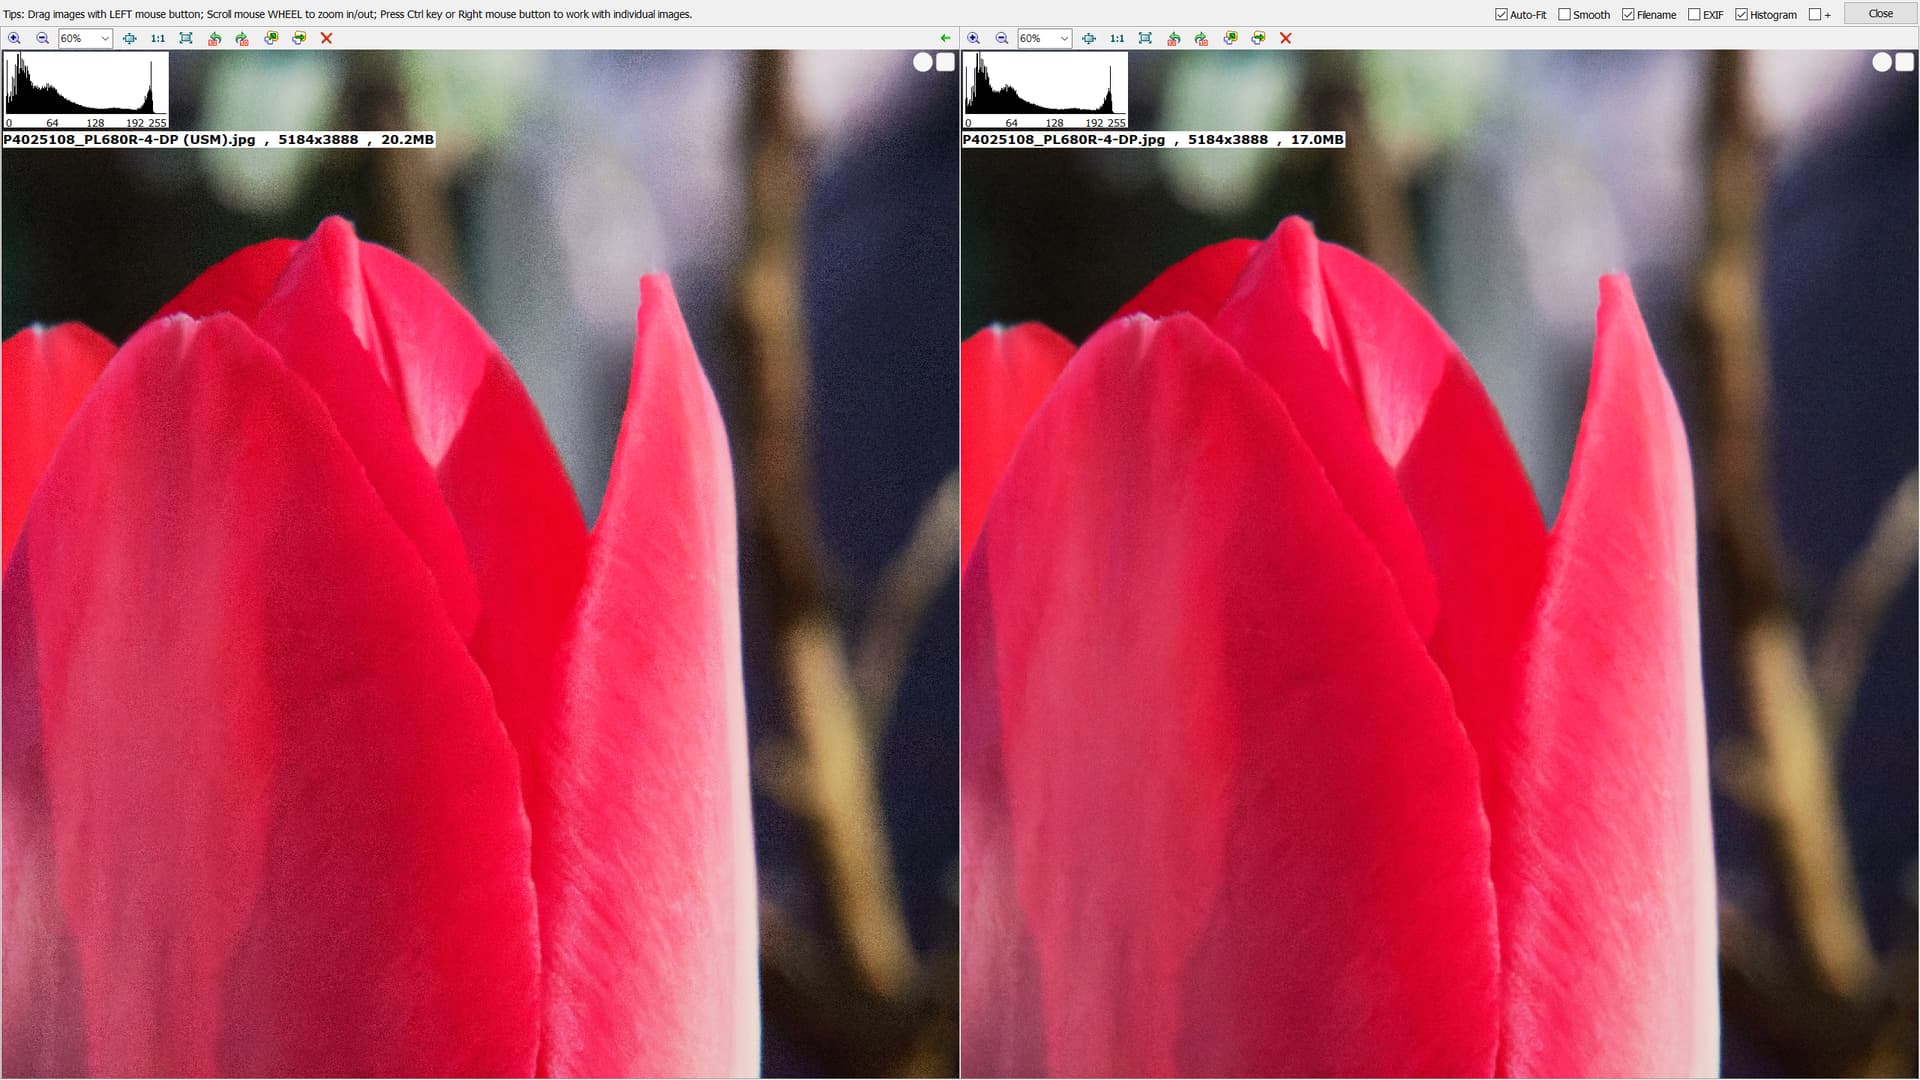
The image used is a tulip taken in normal light but at an ISO of 20,000 because I left the camera on that setting initially after trying some low light tests the previous evening!
the DOP has
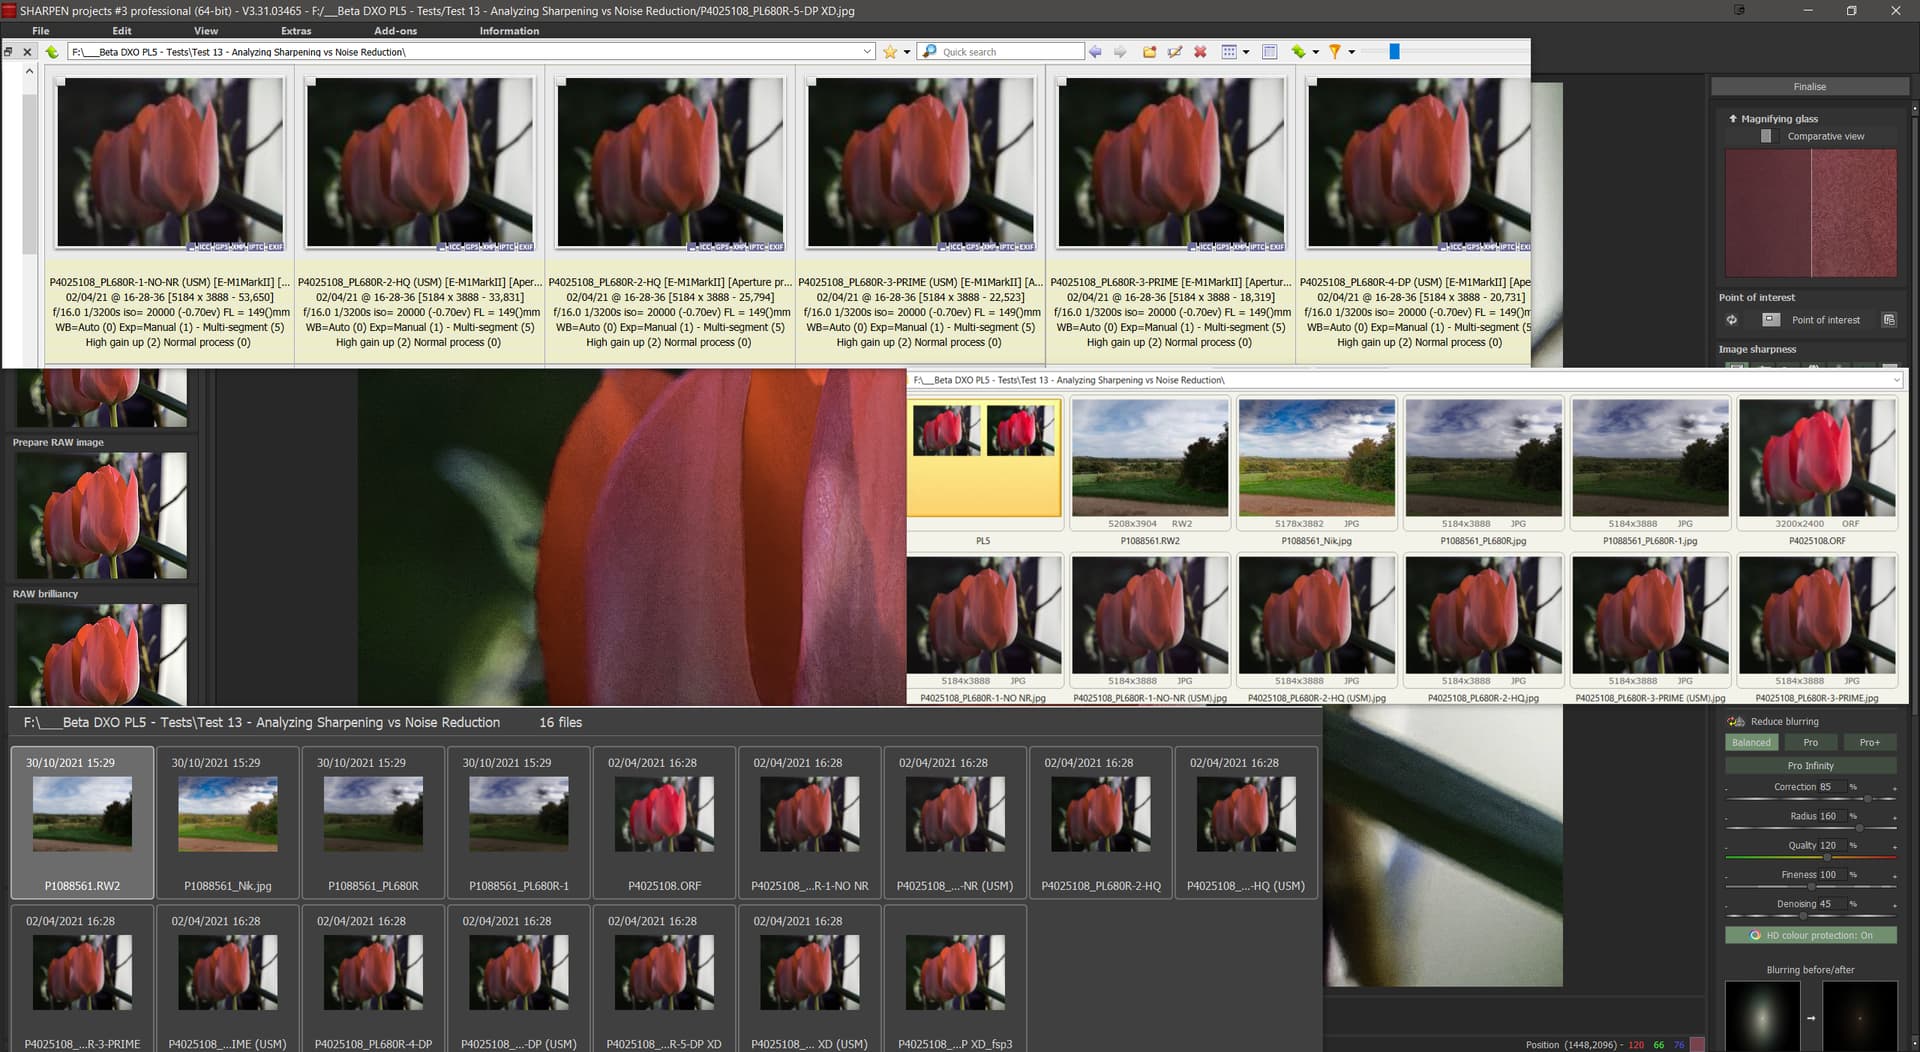
[M] - original image with no presets applied (allegedly)
[1] - Distortion + DP XD active after the last export
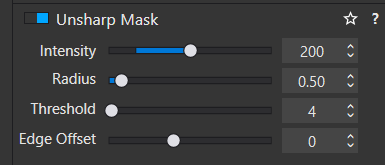
[2] - Distortion + DP XD active after the last export + USM with the following setting
Observation 1:-
Why with all edits off do I get the following for the [M]aster viewed at 90%, i.e. a “brightness” increase?
I snapshotted the preview window before exporting to a 100% JPG at all 5 settings, i.e. NO NR (setting off), HQ, PRIME, DP and DP XD. The exports went to the same directory and using the preview window with NR deselected I got the following, PRIME has been ignored because I can only compare 4 images at the same time?
This might (?) give some idea of the accuracy of the preview window?
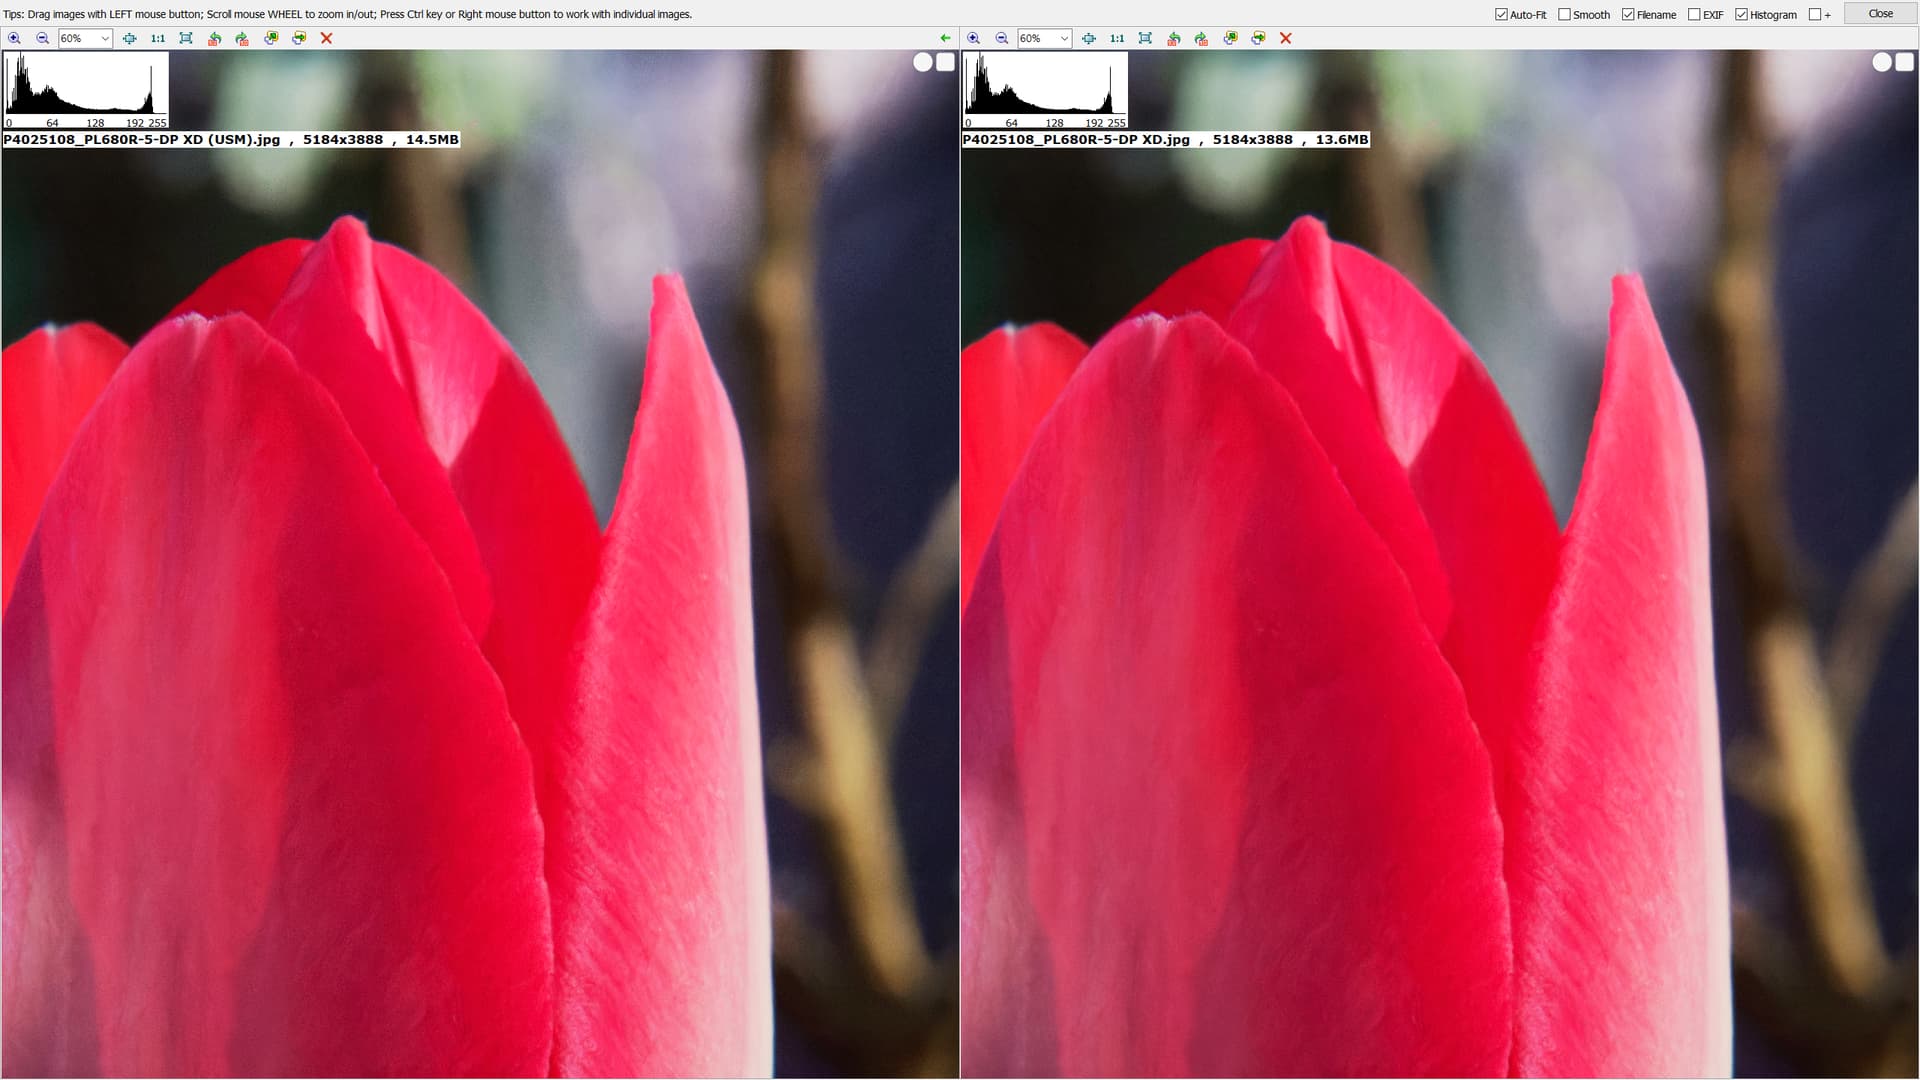
I compared the images with the chosen USM against those without USM applied, the NO NR image shows original left and USM right, all the others are reversed i.e. USM on the left and no USM on the right
I am concerned about the images exported as JPGs from PL6.8.0(W) and their affect on other products I use @DxO_Support-Team !? I “found” this issue while undertaking the above “tests”.
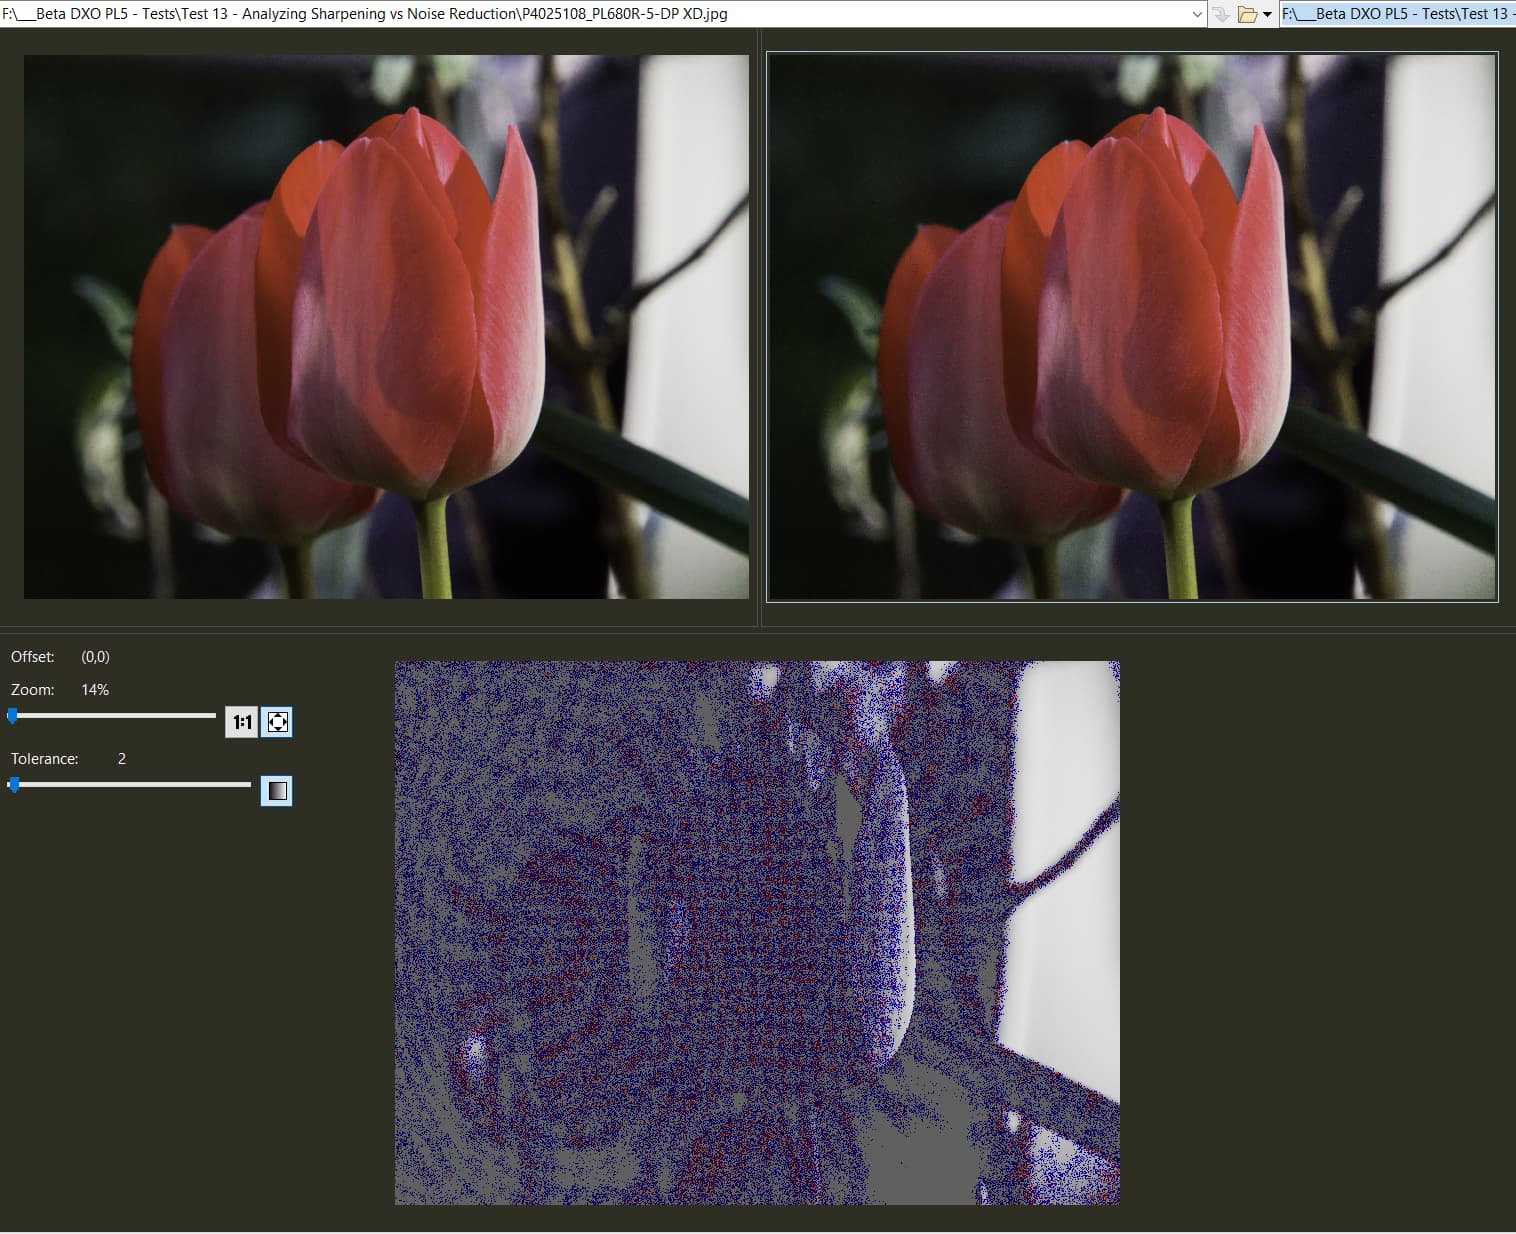
This is an image opened in Franzis Sharpen 3 overlaid with the thumbnails from XnviewMP (which shows the full image in the muted form), FastStone Raw viewer (the full display “reverts” to the correct colour), FastRawViewer (FRV) (full view shows muted image), ACDSee is fine with thumbnails and opening the image.
Beyond Compare sees the muted colours and this is a comparison of DP XD with DP-XD(USM) with some interesting patterns which I have seen with the images exported from DxPL of this picture in particular before in FRV!
After export, it looks to me as if the Unsharp Mask settings have sharpened only what noise was left by the various denoise settings. Which is good and ‘expected.’ Do you see the same?
I can’t even guess at what’s happening with the other products.
Yes I think that is what I see in this case and like others who have posted I don’t typically use USM I use lens sharpening However, I used to use a product called Photo-Brush by MediaChance and that had a preset for ‘USM Haze Removal’ which did a good job of “sharpening” and haze removal.
Photo-Brush is also “suffering” from the muted image “syndrome” and can’t spell 'Threshold"!
My guess is that DxO is “corrupting” the JPEG somehow which “fools” some programs with respect to thumbnails and some with respect to thumbnails and the actual image?
I tried to export on version 6.7.0 on another machine but that has the same issue. When a number of previously working programs fail to work as expected then I consider that the program providing the images is causing the problem but how long it has been there I cannot say!?
As I indicated images exported from PL5.13.0 showed no such issue!
Although I don’t think that the previews are an exact match for the exported images I don’t think that there is much in it?
I think DXO also has Clear View feature for that operation that is a bit more advance, since its more selective about tonal range. But yes, contrast sliders and also USM can be used for Haze as well. Old school, but works.
@MSmithy thanks for the response, DxO does have ‘ClearView’ which first arrived in DxOpticsPro 10 I believe. I had started using DxOpticsPro 8 and 9 using free copies of Elite for 8 and basic for 9 I believe, and finally took the plunge and bought OpticsPro 11, principally for ClearView.
The next release became PhotoLab 1.
The reason that I mentioned Photo-Brush was because in products where the settings shown in my snapshot can be accurately matched with USM it provides a useful Haze removal feature in the absence of a dedicated feature such as ‘ClearView’.
I used USM in my tests even though @bobrocke had already stated that USM had been picked as a feature to mention at “random” because I was interested to see exactly what it would look like!
Why not have a two time process ?
One which do the demosaicing process and CACHE the result.
And one wich do all pixel processing (maybe with a second cache)?
Like this if a change does not need demosaicing, everything should be real time (or near including opening photolabrary which would read the cache and not recompute evrything evry time), and denoising and all other lens related stuff would be visible in the main view.
Yeah, fair point. USM can be used to add grungy look, quite popular usage in Photoshop at one point. It can be used for subtle sharpening, things like haze and fog by adding more contrast etc. Its not the most sophisticated tool and has been around forever it seems, but its still pretty useful sometimes and can be creatively used for all kind of effects. It seems to be one of those staple old school effects in many programs.
I think the most easiest way to add a full view with all corrections added is a temporary developed Image.
The function fullscreen view or fullscreencomparison view would be good enough for that.
And yes your waiting time is included in this command so make four commands
1 image full screen.
2 image full screen
And
1 image fullscreen complete developed
2 image fullscreen complete developed
(in order to have CA, denoise and micro contrast added in all view % you need to have a developed jpeg)
This way we have both still all controll over the Rawfile (which you don’t have in a DNG.) and yett all development to see in a preview.