I’d like to sum up this interesting topic with a couple of observations.
I created my own swapped channels ICC profile based on the sRGB profile ArgyllCMS ships with. I called it sBRG to show that I changed the RGB channels into BRG channels. Then I took this photo:
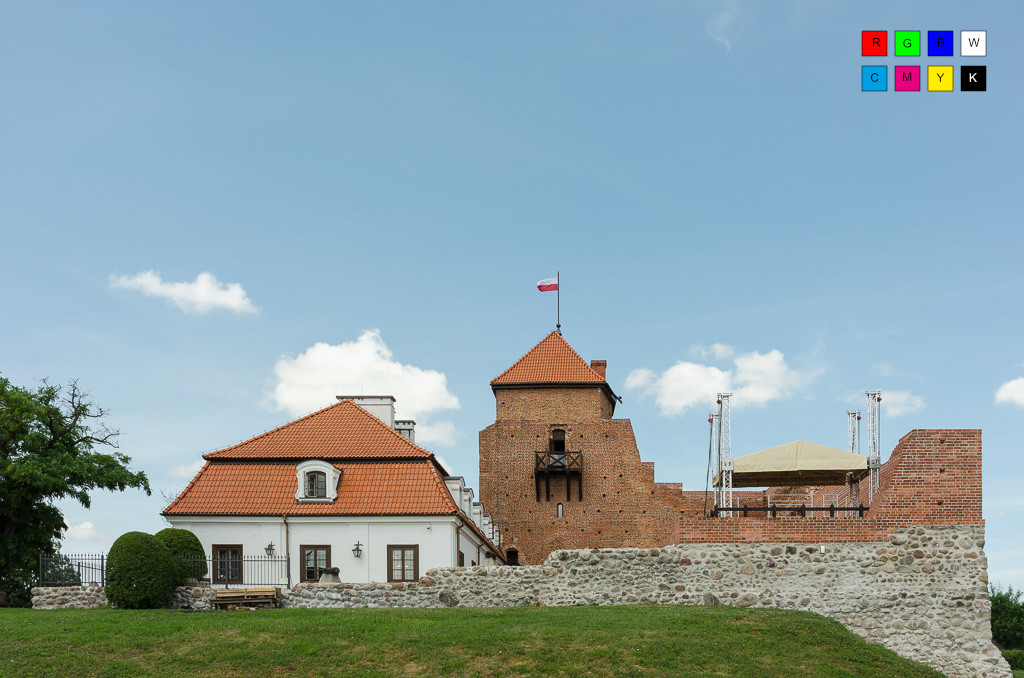
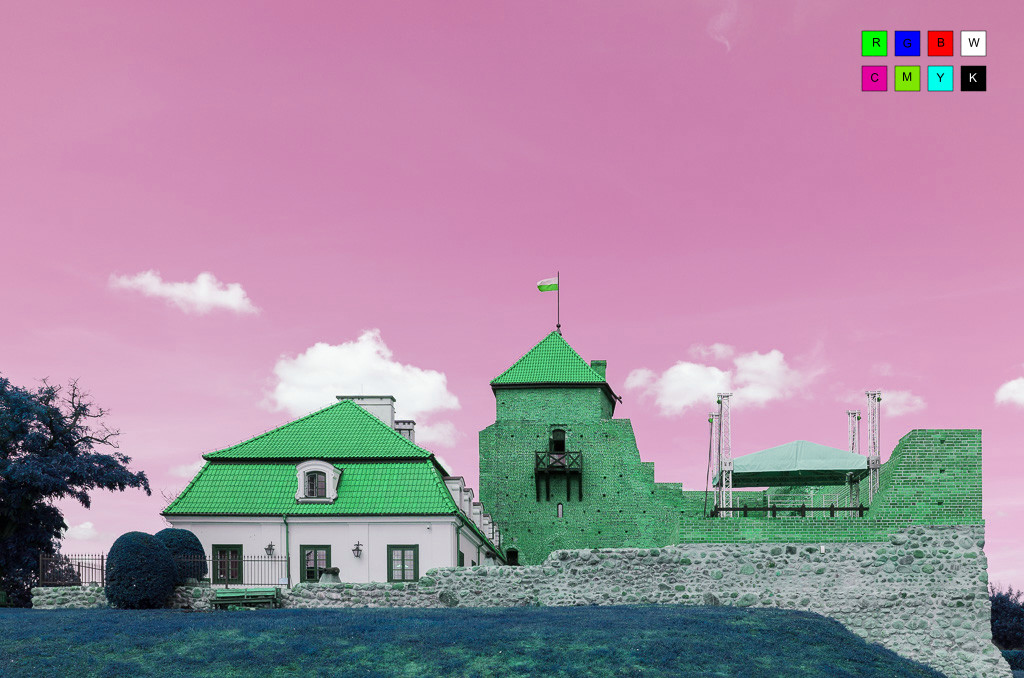
The photo looks weird in this post because the forum software assumes it has a regular sRGB profile embedded in it, not my custom sBRG profile (so it looks here as it would in any colour-unmanaged software). Note that if you download this photo to your computer by clicking on it, it doesn’t have the profile, so it will also look weird on your computer, even in colour-managed applications. Here’s the correct file for download.
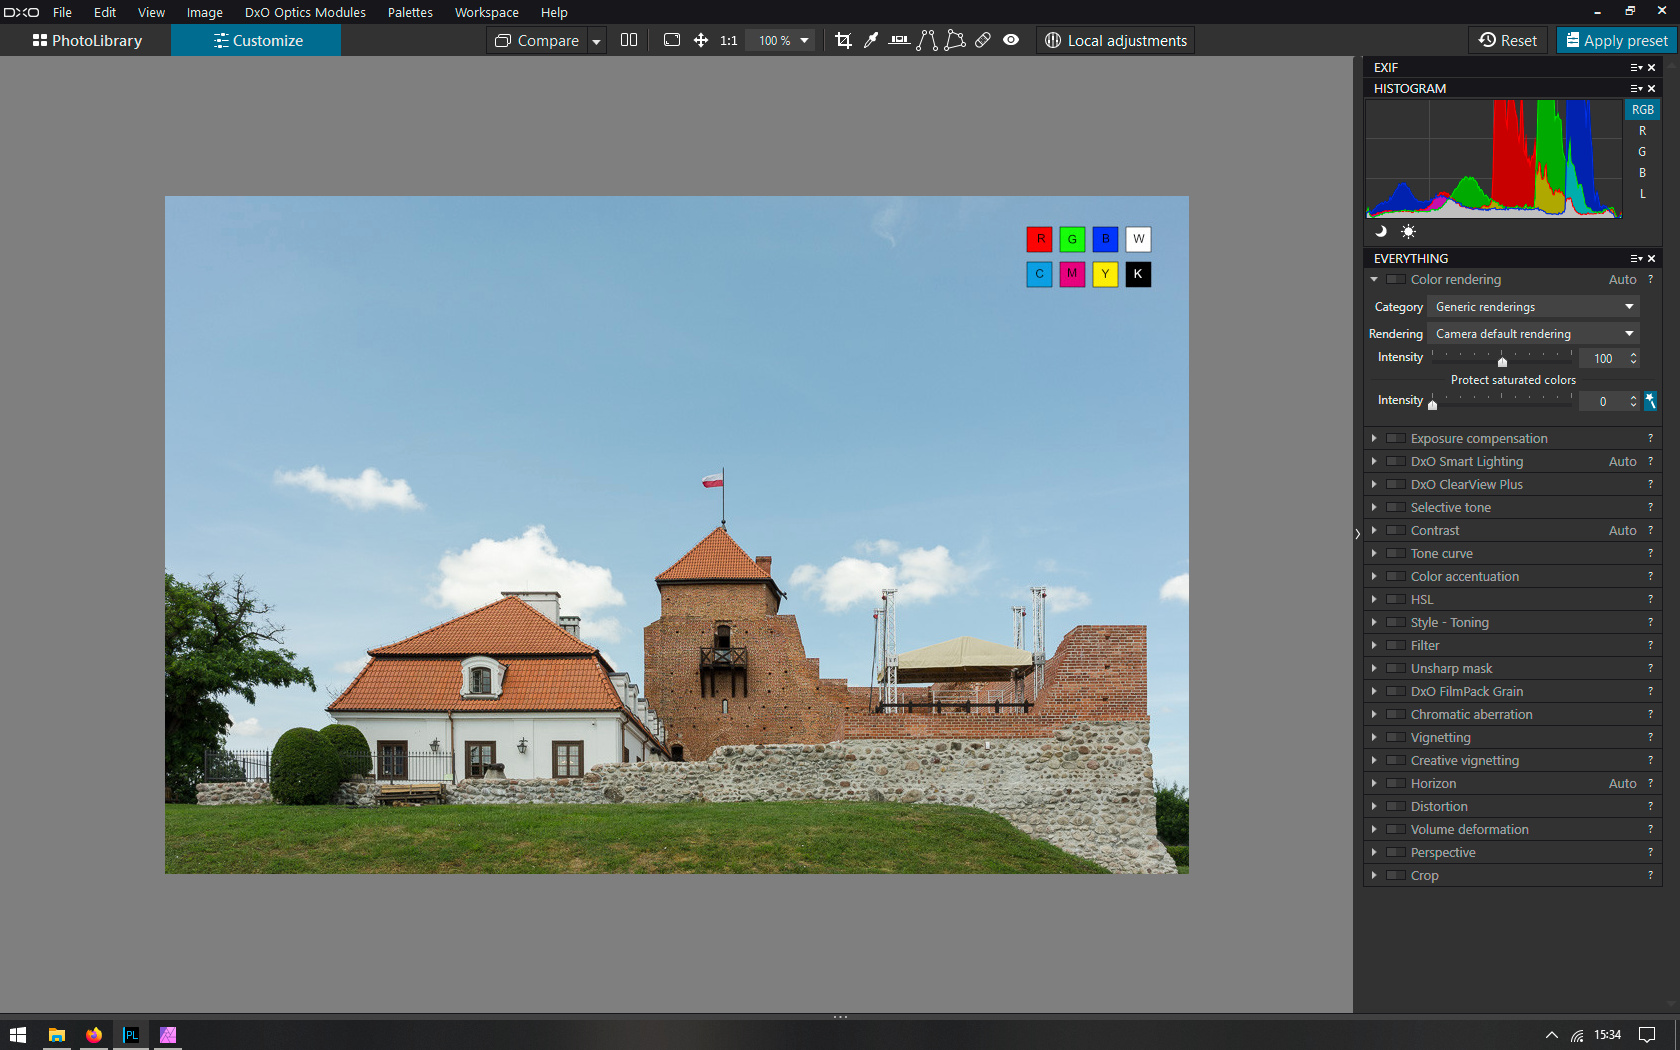
Here’s a screenshot of how PhotoLab2 opens the original sRGB image (pay attention to histogram):
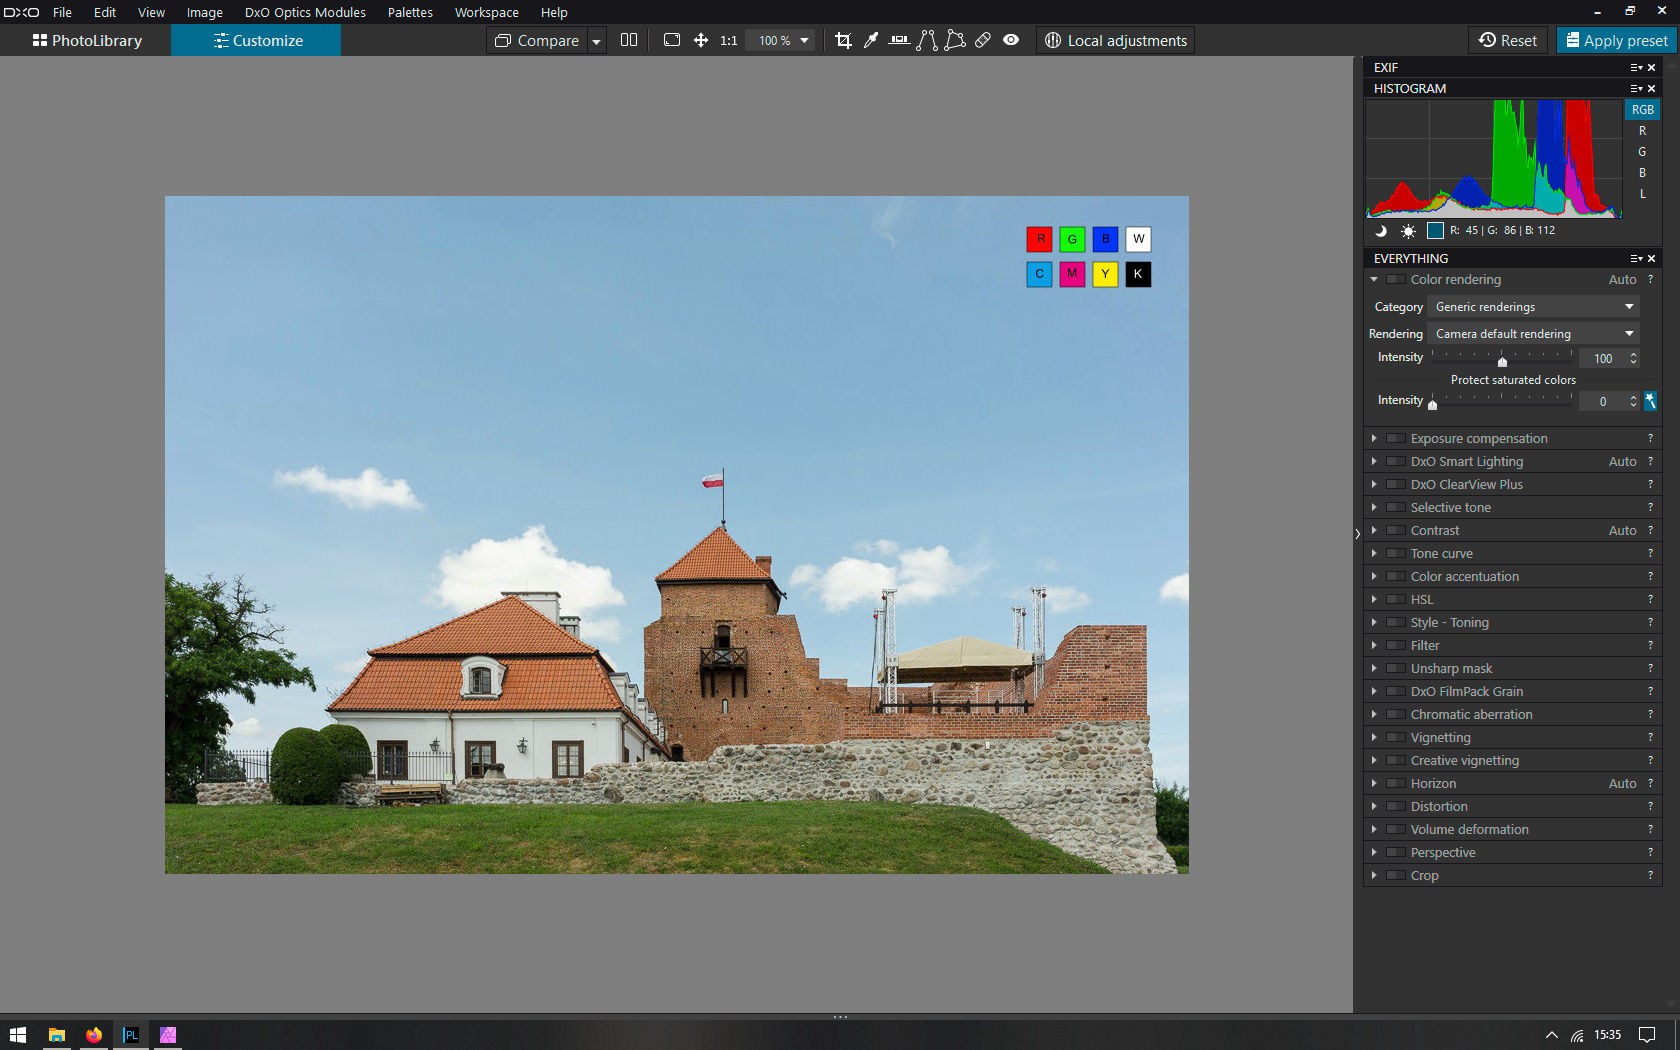
And here’s how PhotoLab2 opens the sBRG image:
Both photos look correct but note the swapped channels in the sBRG file histogram. The histogram is incorrect. Also the RGB read-out values are incorrect, because when I hover over the sky they suggest it’s red, which we see it isn’t. This is something that I think is a design flaw in PhotoLab. In my opinion the histogram and the RGB read-out should be based on the working space profile or the output profile, and it shouldn’t be based on the monitor profile transform.
It seems the differences between the various types of photo software depend on the internal order of operations (which the user usually doesn’t have any control over). If the embedded profile of the tiff/jpeg file (Color rendering in PhotoLab) got applied before the generation of the histogram and before tools like RGB white balance, Tone curve, HSL and Toning, then swapped channels images would behave just like normal images. To prove that is the case I opened the sBRG image in darktable. Version 3 of dt allows the user to change the order in which each of the tools is applied (darktable calls it pixelpipe). You can do so by Ctrl-Shift dragging the modules in the stack.
So here’s what the sBRG image looks like in darktable when I modify the red channel (the histogram is based on the working space set up in the input profile module):
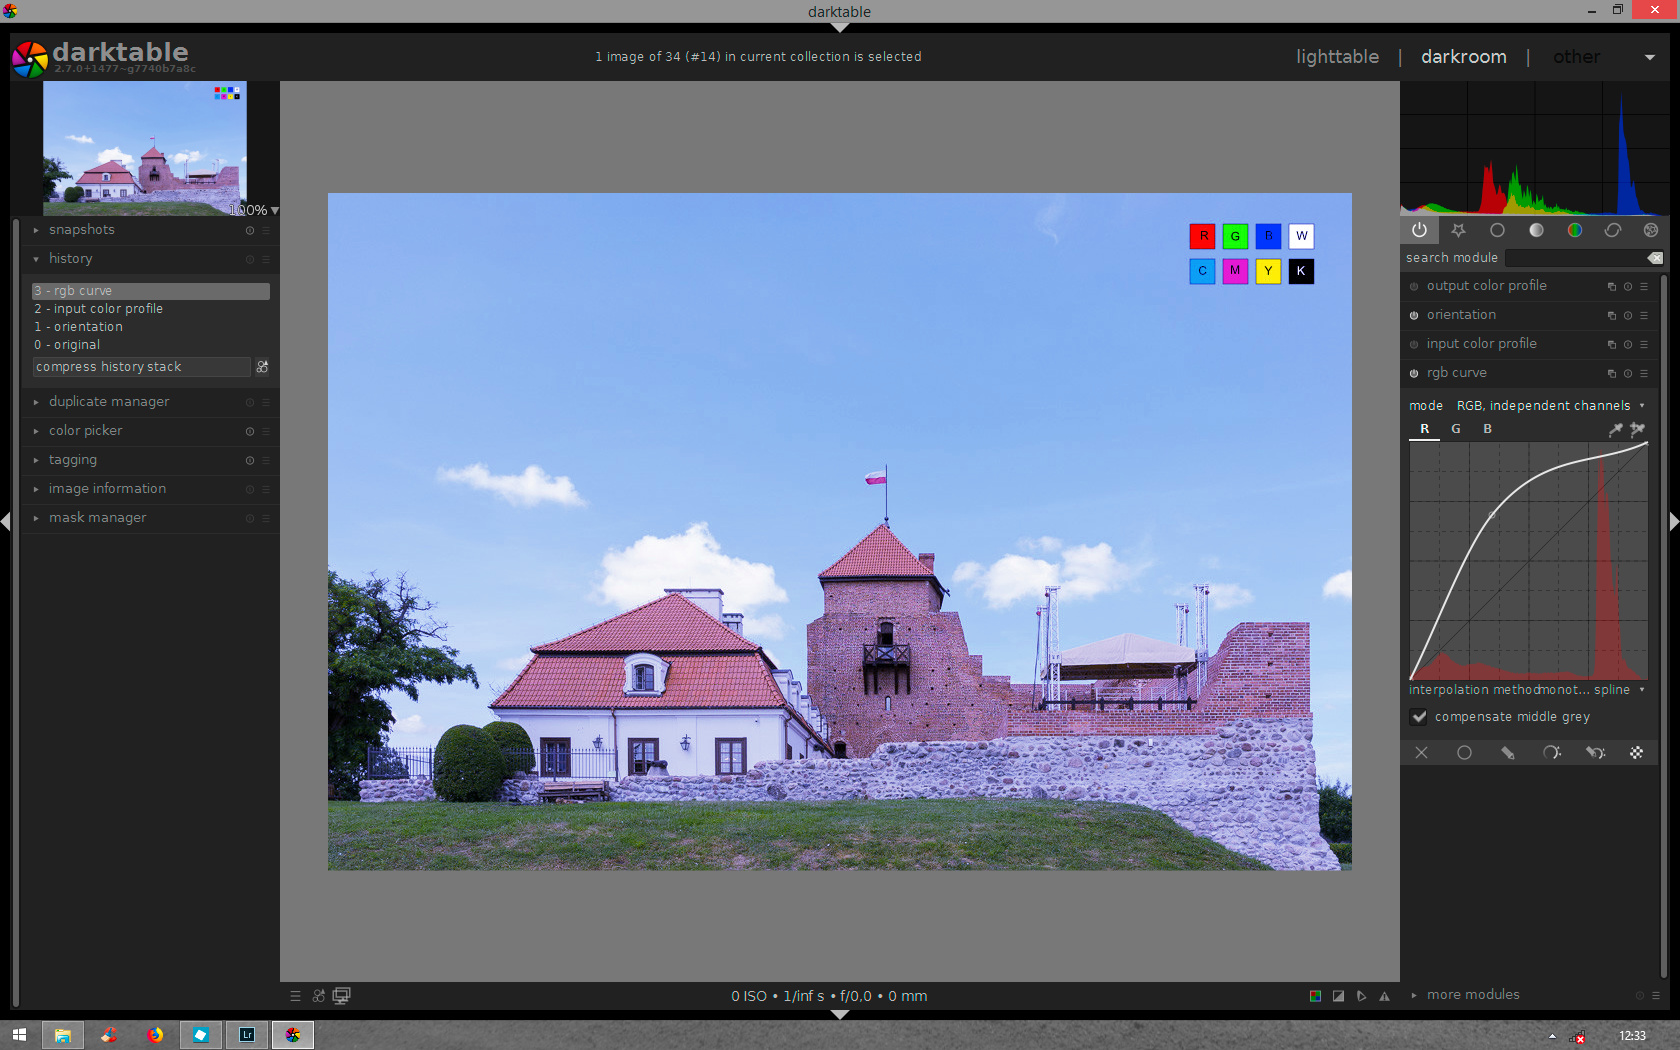
Note that the RGB curve module is above the Input color profile module, which means it’s applied after it (like layers in Photoshop). And here’s how it looks when I move the RGB curve module below the Input color profile module, so that it is applied before it: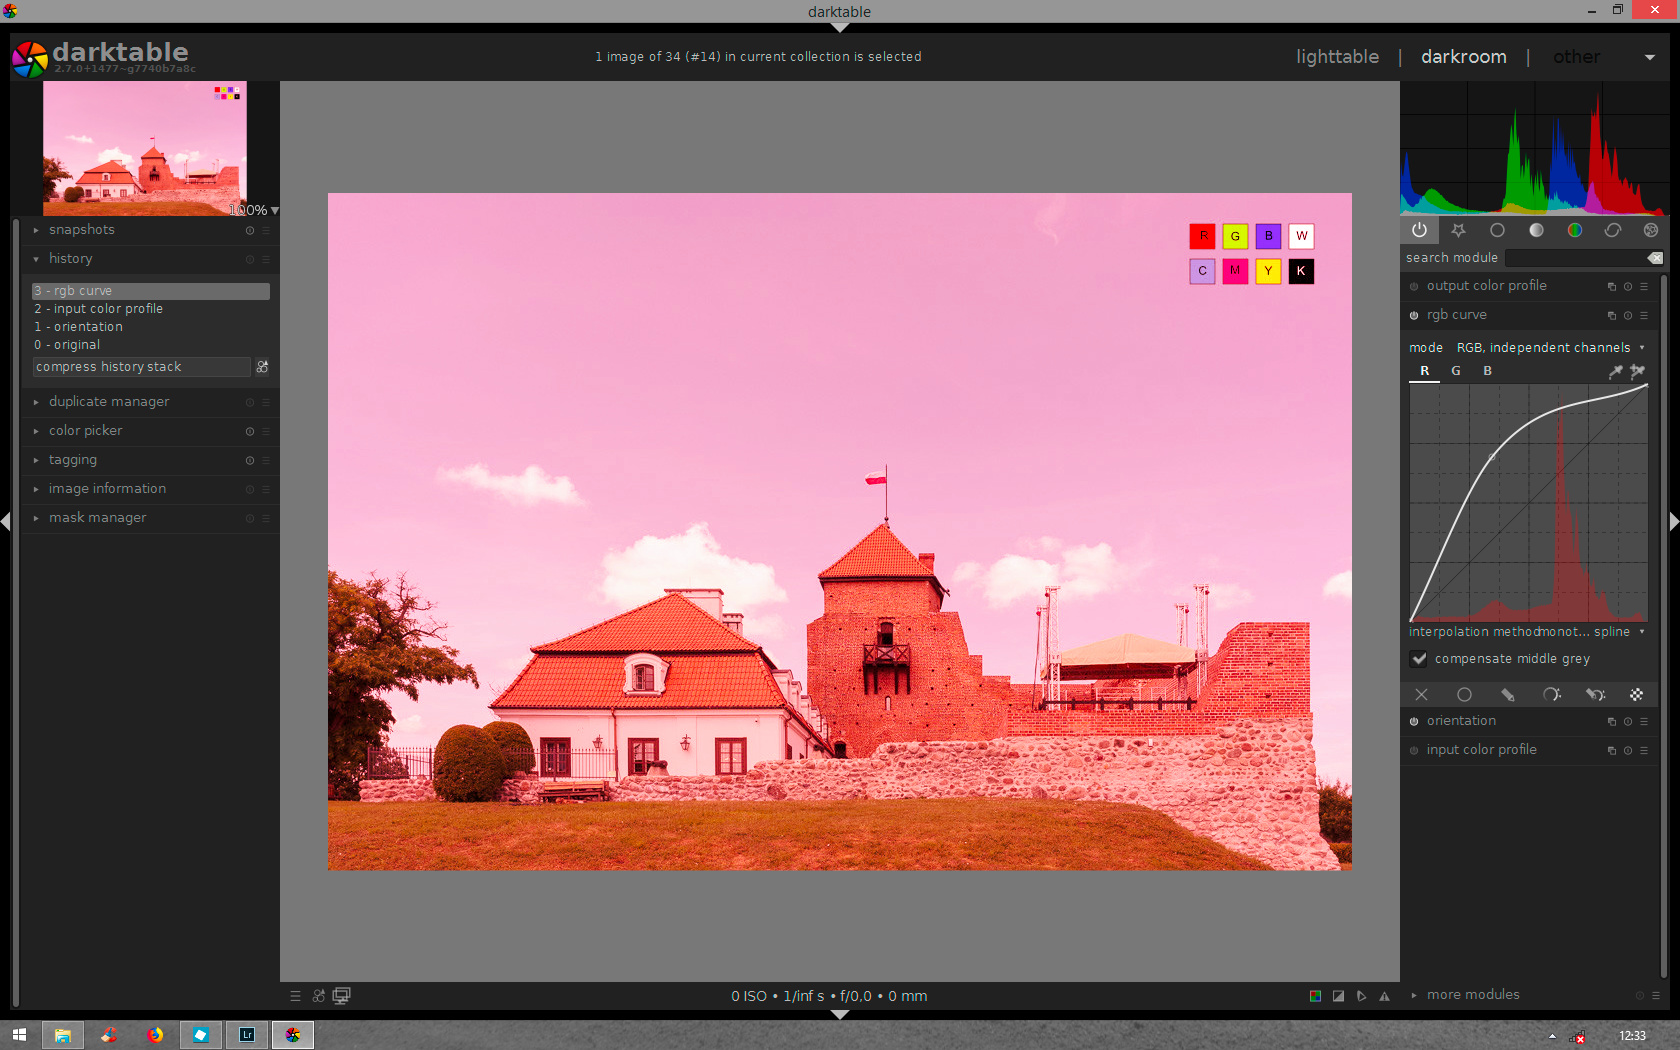
This is the result we get in PhotoLab when applying the same kind of correction in the Tone Curve tool. It’s incorrect because when modifying the red channel we don’t expect to modify the blue channel instead. So the default order of having the RGB curve applied after the input profile transform is logical not only for jpegs/tiffs, but also for raw files (hint, hint).
To sum up – here are other software packages which behave in a similar way to PhotoLab: Affinity Photo (both the Develop and the Photo Persona), Photoshop Elements (but not the ACR plug-in), Nik Collection (also in standalone mode).
Capture One behaves erratically. It has a correct histogram, Color Editor and Color Balance tools, but WB, Tone Curve and Levels behave in a similar way to PhotoLab (they get applied before the input profile).
RawTherapee and darktable have correct histogram, RGB curves and Lab curves etc, but they apply White Balance before the input profile – a behaviour characteristic for raw files, but not really appropriate for rendered files like a tiff or a jpg.
Lightroom / ACR, FastStone Image Viewer, XnViewMP, Topaz software behave in a predictable way with jpeg/tiff files like these. The embedded profile gets applied before everything, so we don’t get any surprises when e.g. adjusting white balance in a jpeg.